
AMS Silica Gel Box[V2]


Print Profile(17)
![[V2][0.2mm layer x1] 2 walls, 15% infill](https://makerworld.bblmw.com/makerworld/model/US7b8951d5423f95/design/2023-10-24_ed9058b828653.jpg?x-oss-process=image%2Fresize%2Cw_100%2Fformat%2Cwebp)
![[V2][0.12mm layer x1] , 2 walls, 15% infill](https://makerworld.bblmw.com/makerworld/model/US7b8951d5423f95/design/2023-09-22_9808c7e849ea9.jpg?x-oss-process=image%2Fresize%2Cw_100%2Fformat%2Cwebp)
![[V2][0.2mm layer x3] , 2 walls, 15% infill](https://makerworld.bblmw.com/makerworld/model/US7b8951d5423f95/design/2023-10-24_547a0cbb1ba58.jpg?x-oss-process=image%2Fresize%2Cw_100%2Fformat%2Cwebp)
![[V2][0.12mm layer x3] , 2 walls, 15% infill](https://makerworld.bblmw.com/makerworld/model/US7b8951d5423f95/design/2023-10-24_9546e4a9c19ac.jpg?x-oss-process=image%2Fresize%2Cw_100%2Fformat%2Cwebp)
Description
12/06 After many tests, I successfully found out the cause of the assembly problems reported by some users, and modified the side panel file "AMS Dry Box-SW_v2".
NOTE!I Designed this model not only for ams, I also used it in the vacuum bag that holds the filament, so I needed tight tolerances to make the box strong enough.
The tolerance is 0.3mm, please be sure to confirm before printing this model.
The AMS 2 version is now available!
Click the image to download and start printing!
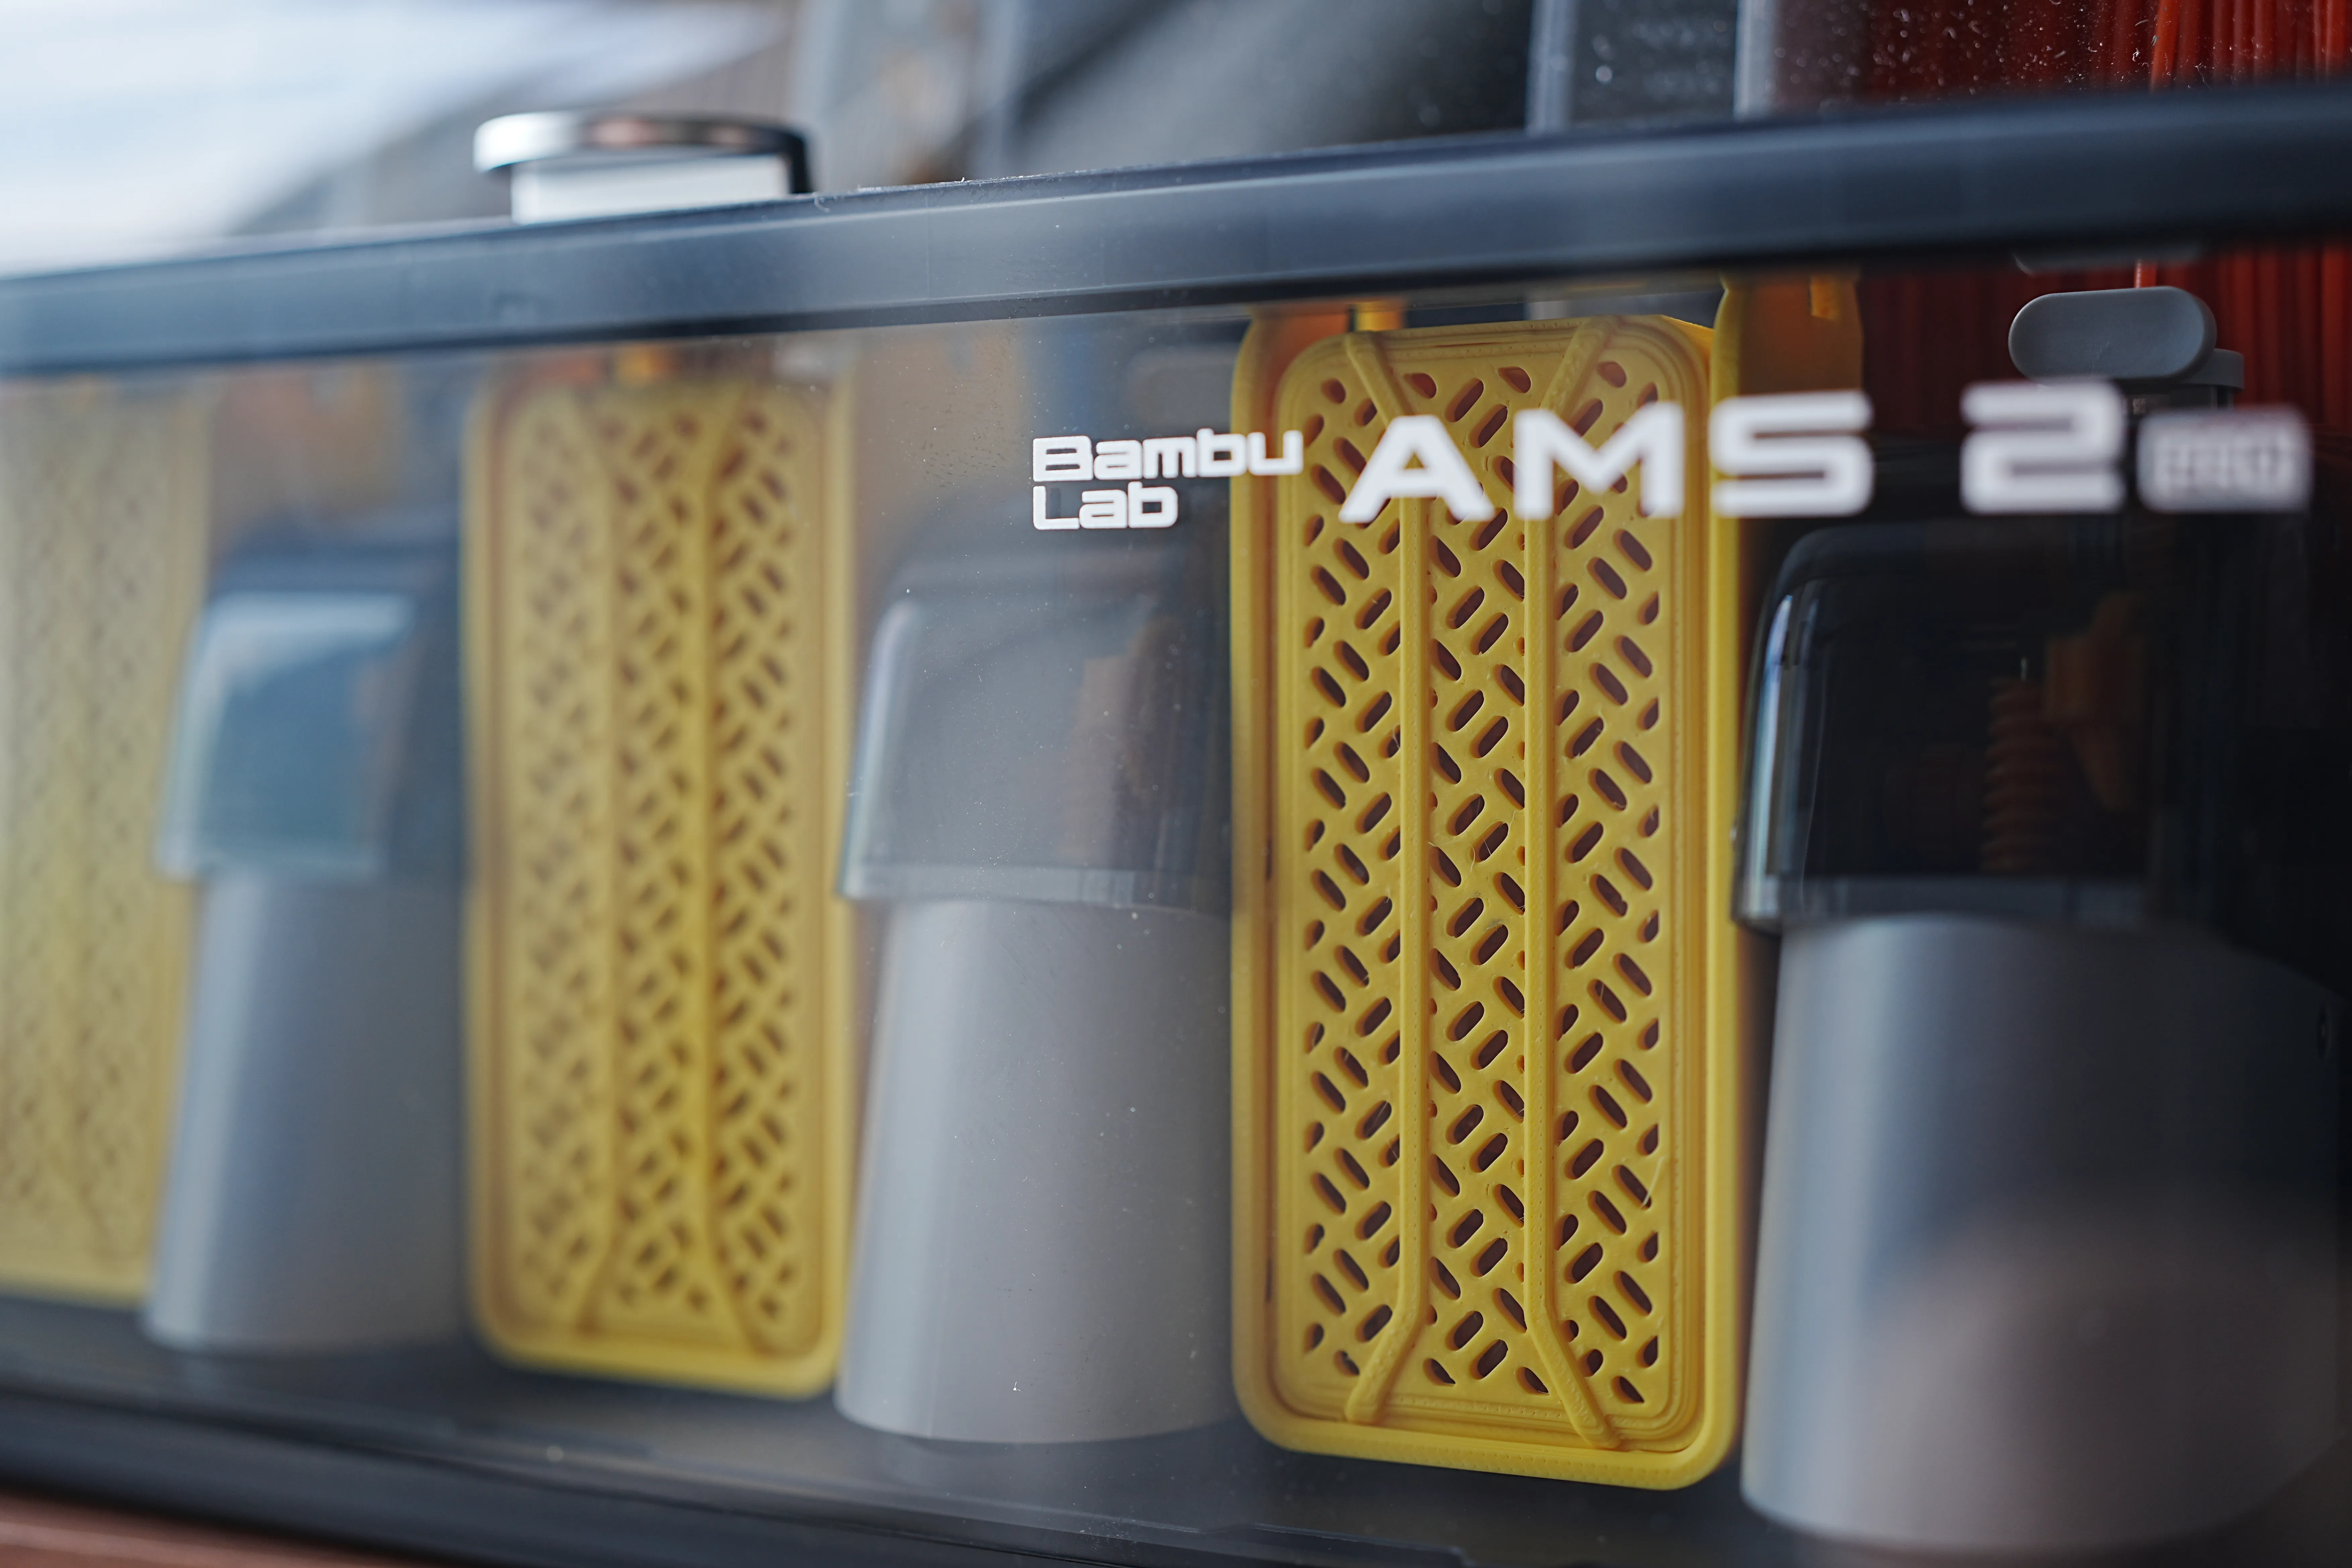
Open the side lid and pour about 60g of silica.

There is a buckle design on the top, please make sure it is buckled correctly when installing.

The front and back of the V2 version have relaxed tolerances in most areas, making it easier to install.
I kept the last small area because without this part, you might get the box and slide it open like in the second picture, resulting in a mess.
Please be careful not to install it in the wrong direction when installing.


If you have trouble assembling them, try using a heavy object to knock them into the correct position.

As for why I used this complex design, it was because I considered that he had to withstand several kilograms of impact from the filament, so I wanted to distribute the force as equally as possible to each part.

Also I have a beautiful model related to AMS! Don’t miss it!

Do you always find the AMS feeder difficult to press? Are the models on the Internet very difficult to install? I have improved and carefully designed this model. Please be sure to try it!(click on the image to go to the page!)
----------中文解說----------
打開側蓋後約可倒入60g的乾燥劑.
上方具有卡扣設計,安裝時請確認有正確的扣上.
V2版本的正面與背面放開了大部分區域的公差,使其較容易安裝.
我保留了最後一小區域,因為沒有這個部分的話,你可能再拿取盒子時像第二張圖一樣滑開,導致一團糟.
安裝時請注意不要裝錯方向.
如果你在組裝上遇到了困難,可以嘗試使用重物敲擊他們使其安裝至正確的位置.
至於為什麼使用這種複雜的設計,是因為我考慮到他必須承受數公斤來自線材的撞擊,因此我想盡可能地讓力量平均分攤到每個部分.
License

You shall not share, sub-license, sell, rent, host, transfer, or distribute in any way the digital or 3D printed versions of this object, nor any other derivative work of this object in its digital or physical format (including - but not limited to - remixes of this object, and hosting on other digital platforms). The objects may not be used without permission in any way whatsoever in which you charge money, or collect fees.


Comment & Rating (2452)