
Print Profile(5)


Description
🔪 Get into the Spirit (and the Splat) of the Season!
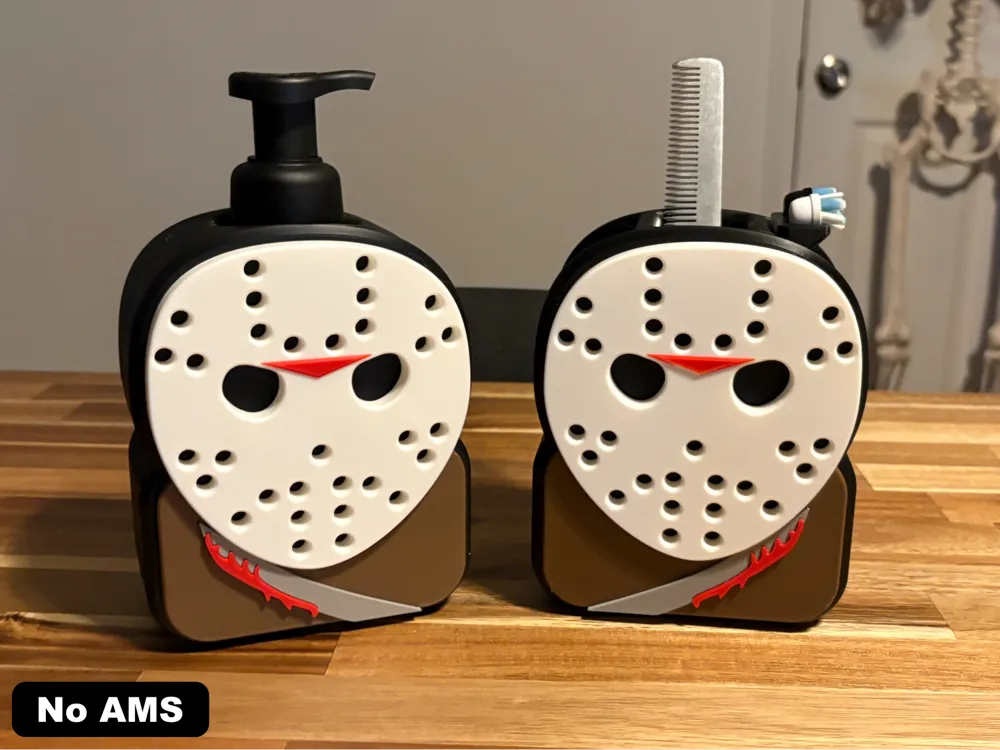
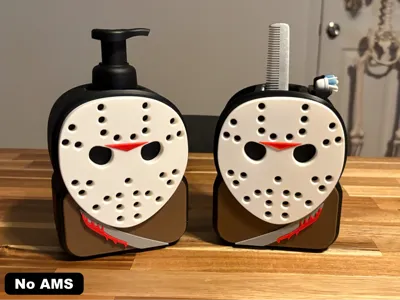
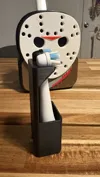
Add a splash of campy, classic horror to your space with this Friday the 13th–inspired Jason Soap Bottle Cover and Bathroom Organizer! Whether you're decking out your bathroom for Halloween or just love a little slasher flair year-round, this set is sure to make a killer impression.
🧼 What's Included:
This pack includes several spooky pieces, each with its own print profile:
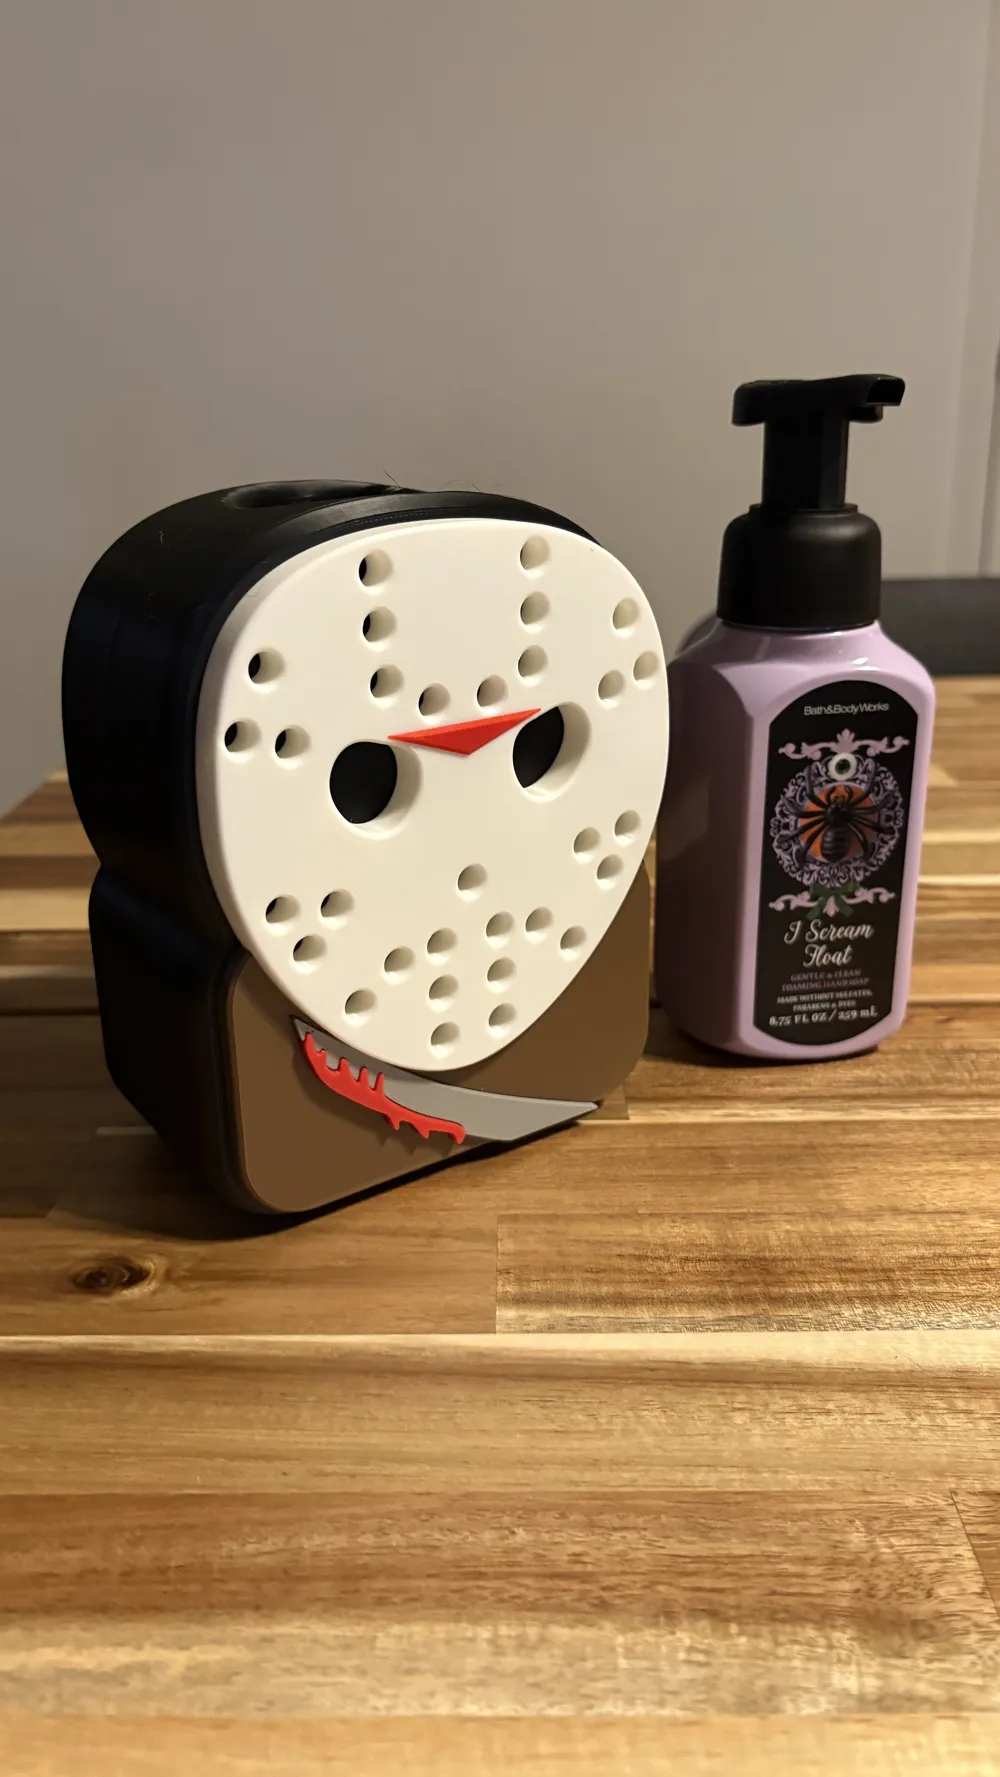
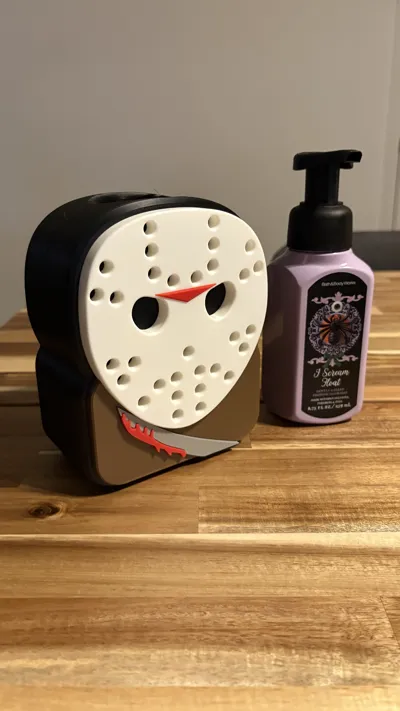
- Jason-themed Soap Bottle Cover – Designed to fit Bath & Body Works foaming hand soap bottles.
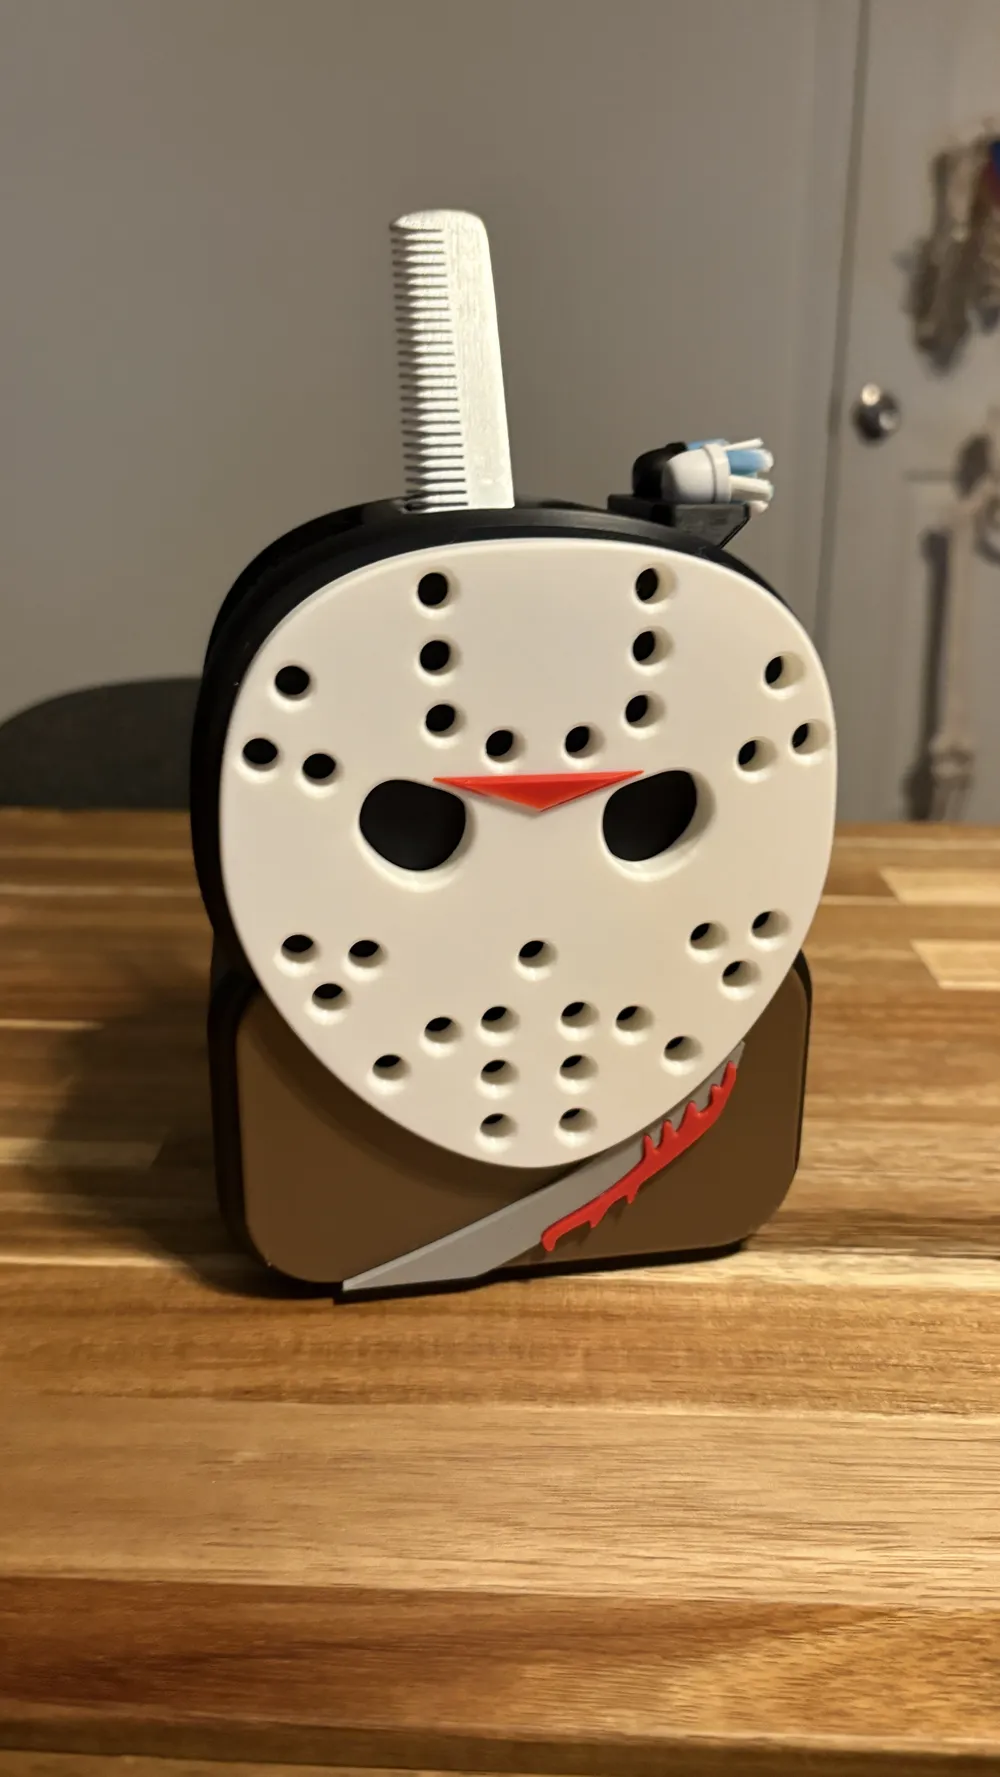
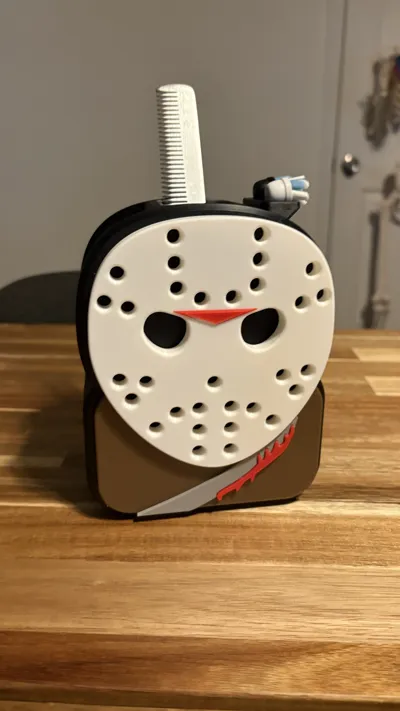
- Jason-themed Bathroom Organizer/Caddy – Perfect for toothbrushes, combs, razors, and more.
- Adapter Insert – Compatible with SoftSoap and Dial hand soap bottles.
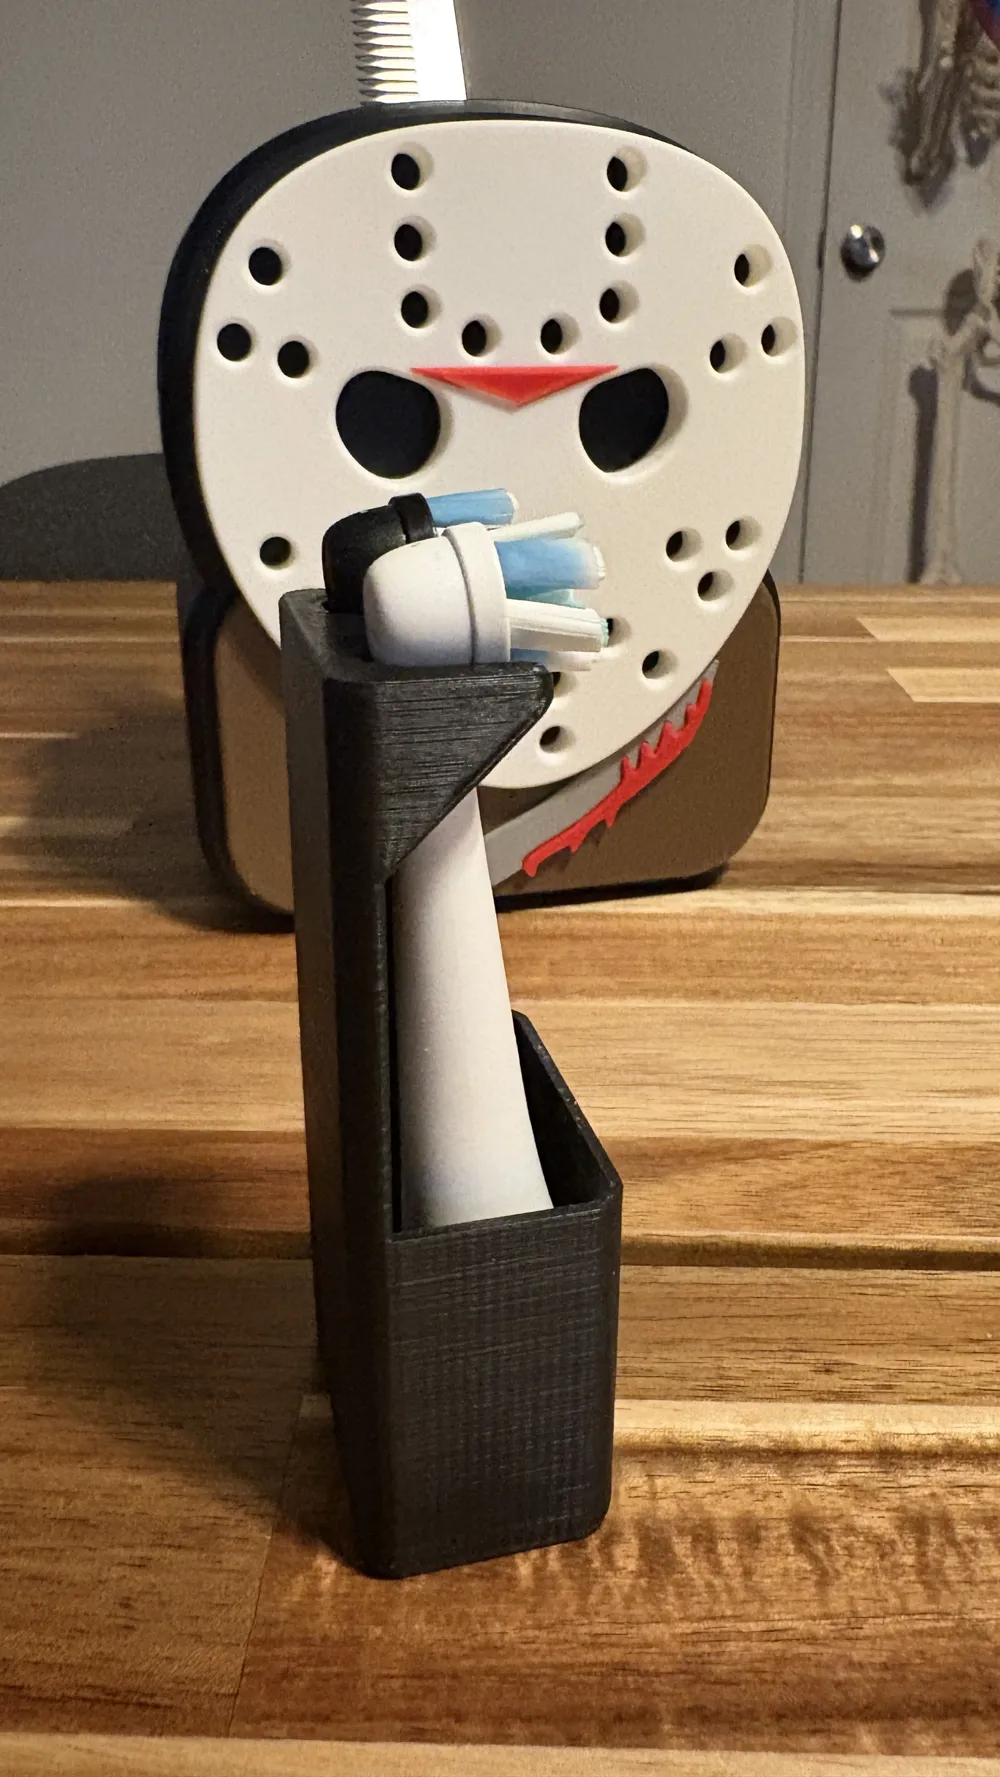
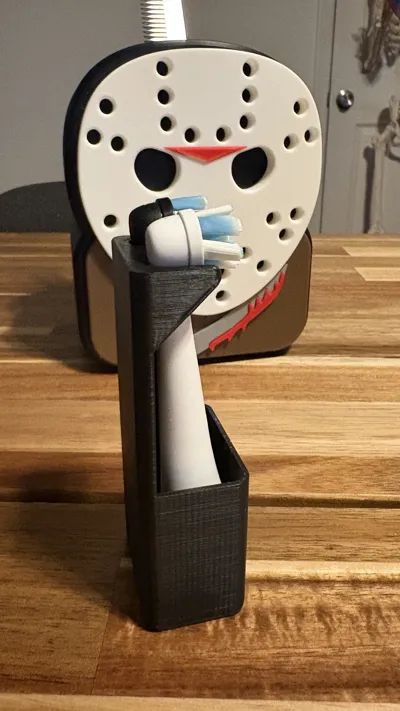
- Electric Toothbrush Head Insert – Fits into either the left or right opening of the caddy (print two if you want both!).
No AMS required! However, each mask print includes a layer-based color change. At a 0.16 mm layer height, this occurs at layer 63.
🎨 Pictured in Bambu Basic PLA:
- Black
- White
- Red
- Gray
- Cocoa Brown
Boost Me (for free)
If you like the model, give it a boost!
🛠️ Assembly Instructions
Important Notes:
- Always dry-fit parts before gluing to ensure proper alignment.
- Use less glue than you think—tolerances are tight, and glue spreads easily.
- The halves are mirrored. Build plates are organized into left and right components—keep them separate during assembly.
🧟♂️ Right Side Assembly
- Apply a small amount of medium-thickness CA (super) glue to the four rectangular recesses on the face of the right body half.
- Using tweezers, insert the rectangular splines into each recess.
- Add 1–2 small drops of glue to the blood splatter recess on the machete.
- Carefully insert the blood splatter into place.
- Apply glue to the recesses and flat areas on the back of the mask.
- Press the mask onto the body.
- Add glue to the shirt piece with the blood splatter outline—both in the recess and on the flat area.
- Attach the shirt piece to the body.
- Apply a tiny amount of glue to the back of the machete and carefully place it on the body.
- Glue the remaining shirt piece into place.
🧟♀️ Left Side Assembly
Repeat the same steps for the left body half.
🧩 Final Assembly
- Once both halves are assembled and cured, apply glue to the joining recesses where the two halves meet.
- Carefully press the halves together.
- Place the assembled cover face-down on a clean surface and apply gentle weight to the top.
- Allow the glue to fully cure.
License

You shall not share, sub-license, sell, rent, host, transfer, or distribute in any way the digital or 3D printed versions of this object, nor any other derivative work of this object in its digital or physical format (including - but not limited to - remixes of this object, and hosting on other digital platforms). The objects may not be used without permission in any way whatsoever in which you charge money, or collect fees.


Comment & Rating (21)