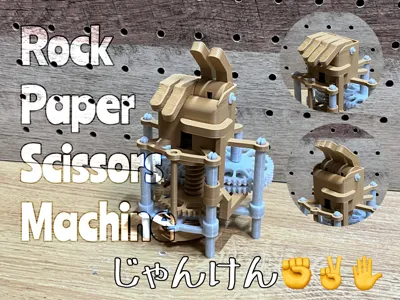
Spring-powered Rock-Paper-Scissors Machine


Print Profile(1)

Description
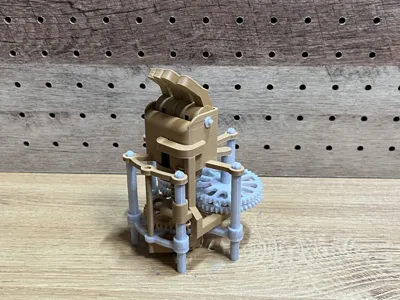
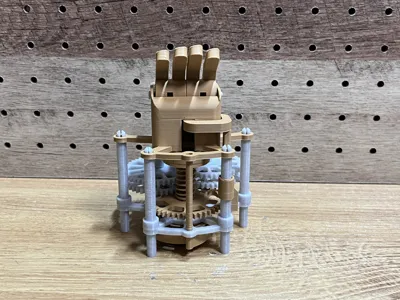
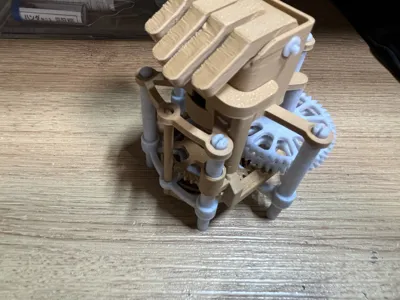
Based on my previous creation, the spring-powered fan "I Stream", I've made a spring-powered Rock-Paper-Scissors machine.
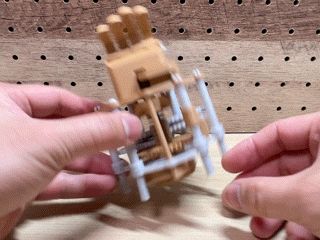
The thumb acts as a lever. Pressing it down releases the lock and the gear rotates.
Returning the lever engages the lock and simultaneously raises the rock-paper-scissors gear, resulting in one of the three hand gestures.
Boost Me (for free)
Please boost me if you lose at Rock-Paper-Scissors.
Assembly Instructions
Begin by assembling the upper parts.

Insert the lifter into the hole.

Attach the finger to the lifter. Pay attention to the left and right sides.

Insert the bar from the side.

Insert the rod into the hole.

Stopper part on the opposite side.

Assemble the lower parts.
Start with the legs.

Attach the legs from below.
(Due to time constraints, it's slightly loose, but I'll fix it soon)

These are the shaft and the spring.

Insert the shaft from under the spring. Pay attention to the orientation.

Insert it from the bottom into the previous part.

Attach the卍shaped part. Pay attention to the orientation.

Use this gear part.

Insert it in this direction.

Spring part.

Attach one gear to the upper left.

Attach this part in the center.

Assemble the top and bottom parts.
Insert your thumb into the center of the top part.

Insert the hole in front of the thumb part here.

Carefully insert it into the center shaft as well.

Insert the gear from the back.

Attach a gear to the top right.

Attach another gear to the top left.

Attach another one to the top right.
(If you feel the rotation is too slow, remove this and attach it with a long stopper)

It should look like this.

Attach the stoppers. (The top left one is the longer one).

The top right one is the shorter one.
(If you've removed one gear, use the longest one).

After attaching the stoppers.

Finally, firmly secure the upper and lower parts.

That's it, it's complete!

Boost Me (for free)
If you assemble it successfully, please boost it.
License
You shall not share, sub-license, sell, rent, host, transfer, or distribute in any way the digital or 3D printed versions of this object, nor any other derivative work of this object in its digital or physical format (including - but not limited to - remixes of this object, and hosting on other digital platforms). The objects may not be used without permission in any way whatsoever in which you charge money, or collect fees.
Comment & Rating (13)