
Print Profile(3)



Bill of Materials





- M5 Hex Nuts x 3:
Description
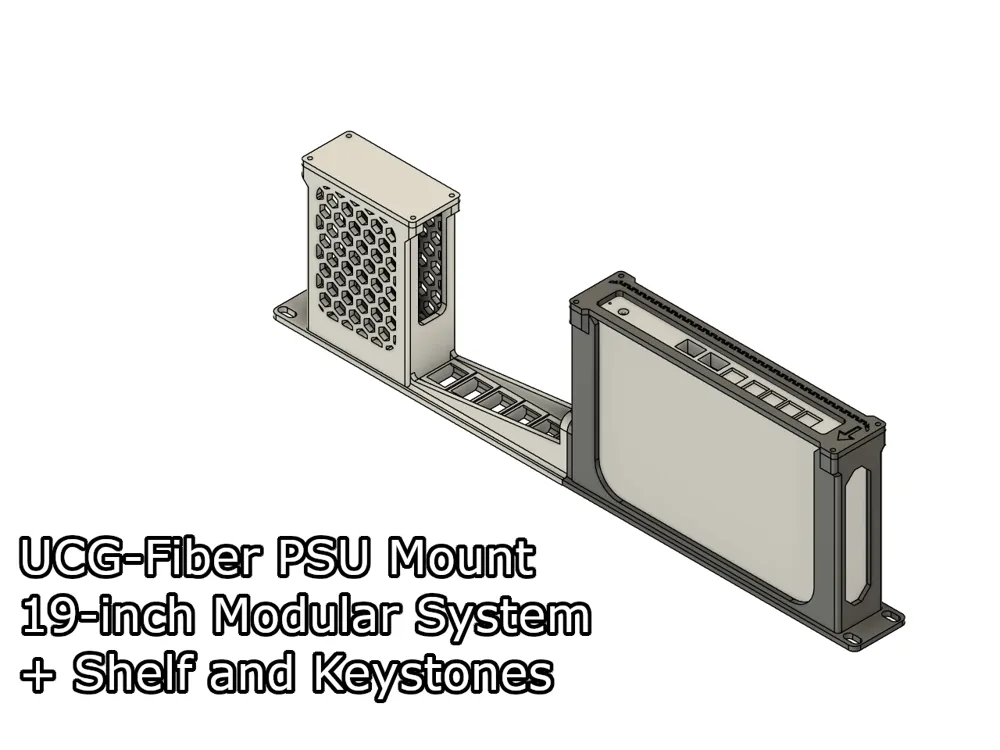
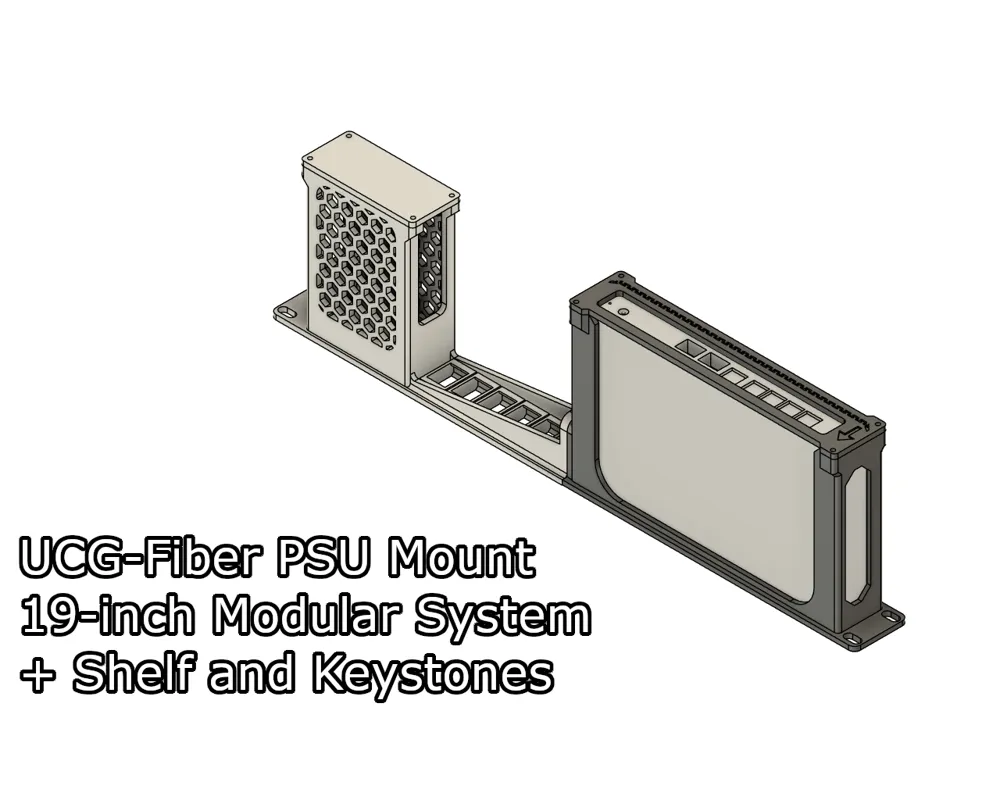
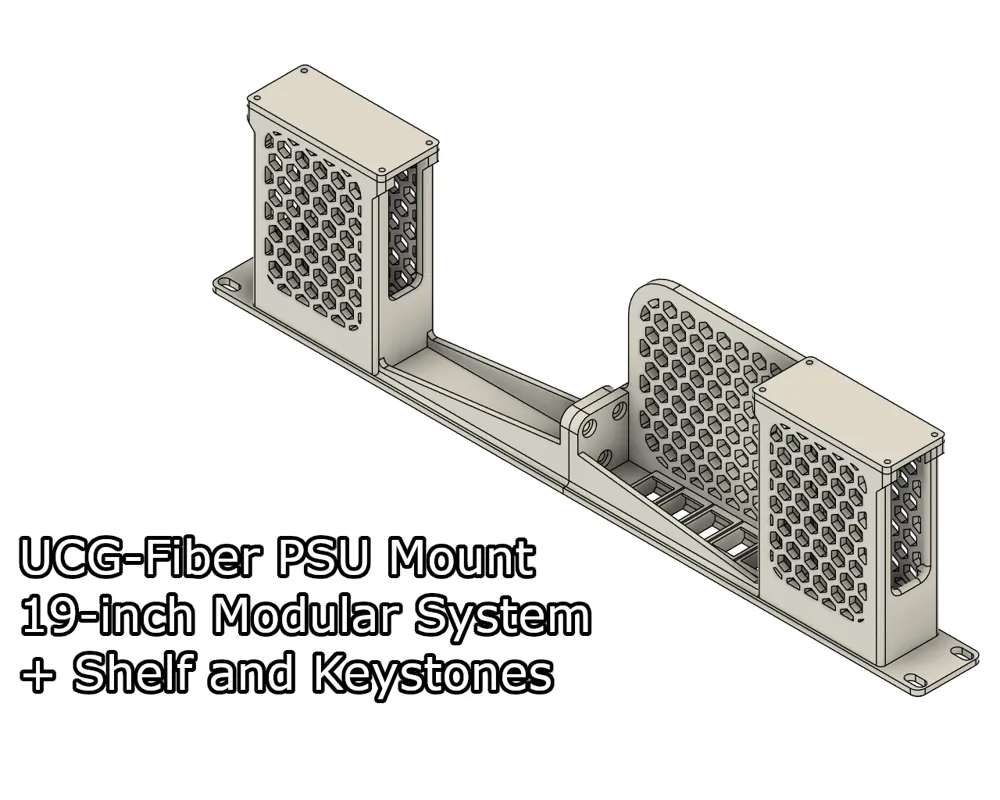
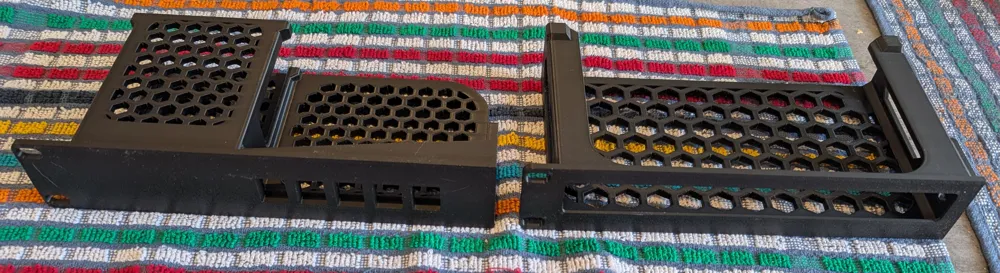
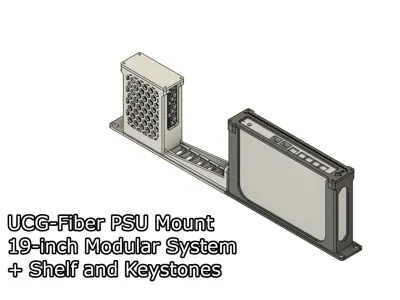
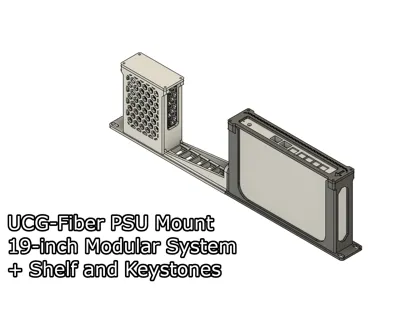
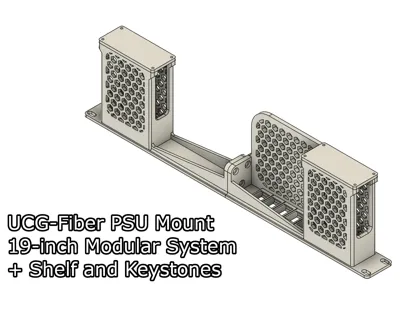
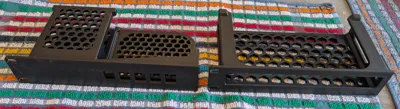
A modular, 2-part, 19-inch rack mount for the Ubiquiti Unifi UCG-Fiber Power Supply Unit (PSU).
This model comes in 4 variations:
- A plain mount, just for the PSU.
- A version with keystone slots.
- A version with a shelf.
- A version with the keystone slots and a shelf.
They are all available in the provided print profile.
This mount is part of a 19-inch modular rack mount system I designed. You can mix and match the modules with other mounts. Take a look at my models here to find out the other 19-inch mount modules.
Boost Me (for free)
I make these models for free, and it takes time and material to test them out. Your boost will help me keep releasing new models! Thank you!
Membership
Want to support me further? Or sell my prints? Please consider one of my membership tiers. Thank you!
Do you like my models? Consider buying me a coffee ;)

Updates
- 07 September 2025: I have added a variant with 6 keystone slots.
Required parts
- 4x M3x10 or 4x M3x12 for the back plate.
- 4x M3 thread inserts.
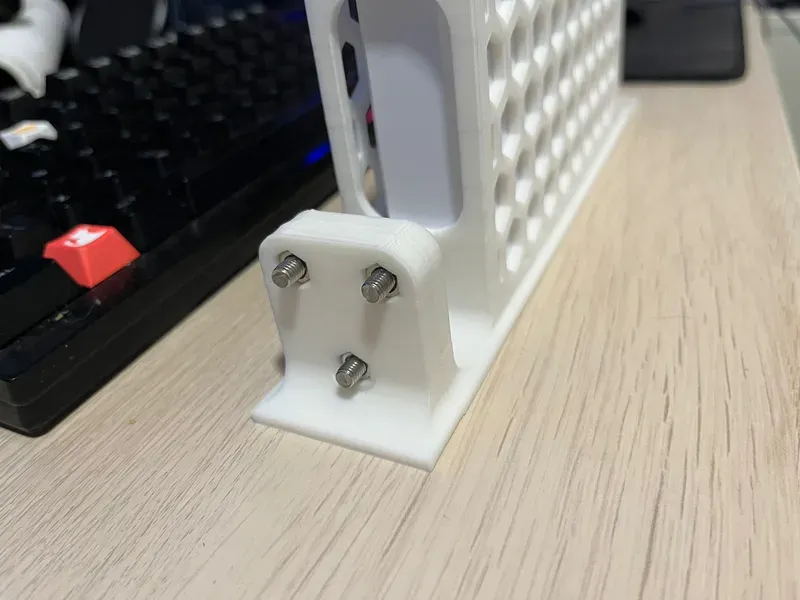
- 3x M5 screws (Min size: 12mm, max size: 16mm).
- 3x M5 hex nuts.
Mount Assembly
OBS.: The modules used in this tutorial are only for illustration purposes, and I'm using them for the whole series. It might not reflect the models you download from this page.
- To assemble the parts, insert the 3 screws into the Right module.
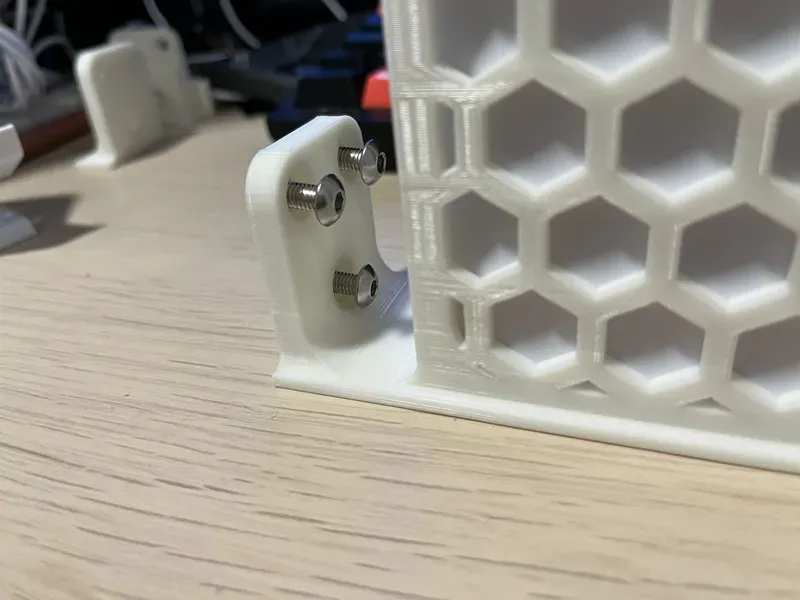
- Then align it with the Left module.
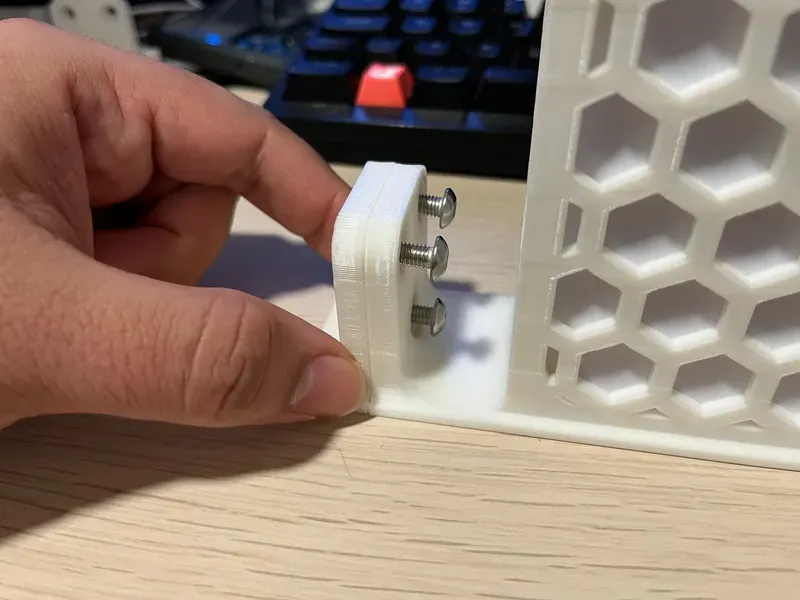
- After that, insert the hex nuts in the screws, and using a screwdriver or allen key.
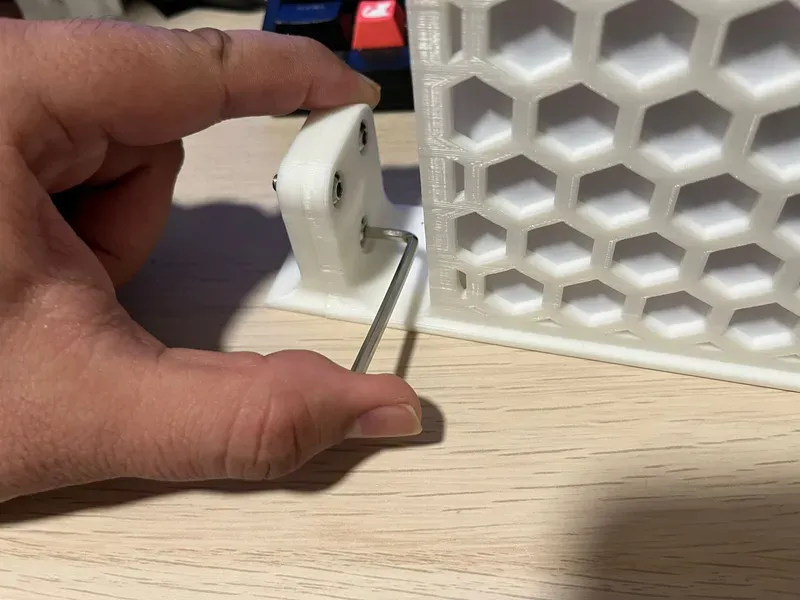
- Tighten the screws until you start feeling resistance and the nuts are securely into place. After that, you can install the mount in your rack.
Print Settings
Rafts:
Doesn't Matter.
Supports:
No.
Resolution:
0.2 or 0.24
Walls/Perimeters:
4.
Infill:
20% or more.
Filament:
PETG, ABS, ASA, PC, Nylon.
PLA could work, but pay attention to the glass transition temperature of your filament manufacturer.
This remix is based on

License



Comment & Rating (63)