
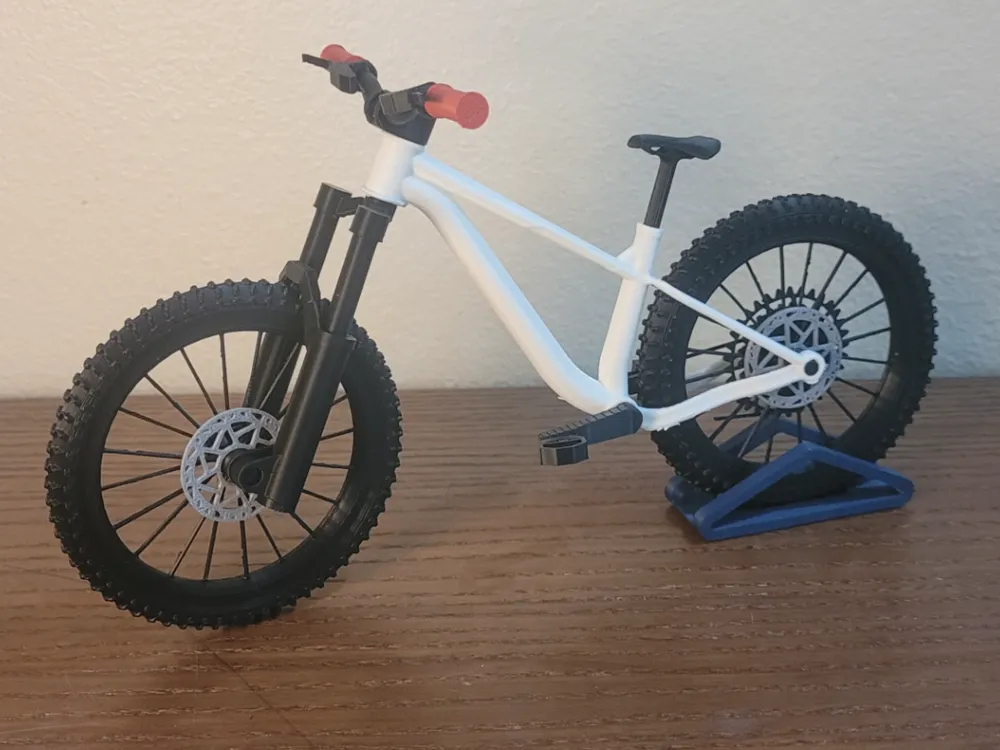
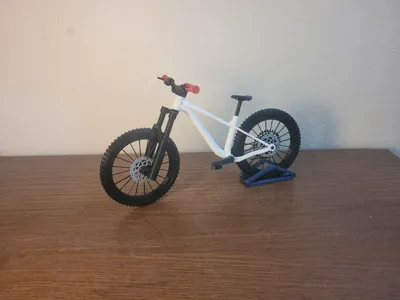
Trek Roscoe 9 Mini Mountain Bike -Frame by @bsilco
Print Profile(2)


Description
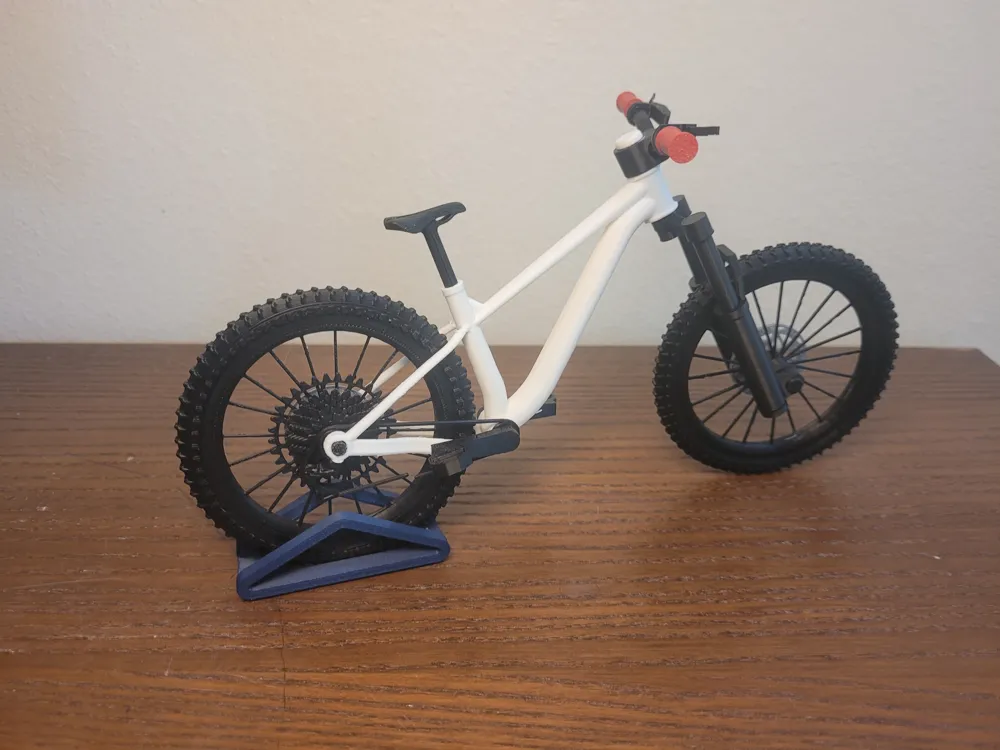
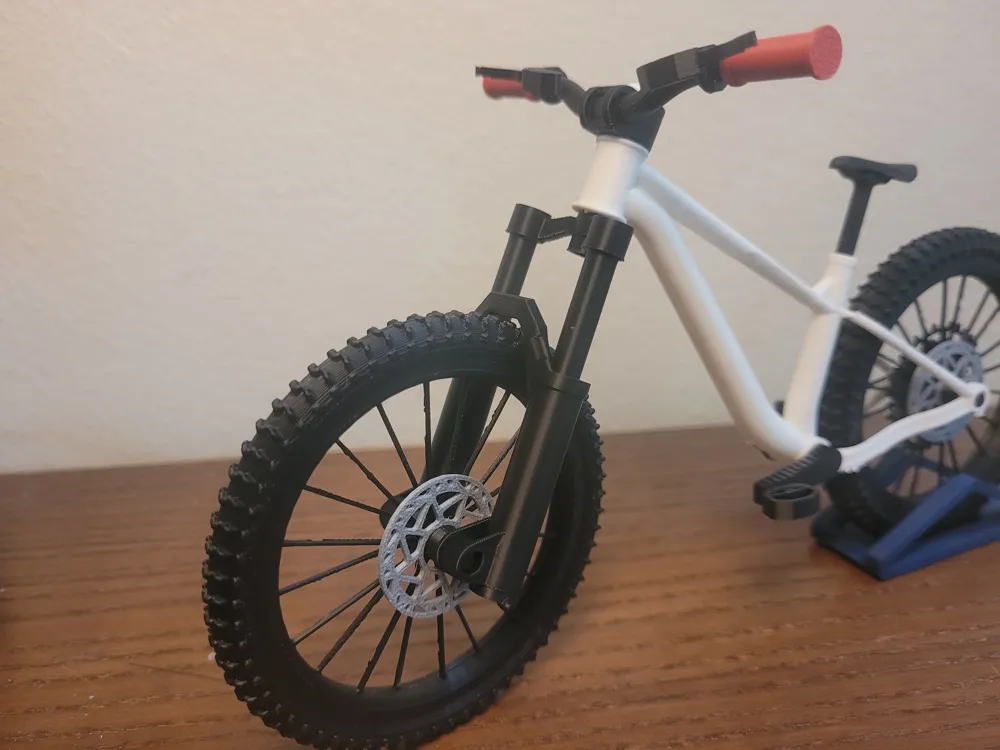
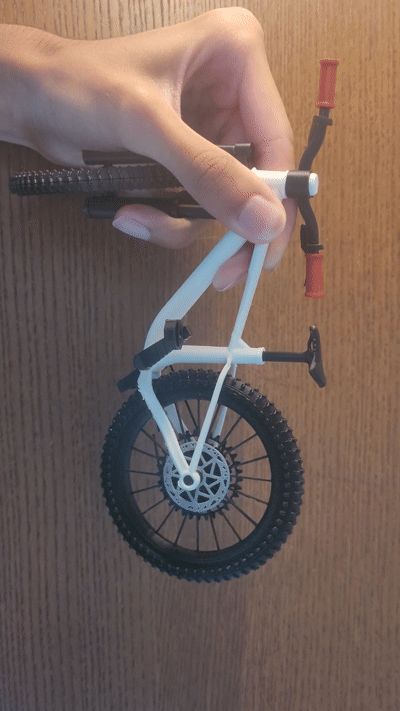
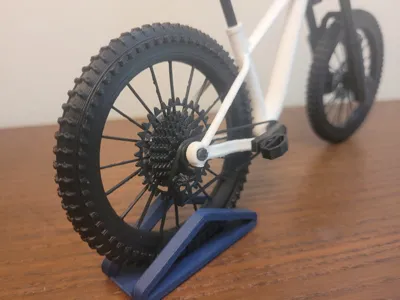
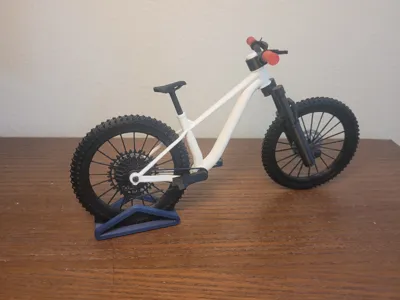
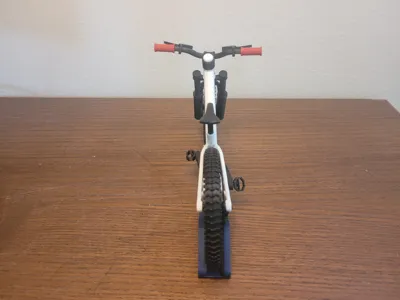
The Trek Roscoe 9 FRAME was designed by @bsilco -
This model is a remix of my original Hardtail MTB model - where @bsilco designed the frame to fit around all the original parts from the hardtail MTB.
Thanks @bsilco for allowing me to upload this amazing frame design!
Assembly instructions below-



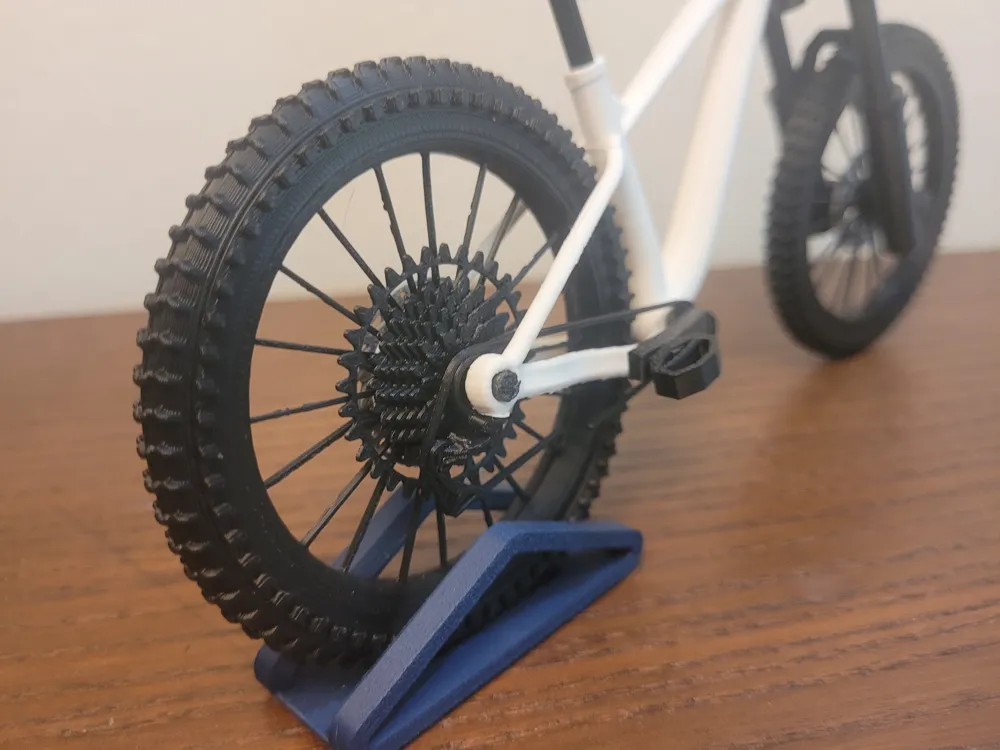
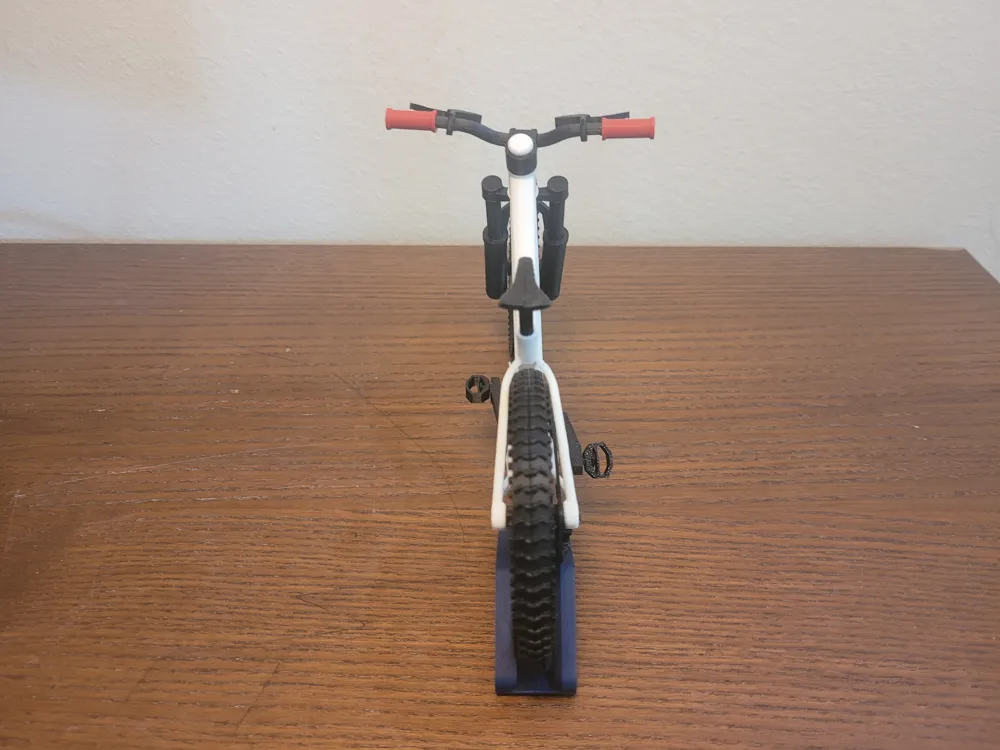
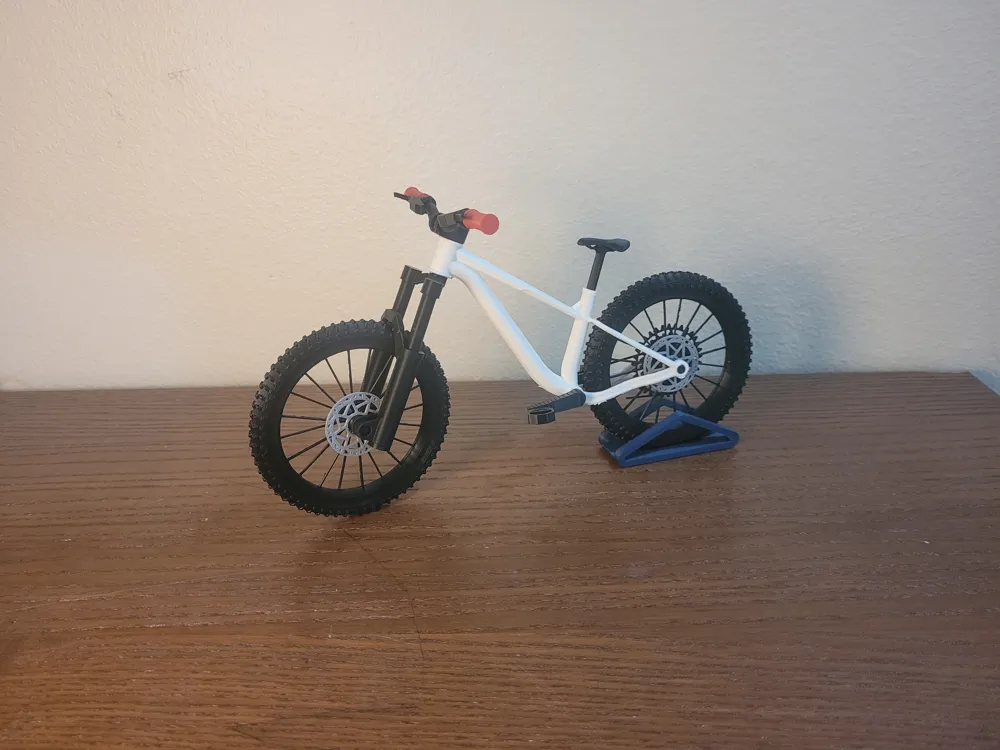
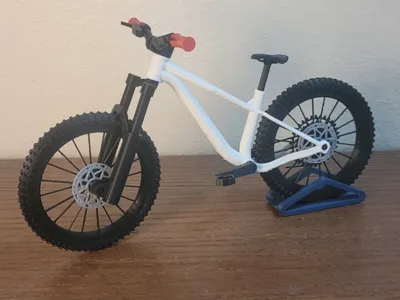
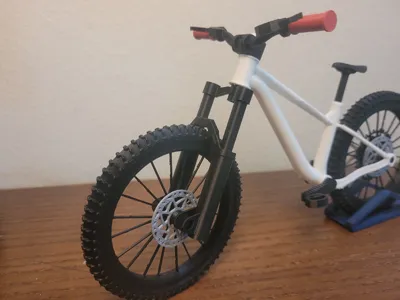
This is a 1:9 scale hardtail Mountain Bike model with working front suspension, rotating wheels and pedals. It is easy to print and assemble. Fully 3D printed besides 1 spring (optional) for the front suspension.
Features:
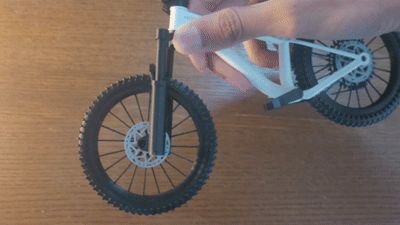
Working front suspension using the spring from a pen.
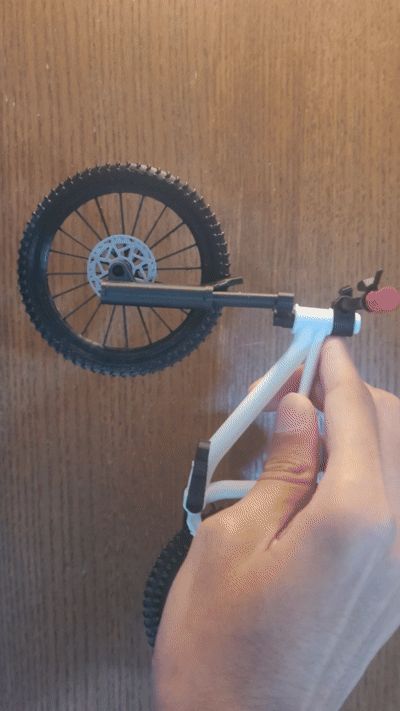
Functional rotating pedals AND wheels!
Spring Dimensions - Diameter - 5mm or less. Length - 40 mm or less
Feedback is greatly appreciated!
You will need some glue!
CLEAN BUILD PLATE BEFORE PRINTING FOR BEST RESULTS!! :)
Assembly is pretty easy! See steps below -
ASSEMBLY- (may seem long but don't worry - its not really!)
WHEELS ASSY -
Place the wheel alignment guides (2 small blue pieces) into the grooves on one half of your wheel. apply glue all around wheel if needed. find the 2nd half of the wheel with text patching the first - then 2nd half of the wheel onto the first. Ensure proper alignment of the tire tread.
Repeat step 1 for 2nd wheel
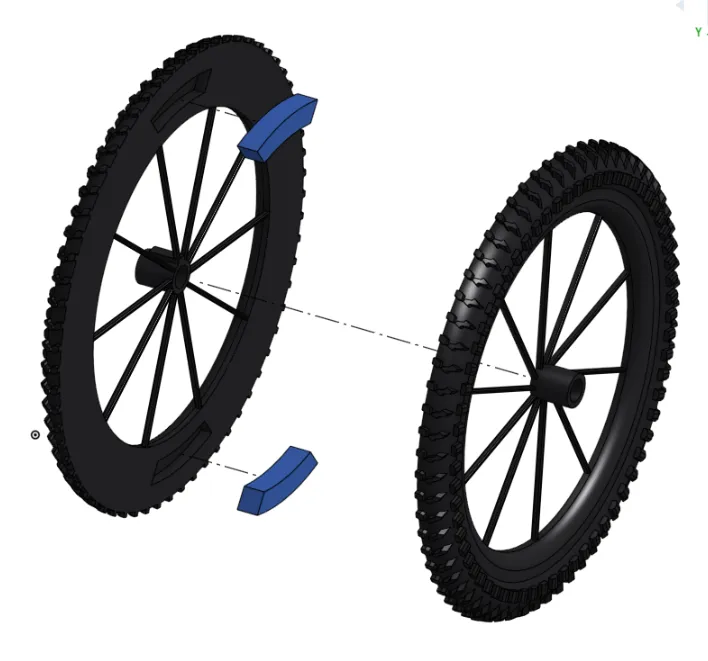
2. ON REAR WHEEL - Slide on the gears onto any side.
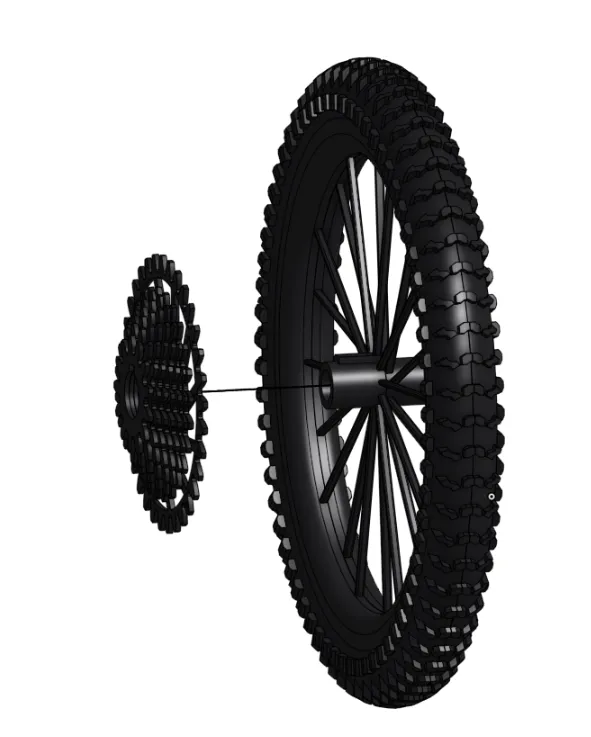
3. Slide brake disc onto rear wheel - on the opposite side as the gears
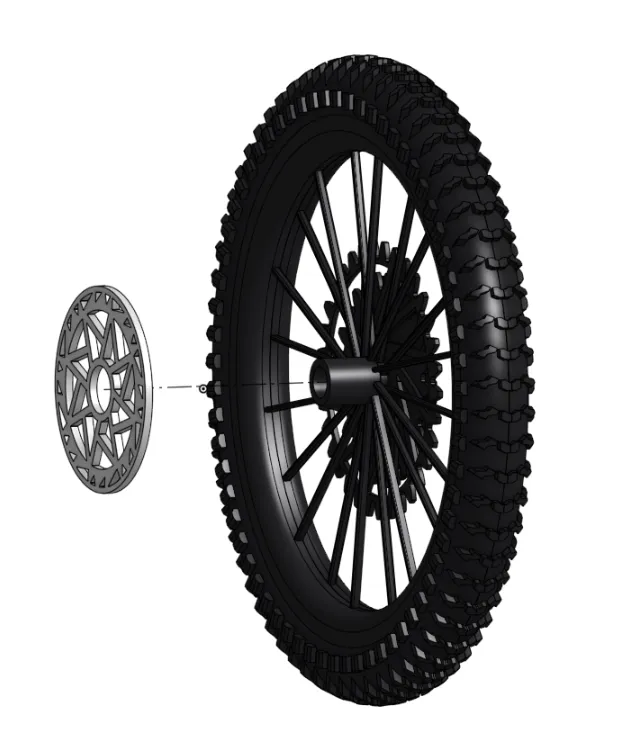
4. Slide front brake disc onto the front wheel too
FORK ASSY-
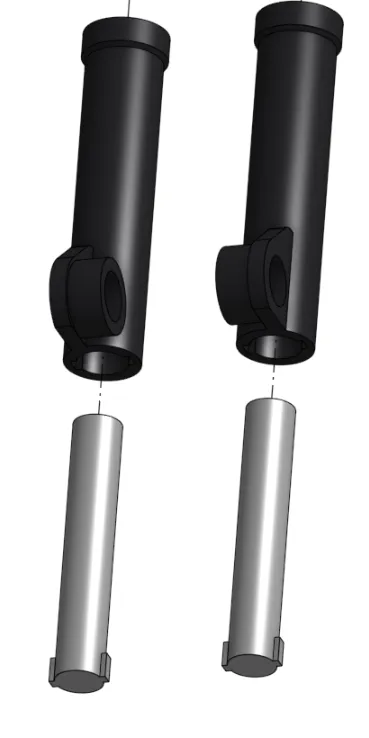
1. Slide the fork stanchion into the fork body. ensure orientation is same as picture. (the circular side goes in first from the bottom of the fork body). (ensure that the stanchion has the little protrusions at the bottom - if it doesn't you're probably holding a wheel axle :) )
Repeat for 2nd stanchion and fork body.
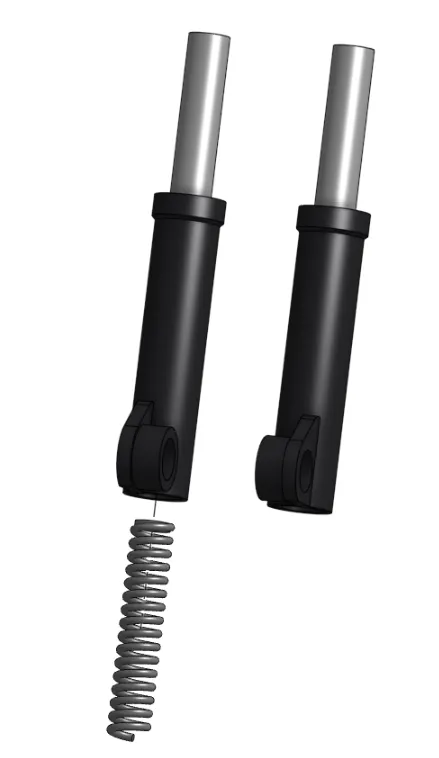
2. Slide the pen spring into one of the assemblies you made in step 2.
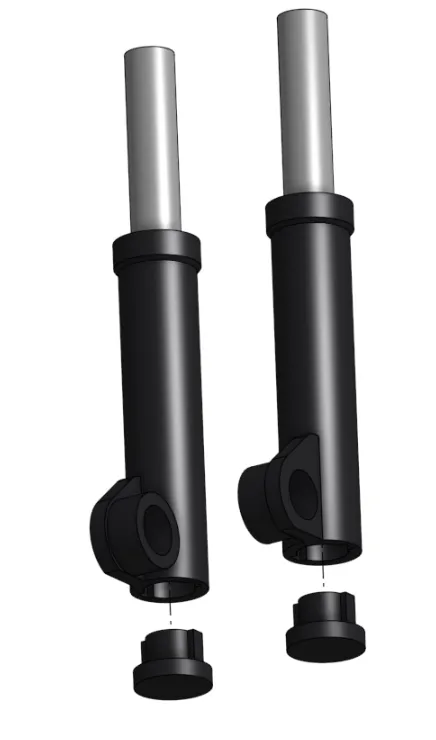
3. Press the fork body caps into the bottom of the fork body
4. Press steerer tube into the stanchions. Apply glue to this joint if needed. (recommended)
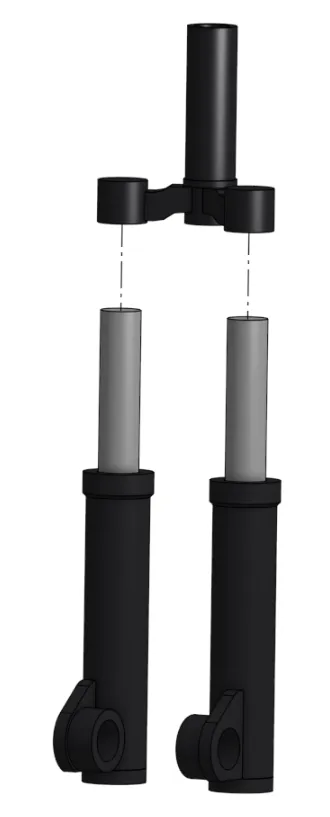
5. Slide wheel in-between the 2 fork bodies - secure wheel by sliding in front axle into place. (Larger of the two axles). (make sure brake dis is on the left side of the bike!)
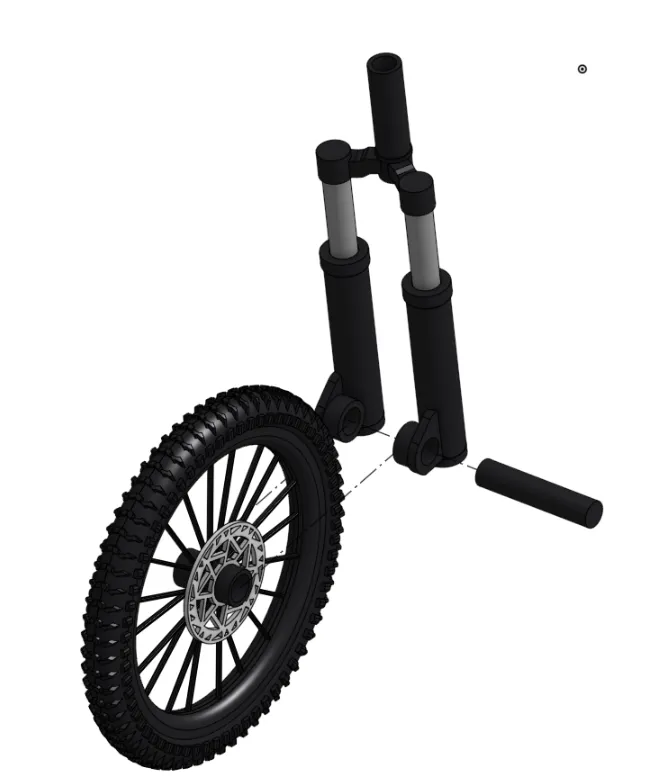
COCKPIT ASSY-
Slide stem through handlebar till it is in the center of the handlebar.
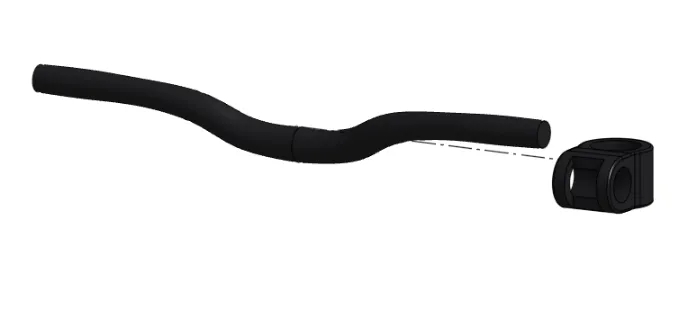
2. Slide on breaks - then grips. repeat on other side too
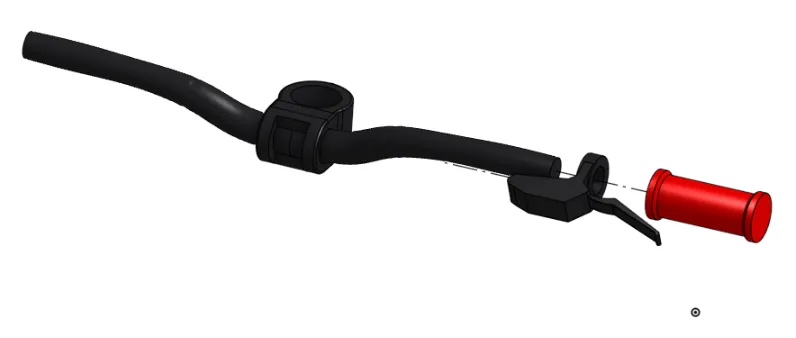
SEAT Assy -
- glue the 2 halves of the seat together
MAIN ASSY -
grab your rear wheel - place the drivetrain in front of the gears.
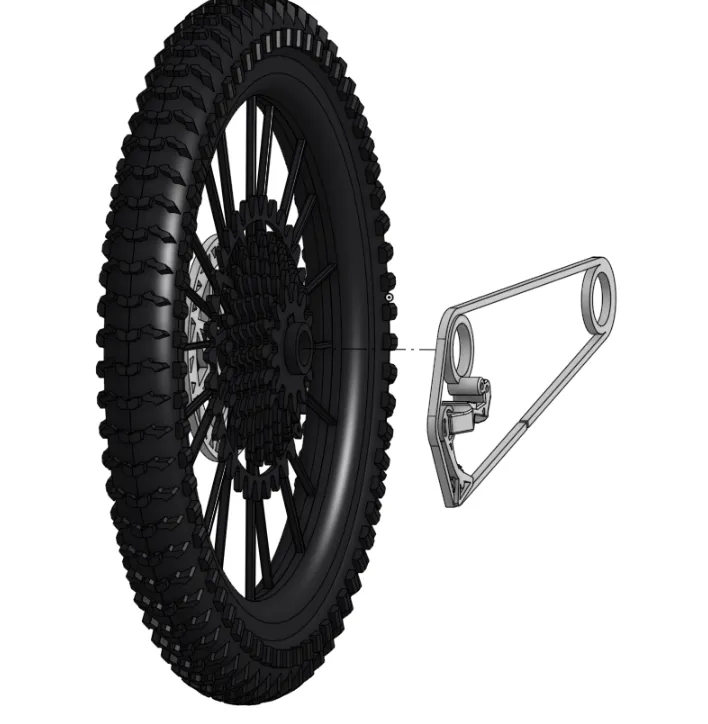
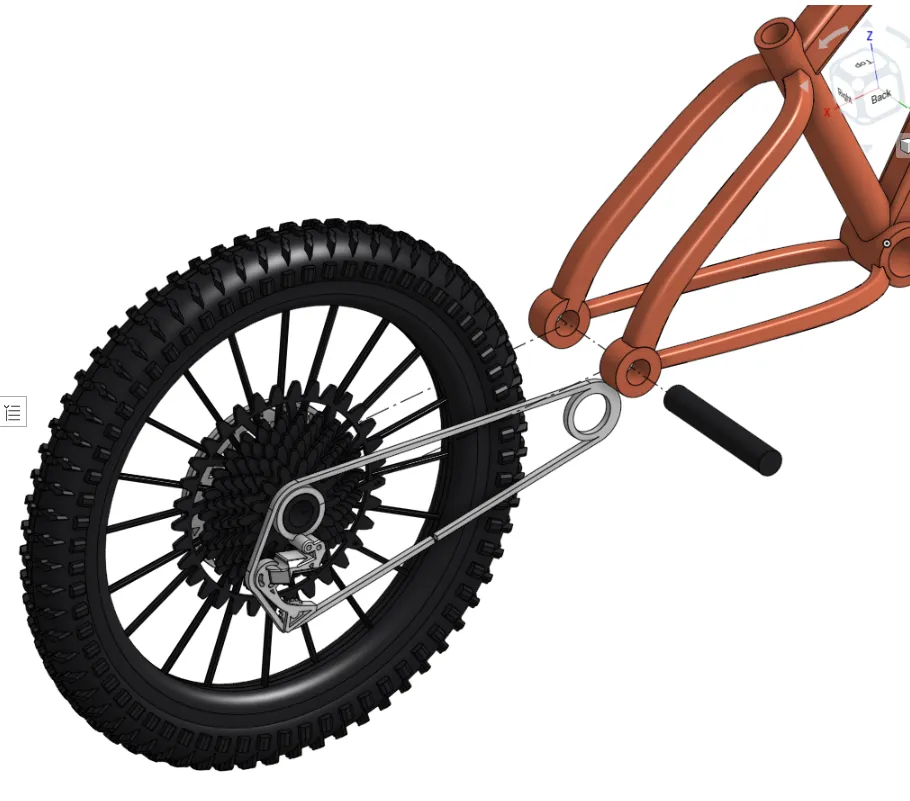
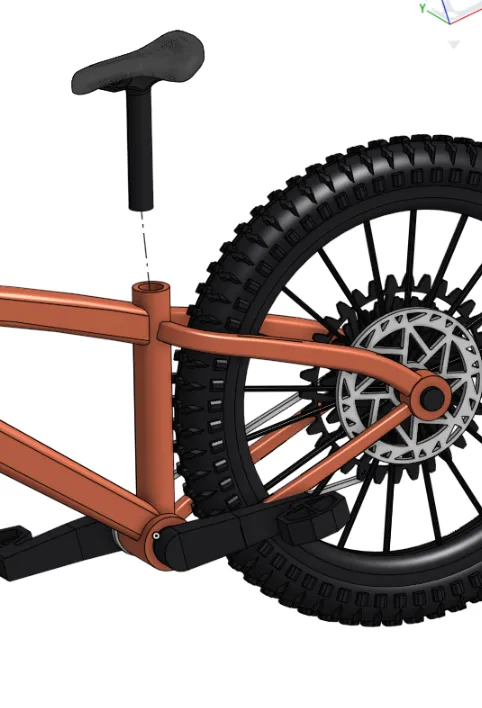
2. slide wheel into place on the frame - secure the rear wheel by sliding in the rear axle. ensure the drivetrain remains on the RIGHT side of the seat tube.
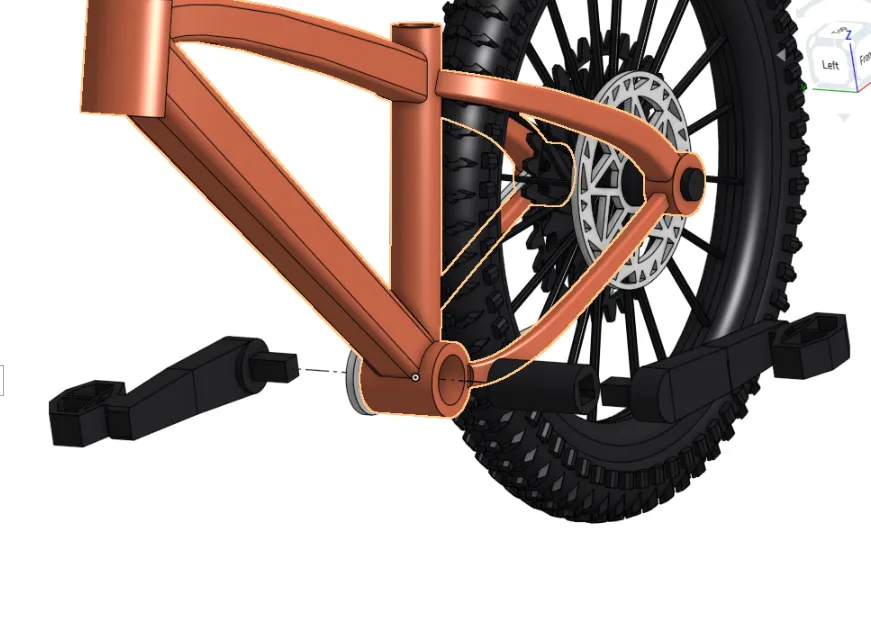
3. Slide in the bottom bracket - press in pedals on either side. ensure opposite orientation. Make sure the drivetrain is attached to the bottom bracket at the middle of the bike before pushing the right-side pedal in.
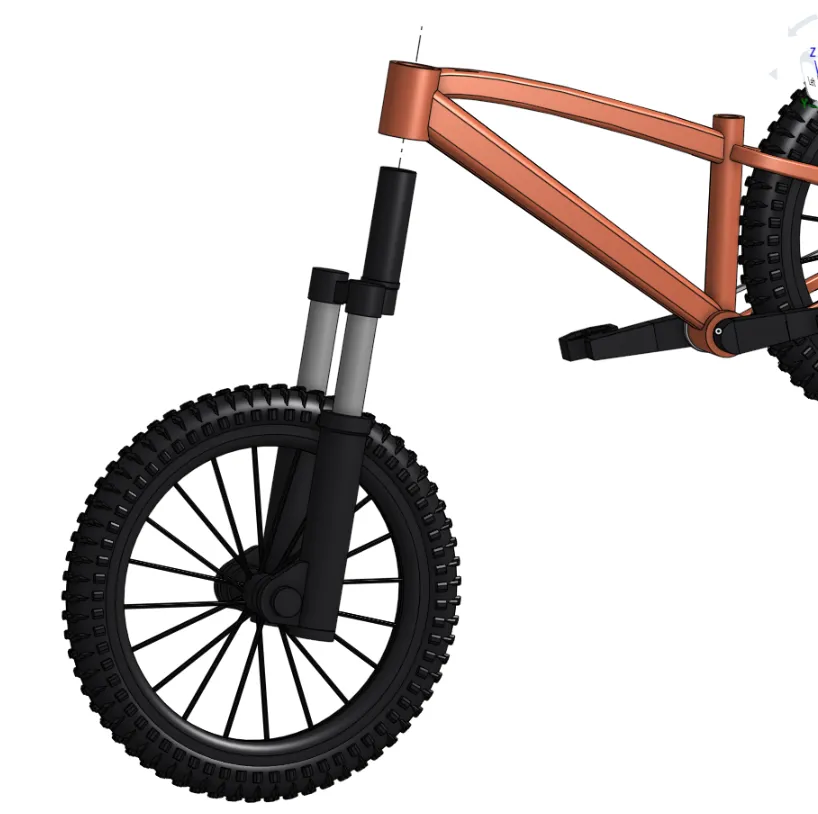
4. slide the whole front assembly we made earlier into the steerer tube of the bike.
5. Press on the cockpit assembly to hold the whole front end in place -
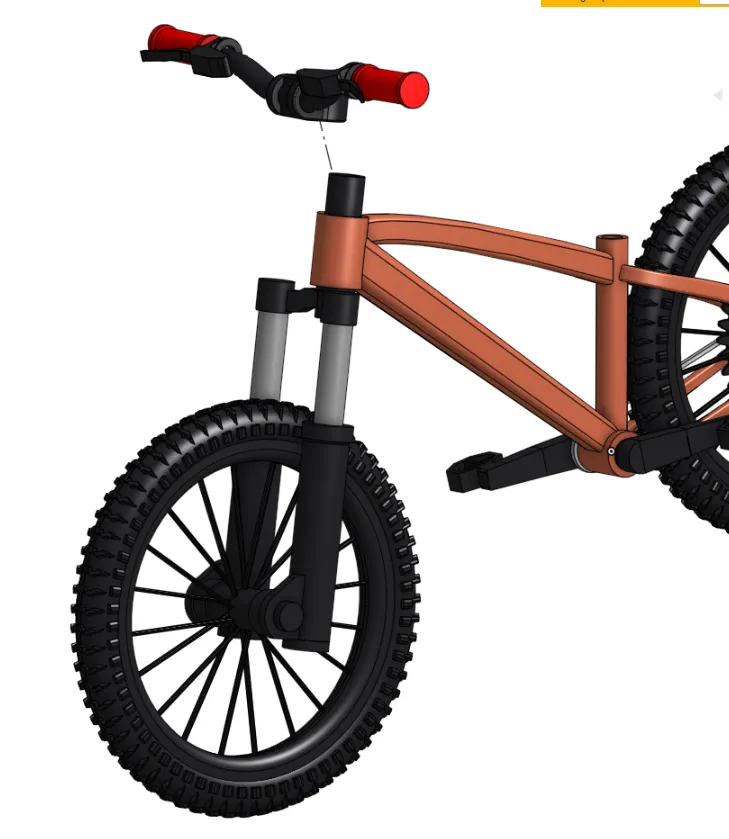
6. Finally - Slide in the seat into the seat tube to desired height.
Enjoy :)
License

You shall not share, sub-license, sell, rent, host, transfer, or distribute in any way the digital or 3D printed versions of this object, nor any other derivative work of this object in its digital or physical format (including - but not limited to - remixes of this object, and hosting on other digital platforms). The objects may not be used without permission in any way whatsoever in which you charge money, or collect fees.


Comment & Rating (74)