


Print Profile(2)


Bill of Materials

Description
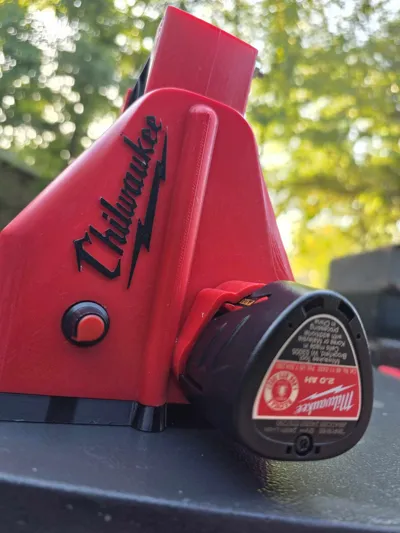
I started designing this as something to add to my tool stack because I wanted something with a smaller profile than what other brands offer. I designed this with a static pressure brushless dual ball bearing fan for extended use and I haven't had issues out of the one I carry daily which was my first prototype I printed. All the settings should be good to go for most people. I printed all of mine in Bambu petg-hf red and Bambu tpu black.
When finished printing I break away supports and do a little sanding before painting the logo face black and a few coats of clear with light wet sanding in between. You can cut the yellow and blue wires from fan along with connector and slide them through the side bracket with the wire channel. Then slide the wires into the top inner side of the base wall and they should feed fairly easily down and out the bottom. Attach pwm board with supplied nut. Cut away plastic collar from spade terminal if there is one and crimp tightly onto your wire pigtails. Then use the two wire clamps to secure your spades into the battery slot. Some adjustment may be required to get these terminals sitting right for battery. Wire everything up according to PWM board, being sure to note battery terminal positions. Glue magnets into bottom plate with superglue and attach with screws. I like to stick my base to something as I glue magnets in so that they hold themselves in to dry.
The parts used in the build are as follows…
FAN: For the fan, I originally used a 92 mm fan that I sourced due to it having the highest CFM rating in its class and size. I can only find those fans under a different brand now.
EDIT - NEW FAN LINK - 07/27/2025
MAKE SURE YOU ARE ORDERING THE 92 MM BY 38 MM FAN. THAT IS WHAT THIS IS ORIGINALLY BUILT AROUND AND HAS THE HIGHEST CFM RATING ANYTHING ELSE WILL BE INFERIOR.
https://www.amazon.com/dp/B0B1V5L4WB
PWM Speed Controller: This controls the speed of the fan, fully variable. If the fan you buy has 4 wires, you can cut the blue and yellow wires for speed control and just use red and black with this board.
https://www.amazon.com/dp/B07W5NZPH1/
Magnetic Base: There is a magnetic base in the file that uses these magnets. You can always modify the standard base to fit your own magnets into as well.
https://www.amazon.com/dp/B0DJQX1X73/
Bolts for Base: I used standard M6-1.0 x 16mm flat head machine screws so the fit flush into the base with a tapered self-centering fit. I always use a tap and die set to chase the threads after printing to prevent cracking the screw holes from too tight fitment.
https://www.amazon.com/M6-1-0-Socket-Screws-Stainless-Steel/dp/B07PQNZ1RT/
Feel free to let me know if you need help with printing or if you have any suggestions! Happy Printing, folks!
License
You shall not share, sub-license, sell, rent, host, transfer, or distribute in any way the digital or 3D printed versions of this object, nor any other derivative work of this object in its digital or physical format (including - but not limited to - remixes of this object, and hosting on other digital platforms). The objects may not be used without permission in any way whatsoever in which you charge money, or collect fees.
Comment & Rating (26)