
15 Bits of Arcade Glory
Print Profile(1)

Description

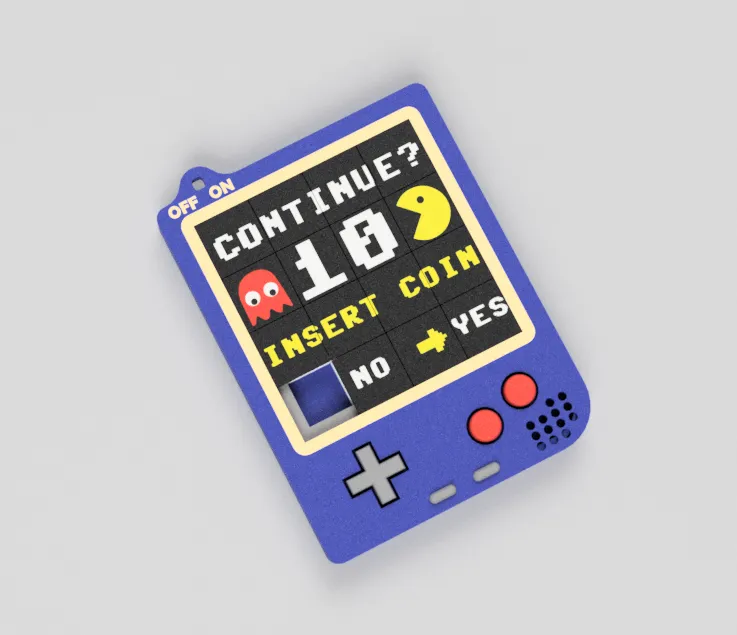
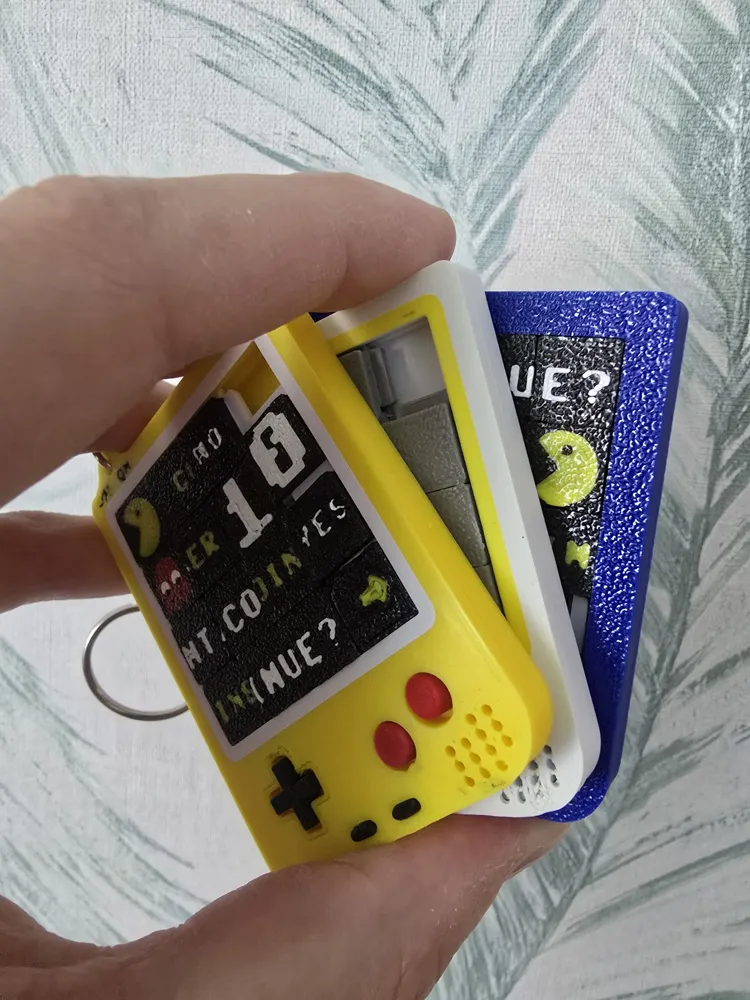
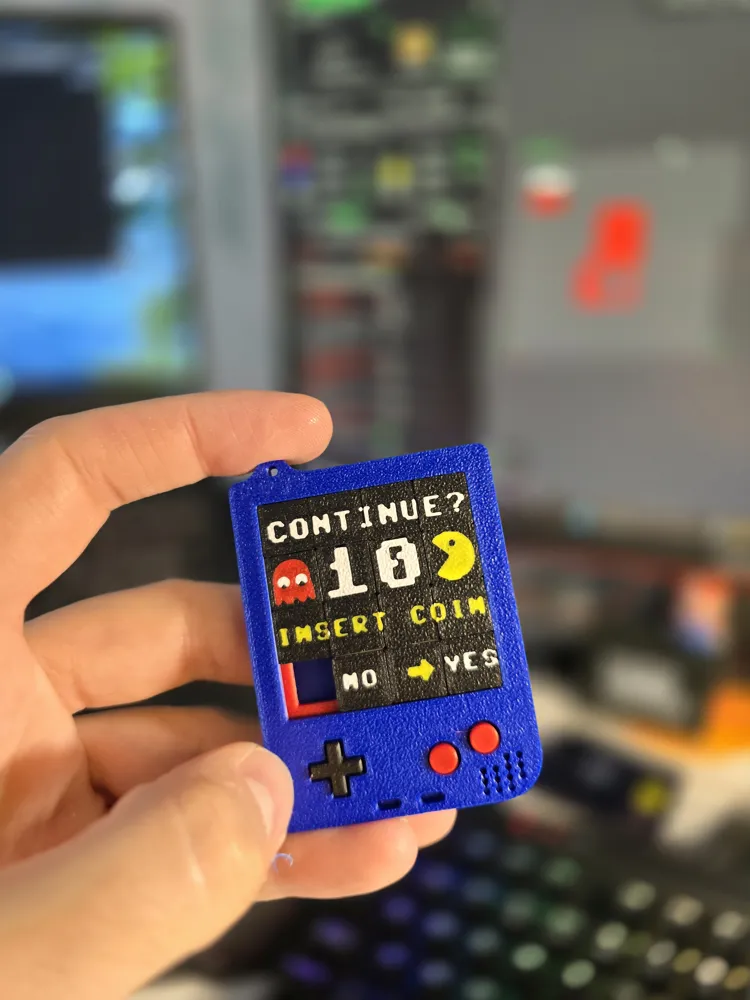
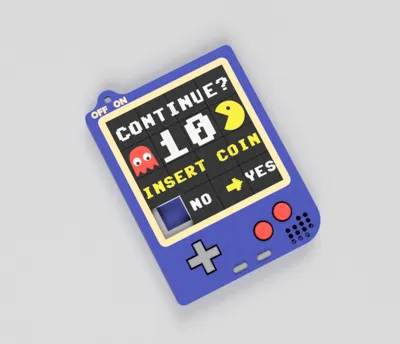
🕹️ 15 Bits of Arcade Glory
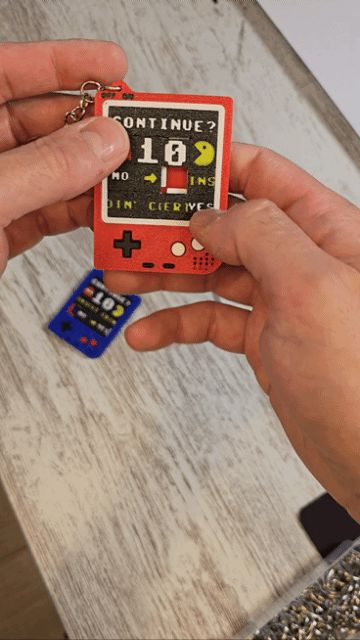
As if it were a final boss… in 15 bits. Slide or die. 💀🧩
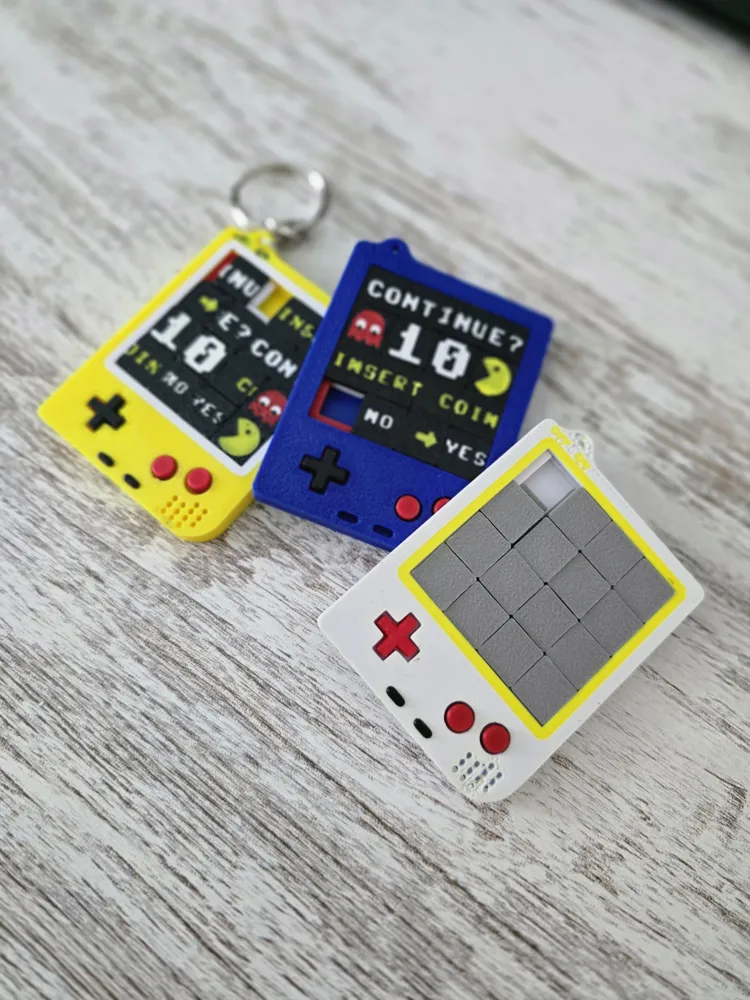
Attention, pixel nostalgics and PLA warriors! This little gem is not a simple puzzle... it's my first design for a MakerWorld contest and I've come to play in hard mode 😏.
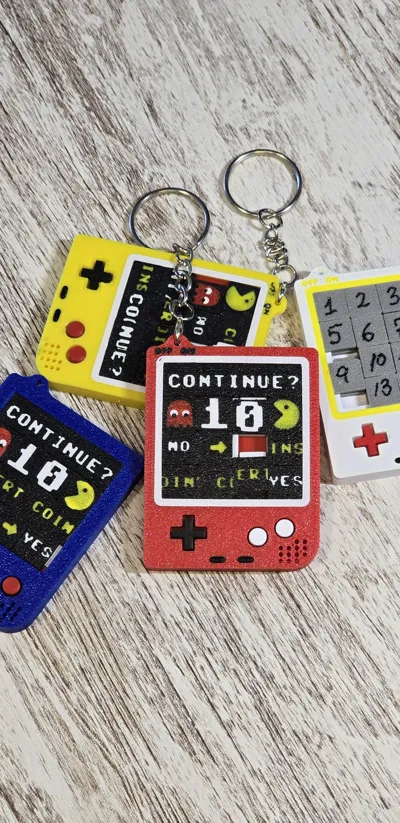
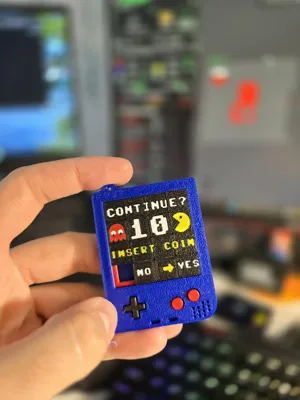
A brazen homage to the mythical 15-puzzle, camouflaged inside a Game Boy Pocket, with more 90s style than an arcade afternoon with pockets full of five-duro coins.
And the best part: not only is it cool, it also prints beautifully!🎨🖨️
Boost Me (for free)
⚡ Give me a Boost, creature of the joystick!
If this design has made you smile, remember your childhood, or just blown your mind a little... hit that Boost 🧨. It costs nothing and it gives me wings (and points, I'm not made of rubber! 😜).
Support me to keep uploading stuff like this, because this is just the beginning…
🔥 Why you have to print it NOW?
- Super easy to print, especially if you have a Bambu Lab. But don't worry, it's designed for any multicolor printer.
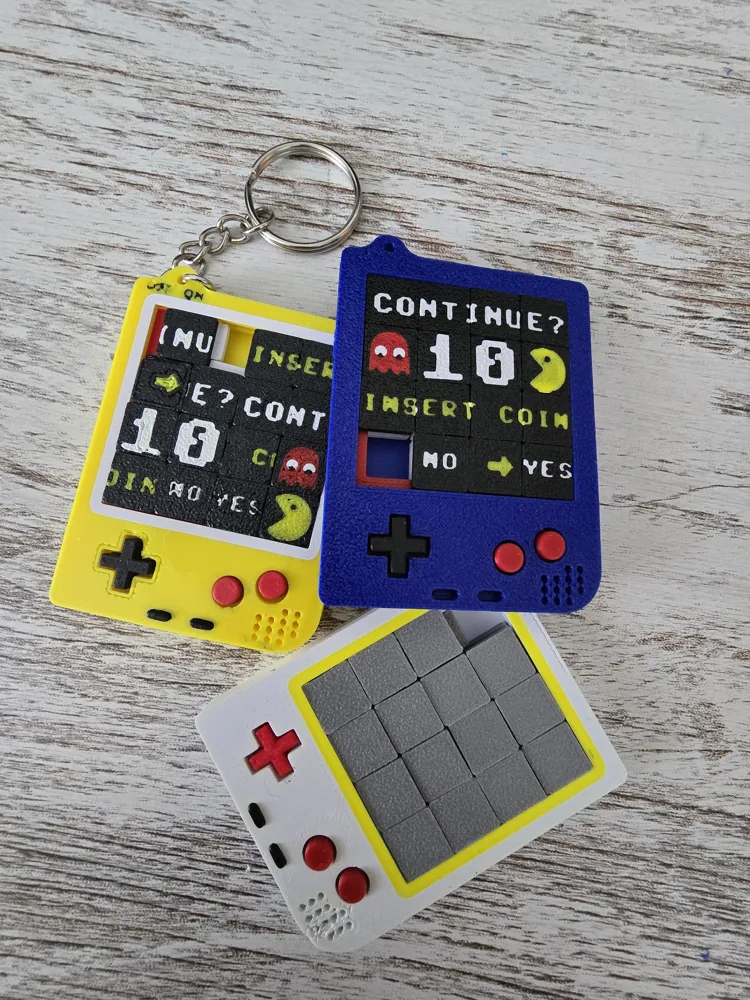
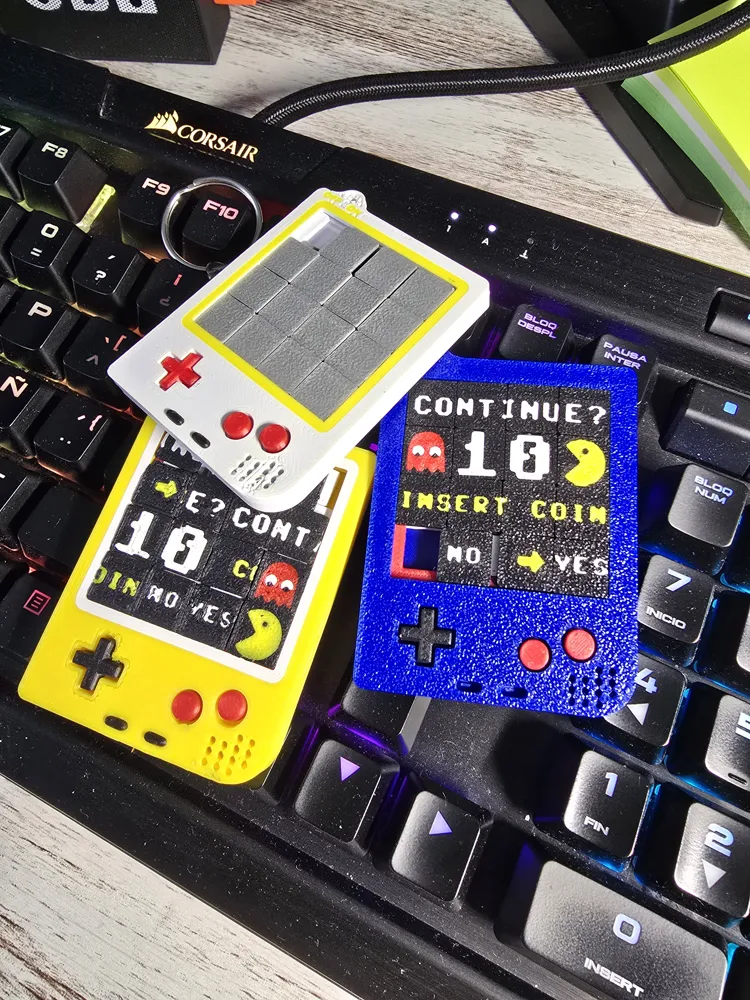
- Don't have multicolor? No problem! With Bambu Studio, you can put the numbers 1 to 15 on the tiles using the text tool, in relief, and it looks great. 😎
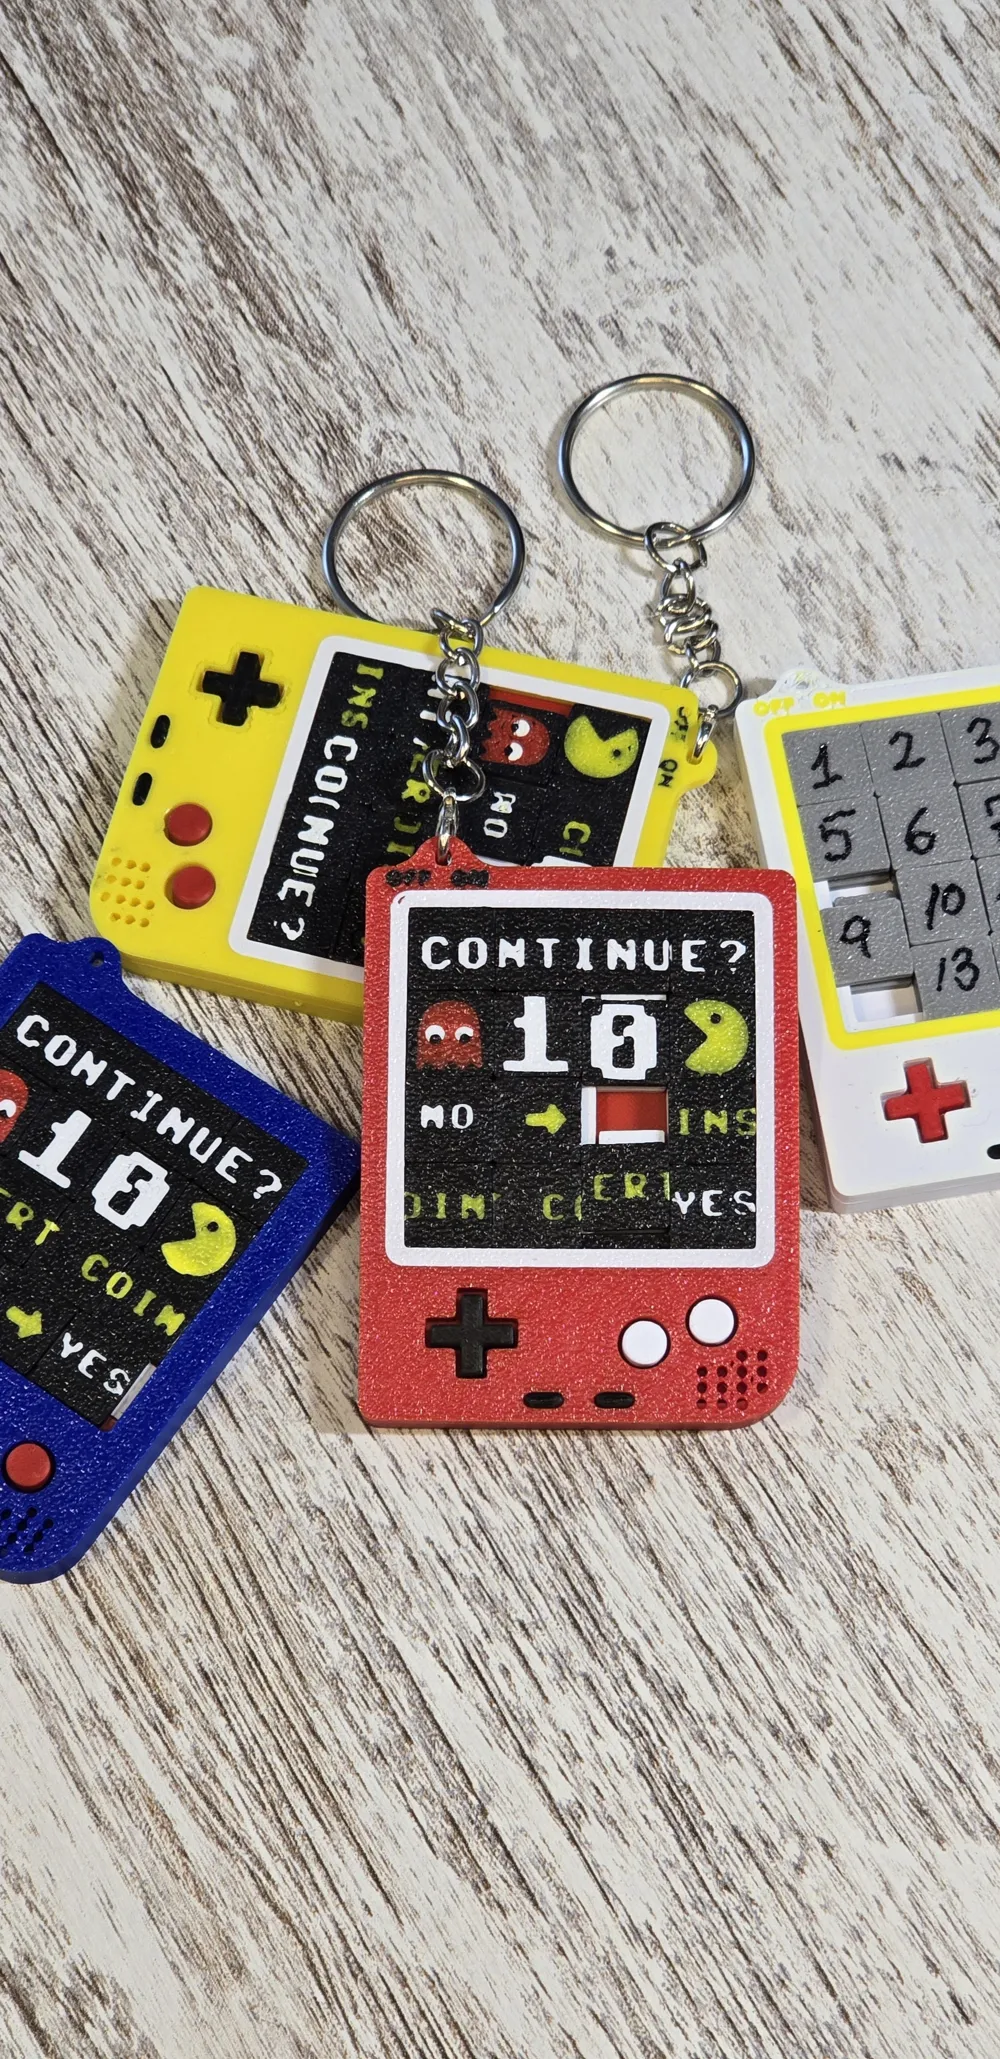
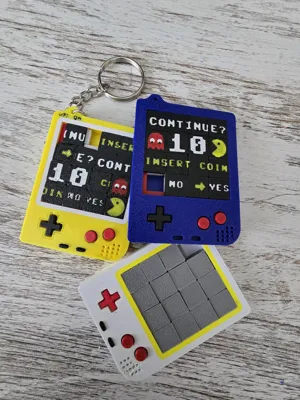
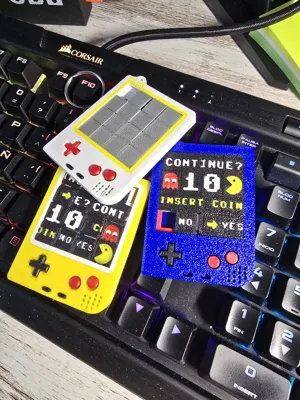
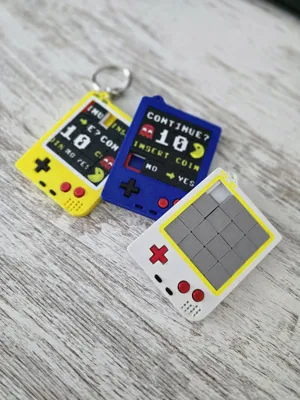
- Multicolor recommended: the tiles look like the screens of a freshly blown cartridge. And the best part: I'm going to upload more collectible “screens”, so this is not a design... it's a saga. 🎮💚
- Pokémon level collectible: make your own collection, change colors, combine them, print it a thousand times… and show it off as it deserves.
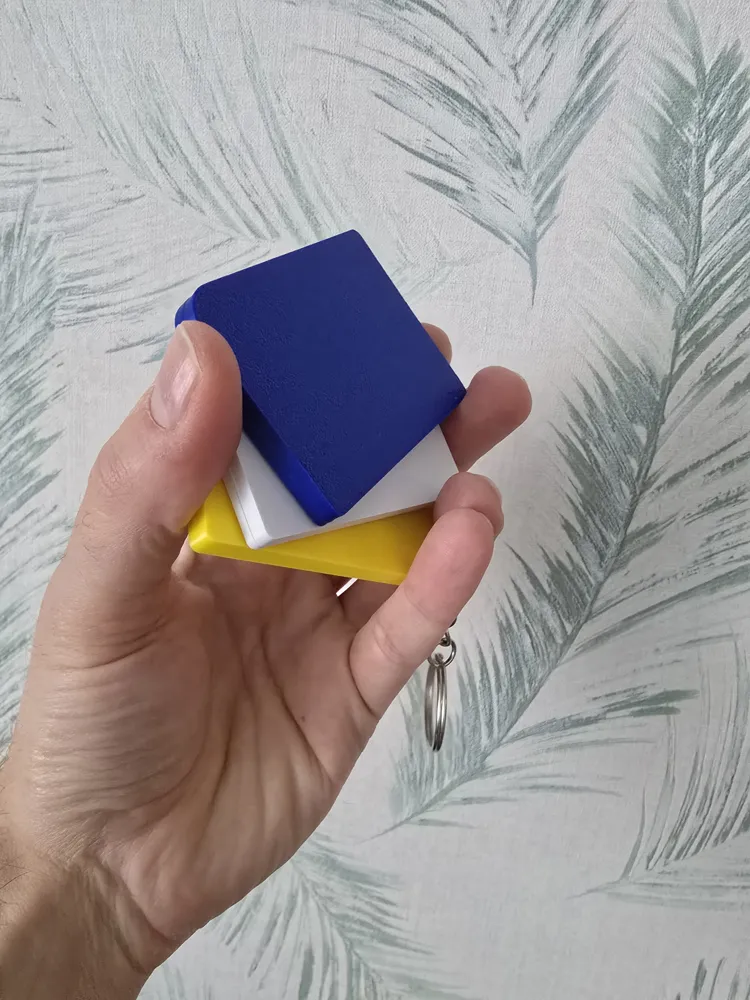
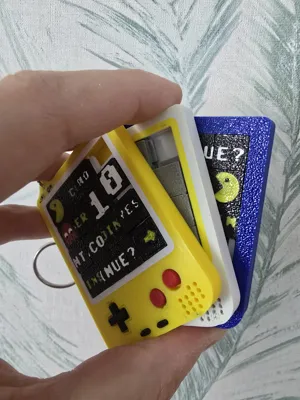
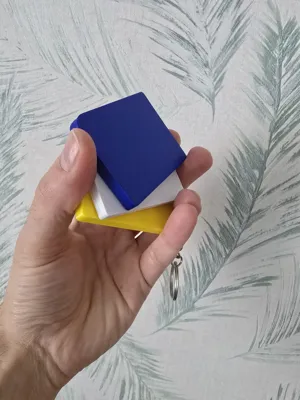
- Perfect size: fits in your pocket, doesn't bother like a keychain and when you take it out in public… get ready to see heads turn. 😏
- Everything fits perfectly: after hours of testing, iterations, and sleepless nights, the tiles slide smoothly, and assembly is a delight.
- 0.4 nozzle friendly: designed to get the most out of the most standard nozzle. Do you have a 0.2? Then you're going to be amazed by how fine it is. ✨
- Fast and economical: it uses very little material, so you can make a version for each color you have.
- No glue... or almost: thanks to finely tuned tolerances (based on sweat and endless tests), everything fits without glue. Want to be sure? A tiny drop, and it's ready without leaving smudges.
🎨 Make it yours!
Do you like the design? Print it, color it, give it your style and above all:
upload photos of your versions! I want to see those crazy combinations, those brilliant ideas, and that personal touch that makes it unique.
Do you have ideas? Do you want a different screen? Can you think of an improvement?
Leave it in the comments and let's build this collection together as if this were a retro cooperative cartridge. 🕹️
This is not just printing.
This is collecting nostalgia.
This is 15 Bits of Arcade Glory.
And you are invited to the final level. 💾💥
🎮 Assembly guide: add flow to your arcade puzzle
Before messing it up, I'm providing a PDF photomontage with all the step-by-step images. Couldn't be clearer.
🧩 All pieces are necessary, and fitting them together is like a mini-game: easy, fun, and addictive.
1. Forming the movable pieces
Here's the key, the puzzle's core:
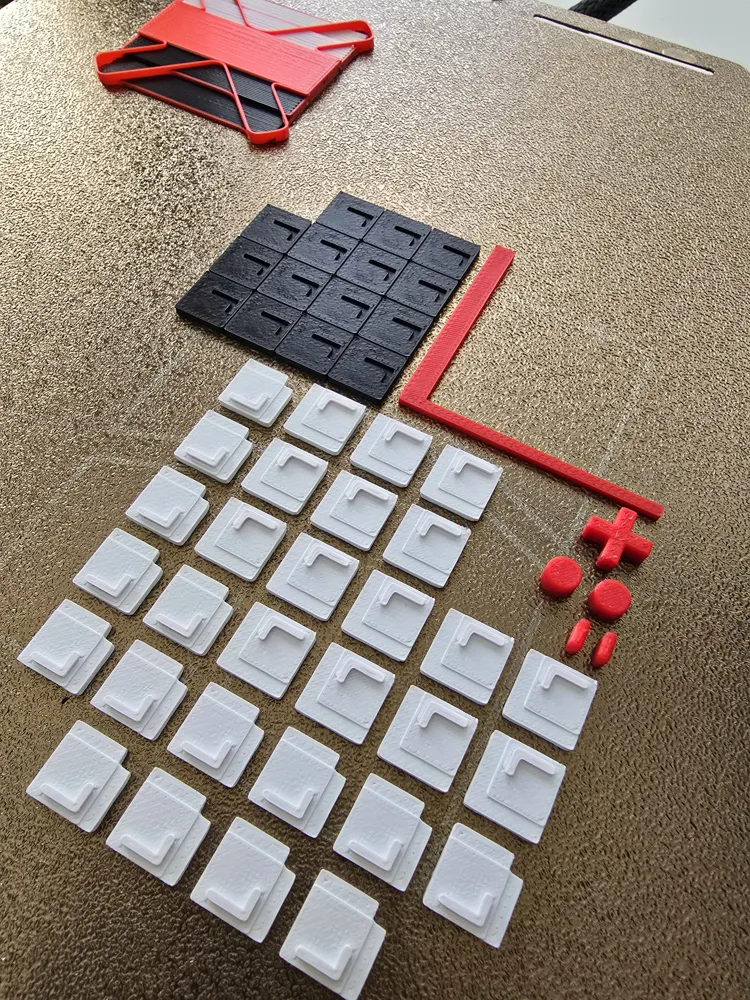
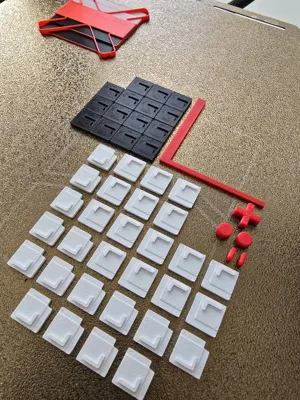
Each movable piece has three different parts that are always assembled the same way. We number them to avoid confusion:
- Part 1: The square base. One side is smooth and the other has a positive relief L. This will be the bottom part, invisible once assembled!
- Part 2: The middle part, with two protruding tabs.
- Bottom side: has a negative relief L that fits with Part 1.
- Top side: has a positive relief L that fits with Part 3.
- Part 3: The top part, also square, with the visible image on the smooth top side. The bottom side has a negative relief L that fits with Part 2.
2. Assembling the set
- Place the inner side profile (thin L-shaped piece) inside the bottom frame, forming the left guide for the movable pieces.
- Fit all the movable pieces inside the “screen”, ensuring that the tabs face up and to the right, all the same.
- Place the top frame to close the screen.
- Put on the buttons.
- Add the ring to turn it into your favorite retro keychain.
3. Glue? Little, but good
If you want to go pro, apply a tiny drop of cyanoacrylate:
- On the individual parts of the movable pieces.
- On the top and bottom frames.
- On the buttons.
Careful, don't squeeze the bottle: just a gentle touch on the surfaces you want to glue, as the pieces fit perfectly. You don't need to be a surgeon, an almost invisible layer is more than enough.
The L-shaped inner frame doesn't need glue, as the pieces stay firm there without drama.
🎉 Now, enjoy as if you just beat the final boss!
Documentation (1)
License

You shall not share, sub-license, sell, rent, host, transfer, or distribute in any way the digital or 3D printed versions of this object, nor any other derivative work of this object in its digital or physical format (including - but not limited to - remixes of this object, and hosting on other digital platforms). The objects may not be used without permission in any way whatsoever in which you charge money, or collect fees.


Comment & Rating (12)