CyberCruiser | CyberBrick Compatible Model


Print Profile(1)


Bill of Materials


Description
Project Aura — In Development

Boost Me (for free)
Enjoying this model? Click Boost Me to support my work and help more makers discover it! Your boost helps me create more free designs for the community 🚀
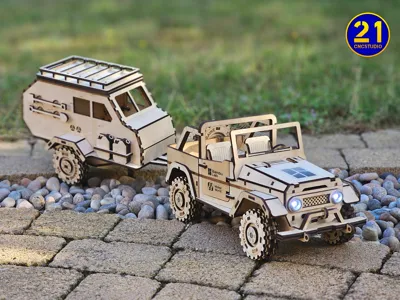
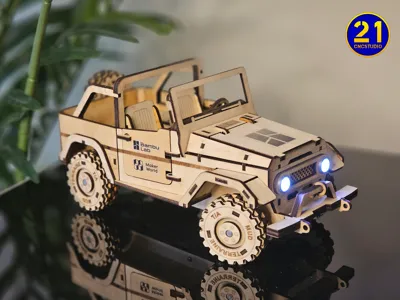
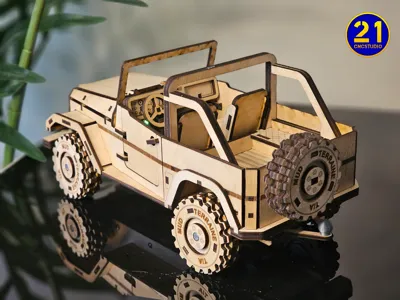
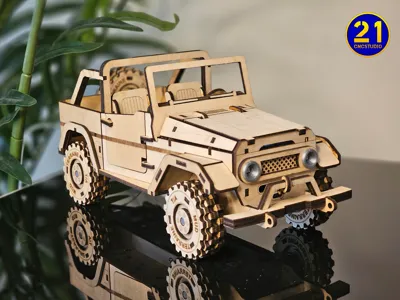
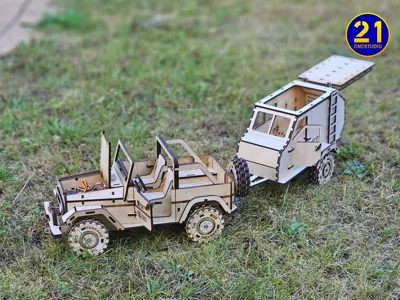
Meet the CyberCruiser — a hybrid off-road SUV designed for laser cutting and 3D printing.
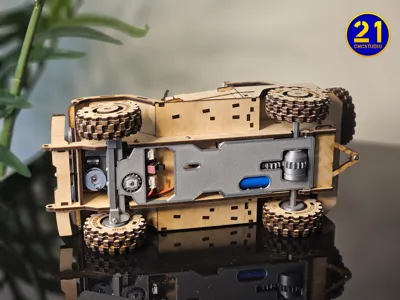
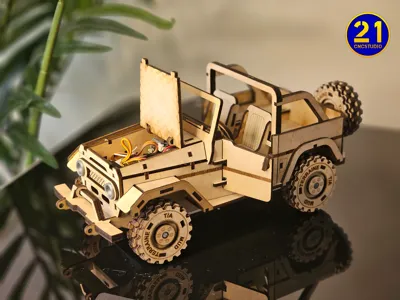
Built for adventure, powered by the CyberBrick RC kit, and packed with details like opening doors, a liftable hood, a working tow hitch, and even a remote-controlled functional winch.
This beast combines precision laser-cut wooden parts with a handful of 3D printed components to bring it roaring to life. While the vehicle is currently a bit slow due to its weight, it's fully functional — and once CyberBrick releases more powerful motors, I plan to update the design for improved performance. Whether you're cruising your tabletop or showing off your maker skills, CyberCruiser is sure to impress.
🚙 Want to go even further?
Check out the matching CyberTrailer for your ultimate summer expedition setup:
👉 CyberTrailer Model on MakerWorld
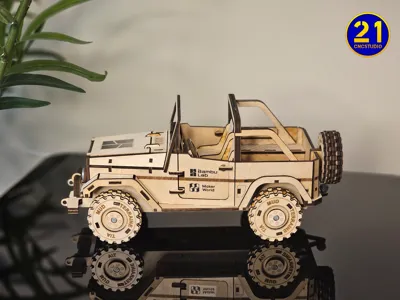
🔧 Model dimensions:
Length: 278 mm
Width: 118 mm
Height: 125 mm
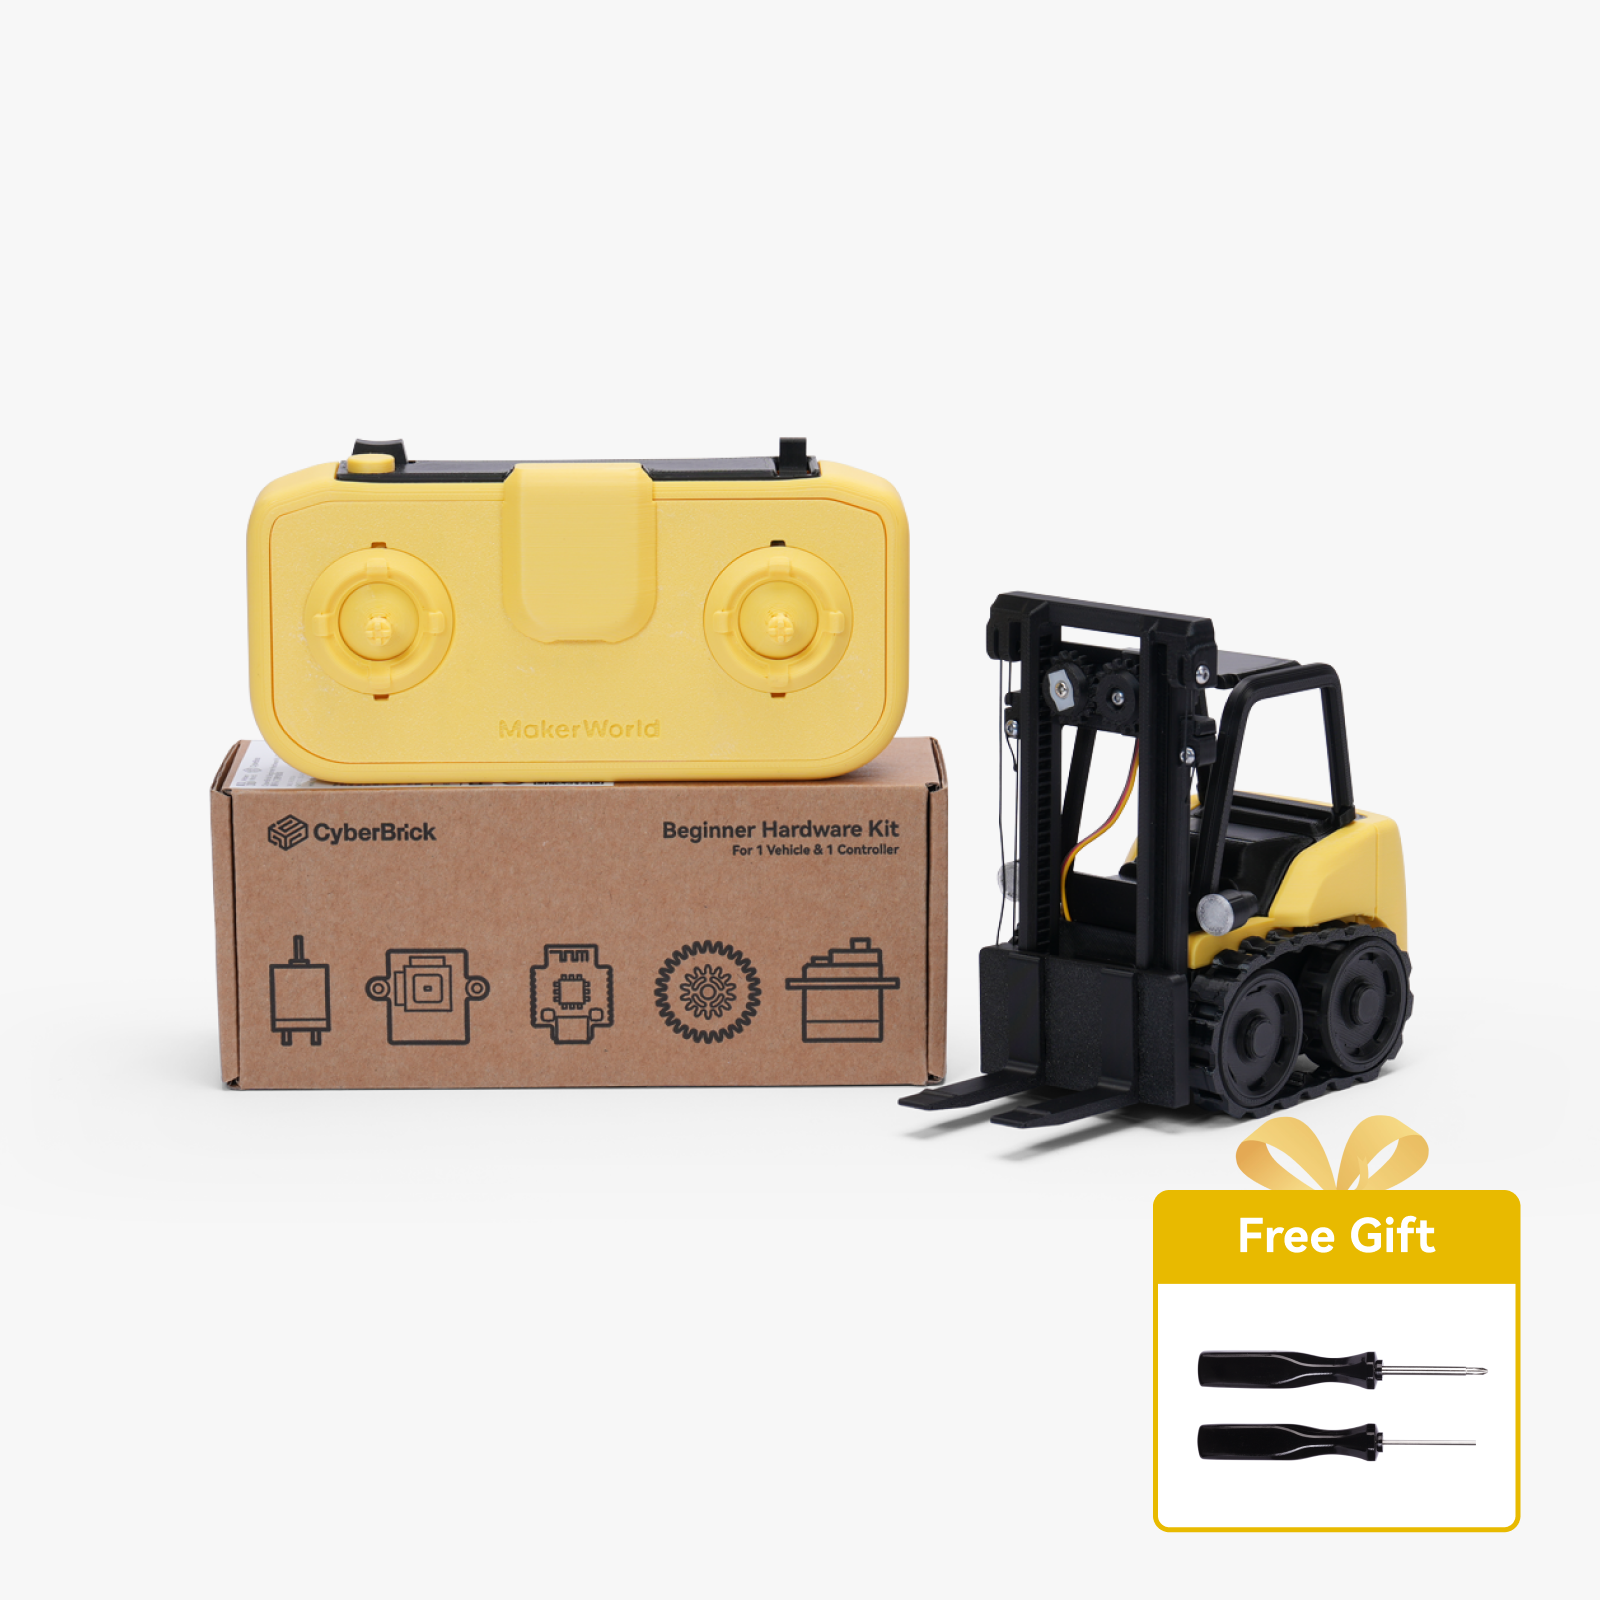
🔋 Electronics:
Fully compatible with the CyberBrick motor kit for remote control fun.
👉 Get the official CyberBrick controller here
📘 Documentation:
Includes a 73-page step-by-step instruction manual to guide you through every piece — no glue required (but a little sanding might help 😉).
🔥 Perfect for makers who love combining tech, creativity, and hands-on fun!
🛒 Welcome to my Etsy Stores:
• 21CNCStudio
• 21VectorStudio
Membership
Want to sell physical prints of my designs? Subscribe to one of my commercial license tiers! You'll get permission to sell, plus a huge discount (up to 50%) on all my premium files on Etsy. It's a simple, trust-based system to help you grow your business. Click "Join" to see the license options!
Before you start assembling the CyberCruiser, please download the PDF instruction manual included in the files. It contains a detailed 73-page guide that walks you through each step of the build process.
To ensure a perfect fit, carefully adjust your laser cutter settings. You want the joints to be snug without requiring glue in most cases. For best results, use the test fit file available on my MakerWorld profile.
💡 Line colors explained:
- Black = Cutting
- Red = Line engraving
- Green = Fill engraving
⚠️ Important: Perform cutting operations last, after all engravings are completed. This helps prevent material shifts and keeps the precision high.
Documentation (1)

License
You shall not share, sub-license, sell, rent, host, transfer, or distribute in any way the digital or 3D printed versions of this object, nor any other derivative work of this object in its digital or physical format (including - but not limited to - remixes of this object, and hosting on other digital platforms). The objects may not be used without permission in any way whatsoever in which you charge money, or collect fees.
Comment & Rating (46)