M.I.R.R.O.R.


Print Profile(1)

Bill of Materials
- Acrylic mirror x 1: 300x210x3mm
- M5 Washers x 10: 10x5.3x1mm
- Neodymium magnets x 10: 10x3mm
- Cyanoacrylate glue x 1: 20 drops
Description
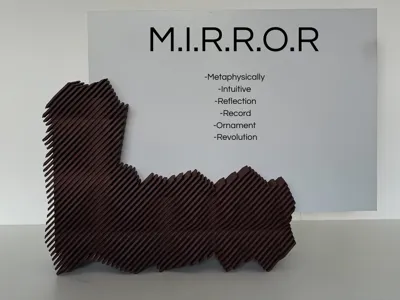
M.I.R.R.O.R
-Metaphysically -Intuitive -Reflection -Record -Ornament -Revolution
Did I need this frame? No
Did I need another mirror in the house? No
Did I need a challenge? Yes
The basic idea was very simple: to make a mirror stand.
I didn't want just any stand, I wanted something that would satisfy me.
Thus, the L-shaped base with a recess for the mirror was born.
Was I finished? Not yet.
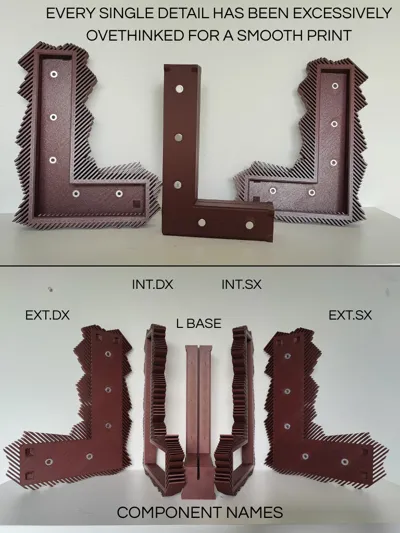
It couldn't be that simple, I had to embellish it somehow, and after about ten random extrusions and cuts, the frame's texture was born. Obviously, to adapt it to the printing bed, I had to cut it into several pieces, and voilà!

Was I finished? Not yet.
All this to realize I was only halfway through the work.
For every solution, a new problem arose. Brainstorming.
After many cold showers, I had solutions.
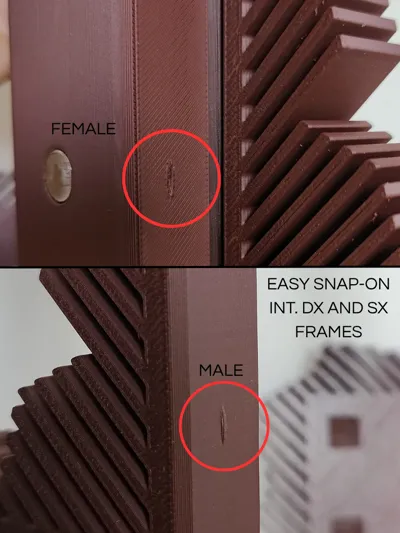
Snap-on attachments and magnets… but how to use them?
After many more cold showers, I managed to adapt everything to my project; I was ecstatic!
Snap-on

Magnets

Could I stop? Yes
Did I? No
Having created detachable pieces, why not make them useful in other ways instead of just convenient for printing? I kept the bare component files to create other aesthetic designs, making the frame modular and with designs to suit all tastes!

I will be a little slow in releasing new designs due to work; follow me to stay updated, and please let me know what you think of this project. Thank you <3
Boost Me (for free)
IMPORTANT NOTE
I recommend using PLA. The washer and magnet seats were designed considering PLA retraction; using other materials, I do not guarantee the project's success. If you are willing to use other materials, let me know if the measurements are equally suitable, thank you very much.
Only for printers with a minimum print bed of 256x256mm.
The print profile is ready to use; the only necessary supports are present in the seat for the washers and in the feather key seat, exclusively for the EXT.DX and EXT.SX components. All other components do not require supports.
Please do not change the position of the INT. SX and INT. DX components on the print beds, as they are oriented to correctly print the mirror seat.
Regarding the washers and magnets, I recommend applying 1 drop of glue to their seats to keep them permanently in place.
You can increase the mirror size by performing the tests you wish or even add two frames for one large mirror, but the mirror thickness must remain 3mm.
Strictly adhere to ALL the measurements of the additional components. The frame seats have been designed to correctly accommodate all additional components such as the mirror, washers, and magnets, also taking into account filament retraction (PLA).
COMPONENTS
Acrylic mirror (300x210x3mm) Qty: 1
M5 Washers (10x5.3x1mm) Qty: 10
Neodymium magnets (10x3mm) Qty: 10
A few drops of cyanoacrylate glue
License
You shall not share, sub-license, sell, rent, host, transfer, or distribute in any way the digital or 3D printed versions of this object, nor any other derivative work of this object in its digital or physical format (including - but not limited to - remixes of this object, and hosting on other digital platforms). The objects may not be used without permission in any way whatsoever in which you charge money, or collect fees.
Comment & Rating (2)