Height adjustable leg foot: Dual screw Heavy duty


Print Profile(2)

Description
There are a few adjustable feet models around, but I couldn't find any that allowed easy adjustment while in position, and when under load.
The dual-screw approach avoids the need for the ends to rotate while it is being adjusted, which can be helpful in many scenarios.
Size

When printed at 100% scale:
9.5cm - 13.5cm (3 ¾ inches - 5 ⅓ inches)
If you need it larger you can scale up (but if you scale it down tolerances may make it too tight a fit)
Design
This consists of three parts:
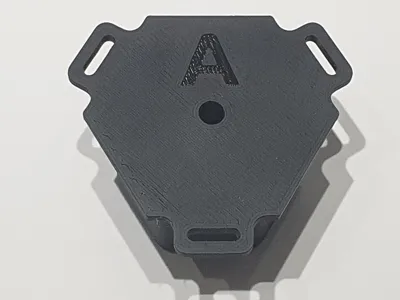
- Top - marked ‘A’
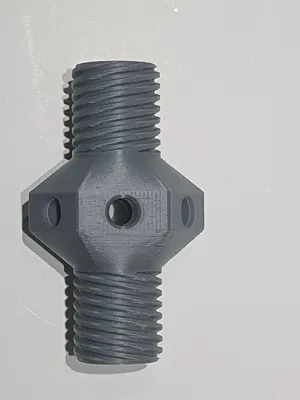
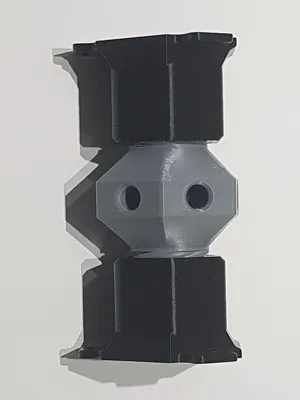
- Dual-Screw adjuster
- Bottom - marked ‘B’

 |  |
Printing notes
This prints easily without the need for supports, brim or an AMS.
It prints well in PLA or PETG. If using outside or in extreme heat you may consider ASA etc.
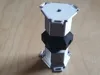
The photographs show the adjustable screw printed in grey, but you may prefer to print it all in black (the grey was just to make it easier to show what's happening)

Usage
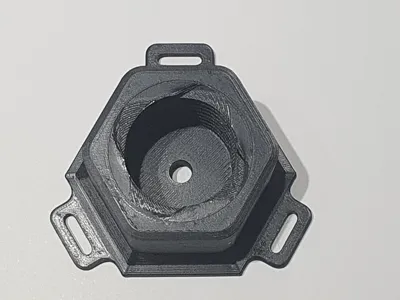
Fix the top to your item
There are fours screw points you can use, one in the centre, and three around the edge. The ones around the edge have slots to allow for fine-tuning the position. Use flat-head screws, not ones with a taper under the head, to avoid putting lateral load on the plastic and splitting it.
If you don't want to use screws, double-sided tape should work fine. The main thing is to have sufficient grip to prevent it rotating.
Note the screws won't be taking any of the vertical load, so can be quite small and inconspicuous - their main role is to hold things in place while you are positioning and adjusting the height.
Place the bottom
Likewise place the Bottom part on your ground surface. If you don't want the item to move laterally when in use (for example a kitchen cabinet) then fix this down too, otherwise you should be able to rely on friction and the load of the item above to stop it rotating. If in doubt use some tape.
Connect the screw adjuster
Now place the screw adjuster in between, taking care to orientate it - “A” towards “A” etc, and rotate slightly to get it started on the threads.
At this point - assuming you are using more than one leg! - fix the others legs before proceeding…
Adjust the height
Rotate this to lower the/shorten the leg. The adjuster is hexagonal to help you grip it, by hand or with a spanner. And there are a set of holes to allow you to insert a bar / screwdriver to get some leverage if you need.
If you found this useful please give it a Boost
This raises the profile and helps others find it too. Thank you!
Boost Me (for free)
Boost this, for free!
License
You shall not share, sub-license, sell, rent, host, transfer, or distribute in any way the digital or 3D printed versions of this object, nor any other derivative work of this object in its digital or physical format (including - but not limited to - remixes of this object, and hosting on other digital platforms). The objects may not be used without permission in any way whatsoever in which you charge money, or collect fees.
Comment & Rating (26)