P1 X1 External Spool Holder Roller (even for TPU)


Print Profile(2)


Bill of Materials

Description
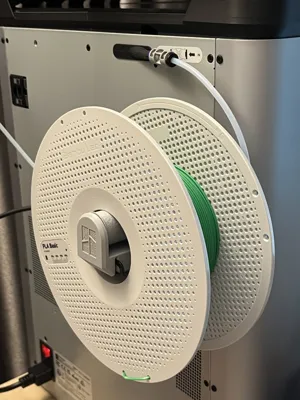
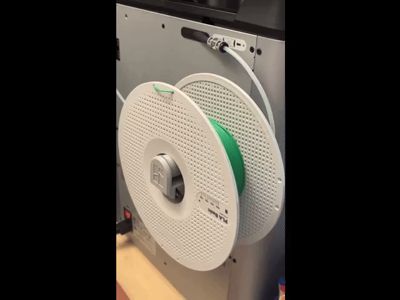
If you're trying to print filament (especially the TPU) on your Bambu Lab P1 or X1C and constantly fighting friction from the external spool support, you're not alone. Like many, I started with the original setup—the external spool holder behind the machine—only to find that the friction was far too high!!! Just like the video clip below.


It disrupted filament flow and cause serious under flow print failure like the photo above. I've tried a few roller models in MakerWorld, but none of them could solve the problem. They were either too short to properly cradle filament spools, not even the Bambu Lab spool, which risked it rubbing against the filament buffer device or tumbling off entirely, or they simply weren’t low friction enough for reliable TPU feeding for successful prints.
That’s why I designed this very smooth custom roller—built specifically to fix TPU printing problem. 😉

🛠 Key Benefits:
- Seamless Fit: Designed to sit directly on the original metal external spool holder—no disassembly or tools required.
- Use widely available Bearings: Compatible with standard 608ZZ bearings (ø22 mm outer, ø8 mm inner, 7 mm thick). Whether metal or printed, they work equally well.
- Enhanced Stability:
- Textured roller surface helps keep spool rotate with roller smoothly and consistently.
- Raised lips at each end of the roller prevent spool from drifting too close and rubs the printer’s filament buffer device, preventing friction spikes and intermittent filament feeding problems.
- Visual Authenticity: Features a debossed Bambu Lab logo for a clean, factory-like aesthetic.
If you're chasing smoother TPU prints without reinventing your whole setup, this might be exactly what your print needs. Let me know if you’d like help adapting the design!
🧩 Assembly Instructions

Getting your custom TPU roller set up is straightforward:
Insert the Bearings Place one bearing flat on a table. Align the roller vertically above it and press downward until it seats flush. Repeat on the opposite end.

Mount the Roller Slide the roller onto the pin of the first half of the roller base.

- Attach the Second Half Position the second base half opposite the first, as shown in the reference image. Gently press it into place.
Engage the Interlocks “Rotate” the two base halves about the roller axis until the interlocking tabs slide aligned securely together.

Install to the Spool Holder Align the slots in the roller base with the external spool support, then slide the entire assembly into place as illustrated.


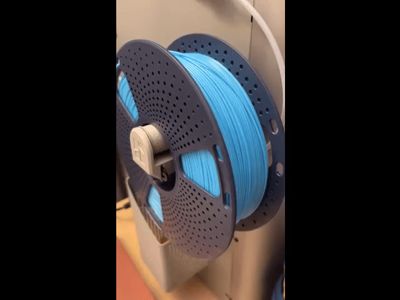
✅ Done. Ready to roll—literally. 😉 Hope this roller help you to have smooth prints when using the external spool holder.
Boost Me (for free)
Your feedback and support mean a lot to me. Thank you in advance. 😉
License
You shall not share, sub-license, sell, rent, host, transfer, or distribute in any way the digital or 3D printed versions of this object, nor any other derivative work of this object in its digital or physical format (including - but not limited to - remixes of this object, and hosting on other digital platforms). The objects may not be used without permission in any way whatsoever in which you charge money, or collect fees.
Comment & Rating (135)