
Slide-on Chip Bag Clips
Print Profile(8)


Description
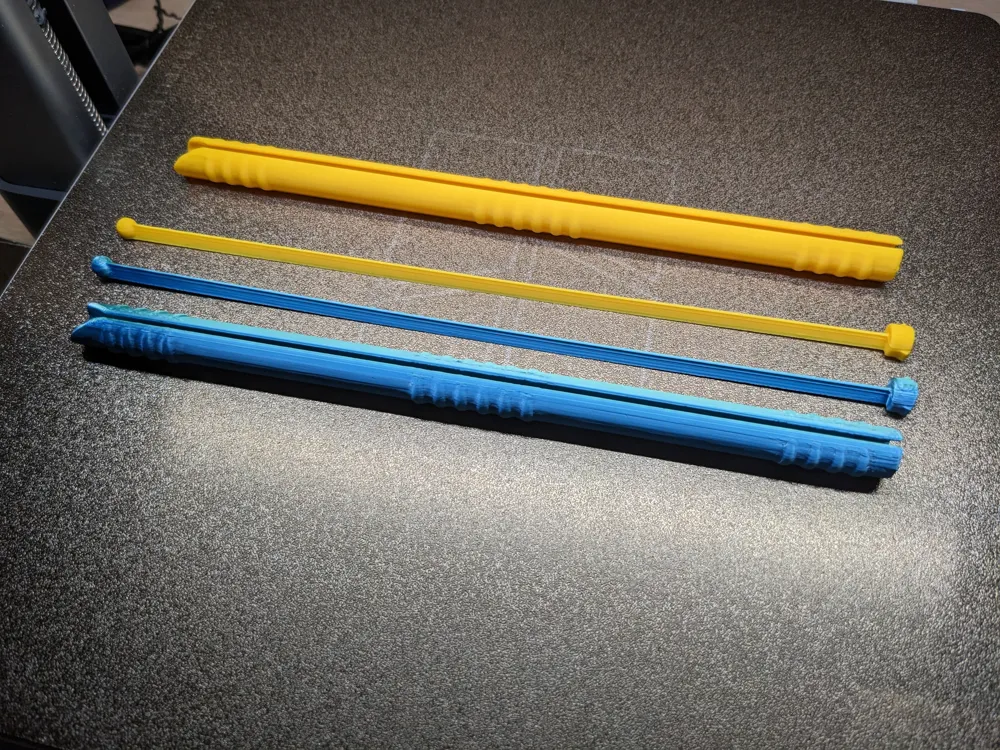
Make sure to read assembly notes below! Simple 1-step assembly, no glue or tools are required.
These are some of the best bag sealers around, and they last practically forever without losing strength or effectiveness. I modeled them from scratch in Tinkercad, inspired by a similar product I had purchased at a farmers market over a decade ago. It took several iterations to get it just right, and now I am sharing with you all here.
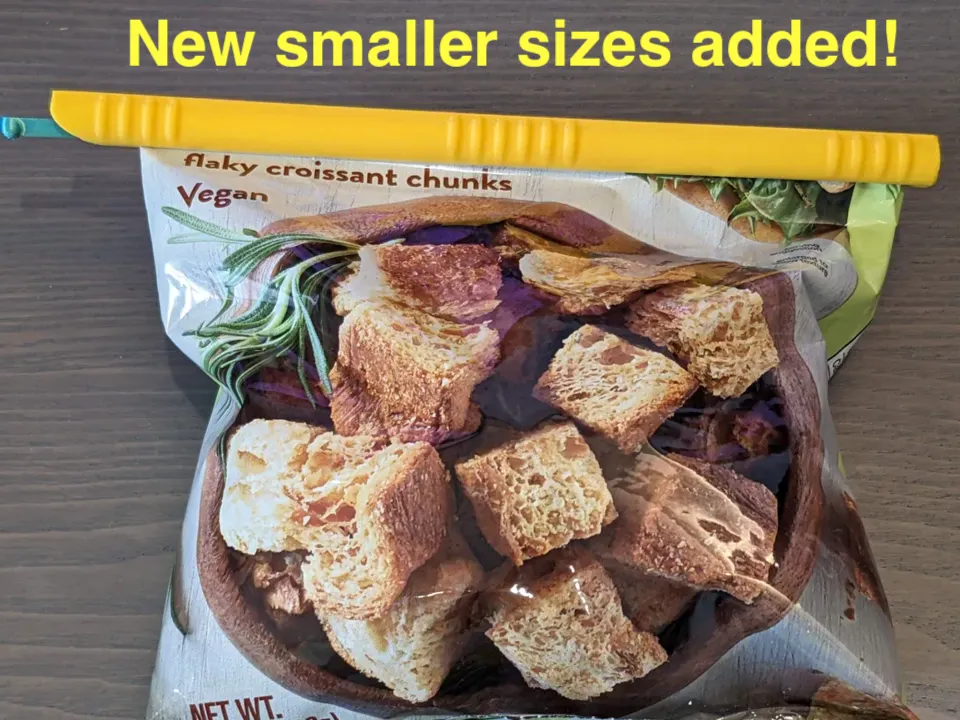
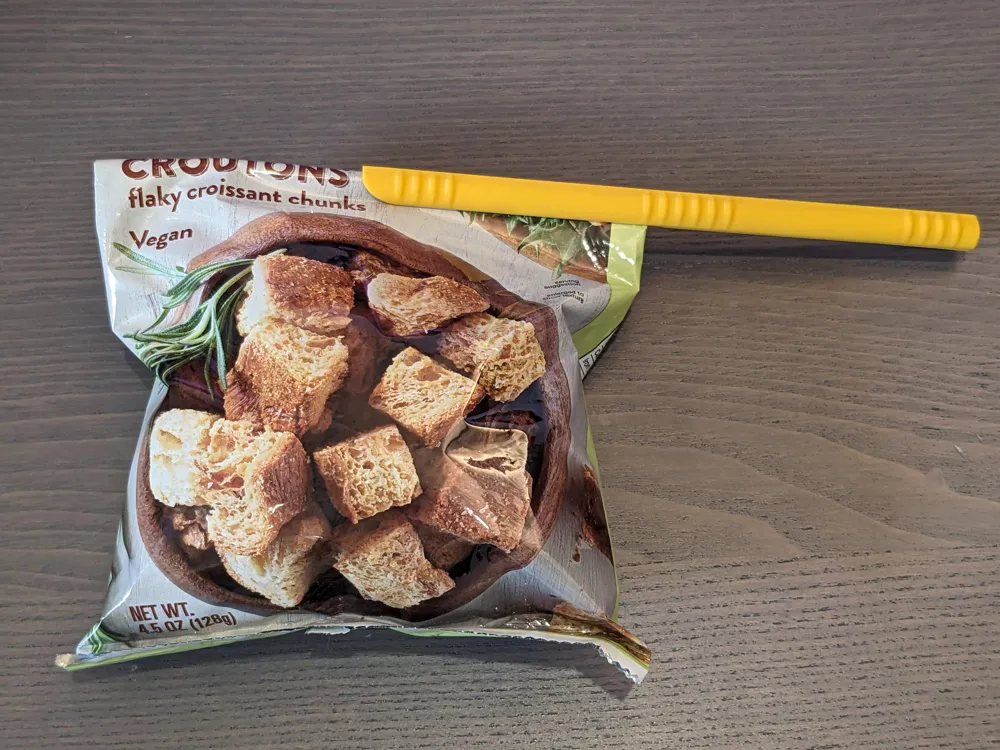
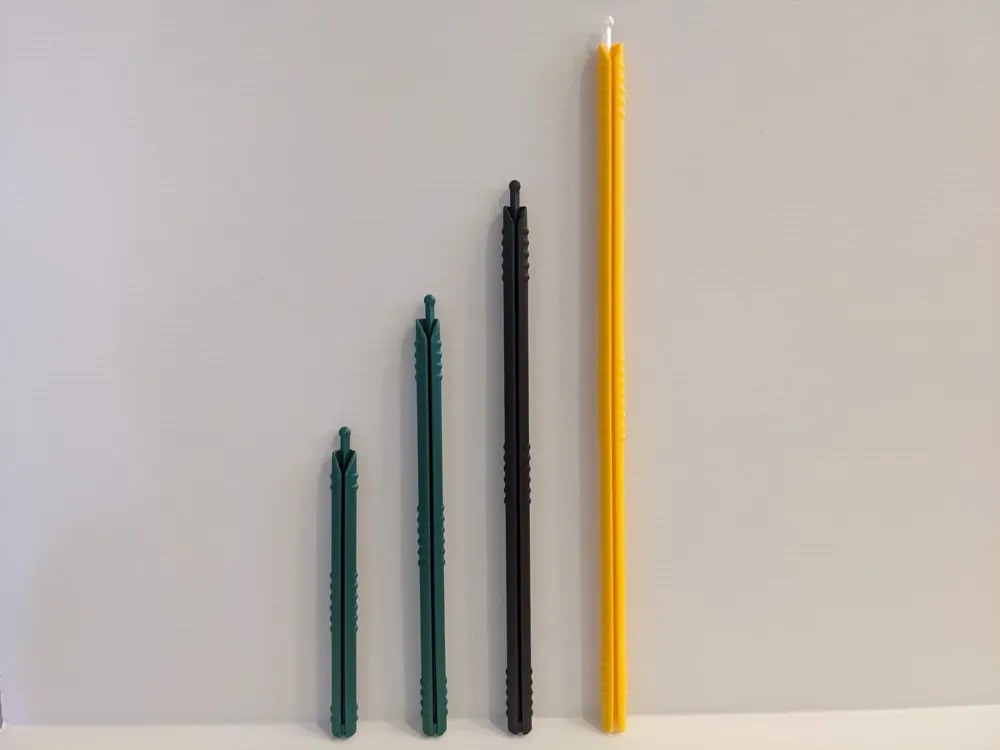
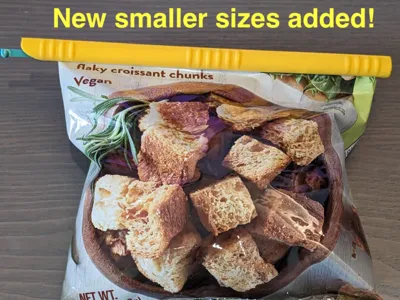
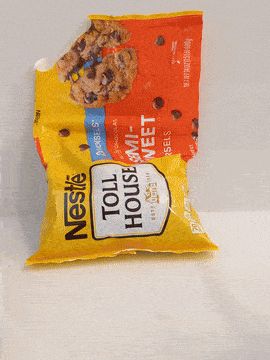
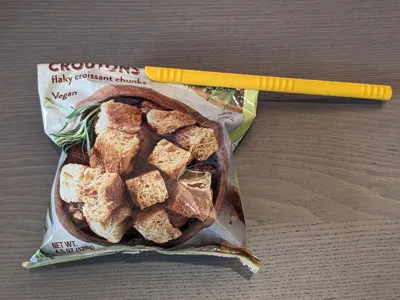
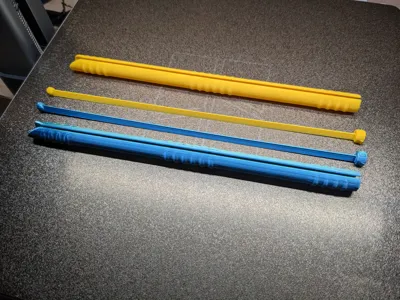
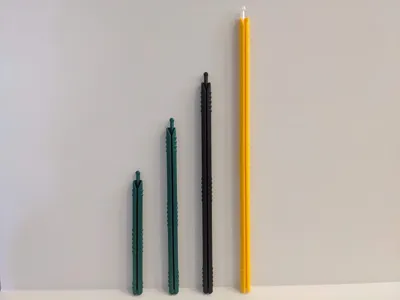
They are very easy to use, seal your bags very well without falling off, and are practically indestructible since there are no hinges or springs. They work with basically any chip bag or similarly thin bag (such as coffee bags). There are four sizes (three for a1 mini) for any size bag you have!
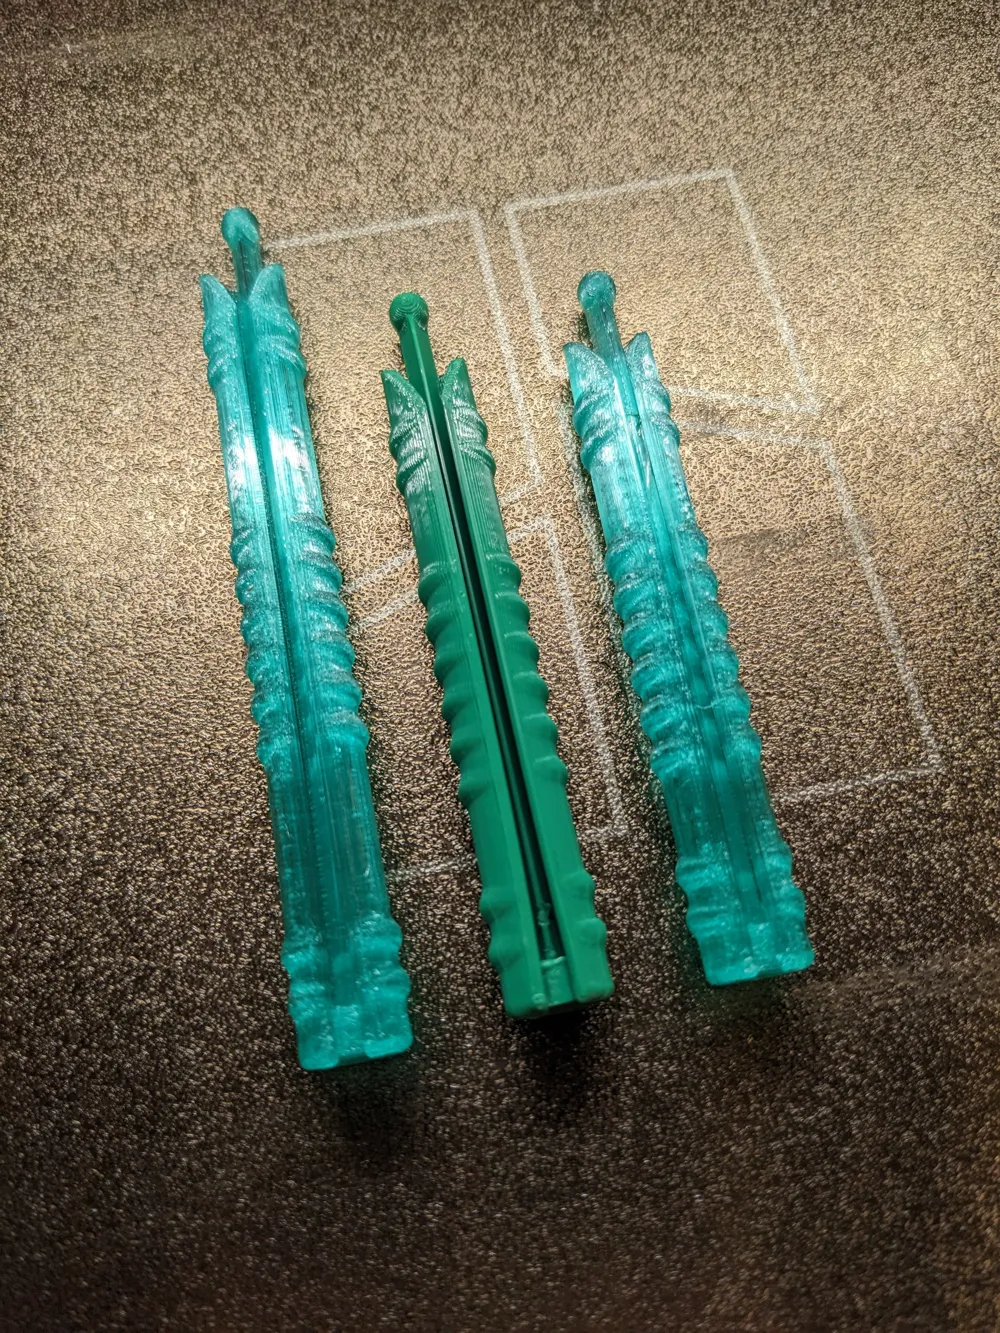
Assembly is a snap - literally! Scroll down further to see pics if you are needing a visual:
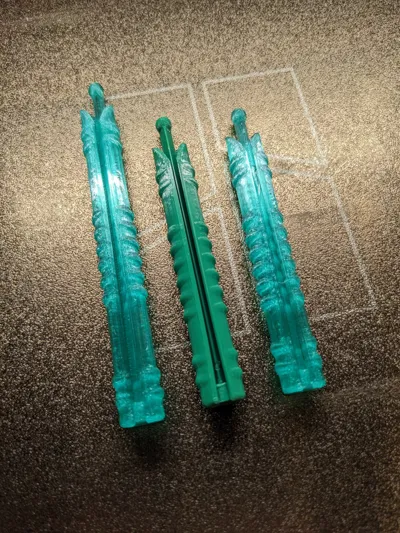
- Insert the thin rod into the back of the outer shell piece
- Slide rod all the way in and orient the bottom of the thin rod with the opening (half moon)
- Press firmly with force into a hard surface (such as a table) until it the pieces click together and the bottoms are flush together
- It is now ready to use!
How to use?
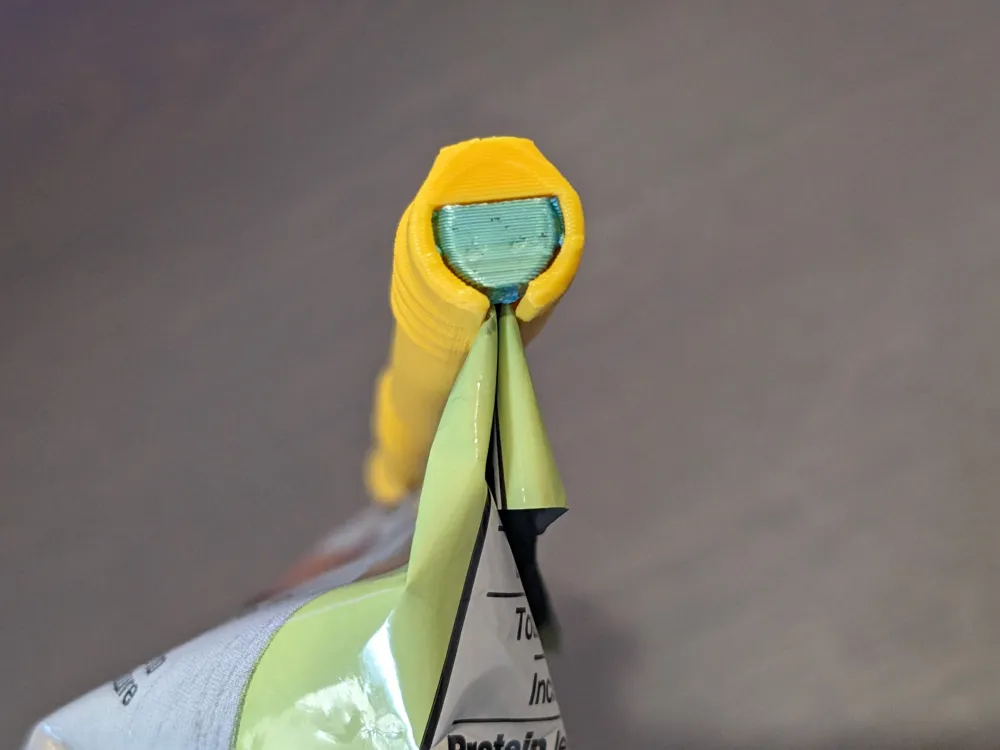
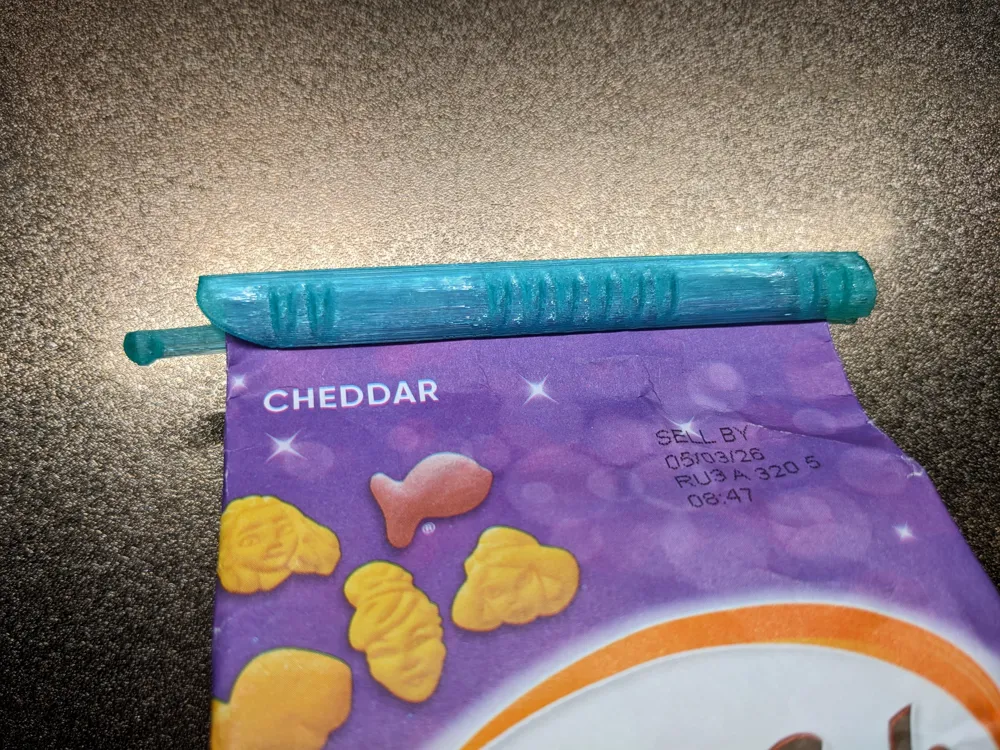
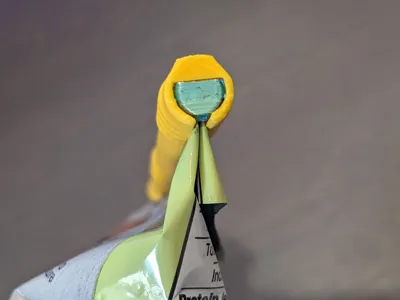
- Fold your bag over so that there is a crease
- Insert the tip of the sealer stick into the crease
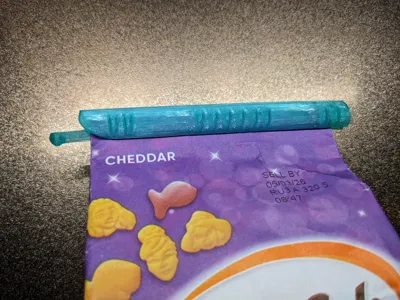
- Slide on to your bag!
Now your bag is sealed securely! No more lame clips that fall off! See the gif in this model images for a visual of how to use.
Assembly is a snap - literally! Insert the thin rod into the back of the outer shell, then push it firmly against any hard surface to secure the two pieces together. Once together, it is designed to not come apart since there is no need.
Assembly pics:
- Insert rod into shell from the bottom (flat) end
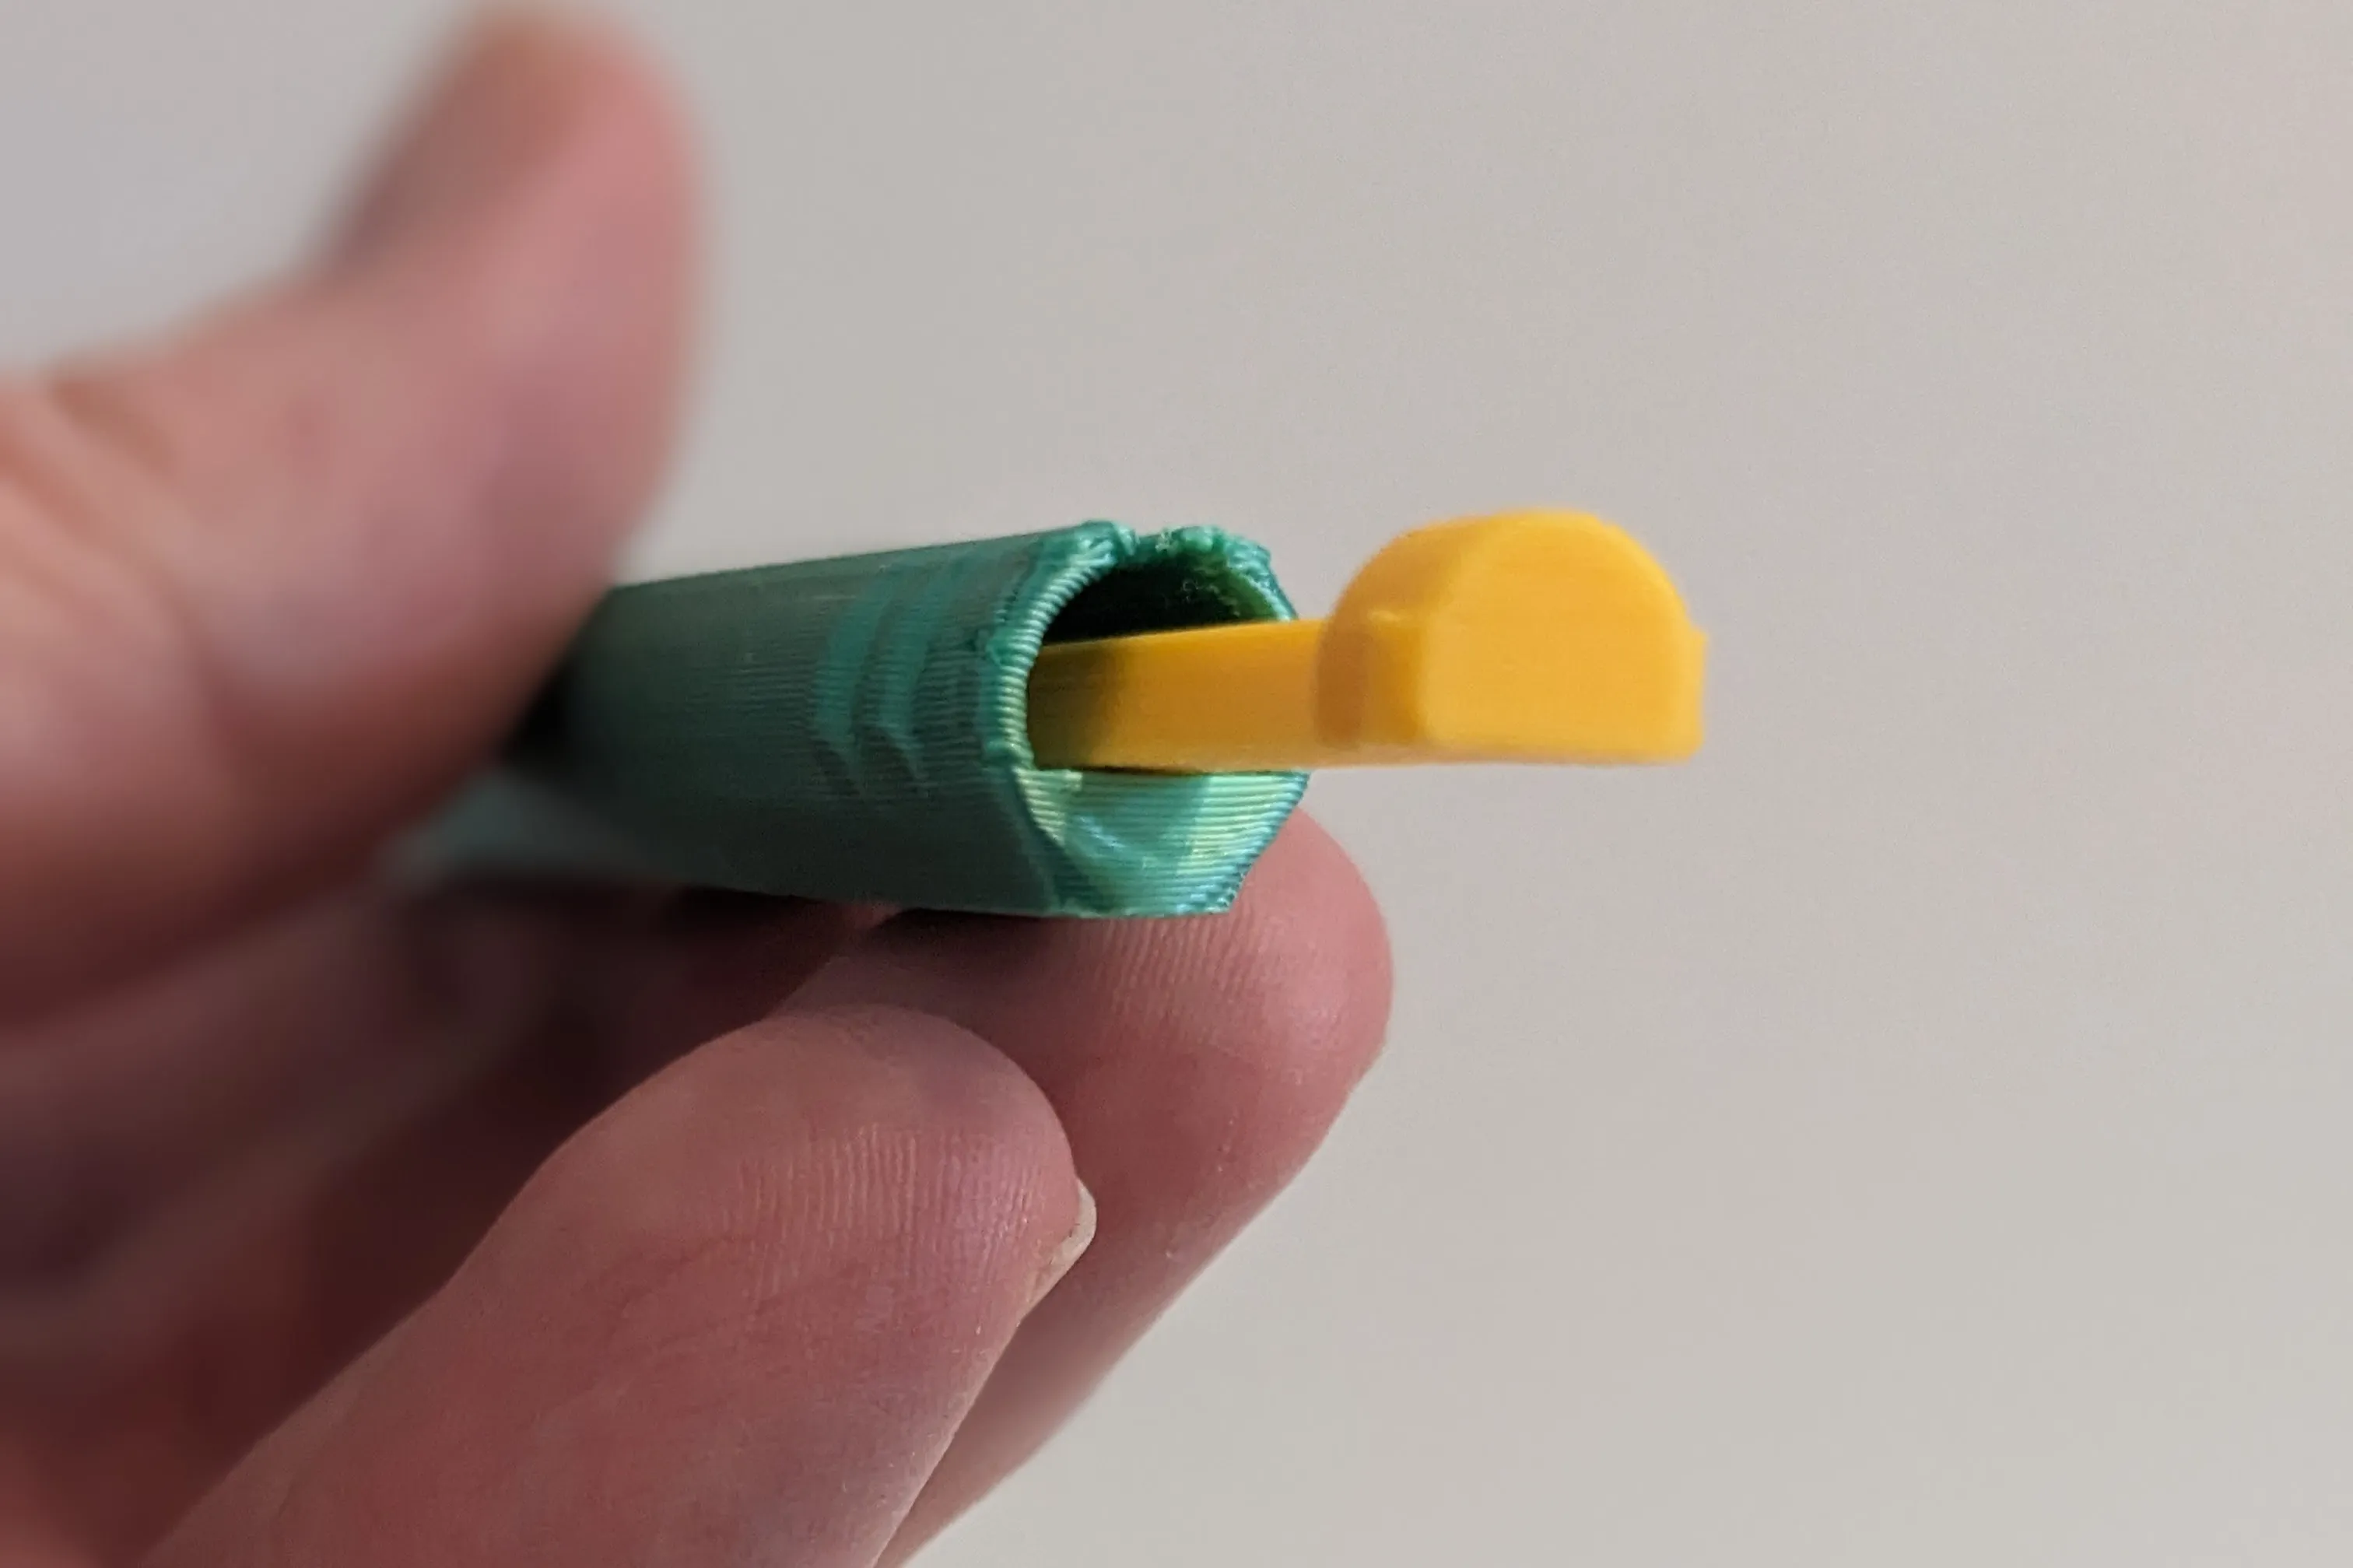
- Slide rod all the way in and orient the bottom of the insert rod with the opening
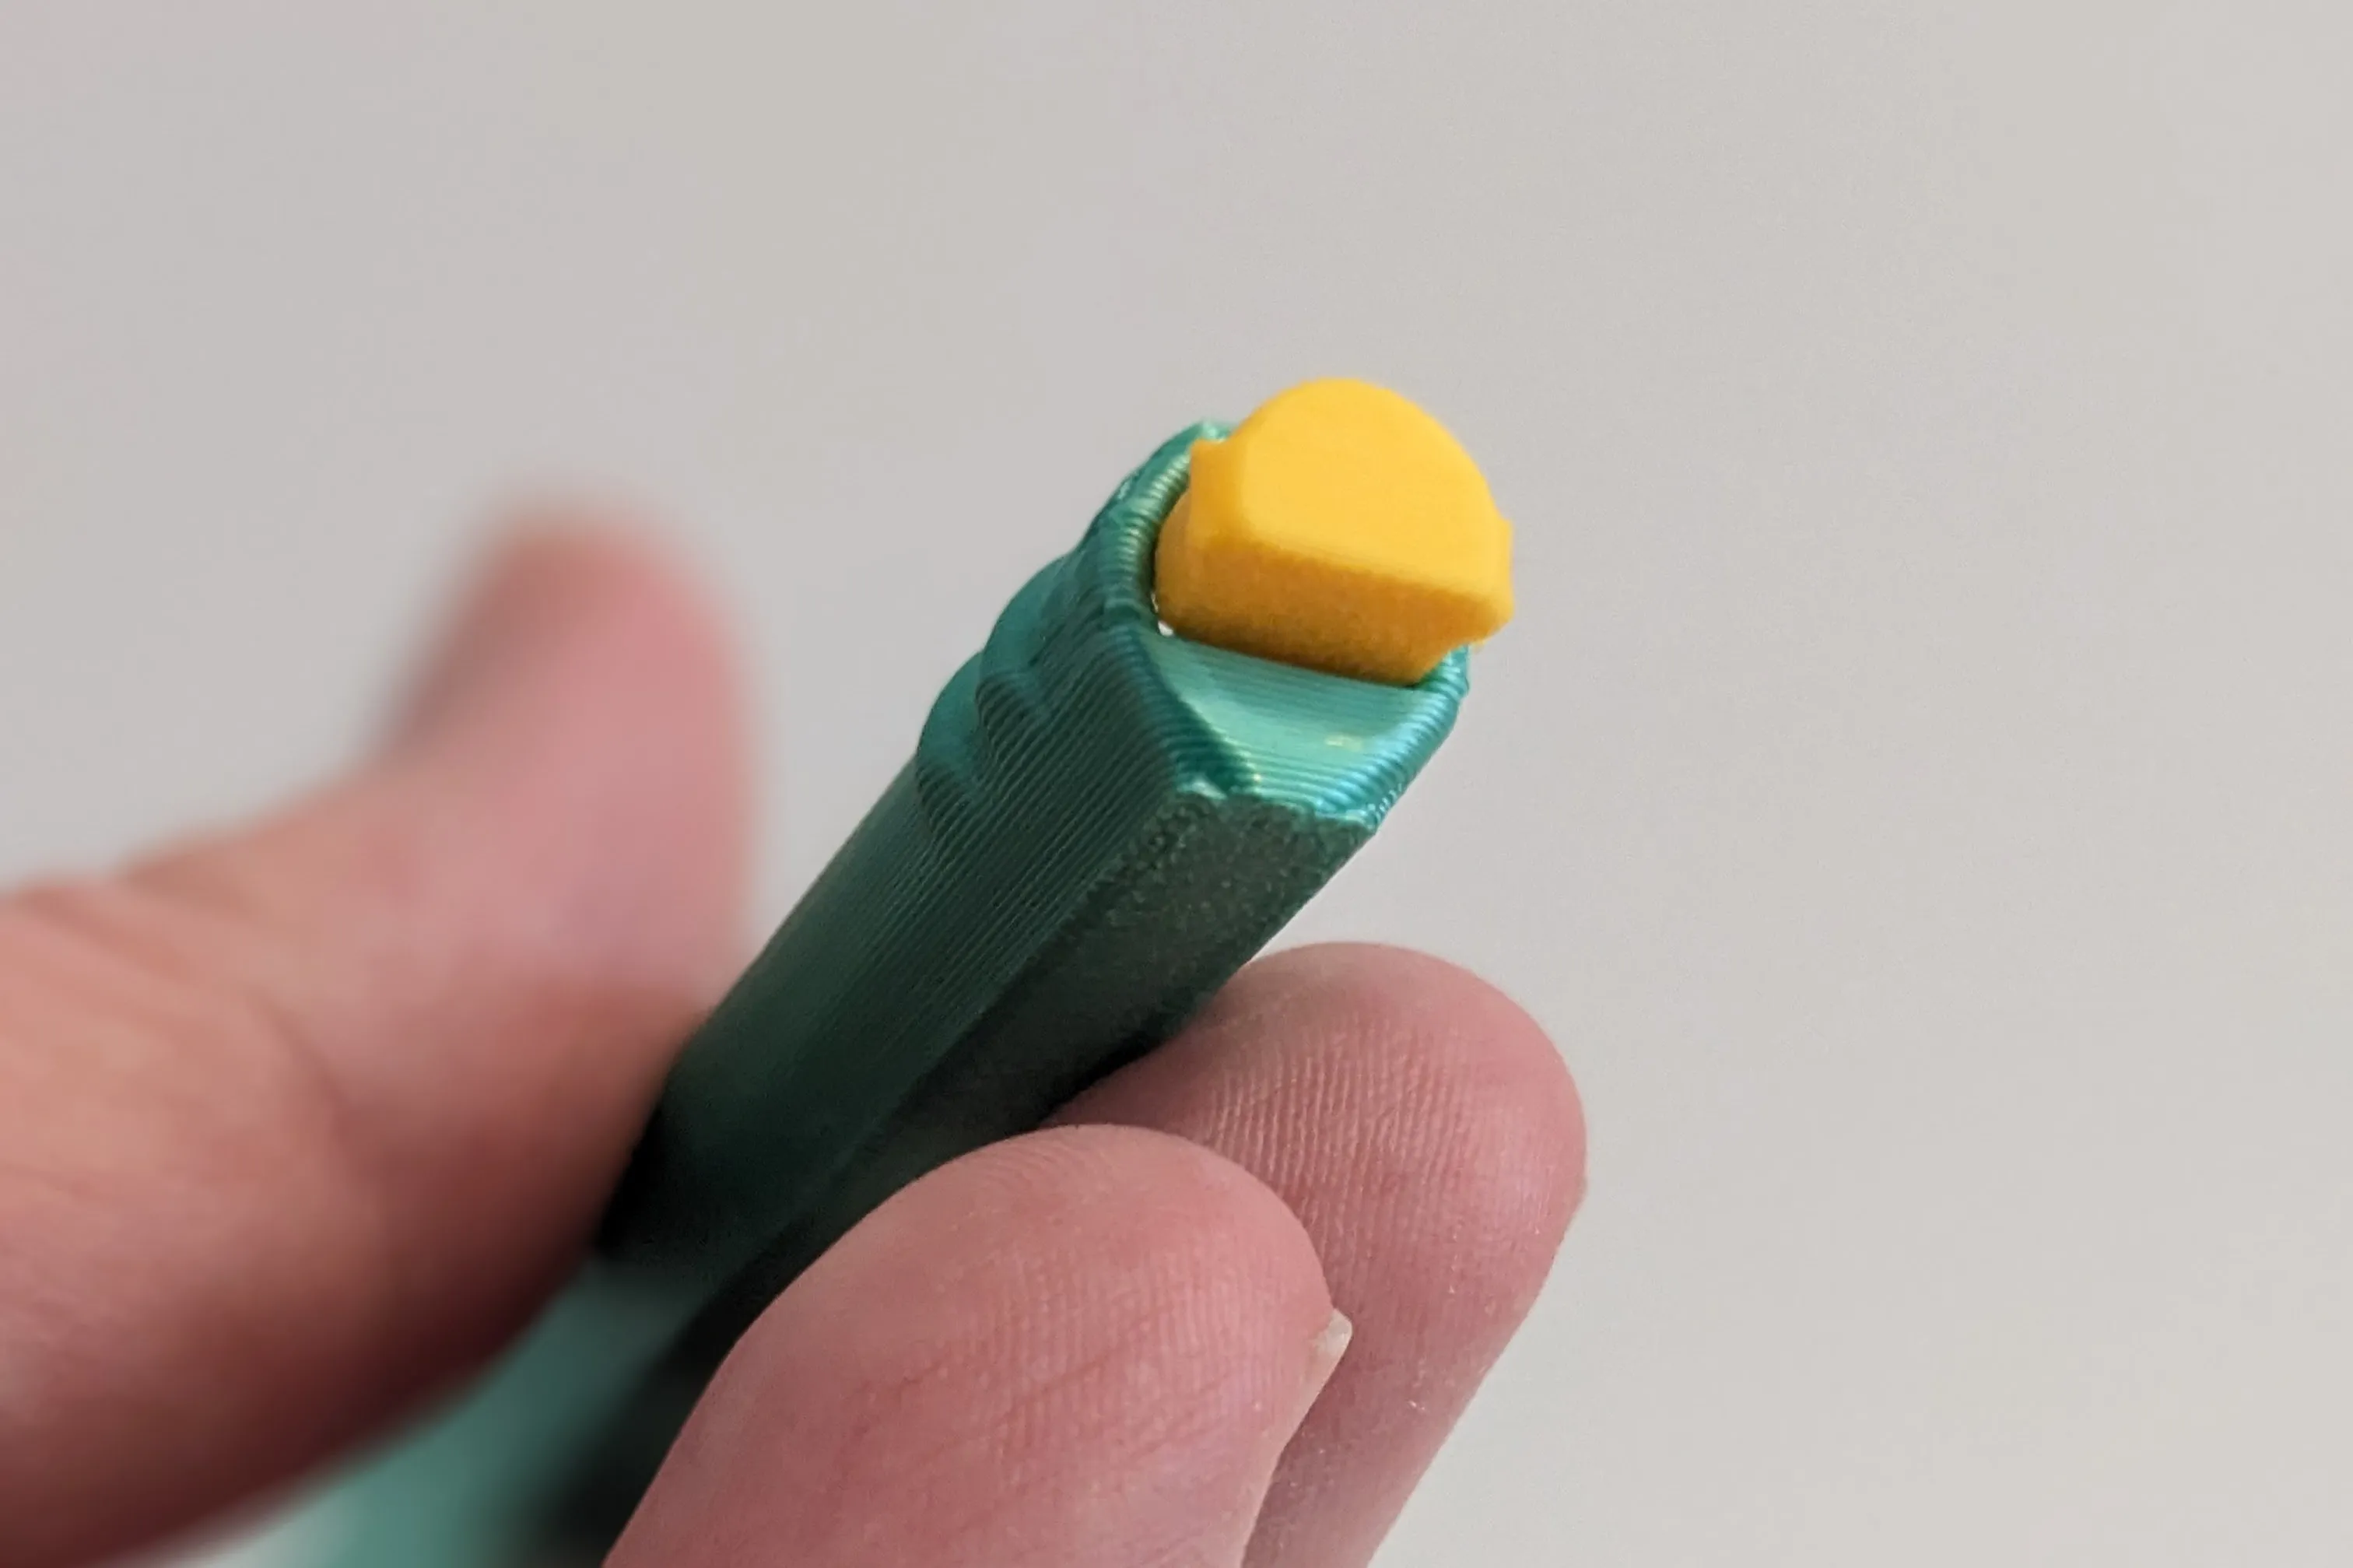
- Press firmly into a hard surface (such as a table) until it the pieces click together and the bottoms are flush together
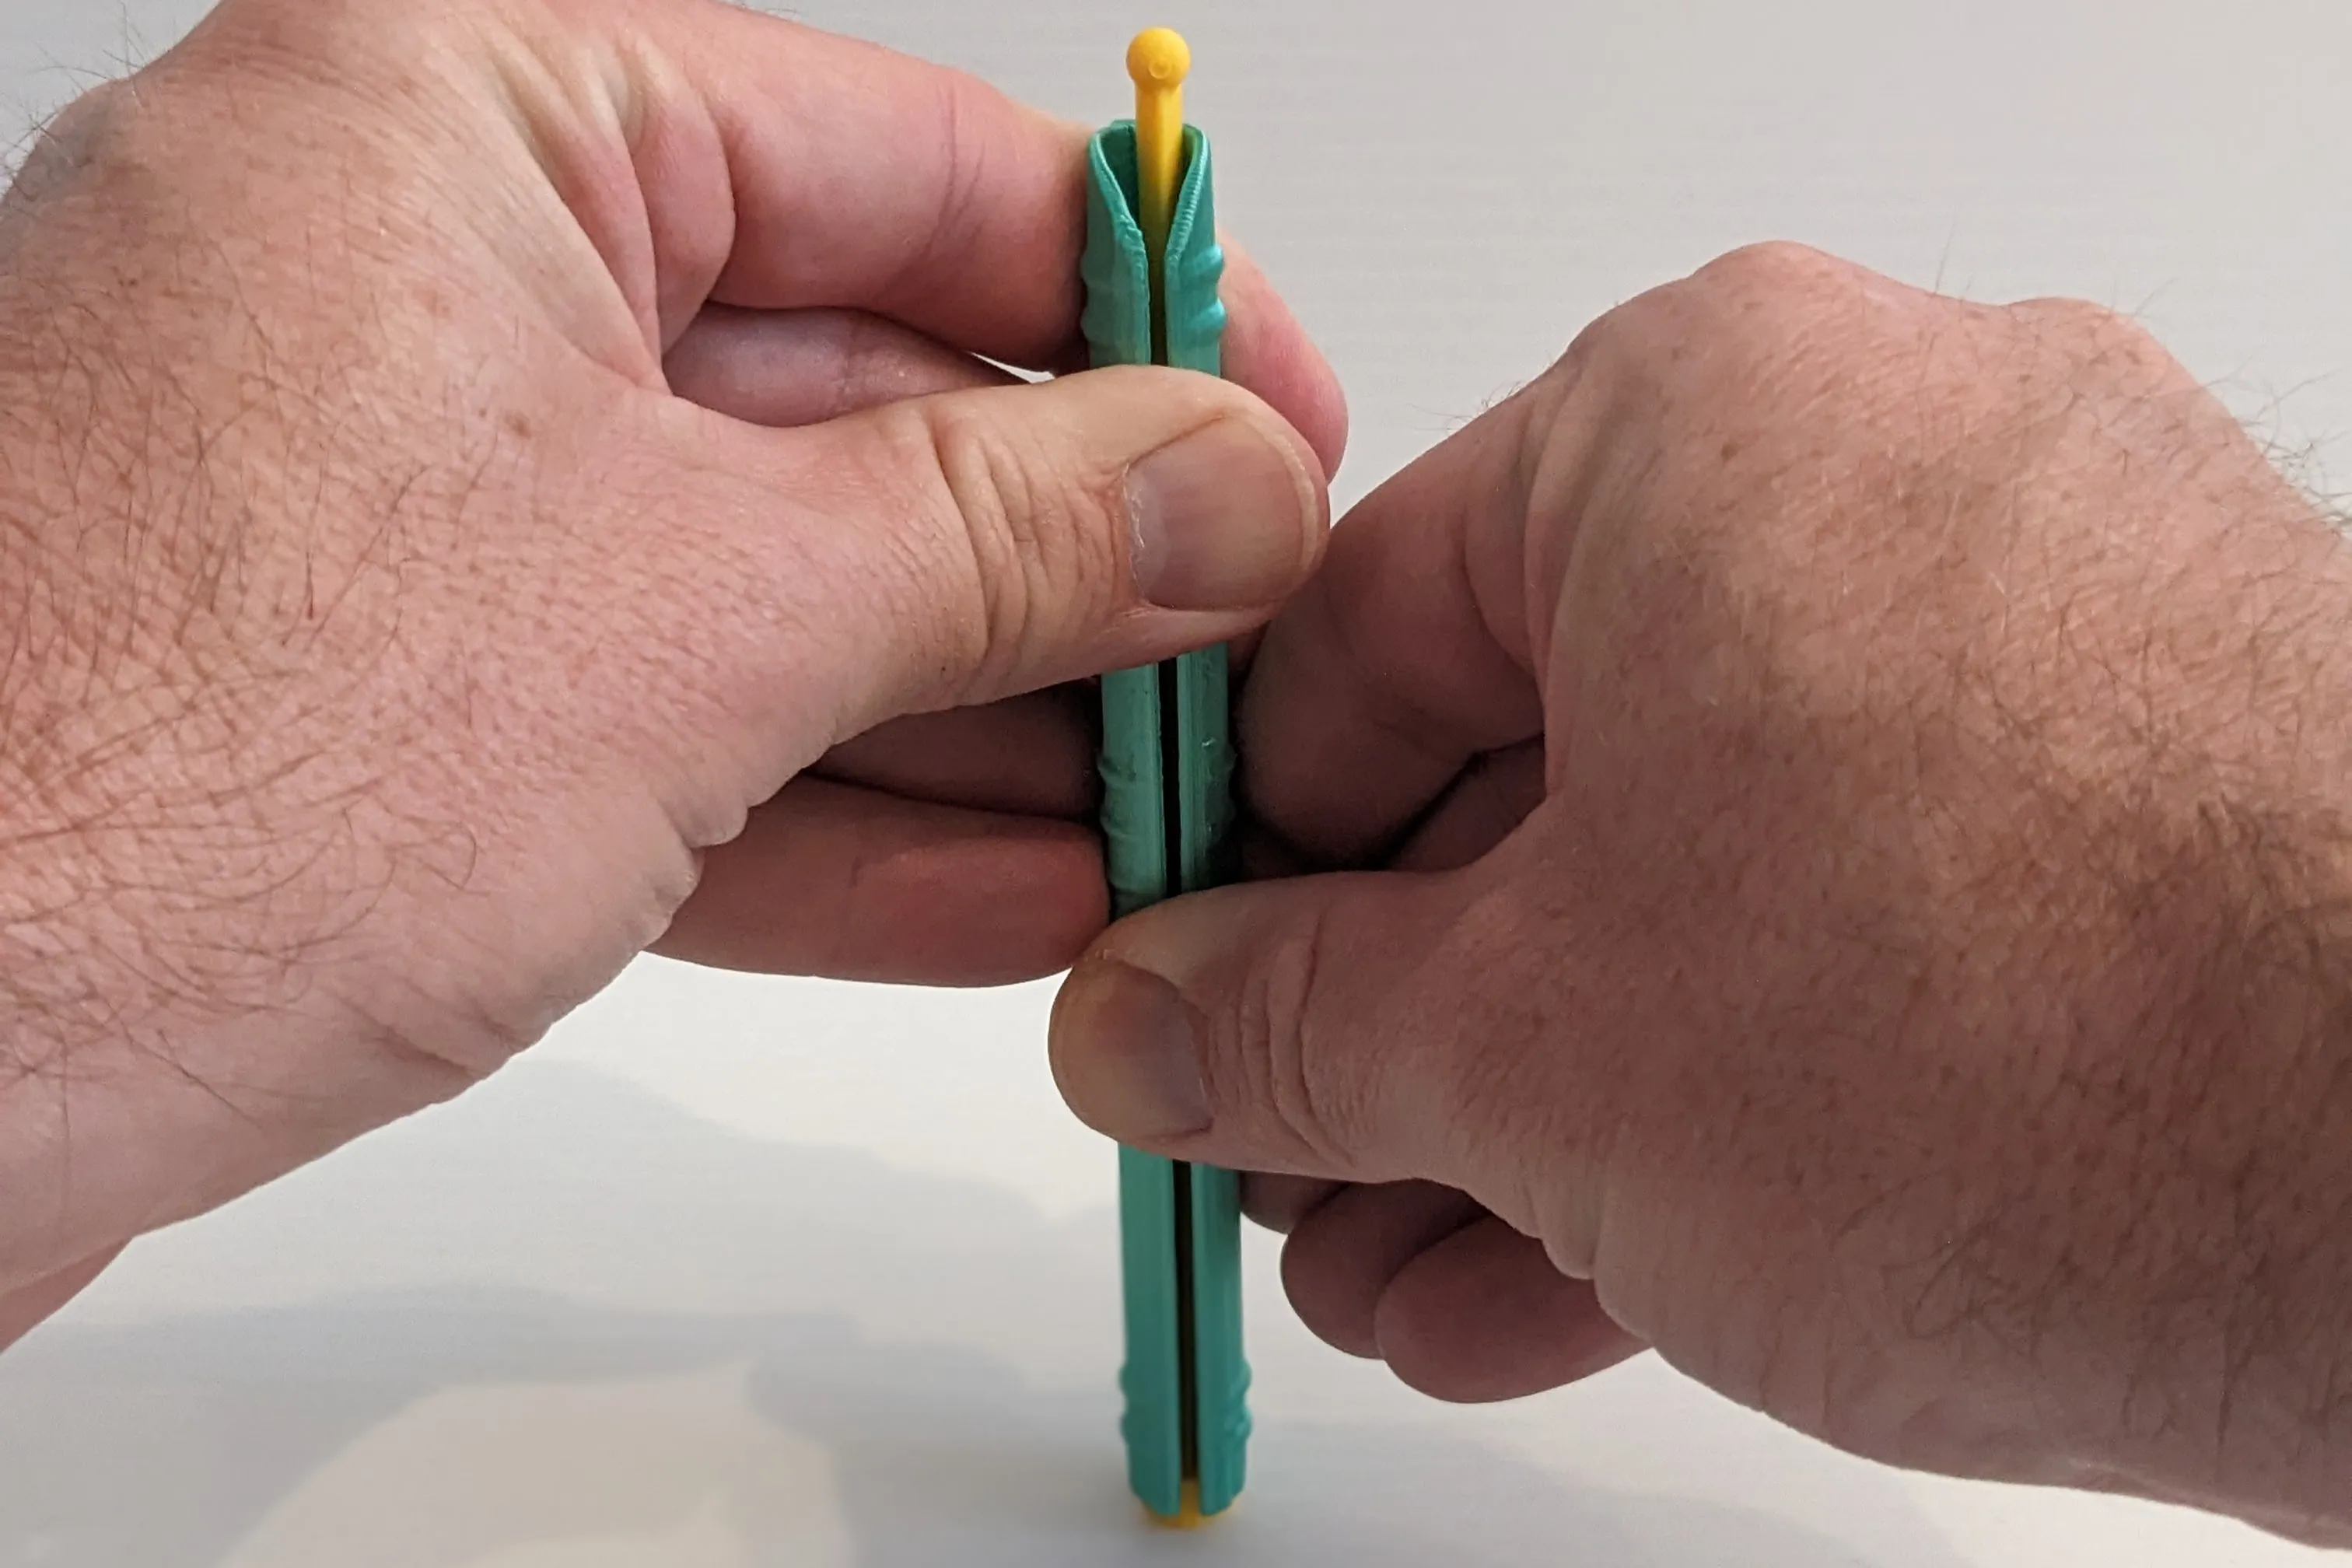
- Confirm stick is all the way in. It is permanently fused now!
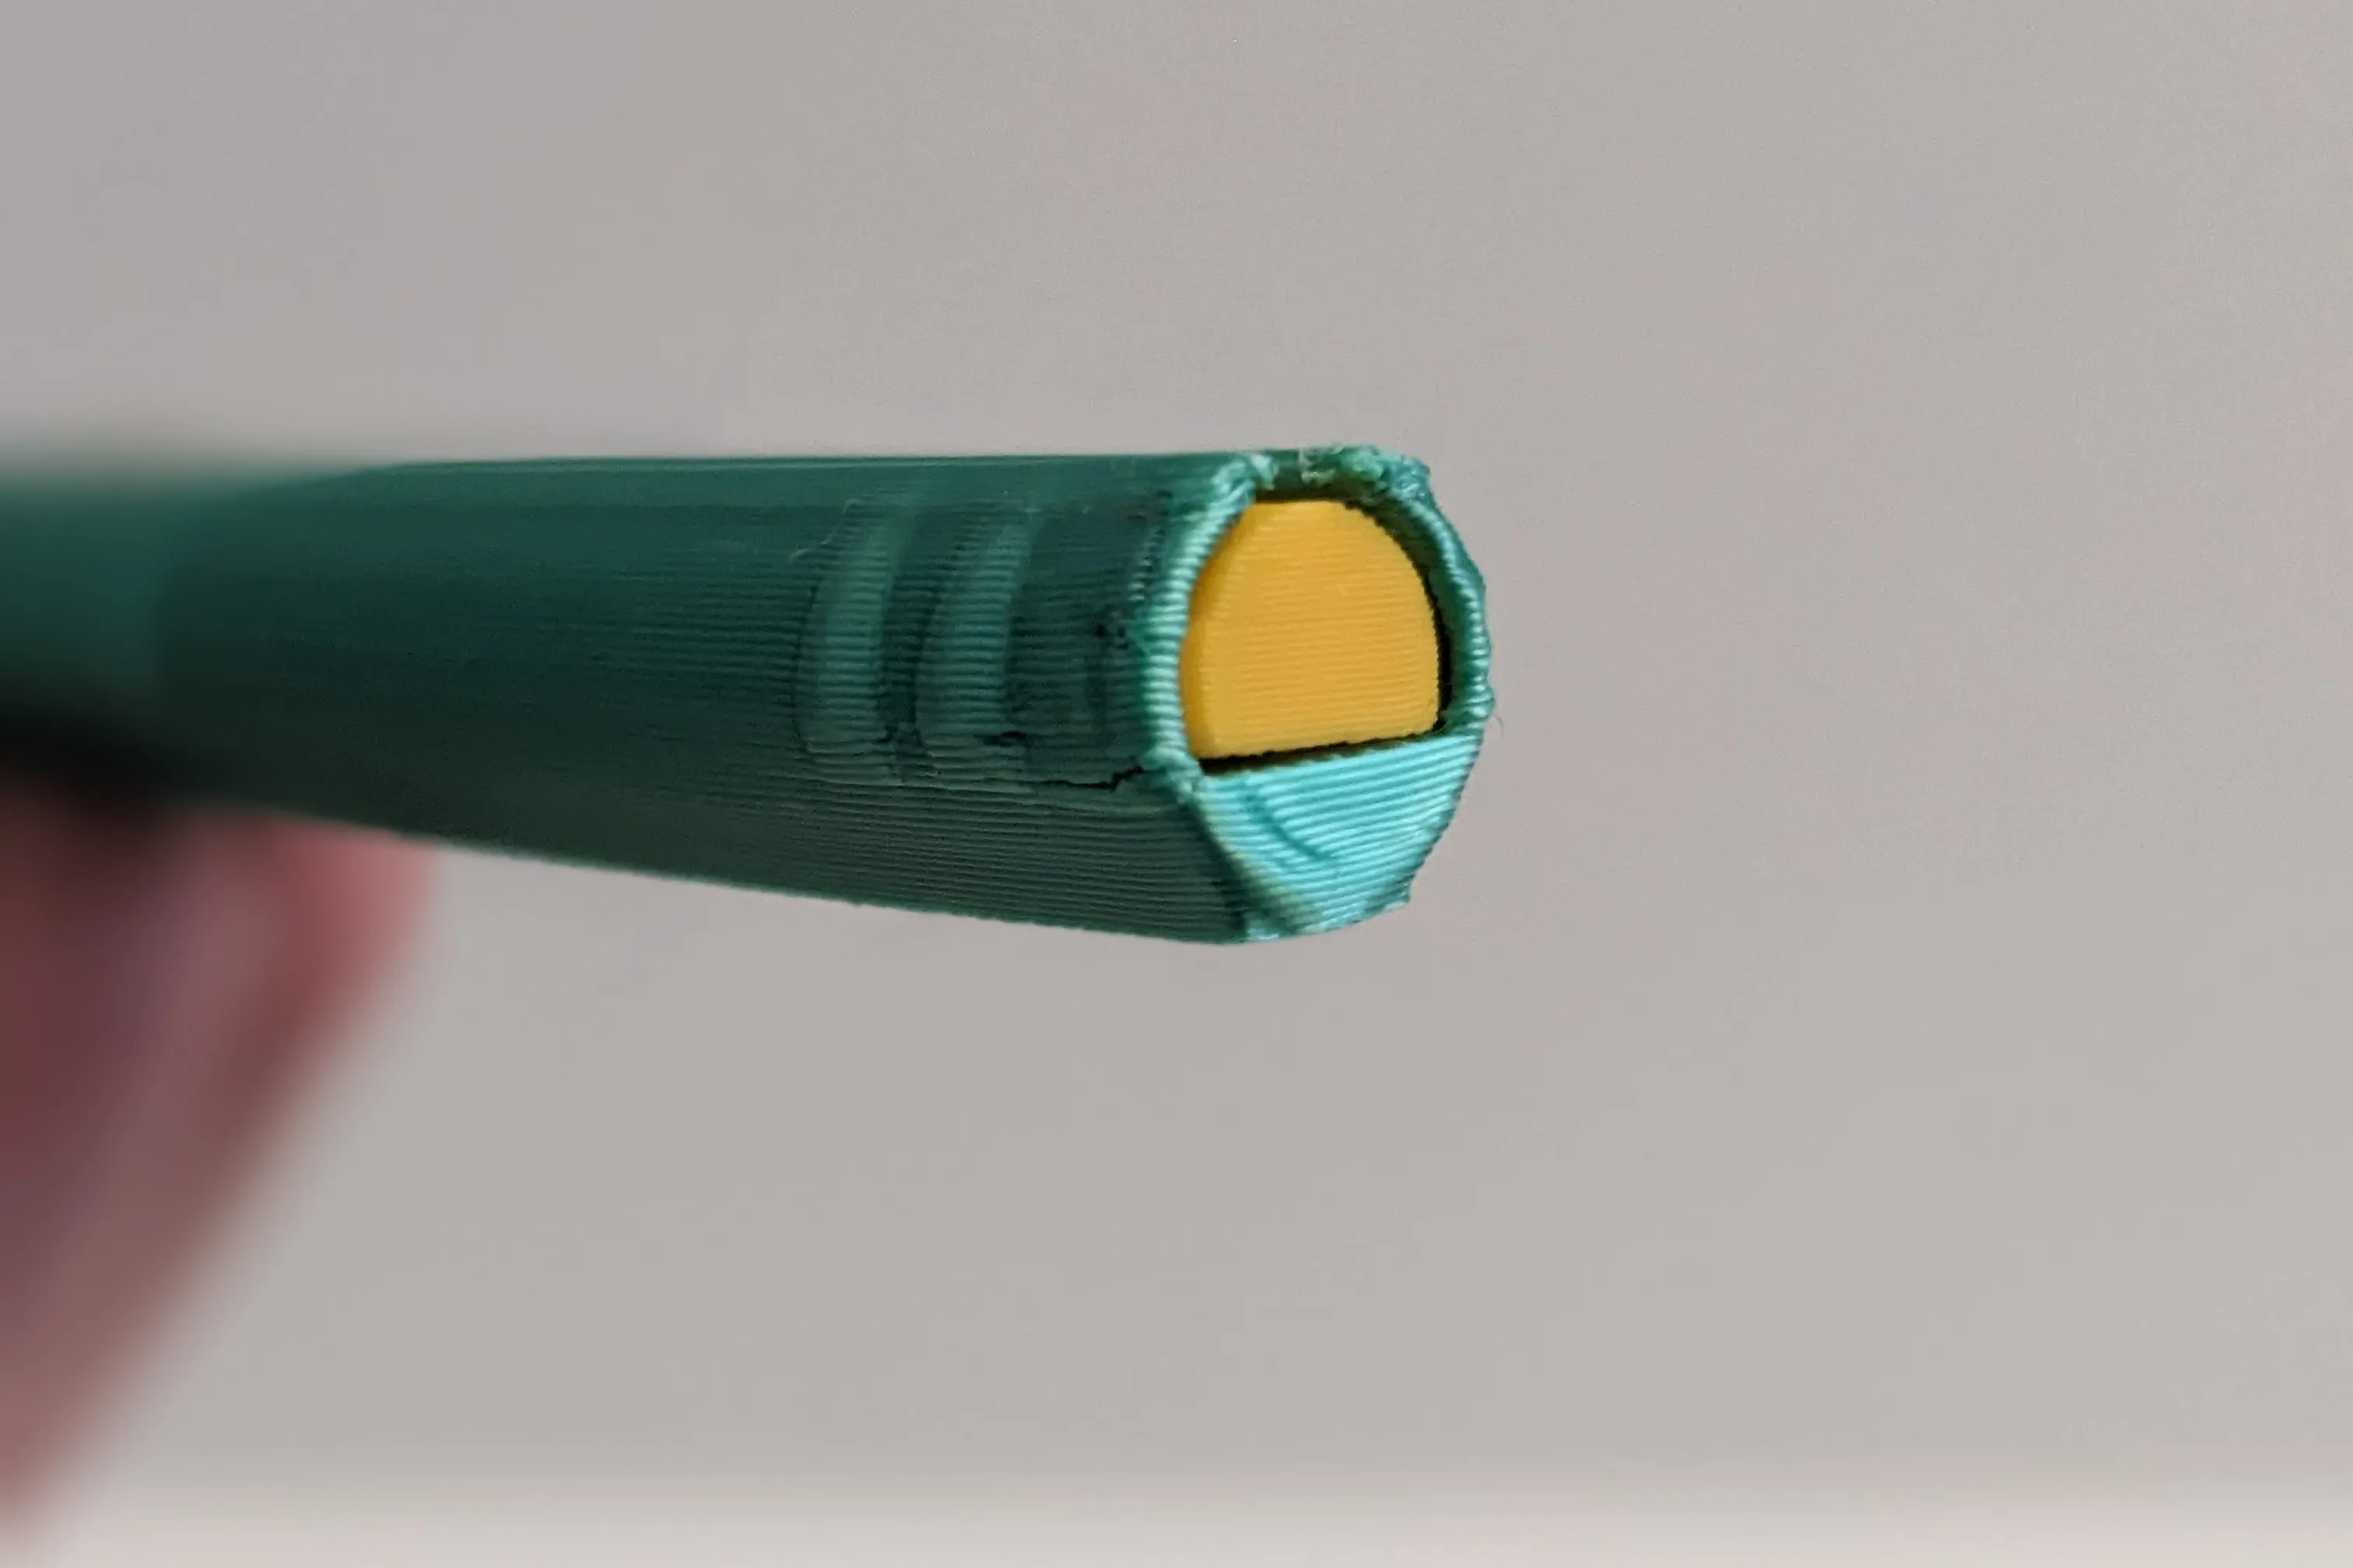
Also, If you would like to sell physical prints of my standard license models only, you can join my Patreon here. This license does not allow selling or distributing the digital files, and your membership must remain active while you sell physical prints.
License

You shall not share, sub-license, sell, rent, host, transfer, or distribute in any way the digital or 3D printed versions of this object, nor any other derivative work of this object in its digital or physical format (including - but not limited to - remixes of this object, and hosting on other digital platforms). The objects may not be used without permission in any way whatsoever in which you charge money, or collect fees.


Comment & Rating (378)