
Rear car floor mats VW GTI (2010-2014)
Print Profile(2)


Description
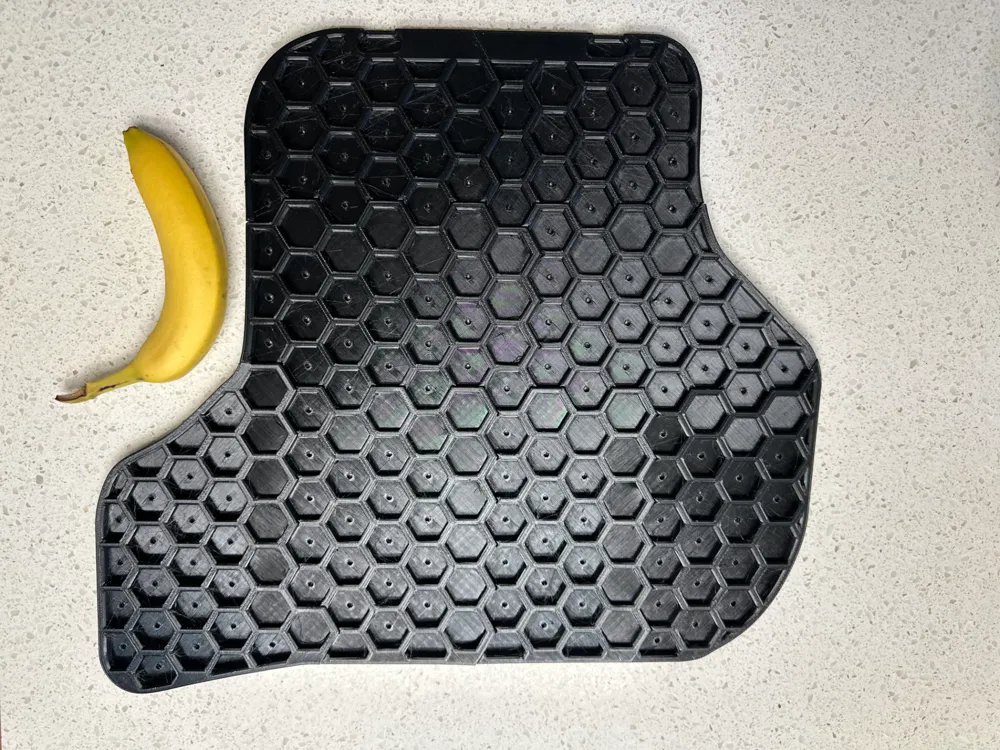
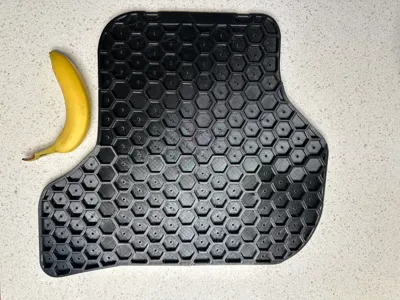
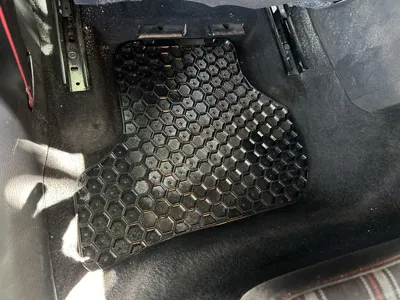
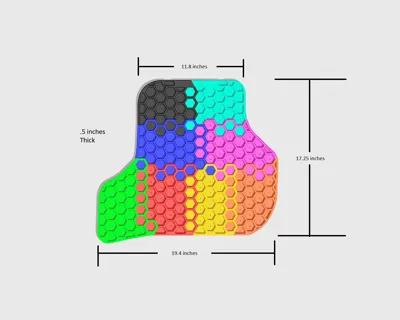
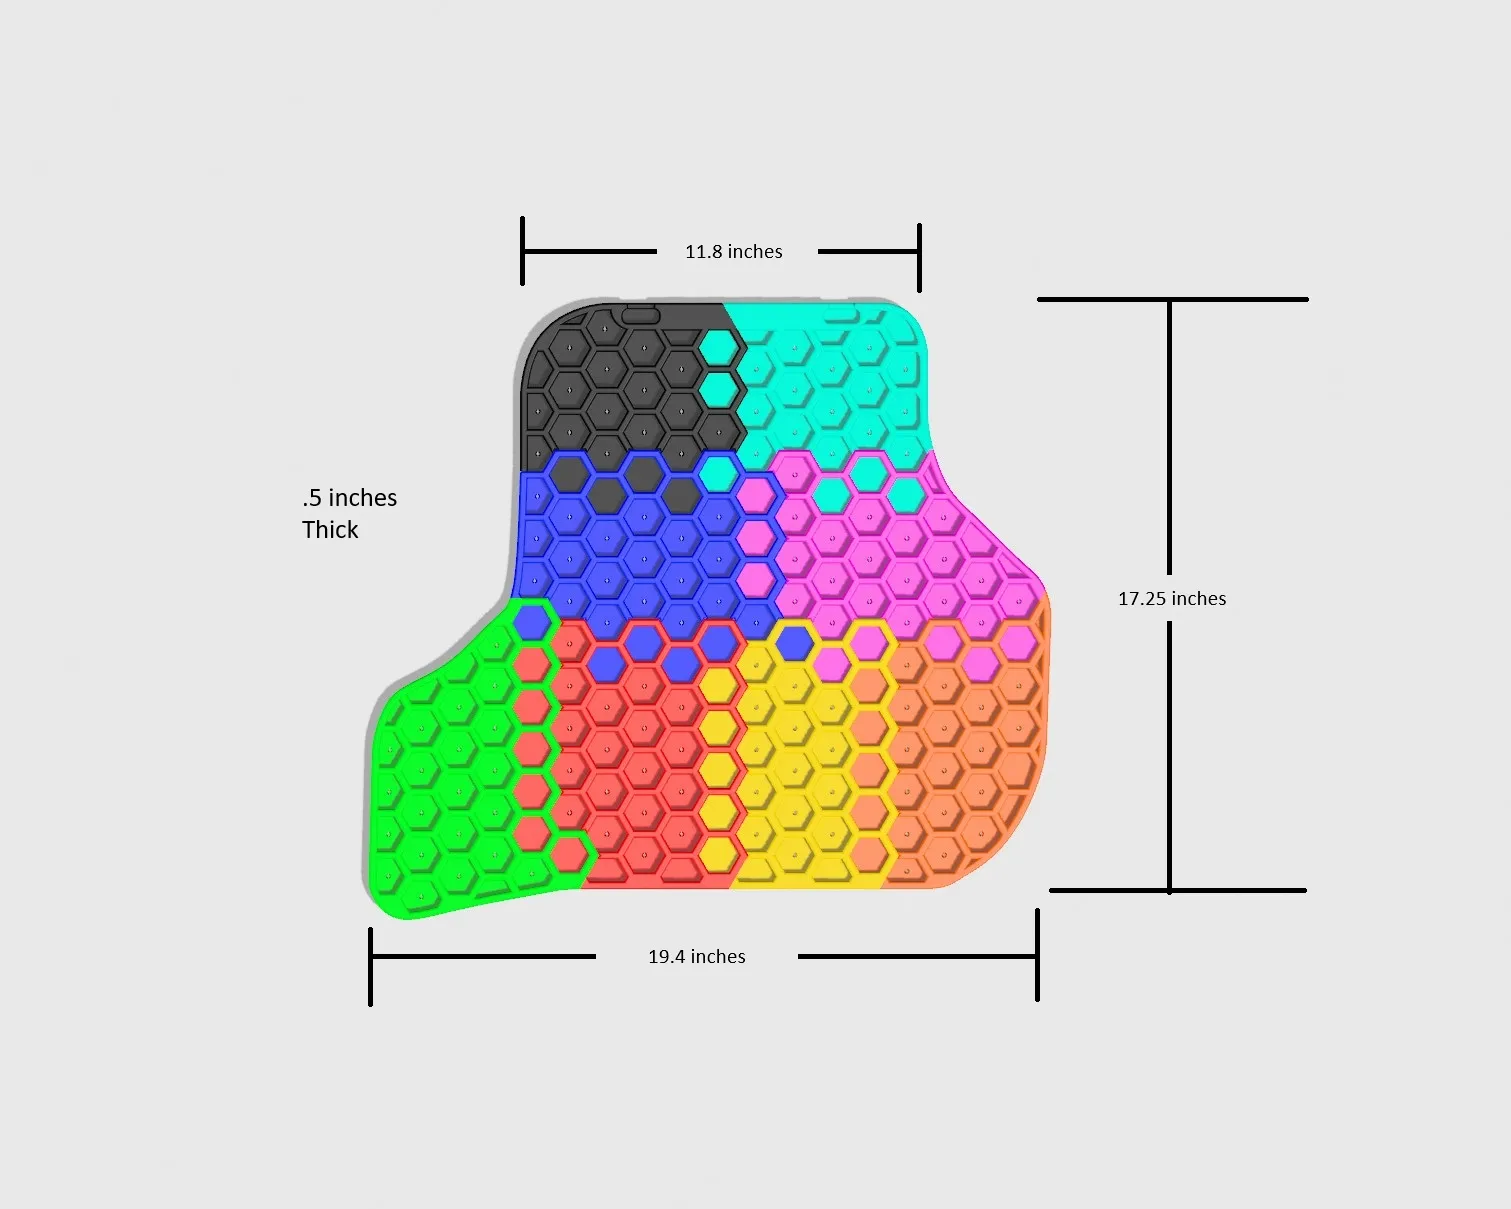
These are passenger and driver side, rear floor mats that should fit in a VW GTI golf between the years of 2010-2014 (possibly outside of
that, just be sure to check the measurements first.)
READ THIS BEFORE YOU PRINT
I designed these mats to be similar to the rugged rubber, OEM mats, offered by VW. Really I just designed them to see if I could and to see if they'd actually work. With that being said, before you print these please note:
- One full mat will take roughly 1 ½ spools of TPU which doesn't make it cheap. If you really need mats for your car, I'd consider checking online first to see how much actual mats cost.
- One full mat will take roughly 64 hours to print (in reality, it took me roughly a week to print one)
- The print profiles included are designed with 95A softness TPU in mind (I used overture TPU).
I would not recommended increasing the infill any further then it’s current 15% as it may make the mat too rigid and very difficult to snap together. Also be careful reducing the infill too much as it may make the mat too soft and may make the snaps come apart. - Assembling the pieces can be a bit tricky and I recommend having either a flat bladed screwdriver or a set of needle nose pliers to help “coax” everything into position.
- Unless you have some uber level calibration for your TPU, expect stringing…..a lot of stringing. It shouldn’t effect the over all print but just know that you’ll probably have to clean up at least some stinging to connect everything together.
Assembly Instructions
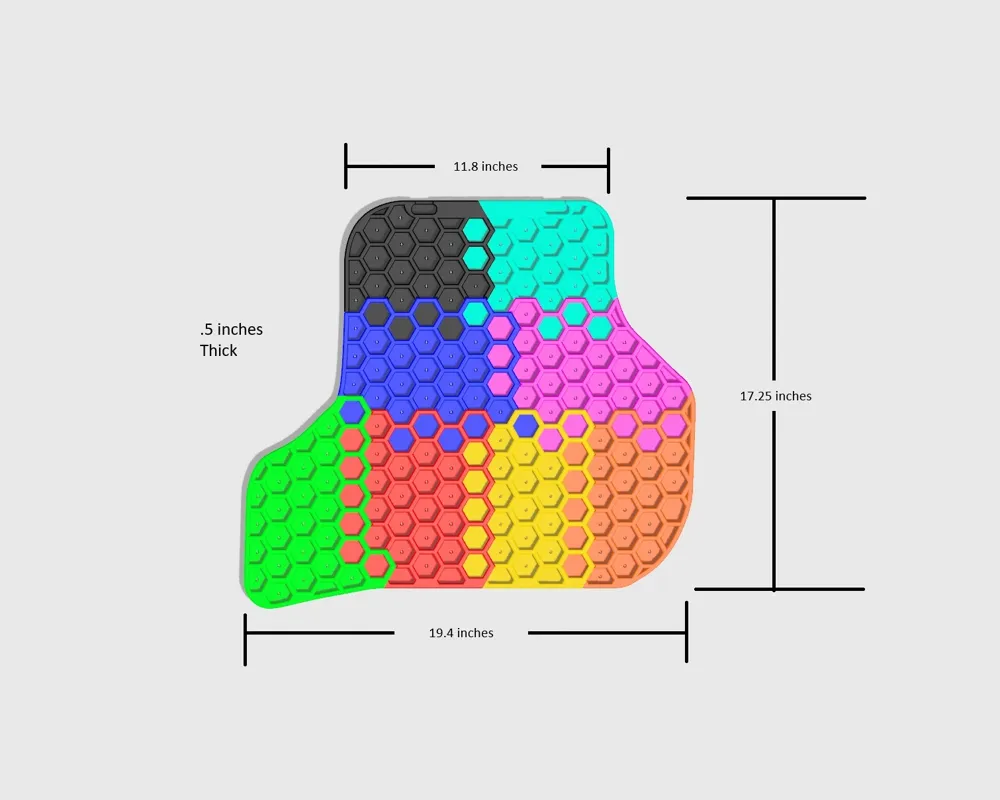
One full mat consists of 8 segments and around 120ish grip spikes and an optional spike pusher (that's meant to be printed in pla). Each segment takes around 8ish hours to print. Each segment is labeled on it's own plate in the included print profile. Be sure to note which segment is which as you print, as it will help you put it all together.
Here is a map of how all the segments are meant to be combined
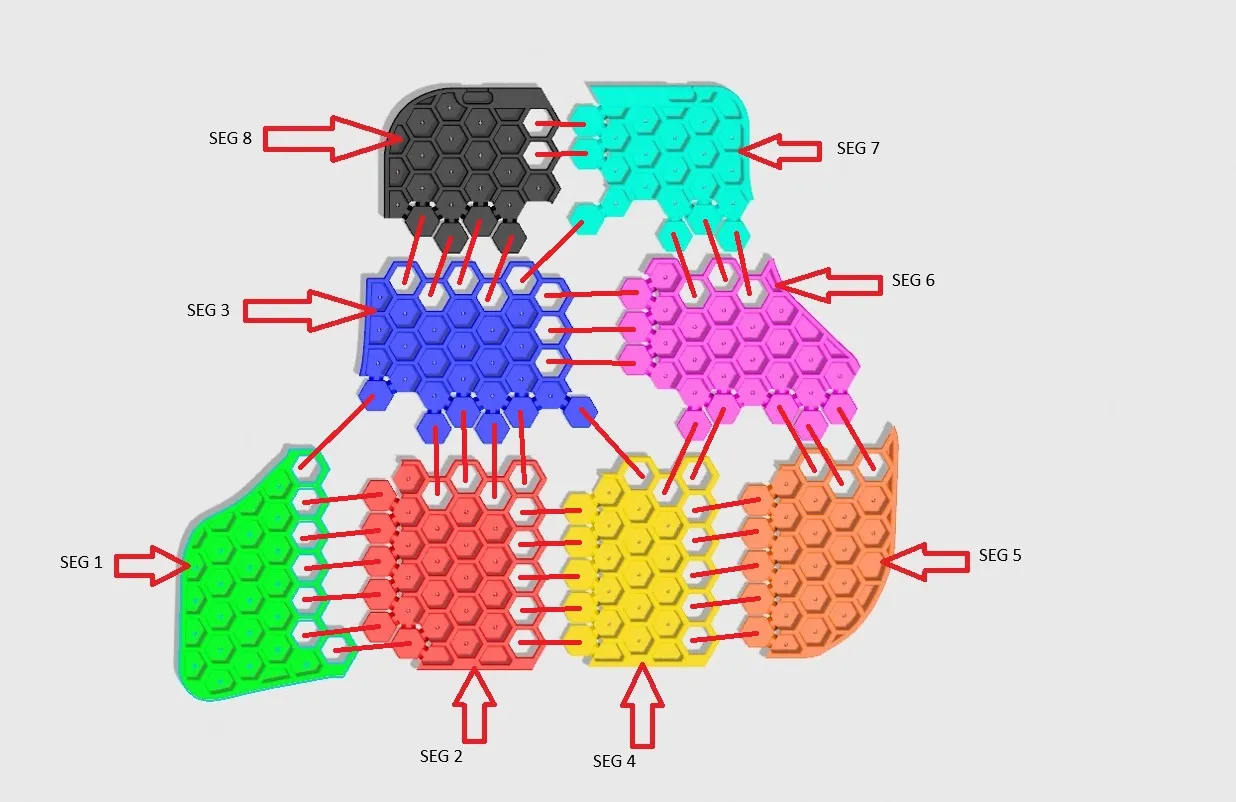
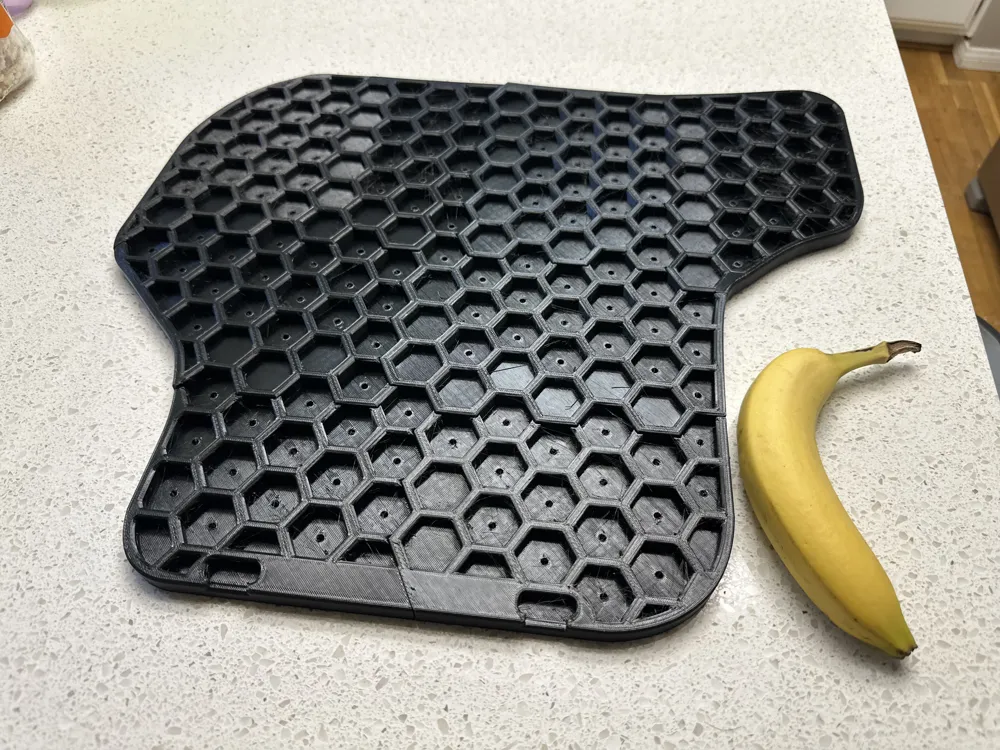
Notice the straight lines going from the empty hexagons to the floating ones, this is how the mat segments attach to each other. The floating hexagons snap into the empty hexagons. You'll want to bring the floating hexes up through the bottom of the empty hexes to seat them.
Seating the Hexes
Take 2 adjoining pieces and line them up so that the floating hexes are aligned with the empty ones. Slide the floating hexes under and up, inside the empty hexes. I found that pushing the further end edges of the floating hexes up in first made things easier. Push them around until the floating hexes are flush, inside the empty hexes (the tolerances are really tight so this is gonna take a little work. Luckily TPU is pretty tough so don't be scared to pull things around a bit)
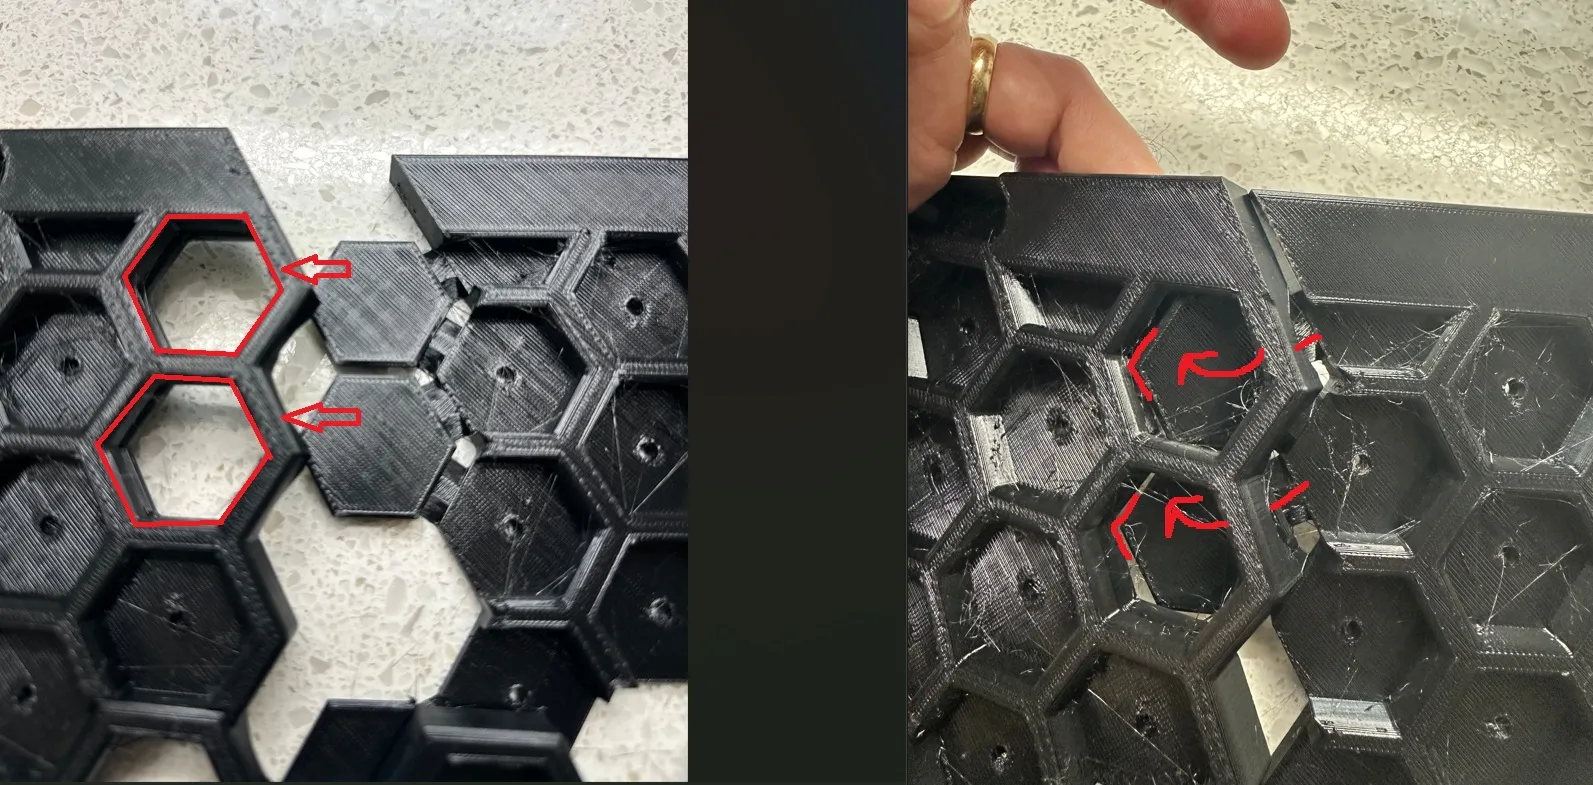
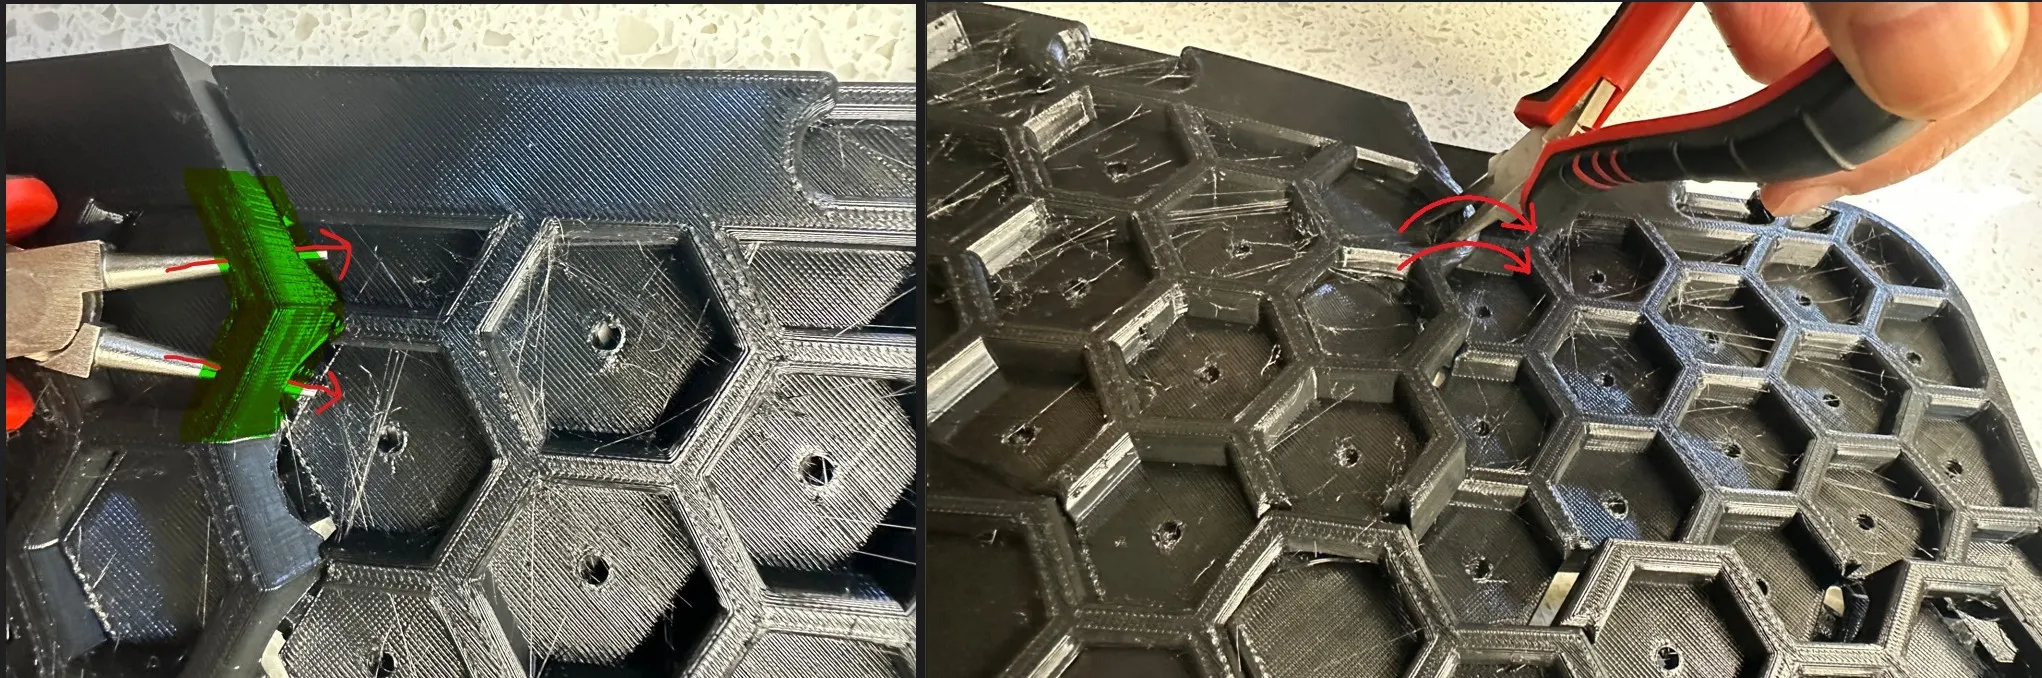
Often times you'll probably find that the boarder edge of the empty hex won't fully go over the floating hex. In these cases I found it helpful to use something like a pair of needle nosed pliers or a flat bladed screwdriver. Wedge it under the boarder and use it to leverage the floating hex into place, like the pic bellow
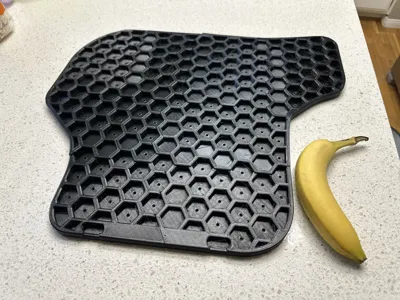
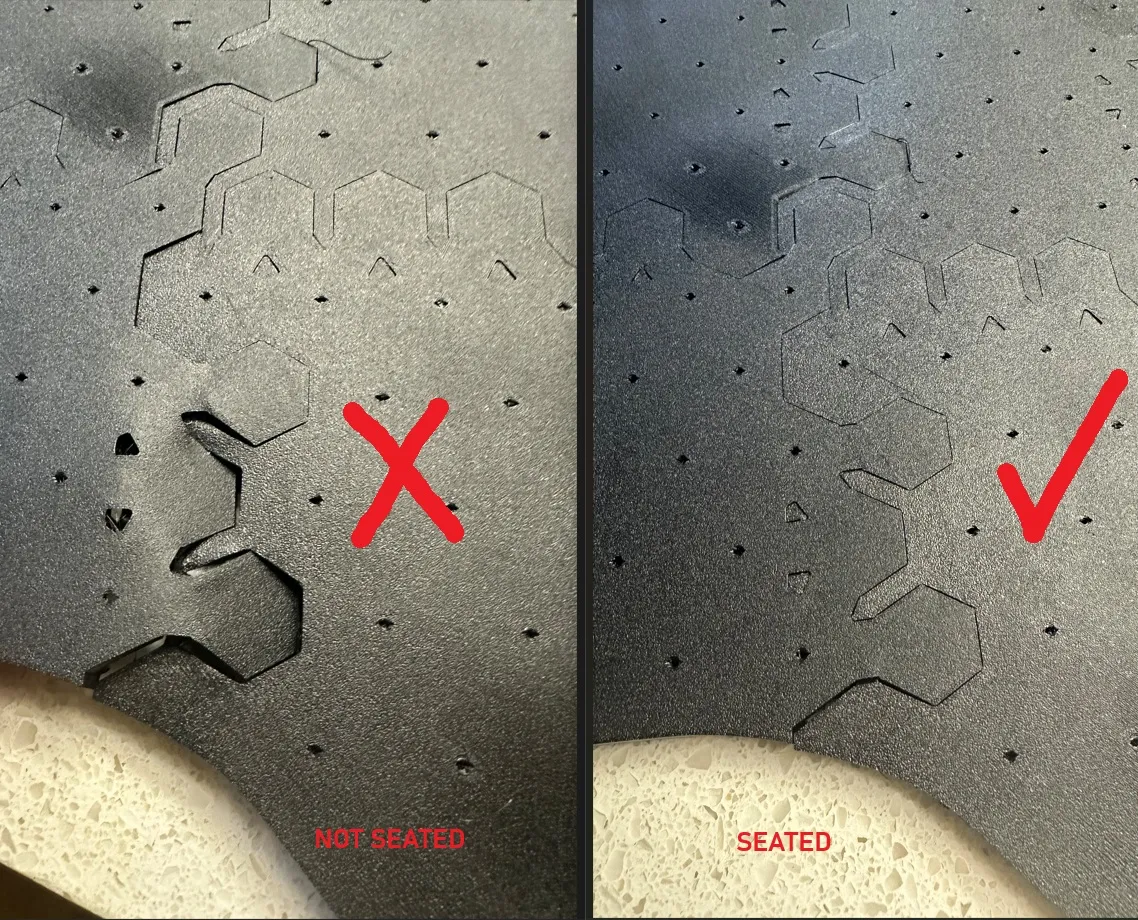
To check and see if you've seated the hexes correctly, flip over the mat. If it looks like the Left pic, the hexes are still out of place. If it is seated correctly, it should look like the Right pic
Installing the grip spikes
After you've printed out and assembled the mat, you have the option of adding the grip spikes. If you plan to do this, I'd recommend also printing out the “spike pusher tool” which will help save your fingers (note that the tool is meant to be printed in PLA)
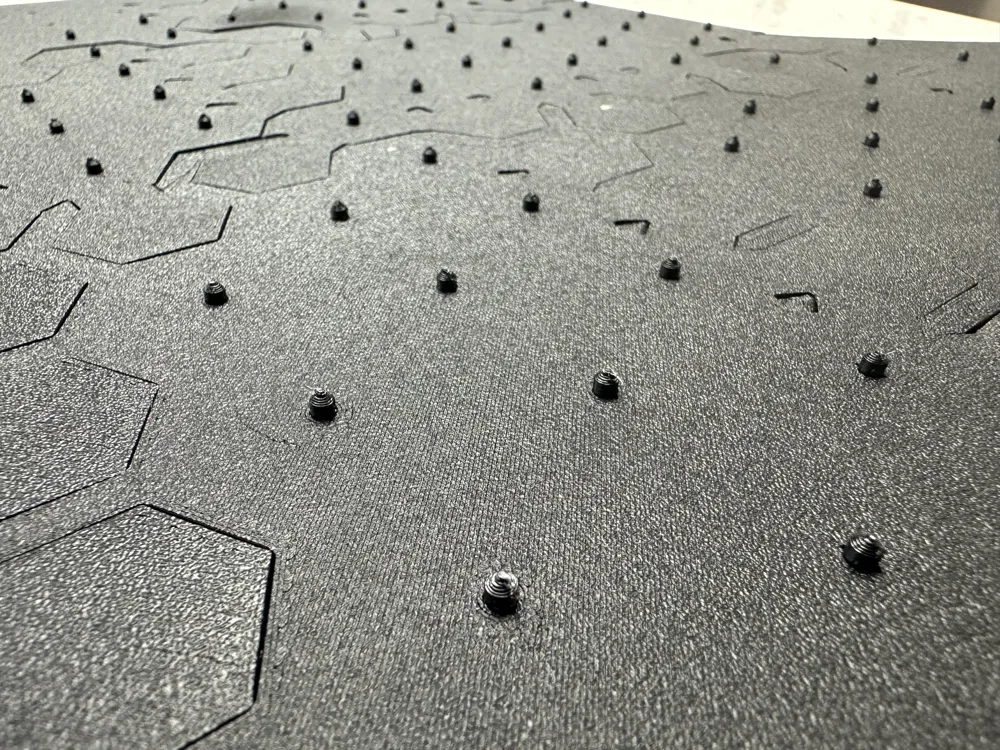
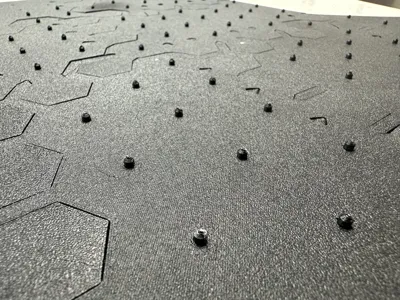
To install the spikes, simply press them, spike end first, down through the small holes in the mat. They should be pretty snug and snap in so they are flush on the top but stick out a few mm from the bottom and look like this
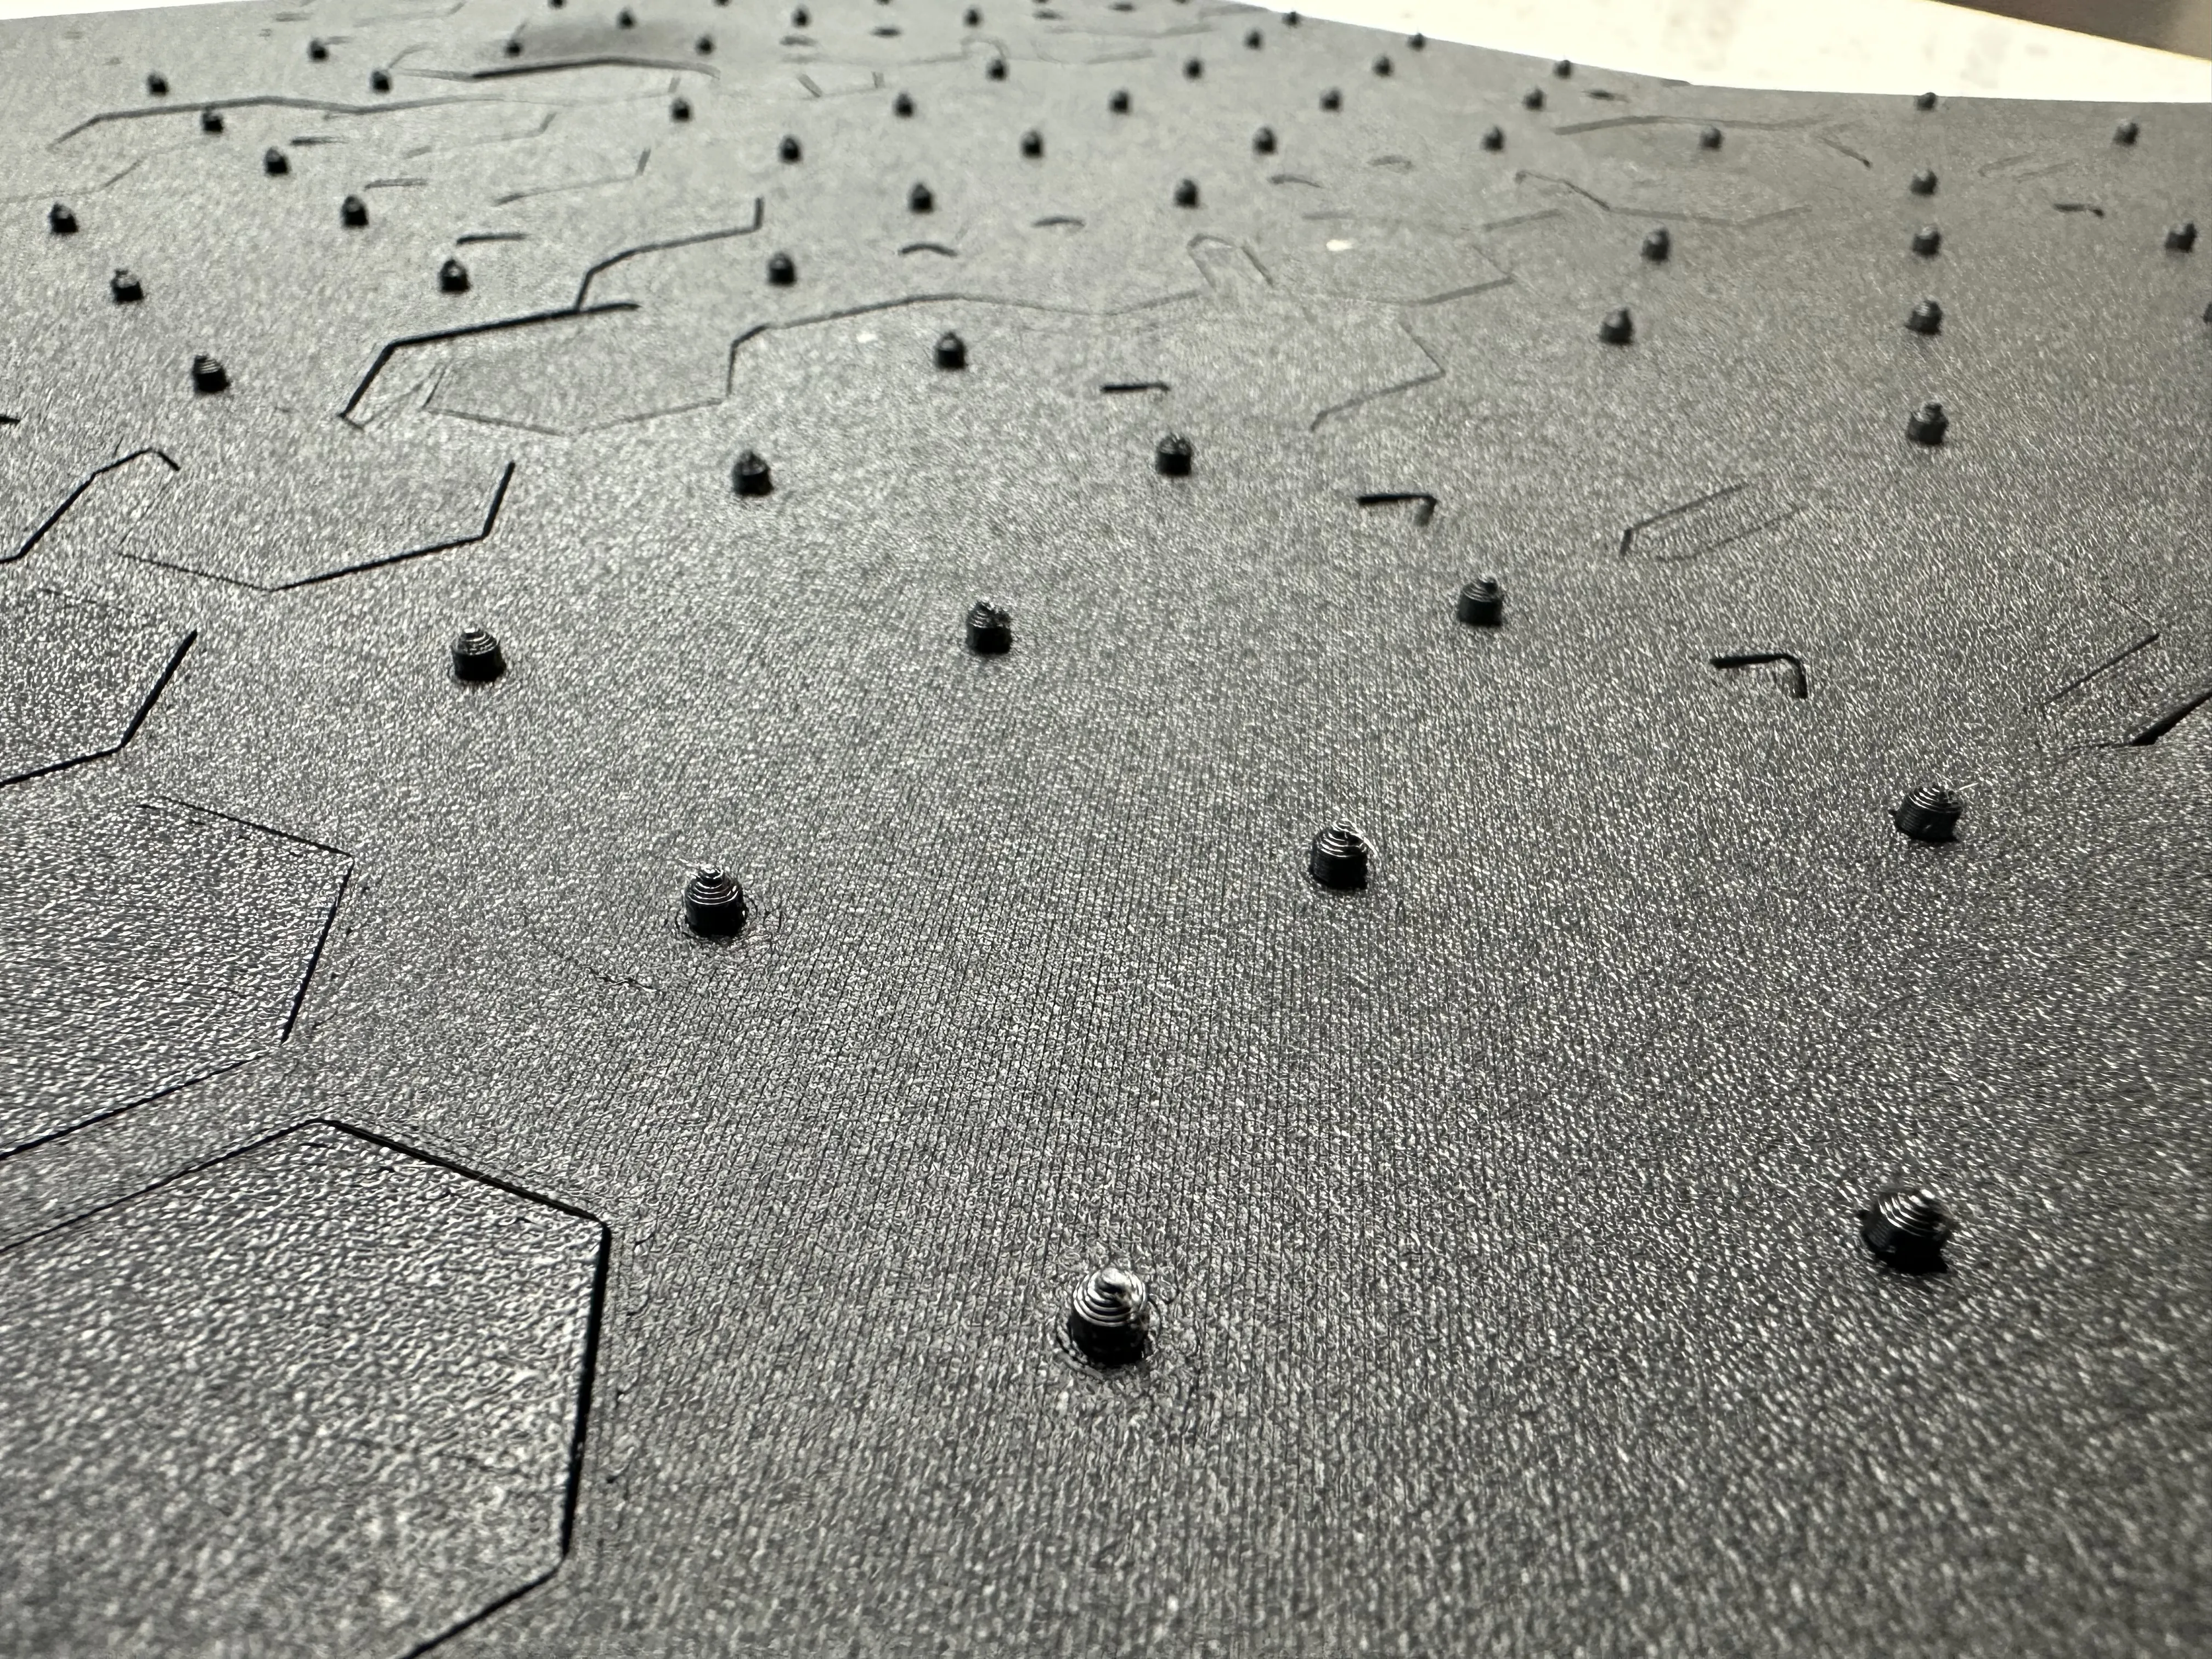
you can just manually push them through with your fingers but, I'd recommend either using something hard instead or using the included spike pusher. There are over a hundred spikes so it's gonna take a little time and effort to do all of them (it took me about 20 minutes)
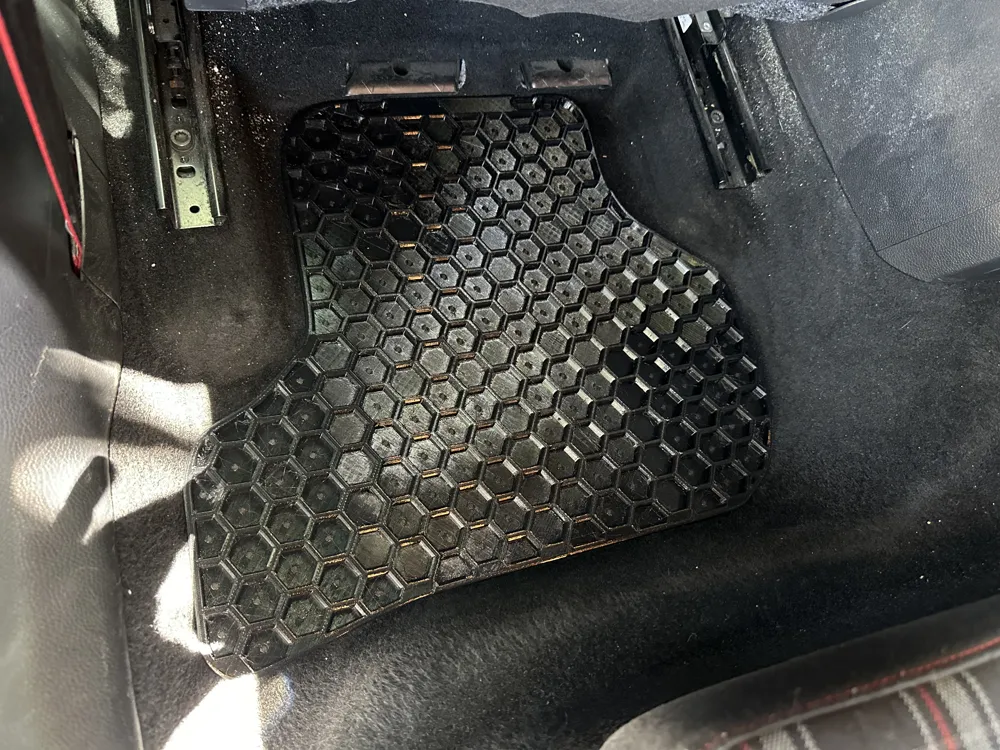
Put em in your car and get to stompin'
So far I've had mine in for a little over a month and it seems to be holding up well. I haven't gotten in a situation where I've needed to clean them yet so we'll see how that goes. As I said before, this project was really more for fun then it was for full practicality but, if it maybe helps someone else out there as well…all the better
happy printing!
License

You shall not share, sub-license, sell, rent, host, transfer, or distribute in any way the digital or 3D printed versions of this object, nor any other derivative work of this object in its digital or physical format (including - but not limited to - remixes of this object, and hosting on other digital platforms). The objects may not be used without permission in any way whatsoever in which you charge money, or collect fees.


Comment & Rating (2)