
Customizable USB Drive Storage Box (and SD cards)
Print Profile(2)


Description
An updated version of this model is available here: https://makerworld.com/en/models/2595134-customizable-usb-and-sd-card-storage-box-v2
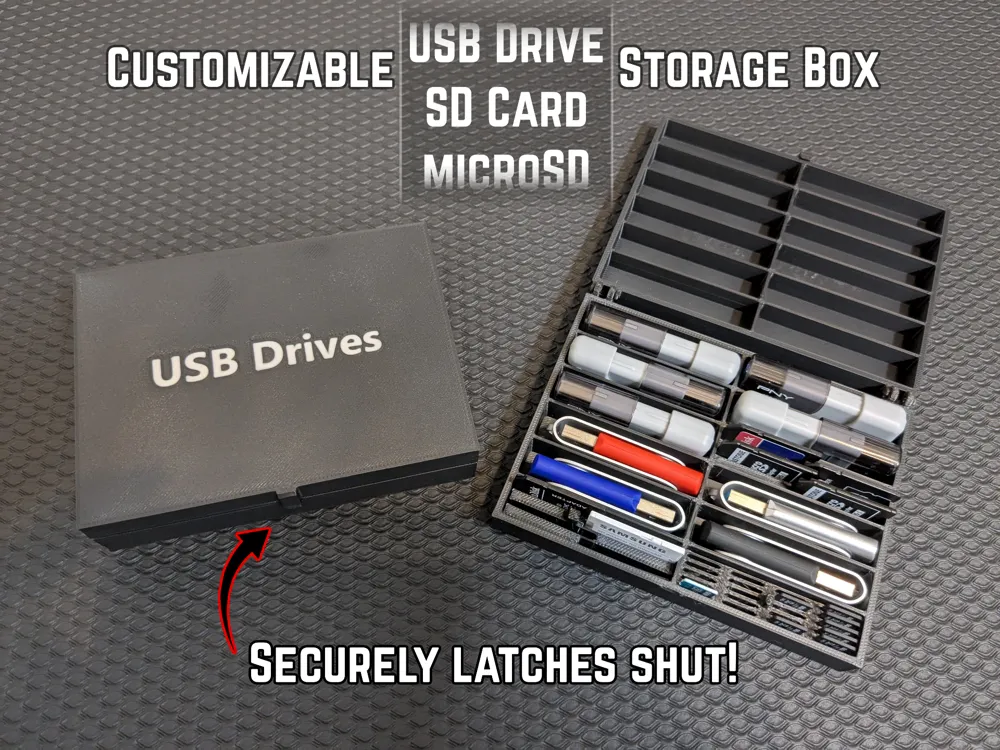
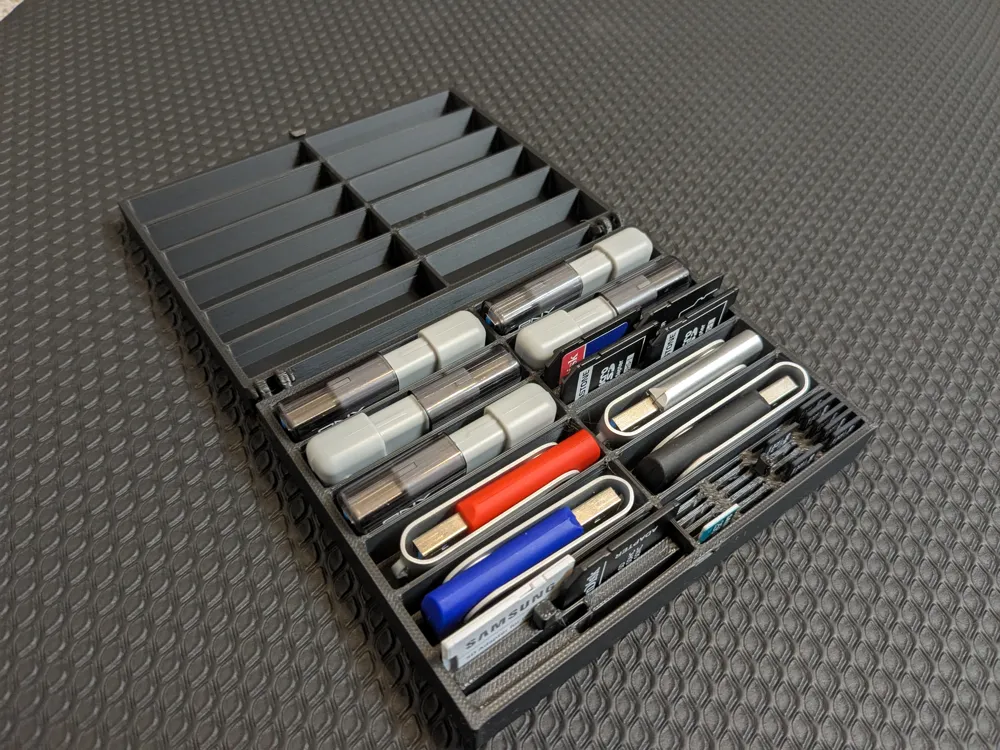
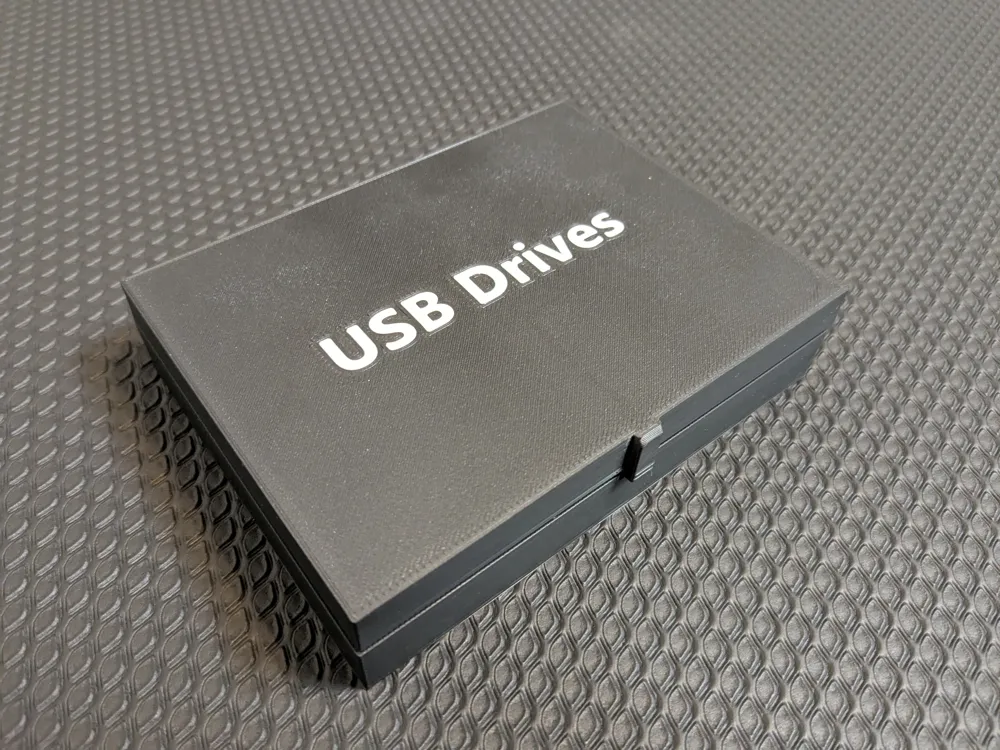
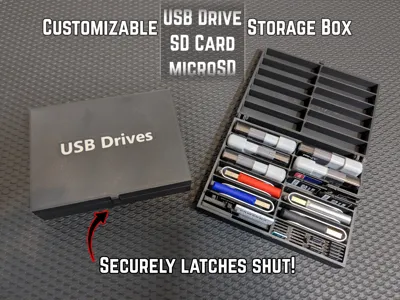
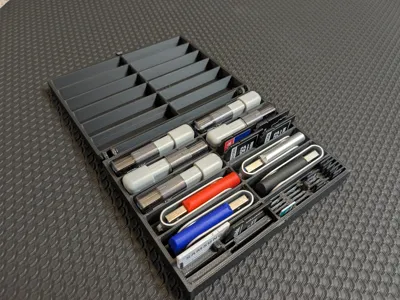
Simple but robust latching box to store USB drives (aka flash drives or thumb drives), SD cards, and microSD cards. You can customize the dimensions and number of compartments, so really this could be used to store lots of other stuff too.
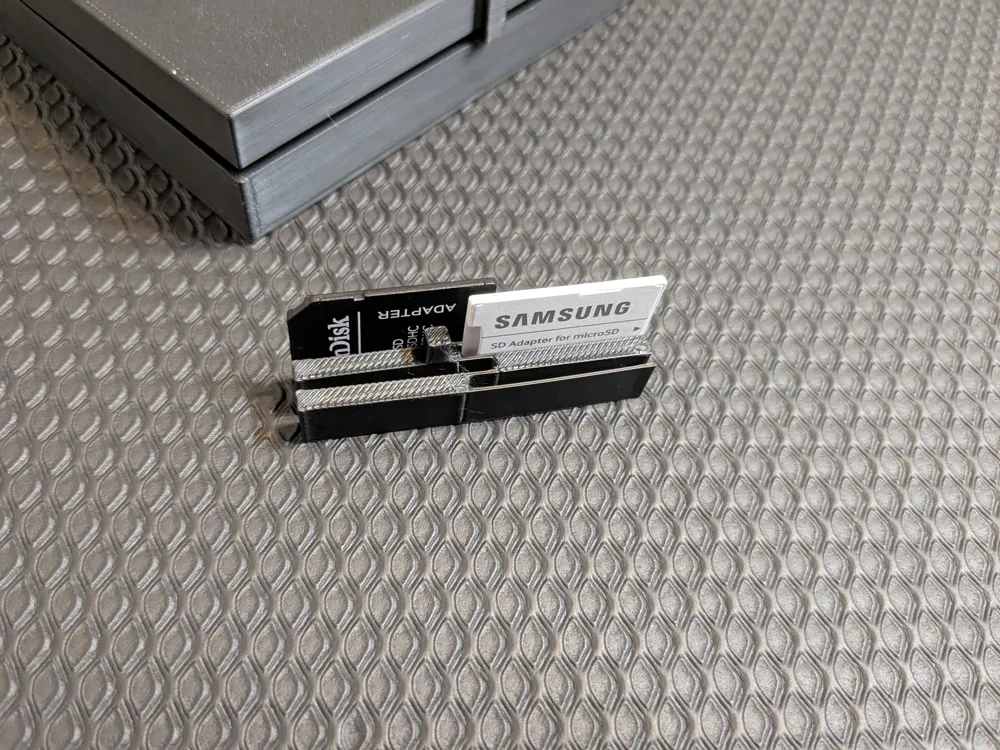
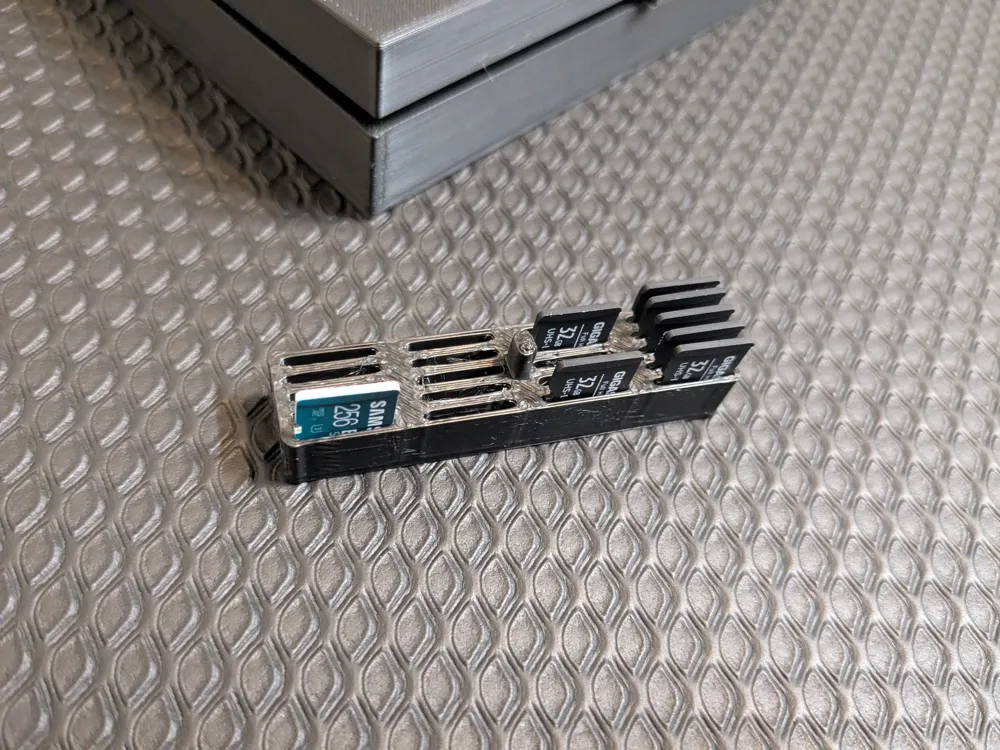
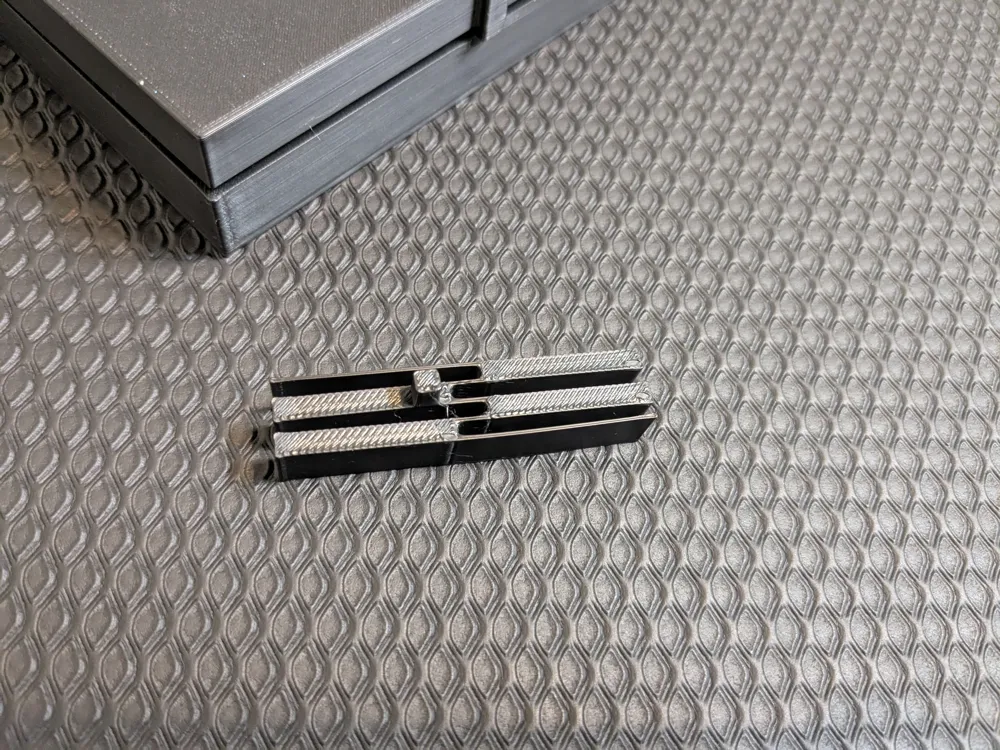
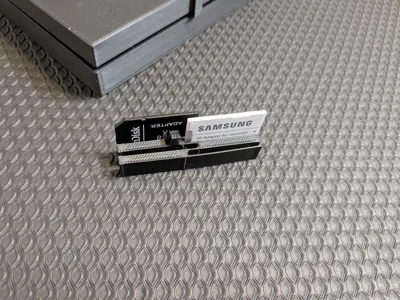
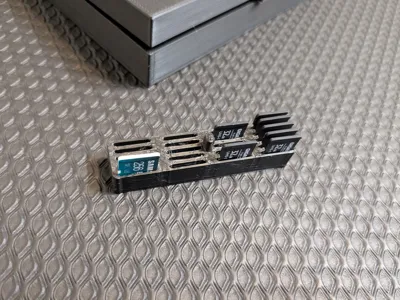
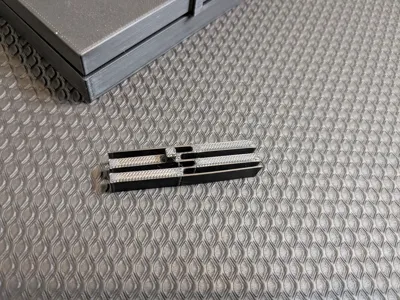
Includes optional inserts for holding SD cards and microSD cards. These automatically adapt to the length and width of the compartments and cannot be customized; they may not work properly if the main compartments are made smaller in any dimension, but should work fine with bigger compartments.
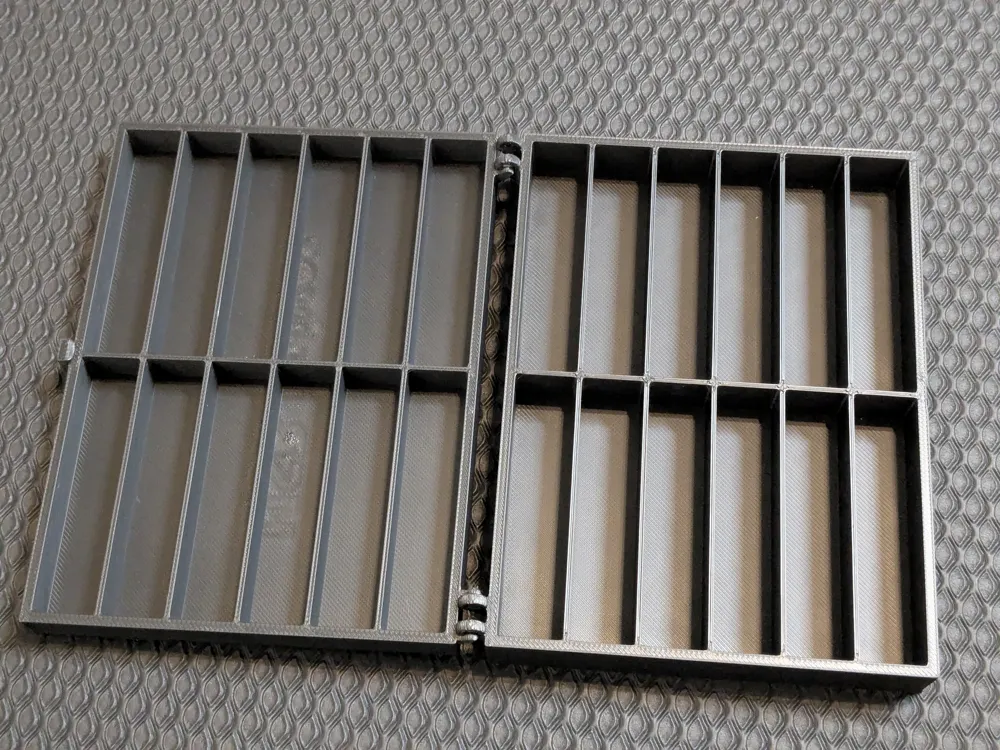
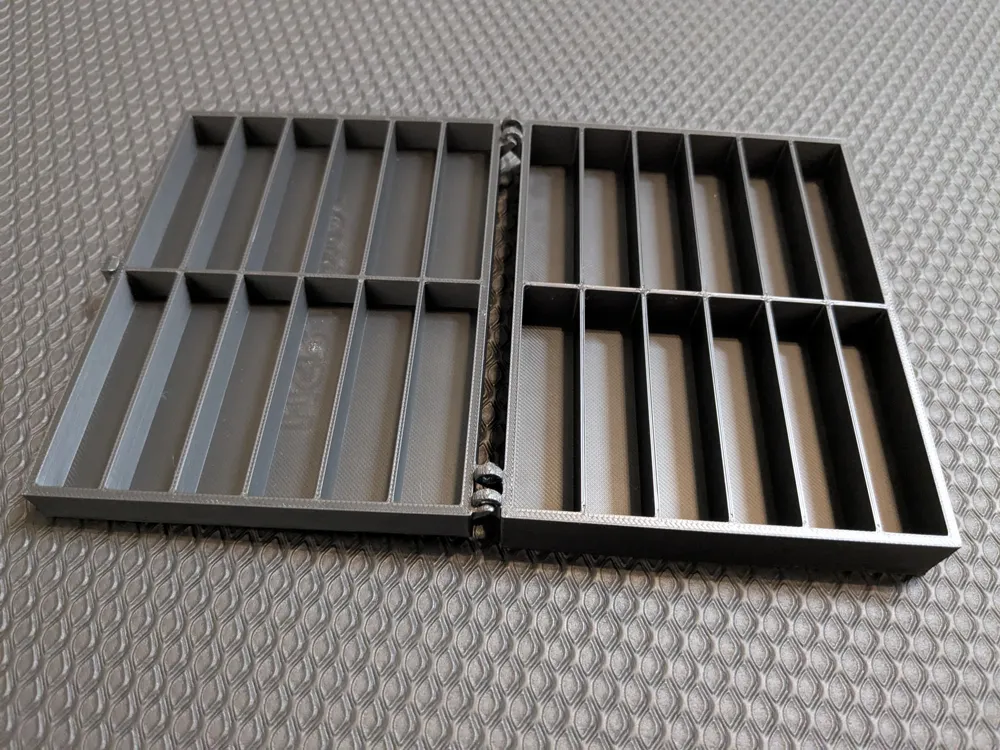
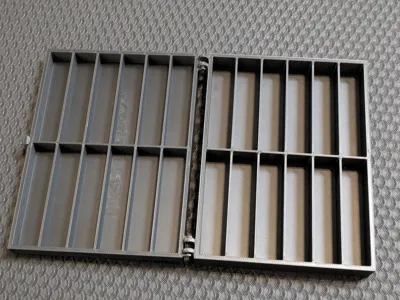
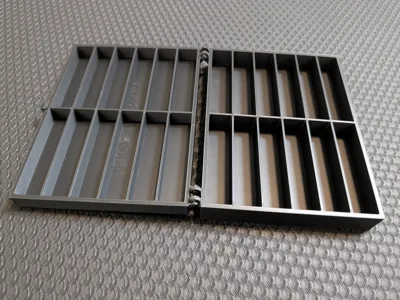
The provided print profile model features 12 compartments (2 rows of 6) with each compartment measuring 60x14x24mm, which should be large enough to accommodate the majority of USB drive models.
Update 9/6/2025: Fixed an issue when the compartment length value was too small; added parameter to control depth of lid compartment walls.
Customization
The size and number of compartments can be customized, along with various wall, top, and bottom thicknesses. I've tested a wide range of values to try to ensure that anything that'll fit on your print bed should generate properly. Though the small hinges may not work well for particularly large boxes.
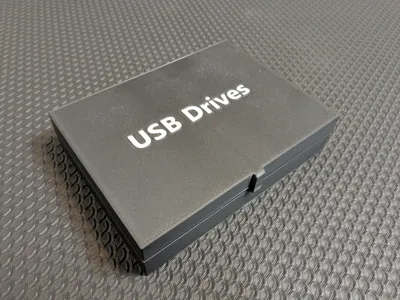
The text is NOT customizable through the website (because Fusion does not support parameterized text). I added it using the slicer. If you make a custom box you'll have to similarly add the text yourself.
Printing Instructions
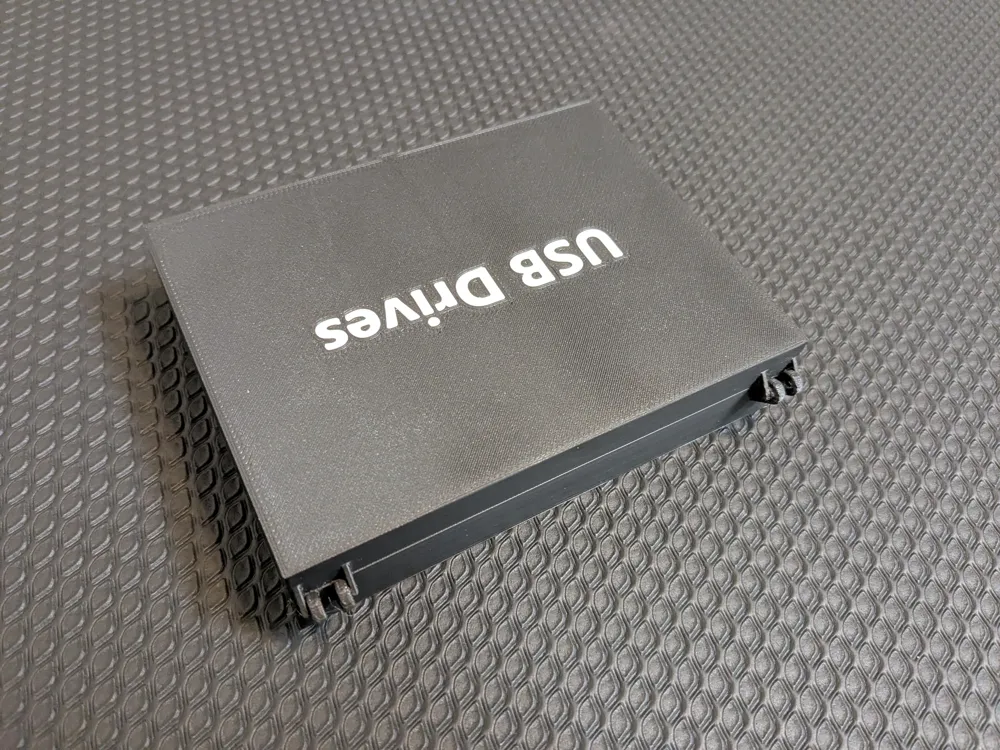
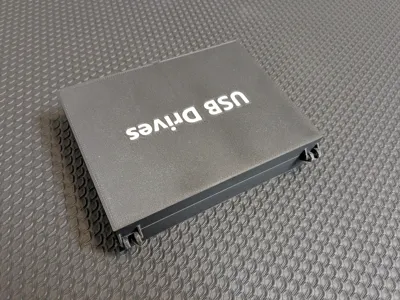
For some reason the hinges need to be pointing to the right when printing, at least on my A1 printer. When facing left they always came out messy and badly-formed, and I'm not sure why. Refer to the orientation in the provided print profile.
I've only tested the hinges when printed at a 0.2mm layer height; they may not print as well at larger layer heights.
Assembly and Use
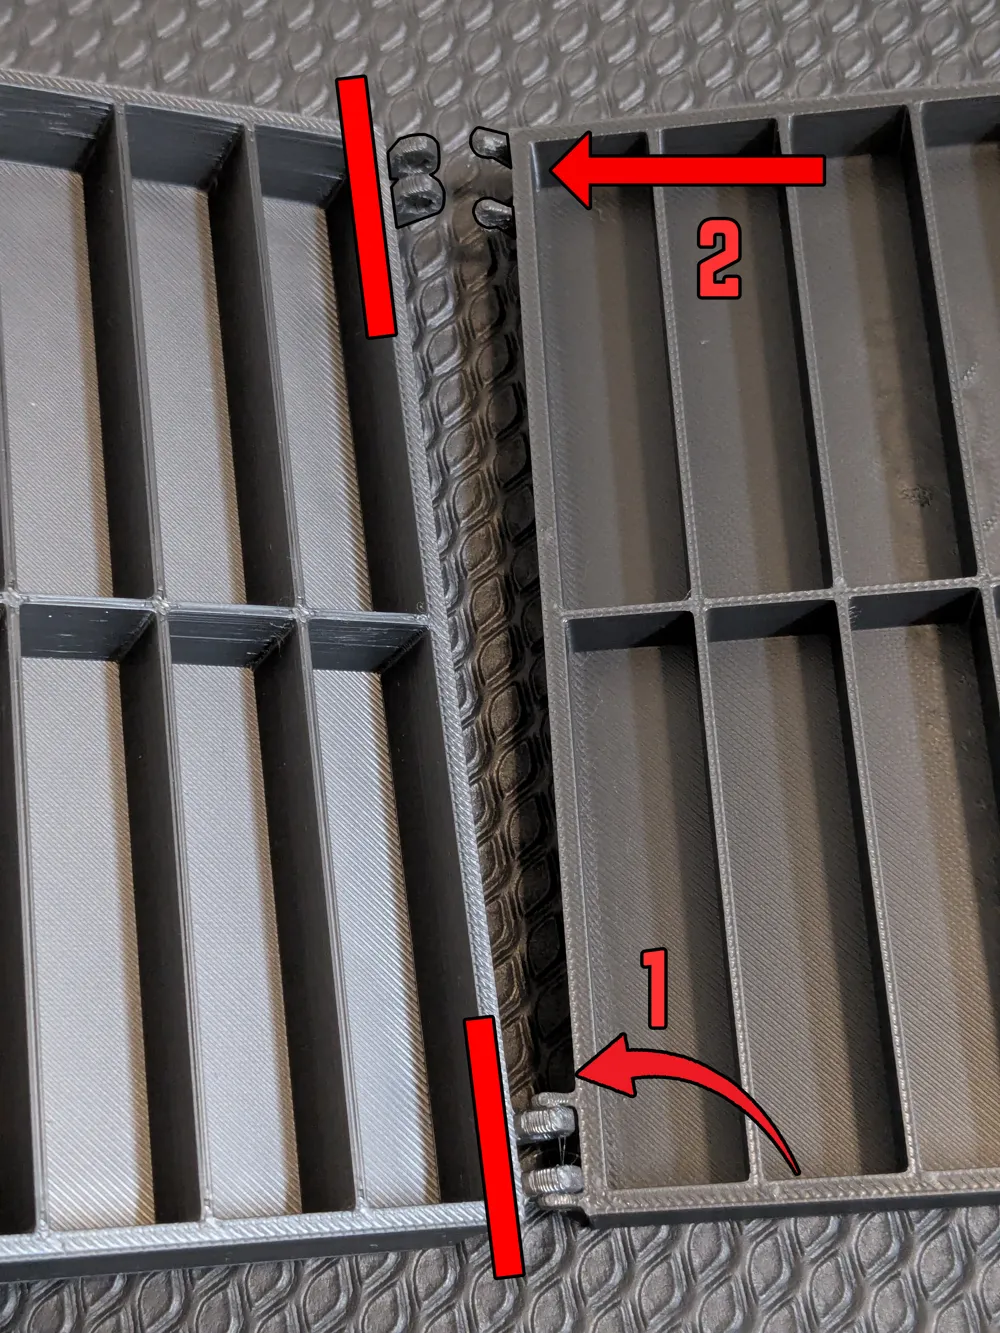
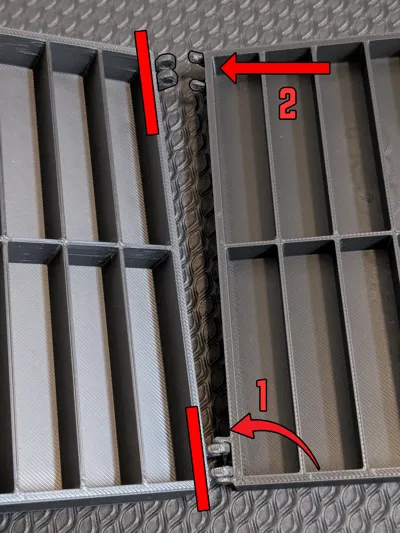
The top and bottom just snap together at the hinges. Carefully snap one hinge together in a slight rotating motion, then press the second hinge straight together. The second hinge will require a bit of careful force.

The printed latch is fairly strong to ensure the box doesn't accidentally come open. You may need to gently press the lid forward and the bottom backwards at the same time while opening to get it to unlatch.
Boost Me (for free)
Like it? Leave a like.
LOVE it? Boost it!
License
As of 3/29/2026 this model is now published under the CC-BY-SA license
License



Comment & Rating (75)