
Anduril - Flame of the West
Print Profile(3)



Bill of Materials


Description
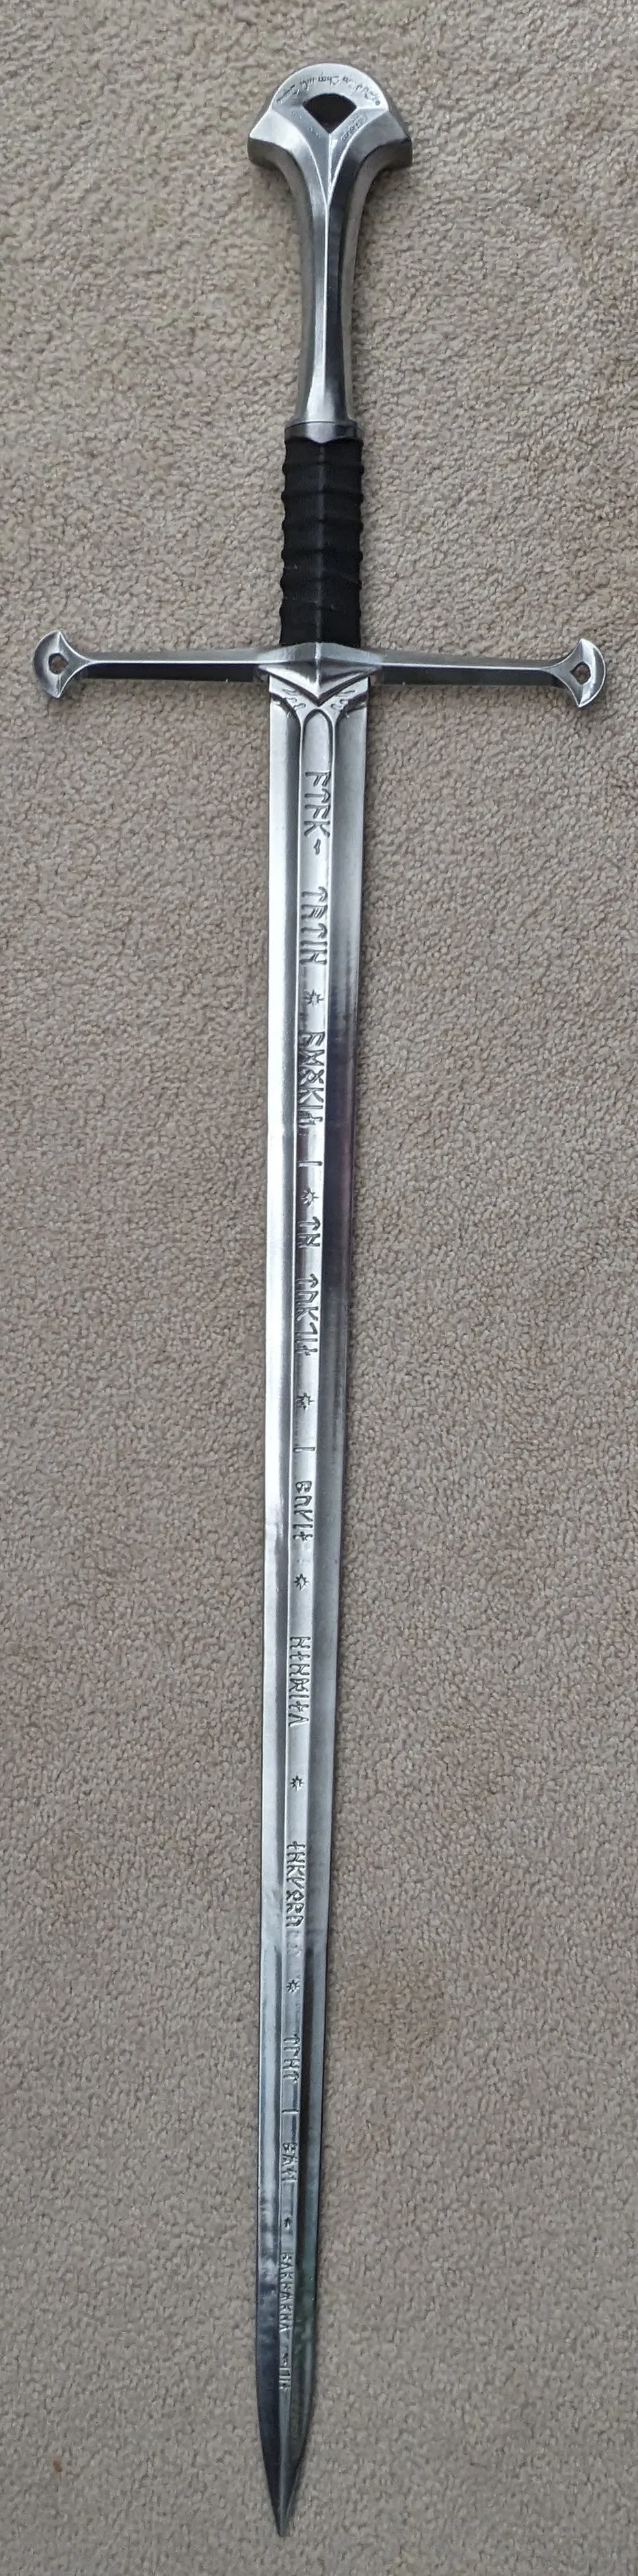
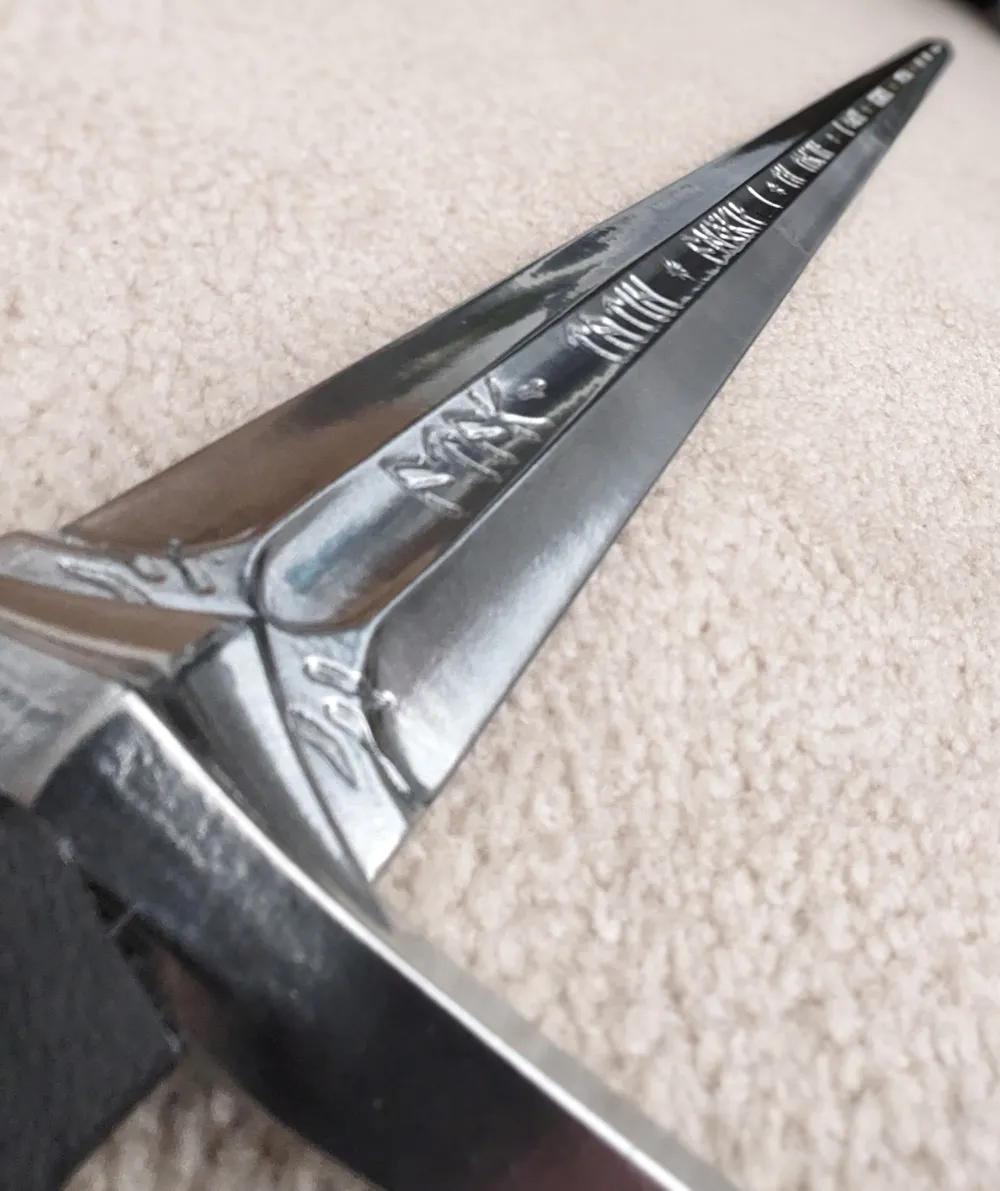
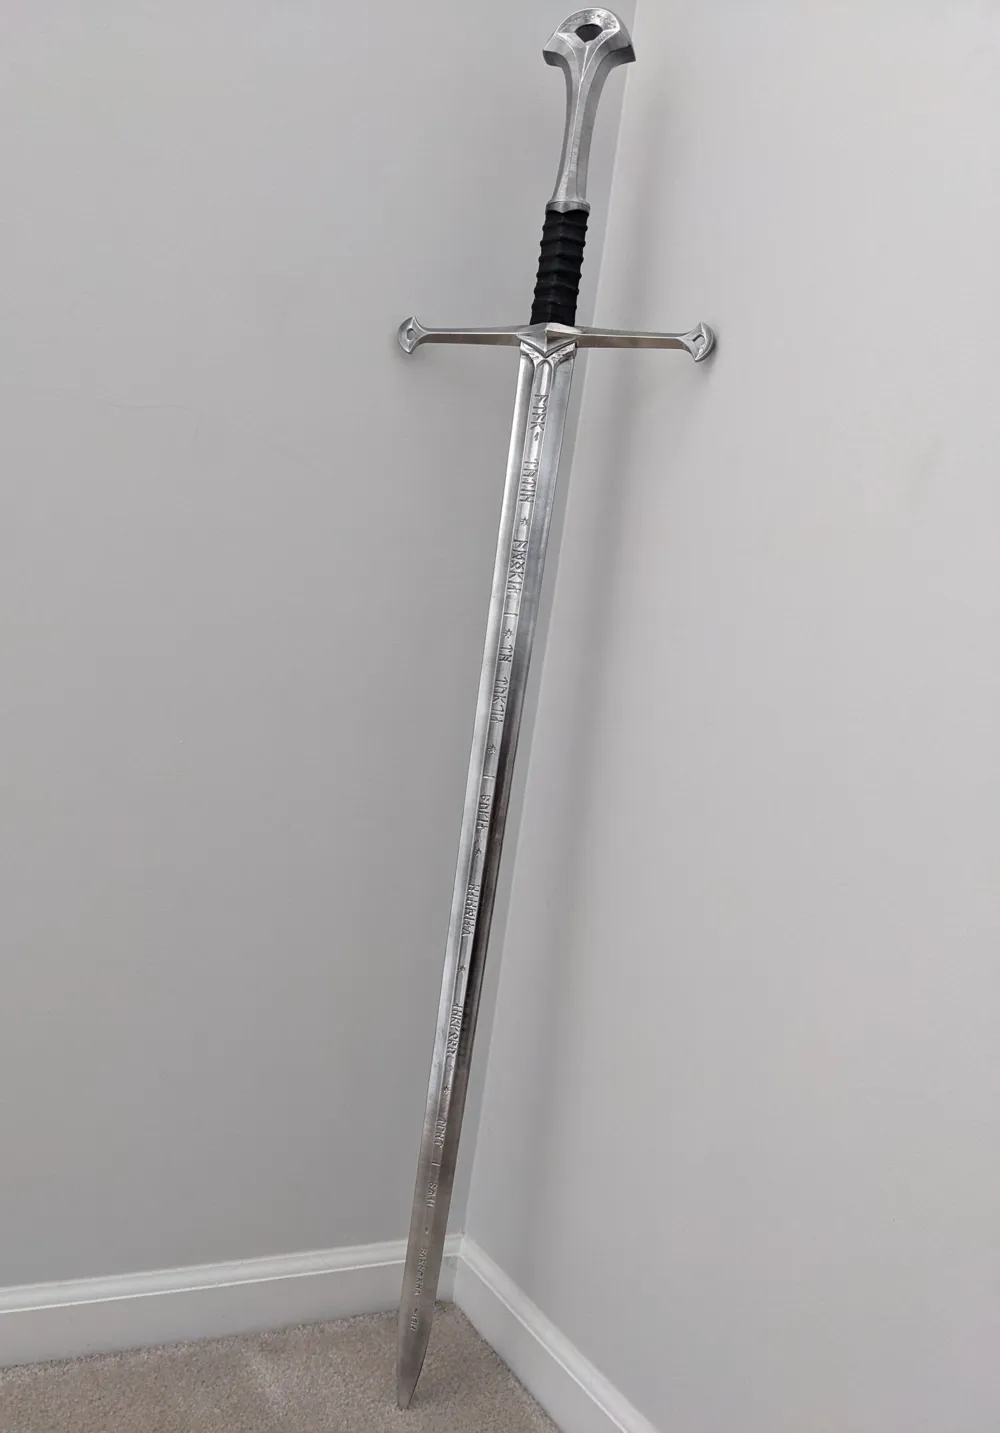
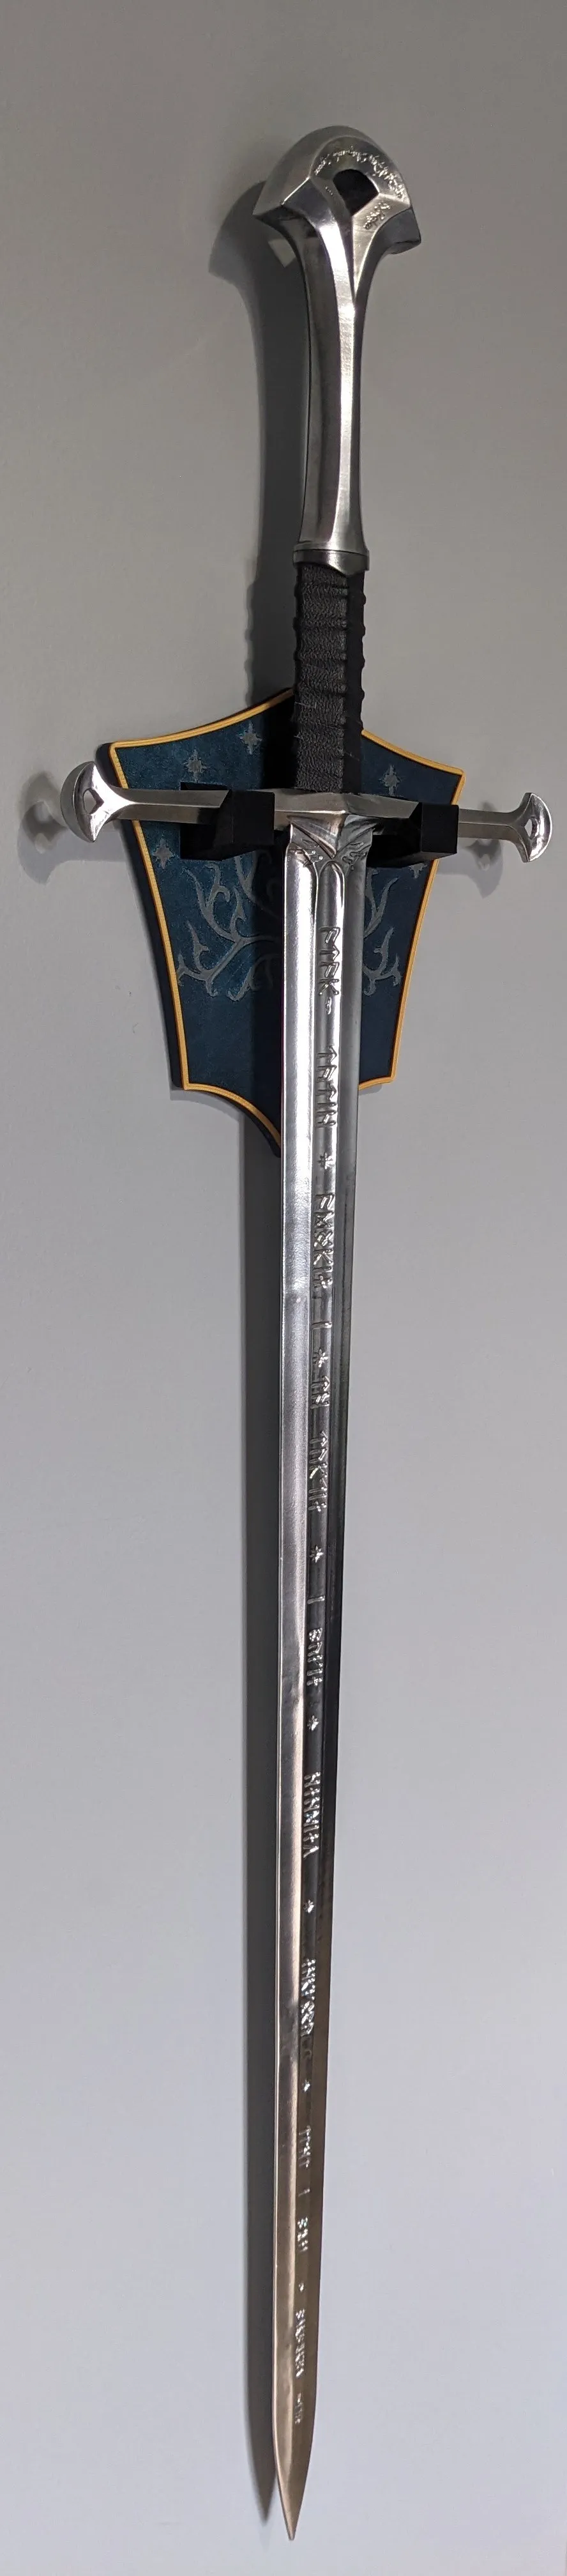
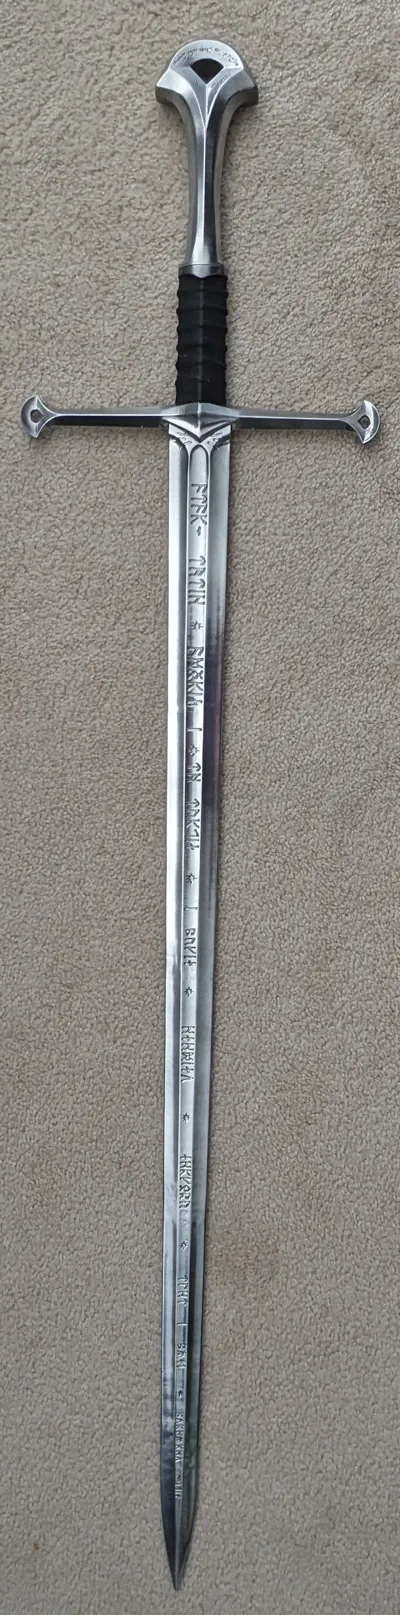
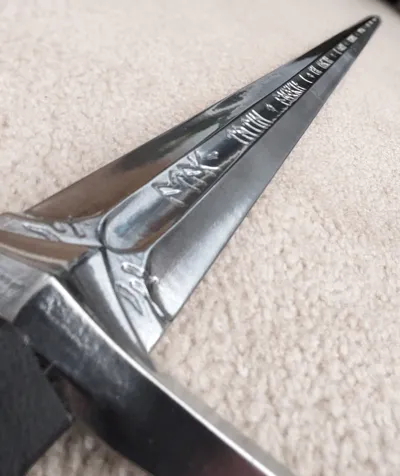
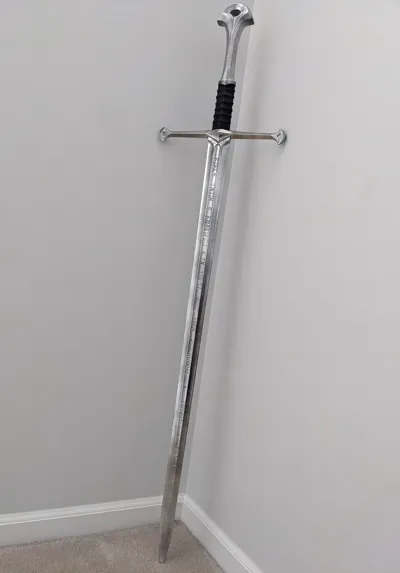
While there are a few models for this sword out and about, I didn't like the look or accuracy of them. Instead, I set out to build my own as movie accurate as possible. This means we have a very thin blade--meaning this is essentially a pure prop and not really meant for using a fake sword. This build makes use of the entire build height of a P1S--so sorry mini owners. I spent days and days post processing this, but it would still probably look cool in silk silver/grey and black PLA.
Build Guide
The best thing for gluing that I can recommend is gorilla glue gel CA and baking soda. I will reference this multiple times below because this allows the most working time and the strongest post-gluing hold. Do not over use either glue or baking soda or you will end up either either over flow or something that sets too fast and not allowing for the placement to be where desired. A thin spread of the gel glue works wonders and you don't want any pockets of baking soda in crevices that might cause a part to bind before being in place.
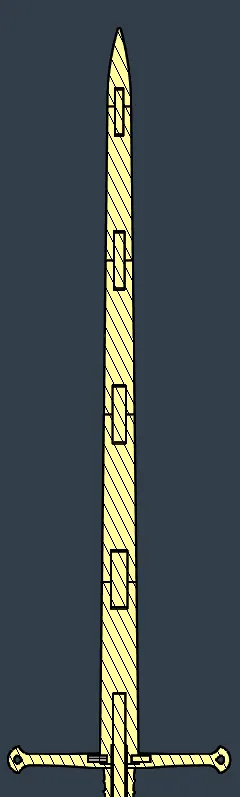
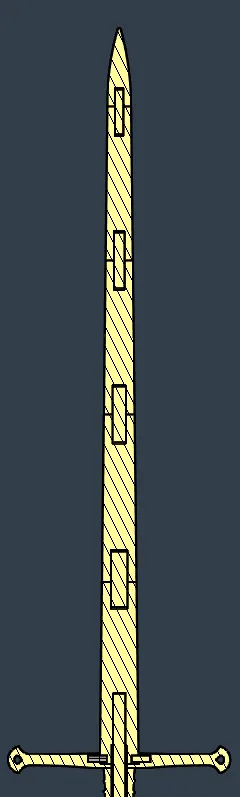
- The blade can be assembled relatively with ease. Between each blade section is a corresponding blade connector. The best way to attached them is the following:
- dry fit all parts to ensure no issues with dimensions after printing
- when ready, use a brush to scoop a small amount of baking soda into the top hole of the bottom blade piece.
- brush the inside of the hole with the baking soda, then pour out and tap the piece to remove any extra
- add a small amount of CA glue to the bottom of the connector and spread thinly (try not to go higher than where the connector will be inside of the lower blade piece), press into place and hold for a few seconds
- add baking soda to the top piece hole the same as step b
- add a small amount of CA glue to the top of the connector and use a toothpick to spread a very thin portion on the bottom of piece
- place the top blade part into position and hold tightly for several seconds; repeat for each section
if planning on sanding or filling--wait at least 24 hours for full cure
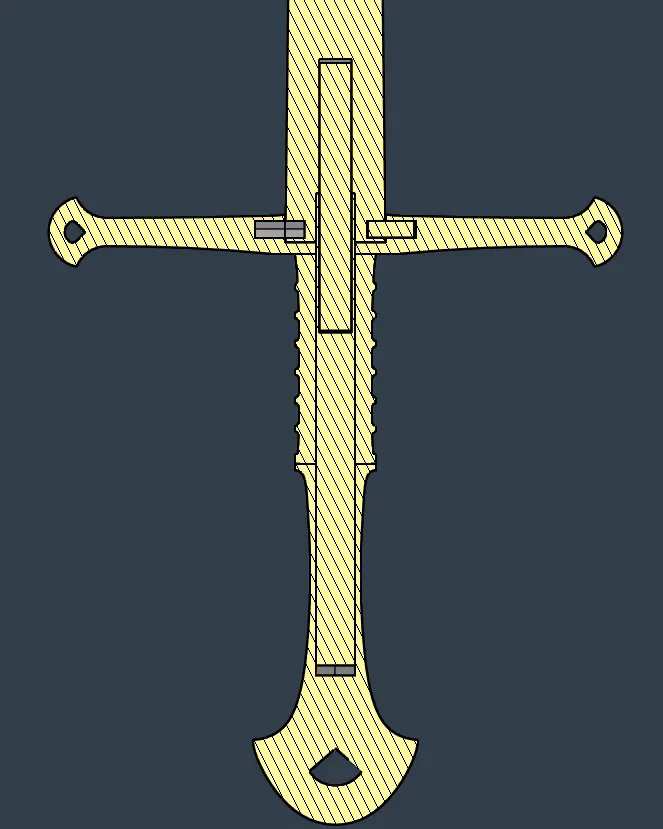
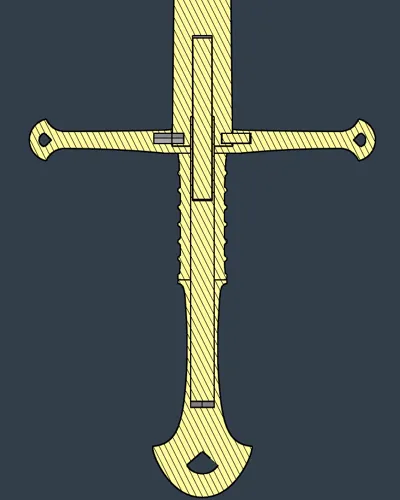
The guard assembles side to side since this print orientation yields the best looking pieces. There are small pegs that connect the two halves together and larger pins that connect each guard half to the bottom part of the blade
- dry fit the parts to make sure the pieces are not warped or that dimensions are not off
- if not using my profile, I highly suggest to use a brim here as not doing so can lead to small warps which will then be very noticeable when putting everything together
- use the same baking soda technique to glue the pins in place (small set on one side and larger on each side)
- when ready to connect the two halves, make sure everything is aligned before adding more glue
- I found it was best to add glue to the guard parts that will touch the blade pieces and spread some baking soda on the blade portion
- on one side of the guard, add a very small amount of glue and on the other brush on a small amount of baking soda
- press fit the two halves together and hold to ensure both sides bond to the blade and each other
- dry fit the parts to make sure the pieces are not warped or that dimensions are not off
Once the guard and blade and cured, glue in place the top tang
- dry fit to ensure dimensions are okay
- the upper tang is printed flat to ensure the layer lines are not easily broken during any flex.
- because of this, some filament with over-extrusion could cause the thickness to be slightly too much and not fit into the the bottom of the blade
- if this happens, throw the top tang into the freezer for 5 minutes and try again
- if everything fits without being permanent due to over-sizing, baking soda works great here to make things sturdy and permanent
- add a small amount of baking soda into the hole and thinly spread glue on the top of the top tang then insert and hold
- dry fit to ensure dimensions are okay
The lower tang slides over the top tang and sits between the two halves of the guard
- dry fit to ensure no issues
- add glue the top tang portion and guard hole and use baking soda on the lower tang side
- slide the lower tang in place and hold it inside of the guard recess
- once set, glue the pommel screw into the lower tang recess using the same technique (this can also be done first)
- let cure for 24 hours
- The upper and lower handle portions then slide over the lower tang and can be glued in place using a similar approach as above
- the top handle should have a little glue added to the top face to set against the two halves of the guard
- there are two print possibilities for the upper handle: you can either print the upper handle and the lower ring in one piece or you can print them separately (the separate portions are on different plates in case someone wants to print them in a different color). I personally printed them together and just taped it up when painting--though wrapping in fake leather
- the bottom handle slides up to meet the bottom of the upper handle
- this piece is printed vertically for best print layer lines and because it is hollow to slide onto the tang.
- printing vertically means heavy supports that may need to be cleaned up quite a bit as the overhangs are quite steep
- the top handle should have a little glue added to the top face to set against the two halves of the guard
Optional Wall Mount
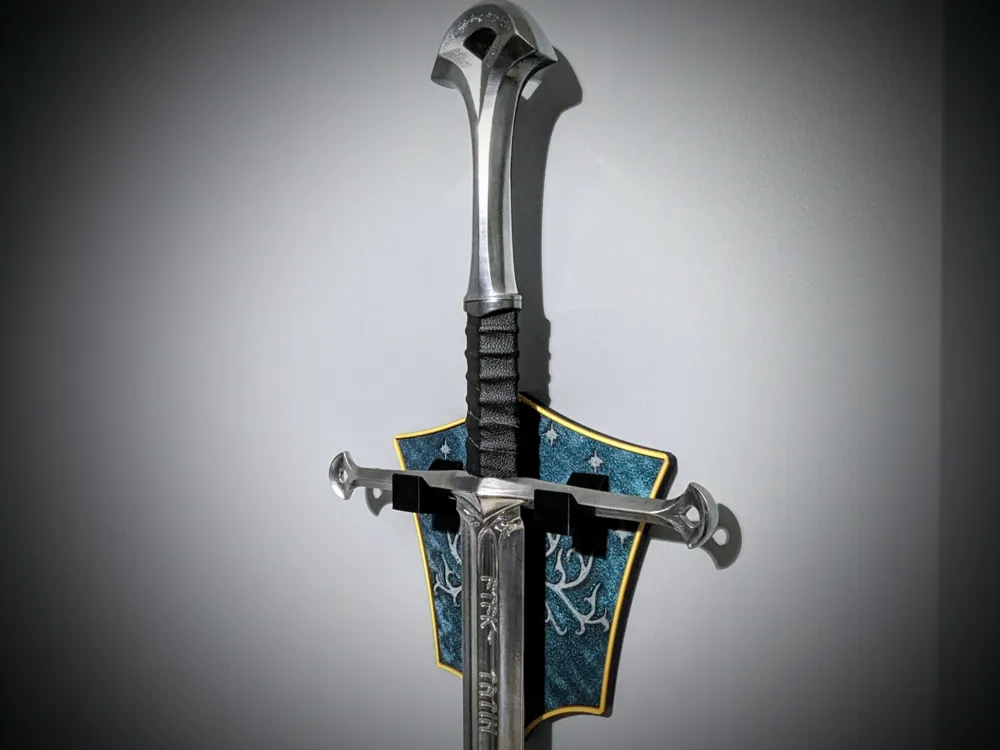
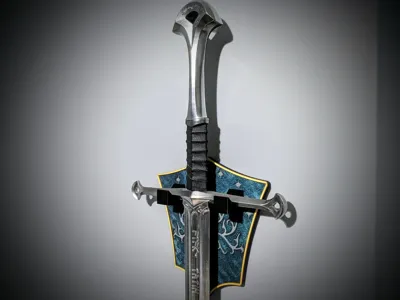
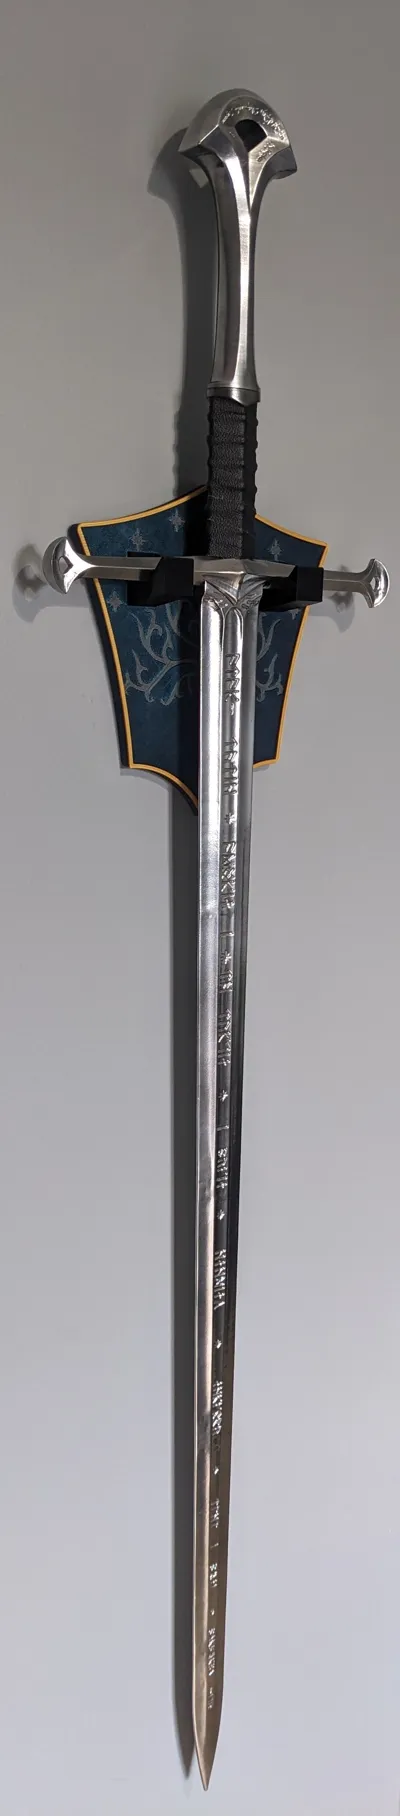
I have uploaded another print profile that represents a wall mount option for this sword. The mount is representative of the tree of Gondor. This print is fairly straightforward, but there are a couple of caveats
I prefer to not drill holes in my wall, so I have designed a hook that replaces the medium command hook piece and allows for integration into the back of the print. This allows the the print to be mounted directly onto the command hook (you can see more here and download the PETG version or step file: https://makerworld.com/en/models/1609907-command-hook-for-medium-desinger-hooks#profileId-1698085)
- this piece is best printed out of PETG since it won't creep with the constant stress
- the hooks are rated for 1.3 kg and the sword and mount together are just under 800 g
Each cross-guard mounting bracket attaches using one M3 x 10 screw (top) and one M3 x 30 screw (bottom)
- If it seems like it is taking a little effort to get the mounting brackets into place, the best way is to place the bottom into position and then push down and back until the top is over the lip and set in place--then the brackets can be screwed into place.
License

You shall not share, sub-license, sell, rent, host, transfer, or distribute in any way the digital or 3D printed versions of this object, nor any other derivative work of this object in its digital or physical format (including - but not limited to - remixes of this object, and hosting on other digital platforms). The objects may not be used without permission in any way whatsoever in which you charge money, or collect fees.


Comment & Rating (205)