
H2D Motor Controller (MC) Cooling Fan Array
Print Profile(1)

Bill of Materials


Description
Summary
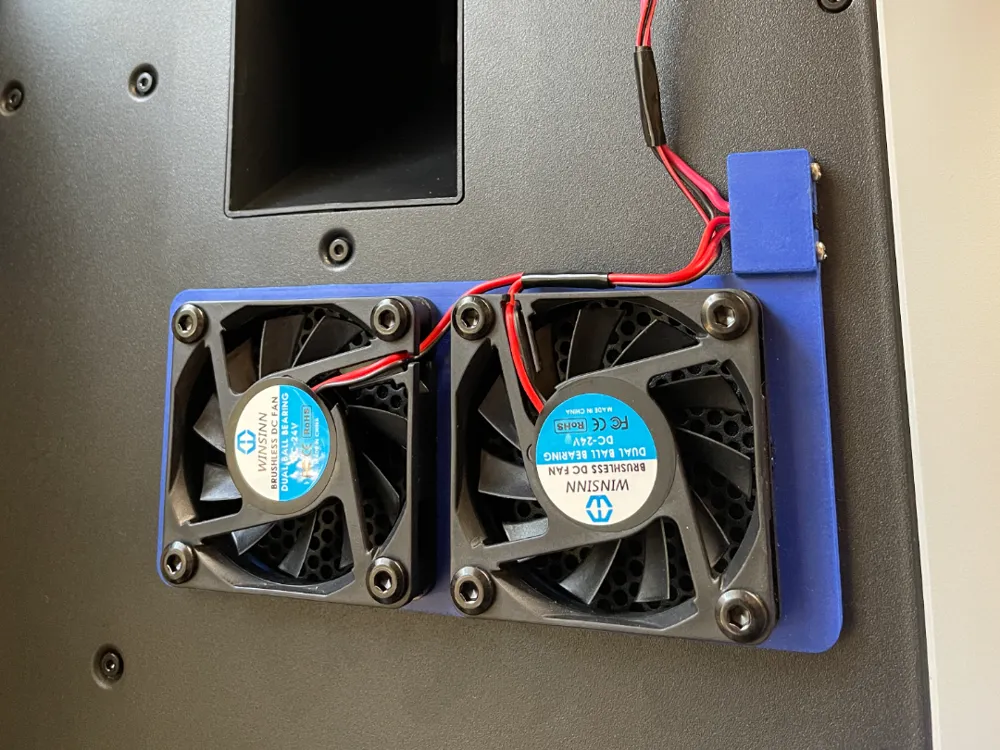

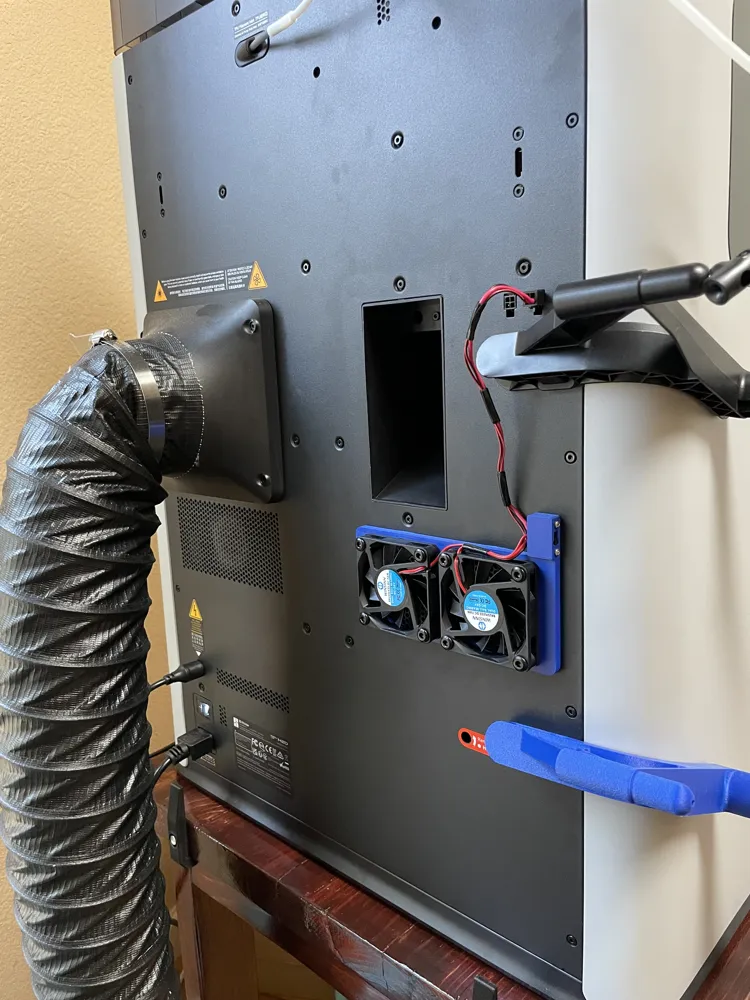
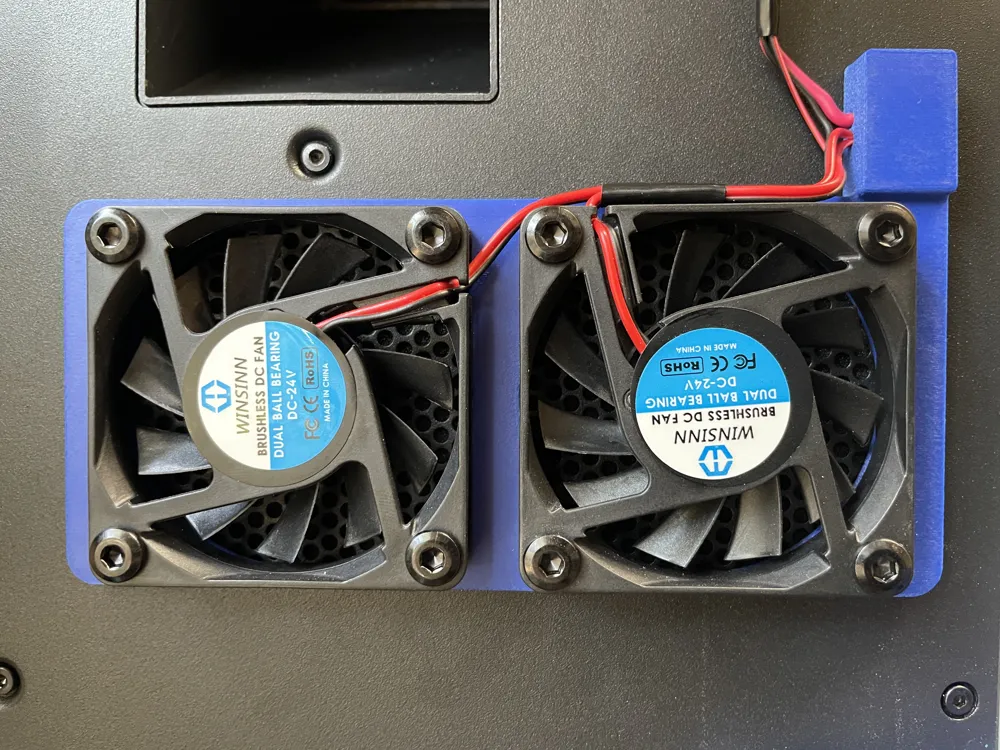
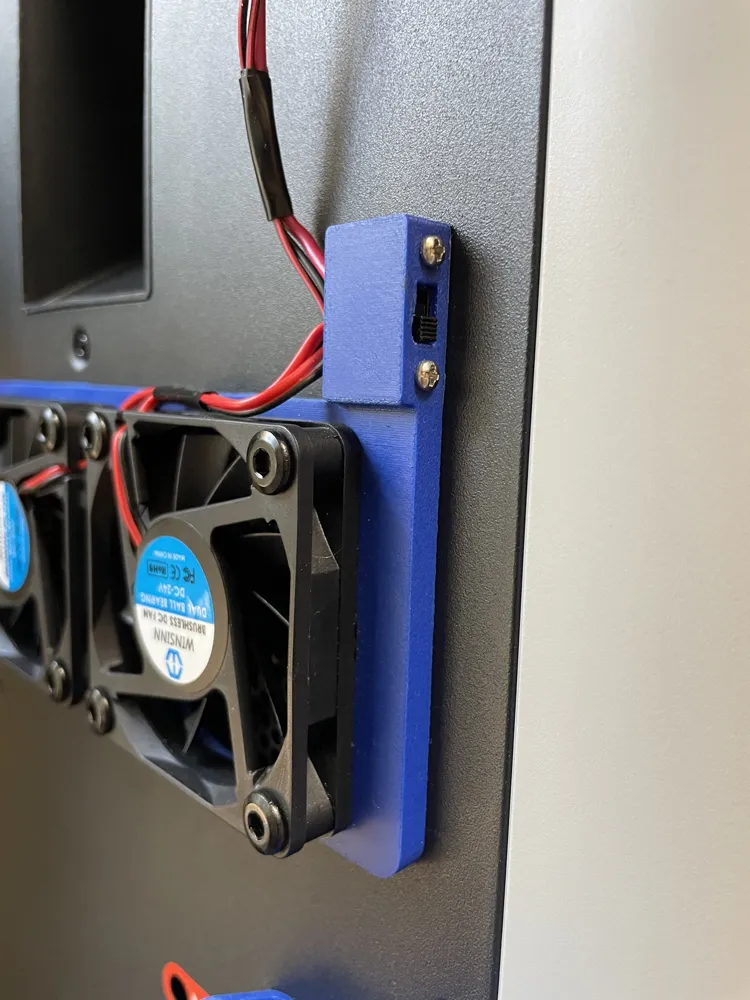
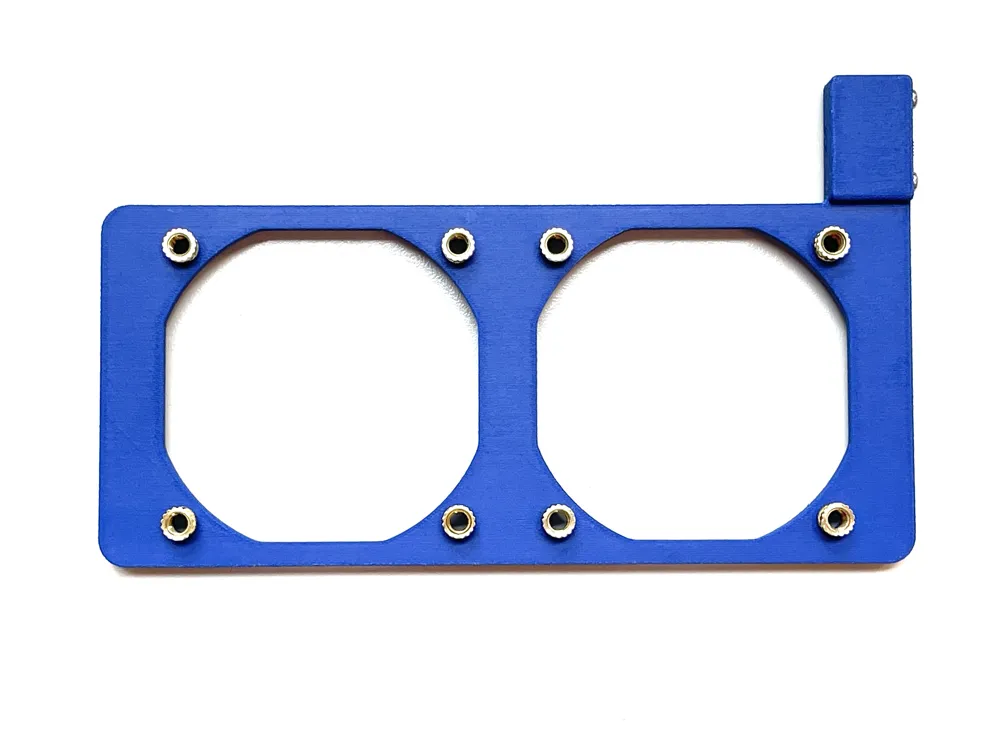
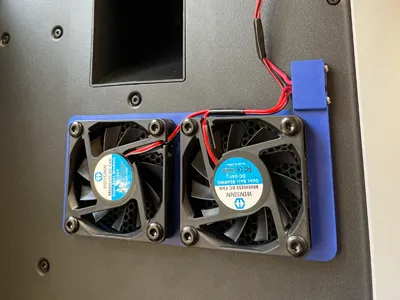
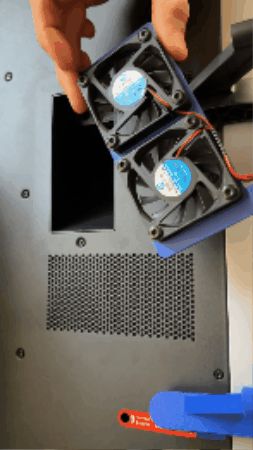
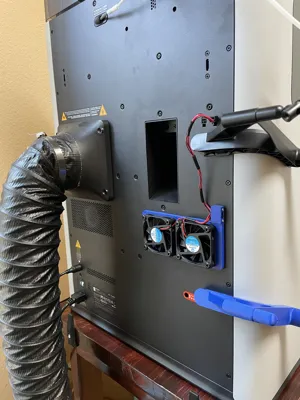
This cooling fan array allows you to print with your H2D at higher chamber temperatures (65-80 Celsius). A common problem with increasing chamber temperature on the H2D, is that the motor controller (MC) module overheats, and then the XYX motor MOSFETS enter thermal protection mode, which causes the XYZ motors to lose steps. This array attaches directly to the MC module heat exhaust vent, and plugs into the pre-existing connector on your printer. It extracts more heat from the MC module, thus allowing your printer to tolerate higher chamber temperatures. This is a great upgrade, especially for those seeking to increase the strength of their high-performance filaments, such as PPA-CF and PPS-CF. Bambu states increasing chamber temperature as a viable method for increasing the strength of these filaments on their TDS > “If higher chamber temperature were used (i.g., 70 - 80 °C), higher mechanical properties would be obtained, especially the Z-direction's.”.
Material
- Super glue
- M4x4 (Bolt x Length) threaded heat inserts https://www.amazon.com/gp/product/B0D44KYF8G/ref=ox_sc_act_title_1
- 6x2mm (Diameter x Height) magnets https://www.amazon.com/dp/B096LYVGPS
- M2x0.4x3 bolts/screws (longer than 3mm is OK too) https://www.amazon.com/dp/B07YCCTHYF
- Slide ON/OFF switch https://www.amazon.com/dp/B0799R529Z
- Two 24V DC fans https://www.amazon.com/dp/B08R9HM57Q
- 4-pin connector https://www.amazon.com/dp/B08KTDX3P4
- 20-gauge wire https://www.amazon.com/BNTECHGO-Silicone-Flexible-Strands-Stranded/dp/B01F8PO6VK/ref=sxin_15_pa_sp_search_thematic_sspa
- M4x0.7x15 bolts https://www.amazon.com/dp/B0DKXDWGXC
- Common tools, such as soldering iron, wire strippers, electrical tape, screw driver, etc.
Instructions
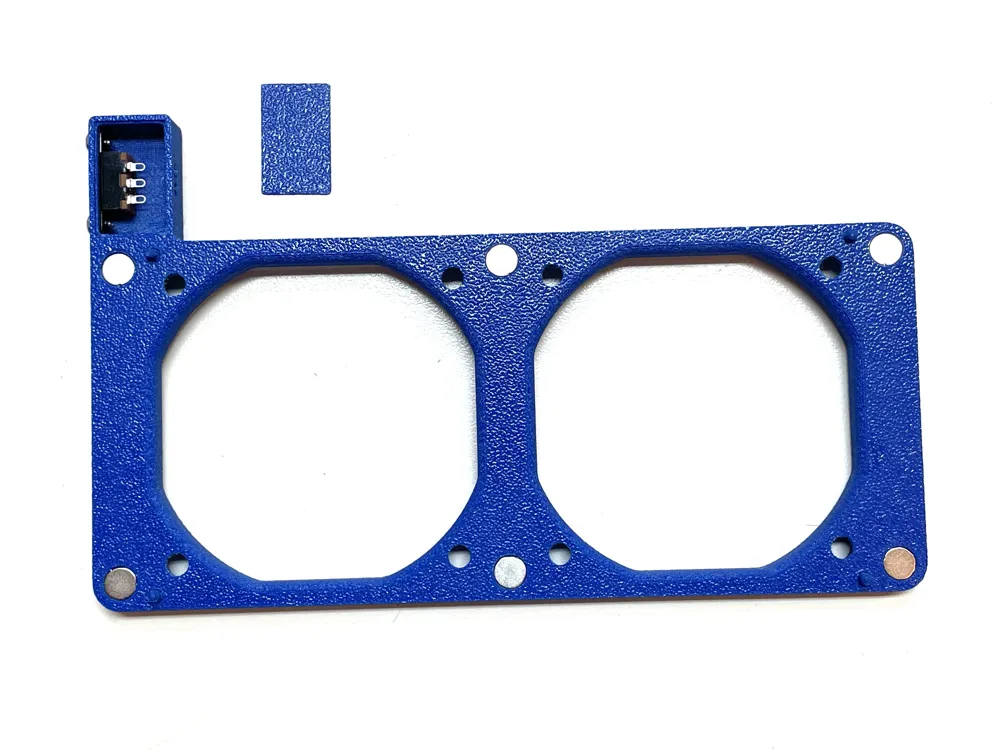
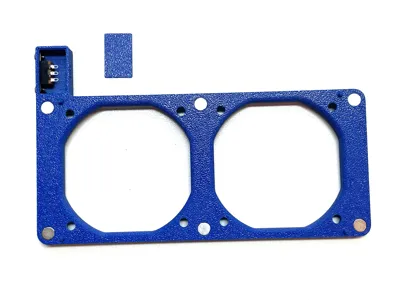
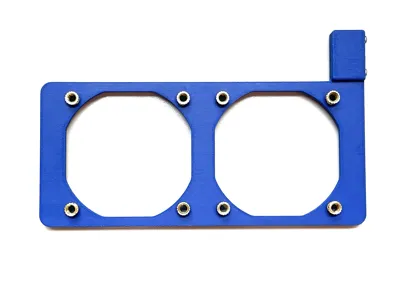
- Insert 8 heat inserts into the front with a soldering iron.
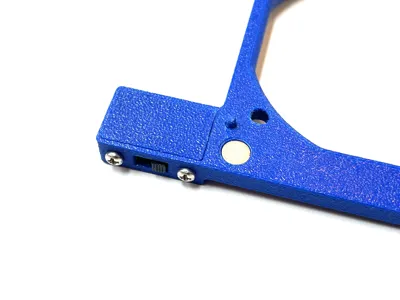
- Press 6 magnets into the back. Should press in tightly, if not, use superglue.
- Glue 4 printed alignment pins into small holes on backside. If you printed with supports, the holes might be hard to locate from remaining support material.
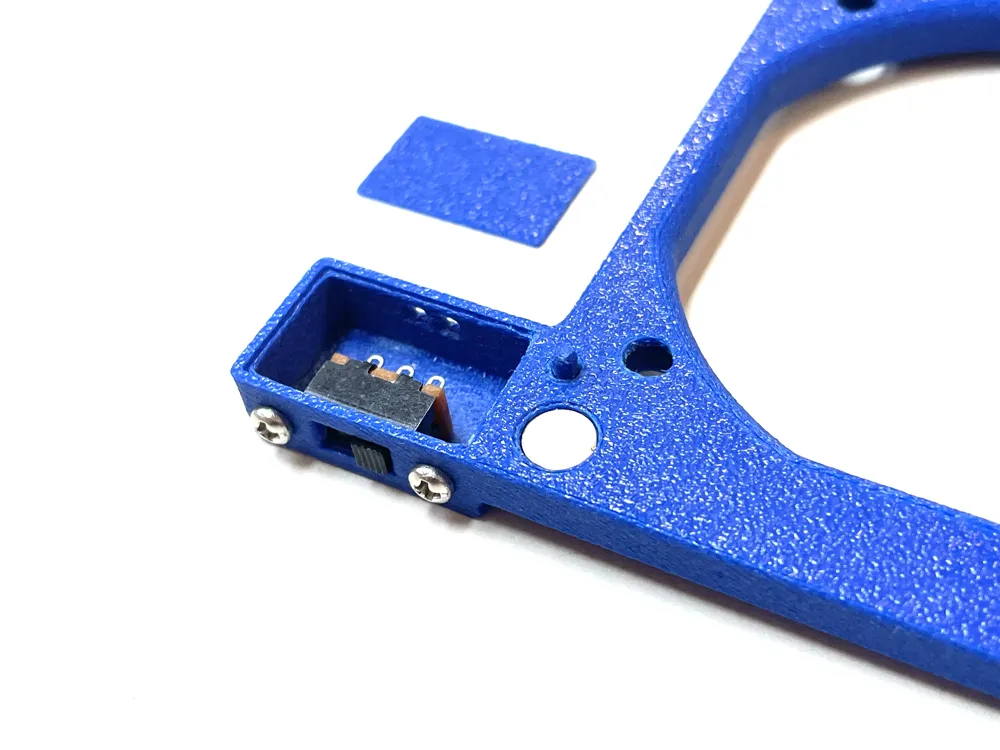
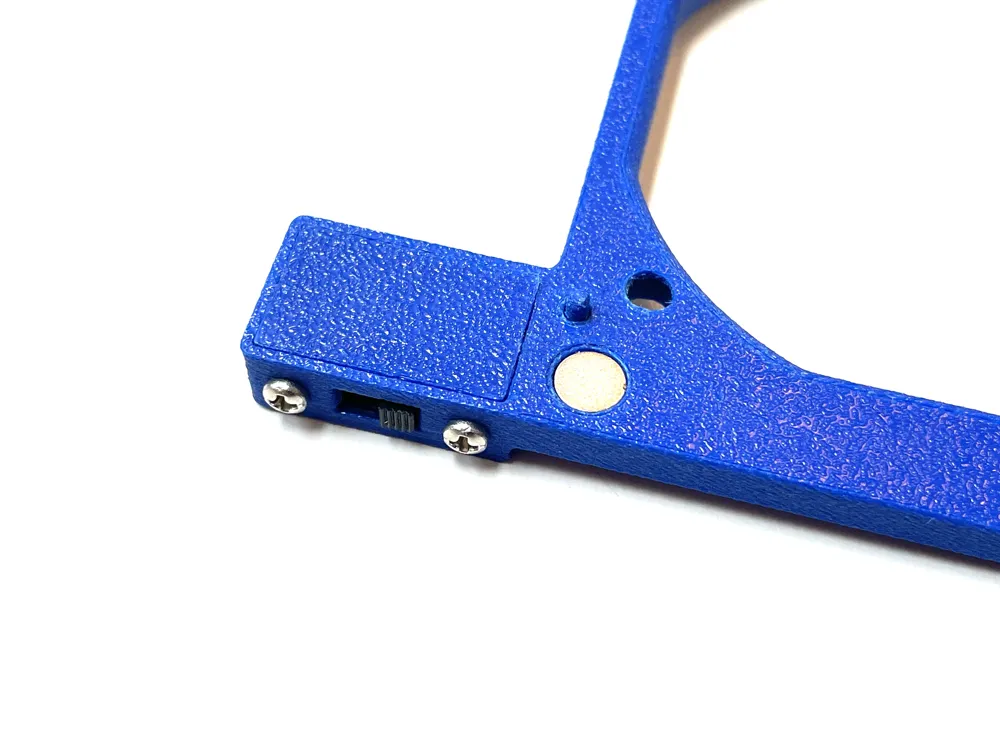
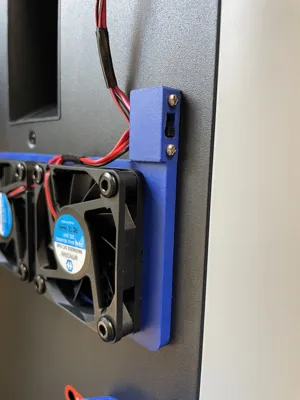
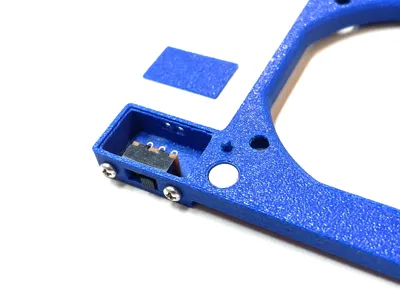
- Attach switch with screws (see pictures).
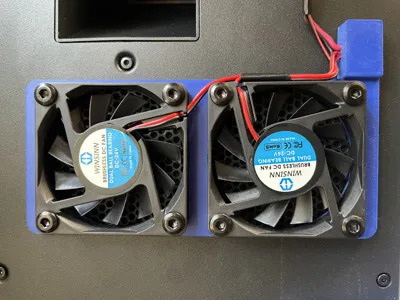
- Attach fans.
- Lead both positive (red) wires from the fans, through the provided hole (save the other hole for the exit wire), to the center switch connection, and solder into place. If the hole is too small, it may be drilled or cut to be larger. You will have to cut and strip the existing connector on the fans, and will have to cut wires to length as you see fit. Take your time, and make sure your lengths and connections are all correct before cutting or soldering.
- Turn off your printer.
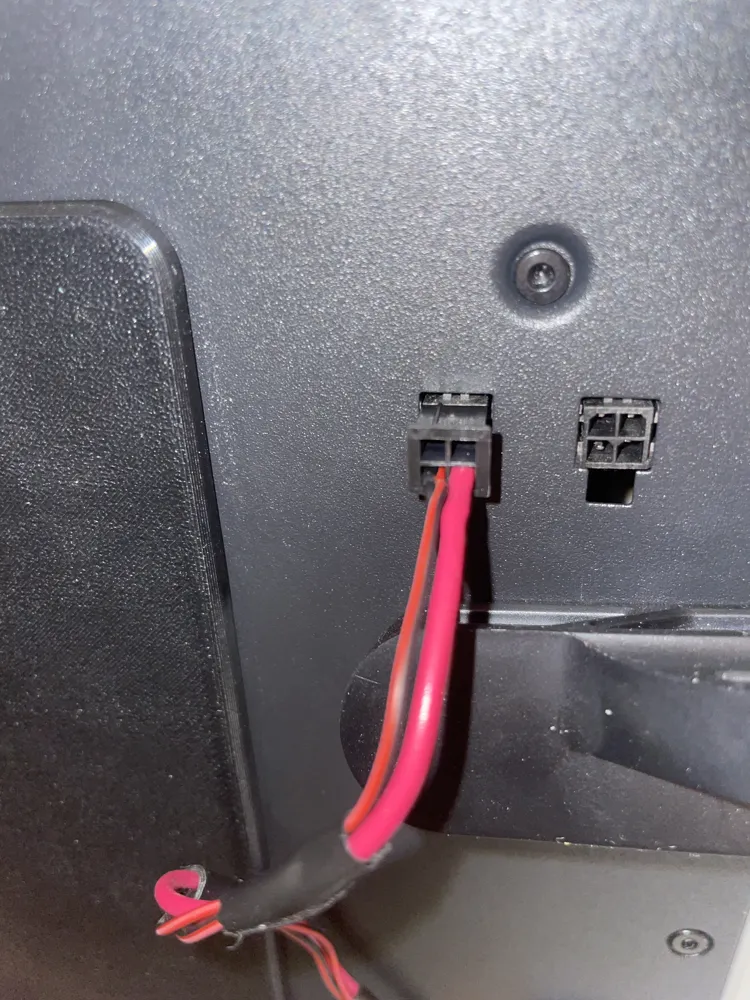
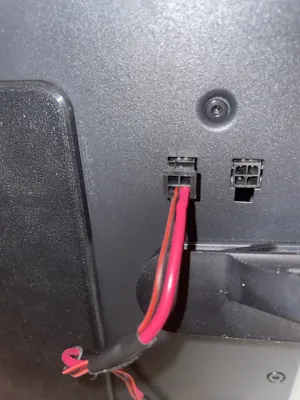
- Lead a new (not yet connected to anything) red wire from the top switch connection, through the exit hole, all the way to the plug-in connection on the printer. Do not make any connections to the printer yet. There are two plugs on the printer (see pictures), you can use either one.
- Lead the negative (black or sometimes black & red) wires from the fans to the plug-in connection on the printer. Do not make any connections to the printer yet. At some point along the wiring, these two back wires should be spliced together. For convenience, I chose to do this at the connection that plugs into the printer (crimp both black wires onto the same pin)
- Crimp the negative and positive wires each respectively to a female metal pin that comes with the 4-pin connector.
- On the male plastic plug (the one with the release tab), with the tab oriented towards the bottom and the inserting-end facing away from you, insert the negative (black) wire/pin into the bottom left slot, and the positive (red) wire/pin into the bottom right slot (see picture).
- Turn your printer on, and verify that the fans turn on with the switch in the up position, and that air blows outward.
- Attach everything to your printer, and verify that you're satisfied with all of the wire lengths and etc.
- Glue or attach the switch back-cover into place.
That's it! I recommend turning the fans on for any chamber temperature above 65C.
License

You shall not share, sub-license, sell, rent, host, transfer, or distribute in any way the digital or 3D printed versions of this object, nor any other derivative work of this object in its digital or physical format (including - but not limited to - remixes of this object, and hosting on other digital platforms). The objects may not be used without permission in any way whatsoever in which you charge money, or collect fees.


Comment & Rating (17)