Aether Moonlight Mount


Print Profile(2)


Bill of Materials

Description
Walksnail Moonlight Kit VTX + camera mount for Aether 4 FPV 3D printable Frame.
V2 is here as of 19.7.2025!
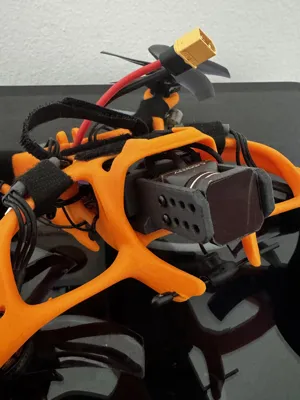
With some interation, I managed to get the Moonlight video trasmitter and camera to fit into the futuristic Aether 4 frame.
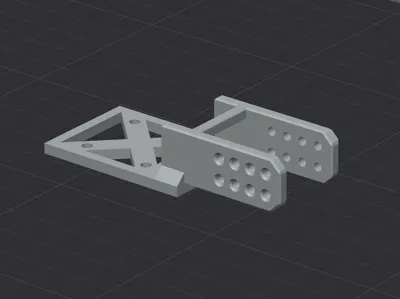
To achieve the result, I started from a Moonlight support for fixed-wing applications (Atomic Dolphin Moonlight Kit nose) by making a narrower version, cutting down the screw supports for a streamlined plate face, reinforced connection between the base plate and the camera horseshoe. By doing so, the support is thin enough that the VTX can slide into place and maintain a sturdy hold over the camera.
I would avoid printing PLA beside for testing purposes, the transmitter module reaches 100°C within few minutes even when idle on low power mode. PETG(-CF) recommended. I also thought about PET-CF, but is stiffer and more prone to snap and anyway an overkill for the thermal protection.
How to print and mount:
- Print in PETG, possibly CF. If so verify that speeds remain below the 200mm/s, if you choose other material you can go faster.
- Start by sliding the antenna in the frame, then the transmitter module for the first half.
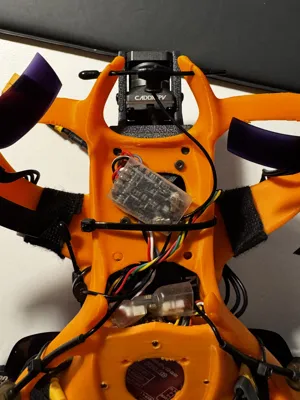
- Beneath the transmitter, slide the support base all the way in. Now the two components will barely have space to move around.
- Flip the frame upside down and use the something thin to align the module holes, with the printed support with the 20X20 holes of the frame.
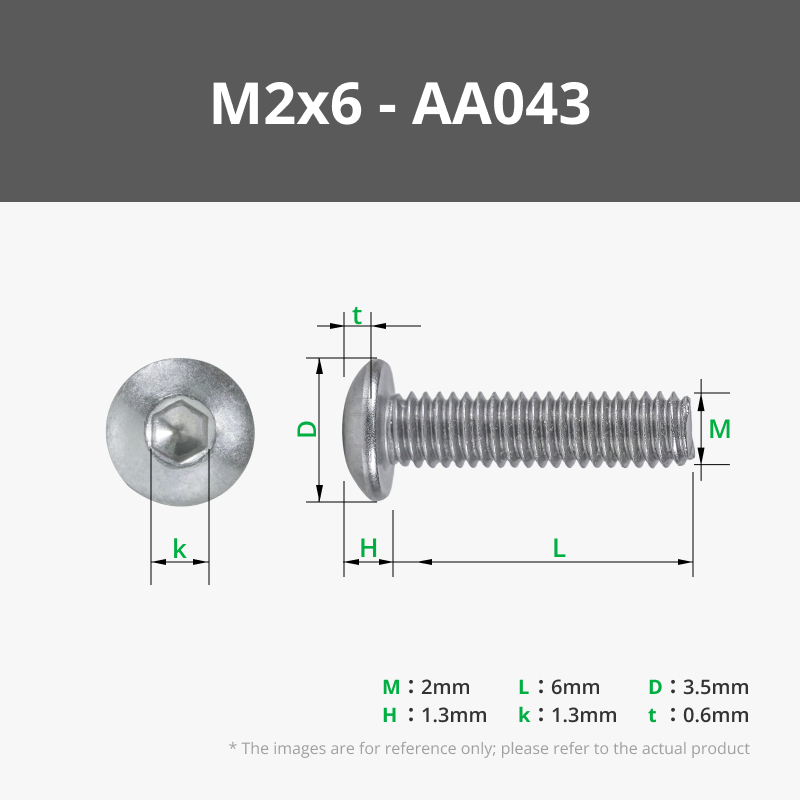
- Use M2x6mm screws to secure all together.
- If not done yet, you can now also secure the camera on the support, use the last or before the last set of holes.

How can this model be further improved:
Shorten the long camera screwing support and get the camera closer to the the module.
Adding an overhead protection for the camera top
Below the trial and error process.

Comment & Rating (17)