
Print Profile(2)


Description
🎃 Description
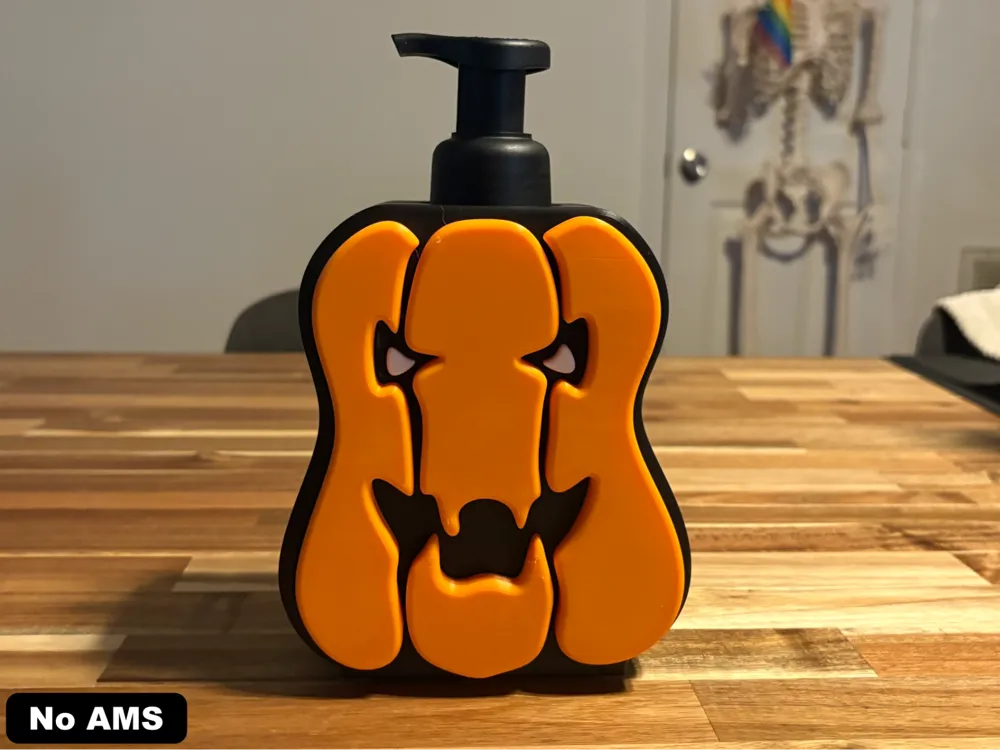
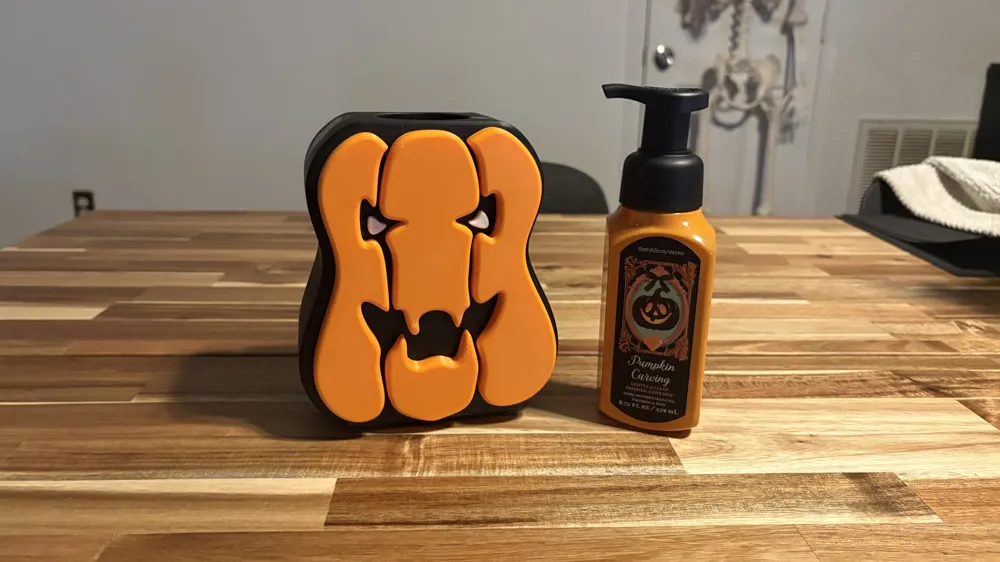
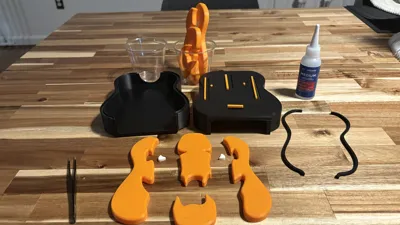
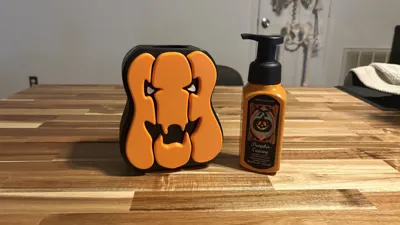
Add a dash of spooky charm (and just a hint of creepy) to your bathroom, kitchen, or classroom with this adorable Jack-o’-lantern-inspired decorative soap cover! Perfect for the Halloween season, this fun design fits over Bath & Body Works foaming soap bottles—and includes adapters for Dial and Soft Soap liquid bottles too. No AMS needed—every part prints in a single color. Some assembly is required, but it’s all part of the fun!
Boost Me (for free)
Enjoying this print? How about a boost!
🛠️ Assembly Instructions
Before You Begin:
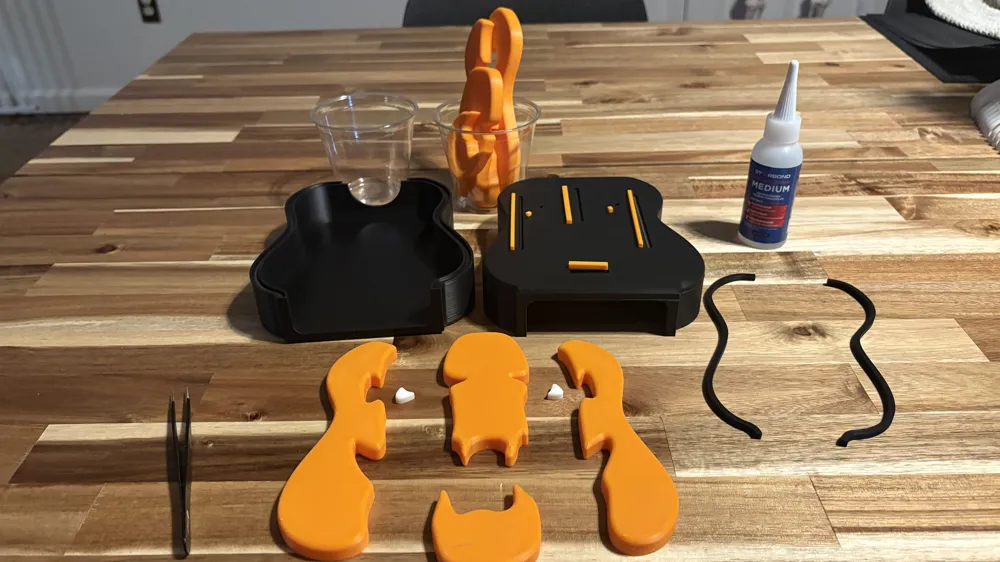
- The two shell halves are mirror images—keep them separate after printing.
- Protect your workspace with cardboard, newspaper, or wax/parchment paper.
- Always dry-fit parts before gluing to ensure a perfect fit.
🧩 Shell Assembly
- Place the right shell flat side down.
- Apply a small amount of CA (super) glue along the spline slots.
- Insert the joining splines into the glued slots on the right shell.
- Apply glue to the spline slots on the left shell, then carefully align and press it onto the right shell.
👀 Face Assembly (Left Side)
- Start with the eyes:
- They’re not identical—one has a larger mounting spline.
- Position them so the pointed ends face inward and the convex sides face the “forehead.”
- Dry-fit first!
- Use tweezers to insert the eye splines into their holes with a dab of glue.
- Add a drop of glue to the top of each spline and press the eyes into place.
- Glue the remaining face splines into their slots.
- One by one, glue the face pieces onto the splines, adding a bit of glue to the mating surfaces.
- Let everything cure.
😈 Repeat for the Right Side
Flip the cover and repeat the face assembly steps on the right side.
🧼 Final Touches
- (Optional) Stick 8 mm rubber or silicone feet to the bottom for extra grip.
- (Optional) Insert the Soft Soap adapter if needed.
- Unscrew the soap bottle pump and insert the bottle through the bottom of the cover so the threads poke out the top.
- Note: For Soft Soap and Dial, unlock the pump before inserting the bottle—it can’t be removed once inside!
- Screw the pump lid back on.
🎉 Done!
Enjoy your spooky soap cover and get ready for some festive hand-washing fun!
License

You shall not share, sub-license, sell, rent, host, transfer, or distribute in any way the digital or 3D printed versions of this object, nor any other derivative work of this object in its digital or physical format (including - but not limited to - remixes of this object, and hosting on other digital platforms). The objects may not be used without permission in any way whatsoever in which you charge money, or collect fees.


Comment & Rating (29)