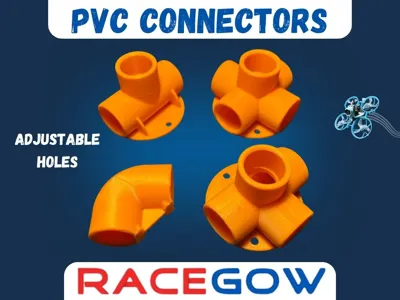
PVC connectors for RaceGoW TinyWhoop competition


Print Profile(2)


Bill of Materials

Description
🚀 If you like this model boost it and check out the rest of my free designs here
Boost Me (for free)
✨ Your Boost keeps free models like this coming — thank you!
Hello FPV community!
While preparing to my first RaceGoW challenges I designed connectors for ½ inch PVC pipes which are required to build the tracks during the whole season (here you can find the rules).
I took me some time to print models with holes diameters tight enought so that PVC pipes sits tight without falling apart while touching or moving the track from one place of my room to another.
As a result of my struggles I decided to share with you:
- one print profile with 6 elements with the exact diameters that were ideal for my ½ pvc pipes
- one print profile with 4 basic elements with “negative parts” so you can adjust the diameter right in the Bambu Studio before slicing (please take a look at the picture below)

To adjust the holes diameters follow these steps:
- click the negative part in the hole you want to adjust
- select “scale” options at the top menu bar
- uncheck “uniform scale”
- find two of three dimensions that are almost the same (e.g. 21.70 mm and 21.68 mm) and change them to diameter you need (for me it was 21.7 mm)
- slice the plate
- start printing
I also attached .STL file separately if you want to tinker with single elements. Every connector .STL has its own modifier part to use as a “negative part” in slicer.
!!! IMPORTANT !!!
Only .STL file named "Acurate_PVC_connectors_RaceGoW.stl" is ready to print with no adjusting required.
DO NOT print signle files named with “01a”, “01b" e.g. "01a__T-PVC_connectors_RaceGoW.stl". You should first import the pair (01a + 01b). File with the “b" in the name has to be used as a NEGATIVE PART only for adjusting purpose. I intentionally made hole diameters smaller (in files with “a” in the name) so you have spare material to cut from.
Happy printing and see you at the RaceGoW leaderboard :D
… almost forgot. Check out how I fly over the track I build using these connectors:
… and if you want to add a laptimer for your track check out my Sci-Fi case for PhobosLT Laptimer here !
I enjoy designing process even more when I can sip a coffee. If my work made your day brighter would you mind buying me one coffee here :D ?
Comment & Rating (9)