
Ramp for robot vacuum cleaner / walker / wheelchair
Print Profile(1)

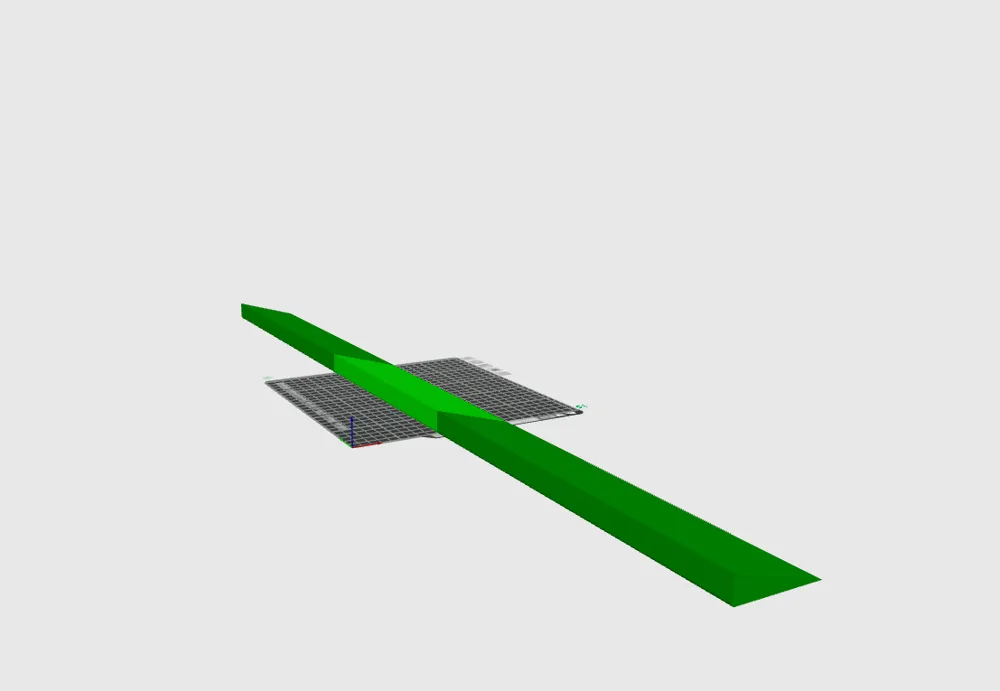
Description
Hello everyone,
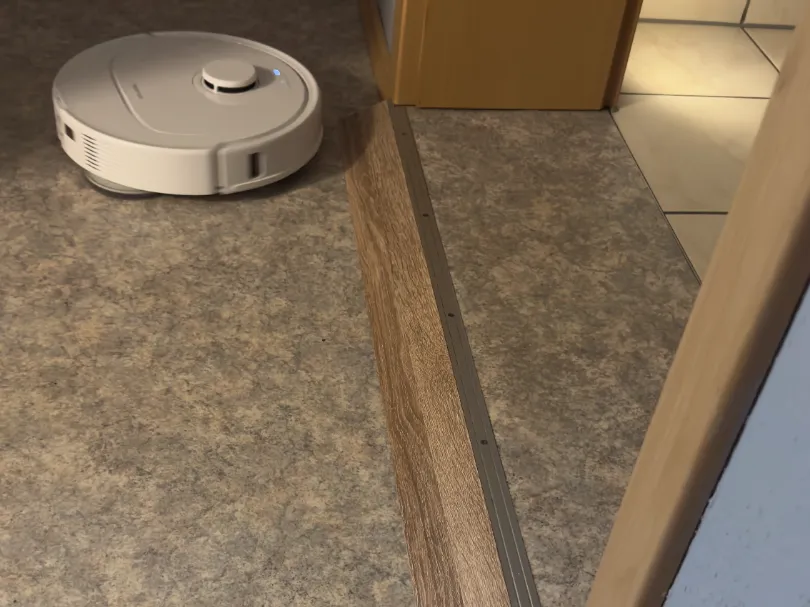
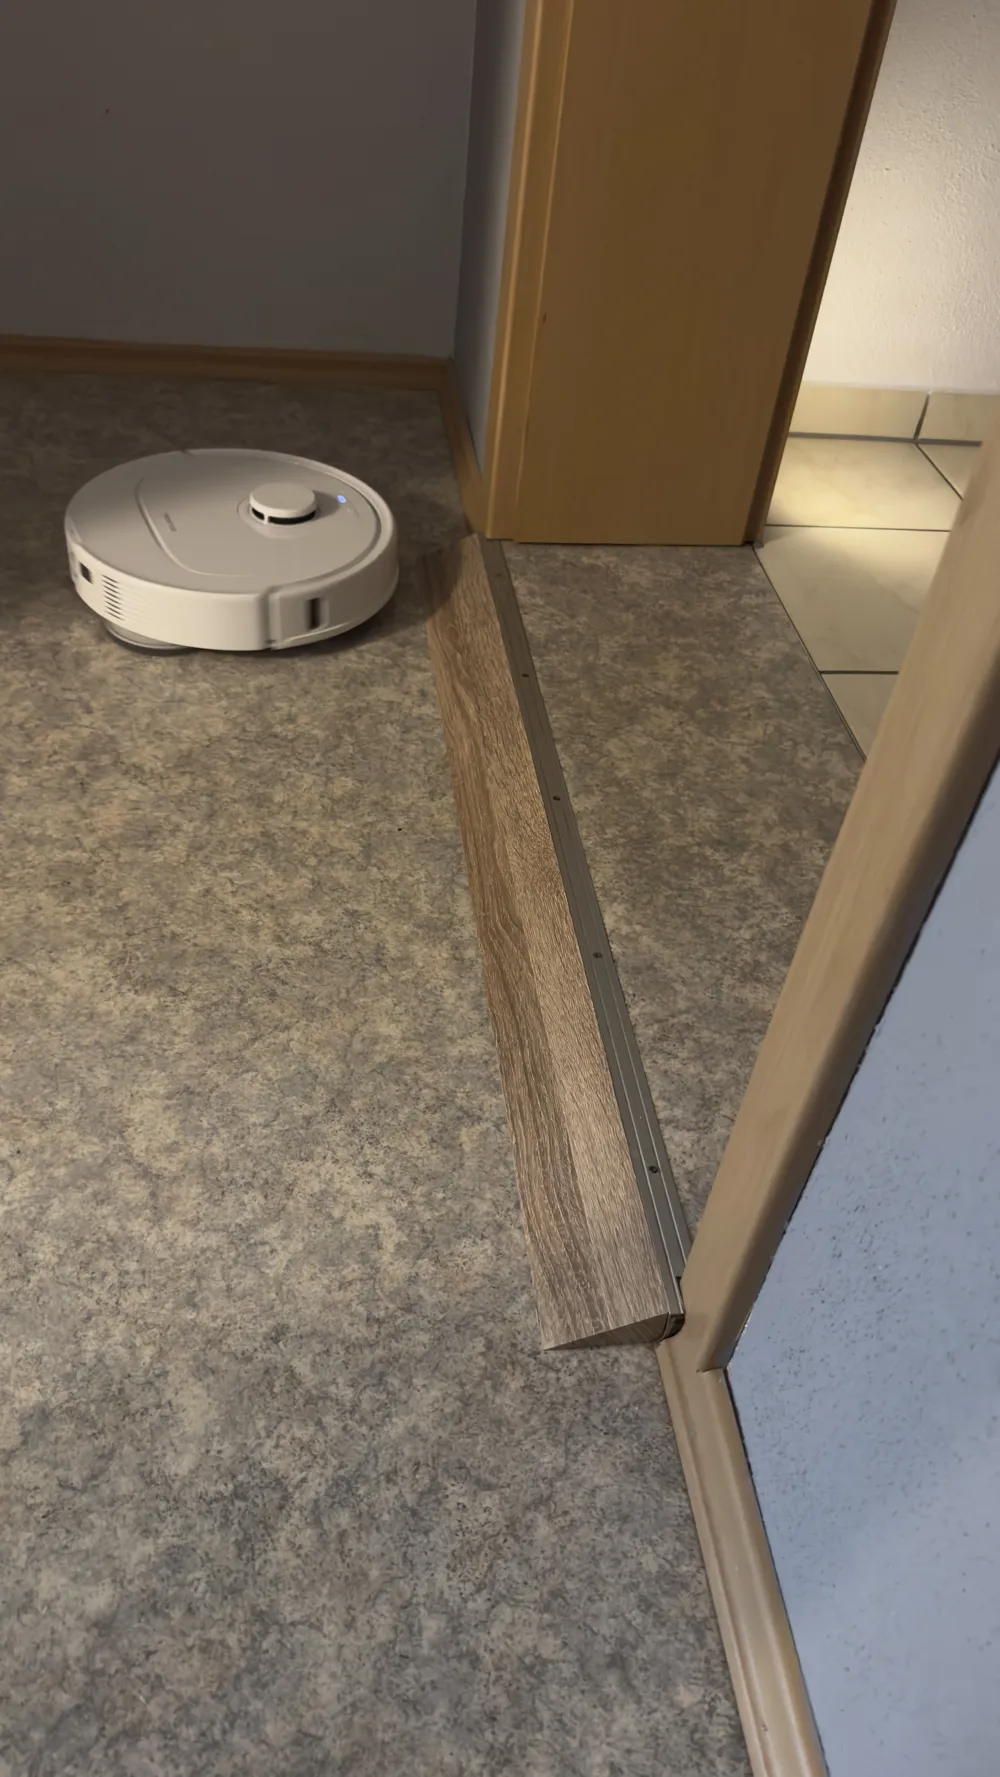
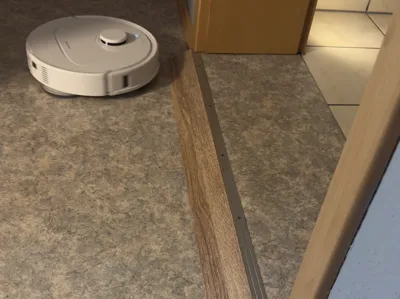
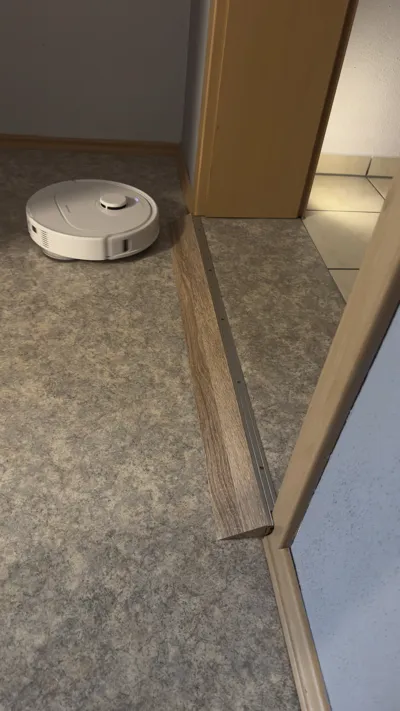
With this ramp, your robot vacuum overcomes any door threshold. Freely adjustable in width and height.
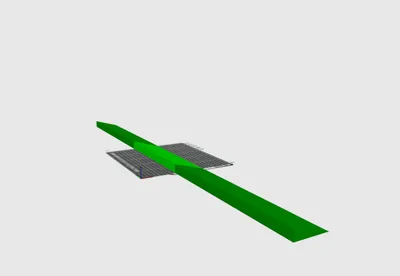
I have set my model with a width of 1 meter, a depth of 8 cm, and a height of 23 mm directly as a print sample in 3mf.
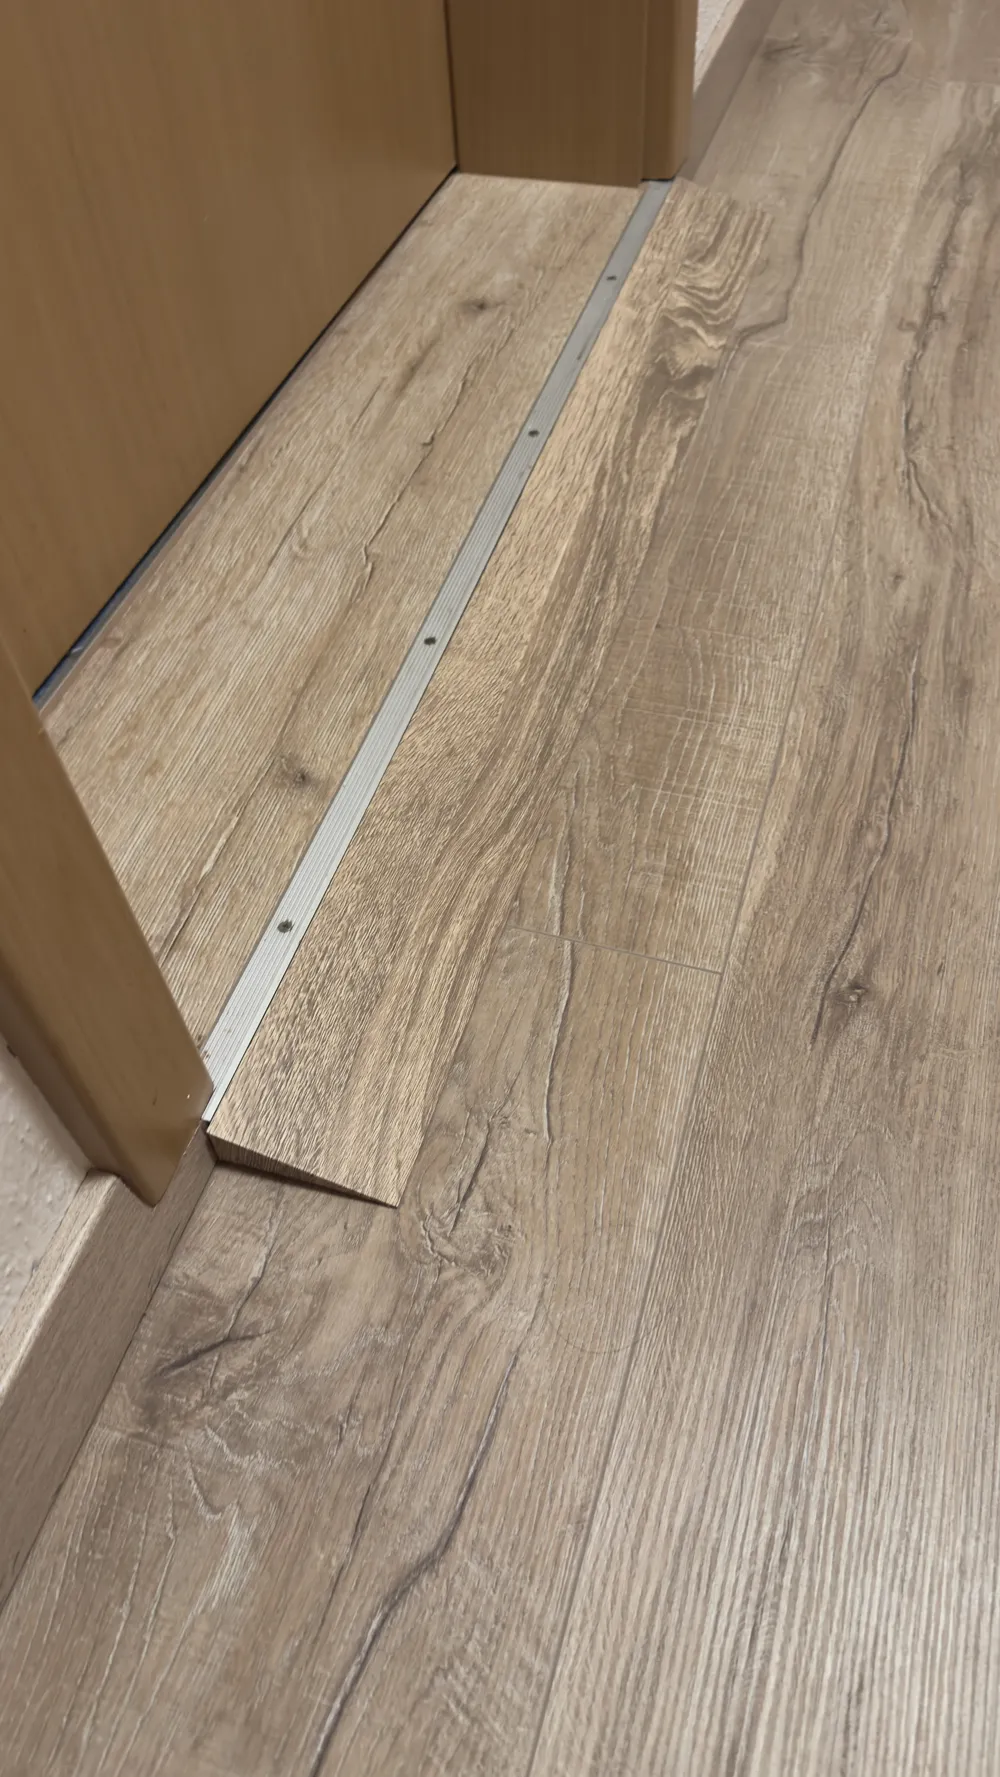
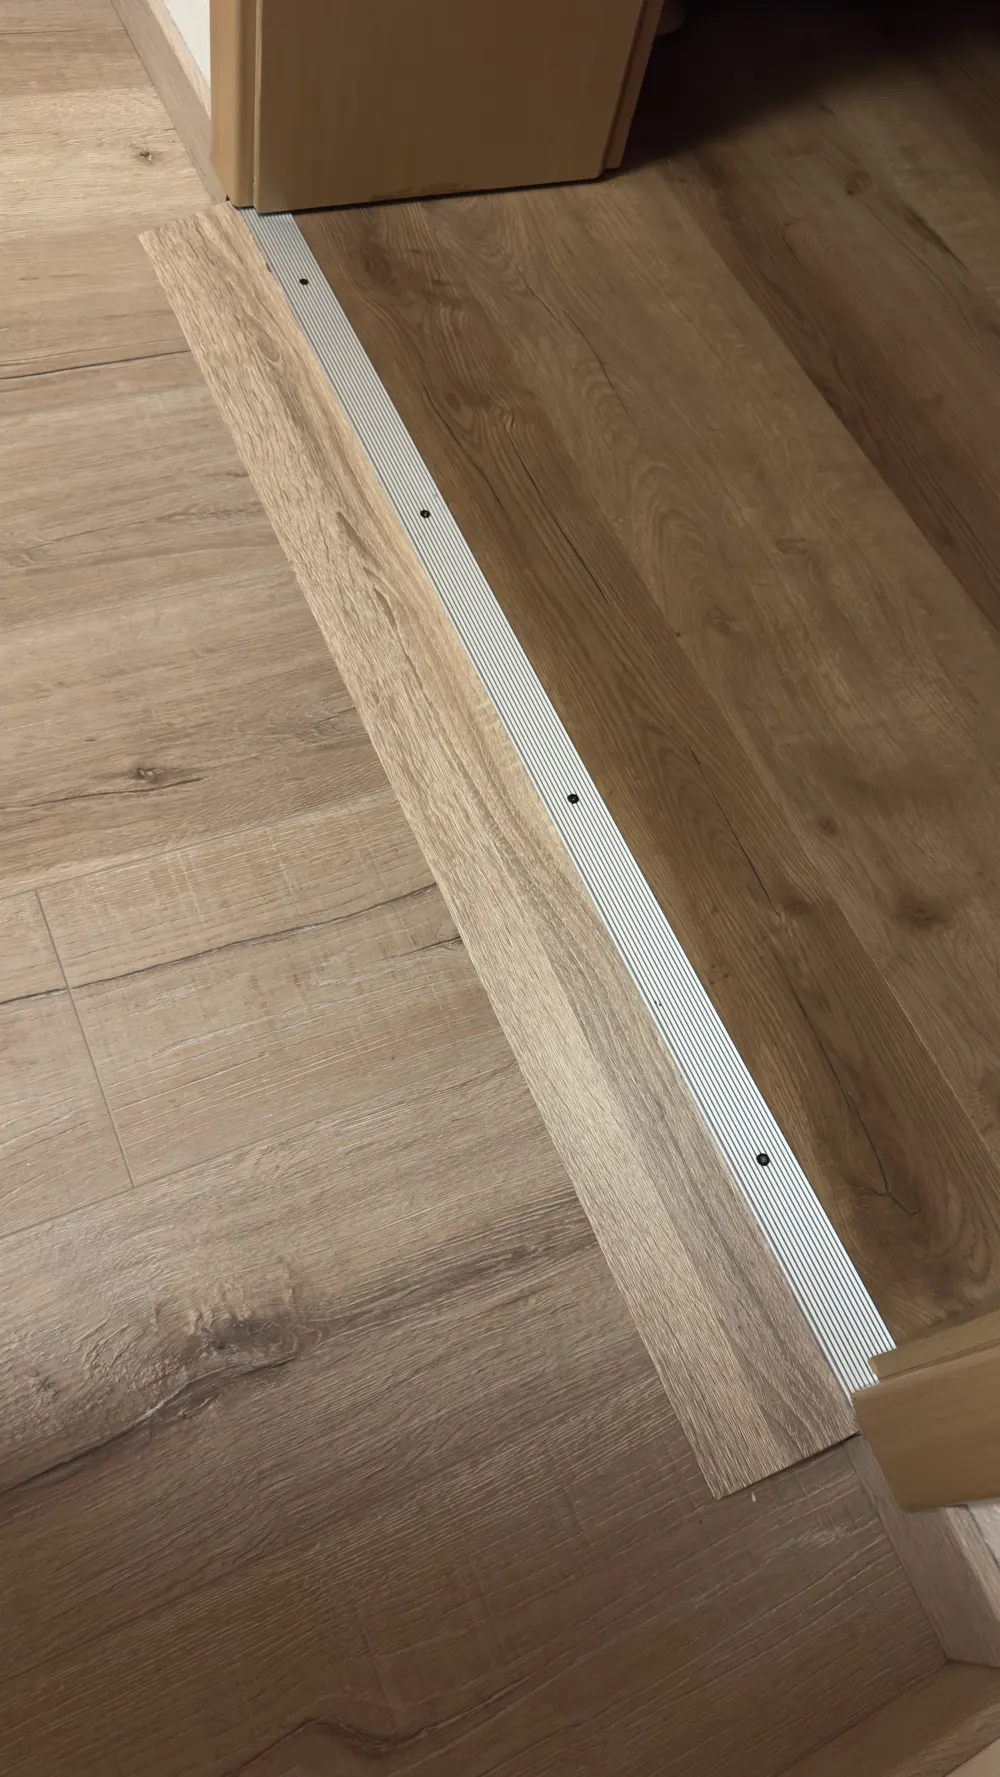
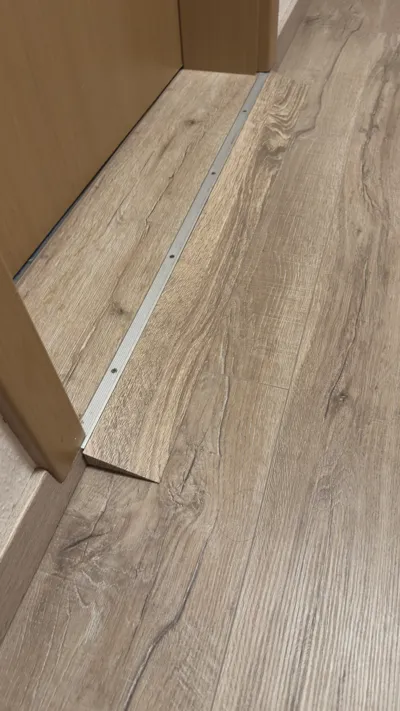
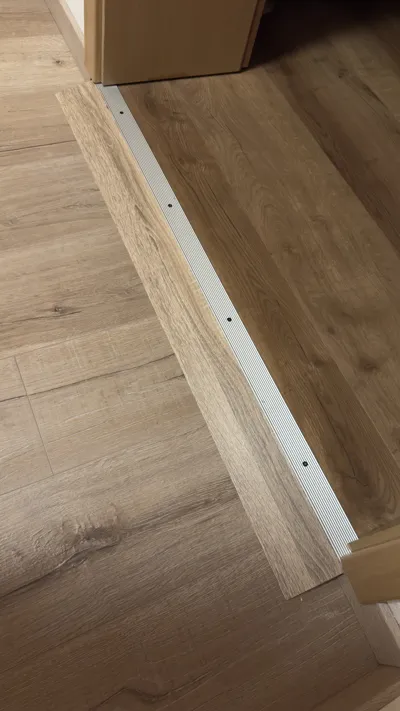
In addition, I covered it with wood-look film to match my hallway floor and then glued the strip with double-sided adhesive tape.
For a month now, my mopping and vacuuming robot has not strayed from its path and overcomes the door thresholds in my house.
Step 1: Download the STL file and STEP file
Step 2: The strip in the STEP file measures 1003mm x 80mm x 23mm but can be modified. To do this, select the component and change the size in the icon menu at the top of the Bambu slicer. Please note: Uncheck uniform scaling and then enter the desired dimensions and confirm.
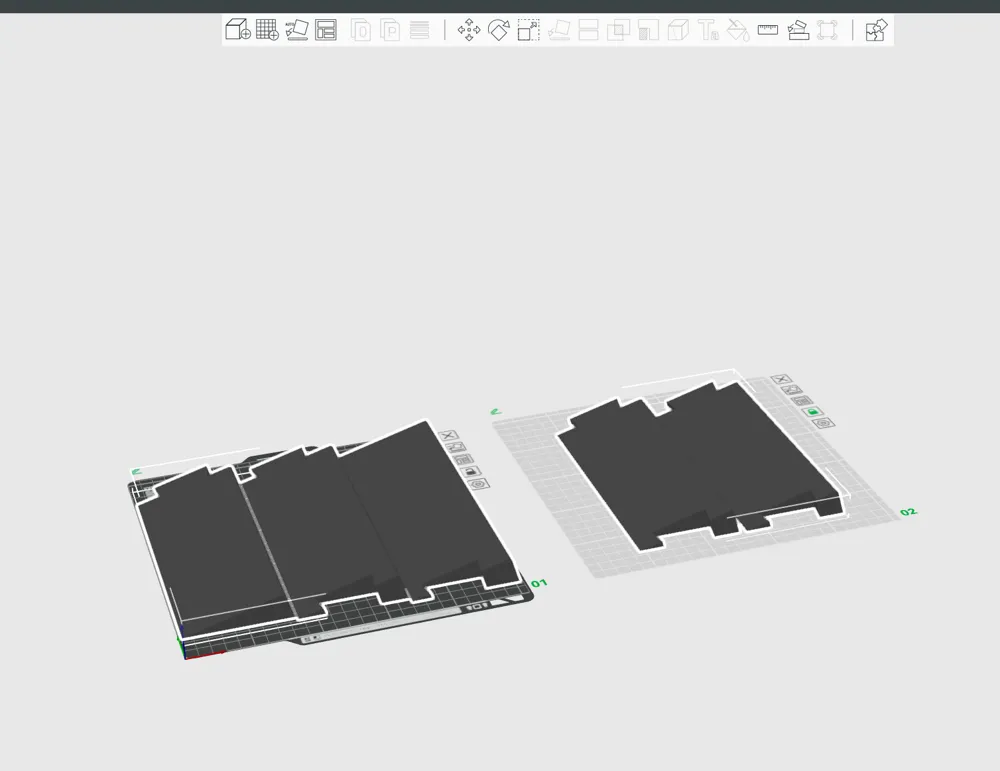
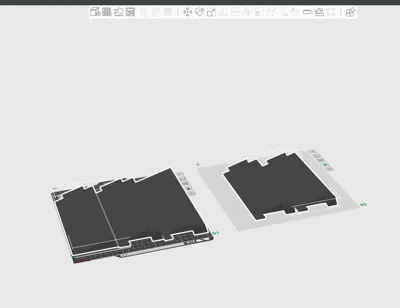
Step 3: Depending on the build plate, you may need to cut the component. I used the dovetail function and shortened all components to approx. 20 cm. This allows me to get the strip in 5 components onto my build plates. For the cut, it is best to use the following values:
- Dovetail
- Depth 15mm
- Width 40mm
- Angle 80°
Then simply slide to 20 cm on the yellow bar and make the cut.
Then align and print all the parts needed on the build plates with the following options to ensure stability:
Nozzle 0.4
Walls 4
Infill at least 25%
Bambu PLA Matte black
Select 0.20 strength
As I said, I then put the parts together like a puzzle and simply covered them with DC-Fix wood-look film. Then apply some double-sided adhesive tape and fix it to the door threshold. That's all there is to it.
I hope I could help you with the instructions and I am looking forward to every boost or like and rating with pictures :)
please leave feedback…. so I can incorporate improvements.
Used with:
- Wood-look adhesive film (optional)
- Double-sided adhesive tape
License

You shall not share, sub-license, sell, rent, host, transfer, or distribute in any way the digital or 3D printed versions of this object, nor any other derivative work of this object in its digital or physical format (including - but not limited to - remixes of this object, and hosting on other digital platforms). The objects may not be used without permission in any way whatsoever in which you charge money, or collect fees.


Comment & Rating (15)