Full Size Fallout 10mm Pistol & Suppressor Prop


Print Profile(5)


Description
Full Size Fallout 10mm Pistol & Suppressor Prop
1:1 Scale Prop of a weapon literally everyone who has played these games has used! - 293mm Long - 172mm Tall - 50mm Thick
Remix details: I remixed this already great model by taking it from 26 parts down to 3 main parts. Right half, left half and barrel. I then added a threaded barrel and suppressor option. I also extended the mag well so it fits well in a larger hand. The original was a bit stubby there for my large hands. There is a 1 color option for hand finsihing or a delixe fine 3 color profile for that NOS look.
Only TWO profiles are needed to print a complete model. 1: BOTH HALVES and 2: BARREL & PINS - The Suppressor and threaded adapter profiles are optional. The 3rd profile is the optional suppressor. You REALLY want to print this on a smooth plate. The Bambu Smooth PEI plate and some Dimafix assure a warp proof print and the perfect fit you want.
Prints great in Bambu Matte Charcoal Black, then finish as you see fit! Example finished with Rub & Buff multi stage process.
This will only print on the H2D. It is too large for any of the smaller Bambu printers.
MAIN ASSEMBLY: Remove any support material, this is critical. An interface layer left in there will keep the halves from from clamping together flush. Next install the locator pins into one half without glue then apply your favorite thin CA to one half. Place the two halves together and CLAMP THEM TIGHT. Wait a few minutes then you are ready to glue on the barrel. Place some gel CA in the socket and pop in the barrel and let dry. BE SURE TO USE THE THREADED BARREL if you plan on using the suppressor.
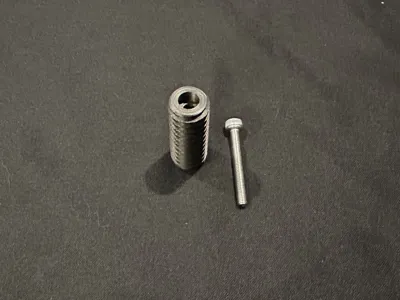
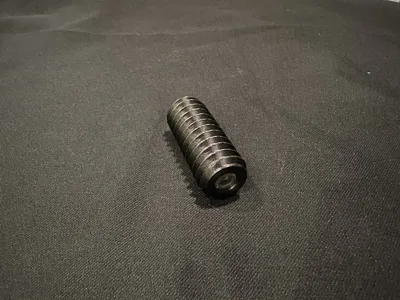
SUPRESSOR ASSEMBLY: The threaded rod has a place for a 5mm X 40mm Socket Head Cap Screw. The screw will cut its own threads and seat perfectly in the rod resulting in a very strong threaded adapter so you don't snap it off the first time you drop it! Then thread the rod into the suppressor with the hex head facing OUT. Thread in far enough that it will sit flush on the barrel. The hex key head makes this adjustment easy. Once that is done you can use or remove the suppressor easily. You can glue the rod into the suppressor once you have it adjusted right but it fits tight enough that it is optional.
That's it! Now Run around shouting Pew Pew!
War, war never changes…
/https://fbi.cults3d.com/uploaders/5620755/illustration-file/1451161448-14135-6475/render_1.JPG)
Comment & Rating (6)