
Cabinet drop down organizer (EZLift)
Print Profile(1)

Description
C'mon bambu lab, give me some exposure :PPPPPPPPPPP
Overview
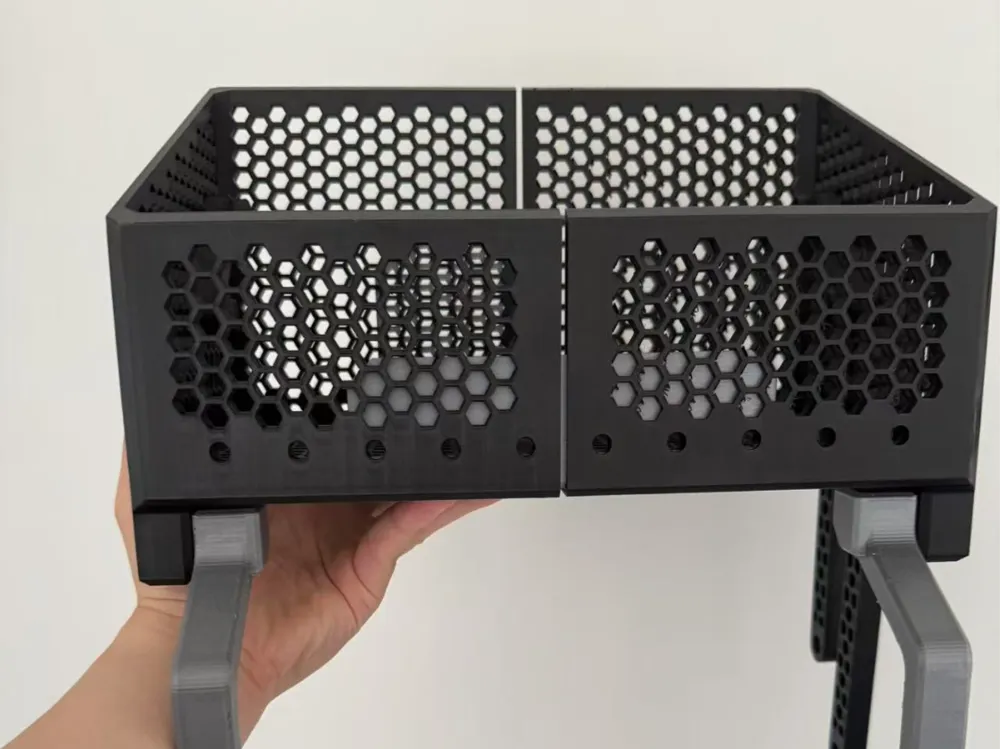

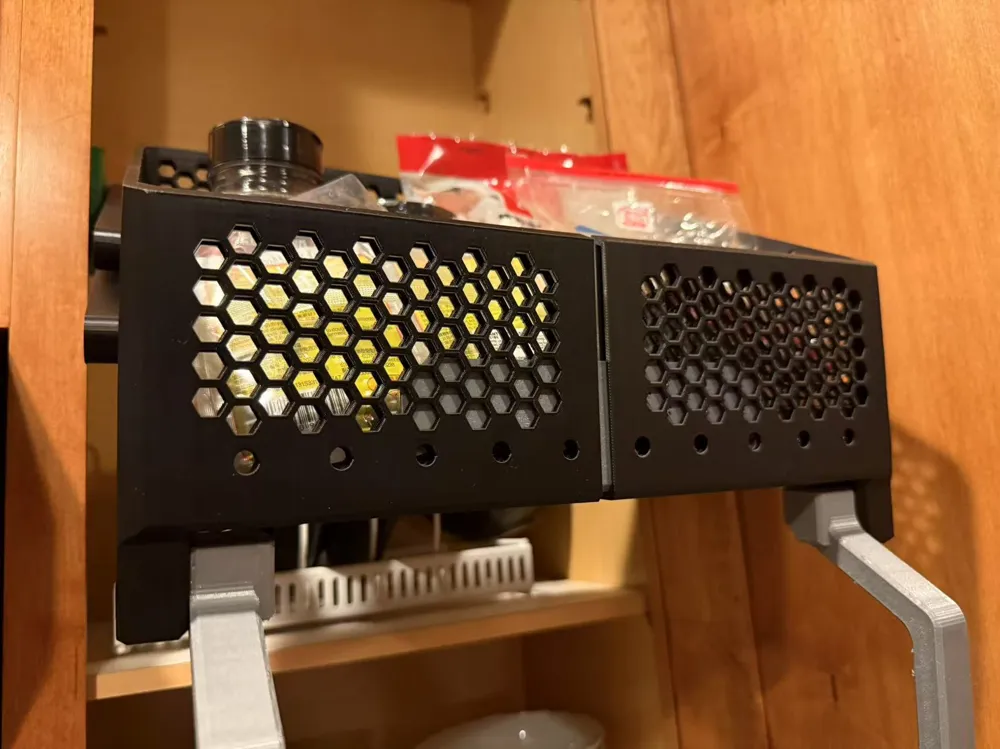
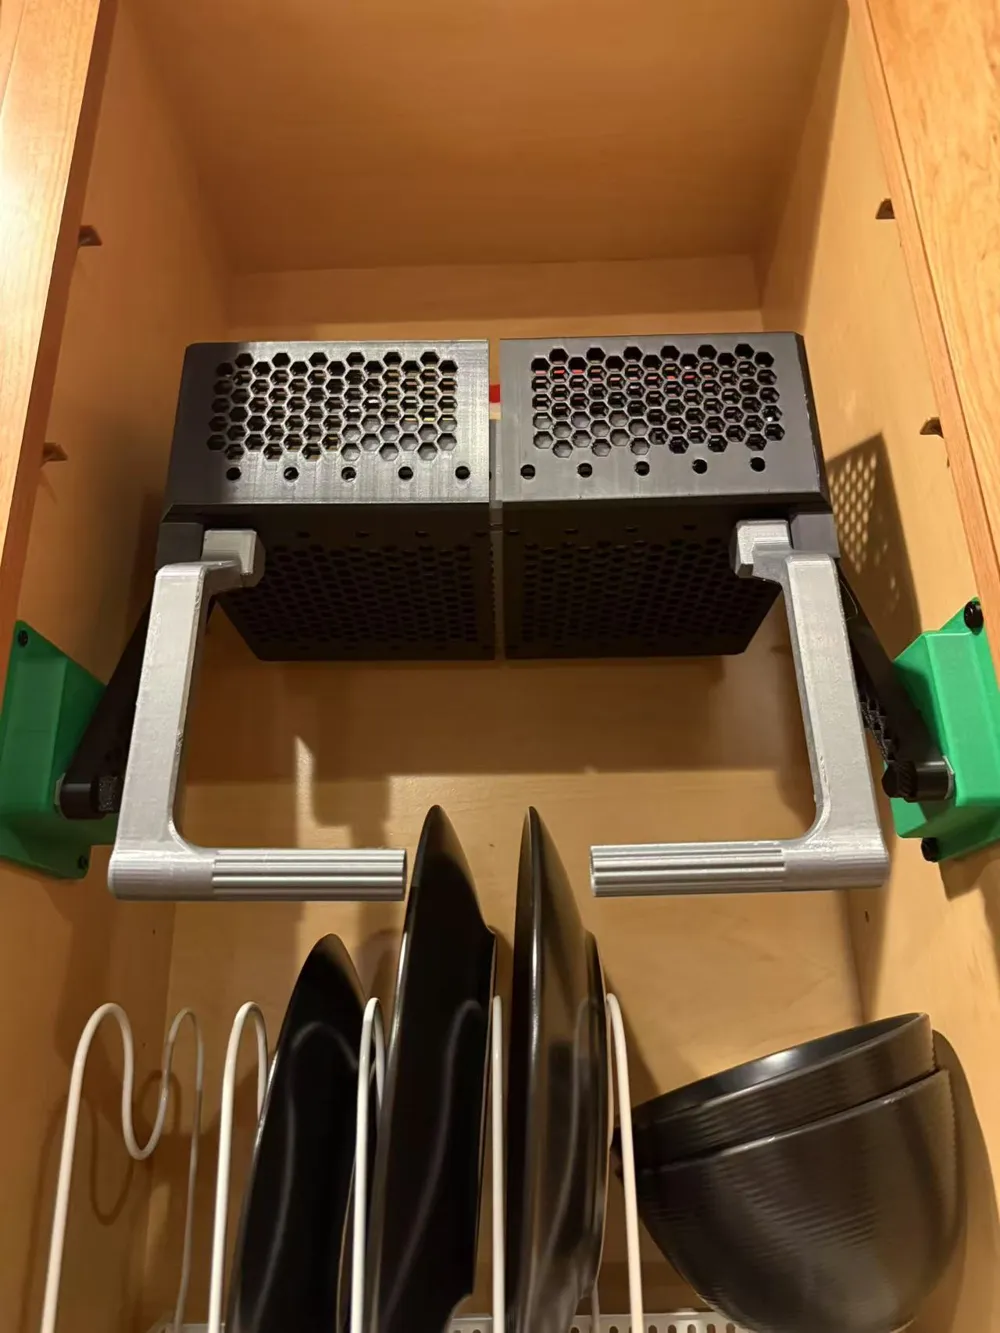
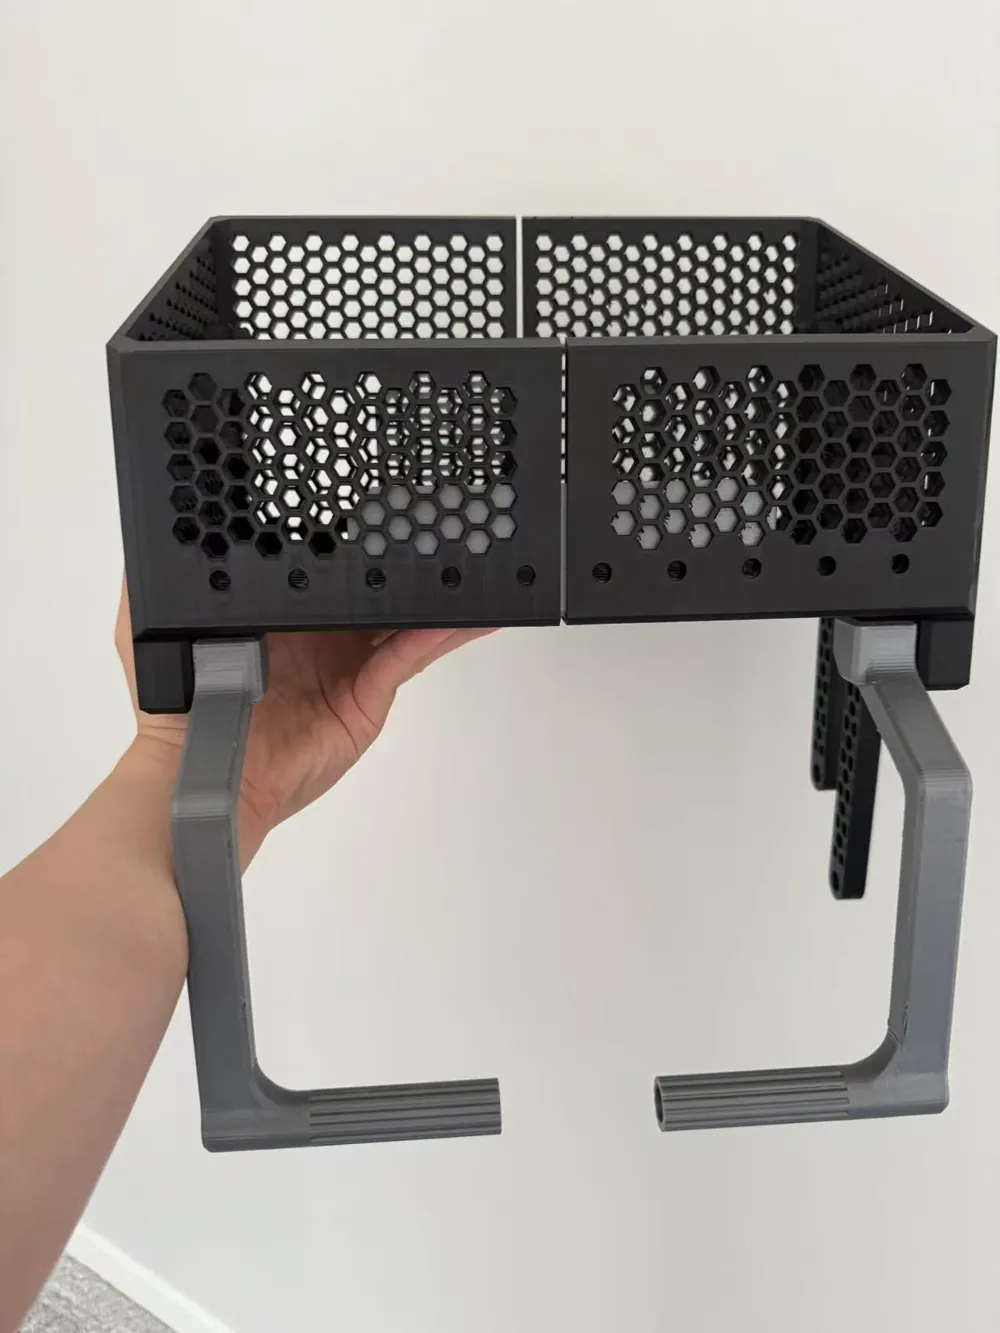
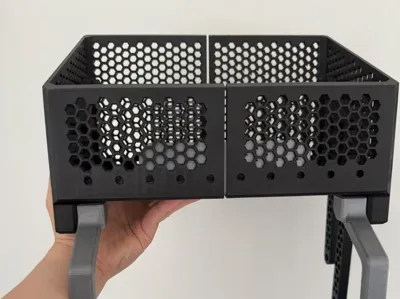
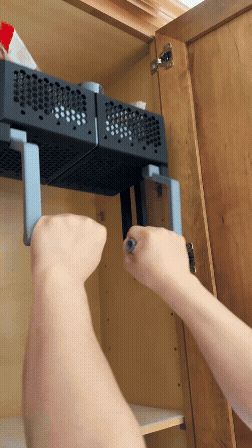
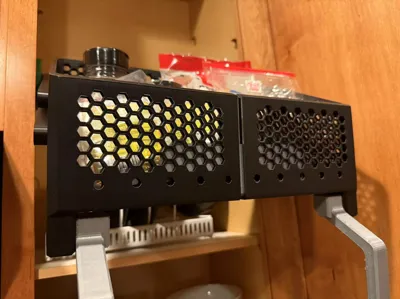
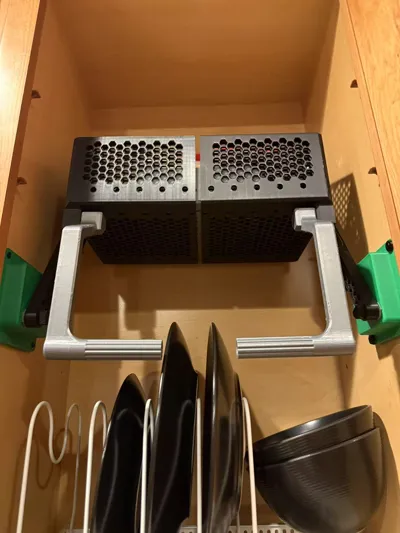
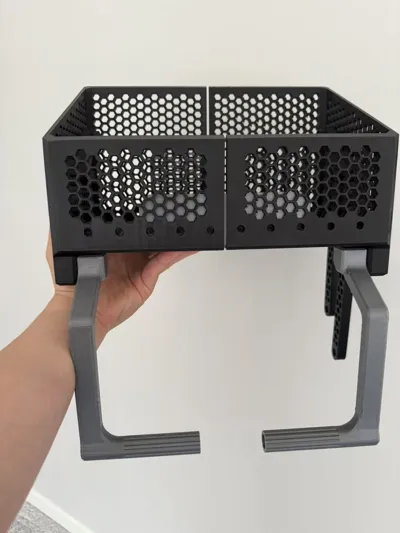
This dropdown shelf is designed to maximize the use of vertical space in high or hard-to-reach cabinets. It allows the user to pull the shelf down and forward for easier access to stored items, then return it to its original elevated position with minimal effort. The overall print consumes about 1.15kg filament. PLEASE CHECK THE INSTRUCTIONS before print to make sure it fits your cabinet.
- Drop down distance for the shelf is 325mm.
- Width can be expanded and if requre a wider shelf, it's recommeded to scale the insert.
- Self-locking mechanism
Boost Me (for free)
Your BOOSTS are the BOOSTS for me to make more BOOSTABLE models.Happy print and appreciate!
Parts Included
Dropdown shelf (L&R), Mounting bracket (L&R), Shelf insert, Handles (L&R) and handle connections x2
Mounting bolts x8 (larger), Spring washer x8
Connecting bolt x8 (smaller), Connecting nuts x8
4~8 mounting screws (i'm using #6x5/8in)
Tips for print
- DO NOT use ludicurious speed
- DO NOT reduce infill or wall loop in large bolts, large bolts are main load bearing components
- You can try 0.28mm layer height. 0.24 prints well on my end
- NOT recomment using PLA, i use PETG-HF.
- Plate Spacer is not necessary. In case your screws penerate the other side of the cabinet, you can print these to reduce screw distance.
Installation Instructions (details see PDF)
Step 1: Determine Mounting Location and fix both brkts to the cabinets (Use leveler to maintain the level of brkt)
Step 2: Connect arms with brkts – assemble the shelf – insert the shelf
Step 3: Connect arms with shelf on one side – adjust shelf width – connect another side of arms
Step 4: Use connection bolts to lock the position if needed
Disclaimer
- USE AT YOUR OWN RISK
- DO NOT PUT HEAVY STUFF IN (i am running simulations right now to check the load)
- Check the bolt tightness time to time
Happy print and let me know for any feedback or suggestions!
Documentation (1)
License

You shall not share, sub-license, sell, rent, host, transfer, or distribute in any way the digital or 3D printed versions of this object, nor any other derivative work of this object in its digital or physical format (including - but not limited to - remixes of this object, and hosting on other digital platforms). The objects may not be used without permission in any way whatsoever in which you charge money, or collect fees.


Comment & Rating (5)