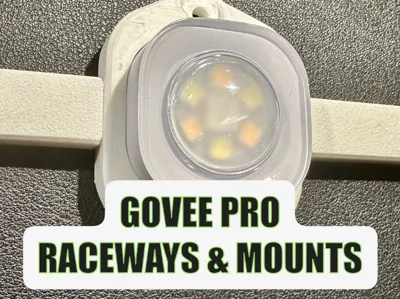
Govee Pro Light Cable Caps and Fixture


Print Profile(4)


Description
FOLLOW me for new updates and models - https://makerworld.com/en/@menerso
Check out other GOVEE models: https://makerworld.com/collections/9427068
Check out my other Around the House models: https://makerworld.com/en/collections/6181334-around-the-house
UPDATE 12-18-25: Added a hinged light mount for gables and peaks with different angles. Prints without supports. You will need to customize the channels on either side since they will need to be a bit shorter than normal. You can click the CUSTOMIZE button above or just snip off a piece from the regular channel.


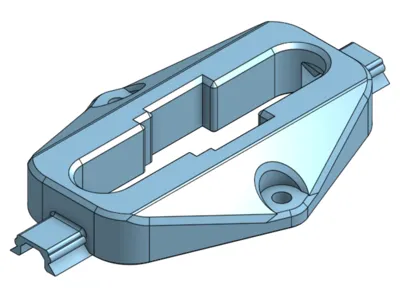
UPDATE 11-24-25: Added a light fixture mount with an offset set of screw holes to one side. Just in case you get to a place what you need to bridge a small gap. You can find this in the STL files to download, I do not have a profile with this model in it.


UPDATE 11-20-25: Added a connector cover mount. Just in case you are printing in a non-white filament, you may want to cover up the white connector. I was able to print this out with NO supports.


UPDATE 11-19-25: Added a new “screwless” light cap if you want to use the 3M tape to adhere. This one covers the top of the light with only lens visible. Will be held in place by the channels and mounts. I provide built-in support structure for printing the model, face down.


UPDATE 11-10-25: Added a STL file for allowing folding of the cord between lights, just in case you want to shorten it. You will need to download the STL as a file from the list. It is called “raceway bump - race cap connector.stl”. It will need supports on each end, if you use this.
UPDATE 10-29-25: Added a blackout light mount. This provides a cover for any light you do not want to see. You may want to print this with a BLACK filament so that it does not shine light through the plastic. You can download this file or I provided a Profile you can use. No supports are needed.


UPDATE 10-1-25: Added a 90 degree vertical race cap. You will need to download the STL from the list of files. I do not have them in a Profile yet. There are 3, one is 40mm x 40mm, 100mm x 20mm and the other is 100mm x 100mm. The hole is for water to run out if it ever gets into the raceway.


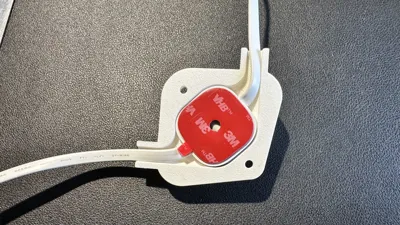
UPDATE 07-18-25: Added a slice connector mount. This will help securing the Govee splice connector if you use that.


UPDATE 07-16-25: Added a 90 degree corner light fixture mount. You may have to snip off the raceway a little bit depending on your use and length if you use this.

UPDATE 07-13-25: Added some tools to measure distance from the wall to the light. Sizes range from 3cm to 10cm. Just delete all the tools you don't want and print the one you do. I used 6cm for mine, but you do you. When you open the profile, you can flip over the board to read the size of each tool or just download the STL you want.

Why I created this…
I was trying to find a cheap way to enclose my Govee Pro Outdoor lights wiring in a raceway. I couldn't find anything inexpensive, and everything would have to be cut anyway. So, I decided to make my own.
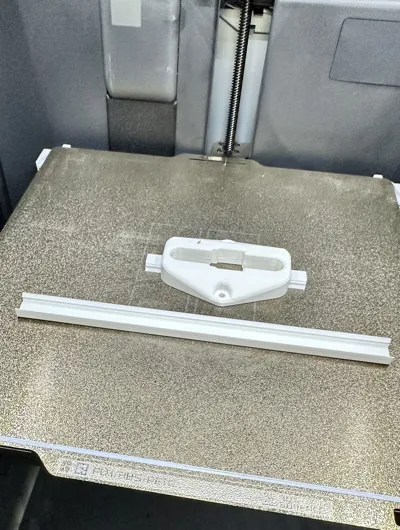
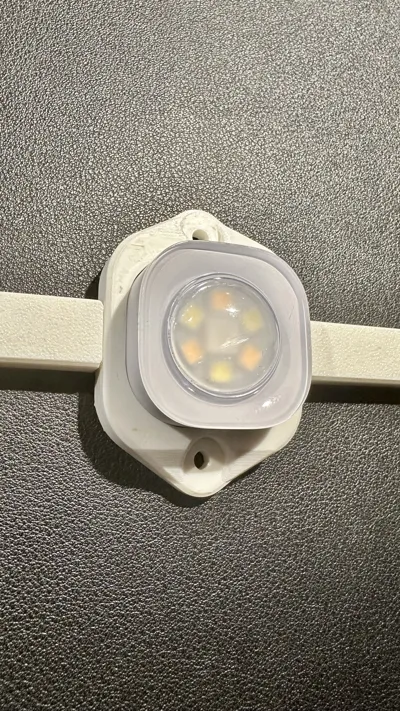
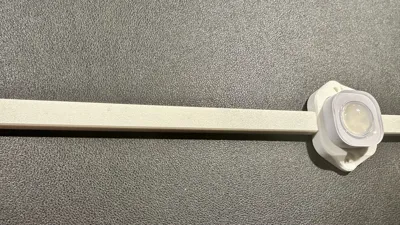
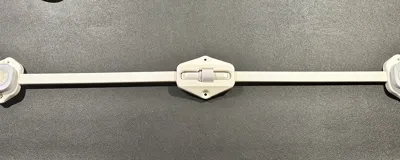
Raceway snaps into place on each side of the light fixture and onto a mount that goes in the middle of the two caps. You can slide caps on, I made the mount short enough to do that.
 |  |
 |
How many to print
You need one light fixture mount per light. 2 caps and one mount between each light. 1 connector fixture for when you connect between strings. The connector fixure has shorter caps to use, I didn't need the mounts for those because they are so close to each other but they are there if you want them. I had couple splices, so 1 per splice.
Testing
You should print a test light fixture, connector fixture and a cap and mount to make sure everything fits. I printed mine in ABS so there is a small bit of shrinkage, but everything fit well. If you do have to increase or decrease the size by a percentage, MAKE SURE TO DO THAT FOR ALL PIECES after you figure out the correct fitment. Otherwise, you may run into fitment issues.
Screws
Use #6 Stainless Steel self-tapping screws if going into metal or just #6 wood screws. Self-Tapping: https://a.co/d/1UFSzRh or Wood: https://a.co/d/3N1rLlk
Placement of the mount strips
You should mount the Raceway Mounts somewhere in the middle of the two lights. It doesn't have to be exact, it will just hold the caps in place. The curved segment has a short curved mount you can put on the middle of the curve to hold that tight.
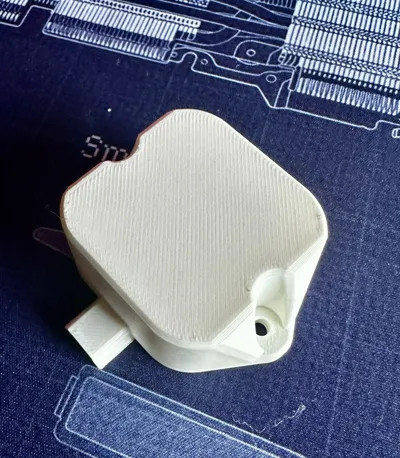
Screwless Fixture
I did include a “screwless” light fixture in case you are using the 3M tape. You still will need to mount the raceway mounts so that the raceway caps do not sag.
Light Fixture (screwless)

Models
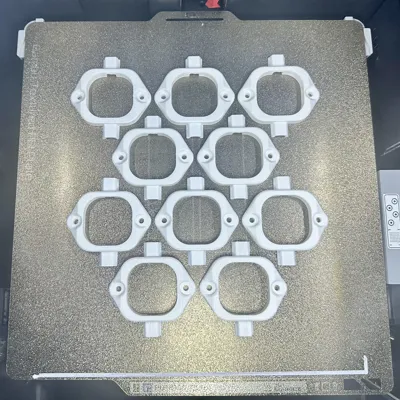
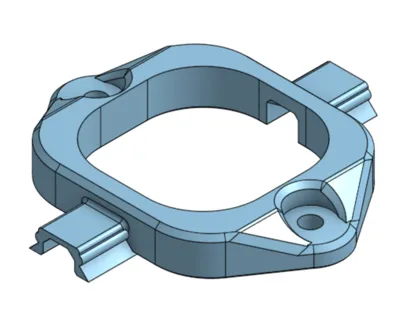
Light Fixture x1 per light

Light Fixture Corner (optional)

Connector Fixture x1 per connection

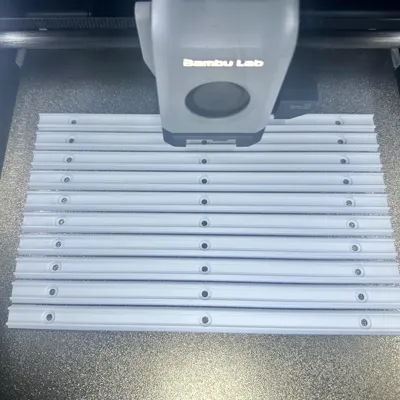
Main Mount and Caps x2 caps and 1x mount from light to light


Connector Mounts and Caps x2 caps ( you may not need mounts because they are short )


Curved Segment (optional)

Splice Connector (optional)

Boost Me (for free)
Hoping to get enough points to pay for a Bambu H2D or the new H2C. It is FREE and it really helps me out. Thank You!!
Membership
Want to support me with a small monthly tip or open a commercial license to sell some of my prints?
Check out my other models and Collections. Why not give me a FOLLOW since you are there.
I post new models and updates to models frequently.

License
You shall not share, sub-license, sell, rent, host, transfer, or distribute in any way the digital or 3D printed versions of this object, nor any other derivative work of this object in its digital or physical format (including - but not limited to - remixes of this object, and hosting on other digital platforms). The objects may not be used without permission in any way whatsoever in which you charge money, or collect fees.
Comment & Rating (151)