(BETA) Fully Printable Bezel Delete Fresnel Kit


Print Profile(6)


Description
This is the OPEN BETA of the Printable Monitor Bezel Delete.
For users who use more than one monitor and wish to delete the bezel, currently the only option is a $100+ solution that is fragile and chunky.
I hope to solve that using a printable solution and help by the community. Here I have provided the tools and basic settings, from there we can tweak and refine it until we have a fully functional item. This will exit Beta on Oct 20, 2025, at which point it will be listed Public Domain.
Instructions for use:
Designate which files you will need to print. For the monitor mounts, there are three sizes. 35mm, 55mm, and 75mm. This relates to the size of the Fresnel lens each one is designed to accommodate.
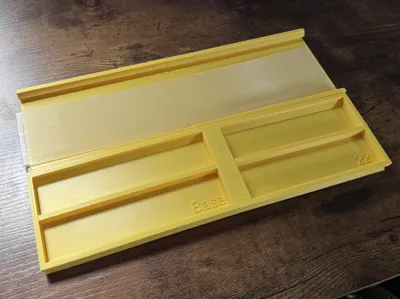
Next, you will need to select your coil flattening Jig. The width of the jigs is universal, but the length varies.
:::::::::IMPORTANT PART:::::::::
EVERY SINGLE MONITOR MODEL IS DIFFERENT. You must make a measurement from the tippy top of your monitor to the bottom of the chin, plus 16-18mm.
Then, you want to SCALE THE JIG MODEL (NON-UNIFORM) along the LONG AXIS to match the Length you determined.
If you are not printing the flattening jig, you should cut to length and flatten the coil and disregard this.
^^^^^^^^^^^^^^^^^^^^^^^^^^
If you skip this step, you will not get the right length of Fresnel lens!!!!!
Fresnel Coil Information:
- The coils all come in one length, which is roughly 500mm, but vary in height from 35mm-75mm.
- You may experiment with different width coils by simply scaling (non-uniform) along the Z Axis.
- Slicer settings are included for Bambu users, for non-Bambu users, just import the 3MF into Orca Slicer and then switch to your printer.
- The basic rub of it is 10-20% fan, hot temps, 180 second minimum layer time. It needs to be going about 15-20mms or slower. It needs to be on a raft or the slicer will say no first layer. 0.2mm layer height is the default, but let's figure out what works best for this.
For the rest of the slicer settings, I would really like you guys to experiment with this if at all possible. Updating these print files to include discoveries and suggested improvements will move us closer to a really fantastic result faster.
Once you have printed the coil, you will need to dip it in hot water. For PLA, just steamy water is more than fine. For PETG, you will need to use boiling hot water, so please be careful. Once it's nice and hot and bendy, you lay it down in your flattening jig.
Once everything looks good and flush, go ahead and take a sharp blade to cut off the ends. Wait 20-30 minutes for the print to fully cool before moving it again.
Mission Launch
Now you are ready to go! Go ahead and slide one end of your Fresnel lens into the top mount, position on your monitor, then tighten the screw with a coin until the mount is tight on your monitor. Then attach the bottom mount! You are golden! For an extra secure fit, you can use nano tape or double sided adhesive to make sure the base stays in place for intense gaming sessions.
Comment & Rating (30)