
Print Profile(1)

Description
Why i created this:
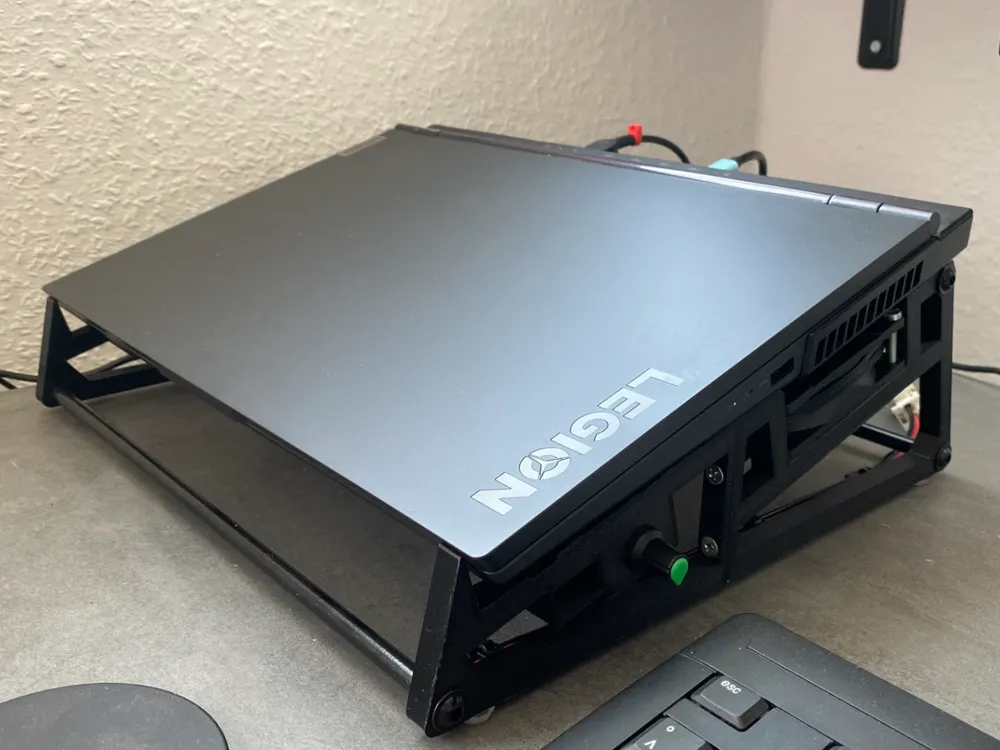
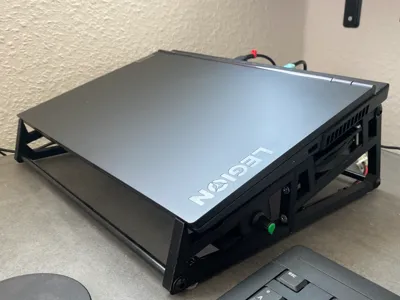
The cooling stand is designed exactly for the Lenovo Legion 5 15ARH05h. But it fits my new Legion 5 Pro 16IAX10 too. Unfortunately, I cannot say whether it will fit other gaming laptops.
Nevertheless, I would like to share this here.
I use the laptop to play games on a usb-c docking station, but you can also work/play on it like this.
I have tested various fans. These include Arctic F8, Arctic P8, BE QUIT! BL044.
Contrary to my assumptions, I achieved the best result with the Arctic F8.
I think you can achieve even better results with Noctua fans, but they are significantly more expensive.
As it is very warm in my apartment in summer, I wanted to support my laptop from the outside in addition to the internal cooling and I want to slow down the internal fans with LegionFanControl as they can get very loud.
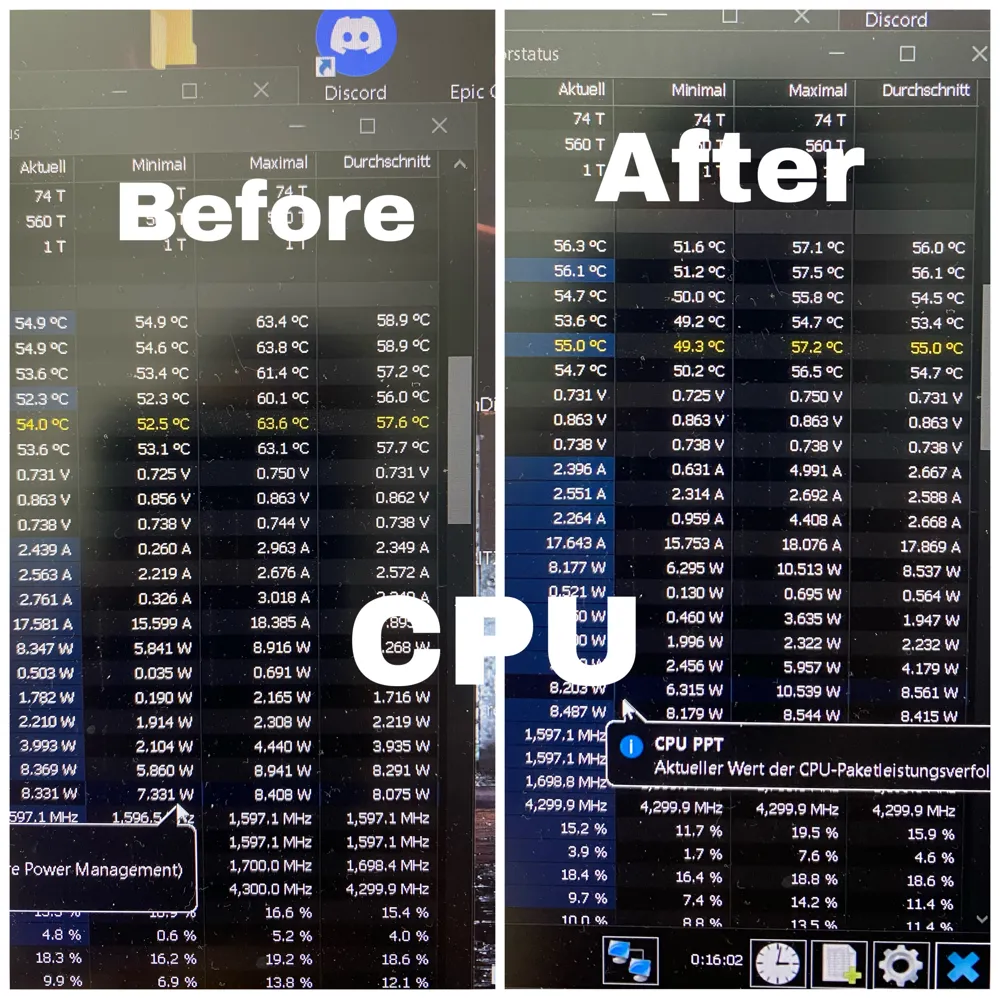
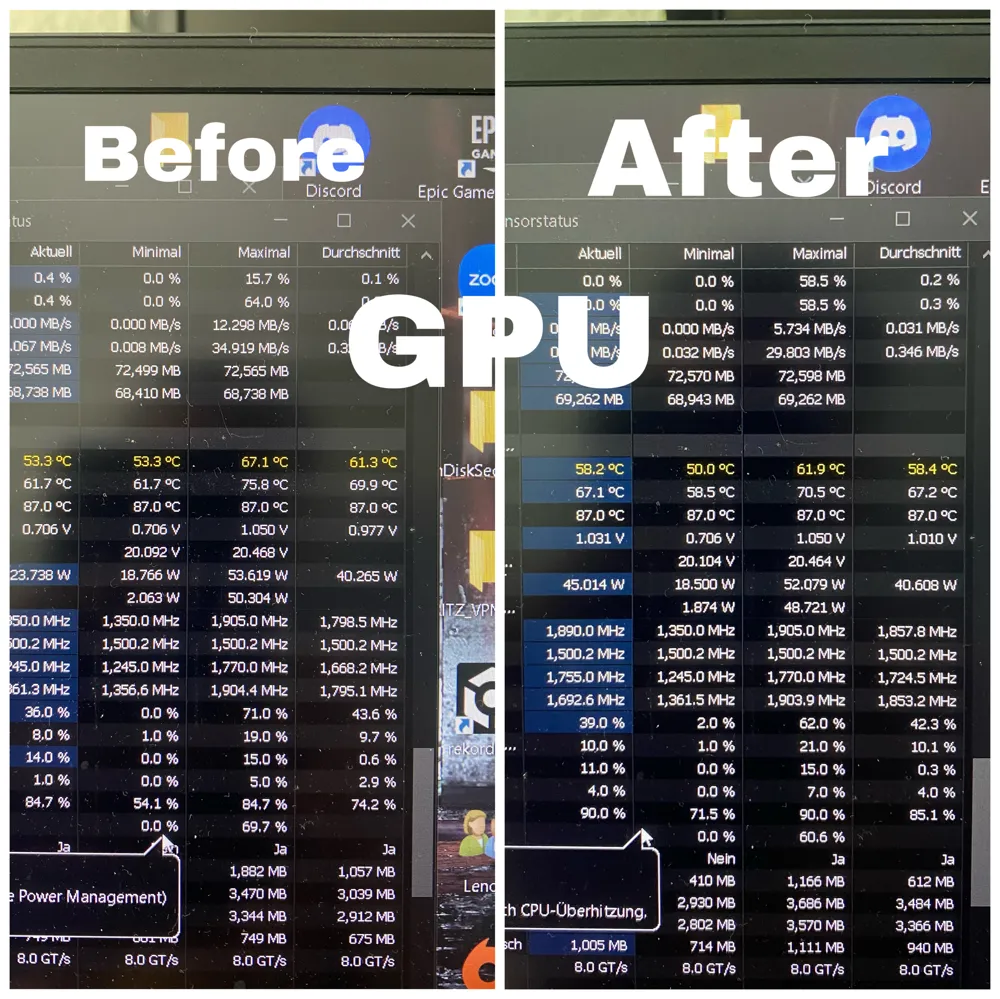
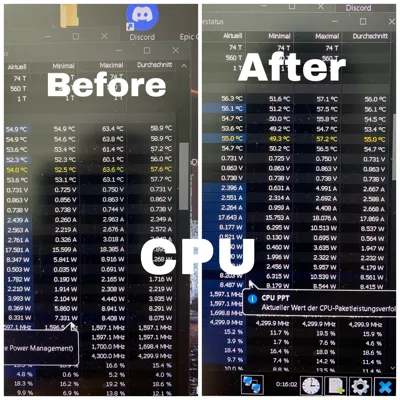
During a test run (unfortunately not warm in the apartment), I got the result that the CPU dropped from 63.6°C to 57.2°C at a constant internal fan speed.
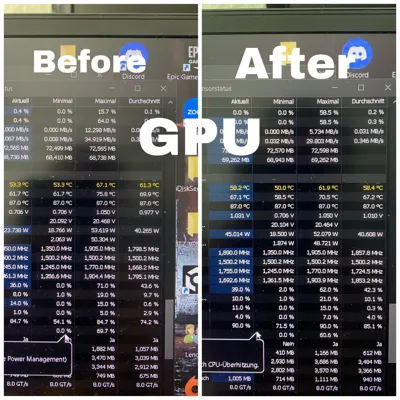
The GPU from 67.1°C to 61.9°C.
This difference increases as the temperature in the apartment rises. Unfortunately, I have not taken any pictures.
Printing Notes:
Resolution: 0.2
Filling: 20-30
Walls: 3
Material: PLA
Supports: only for the part with the PWM controller
Position:
Position the part so that it lies flat on its side.
Please align/mirror the parts the way you want them.
Switch on the left or right side (also note the cable tie fixings).
Installation Instructions:
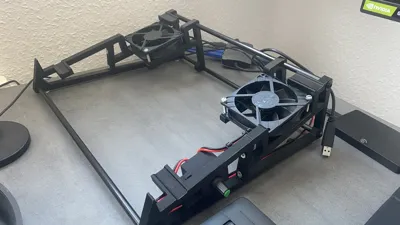
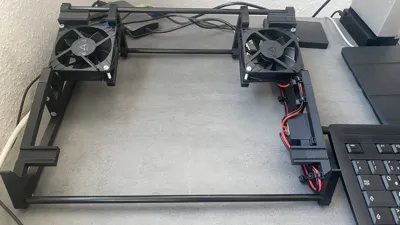
To assemble the laptop stand you will need the following parts:
4 x M5x10 mm screws
4 x M5 nuts
2 x 6 mm x 332 mm rods (I used an old gas pipe)
4 x M5x15 mm (or longer) like ISO 7380
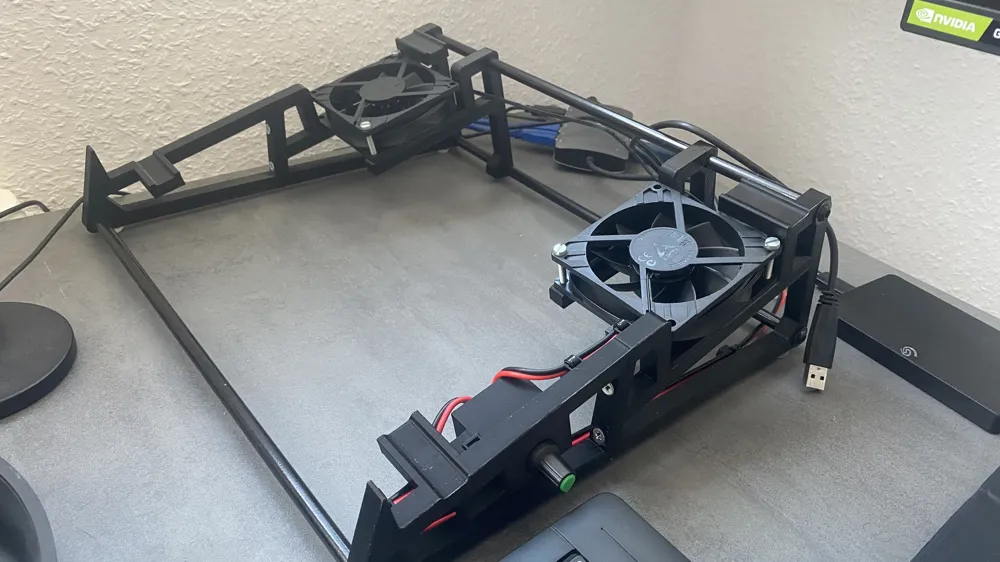
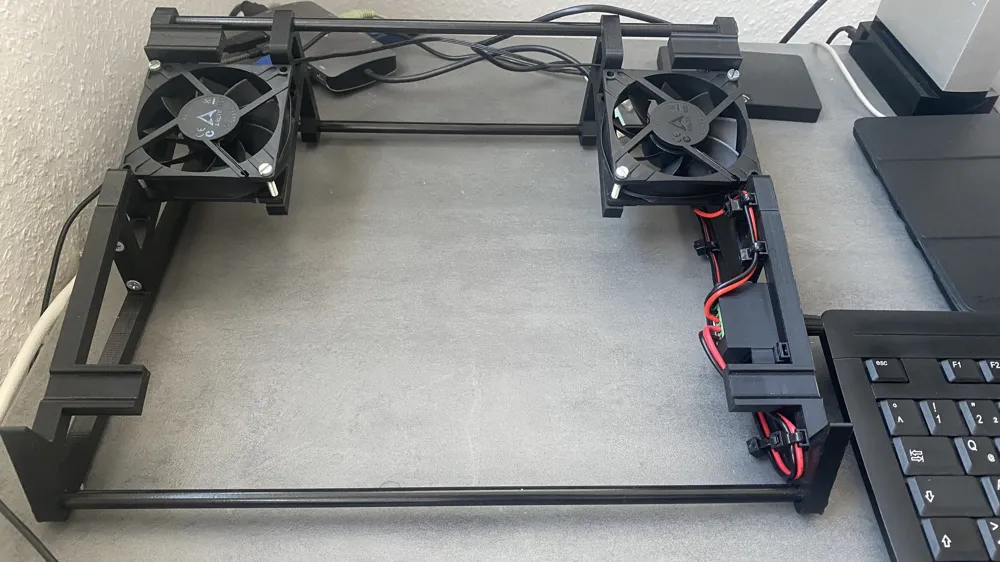
2 x 80 mm fans 3-Pin, 12V (I used Arctic F8)
1 x PWM-Controller 12V 1803B 1803BK (build in switch)
1 x power supply 12v
cableties
cable
I cut an M5 thread into the gas pipes to screw the side parts on later.
Once all the printed parts have been assembled, the fans can be installed.
I decided to install them with a PWM controller to be able to regulate the speed.
After the fans were installed, I laid the cables to the pwm controller and connected them there.
I did the same with the power supply unit.
I soldered pins to the cables so that I could use the original fan plugs
In order to be able to lay the cables neatly, two versions are provided with options for cable ties
Note that I only realized that the PWM controller has a switch after I had finished printing.
You can find the model without the fixture for the switch as an STL file.
Remixes:
I used this PWM-Controller housing:
thanks too MangoFan
I would be happy about a make if you print it!
License

You shall not share, sub-license, sell, rent, host, transfer, or distribute in any way the digital or 3D printed versions of this object, nor any other derivative work of this object in its digital or physical format (including - but not limited to - remixes of this object, and hosting on other digital platforms). The objects may not be used without permission in any way whatsoever in which you charge money, or collect fees.


Comment & Rating (7)