
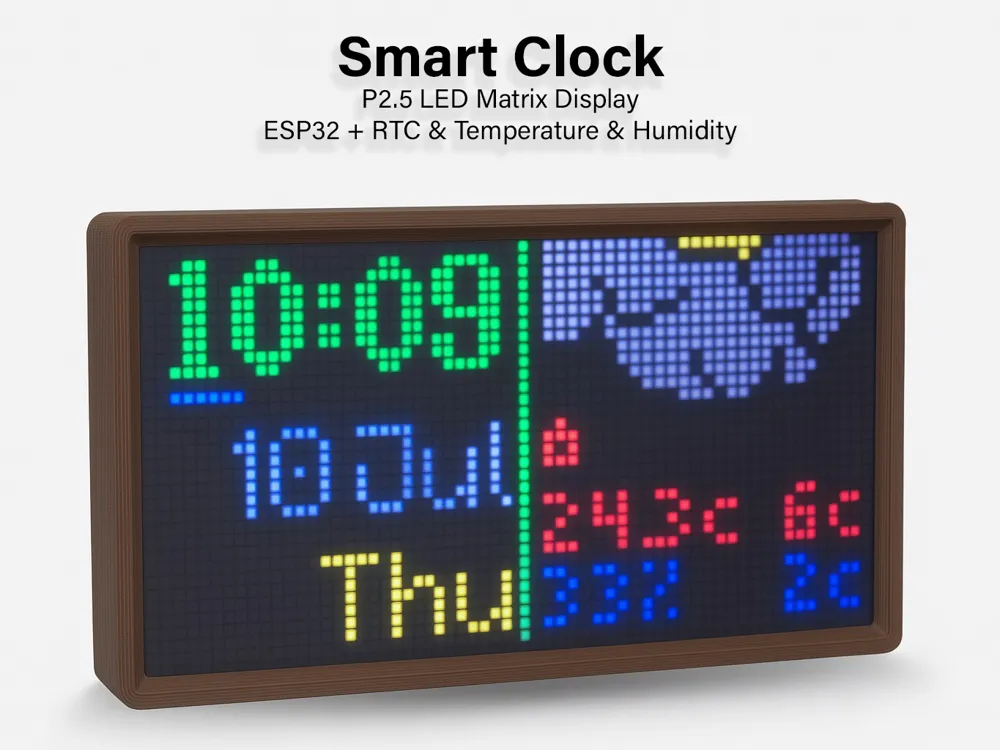
P2.5 Matrix Smart Clock
Print Profile(2)


Description
Boost Me (for free)
Please boost if you would like to support my Smart Clock. More electronic projects to come!
ALL FIRMWARE & PCB FILES NOW ON GitHub as Makerworld now blocks ZIP files
https://github.com/LORDSn1per/Carlsons-Smart-Clock
UPDATE: 20 March 2026 - v2.89
- Added Swedish as a language option
UPDATE: 22 February 2026 - v2.88
- Added Display Type selection to swap the RGB pins to correct the colours on the P2.5 or P5.0 display
- Added Temperature offset
- BUG FIX: Webpage now shows screen brightness when auto brightness is enabled by default
- BUG FIX: After 3 reboots within 1 minute due to underpowered 5v supply, clock will revert to 15% brightness
- Add ability to schedule different screens
- BUG FIX: City search now works with iOS26, this prevented clock from getting weather stats
- Disabled autobrightness to prevent brightness fluctuations under 11%
UPDATE: 3 November 2025 - v2.83
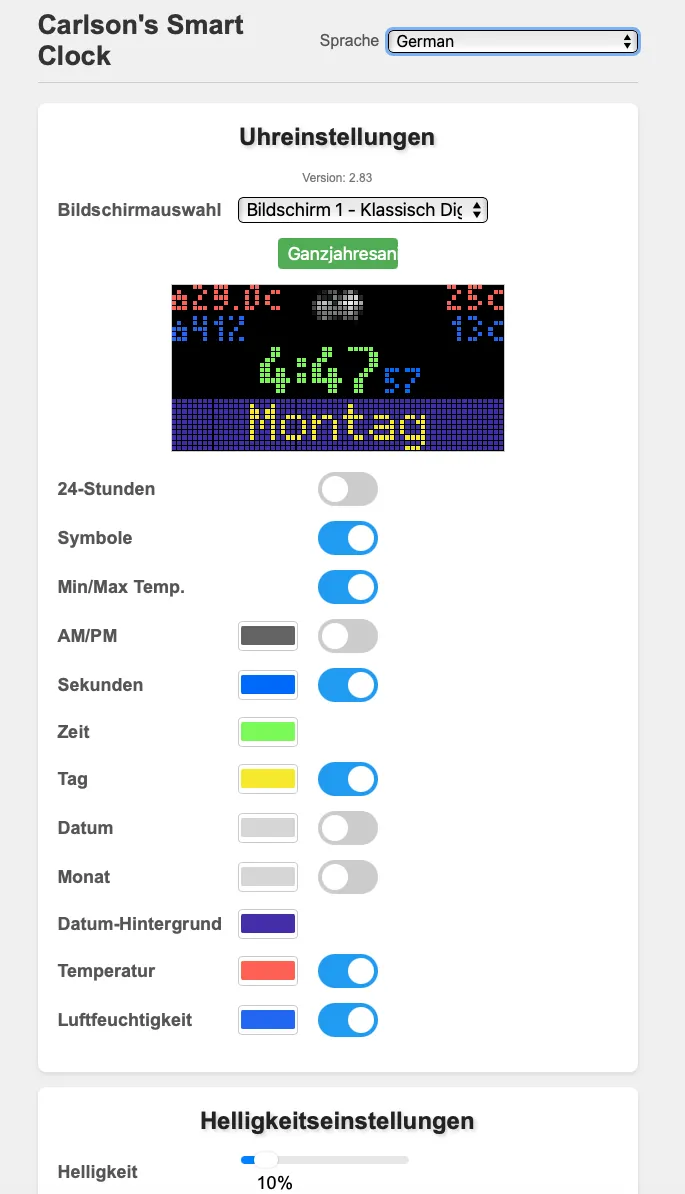
- Added new “Language” selection option to main settings page
- Added GERMAN as a Language option
- Added ENGLISH as a language option
UPDATE: 5 Sep 2025
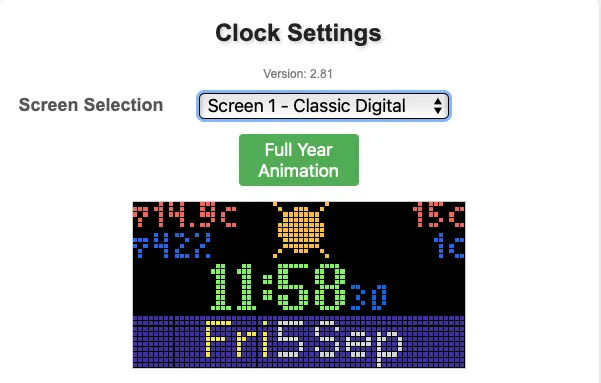
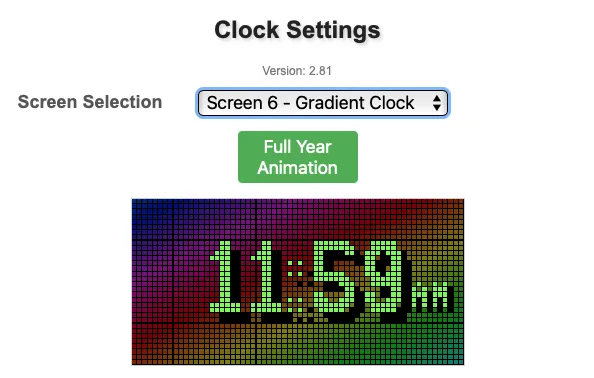
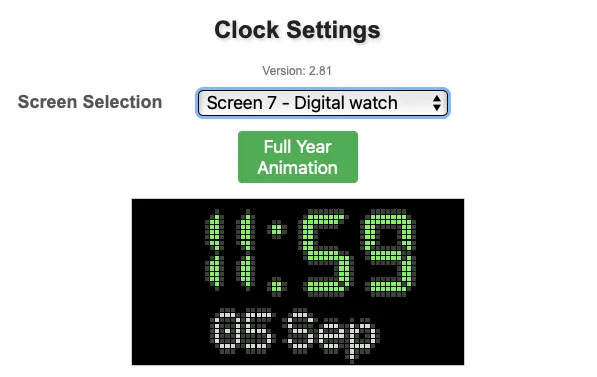
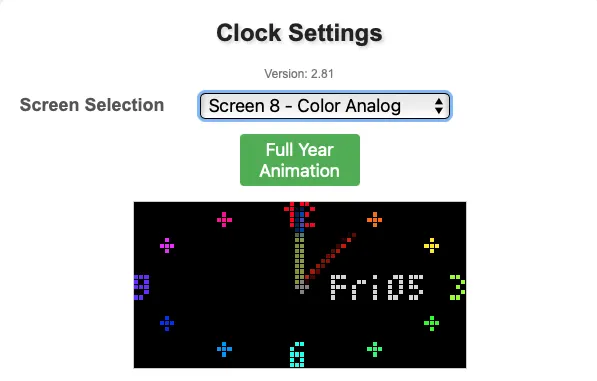
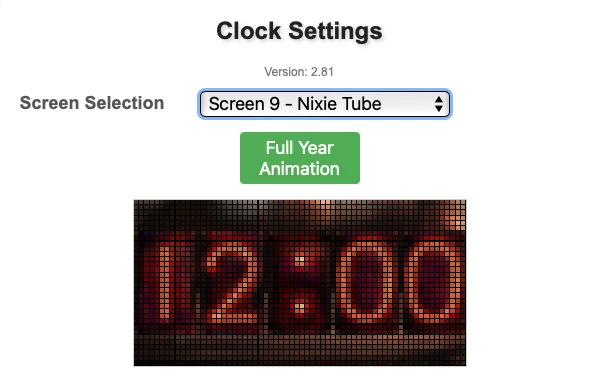
- Added 4 new clock screens (Screen 6, 7, 8, 9)
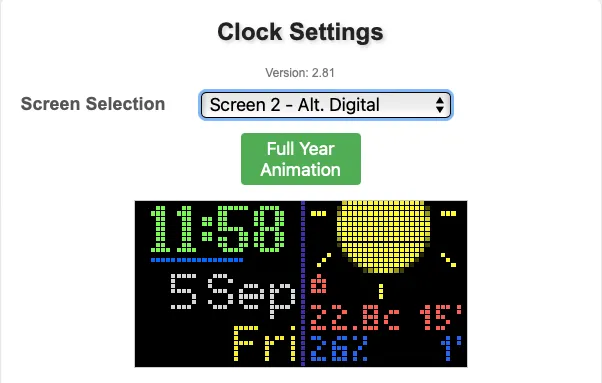
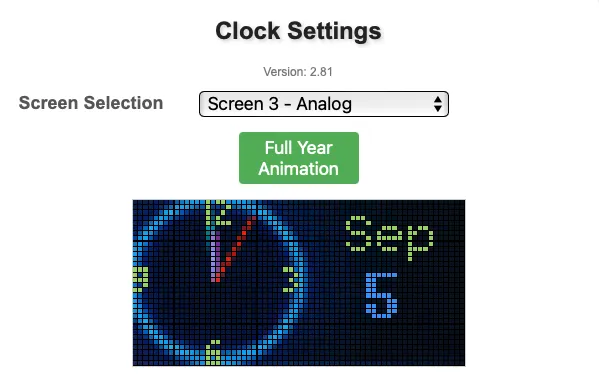
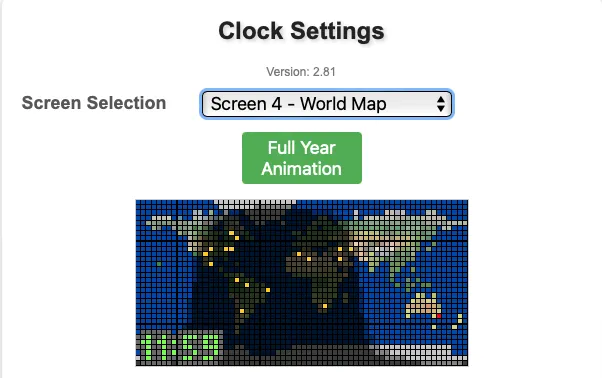
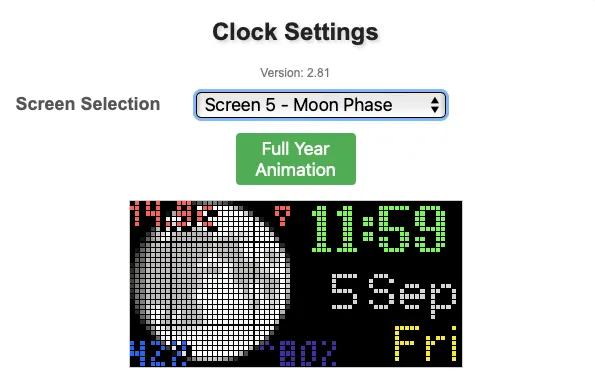
UPDATE: 14 Aug 2025
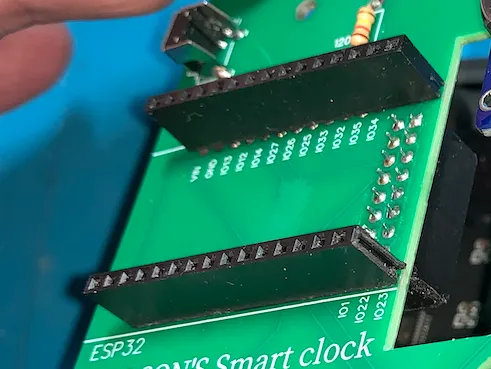
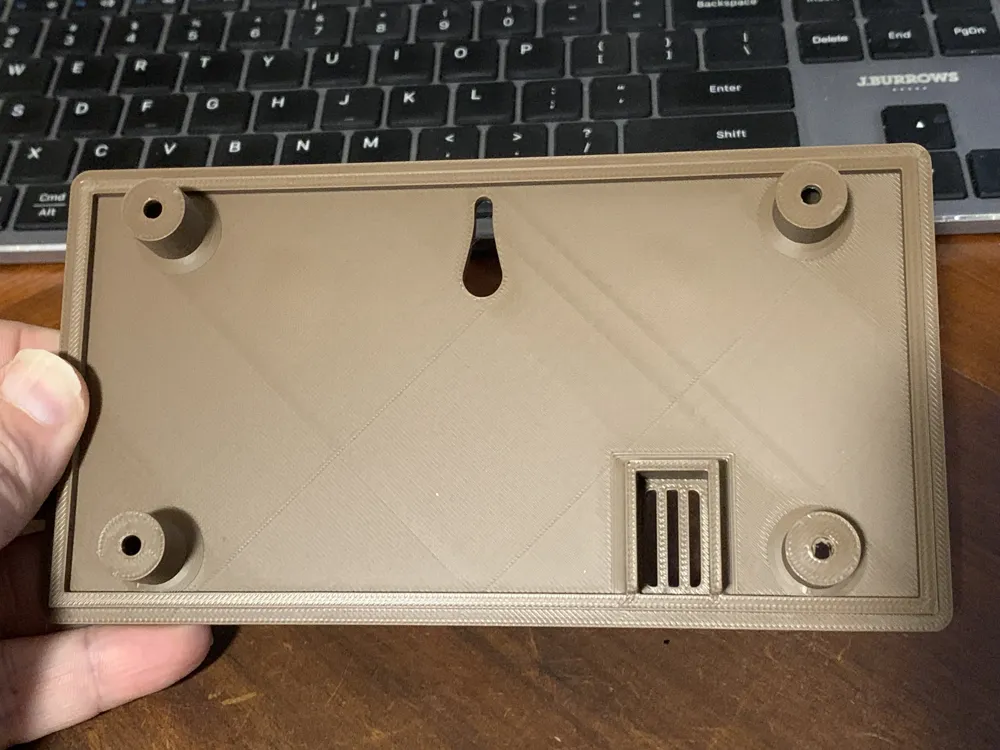
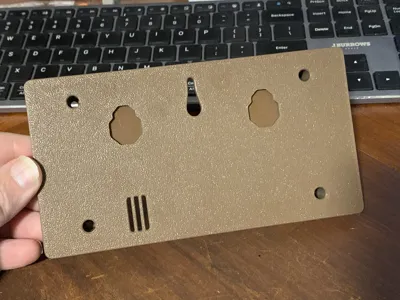
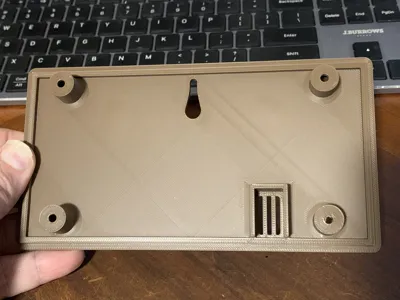
New Clock case added. New print profile allows using 9mm standoffs. This prevents ESP32 wifi being affected by the screen electronics. Without using standoffs can render clock wifi useless. Using these standoffs, fixes this issue
- New case is 9mm thicker to allow for the new standoffs.
- NEW
- Assembly guide
- Software guide
- Installing firmware
- v2.73 firmware
- Now allows 3 weather service providers to choose from
- Wifi signal strength shown in setup menu (hold menu button for 2 seconds)
P2.5 Matrix Smart Clock
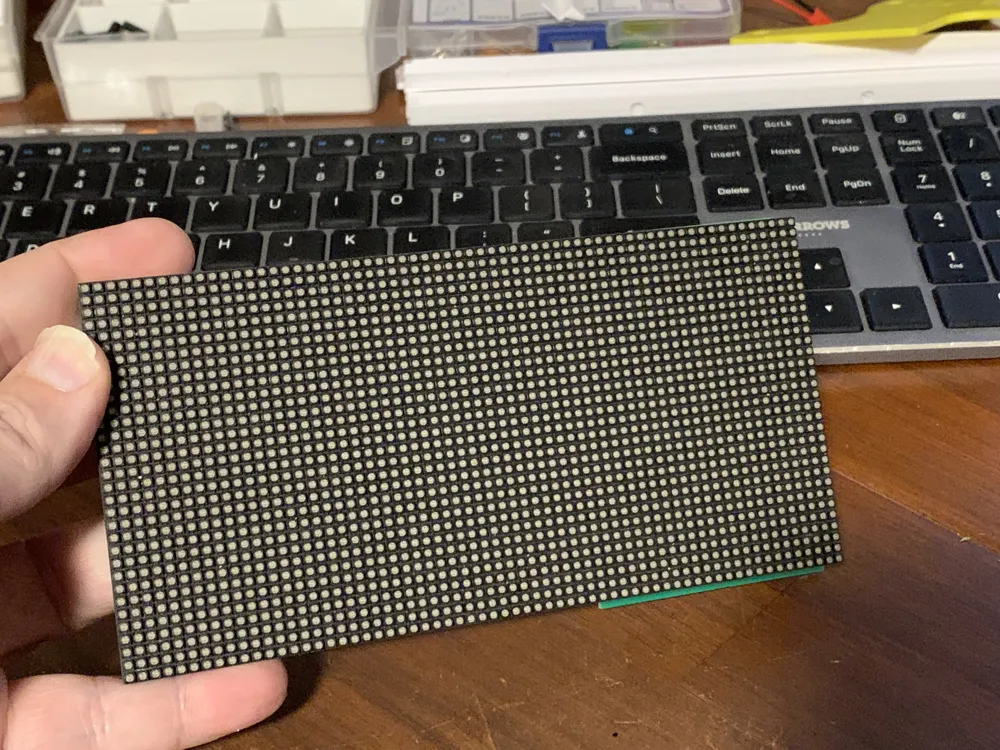
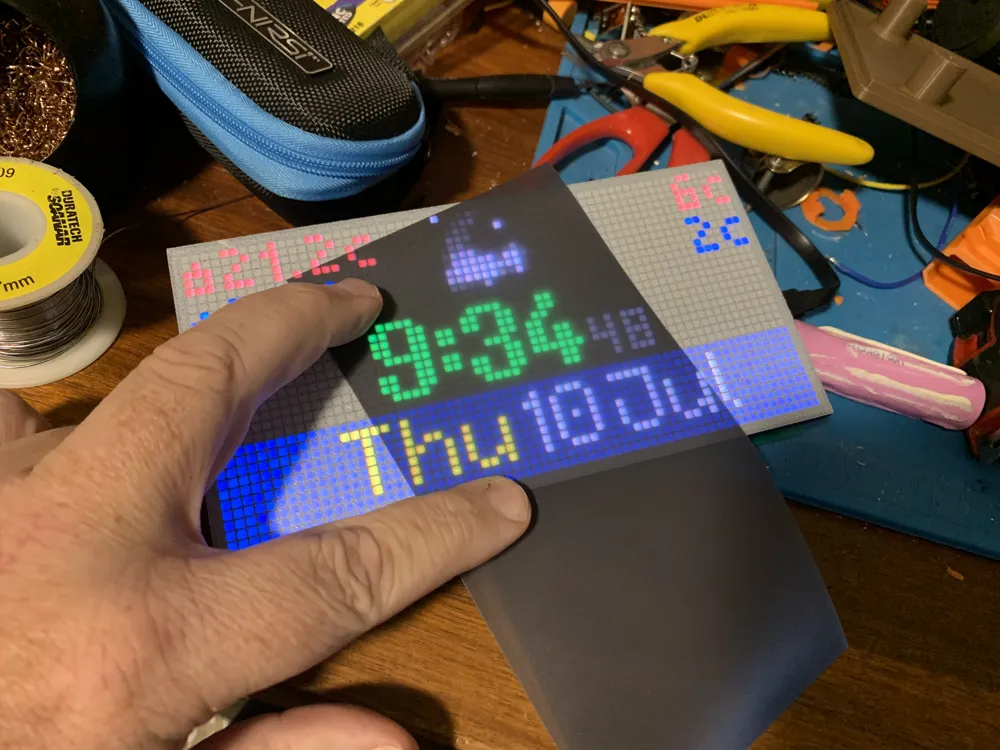
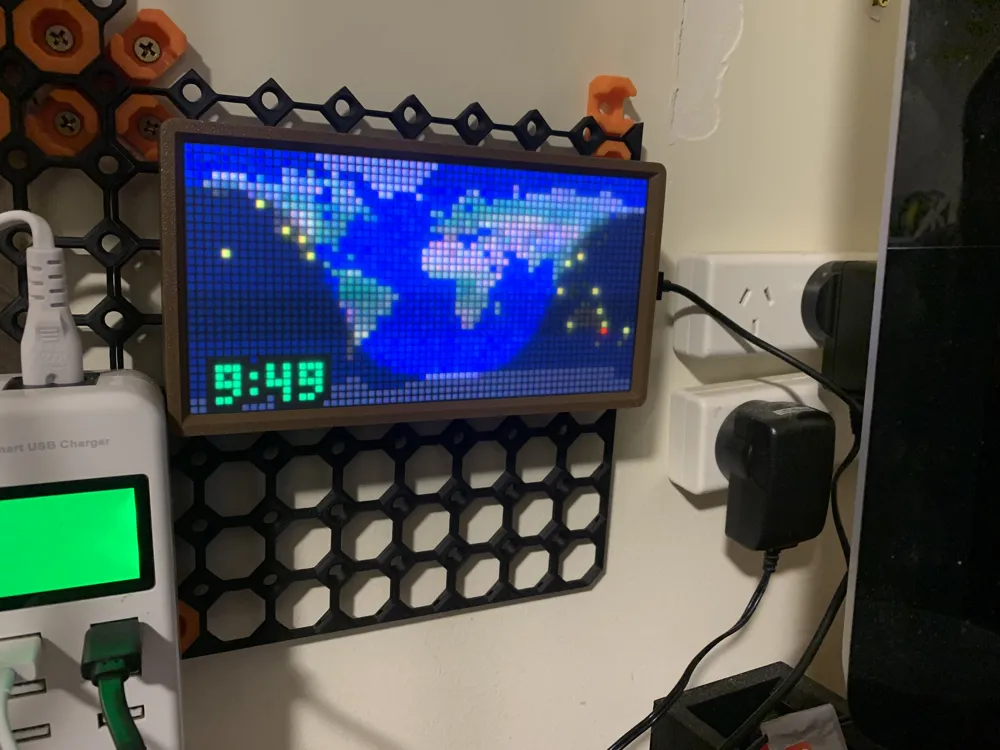
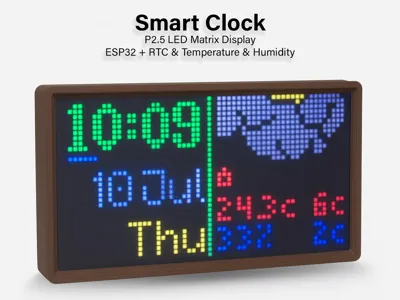
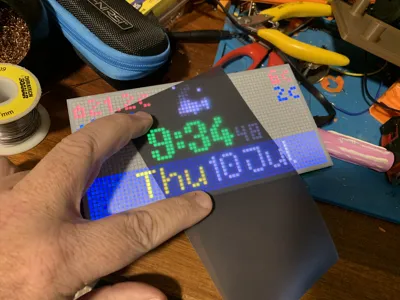
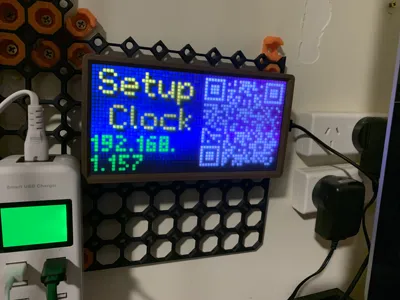
This project uses a cheap LED Matrix display with a 2.5mm pitch (hence the name P2.5)
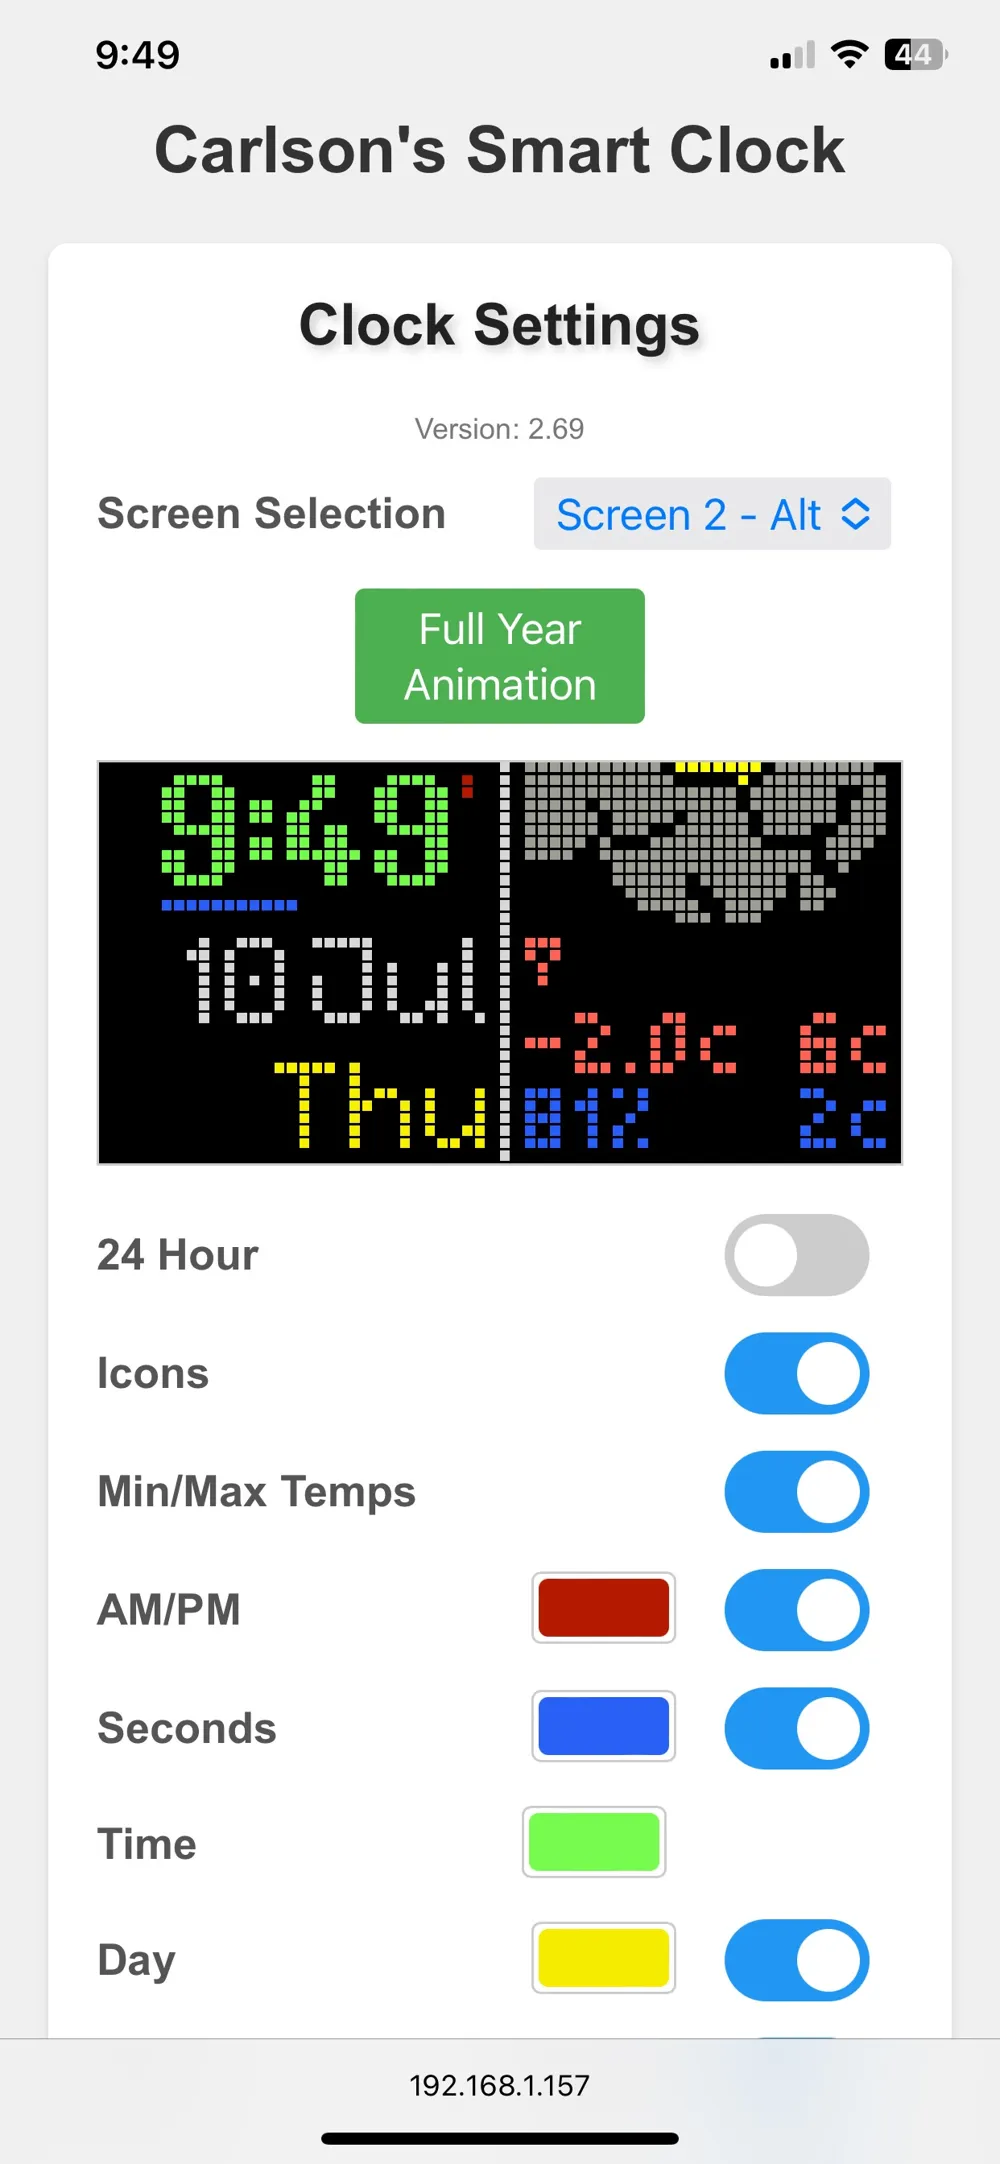
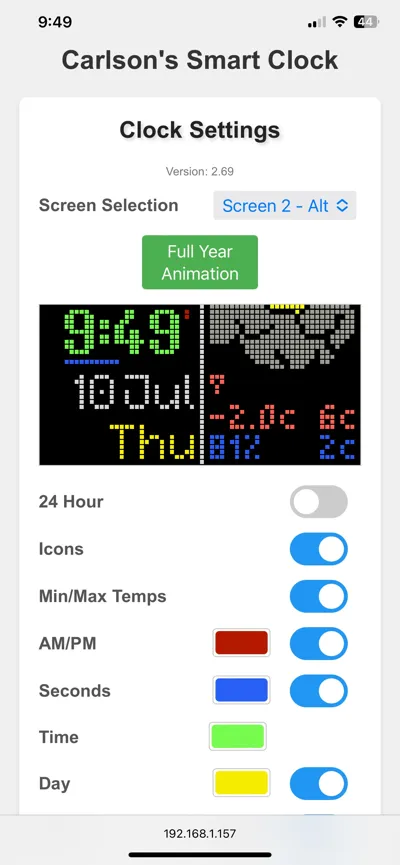
The clock connects to Wifi and ALL settings are controlled by the internally run Webserver on 192.168.1.xxx
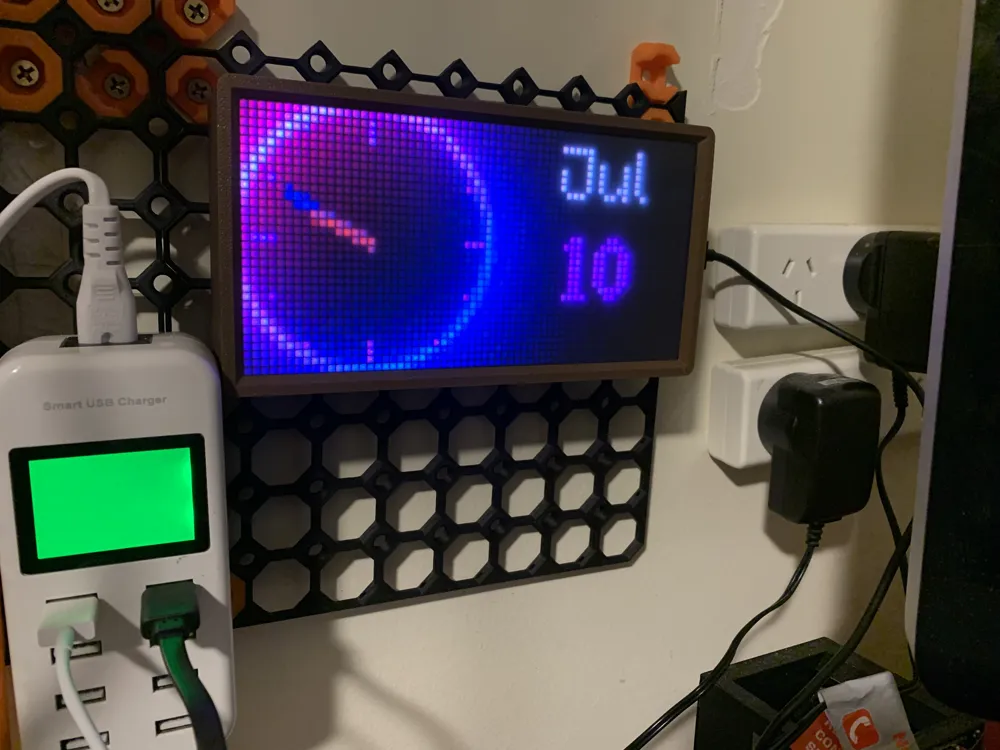
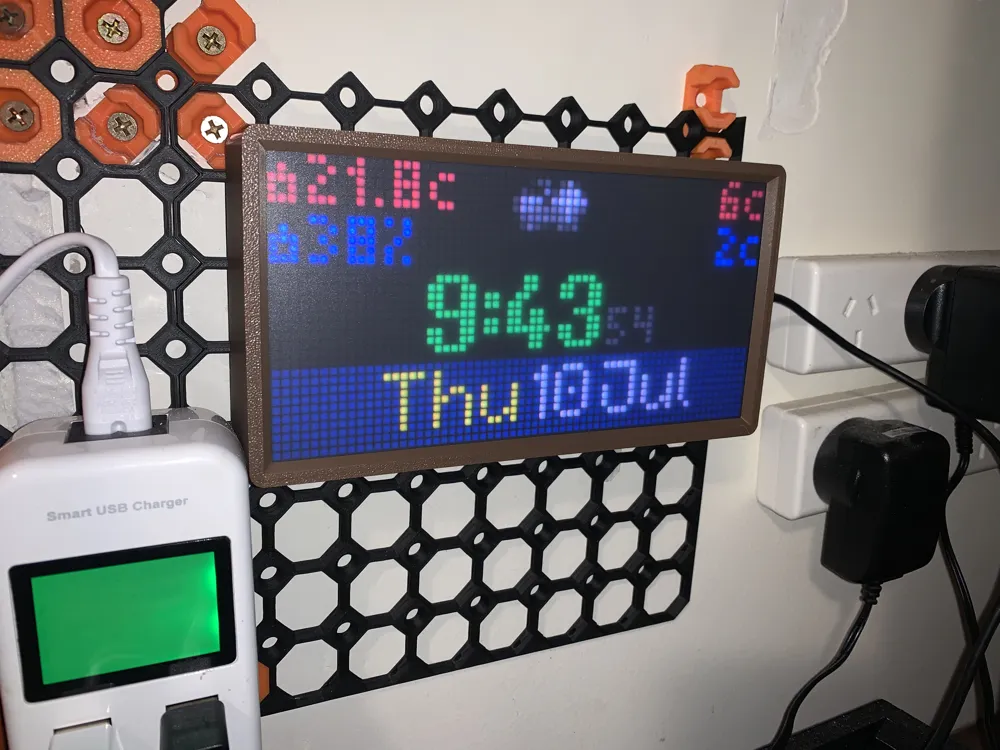
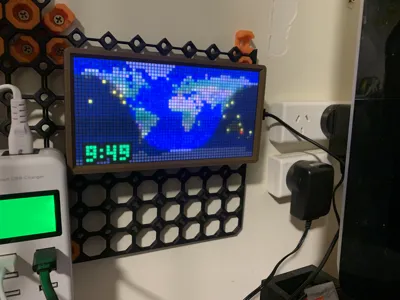
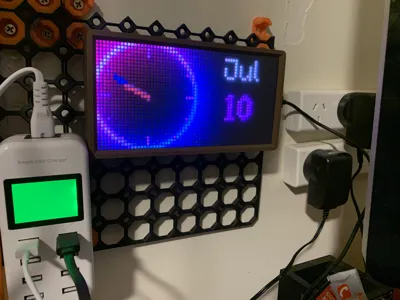
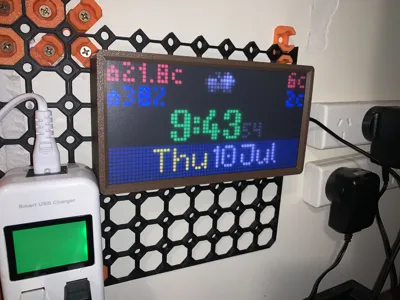
There are a LOT of customisations and 5 different clock screens
Parts List
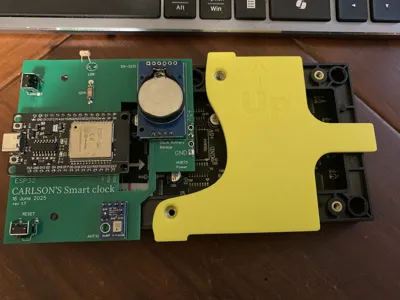
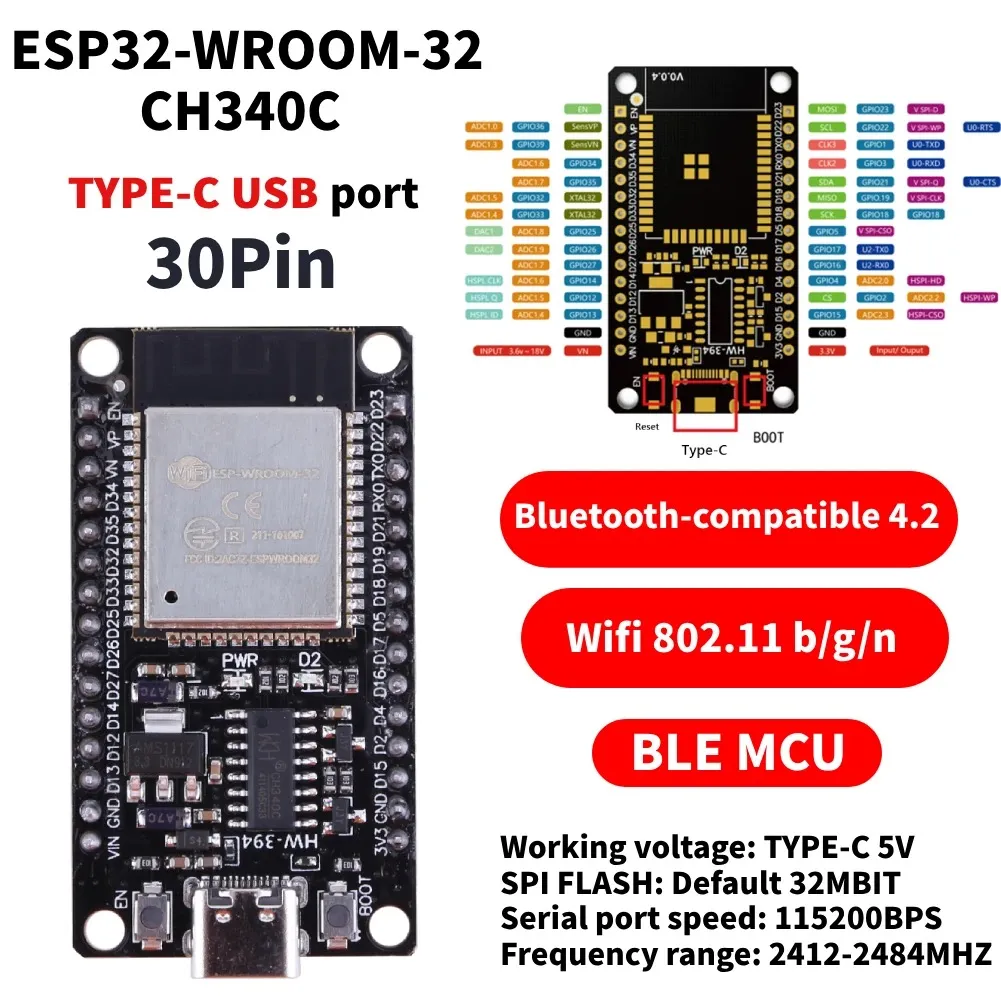
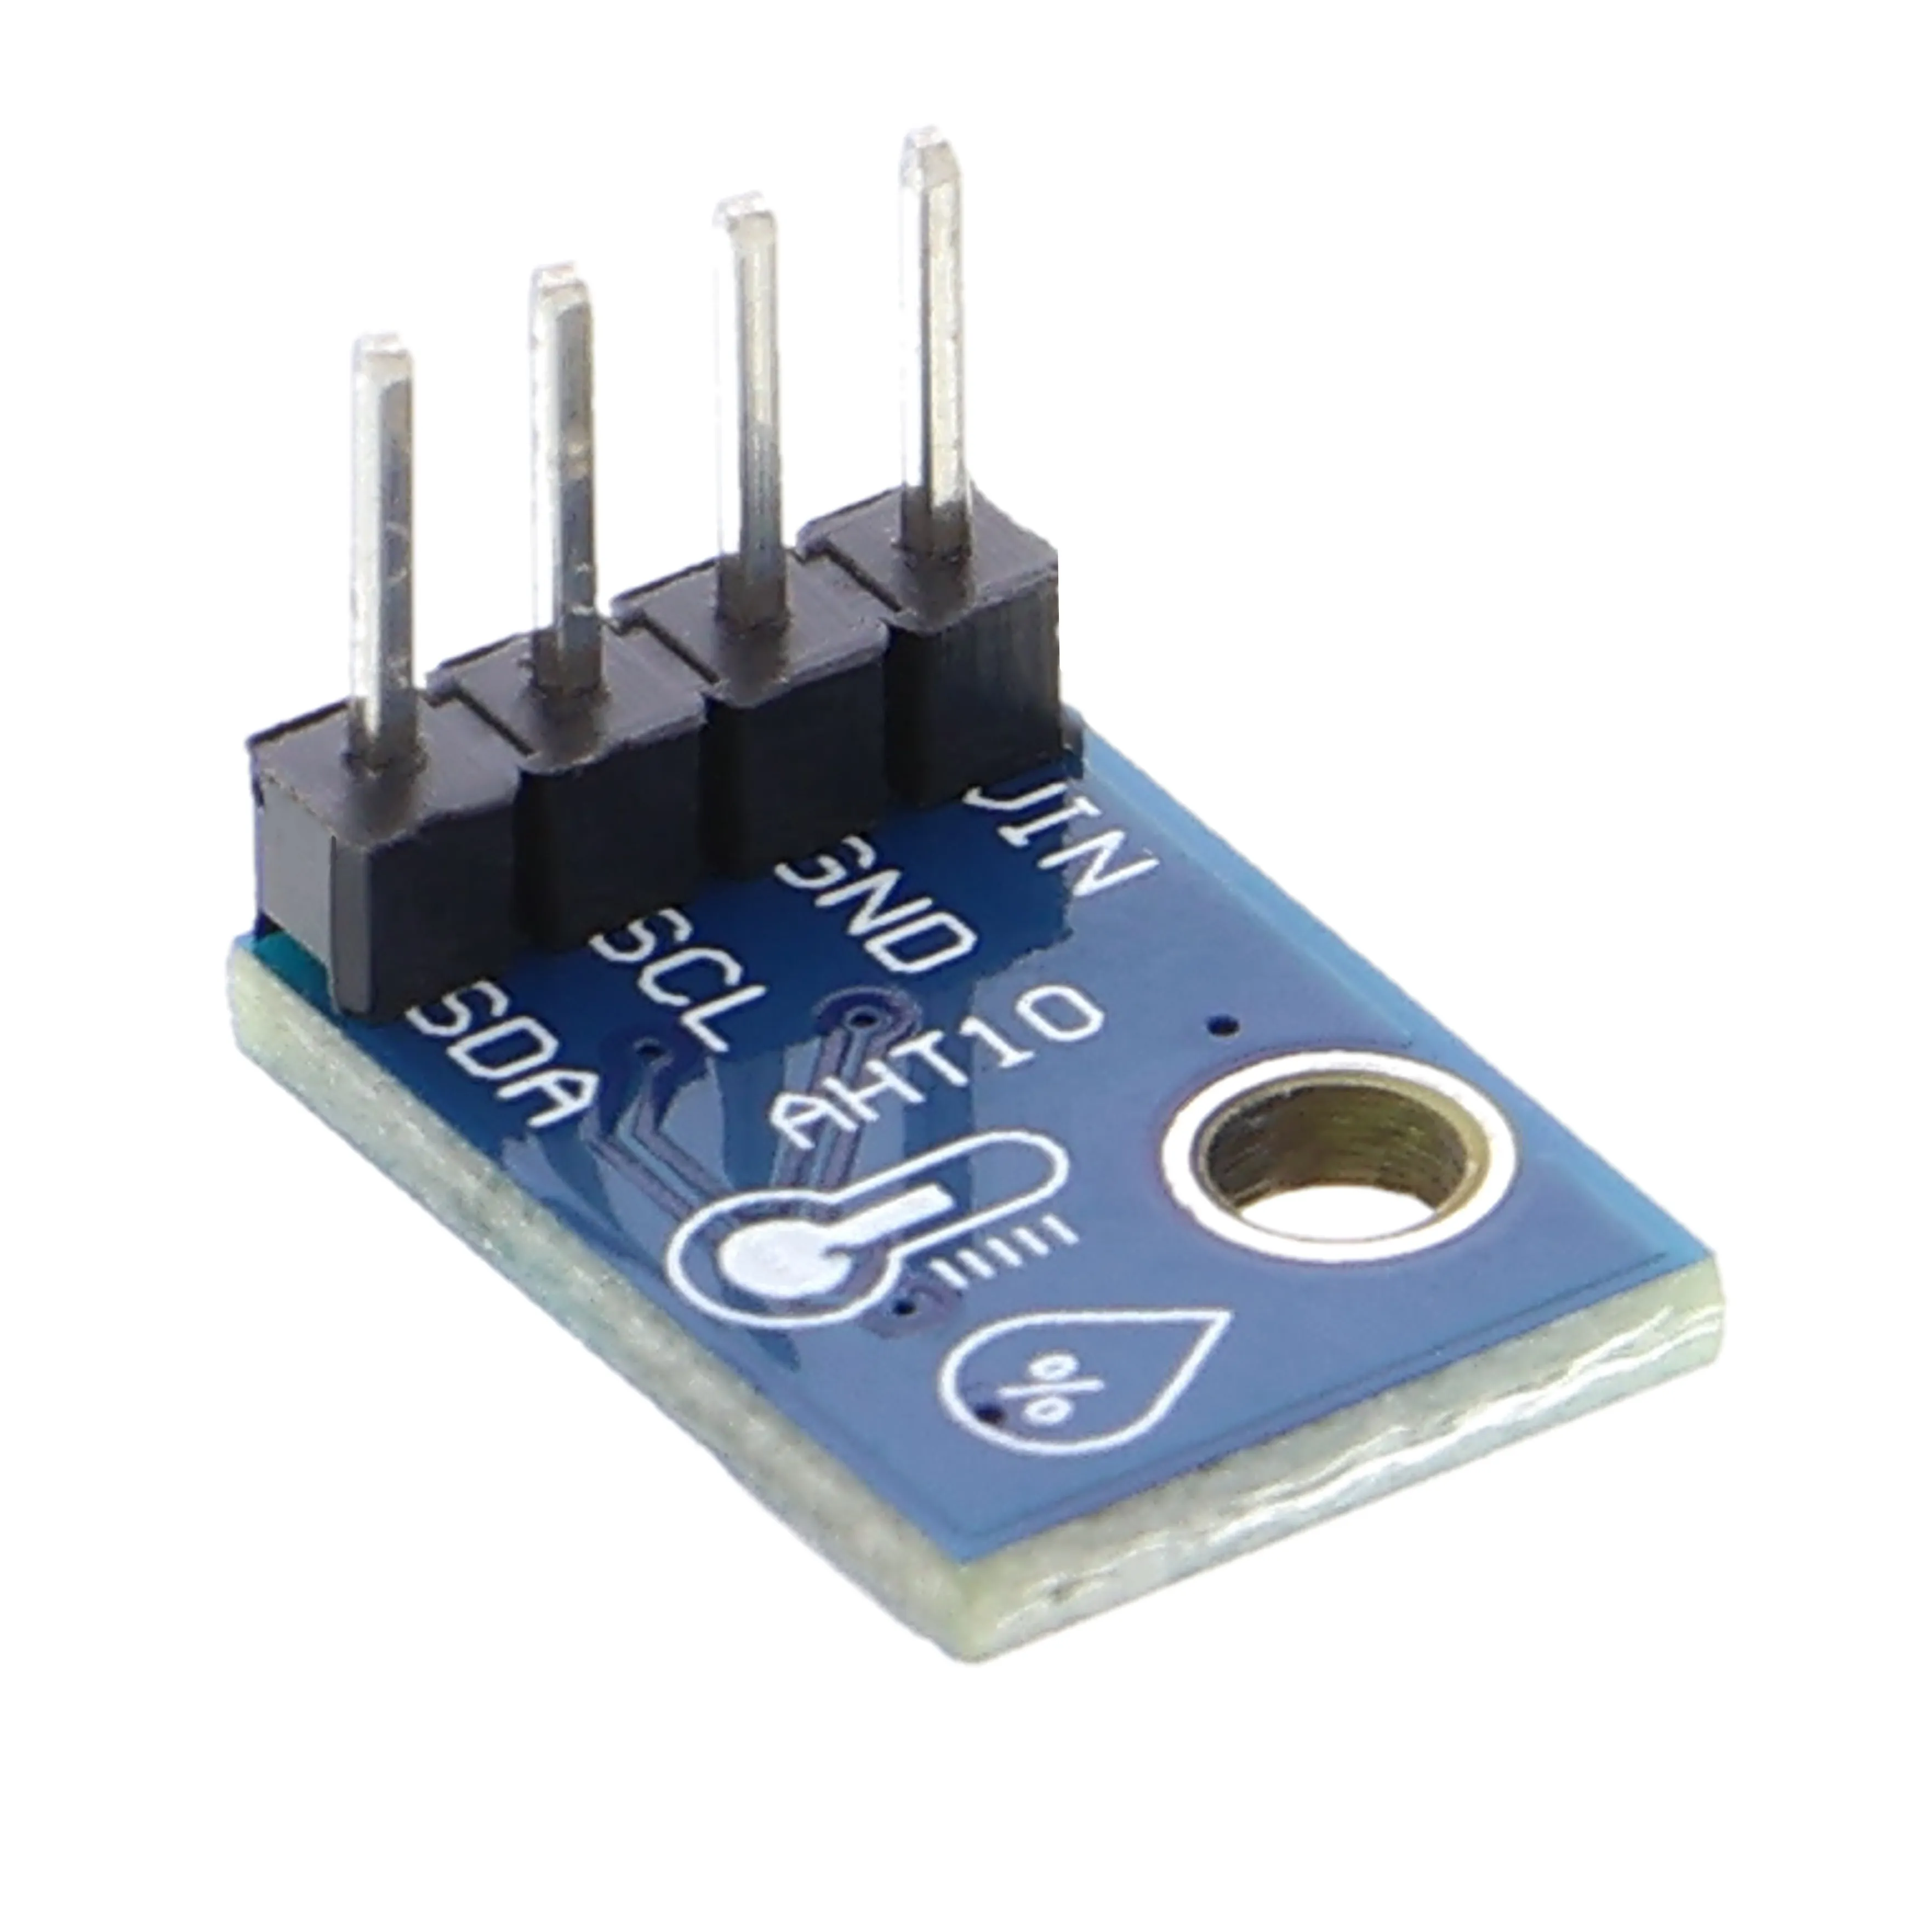
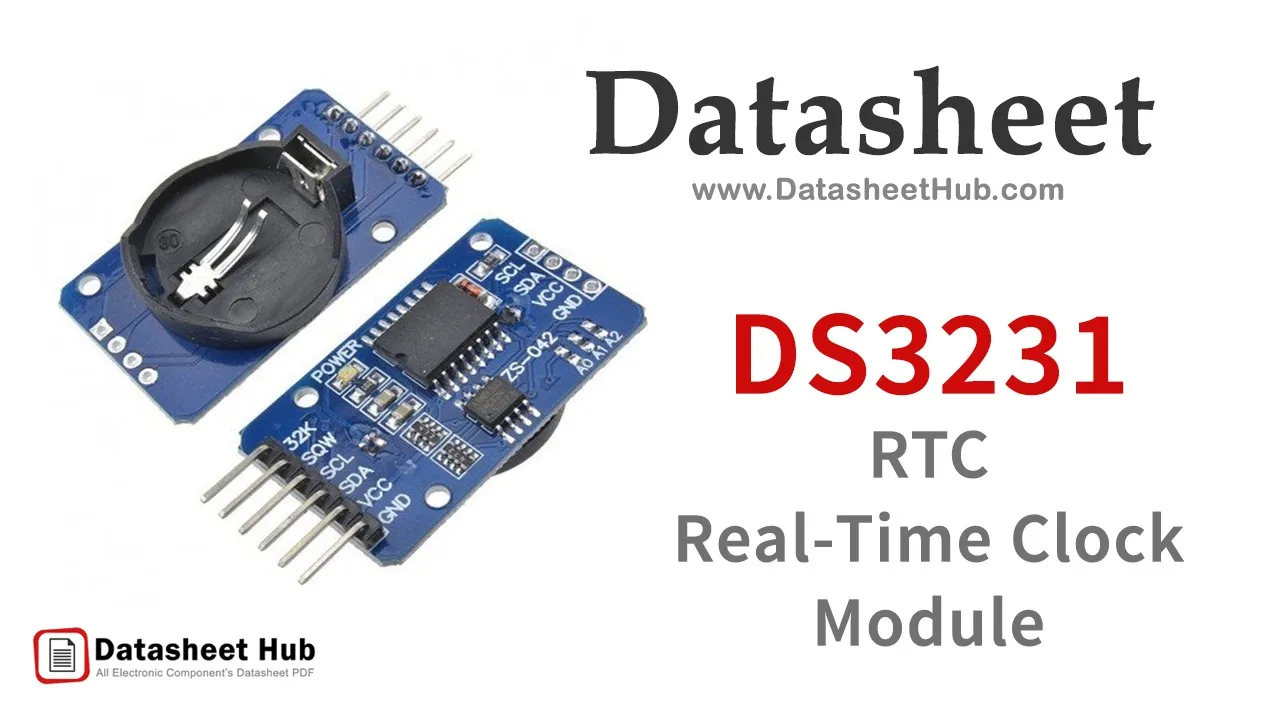
Components needed (all photo's of components shown below)
- ESP32 WROOM32 Devkit CH340C - USB-C (30 pin)
- AHT-10 Temperature & Humidity sensor (4pin)
- DS3231 Realtime Clock Module with battery backup (4 pin + 6 pin)
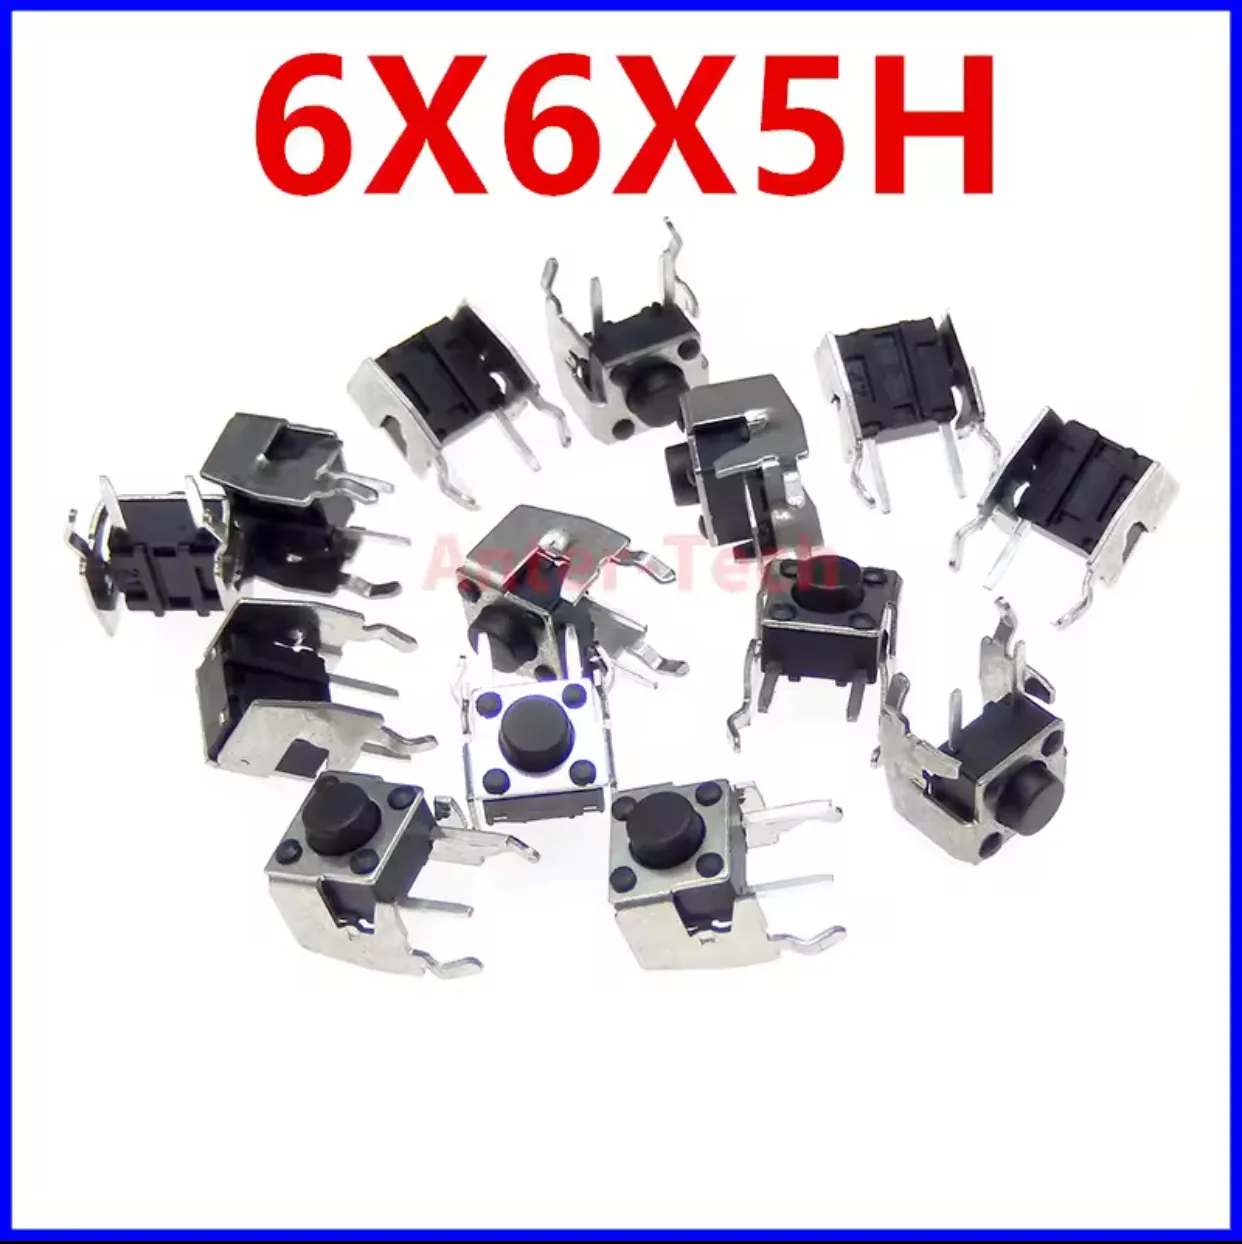
- TWO side mounted Push buttons: 6x6x5H
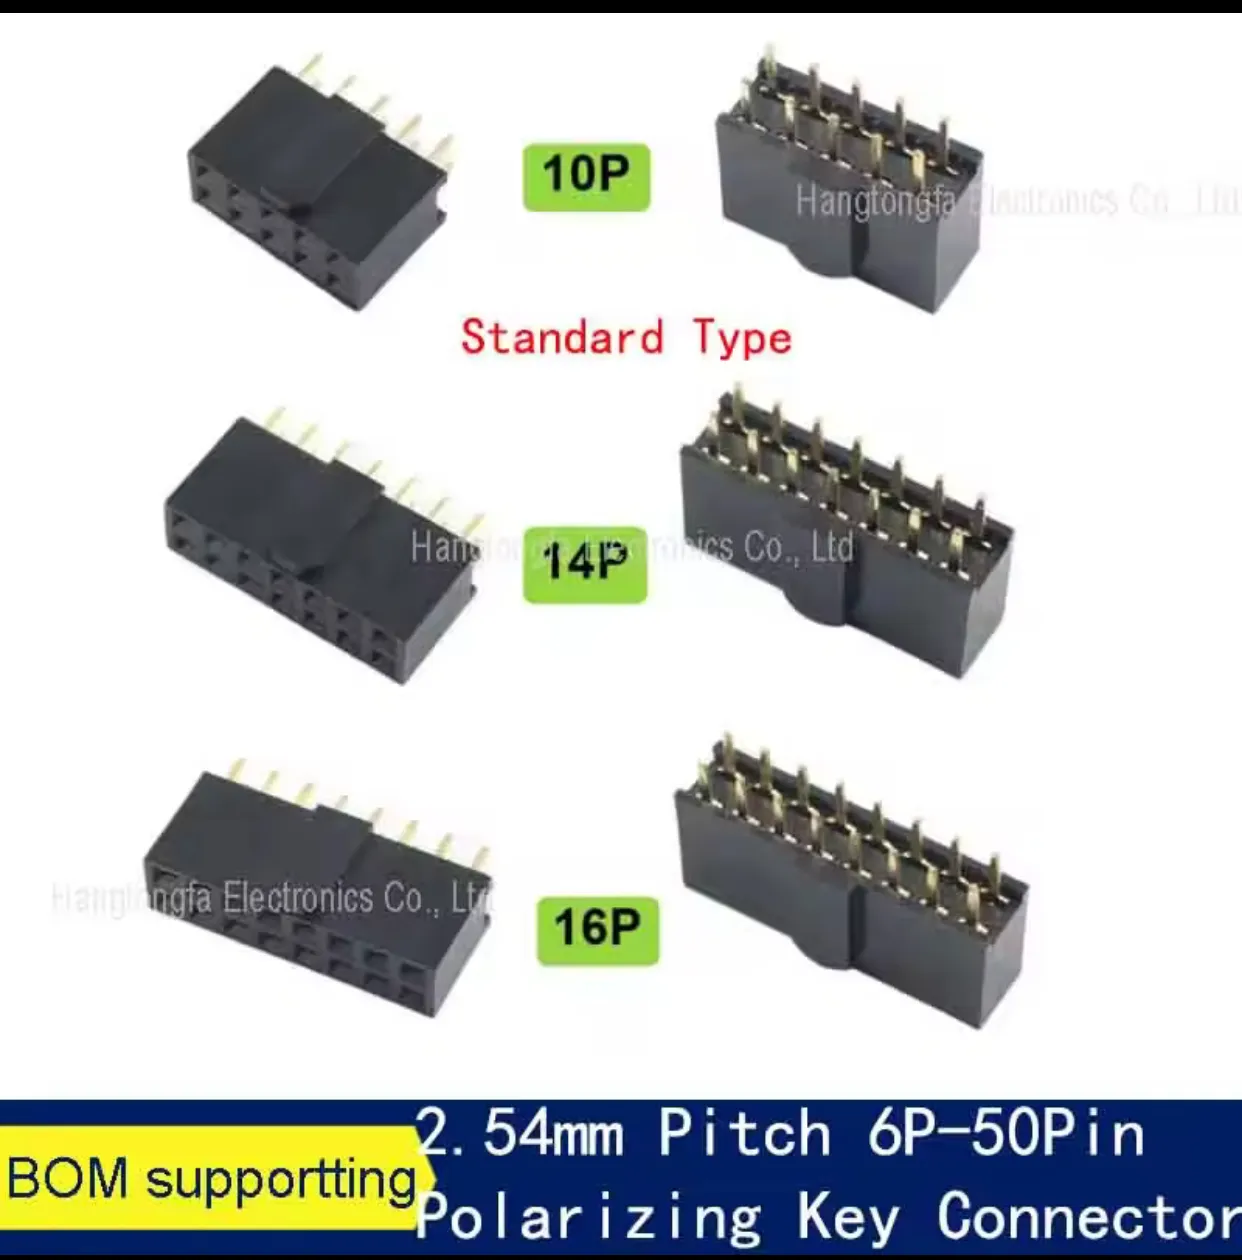
- 2.54mm Pitch 16P Female Header Strip
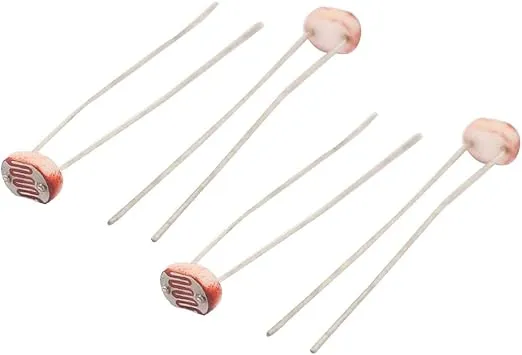
- 5mm LDR (light dependant resistor) - model 5549 (45-140 Kohm) 10Mohm in dark
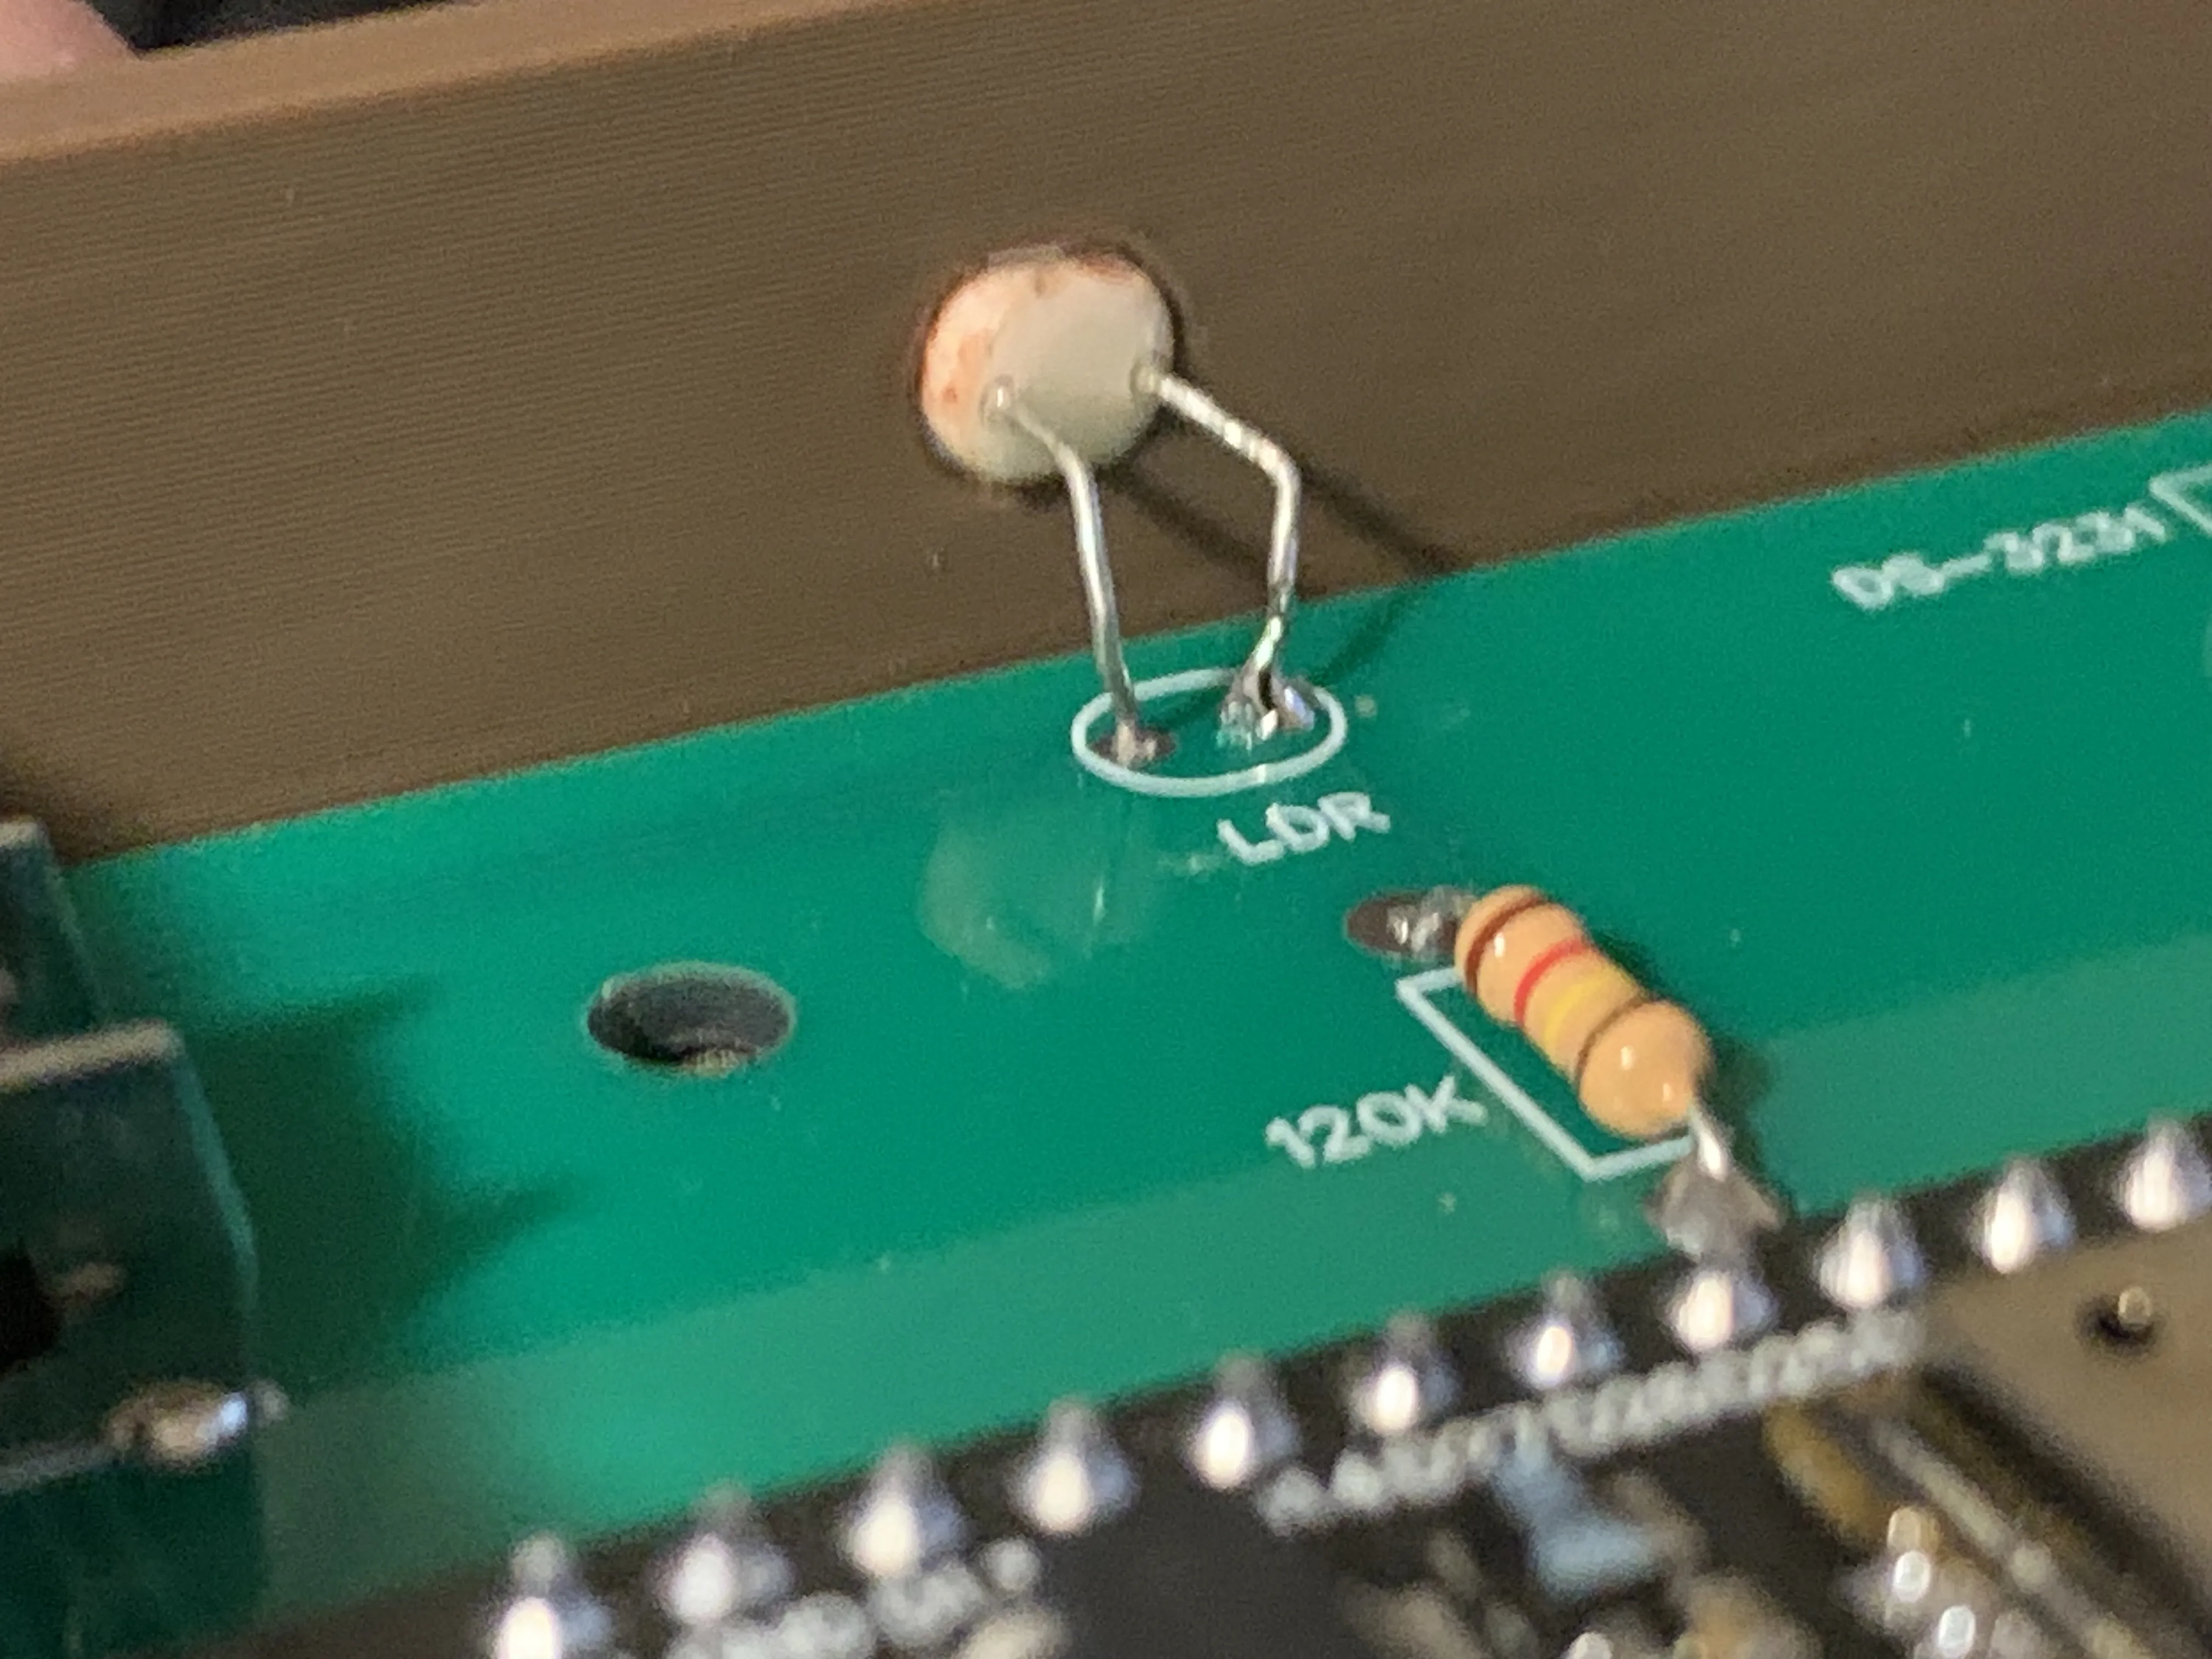
- 120 Kohm resistor
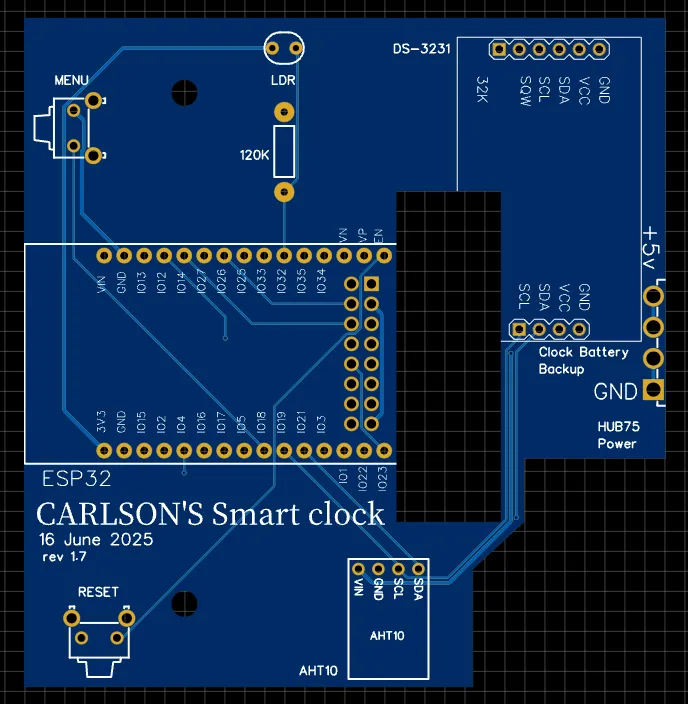
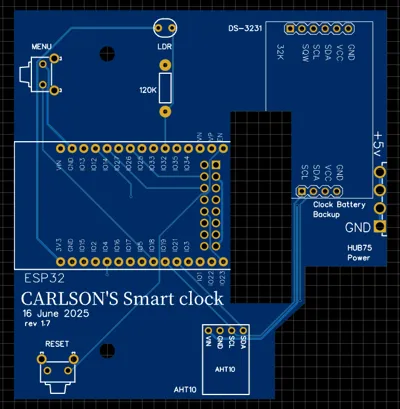
- PCB (Circuit board file supplied in ZIP can be directly uploaded into PCBWAY or JLCPCB website. 5 boards for $2!)
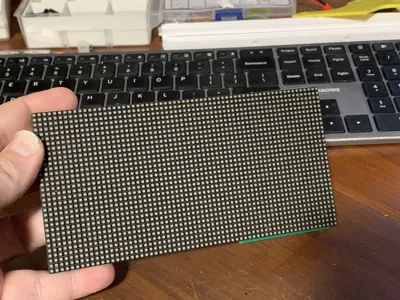
- P2.5 HUB75 RGB Matrix Display 64x32 pixels
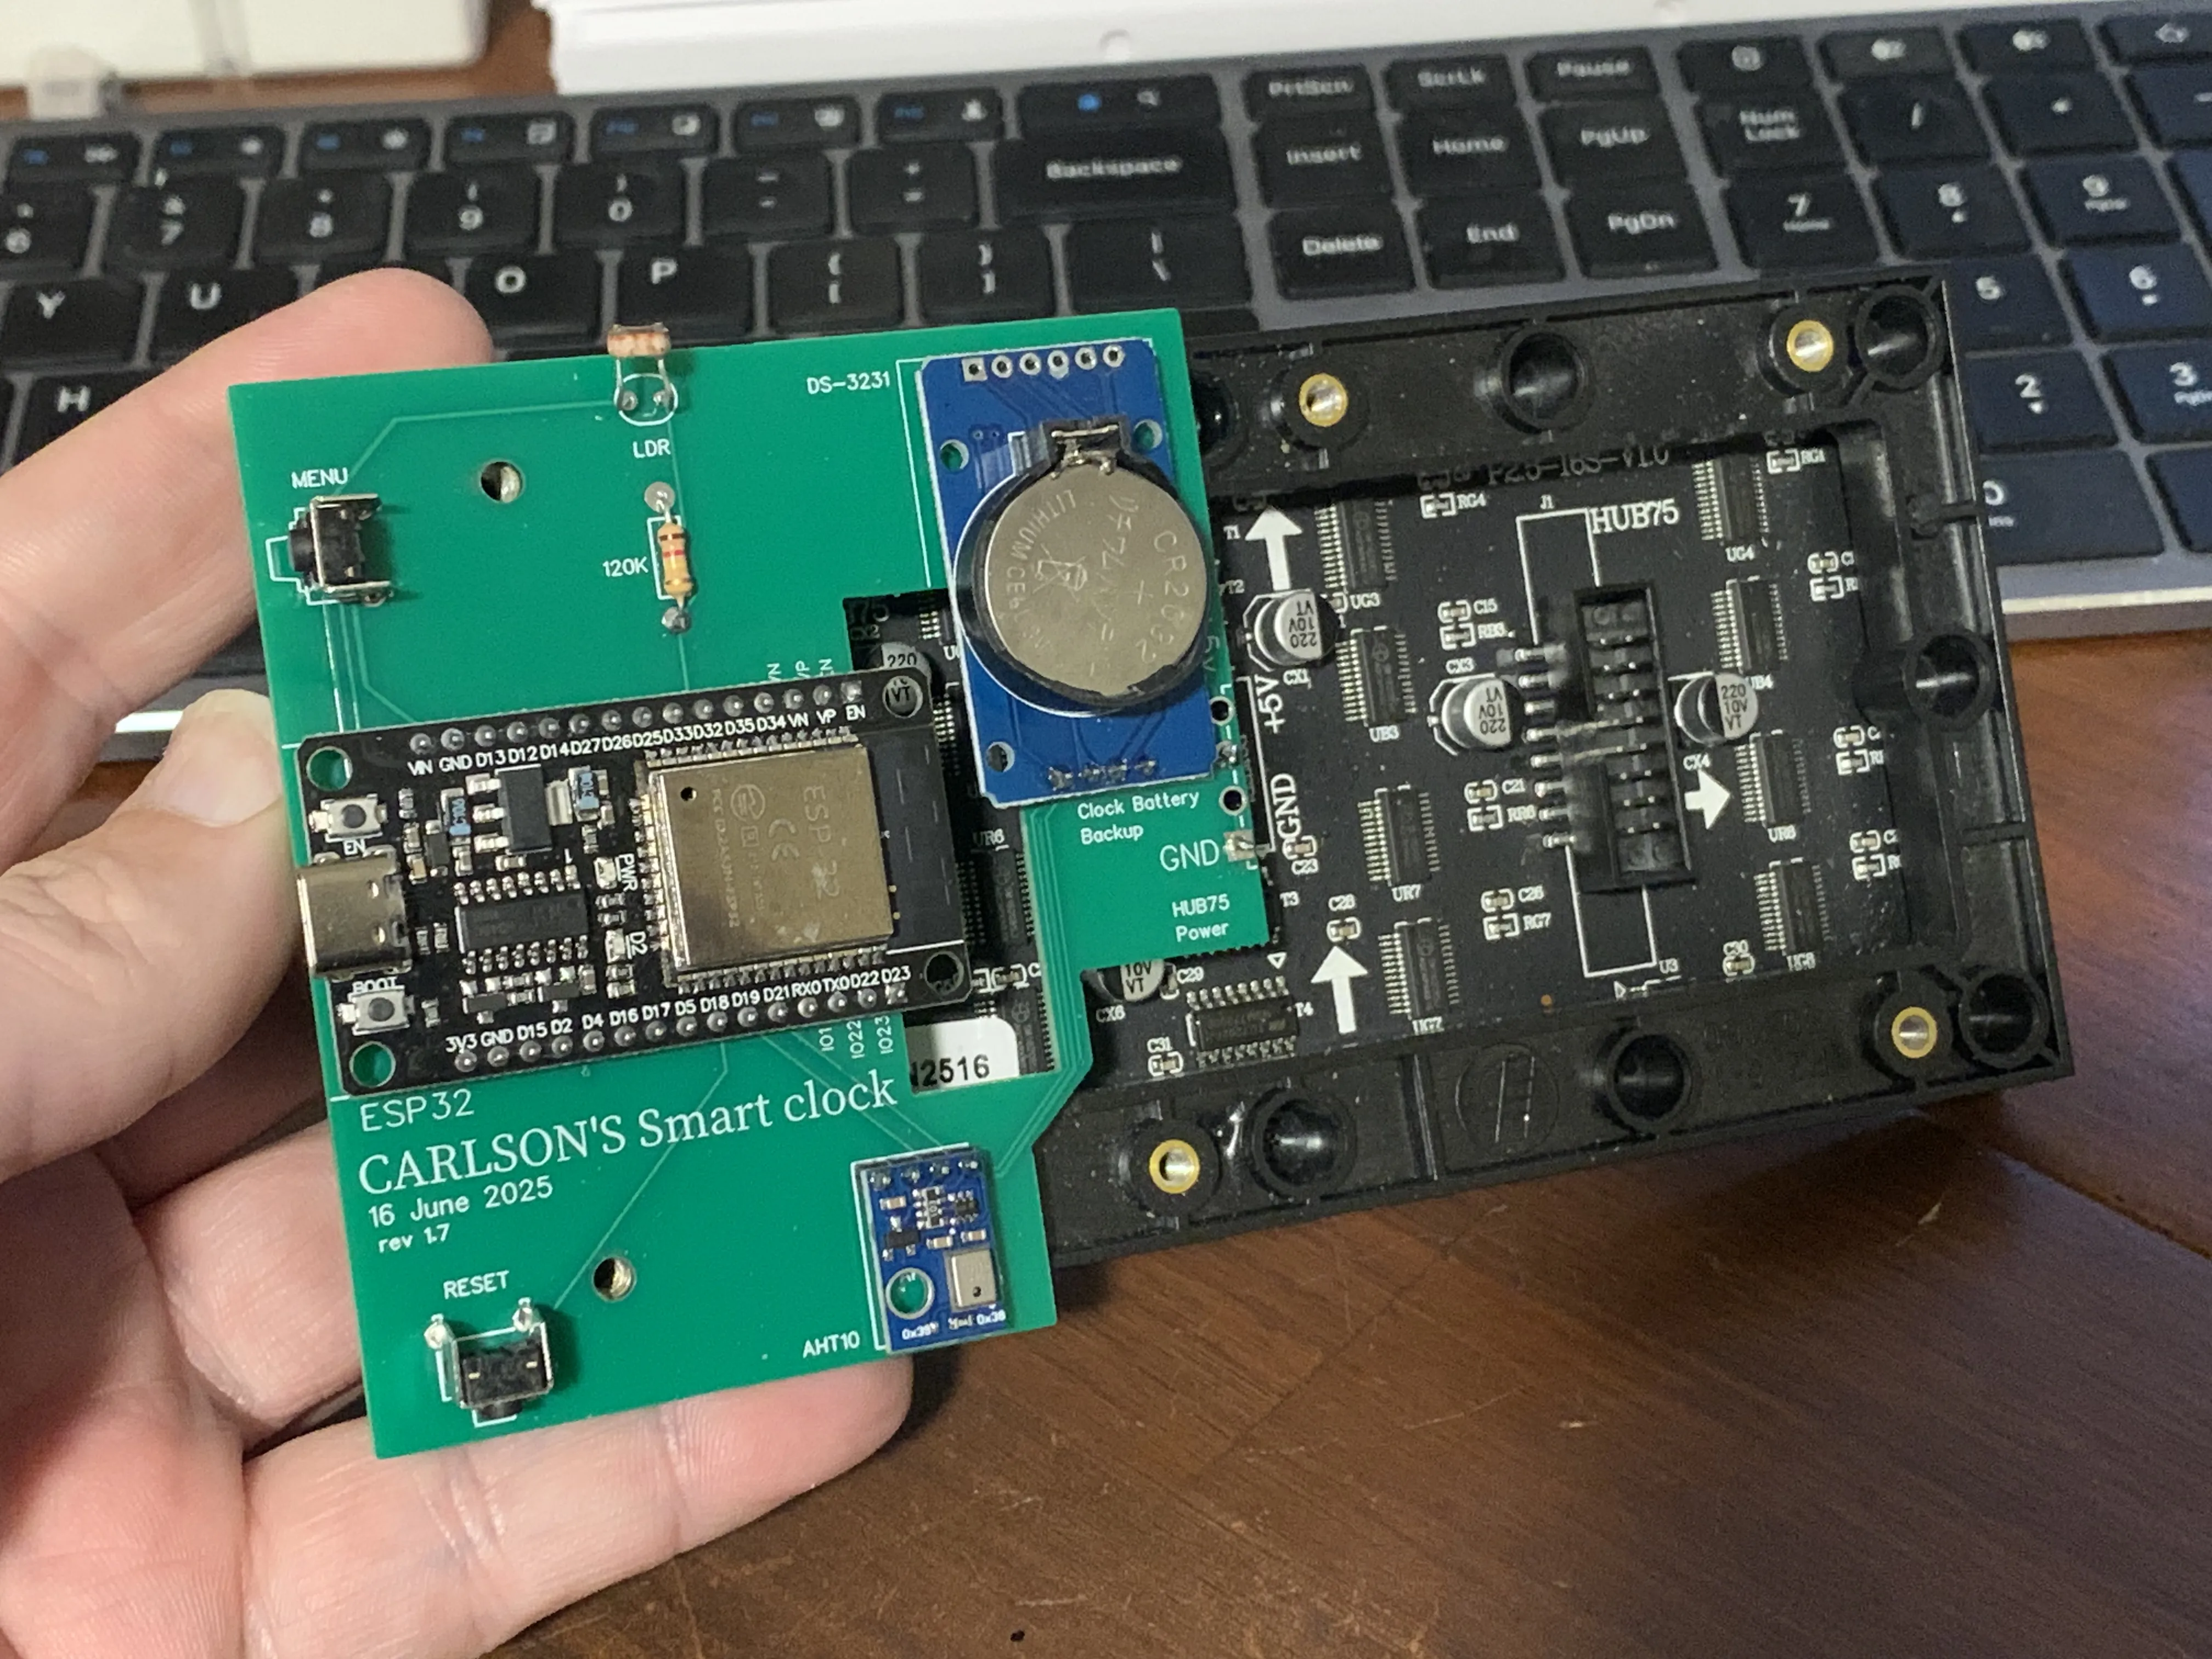
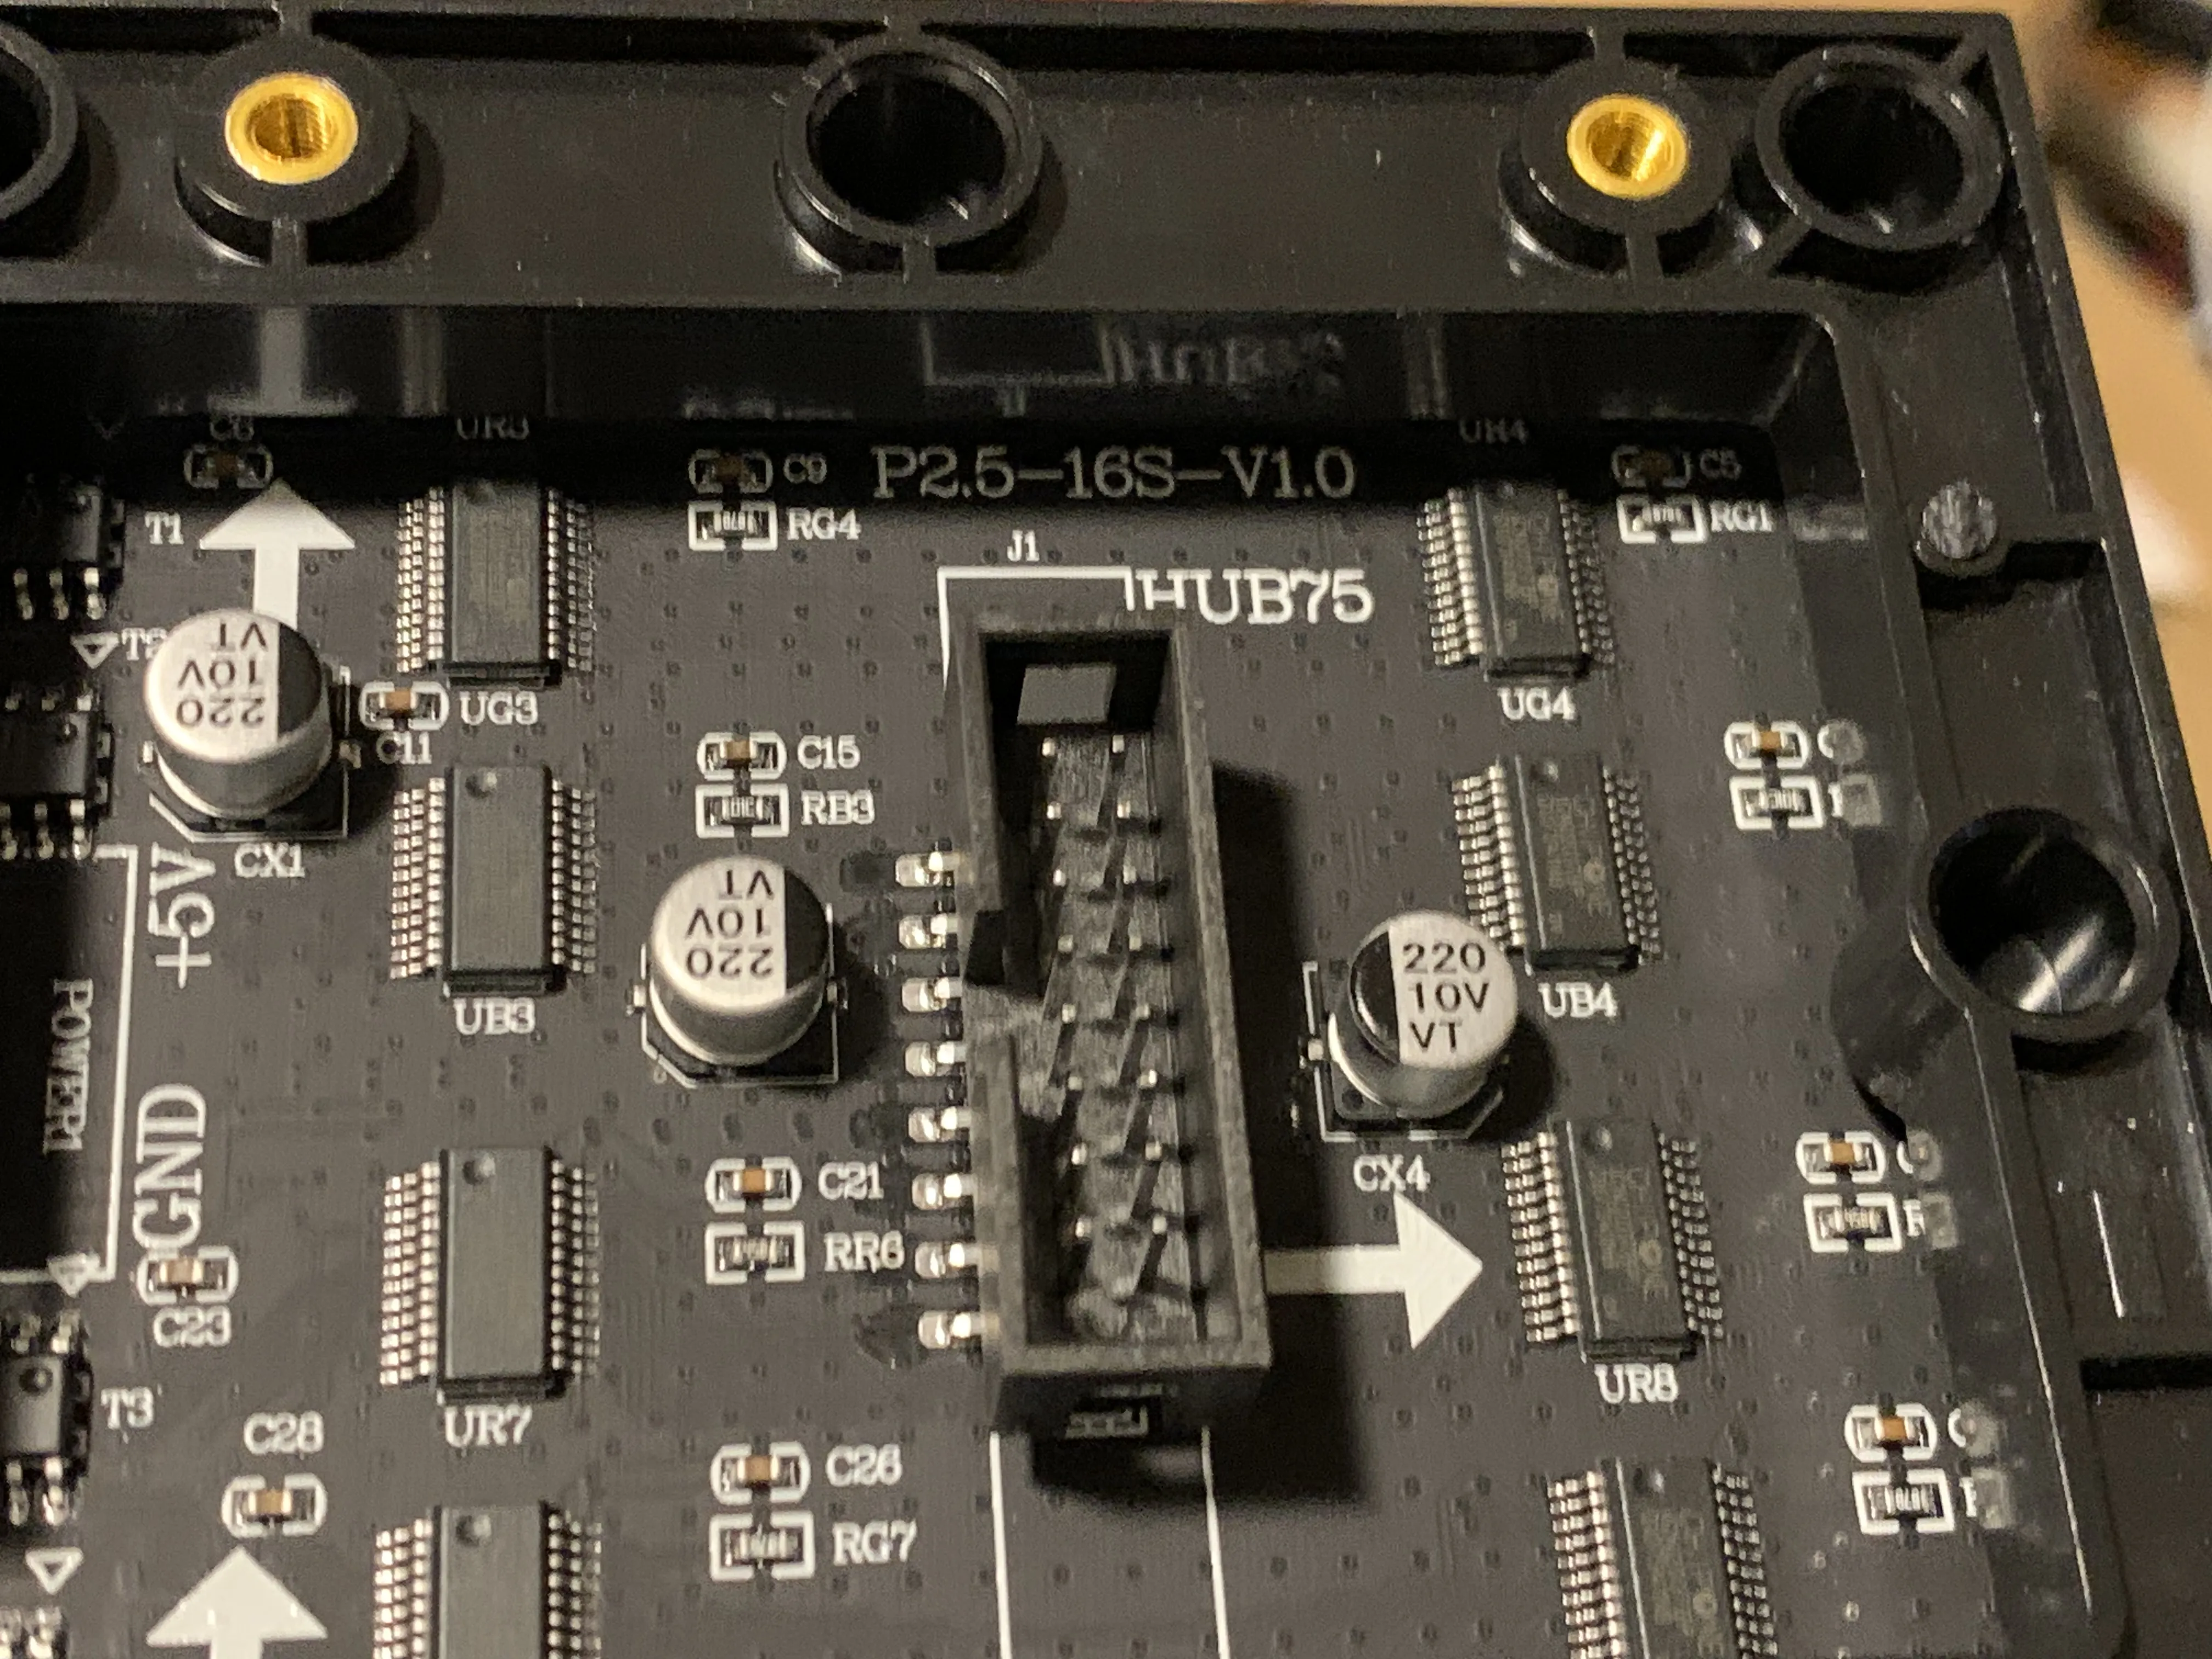
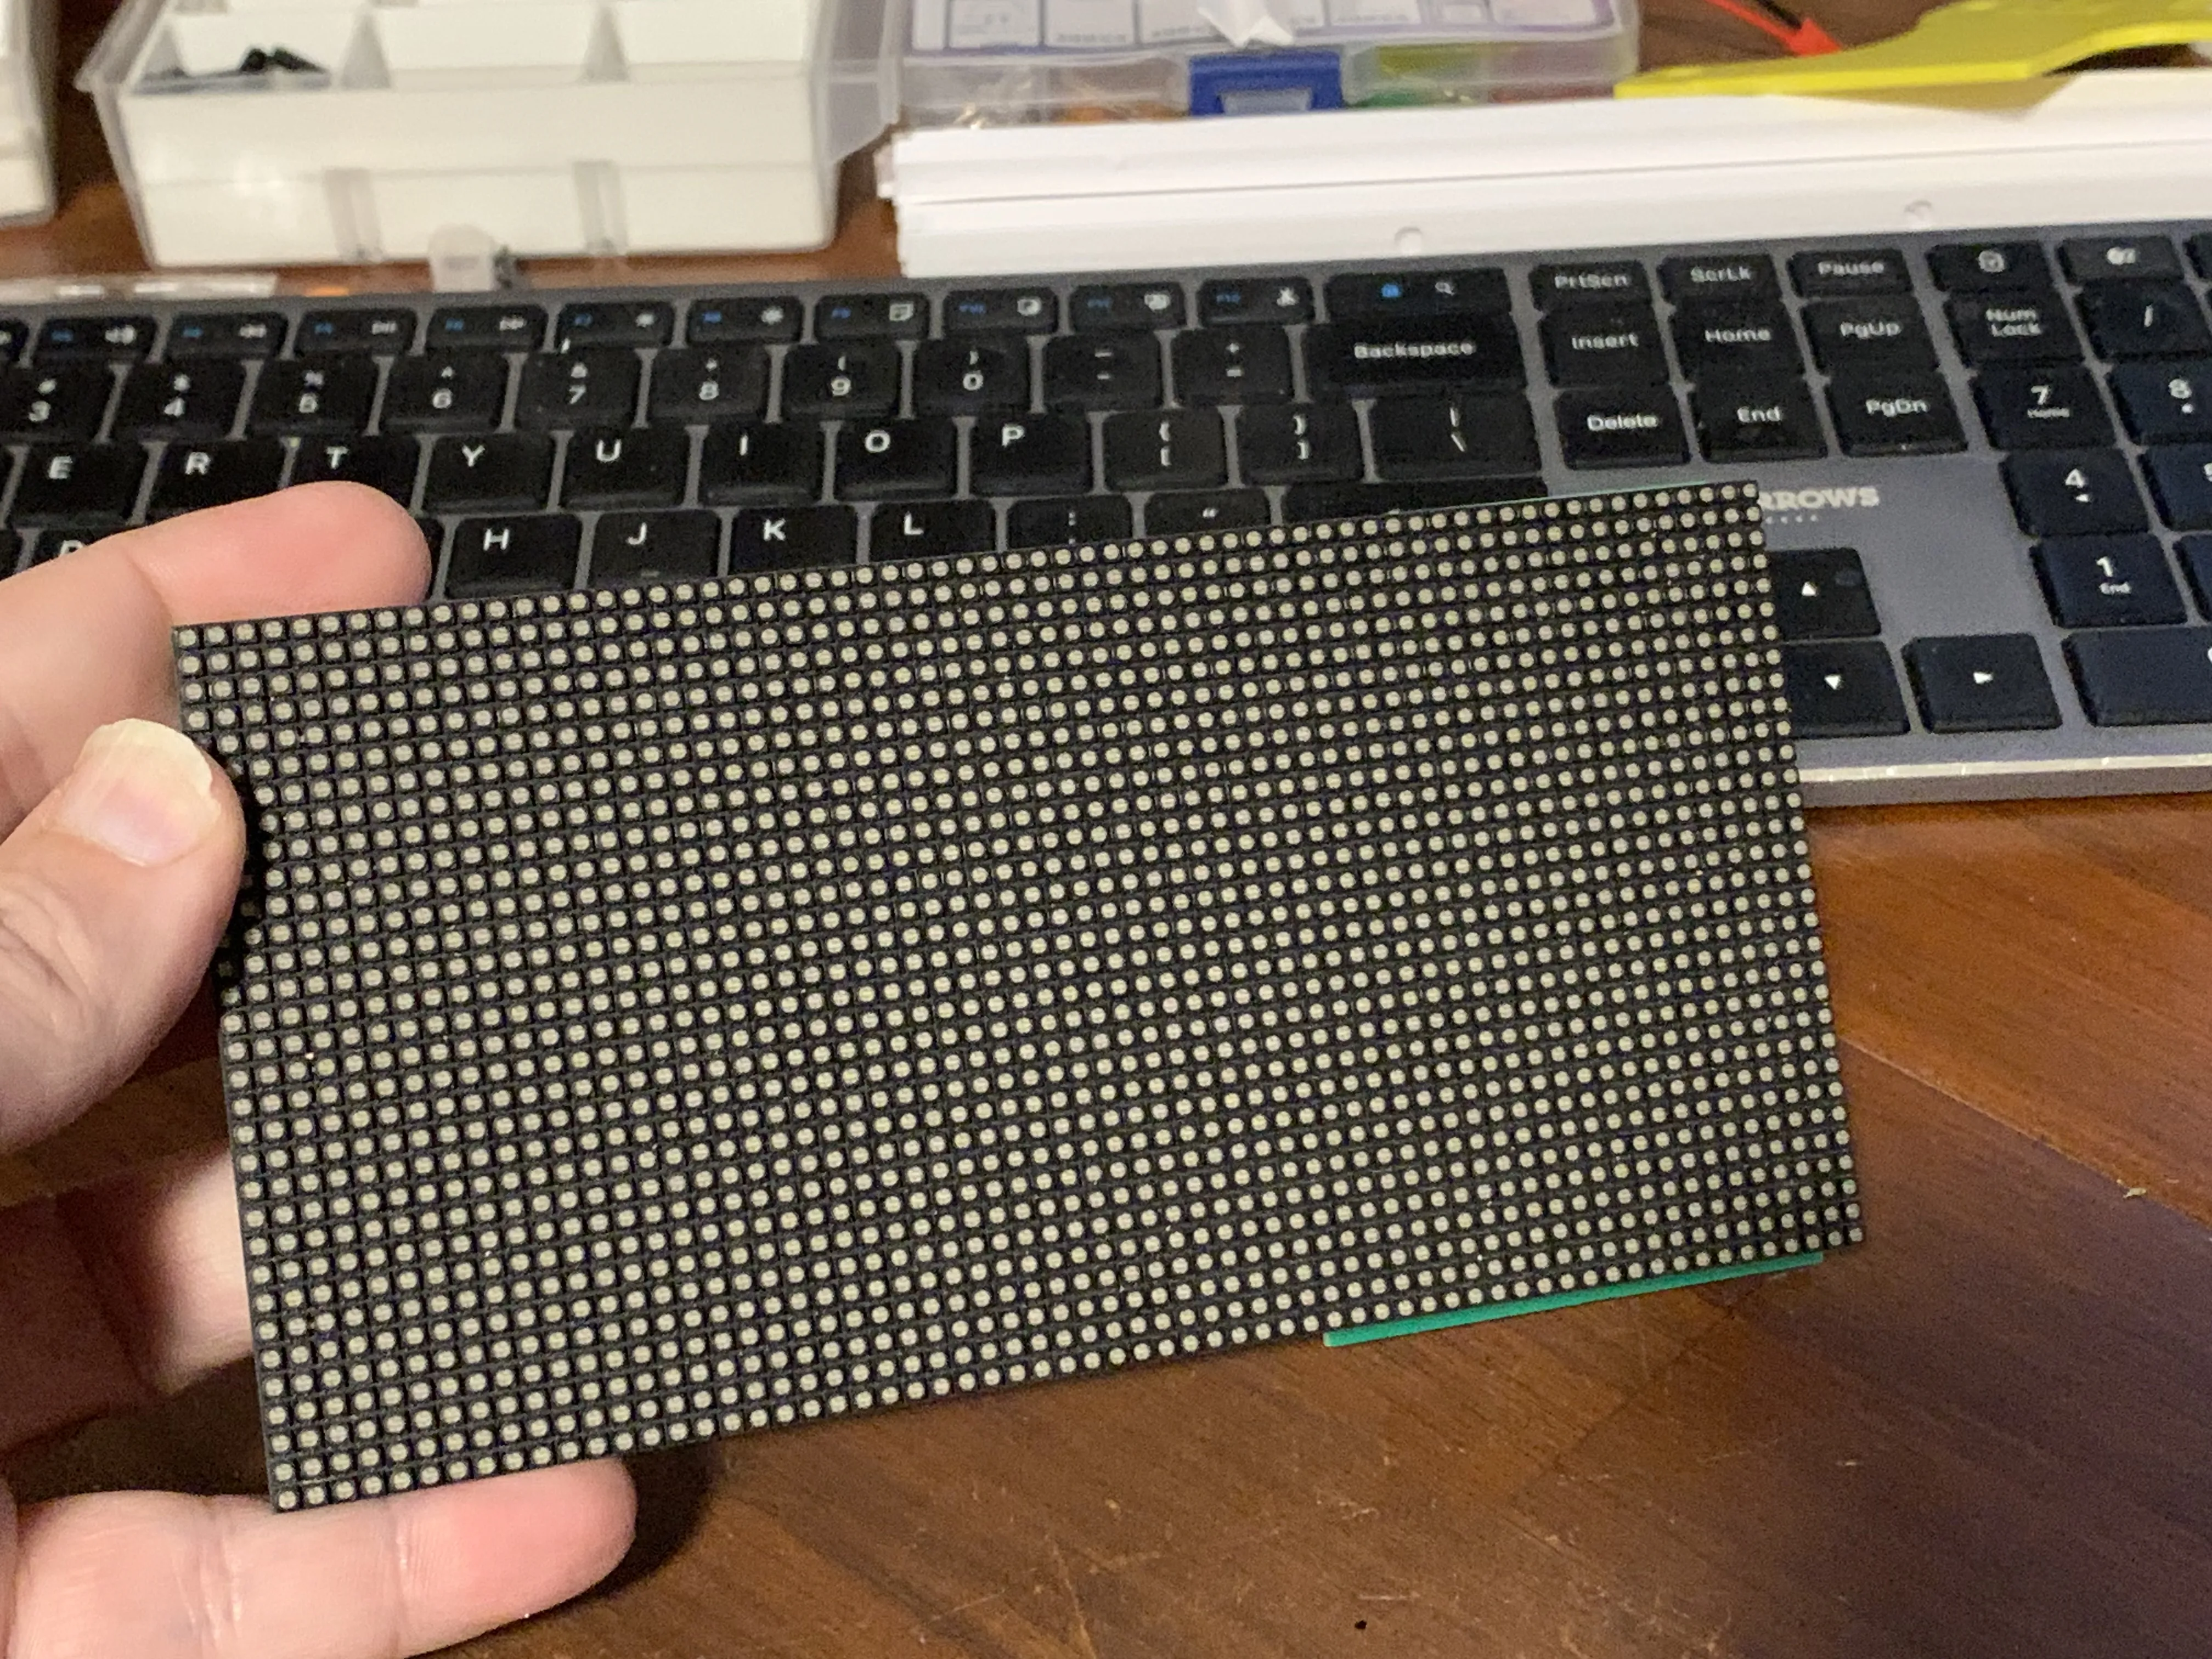
Assembly Instructions
- Solder on two extension leads on to the power connector of the LED Screen
Solder on the following components
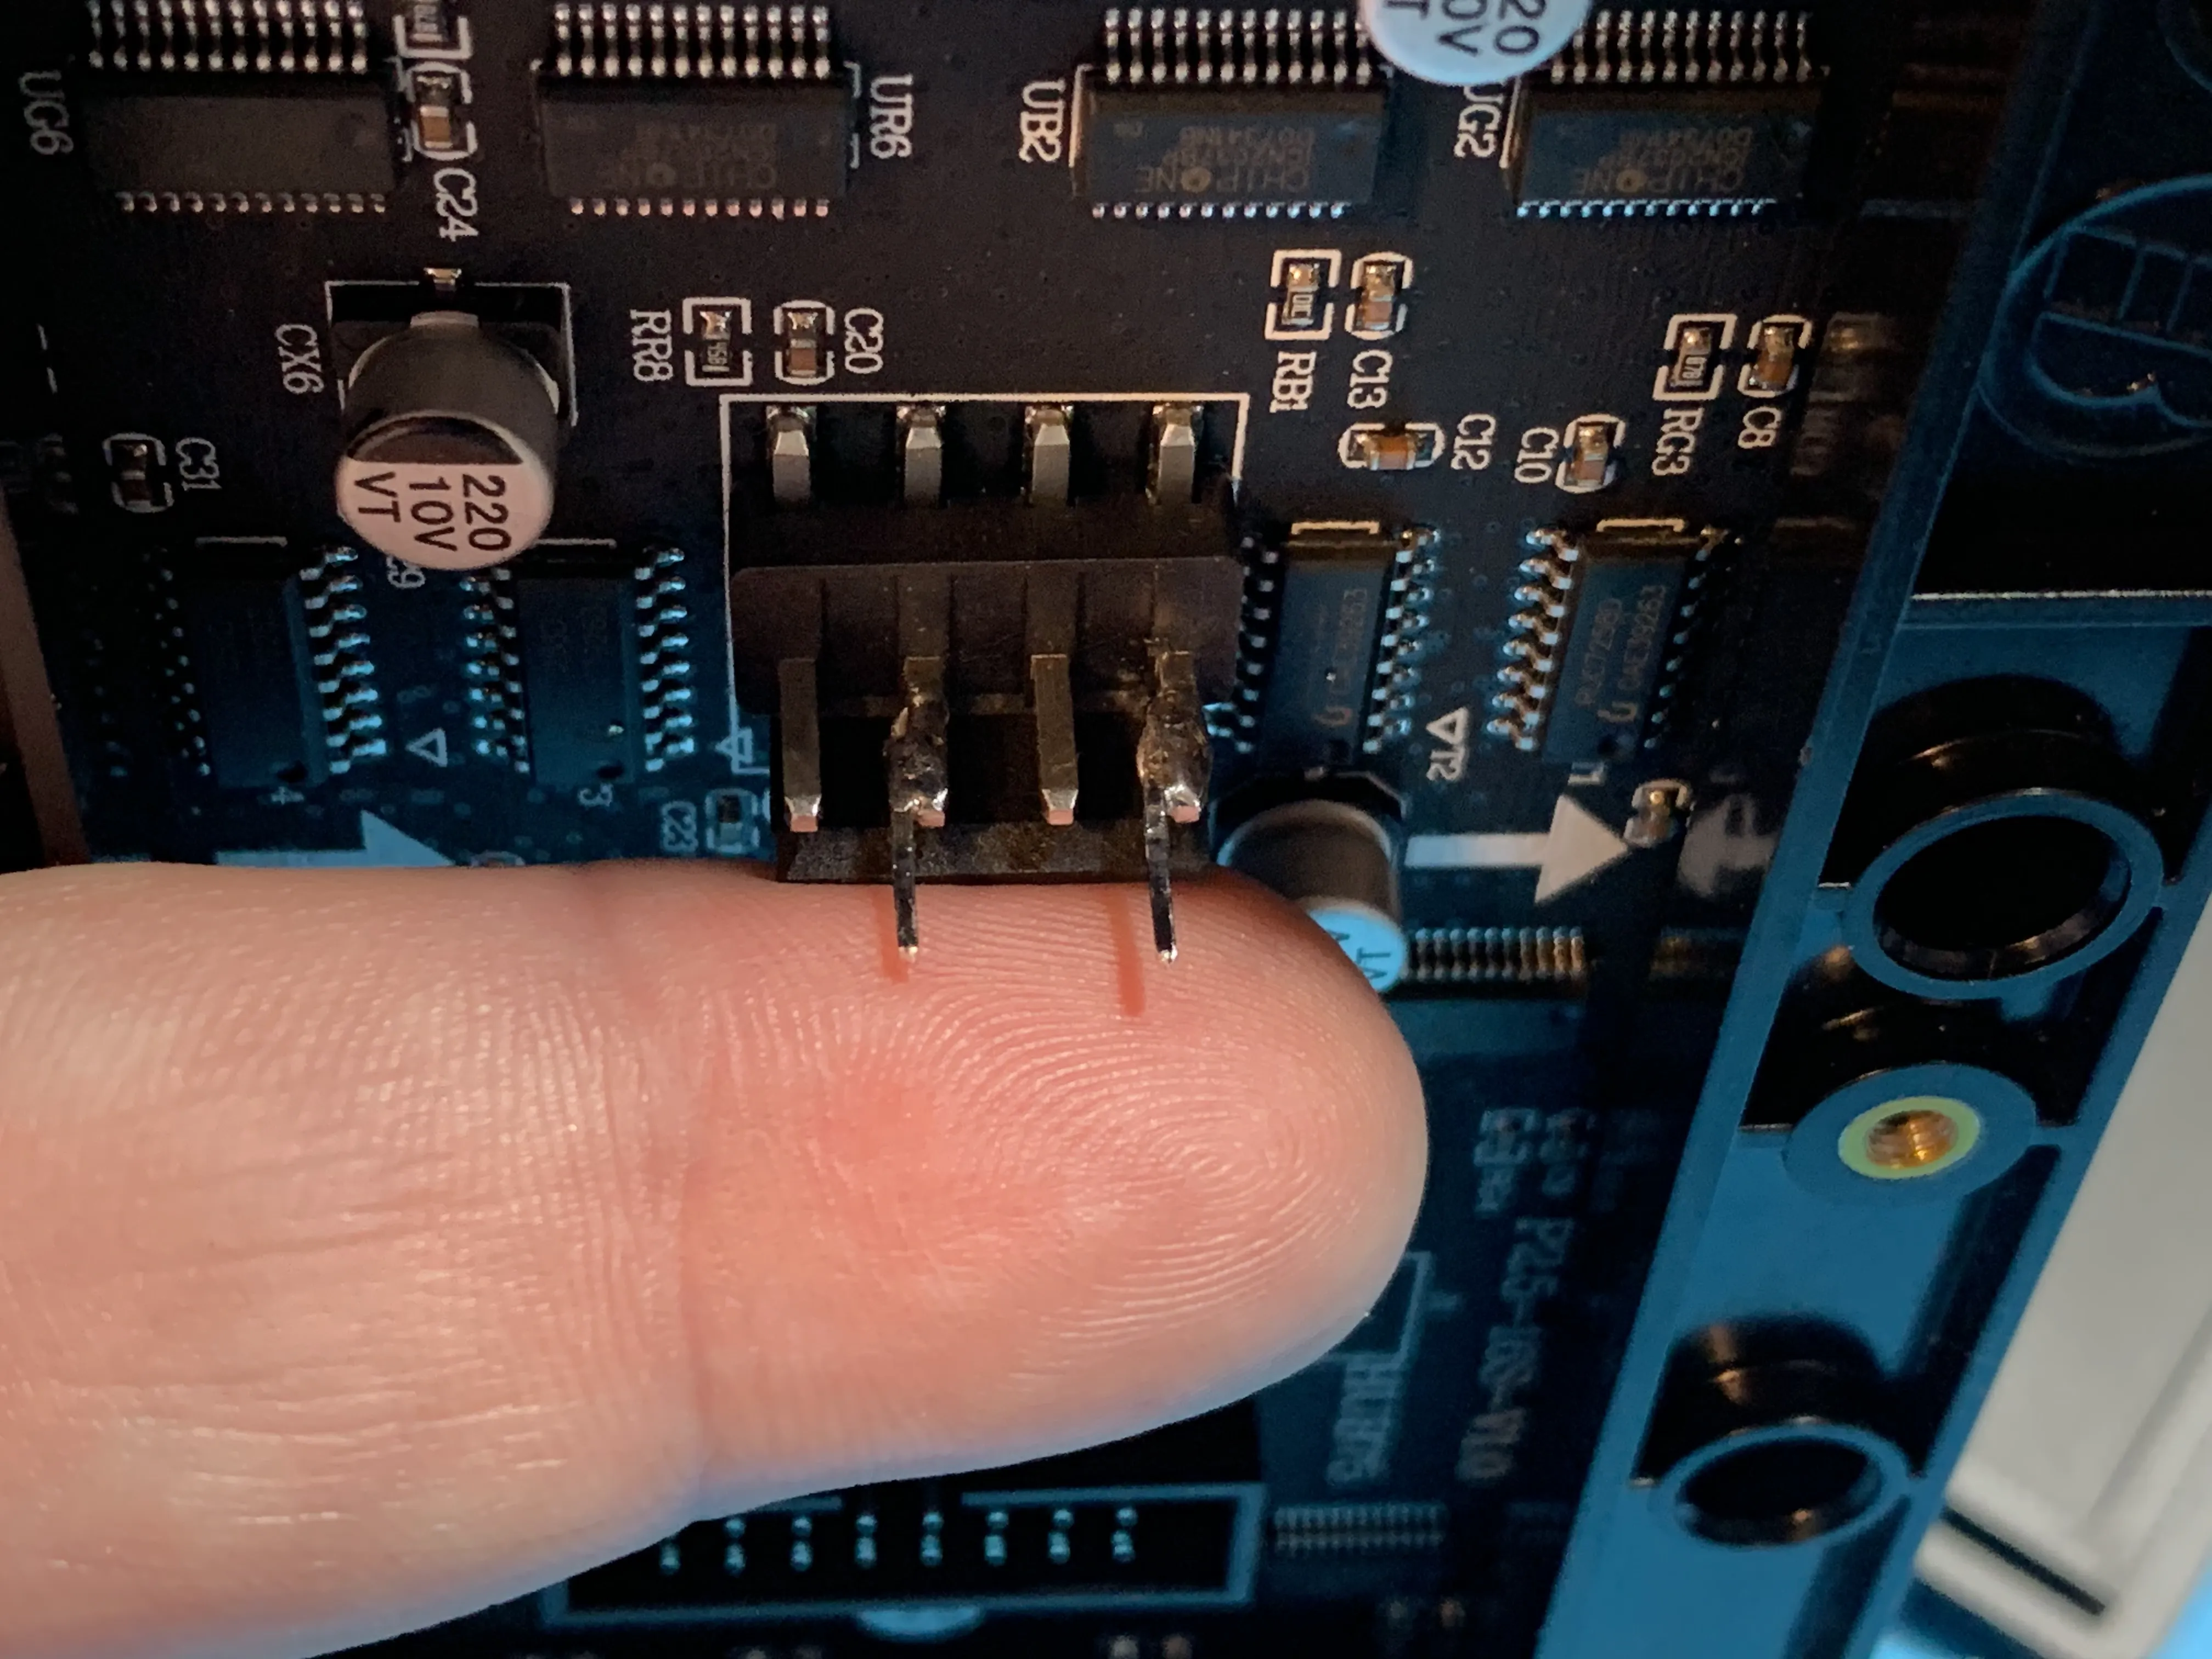
- 120K resistor
AHT10 Temperature/Humidity sensor
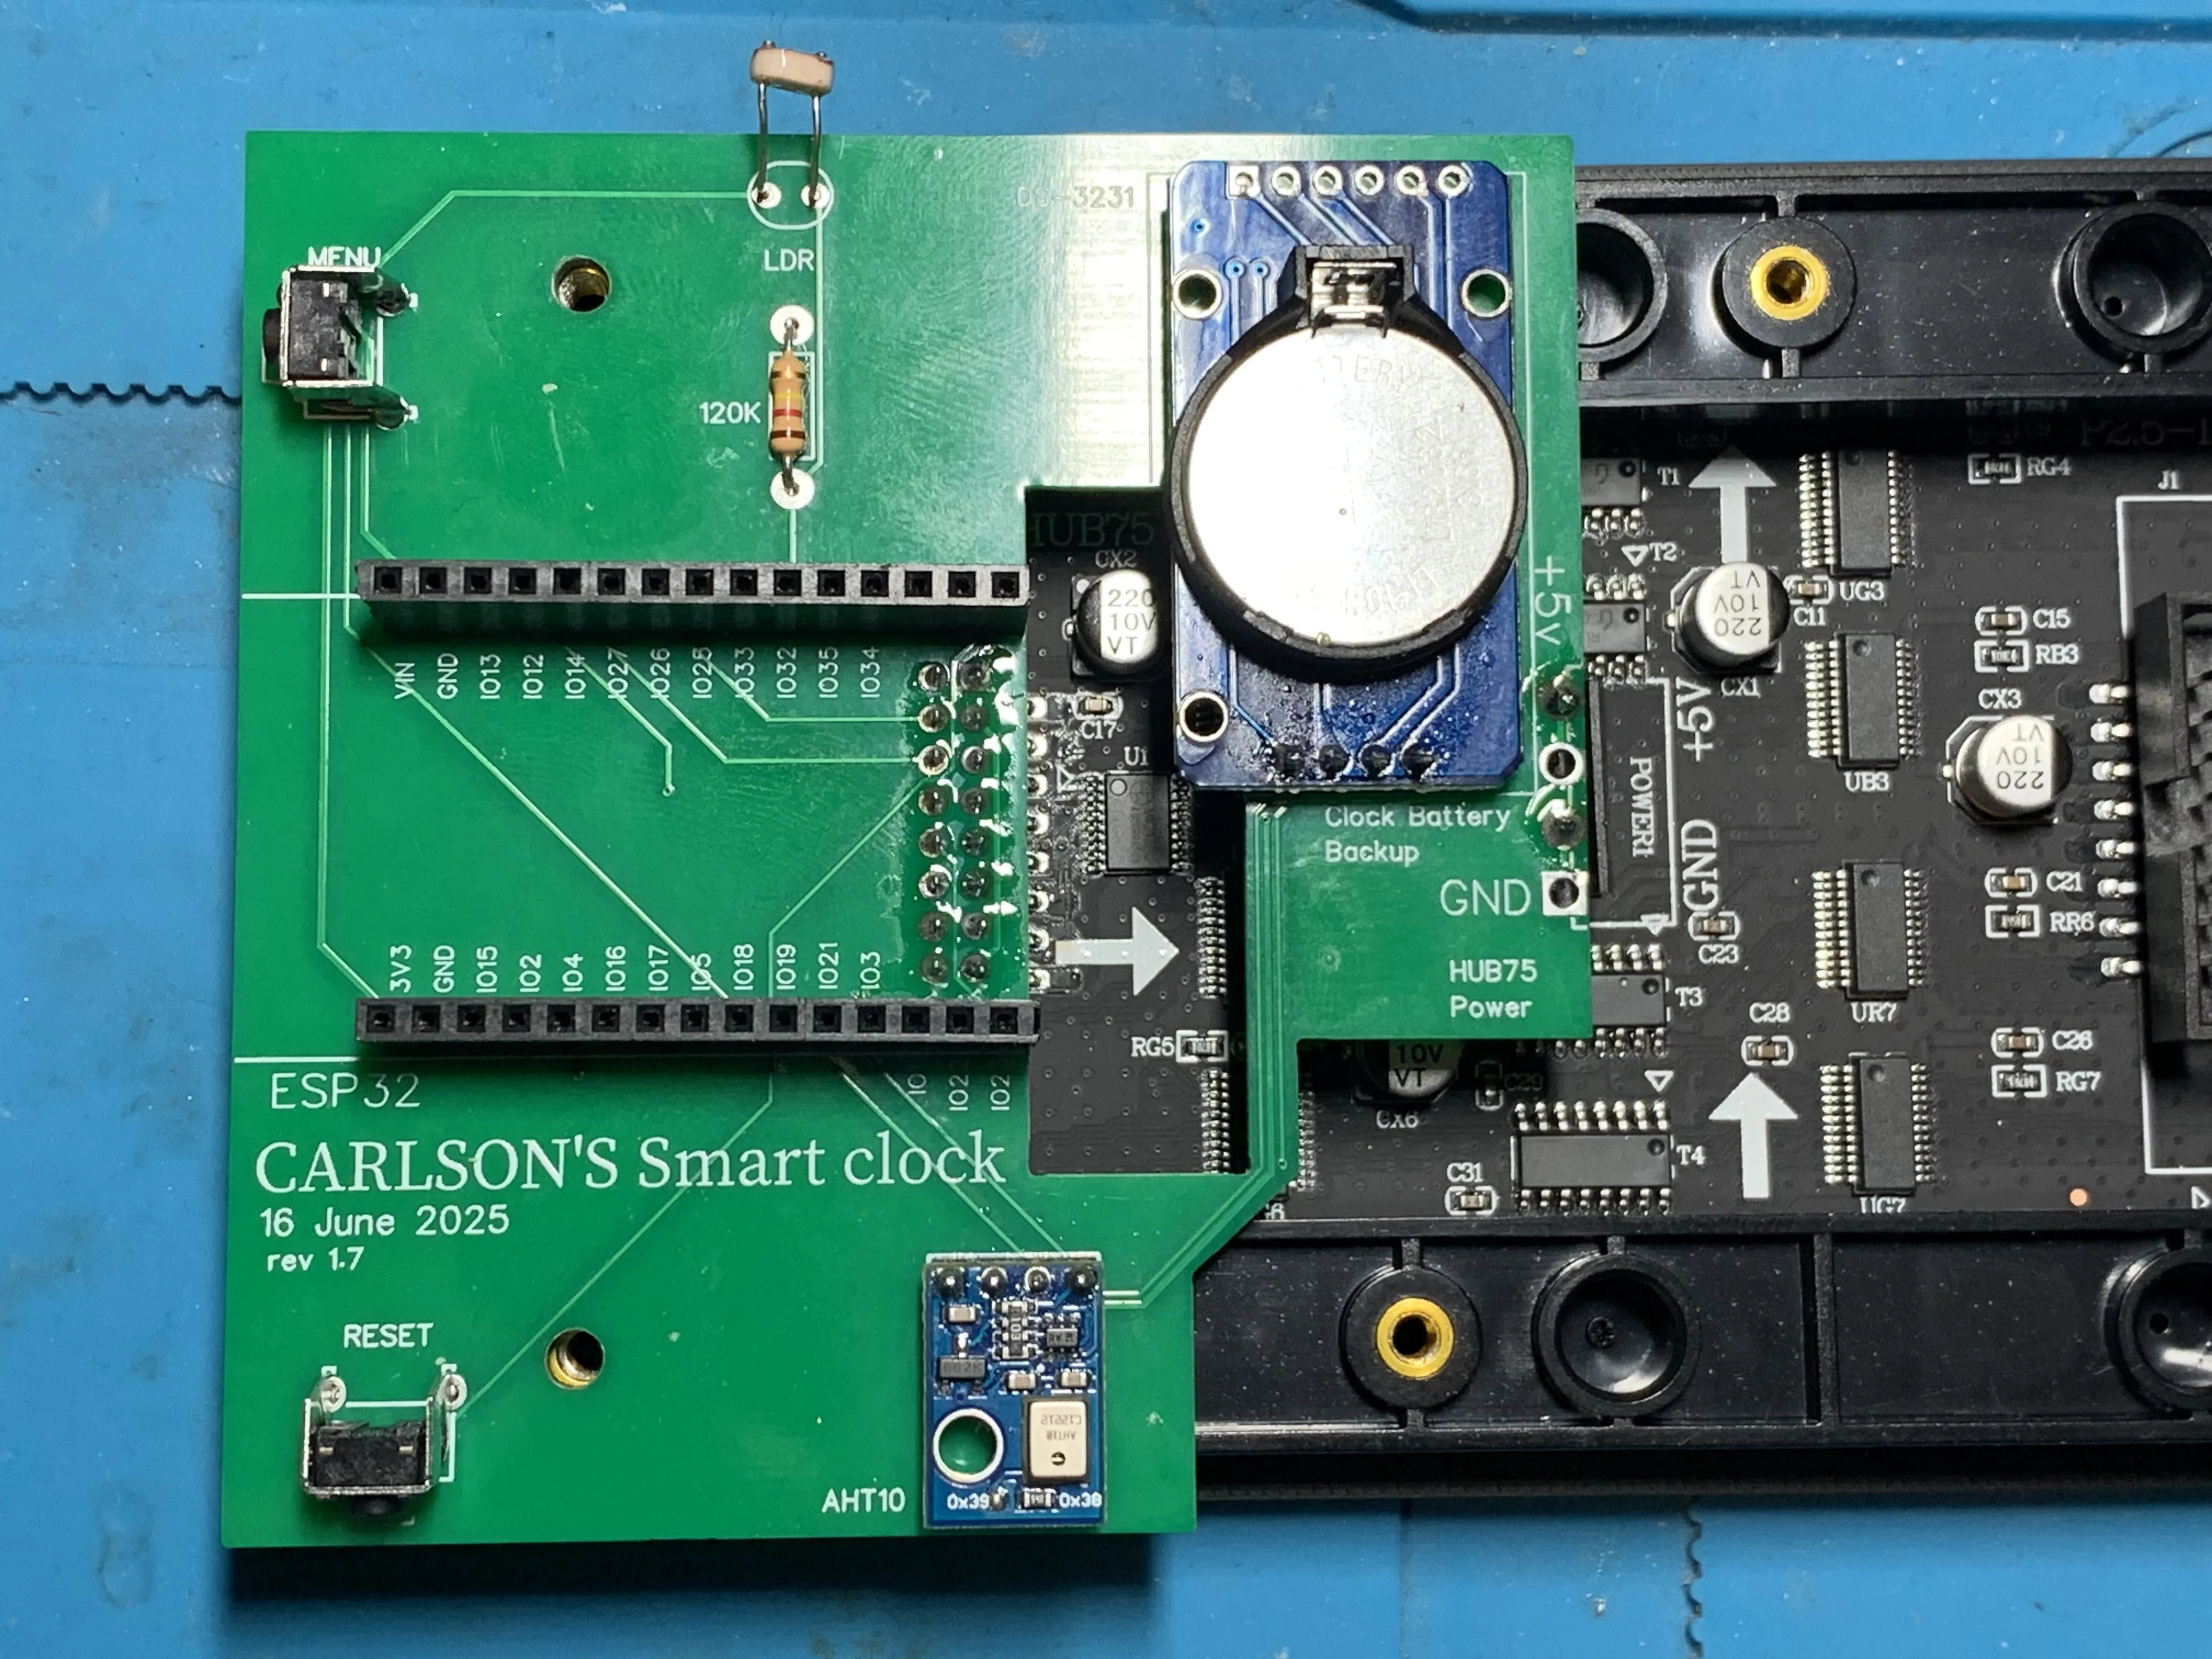
LDR (Light Dependant Resistor)
- DS3231 Real Time Clock module
- Two push buttons
- Two 15 pin extensions (optional. If you install this you need the EXTENSIONS case)
- 16P Female header on the back of the board
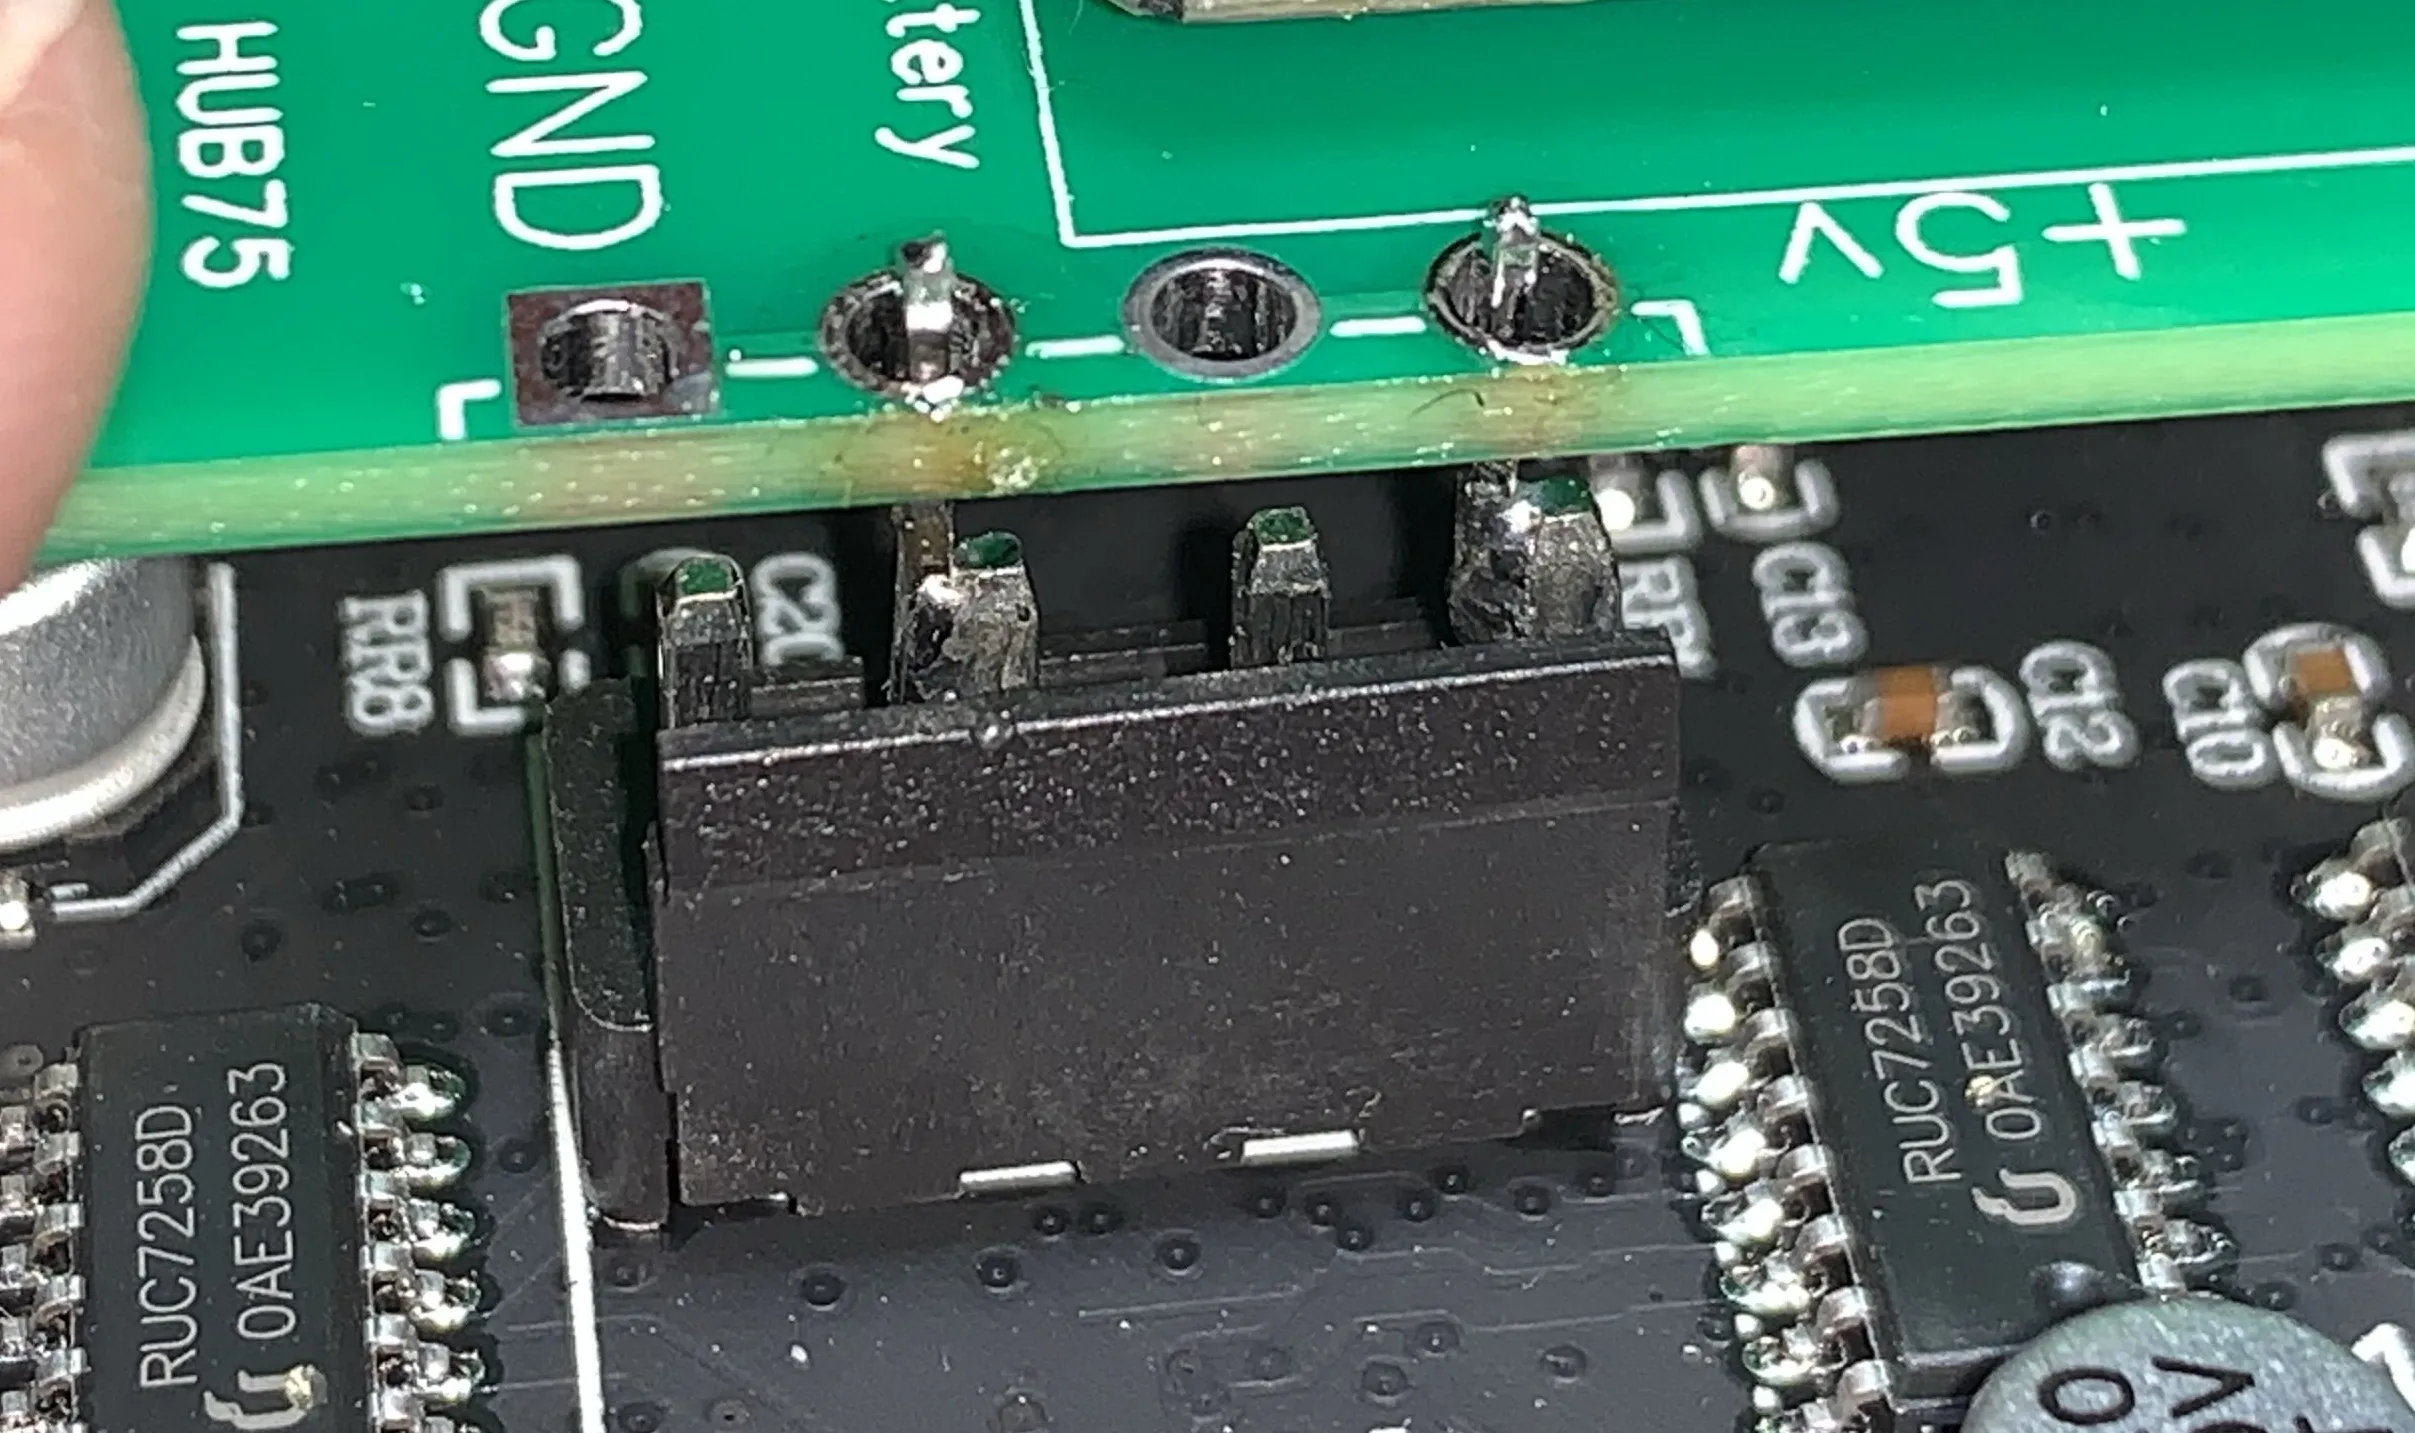
Now that everything is solder up, plug the board into the data header and align the two power wires
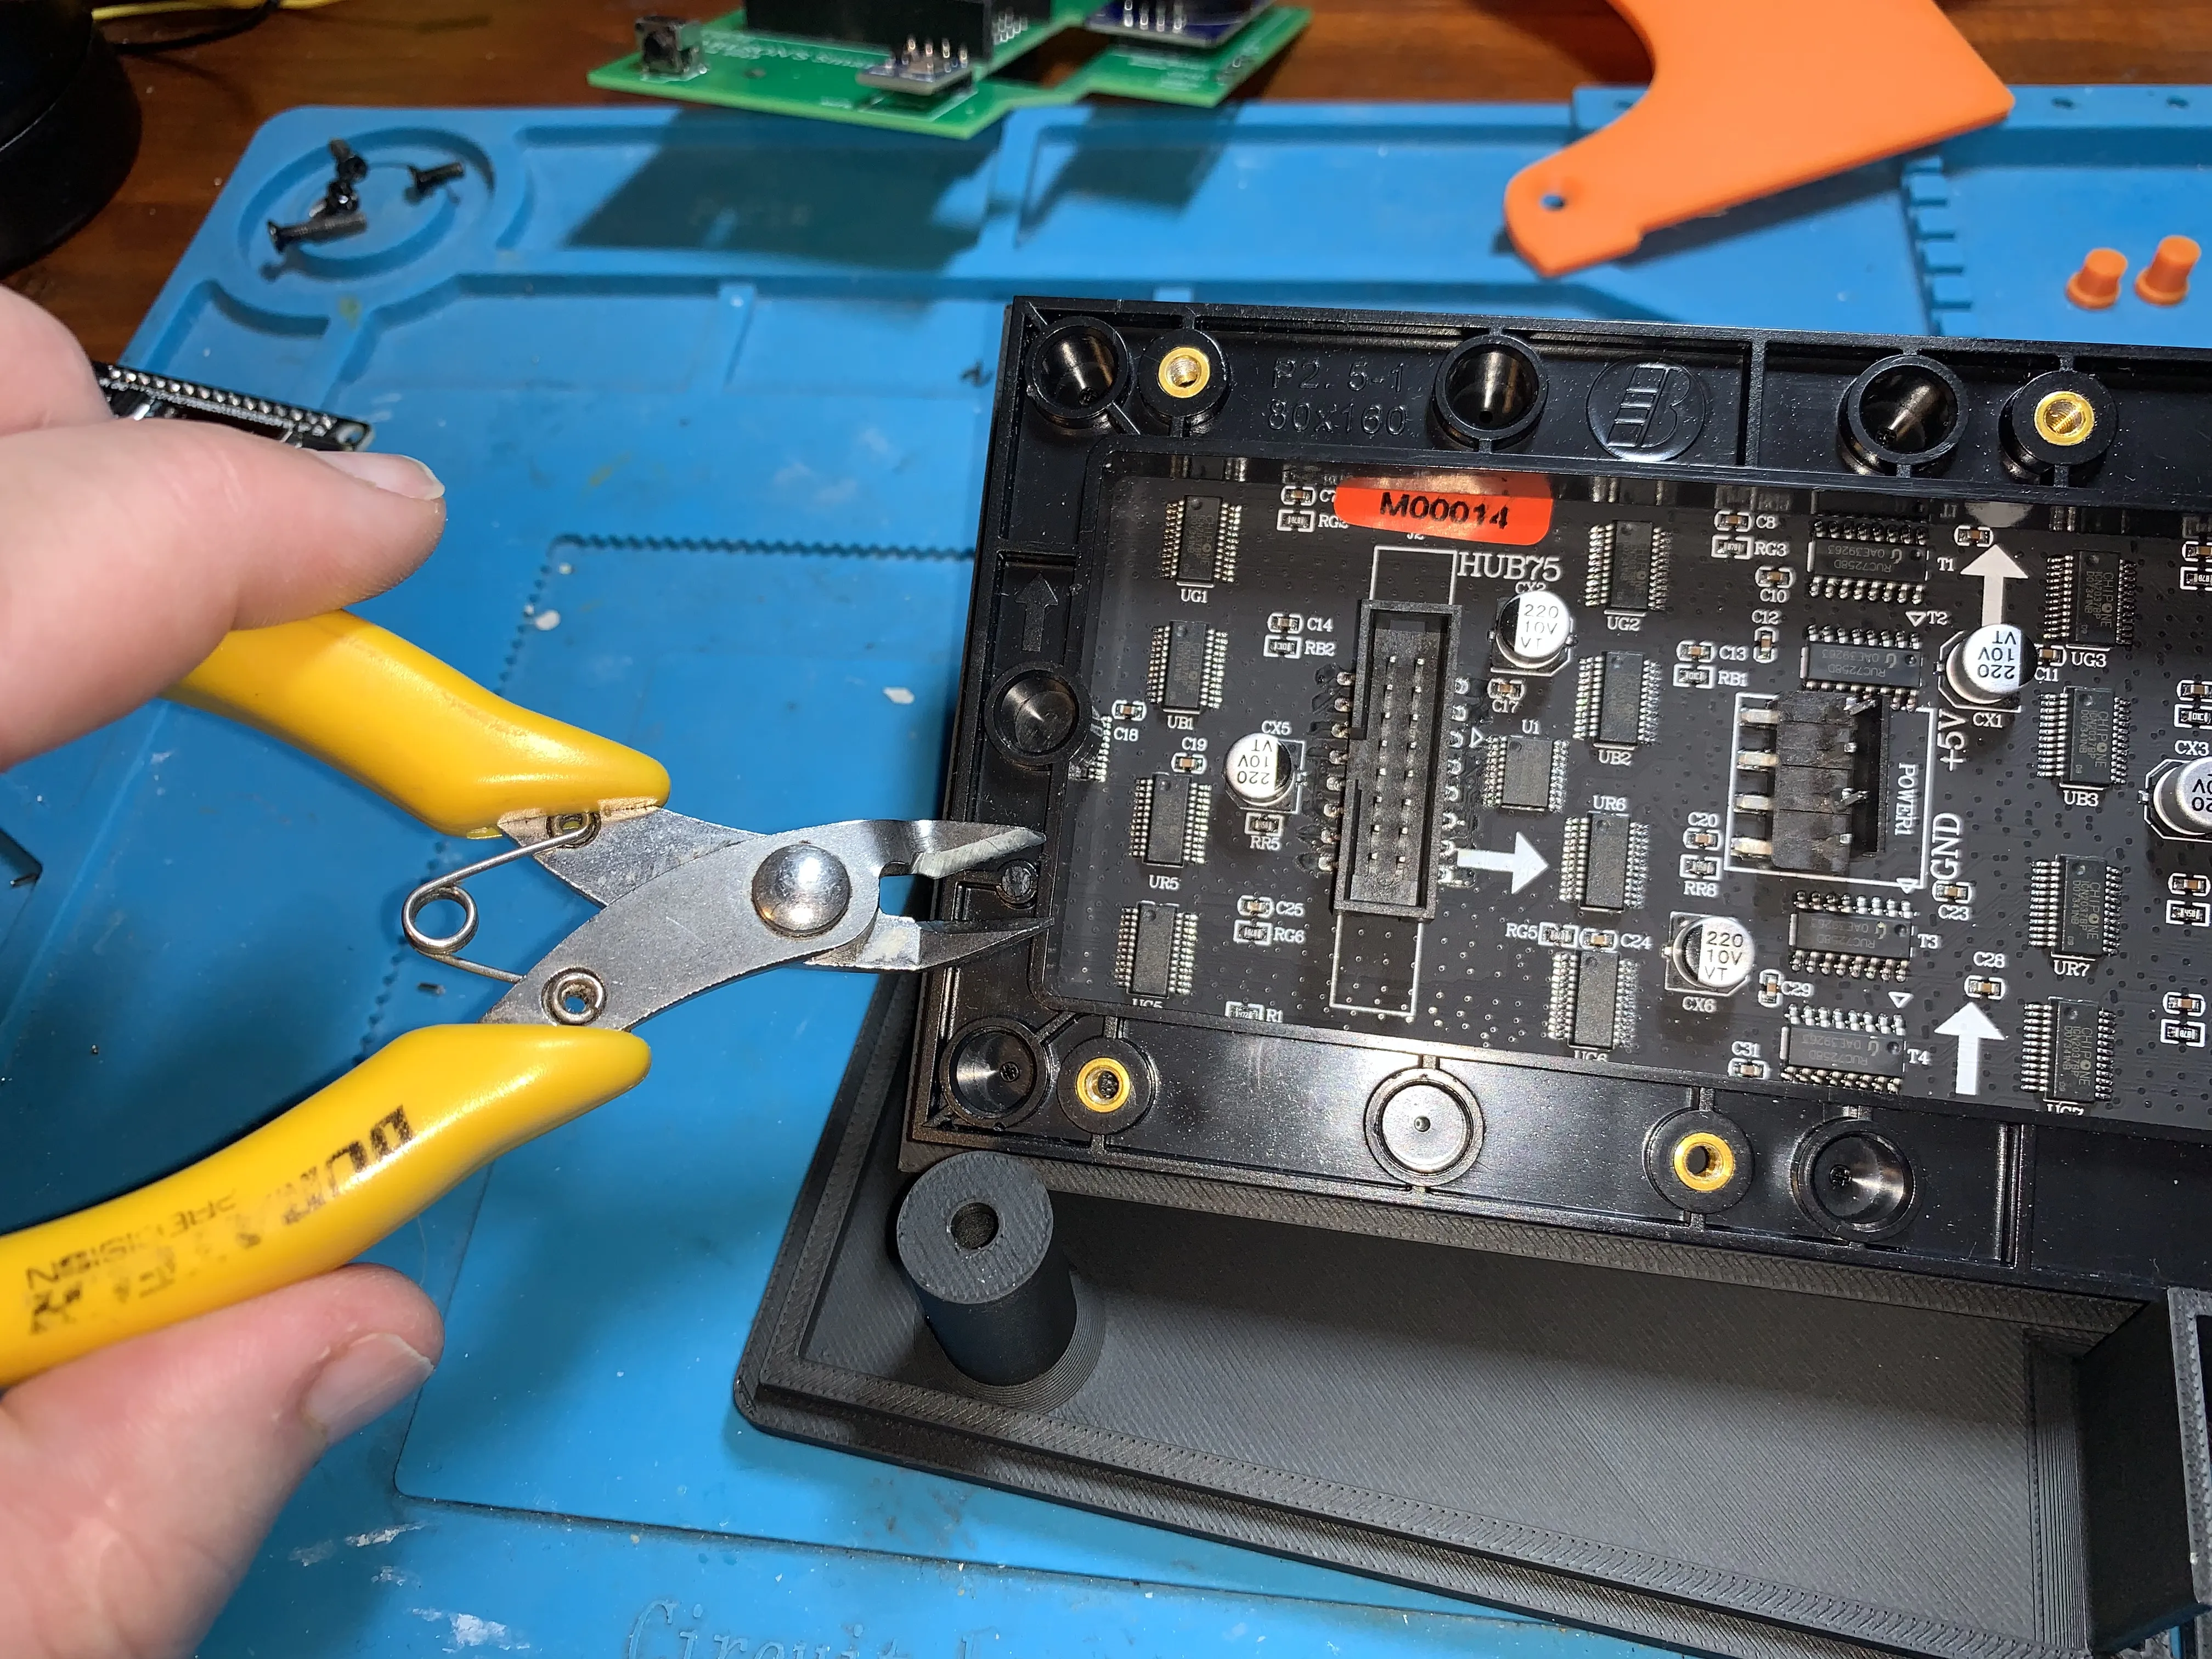
- NOTE
- Some boards now ship with small plastic pegs, just snip these off
- NOTE
- Solder the two power wires to the circuit board
- The holes in the circuit board is
- - - + +
- The holes in the circuit board is
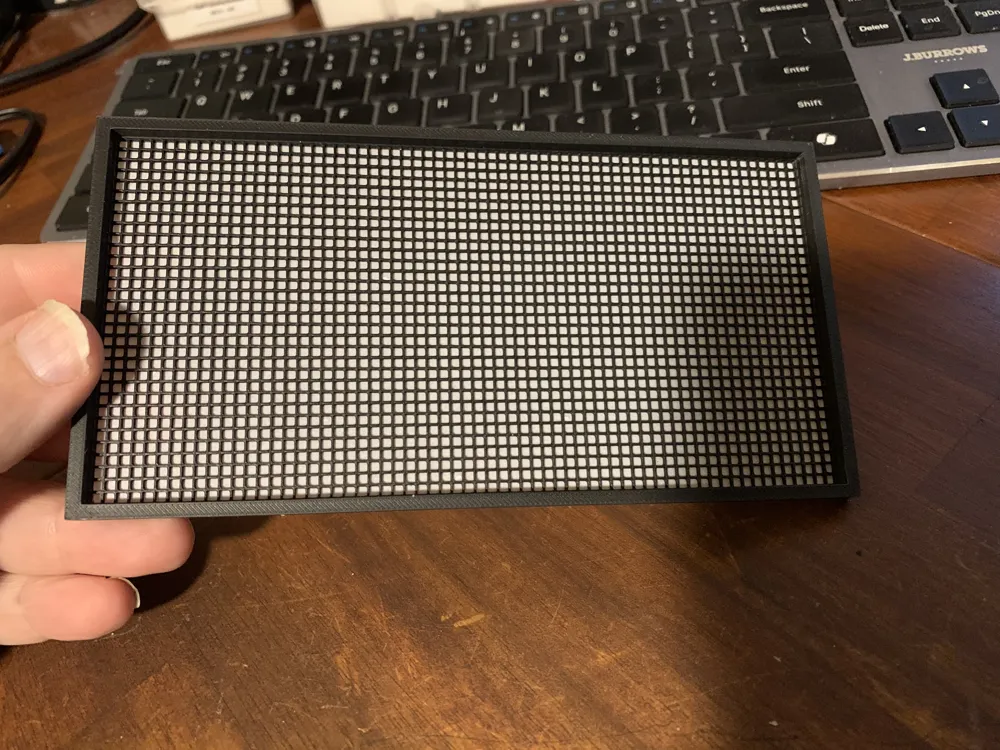
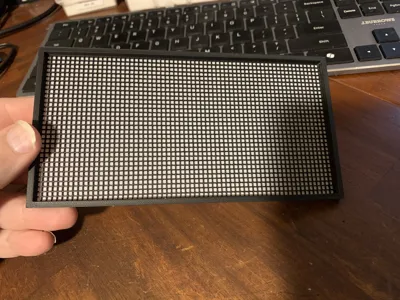
Insert LED Screen into the 3D Printed MATRIX diffuser panel
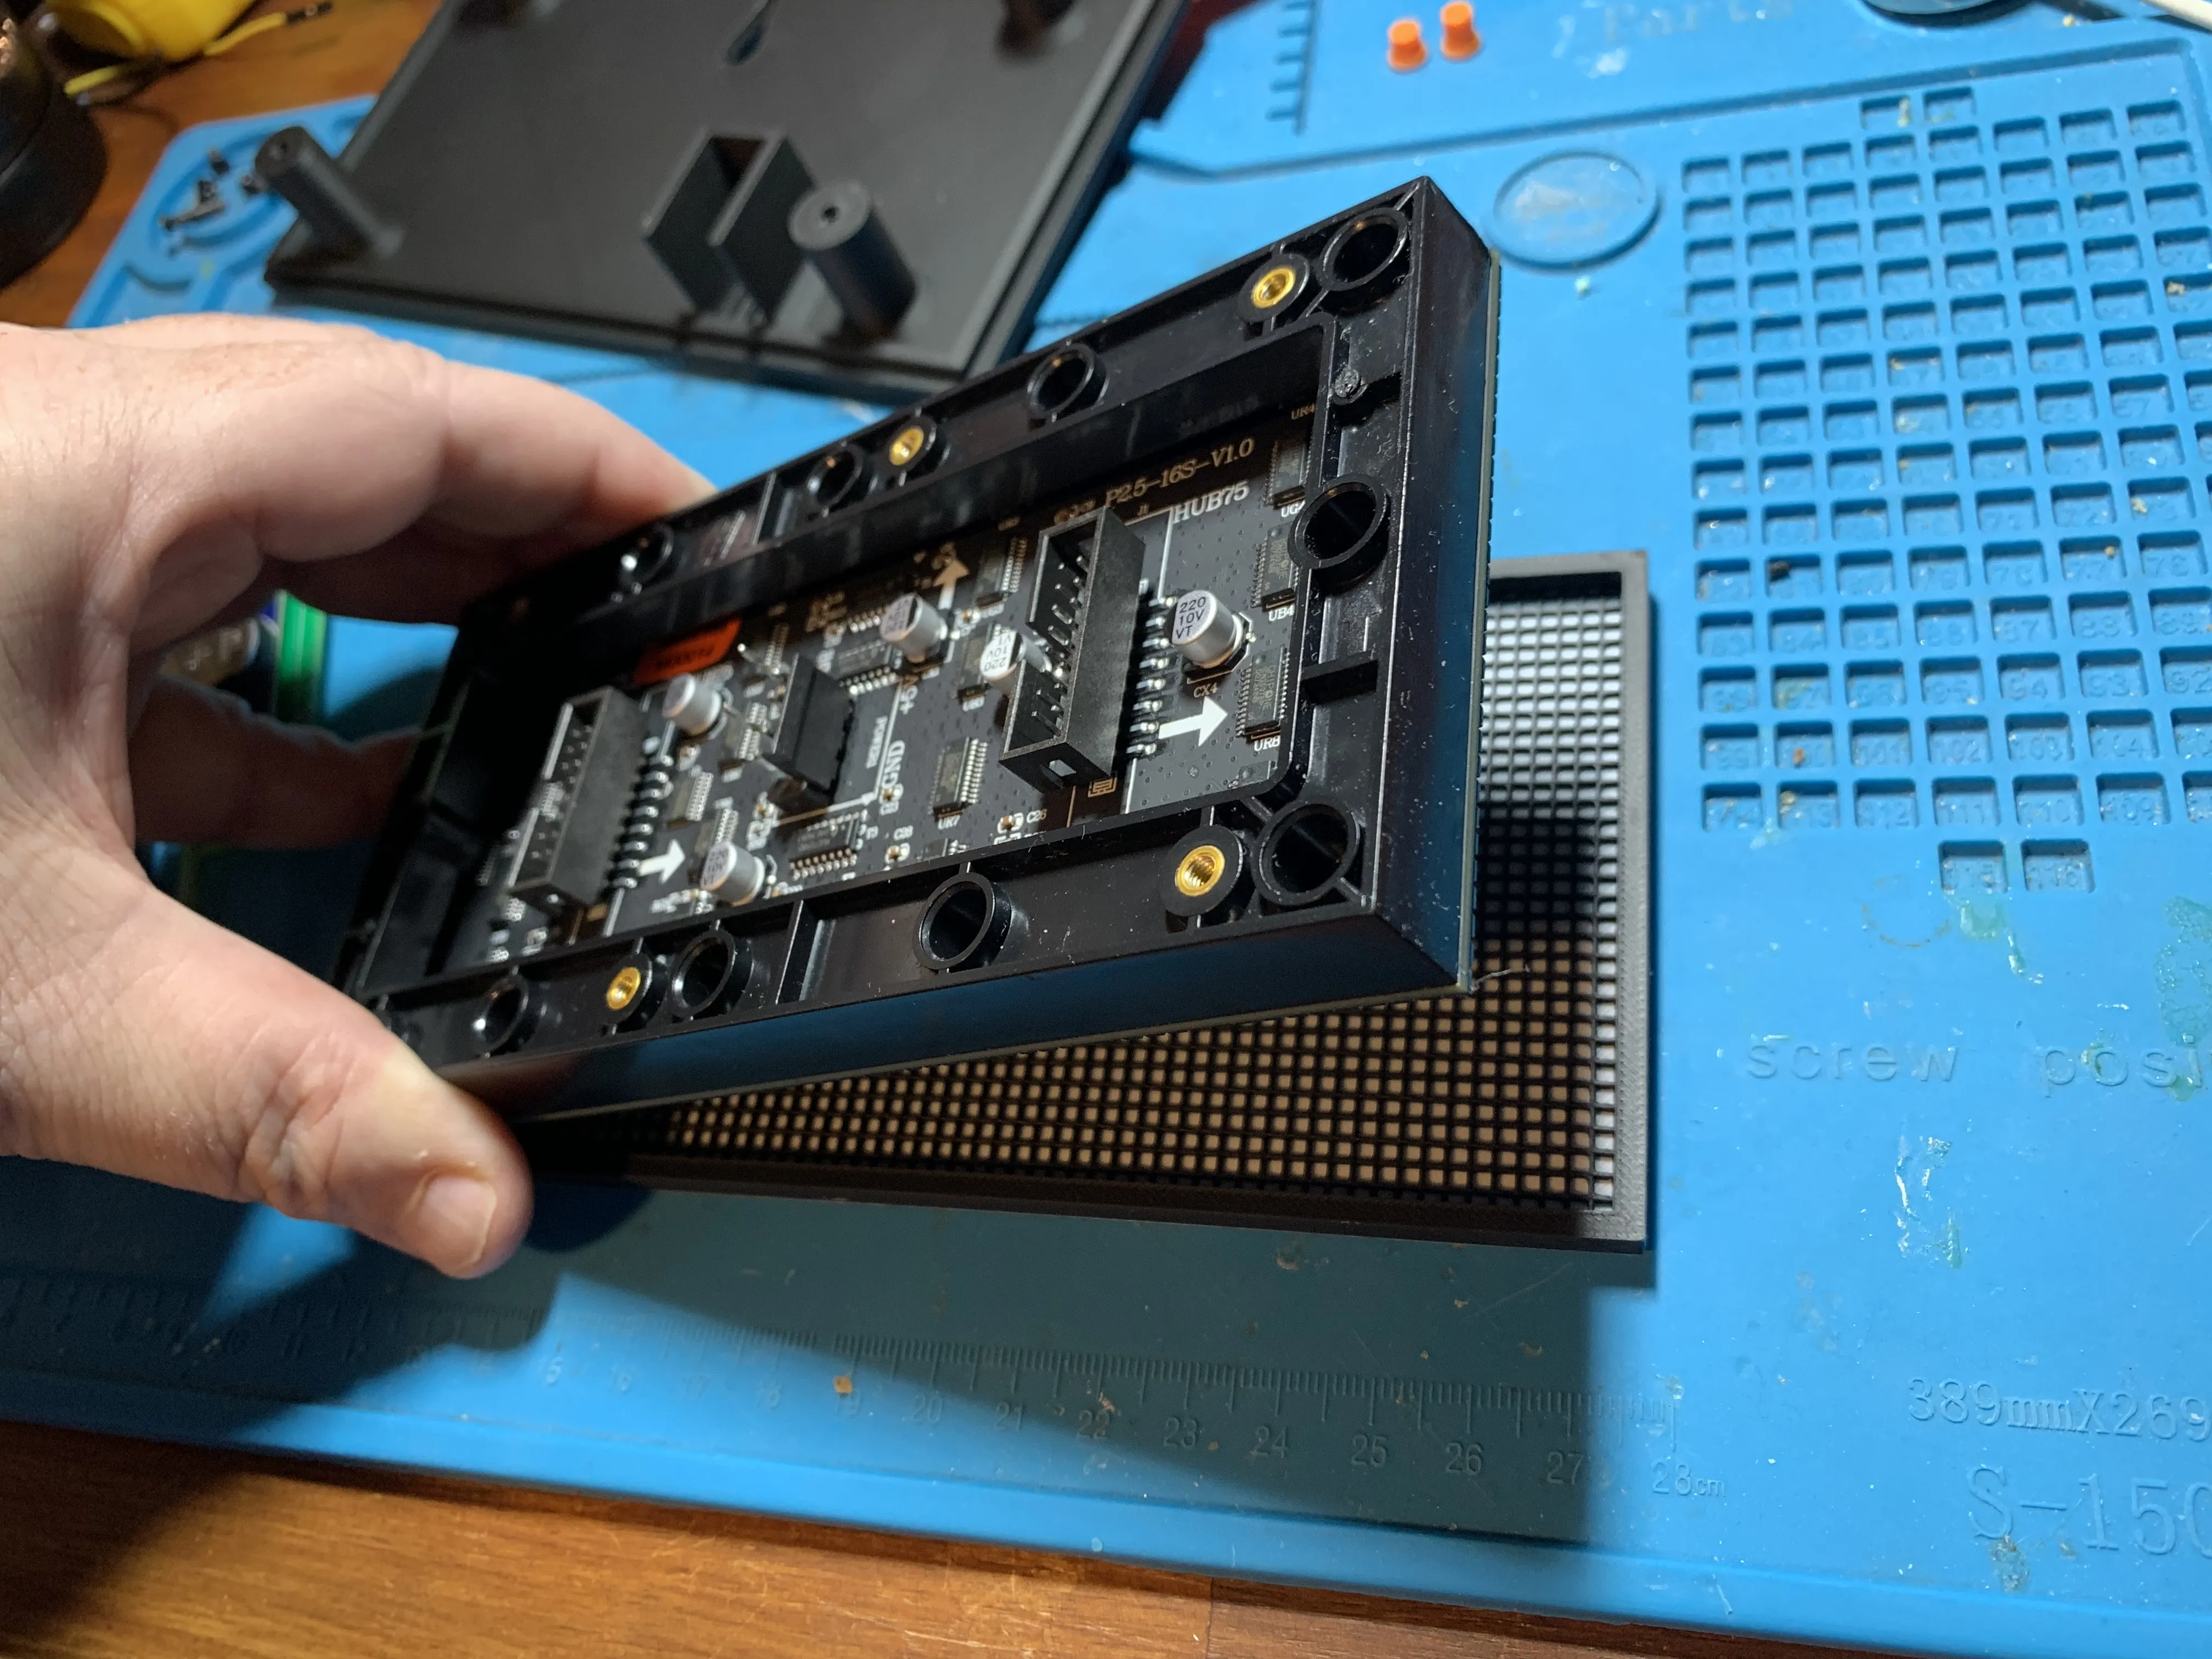
This is designed to be a tight fit
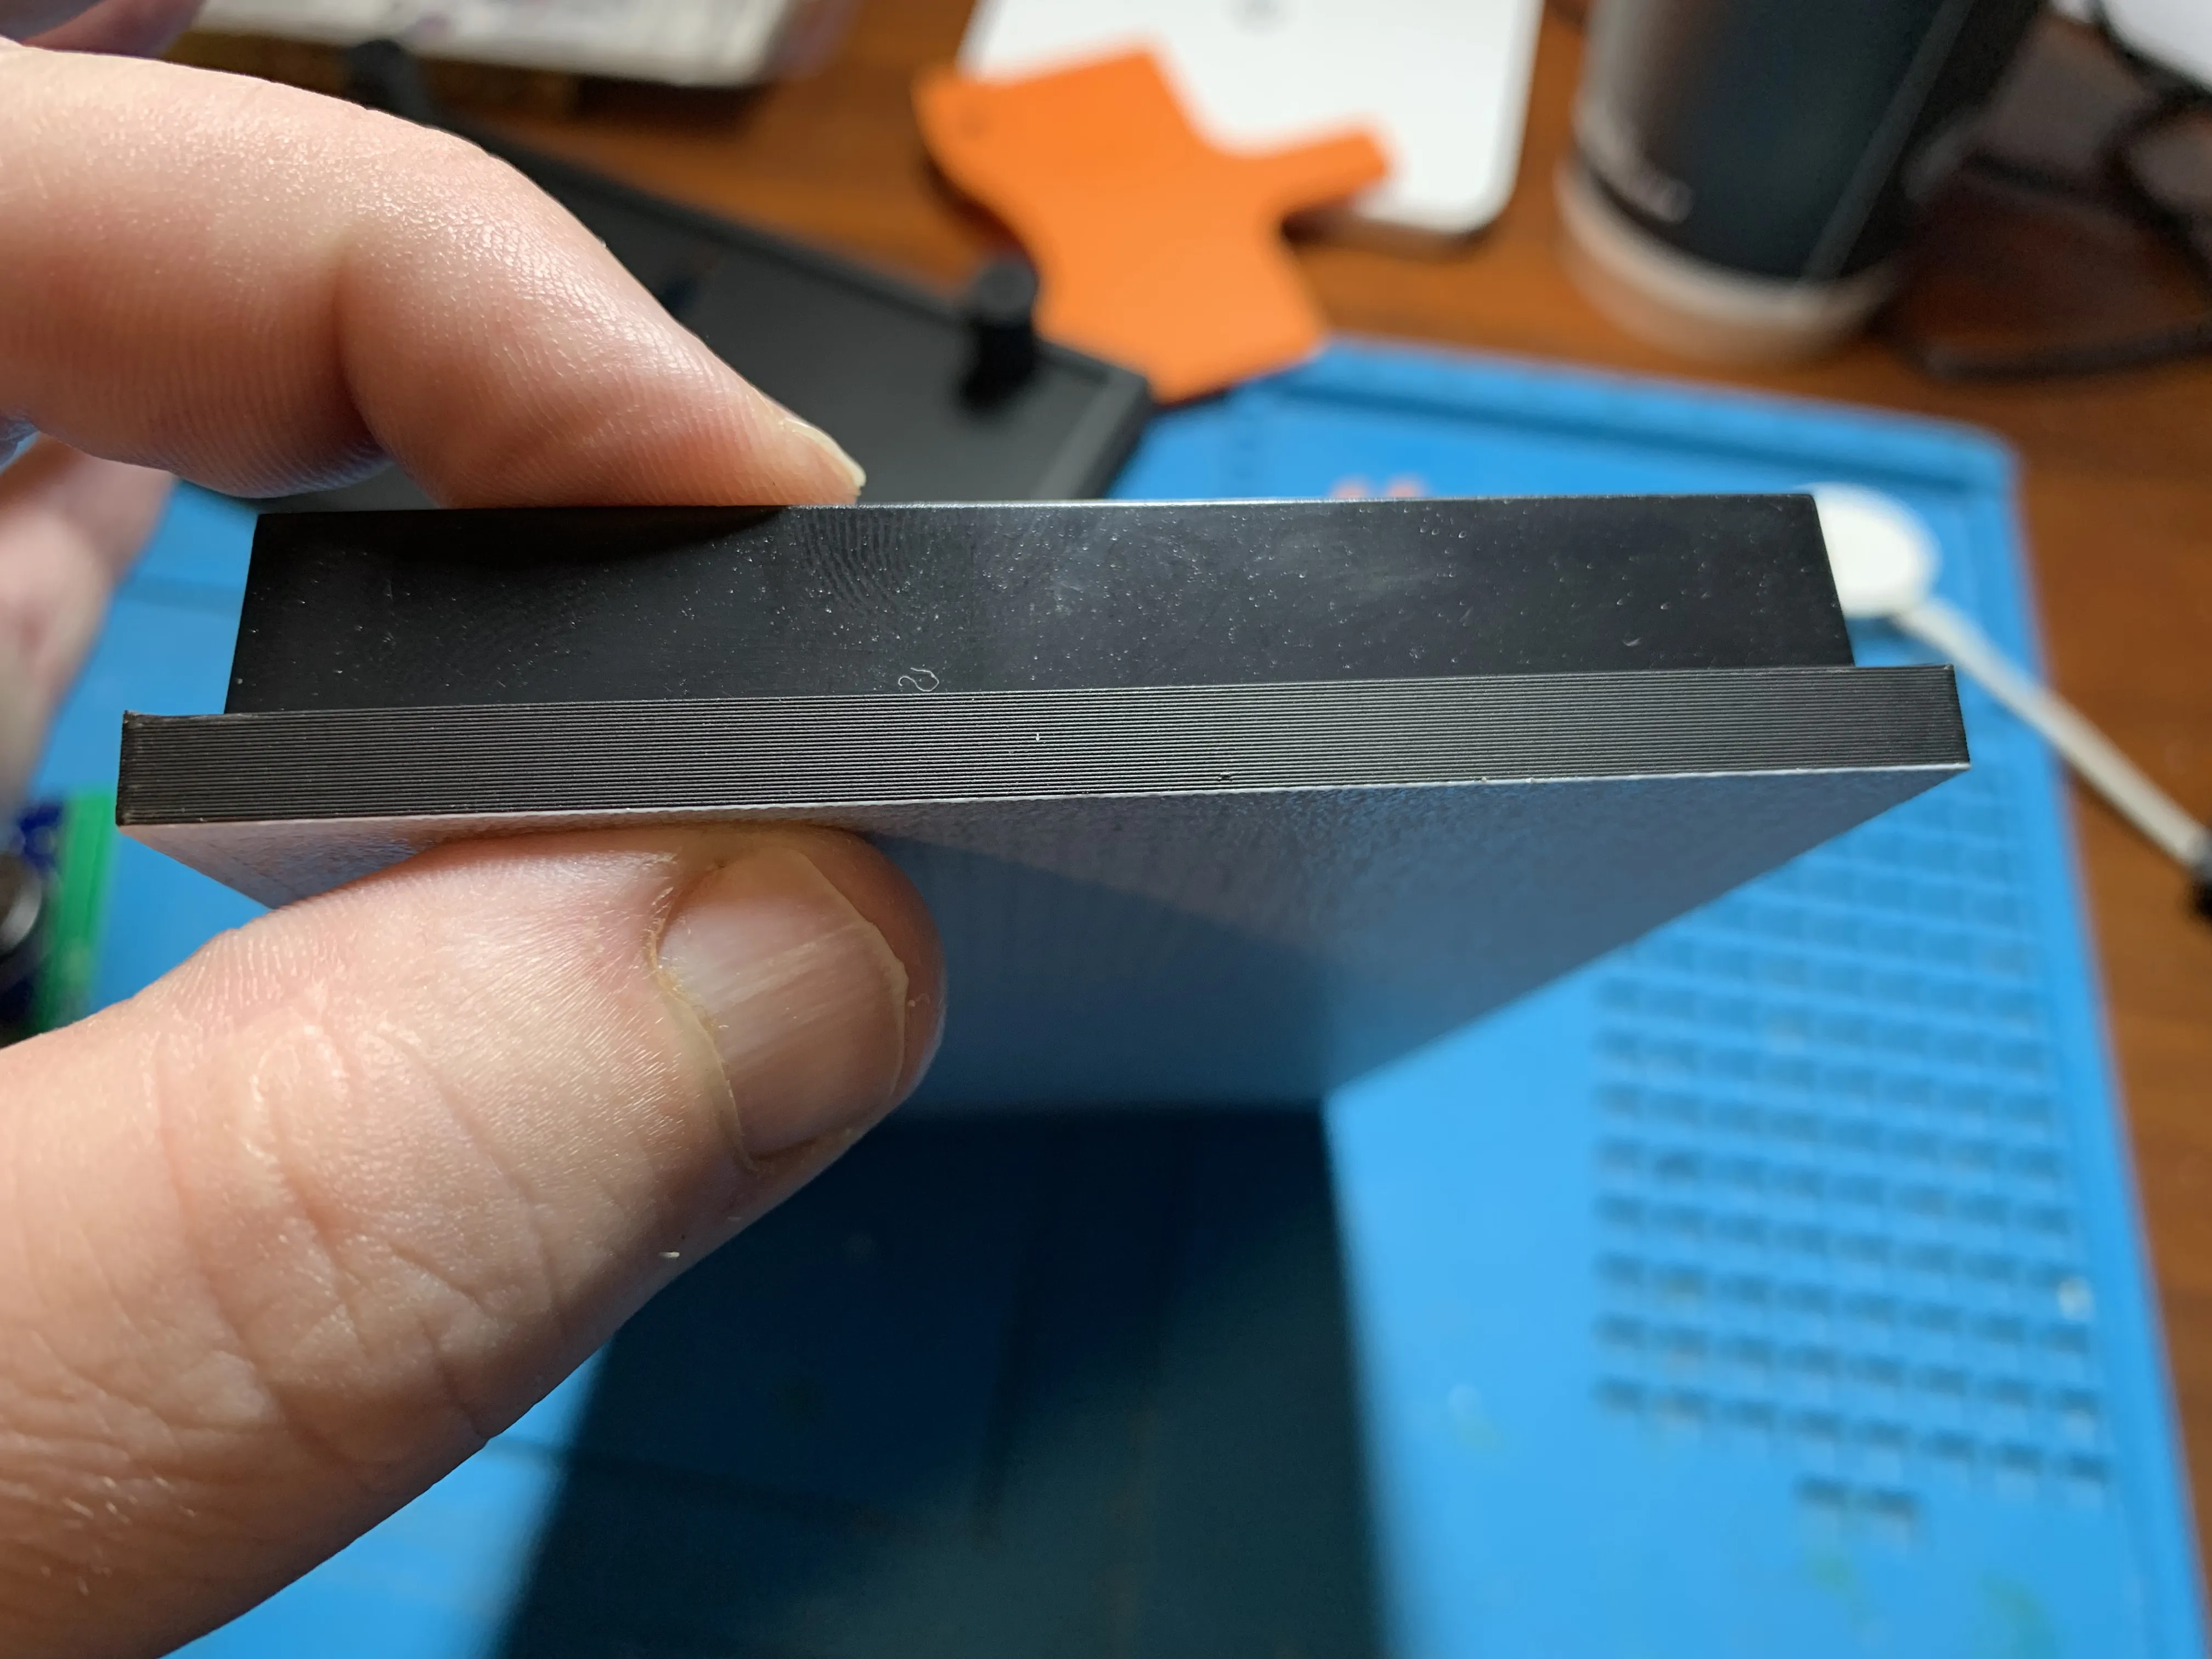
- You will know it is inserted correctly when the screen lays flat within the panel
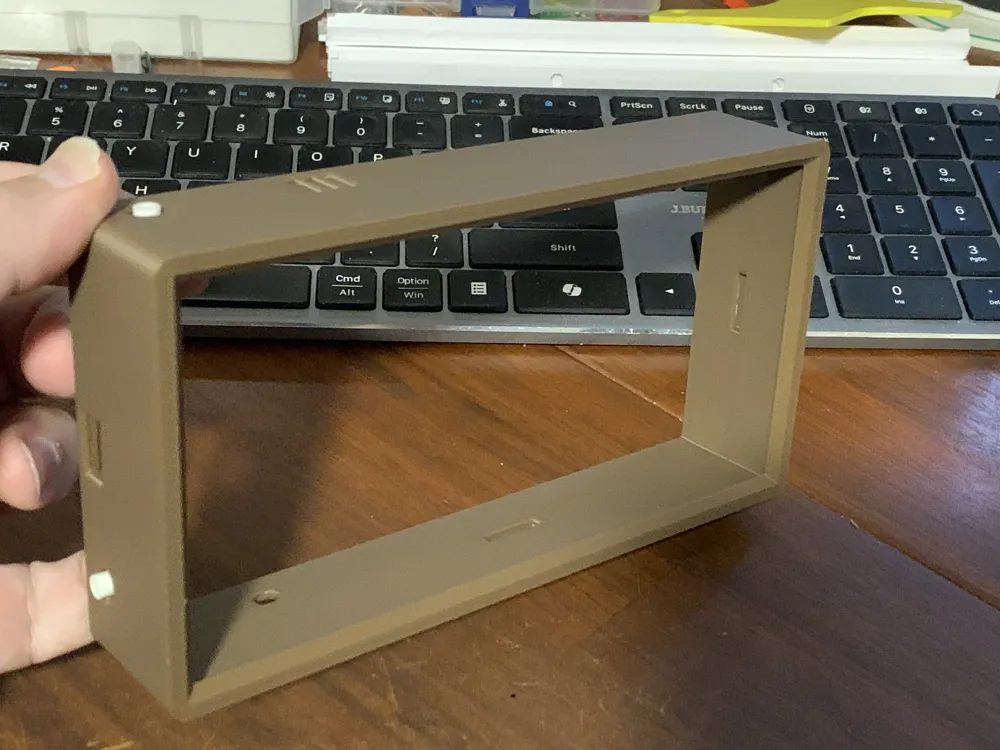
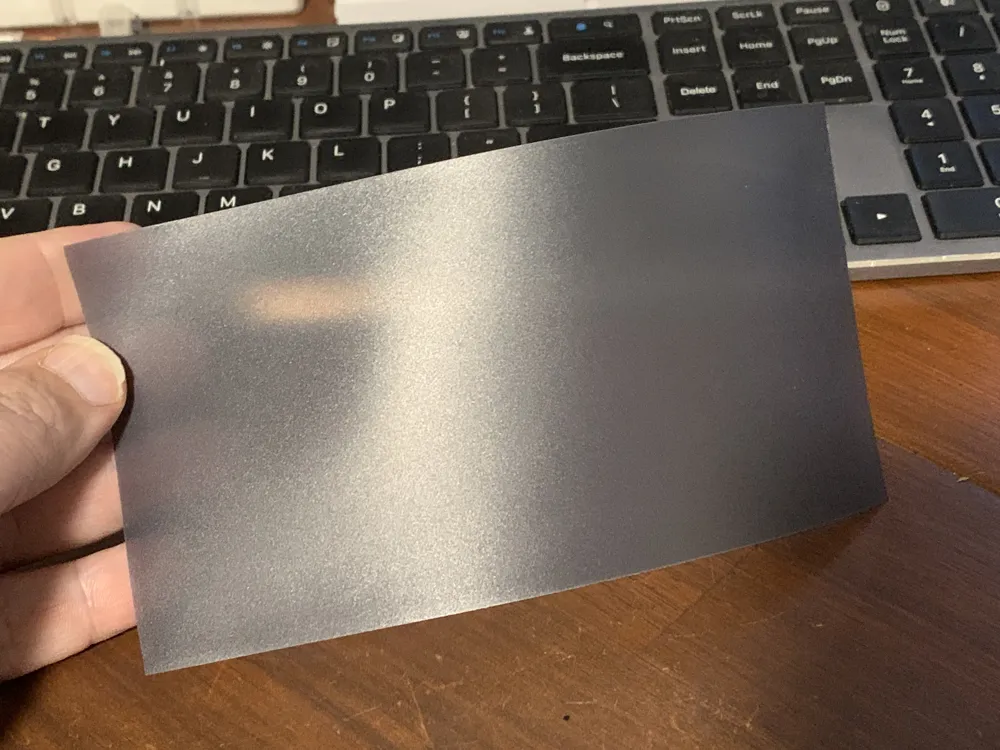
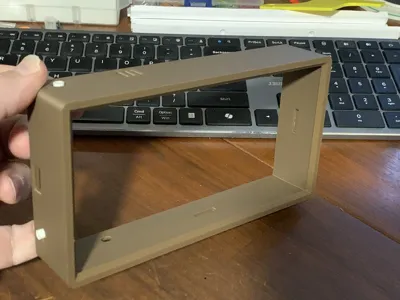
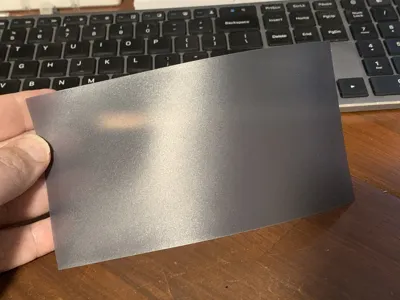
Insert your screen diffuser into the clock housing
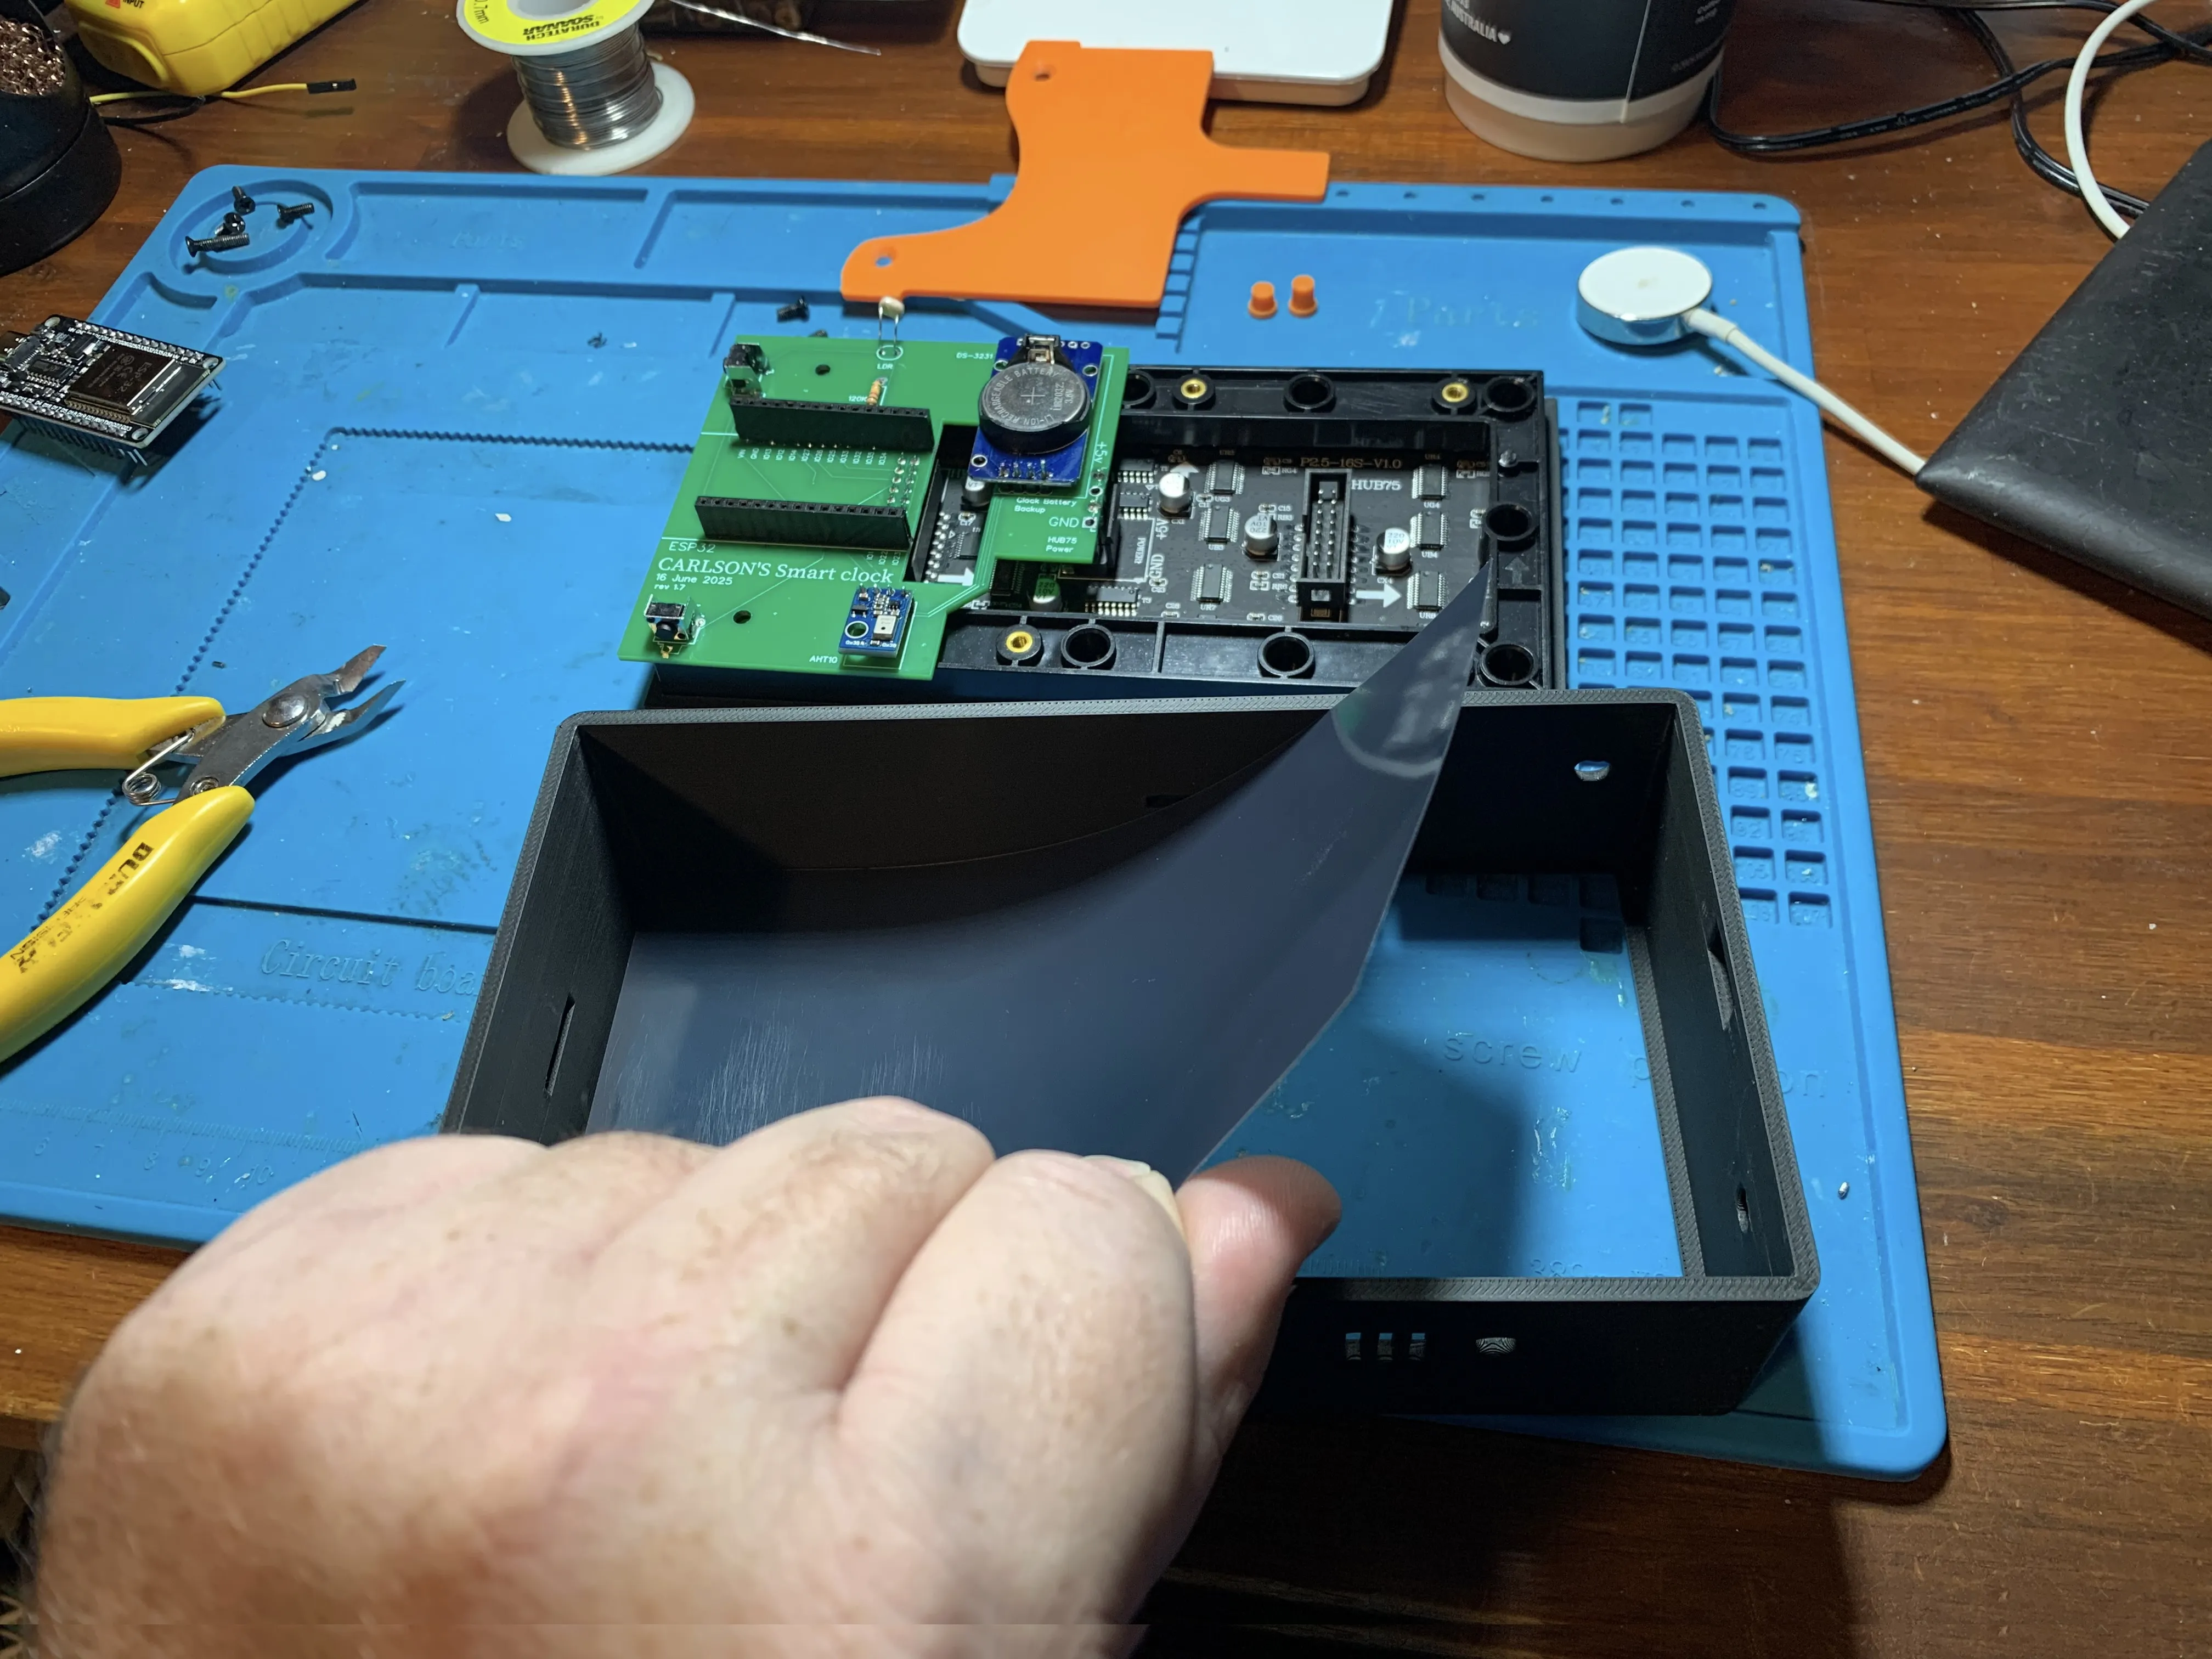
- It should be an easy fit and sit on the internal lip
- I used a piece of A4 folder cover in smokey grey
Now the hardest part

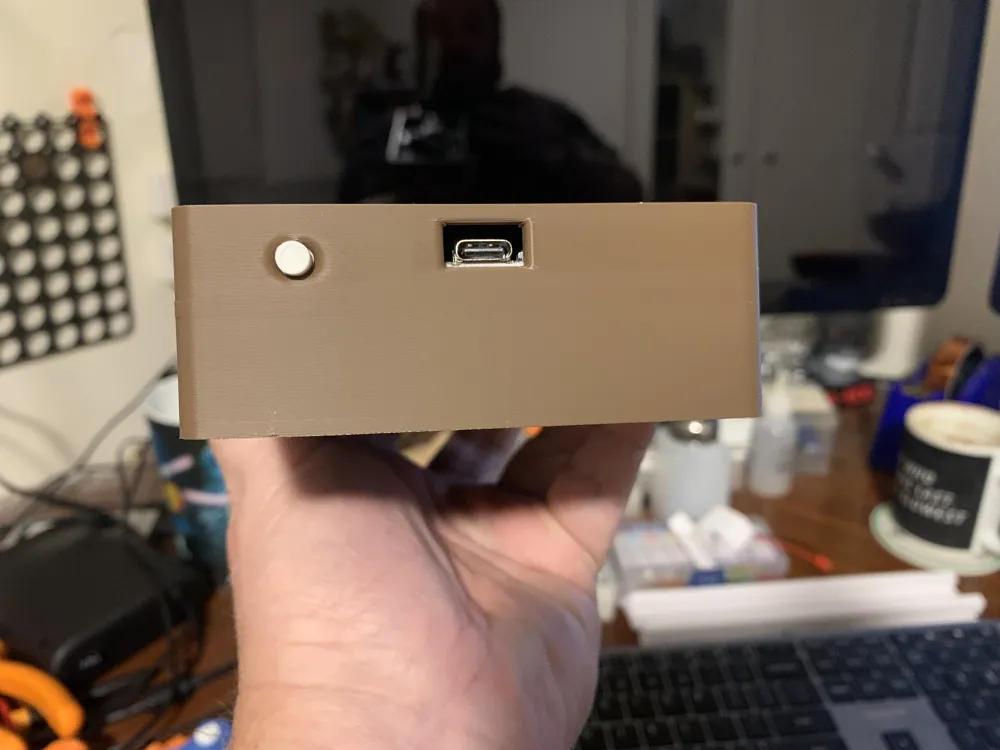
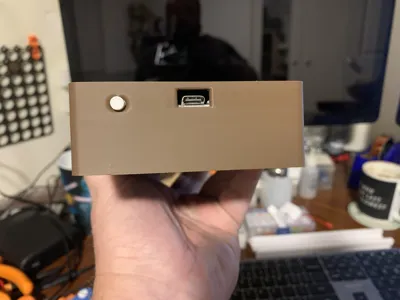
- Insert the LONG MENU button in the side
- Insert SHORT RESET button in the bottom
- Plug in your ESP32 (In my GIF I forgot)
- Align the Screen with the buttons and USB port on the left
- Using medium pressure, press down on opposite side of screen
- it is designed to be tight
- you will hear the 3D printed Matrix Diffuser ‘scratch’ against the 3D printed layer lines of the clock case
- Once it it will lay down flat as seen in my GIF
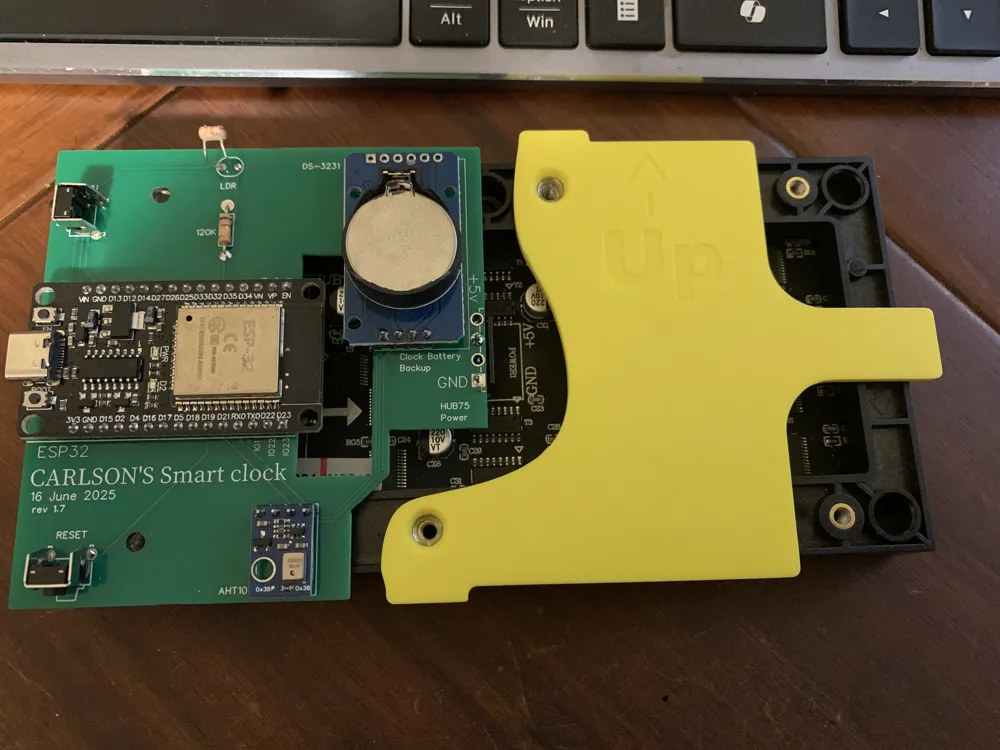
Now insert the three point brace
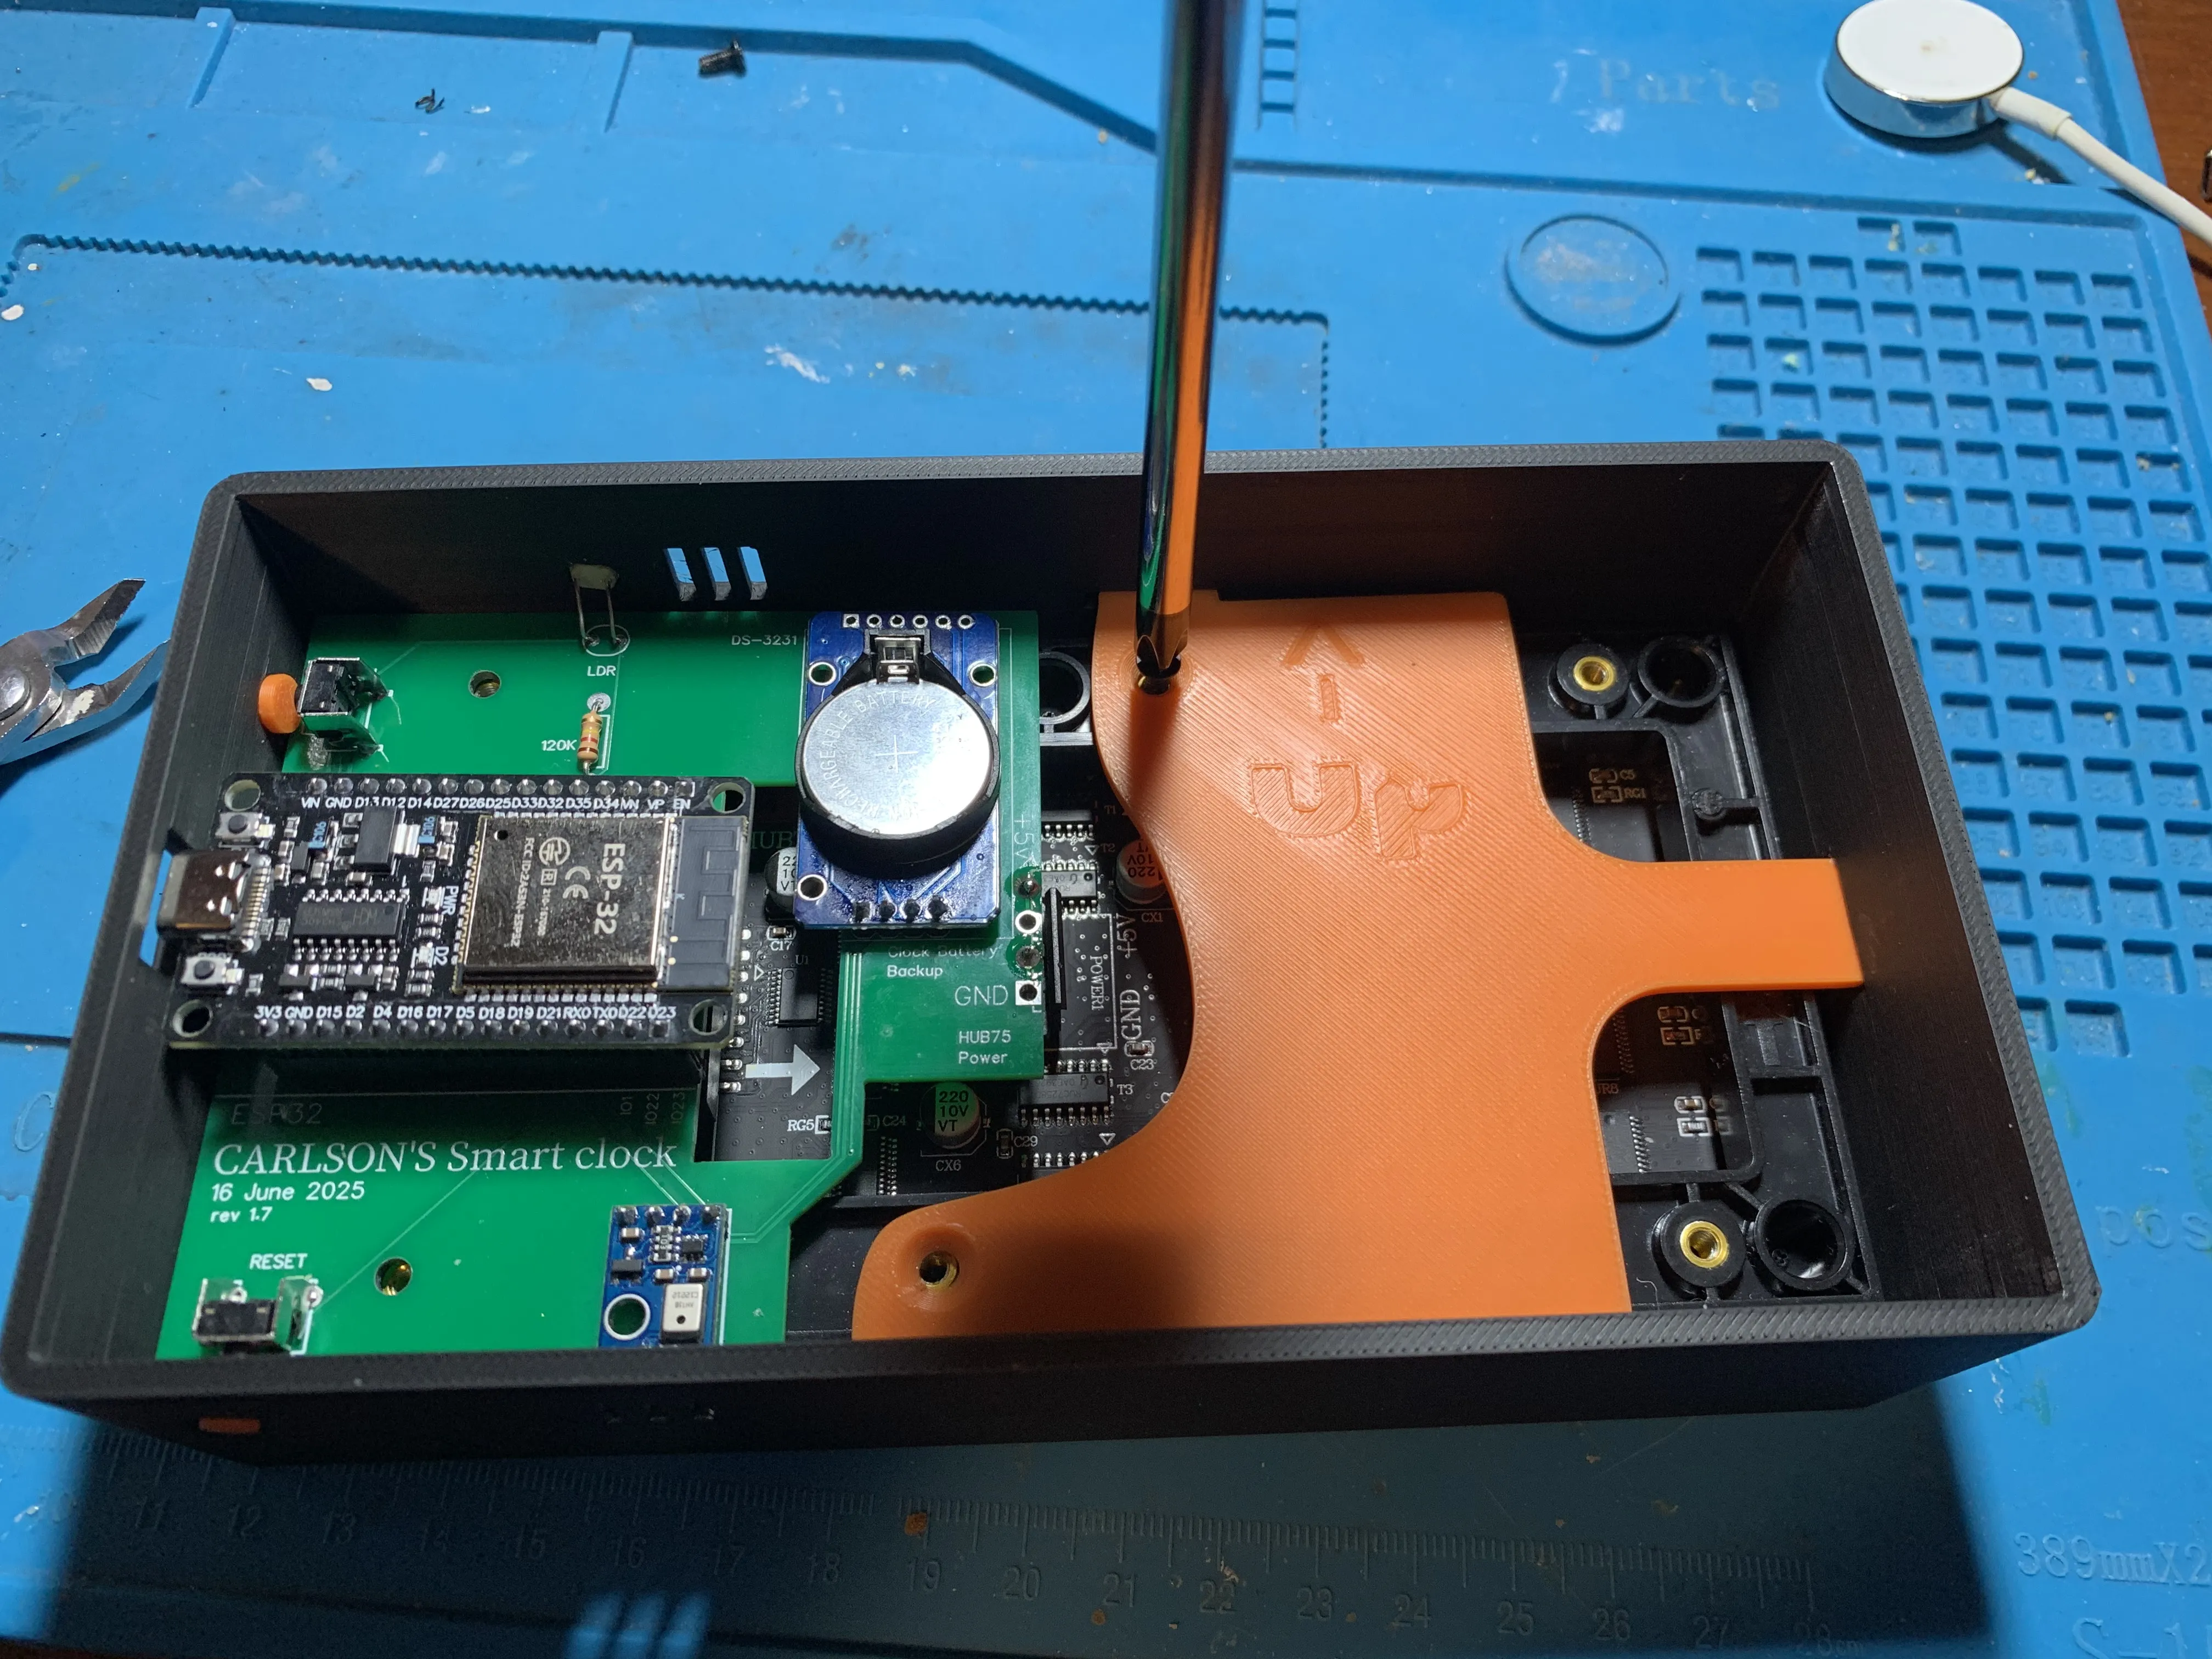
- ensure all three points engage with the case
- secure with two M3-8mm screws
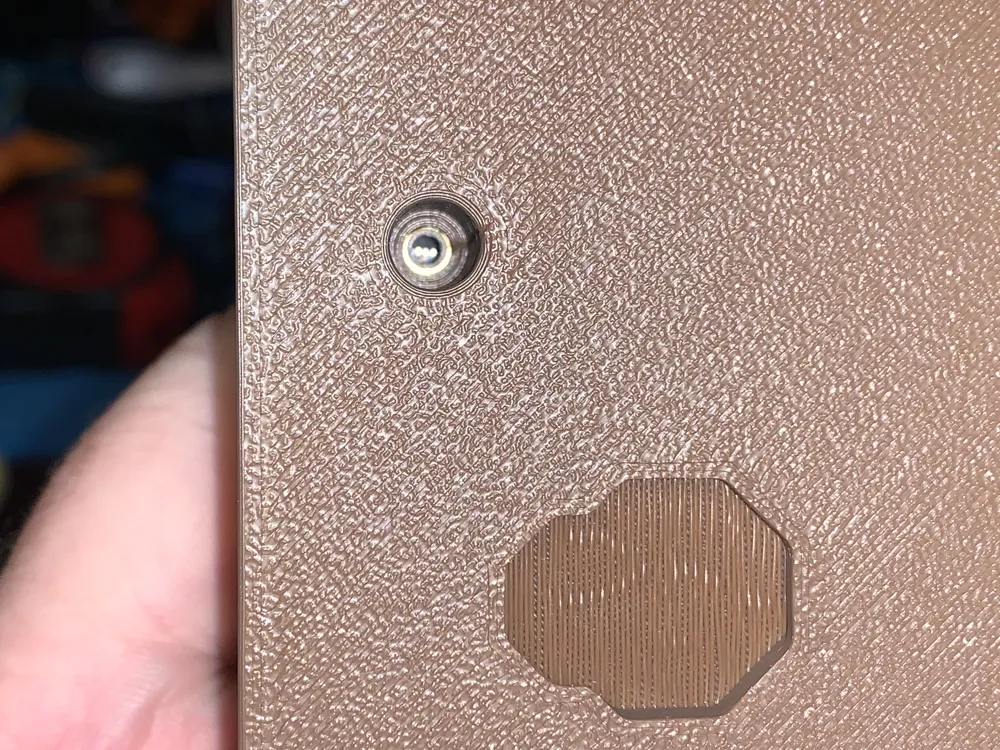
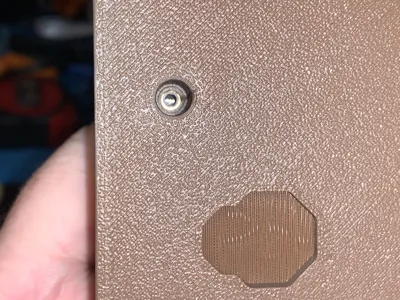
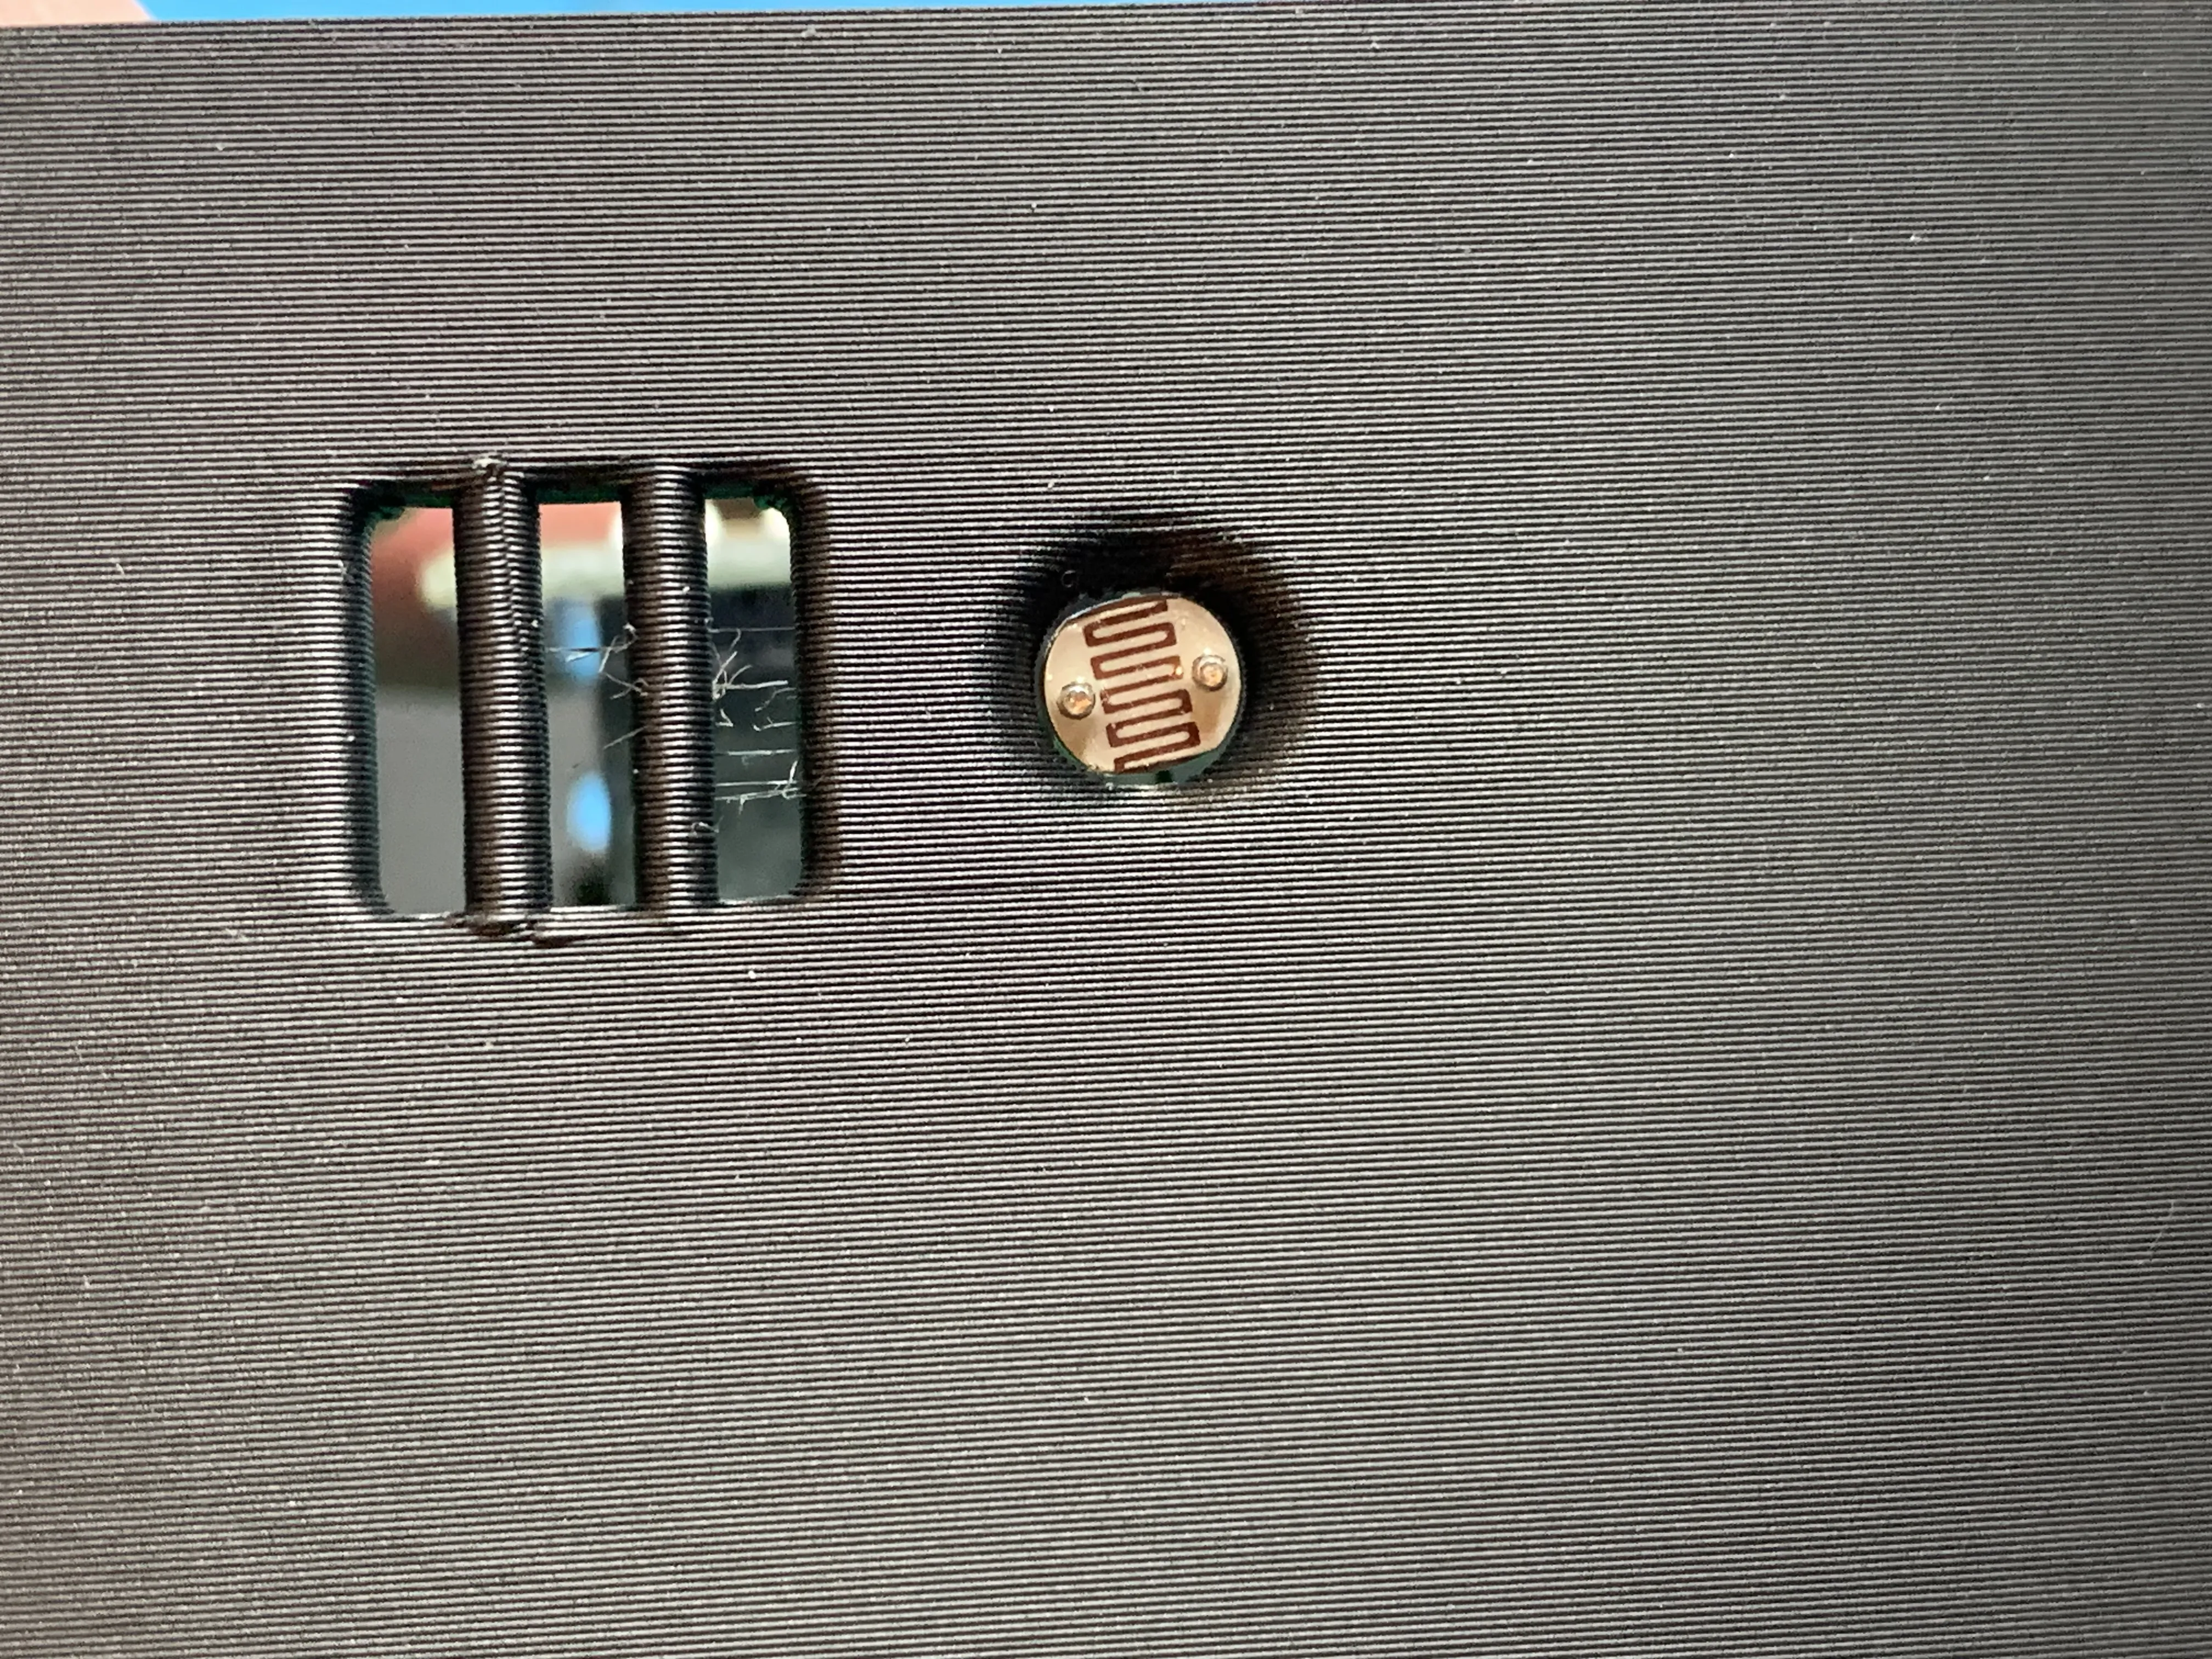
Use a pair of tweezers and bend the LDR light sensor into the hole
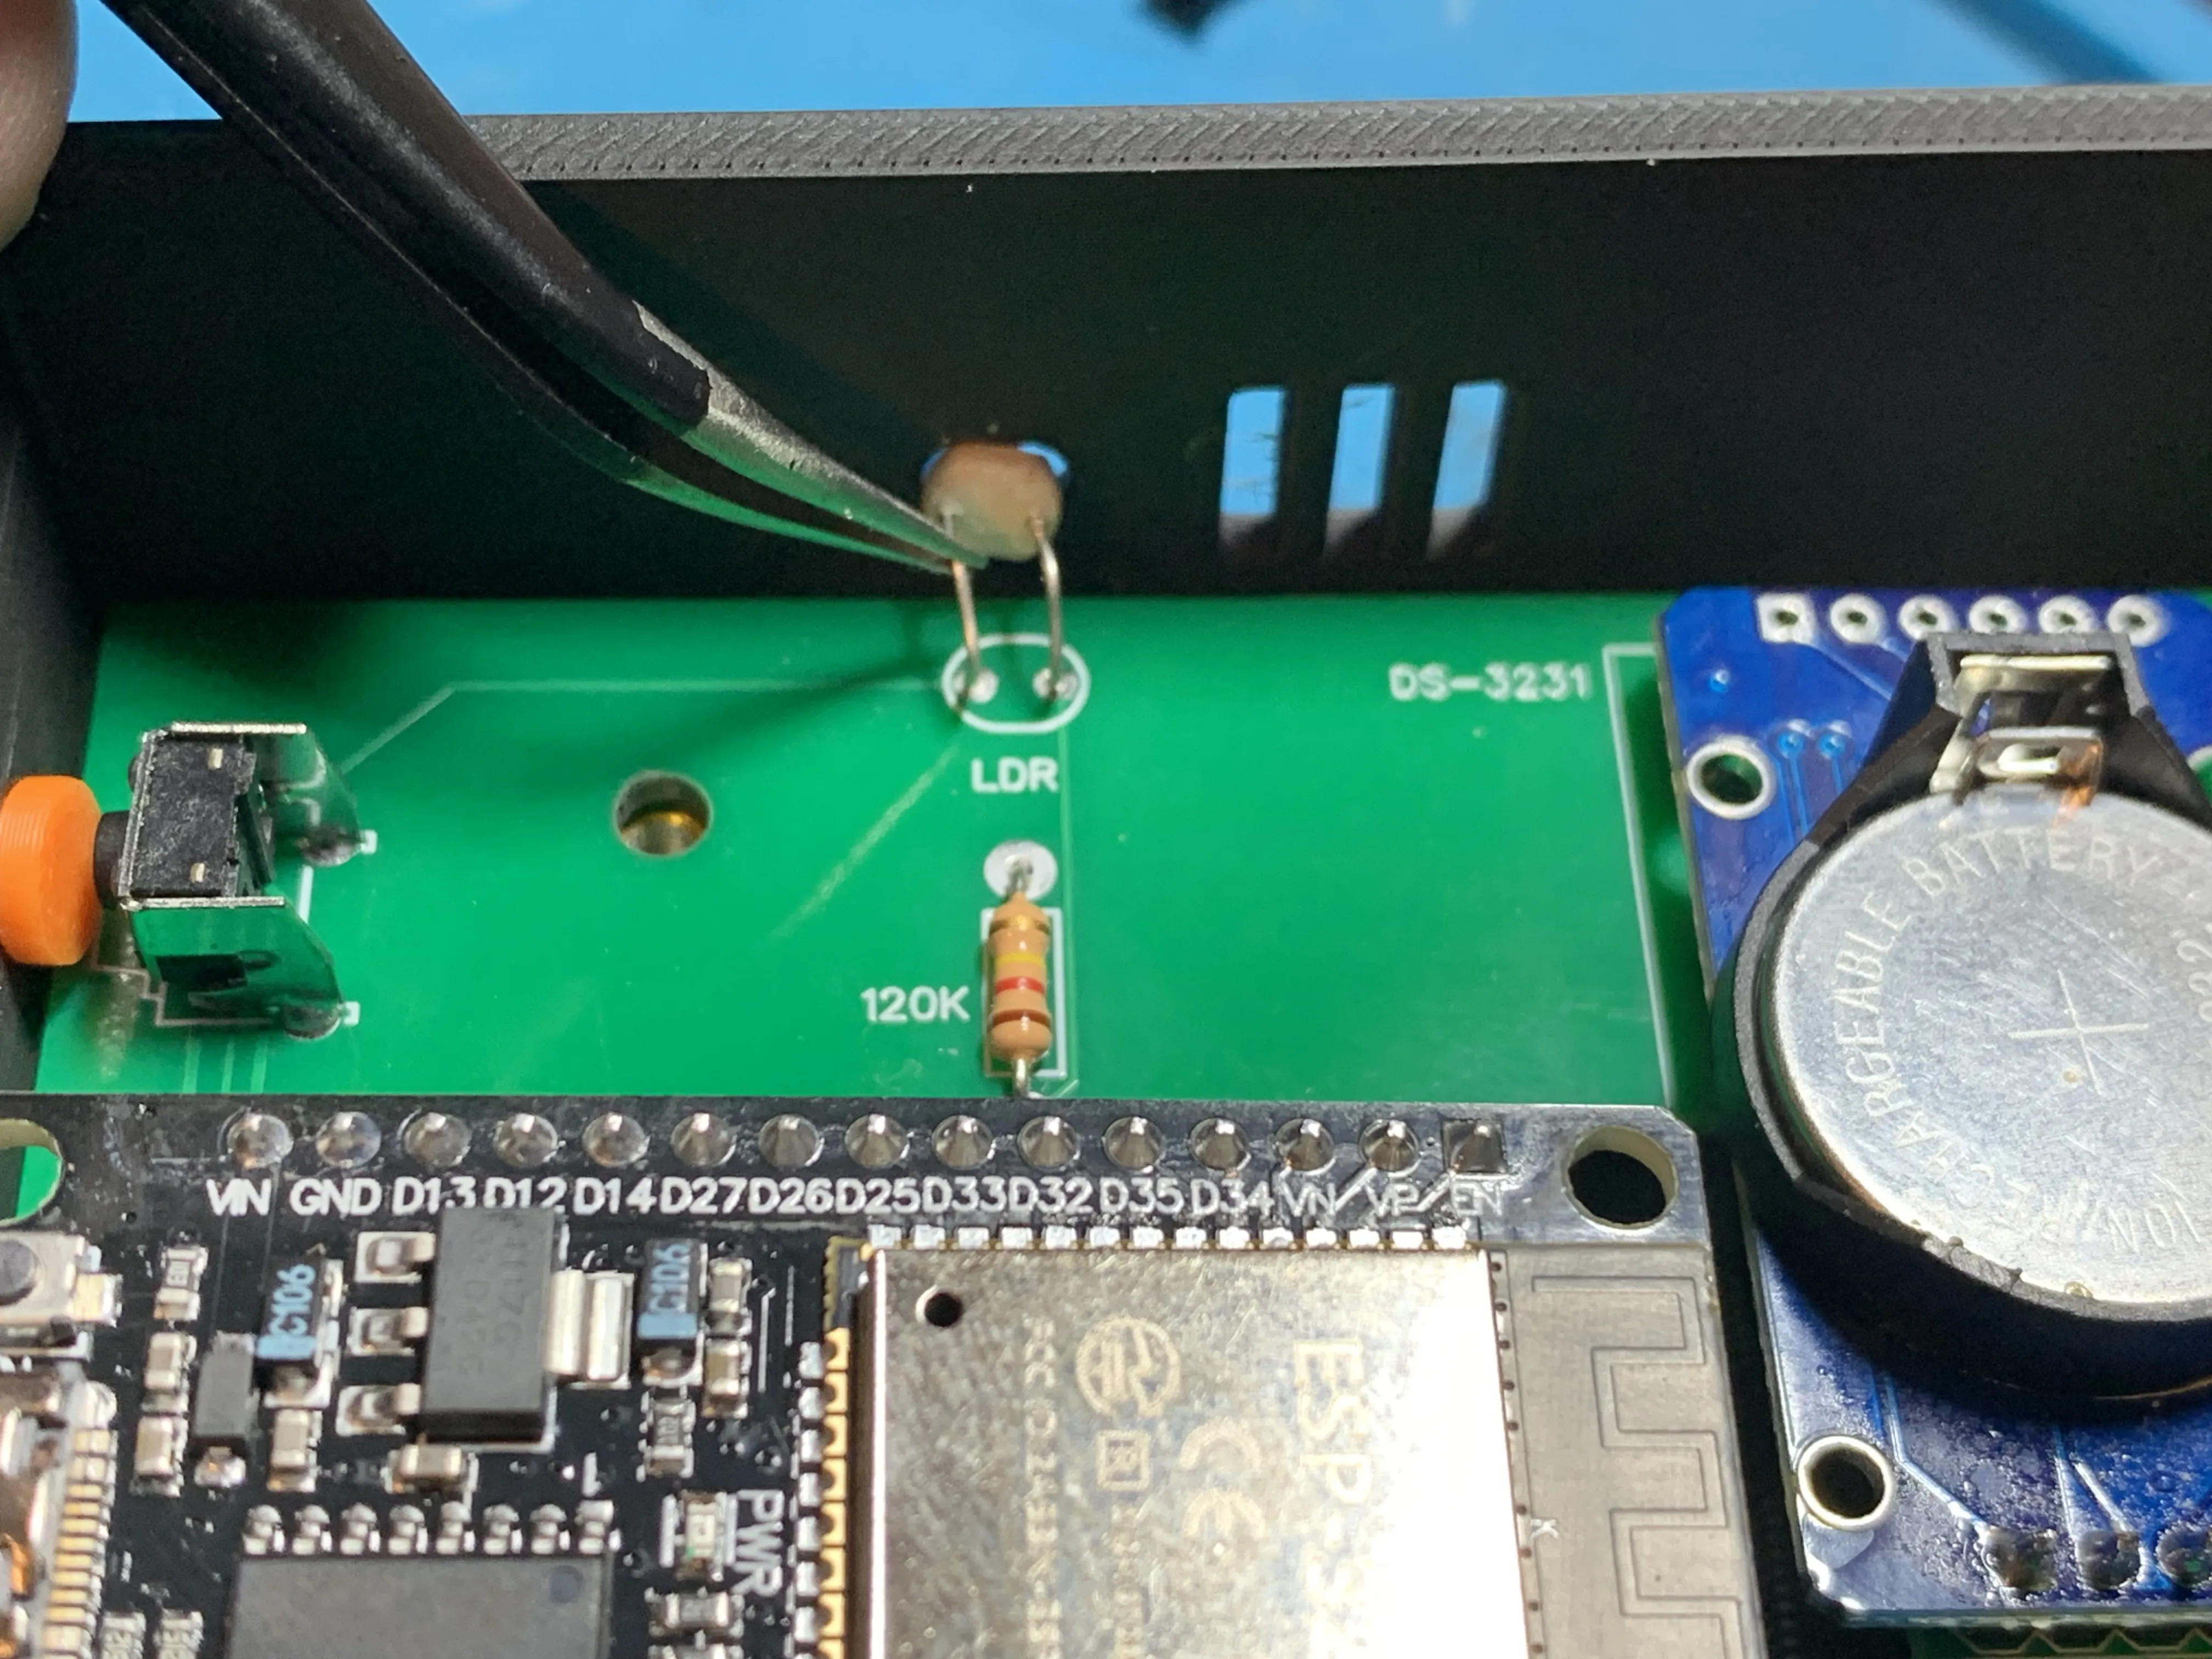
Once installed correctly, it should be visible from the outside of the clock
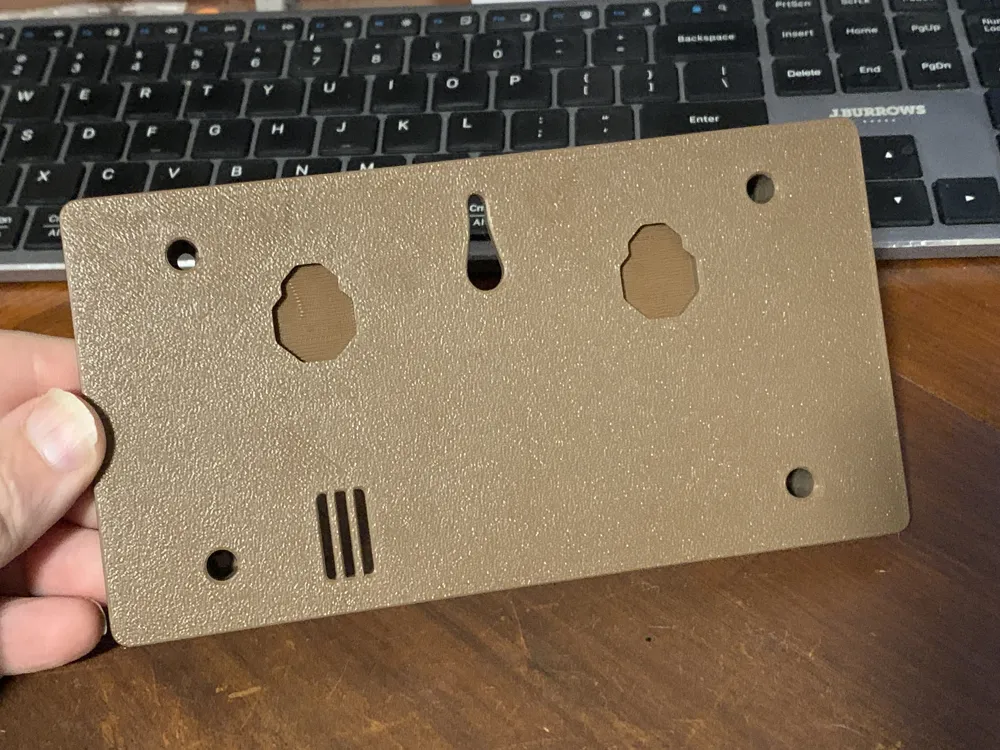
Put on the back cover
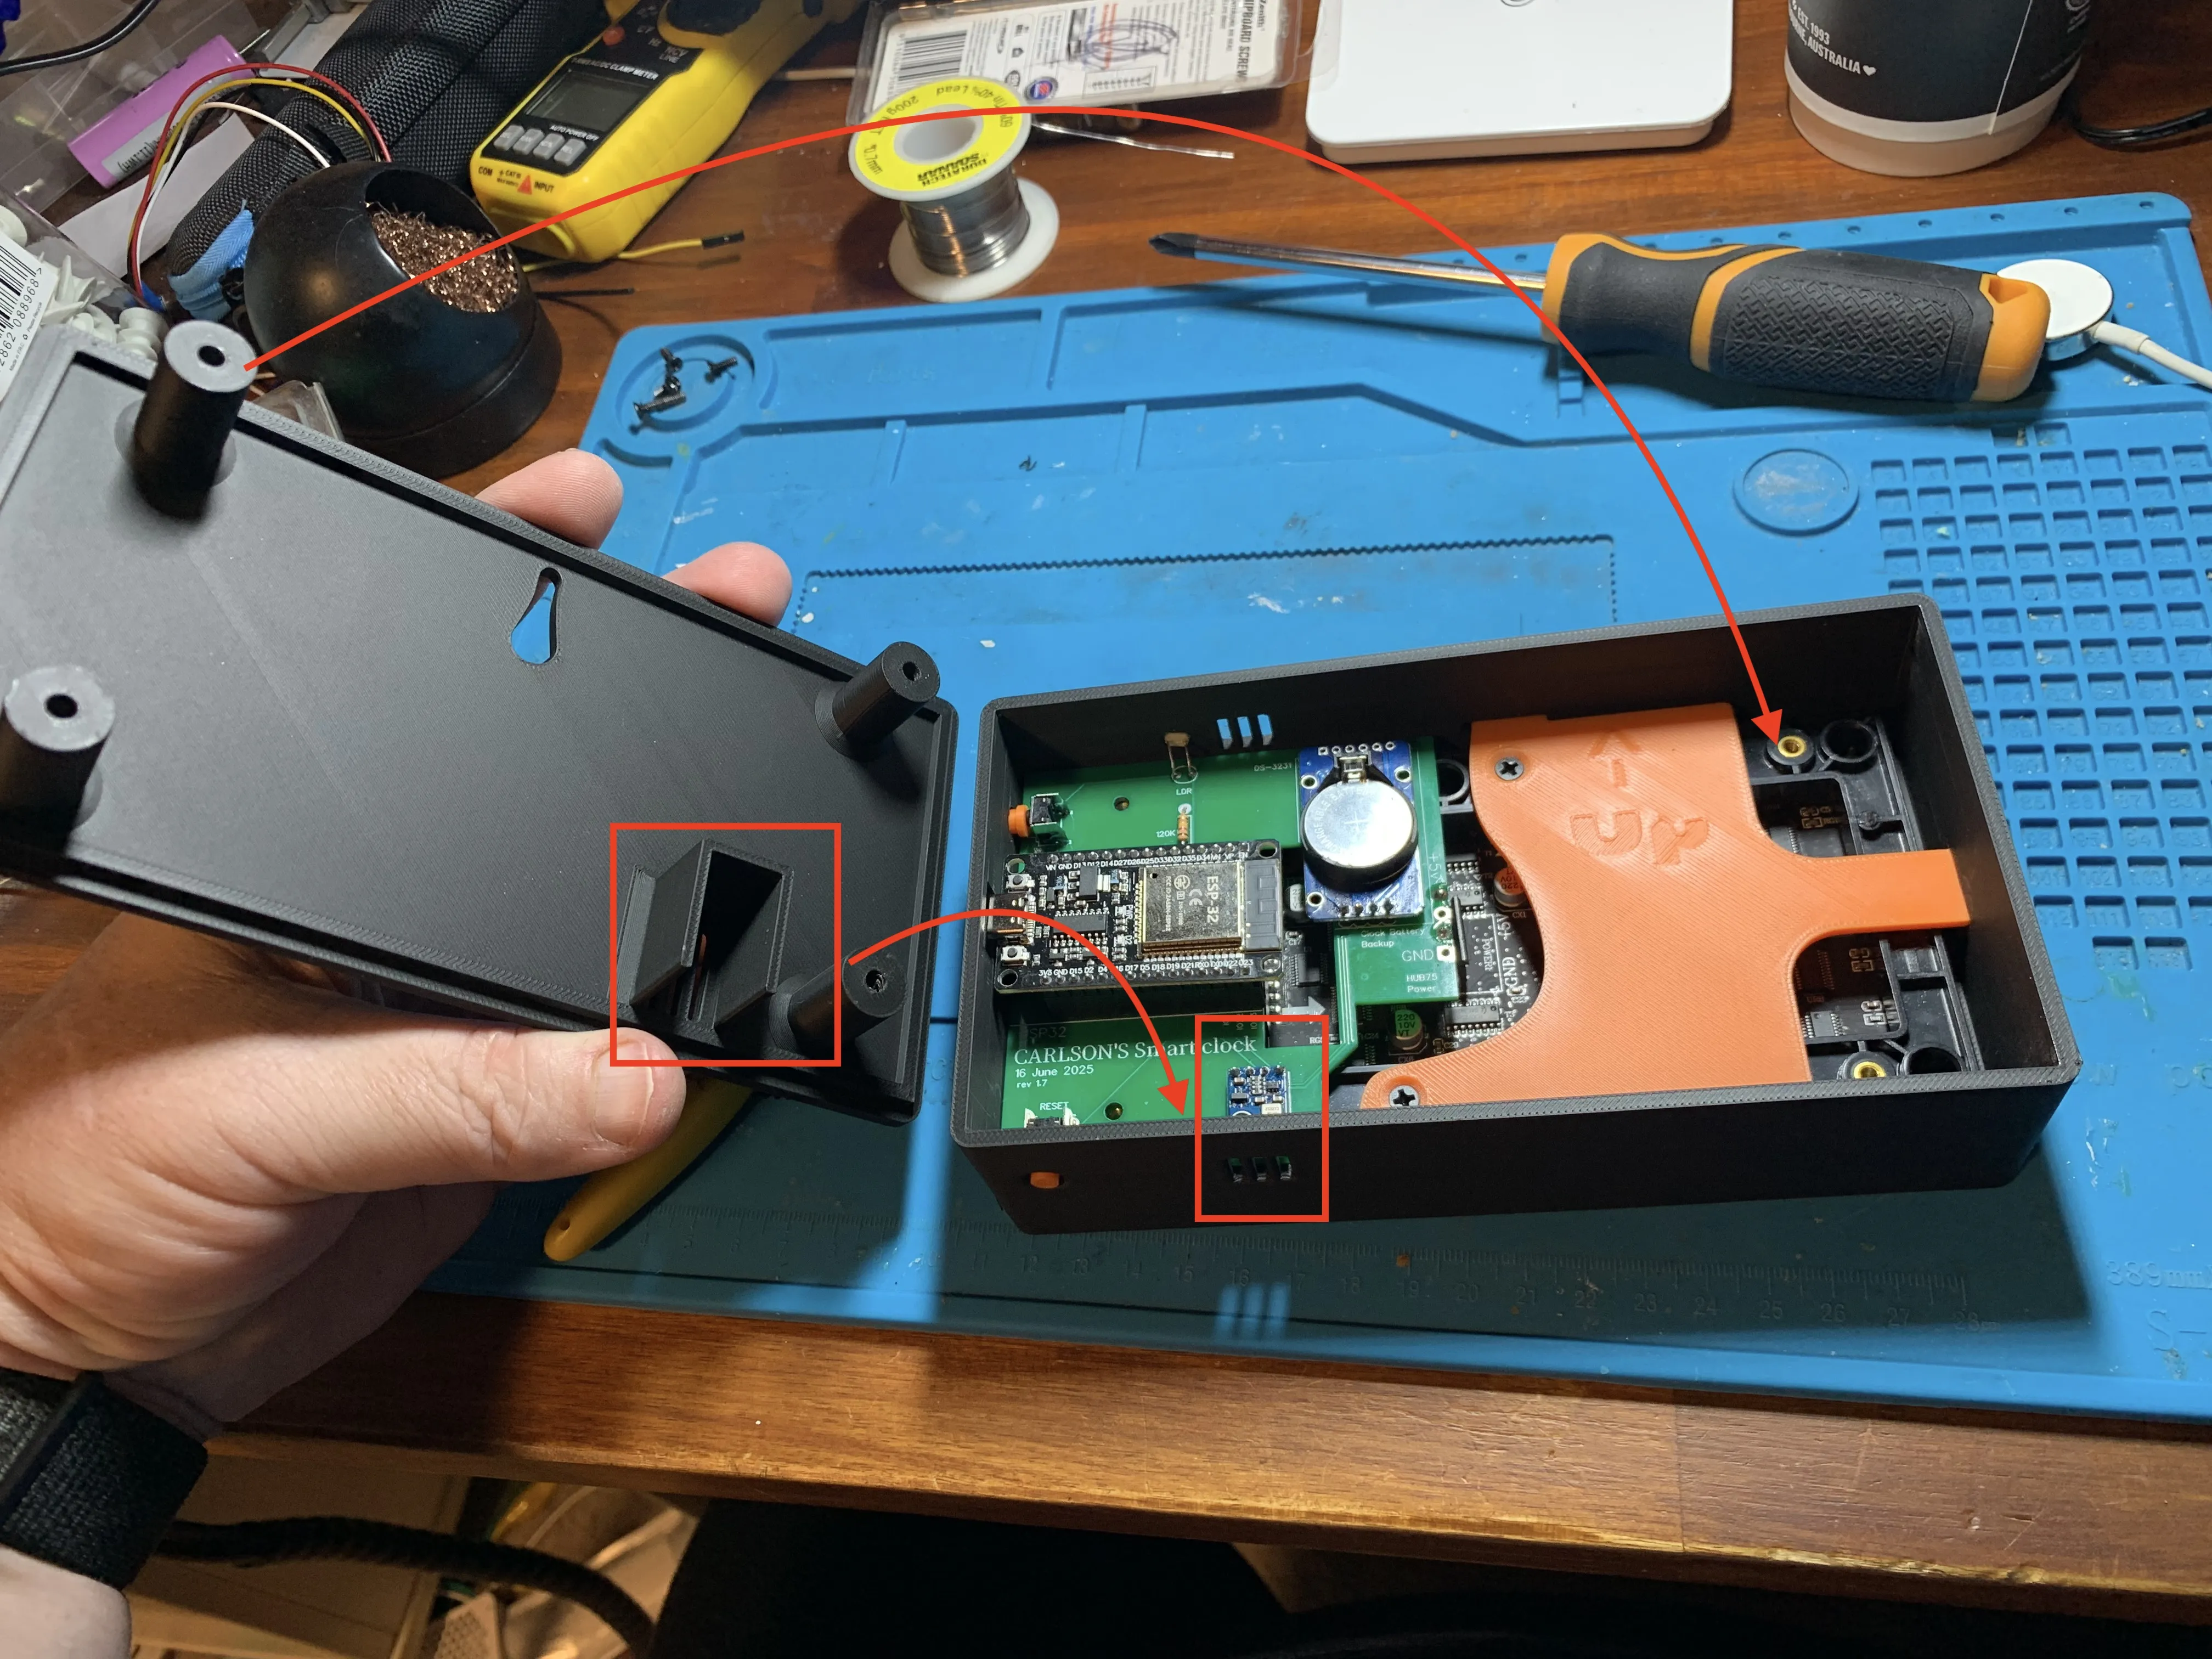
ensure the heat shield covers the AHT10 temperature sensor. This prevents inaccurate readings as the ESP32 can heat up
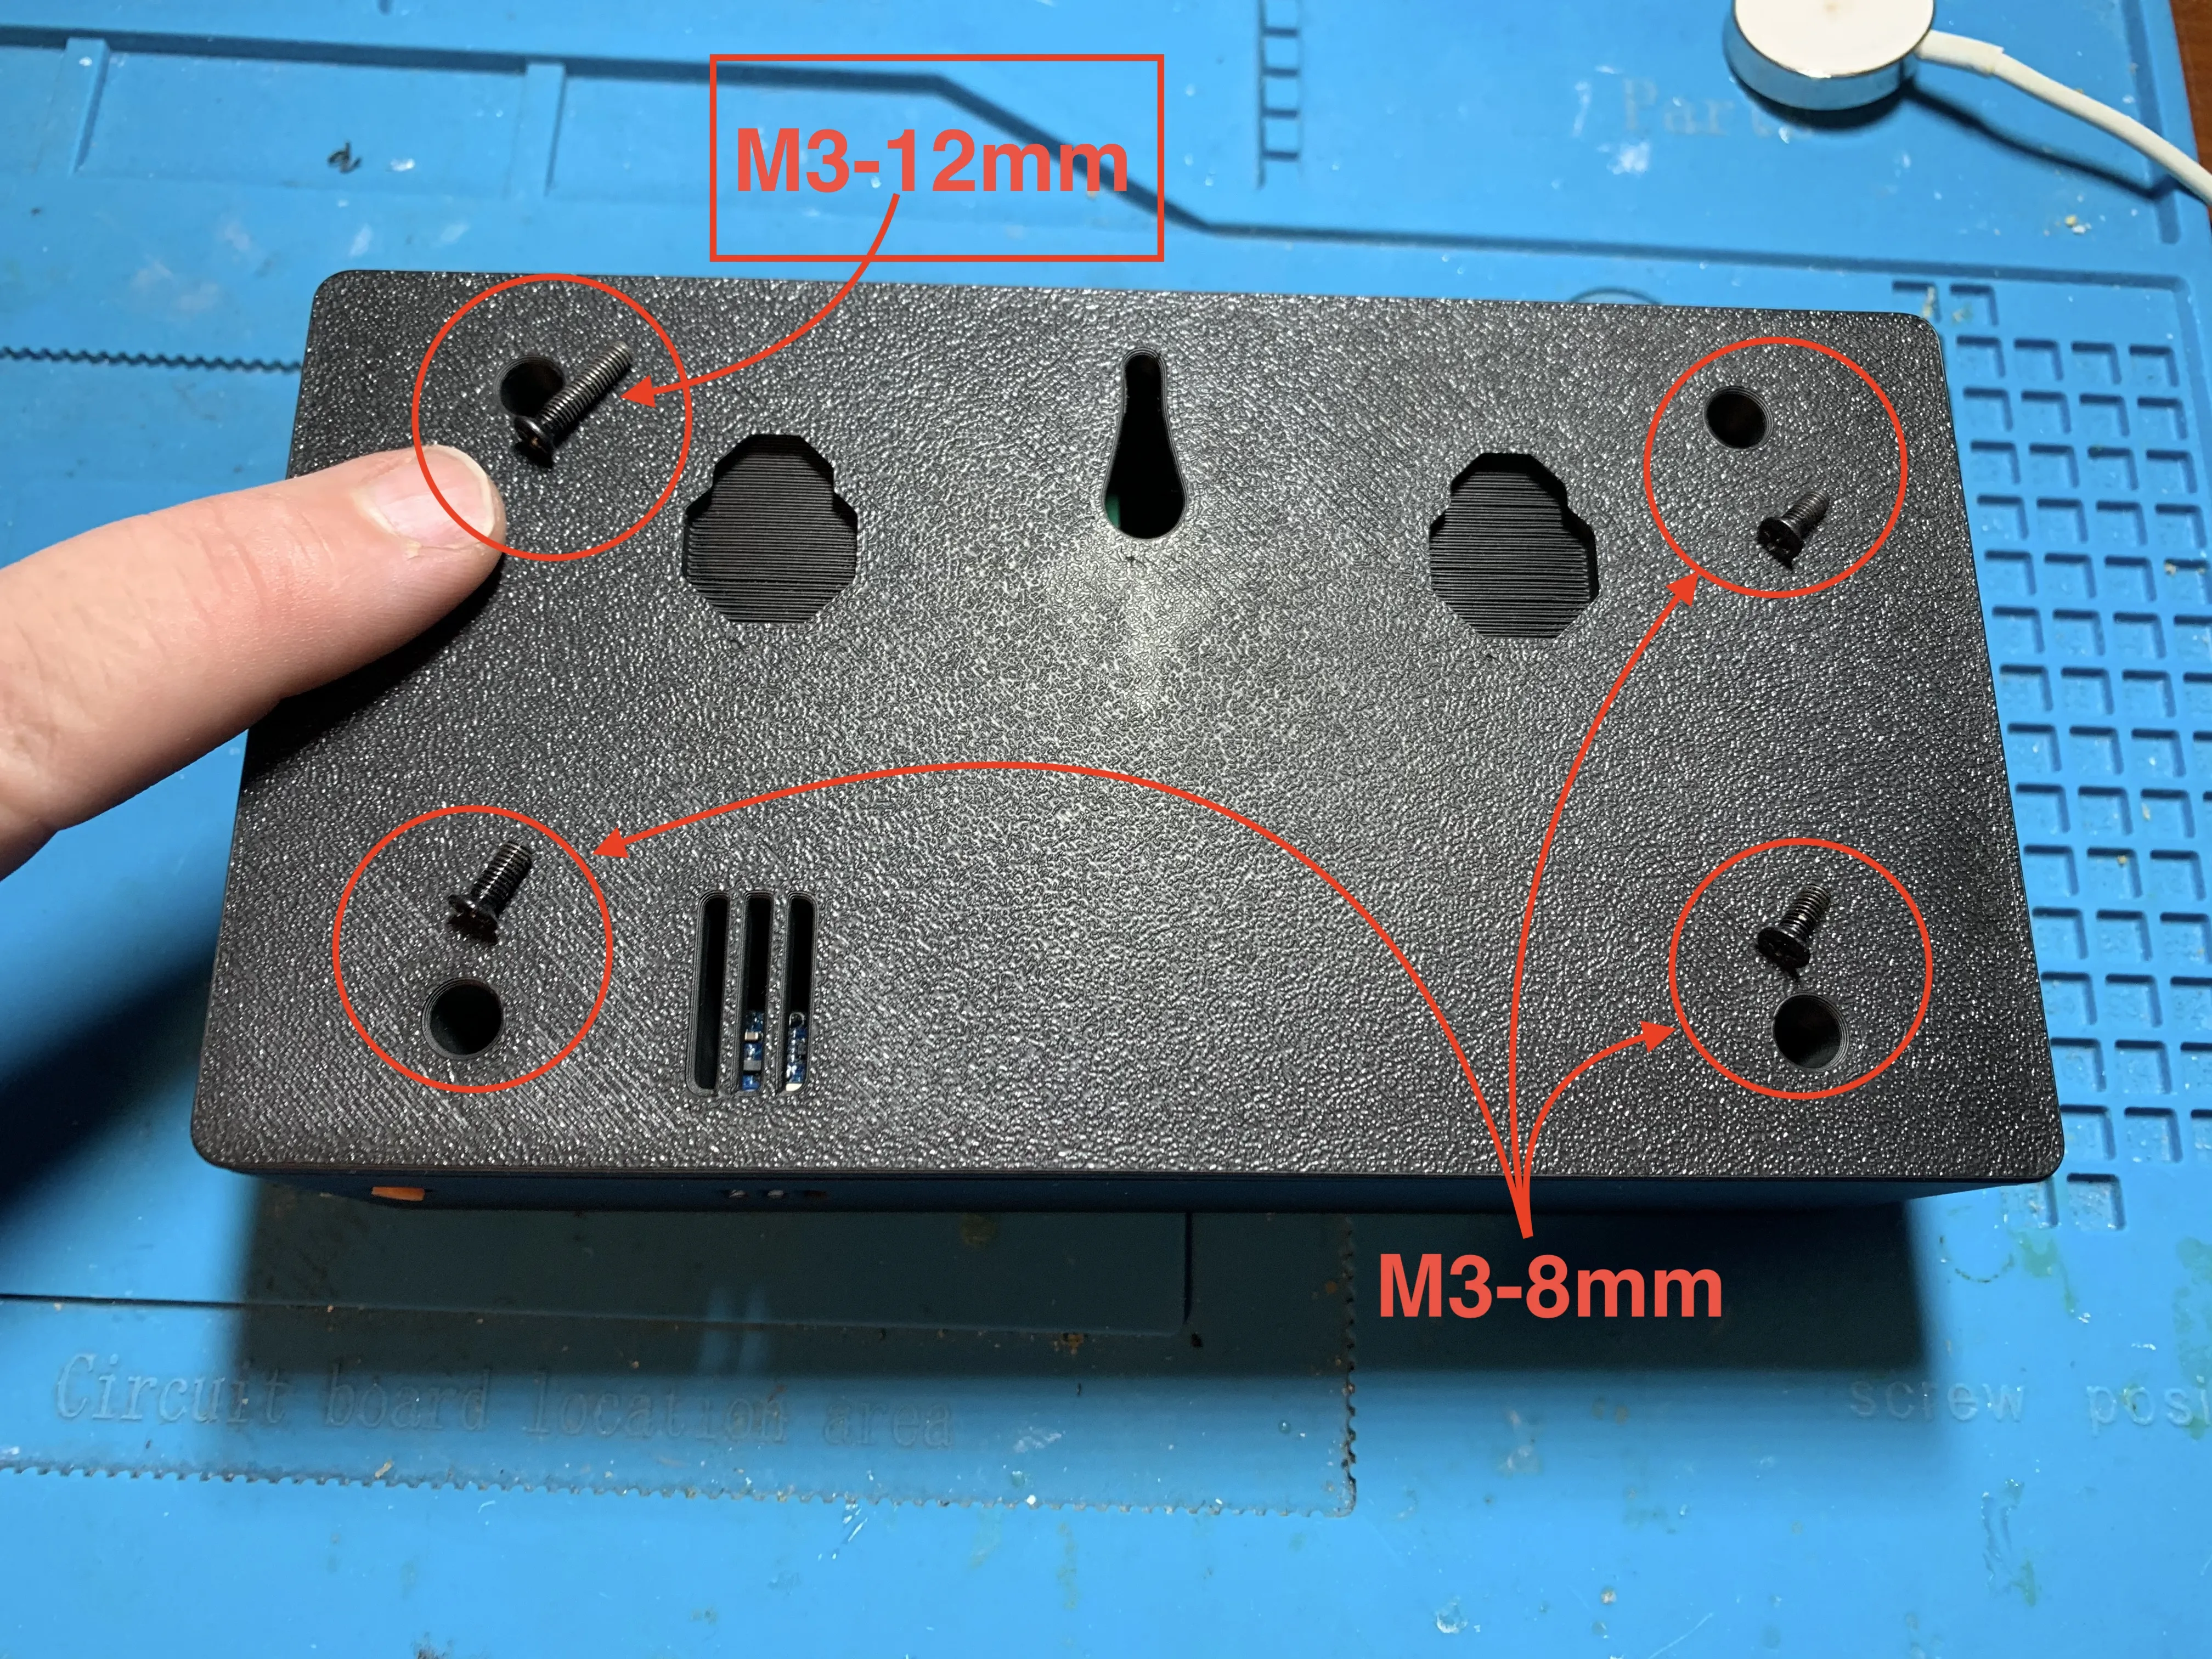
- Screw down the rear cover
- use three M3-8mm screws as shown
- use a M3-12mm is the top left hole as it is a bit deeper
Software Setup
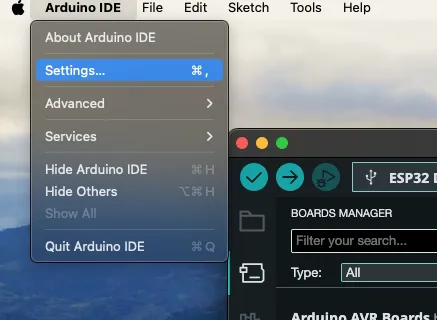
Download Arduino IDE: https://www.arduino.cc/en/software
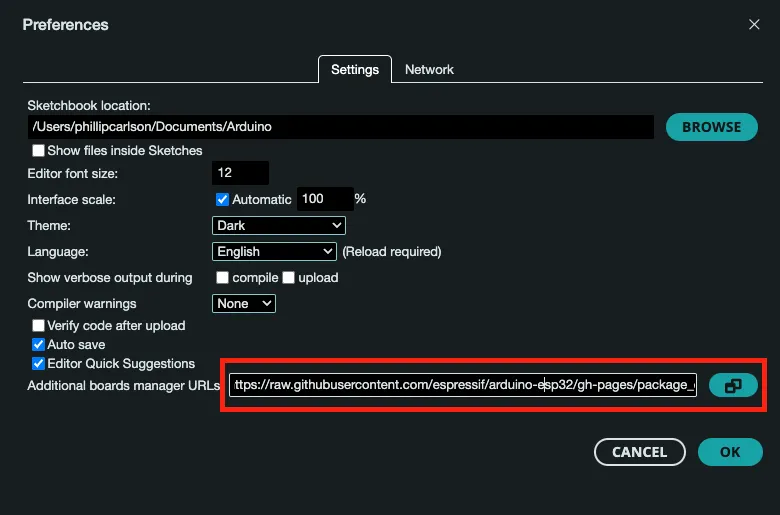
- After installing Arduino IDE, open the SETTINGS menu
- Enter this into the Boards Manager URL section as shown;
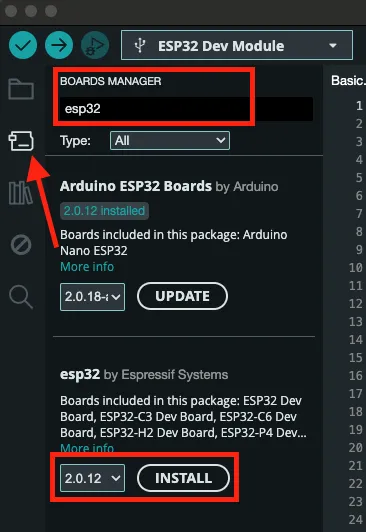
- Click on the “Boards Manager” icon and search for “esp32” no spaces
- You MUST install v2.0.12 from Espressif Systems
- Click Install
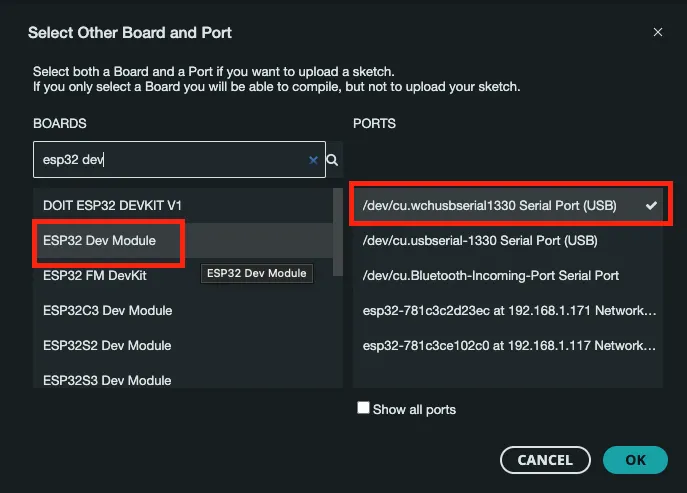
- Go to “Select Board & Port” from main bar dropdown menu
- Search for board “esp32 dev” and select "ESP32 Dev Module"
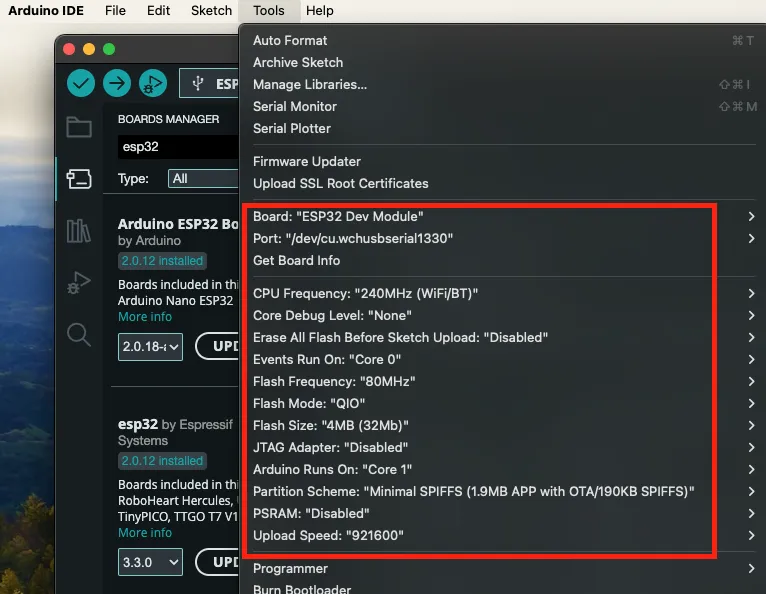
Go to TOOLS menu and ensure all settings are the same as shown. Main ones to note are;
- Events run on Core 0
- Arduino runs on Core 1
- Flash Size: 4MB (32Mb)
- Partition: Minimal SPIFFS (1.9Mb app with OTA/190Kb SPIFFS)
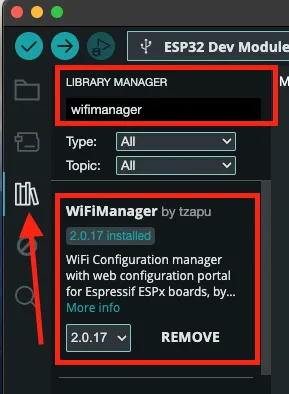
- Click on “Library Manager” icon and search for “wifimanager” without spaces
- You MUST install v2.0.17 by Tzapu
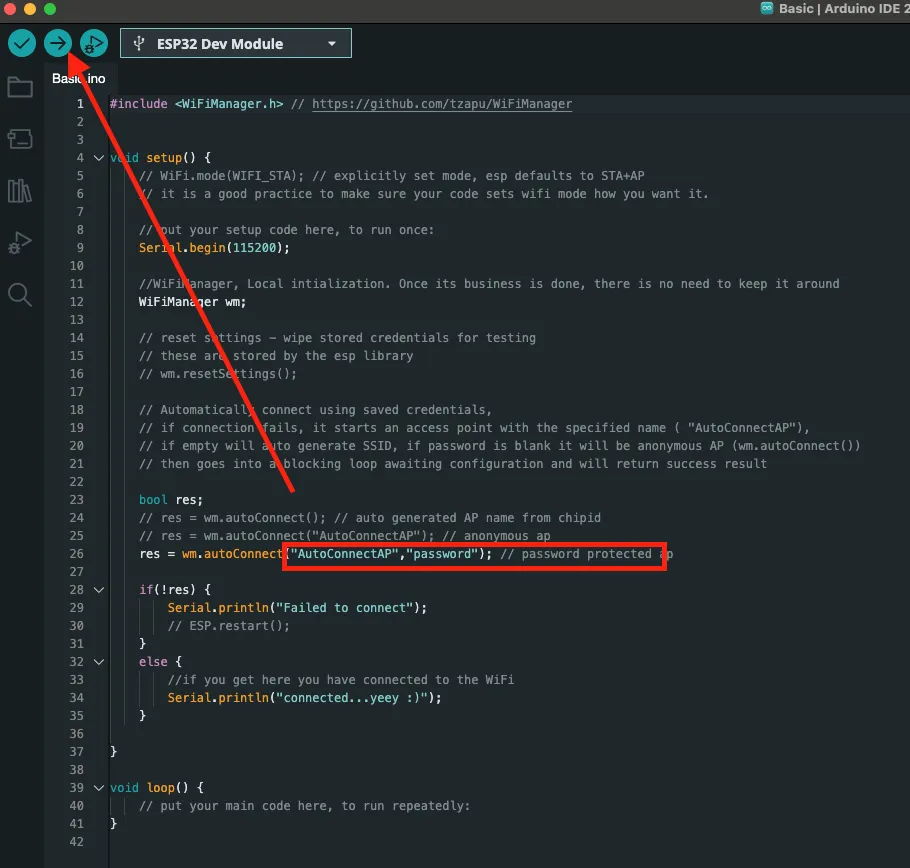
Installing Clock FIRMWARE
- Within Arduino IDE
- FILE → EXAMPLES → WiFiManager → Basic
- Now hit the “FLASH” button to write this program to your ESP32
- When ESP32 reboots it will create a Wifi network;
- Name: AutoConnectAP
- Password: password
Connect to this temporary network
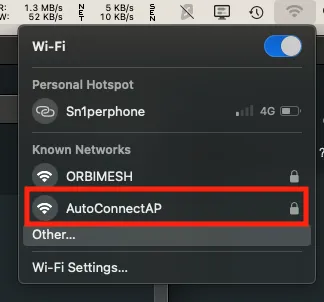
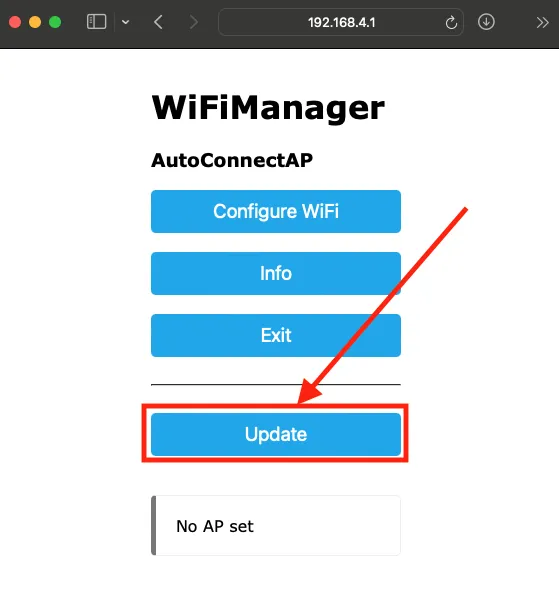
Once connected, a popup window should appear (if not use a web browser on the same WIFI and navigate to 192.168.4.1
- Click on UPDATE
- Hit “Choose File” load the .BIN file provided above
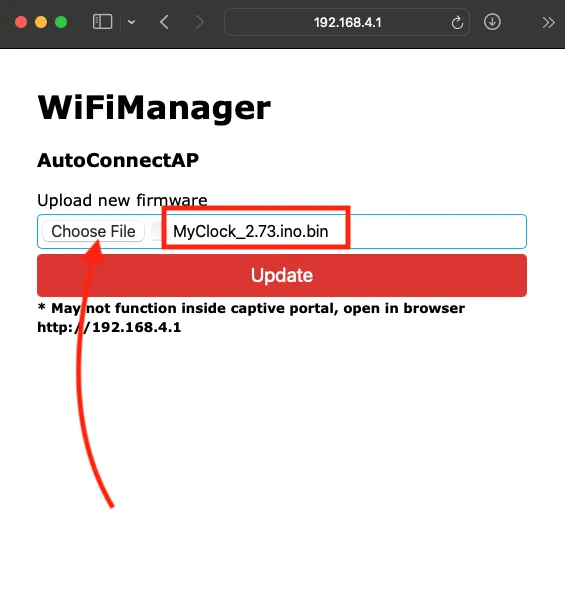
- BIN files are FIRMWARE files
- in my example, i am installing v2.73
- Click UPDATE
- Please allow up to 5 minutes for the update
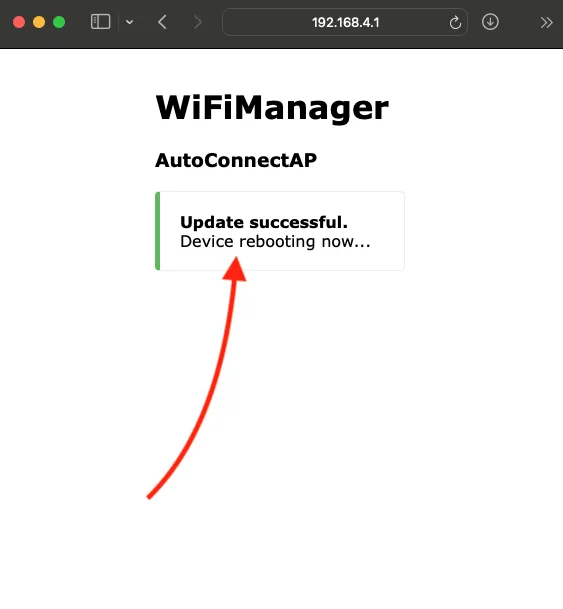
When ESP32 reboots, the clock will look like this
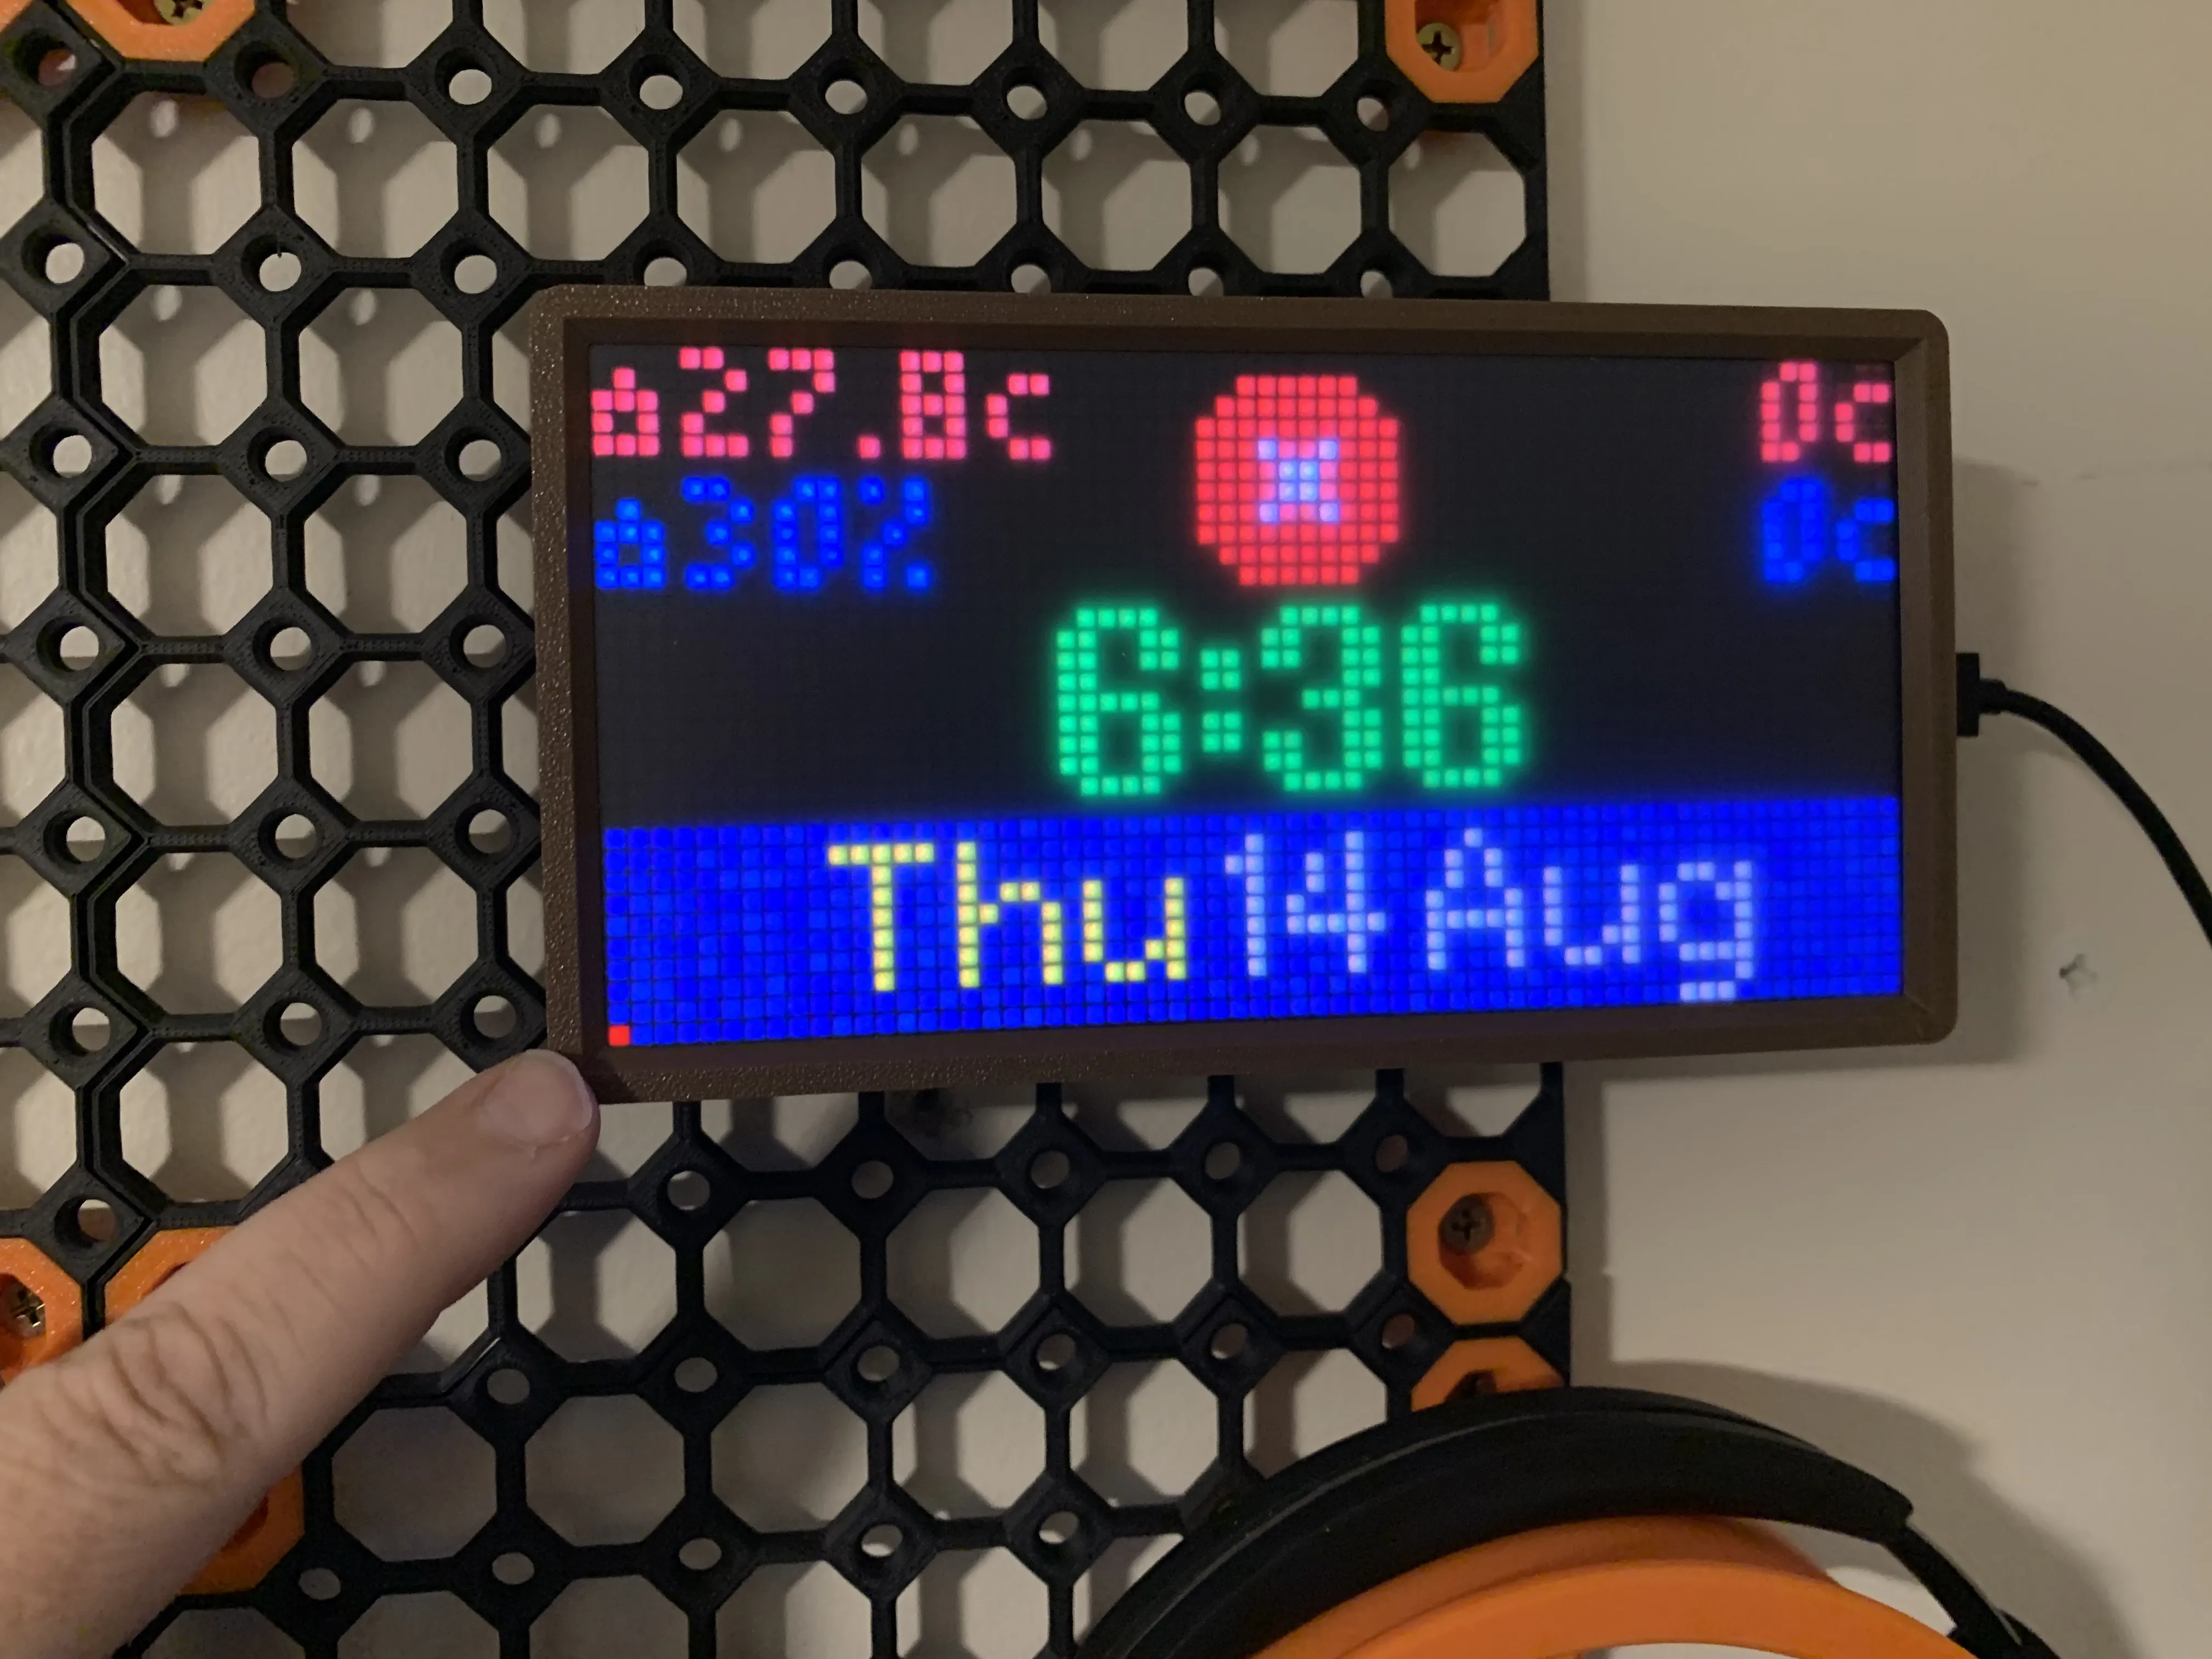
- The RED DOT on the bottom left signifies NO WIFI CONNECTION
- Use the MENU button on the right to select page 6 which shows a QR Code
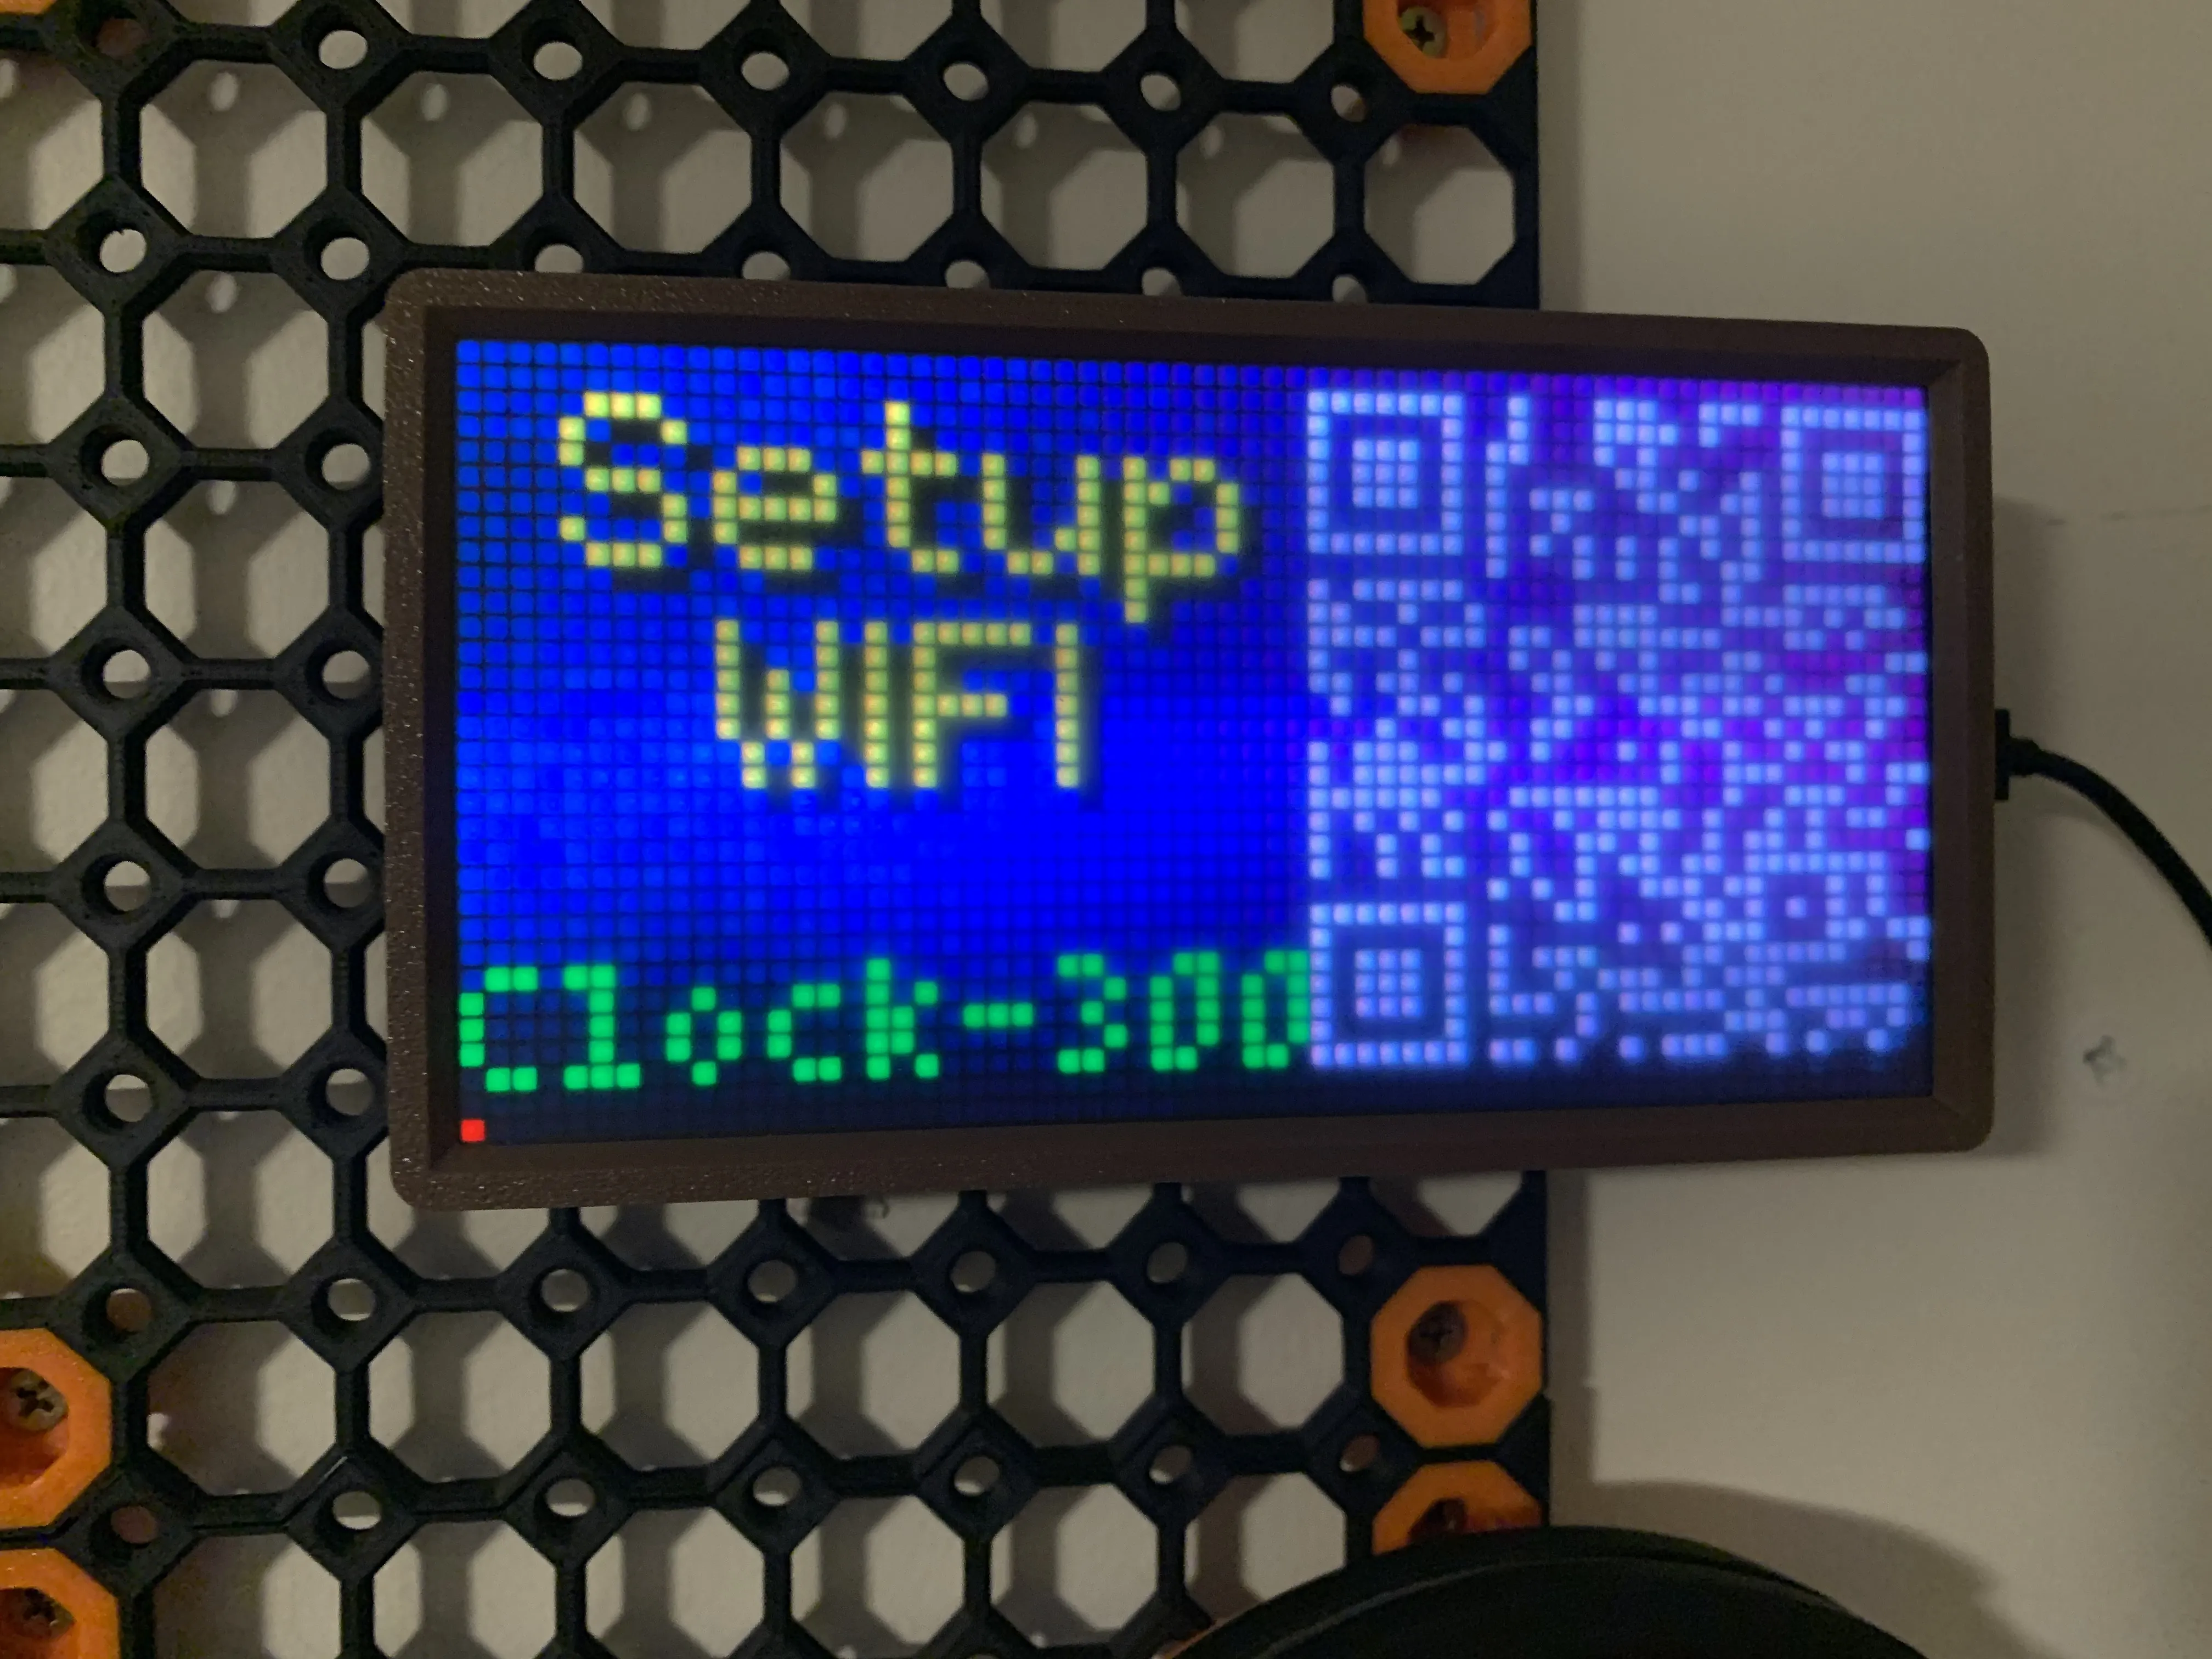
Either scan the QR code or search for a WIFI network with the name of the ESP32.
- Im my example, the network is called “Clock-300”
- Once connected, it is similar to the screenshots above
- Click Configure Wifi
- Scan for networks
- Connect to your WIFI
- Hit save
Once connected to WIFI, the red dot will go away
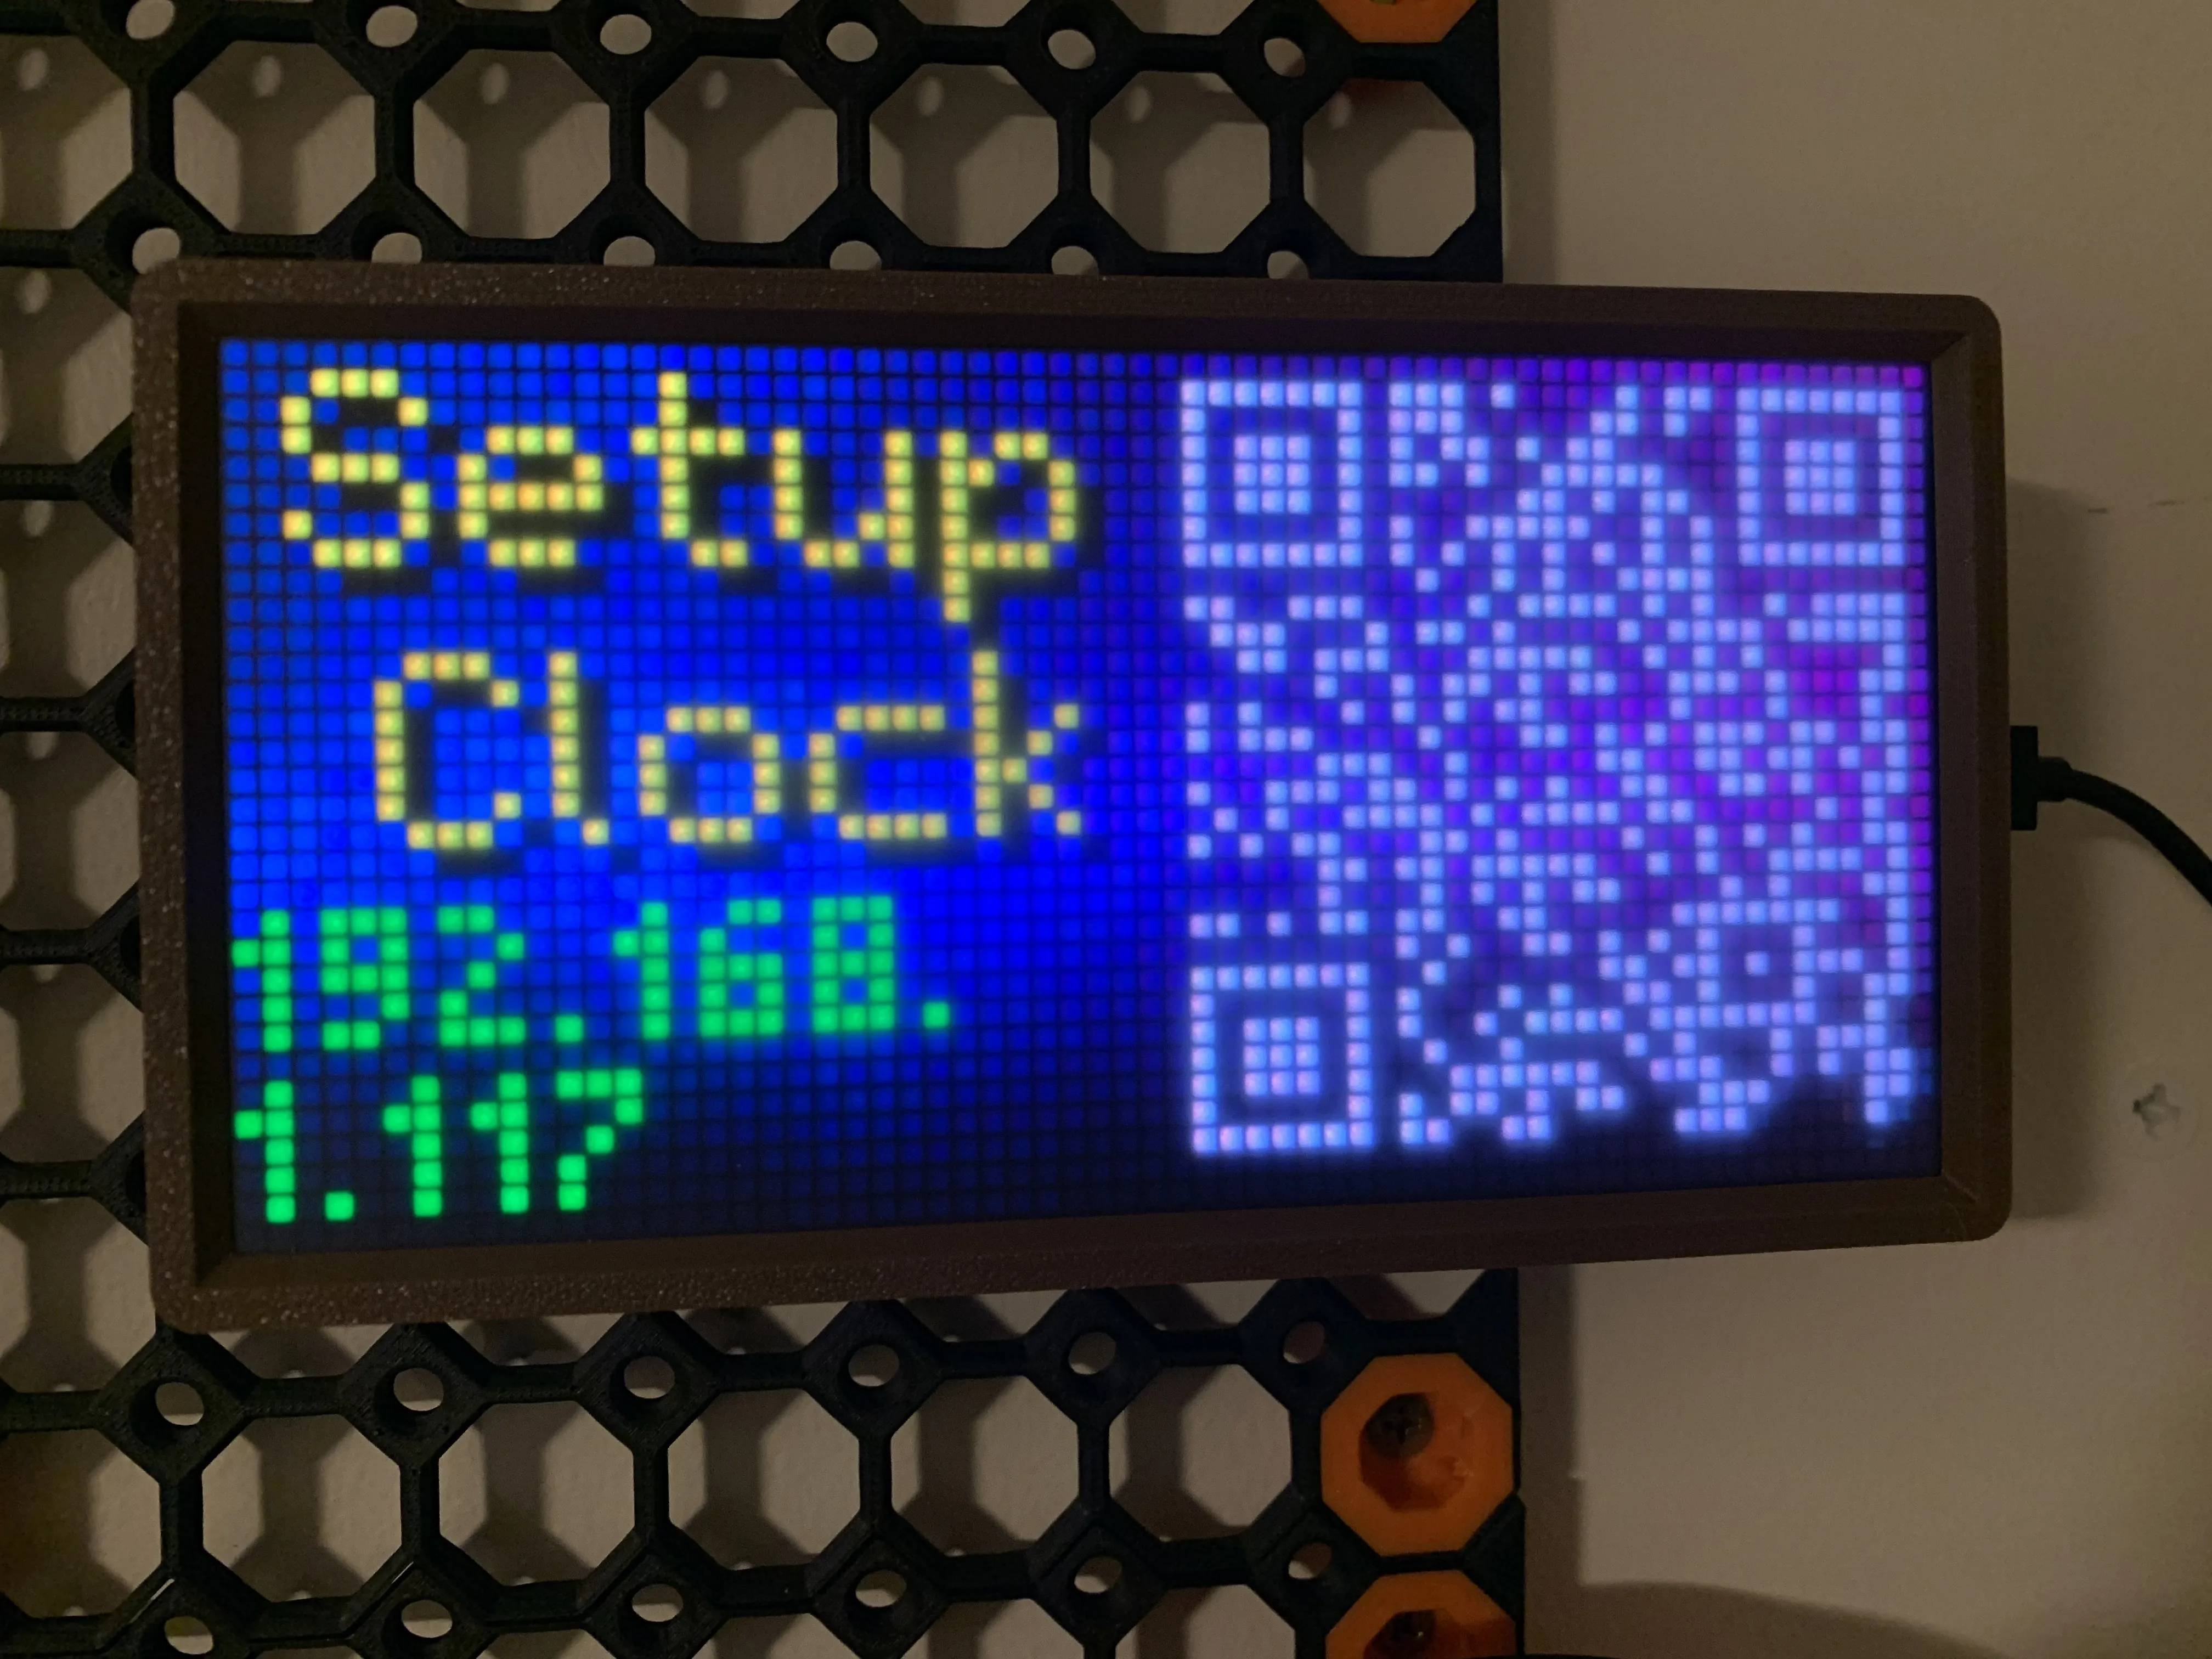
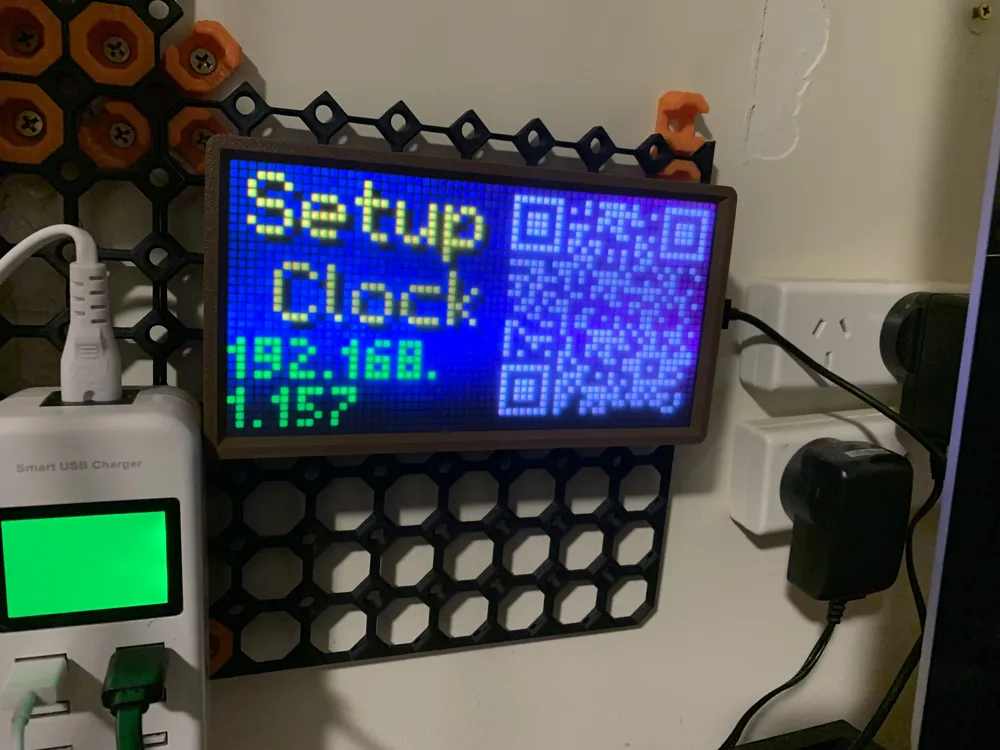
- Now, Page 6 will show a different QR code
- Scan the QR code to open a web browser or navigate to the IP address on the screen
- In my example it is: 192.168.1.117
- Yours will be different
Use the settings webpage to customise the clock to your hearts content!!

License

You shall not share, sub-license, sell, rent, host, transfer, or distribute in any way the digital or 3D printed versions of this object, nor any other derivative work of this object in its digital or physical format (including - but not limited to - remixes of this object, and hosting on other digital platforms). The objects may not be used without permission in any way whatsoever in which you charge money, or collect fees.


Comment & Rating (81)