Avosdim to Profalux 56


Print Profile(1)

Description
🌟 Introduction to My First Creation
I'm thrilled to share my very first 3D model on Bambulab! This project stemmed from a need to replace my aging RF Profalux motors with affordable Avosdim options. However, I faced a dilemma: Avosdim doesn’t offer Profalux 56 adapters. Inspired to solve this problem, I designed a custom solution from scratch!
🔧 Model Features
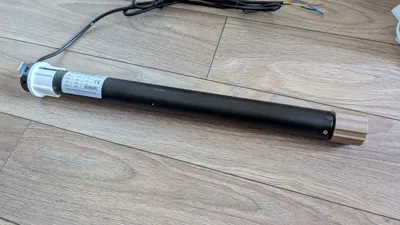
This unique model consists of two parts:
- Guide: This component assists the motor in determining its position. It's lightweight and can be printed using standard PLA, ensuring simplicity and accessibility.
- Adapter: This robust section connects the motor securely to the Profalux 56 tube. Depending on your window size, you may want to opt for the recommended PA6-GF variant, which I've personally tested for added durability.
To ensure strength, especially since the motor will apply some force, I chose a Gyroid infill at 60% for both parts. This provides excellent structural integrity.
🛠 Easy Assembly
Putting the pieces together is straightforward: attach the guide to the motor, followed by the adapter. Note that the adapter is slightly longer than the stock Avosdim version, so you might need a small screwdriver to secure the adapter holder in place.
📏 Precision Fit
Designed with under-millimeter precision, the components may require a bit of force to fit perfectly. If you experience any warping—especially with the PA6-GF material—make sure to reprint that part for optimal performance. When printing with PA6, I've added a brim of 15mm for the adapter to help prevent any issues (it is included in the print profile).
🖨 Printing Experience
All my prints were done on a P1S with a textured PEI plate. This setup provided excellent adhesion and print quality, ensuring all features came out as intended.
✨ Conclusion
I hope this model helps fellow DIY enthusiasts and those looking to change their motors without breaking the bank. Dive into this project, and let's keep innovating together in the maker community!
Comment & Rating (3)