
Illuminated Minecraft Stronghold Diorama
Print Profile(1)

Bill of Materials








Description
Boost Me (for free)
If this model helped you, please support my work by giving me a boost. Thank you!
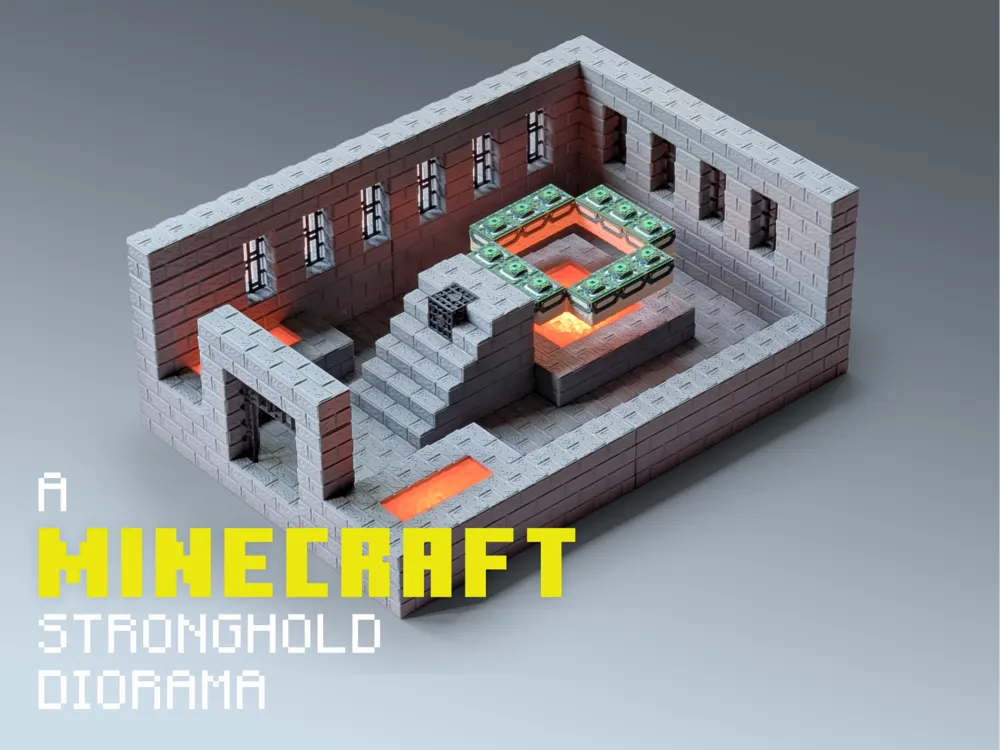
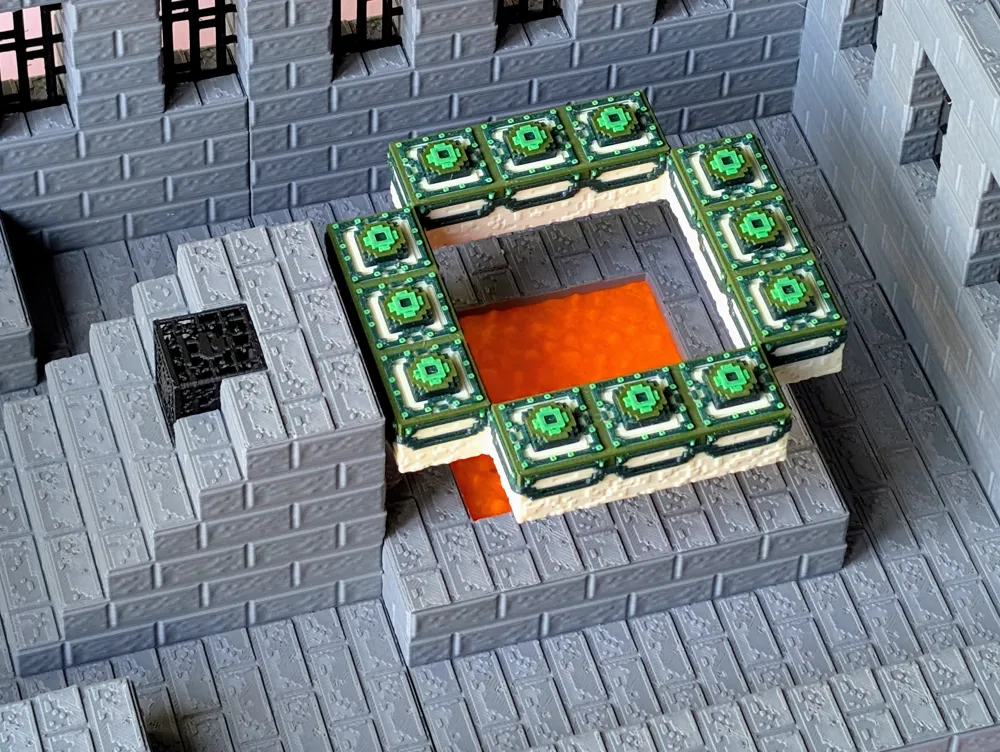
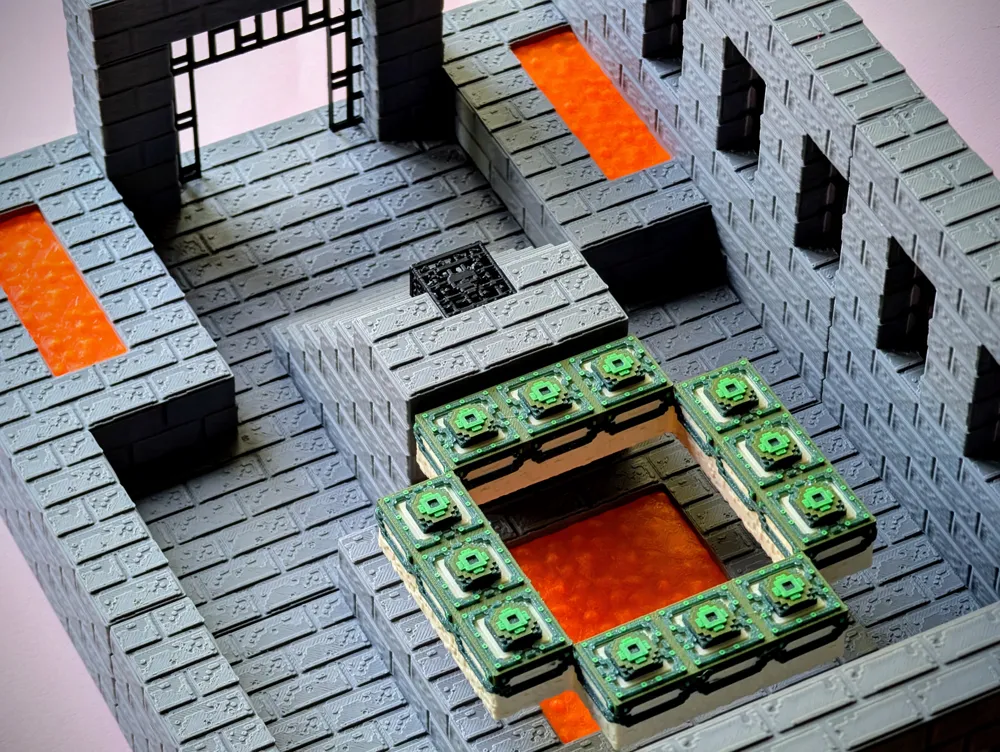
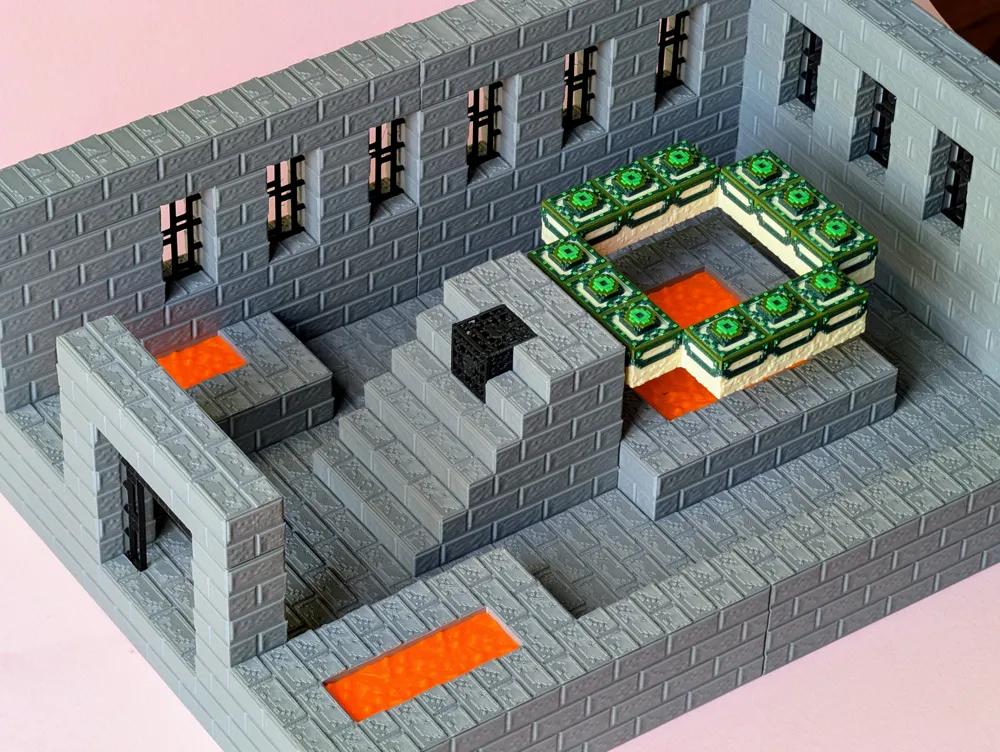
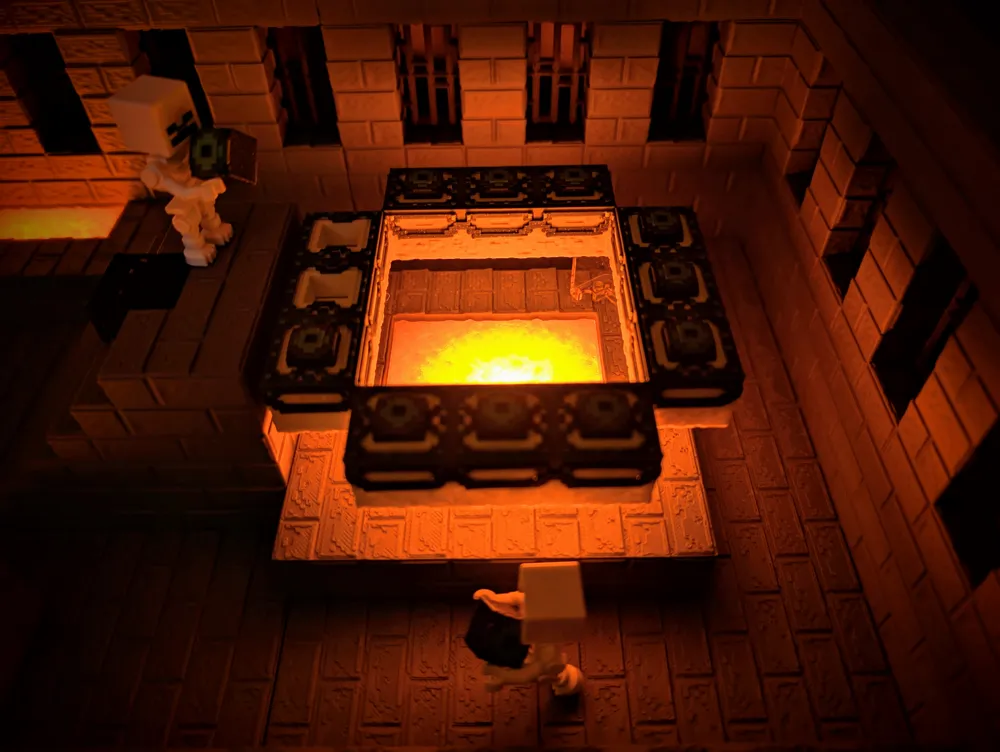
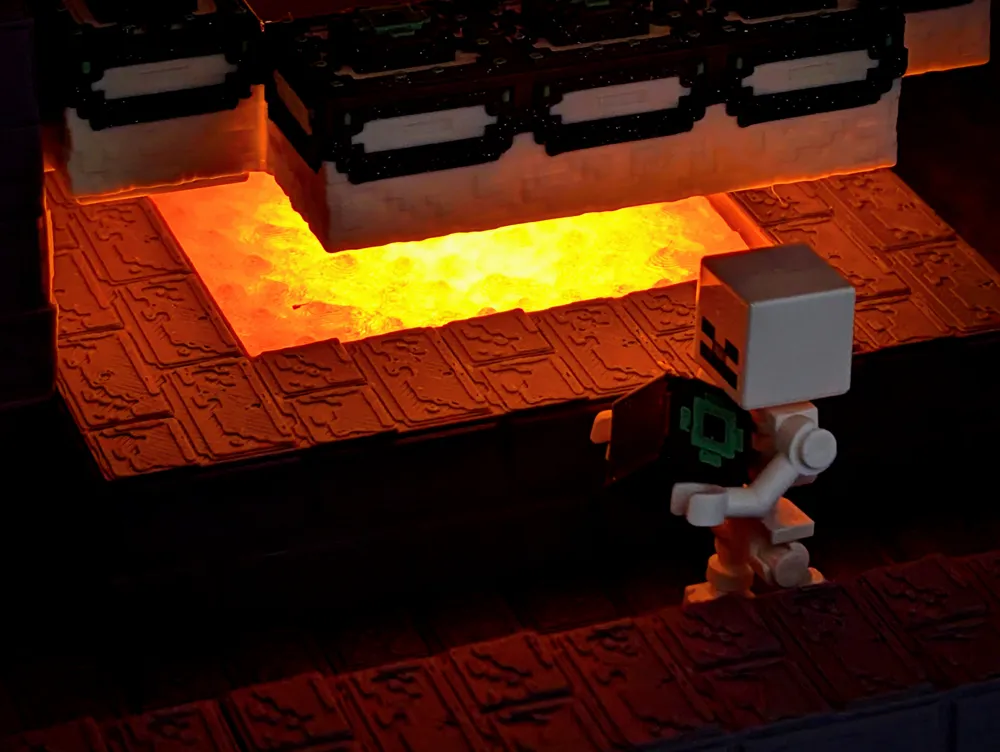
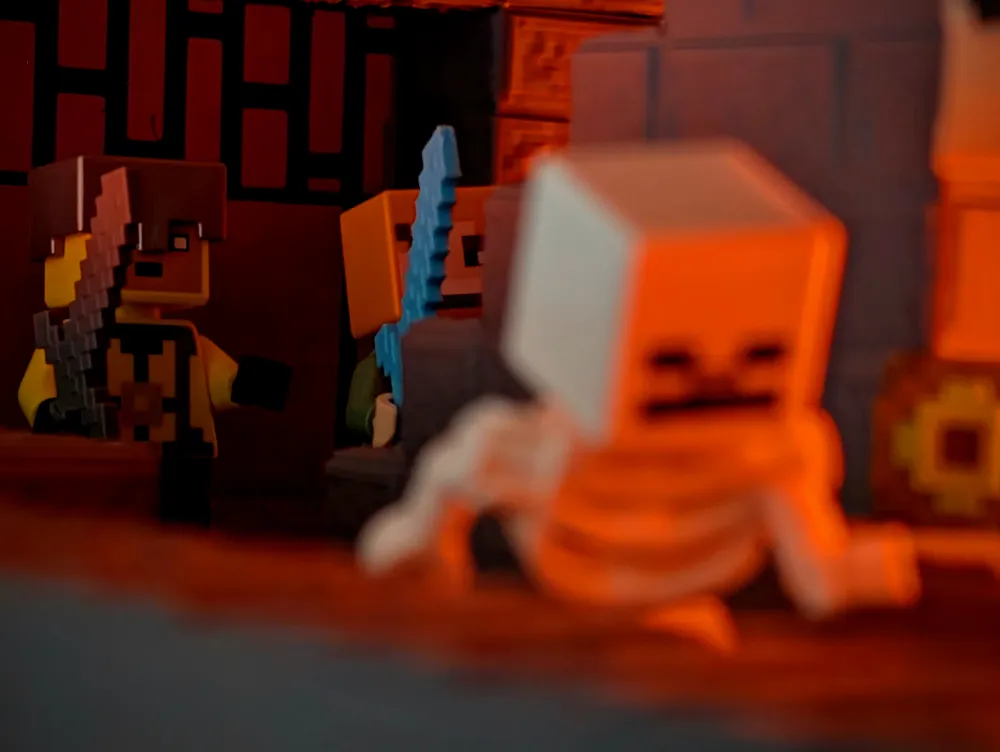
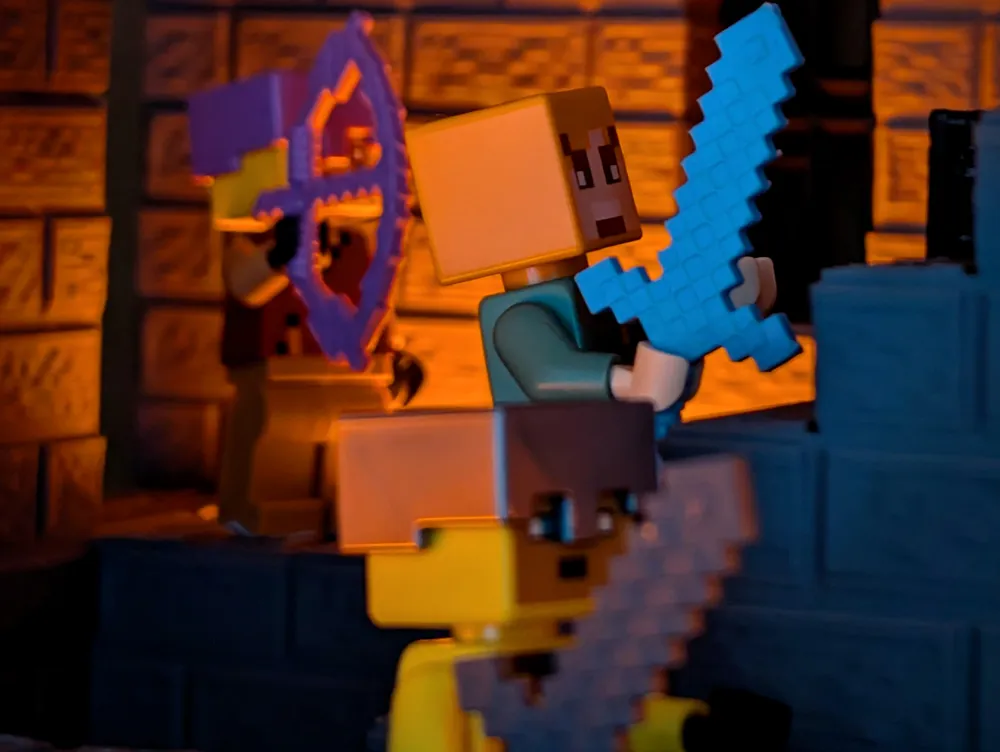
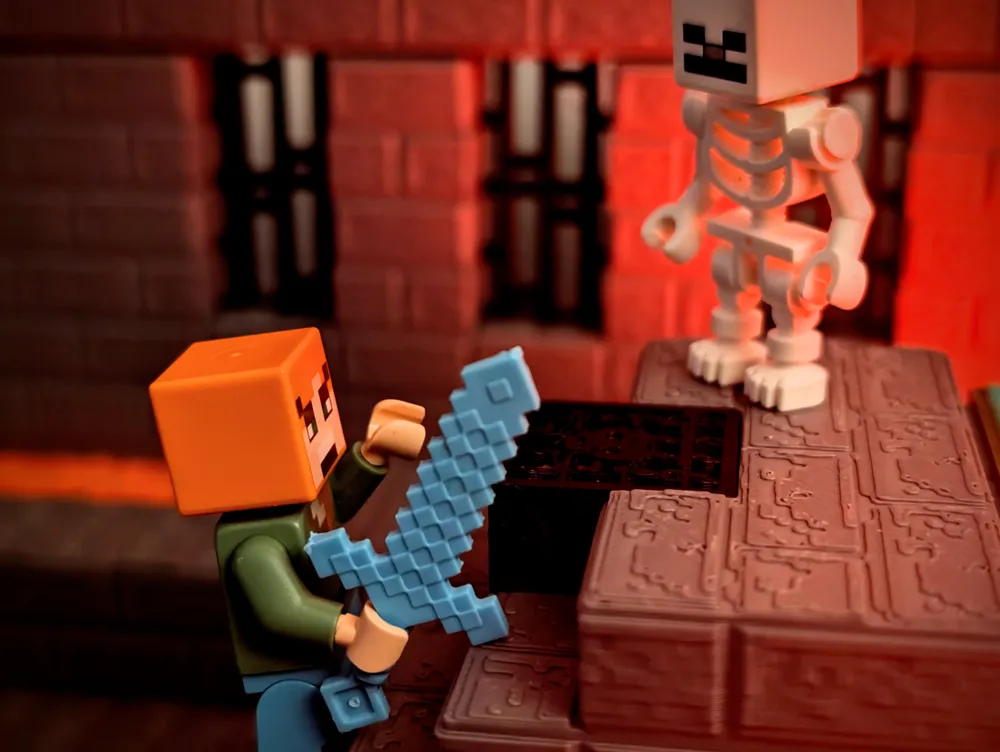
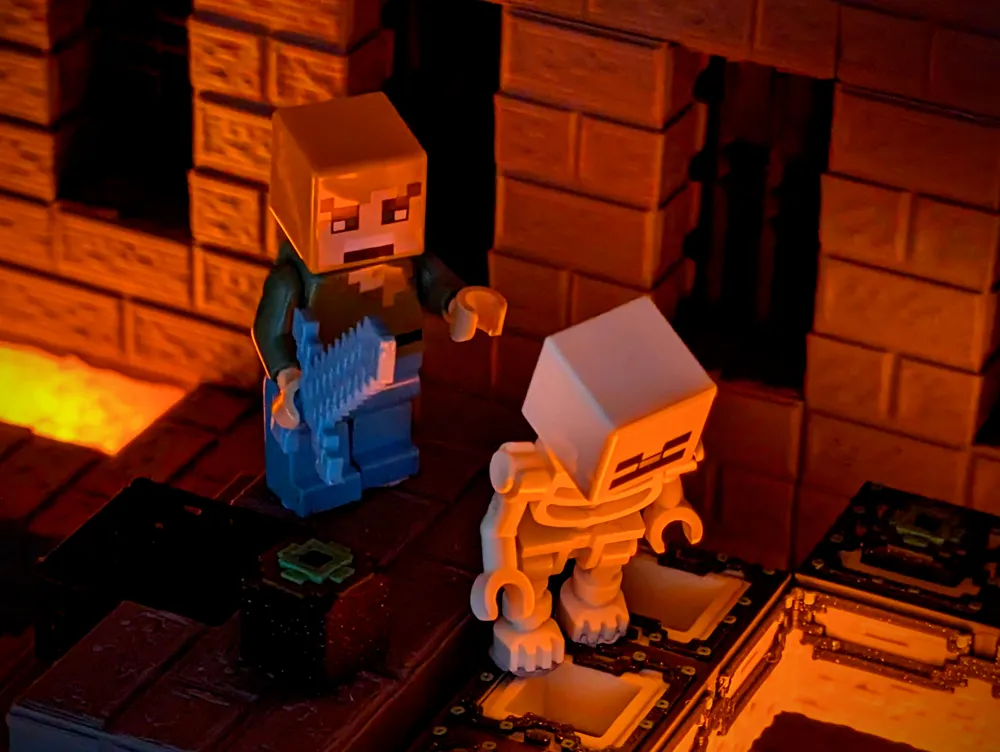
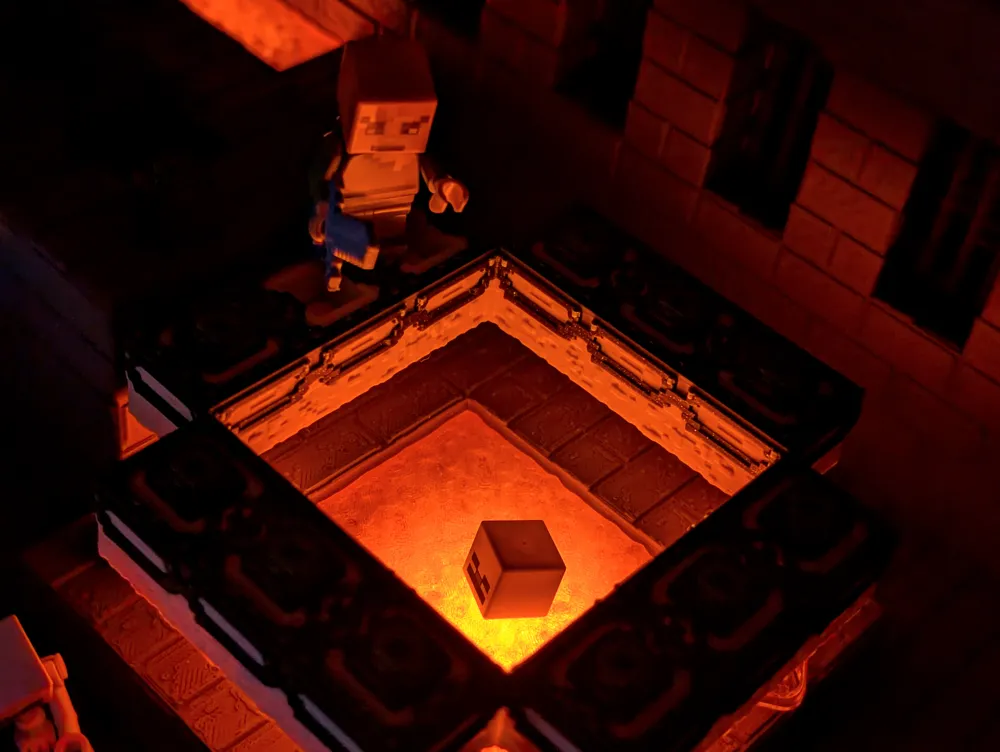
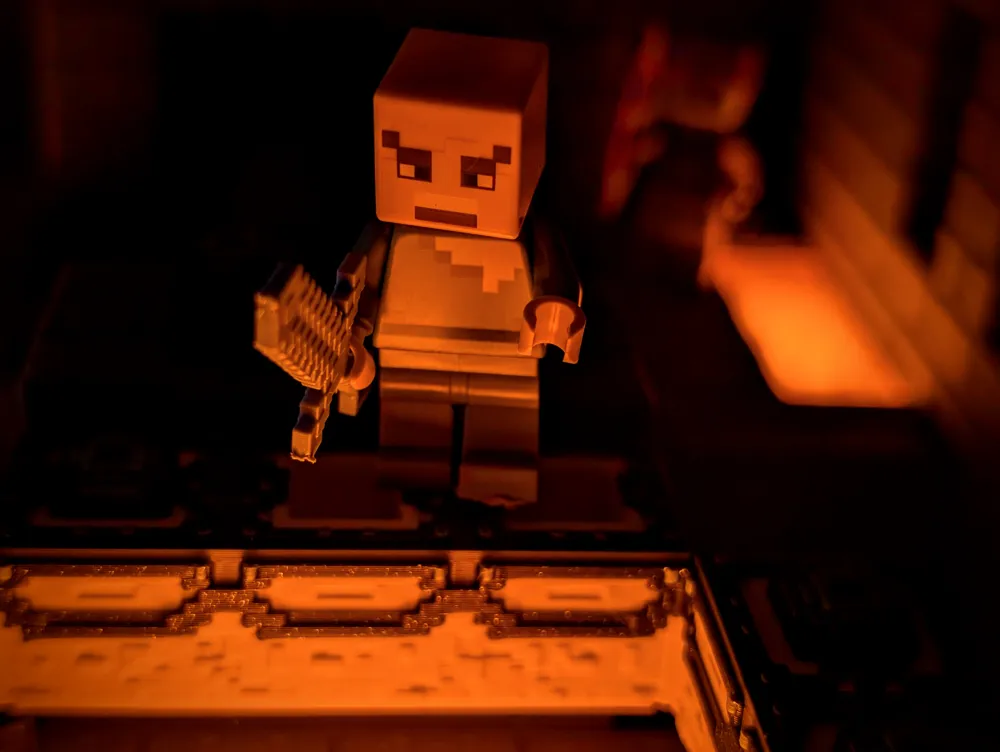
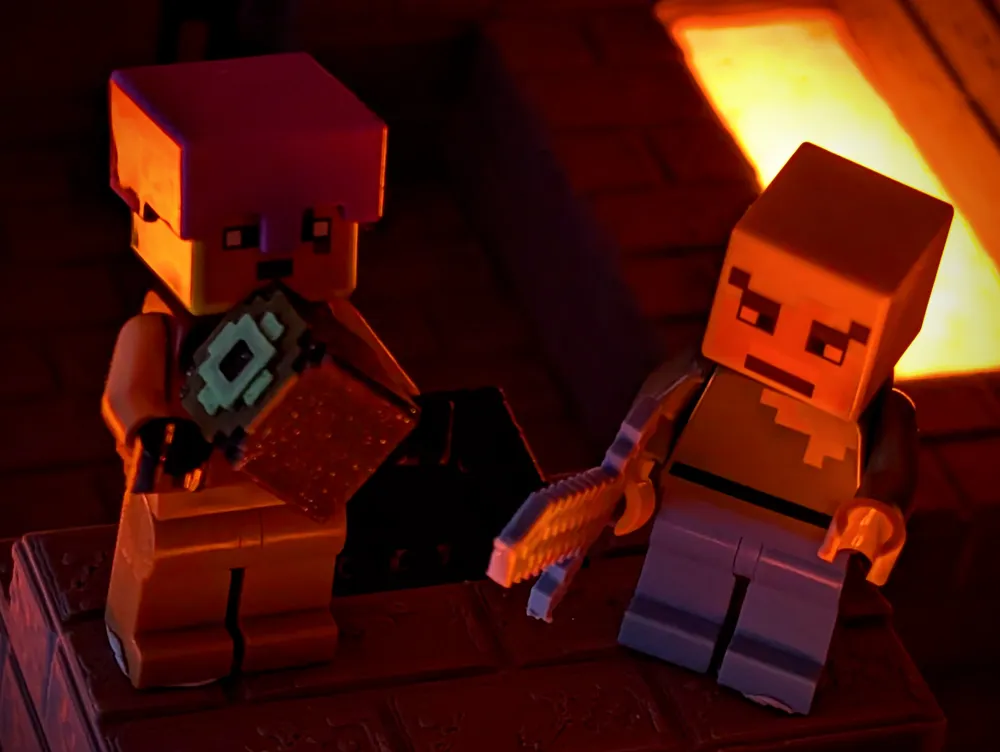
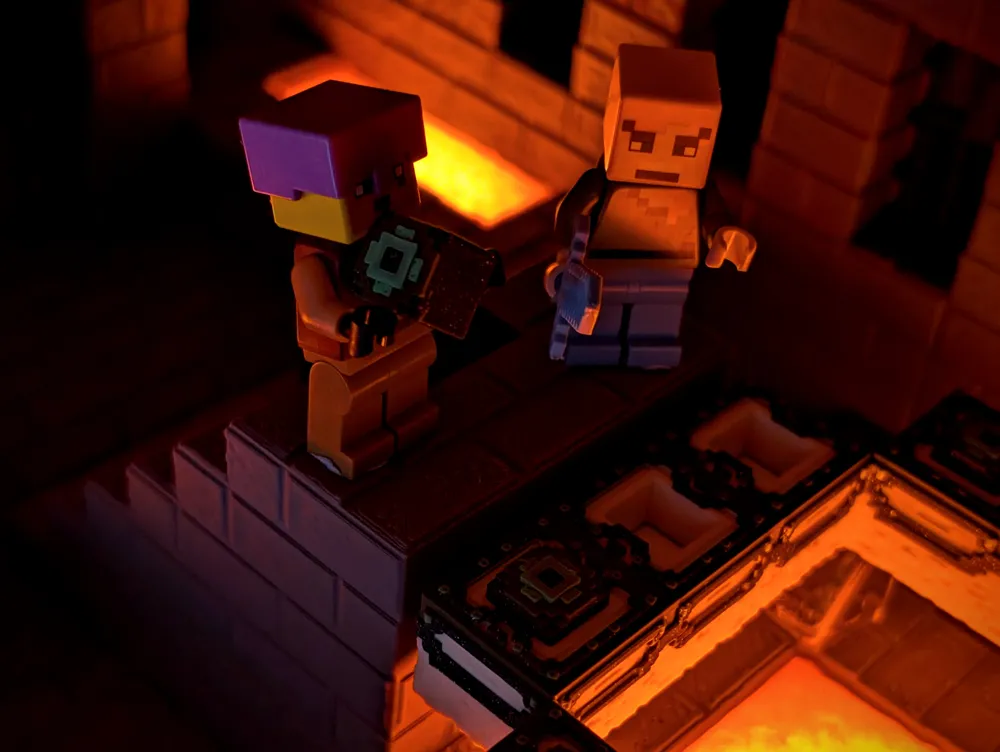
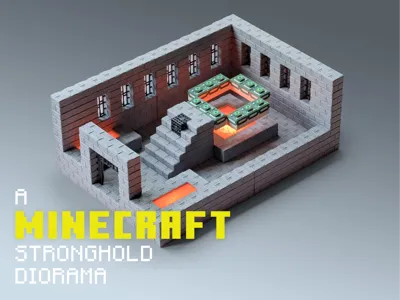
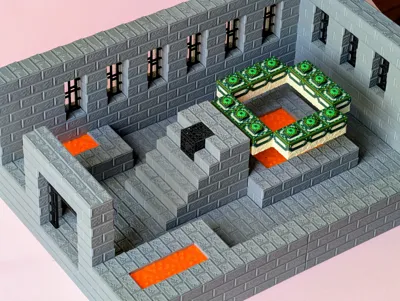
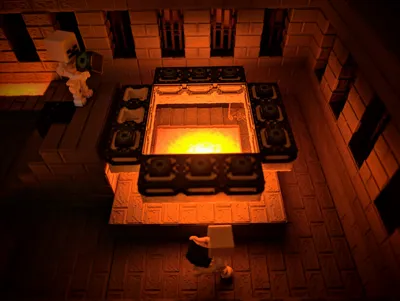
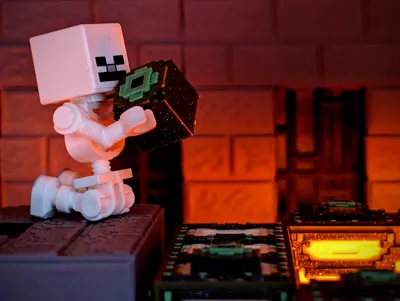
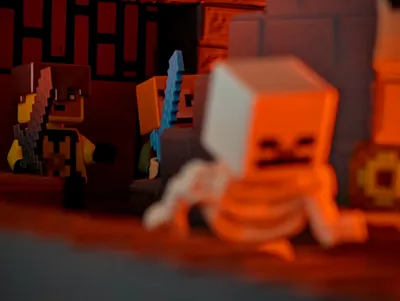
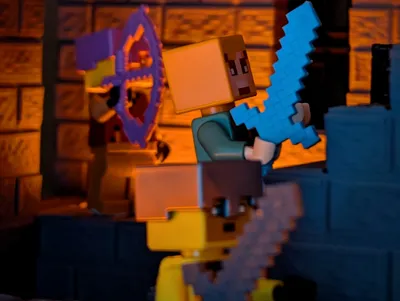
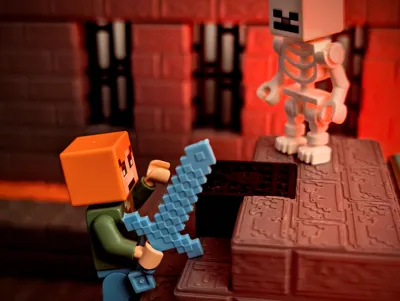
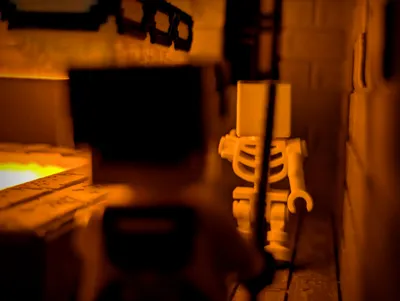
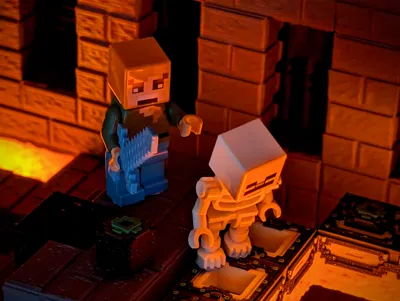
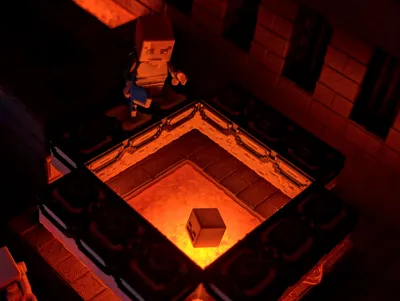
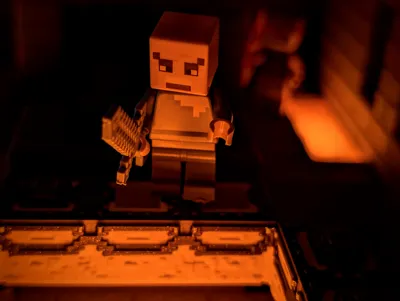
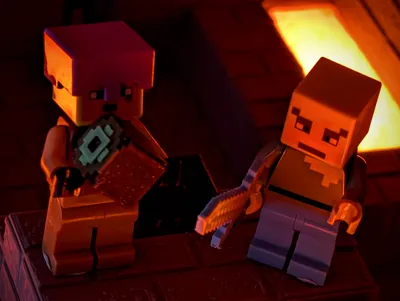
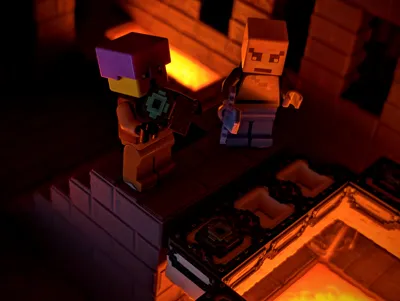
Minecraft Stronghold Portal Room Diorama
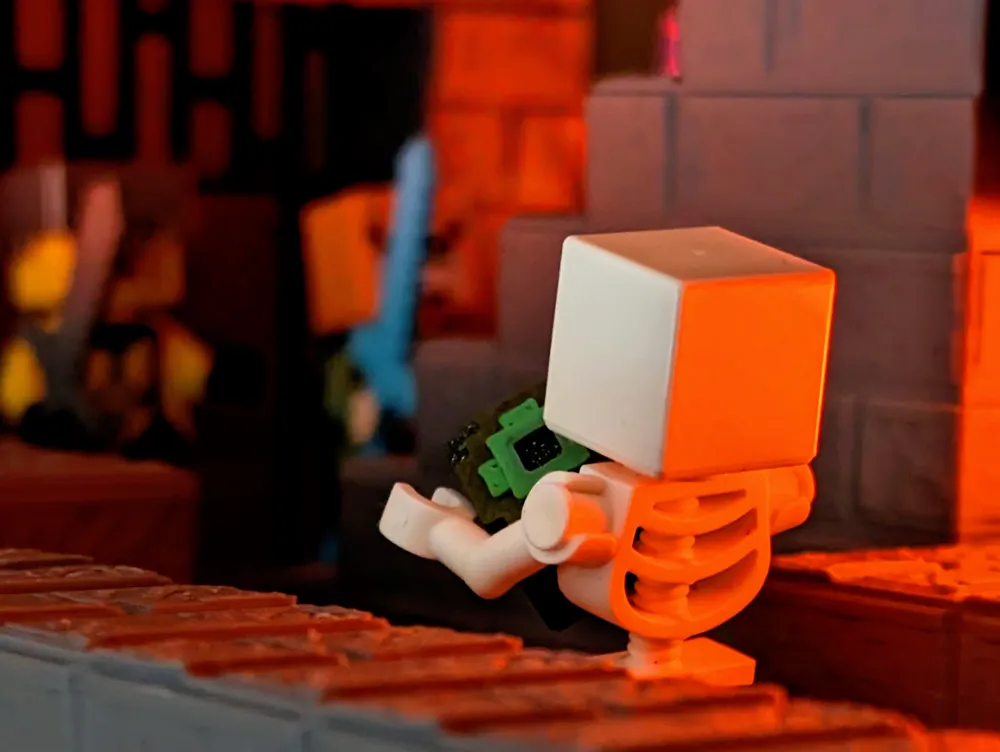
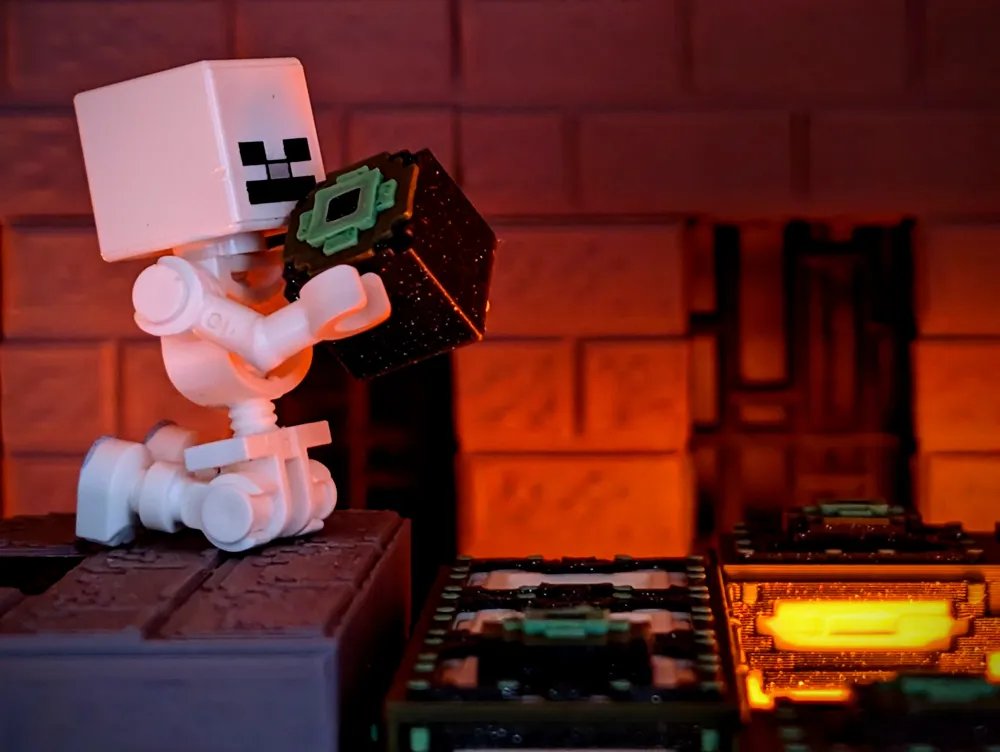
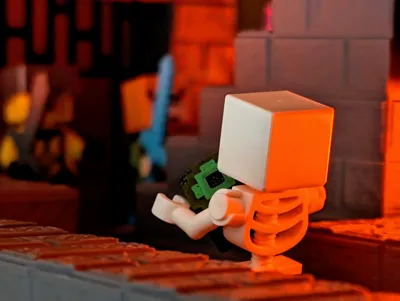
A detailed Minecraft Stronghold Portal Room! A tribute to the countless adventures My son and I have enjoyed playing Minecraft over the years. I’ve always wanted to recreate elements of Minecraft in real life so here it is.
1. Designing the Diorama
- Software Used: 3ds Max
- Technique: To achieve authentic Minecraft textures, I applied displacement modifiers to texture maps sourced from the game in an attempt capture the nuance of the original Minecraft textures. I used a scale consistent with those little figurines so the blocks work out to 21mm³ so in order to fit in a standard printer it needed to be split up. The resulting scene is quite substantial.
2. Preparing for 3D Printing
- Printer Model: Bambu Lab P1S
- Material: PLA (Combination of Translucent, Matte, and Basic)
- Slicer Settings:
- Layer Height: 0.20mm
- Infill: 10%
- Internal Walls: 2
3. Assembly Guide
The portal room comprises multiple parts, carefully designed to ensure easy assembly:
Assembly Steps:
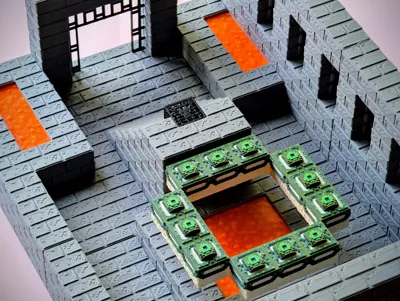
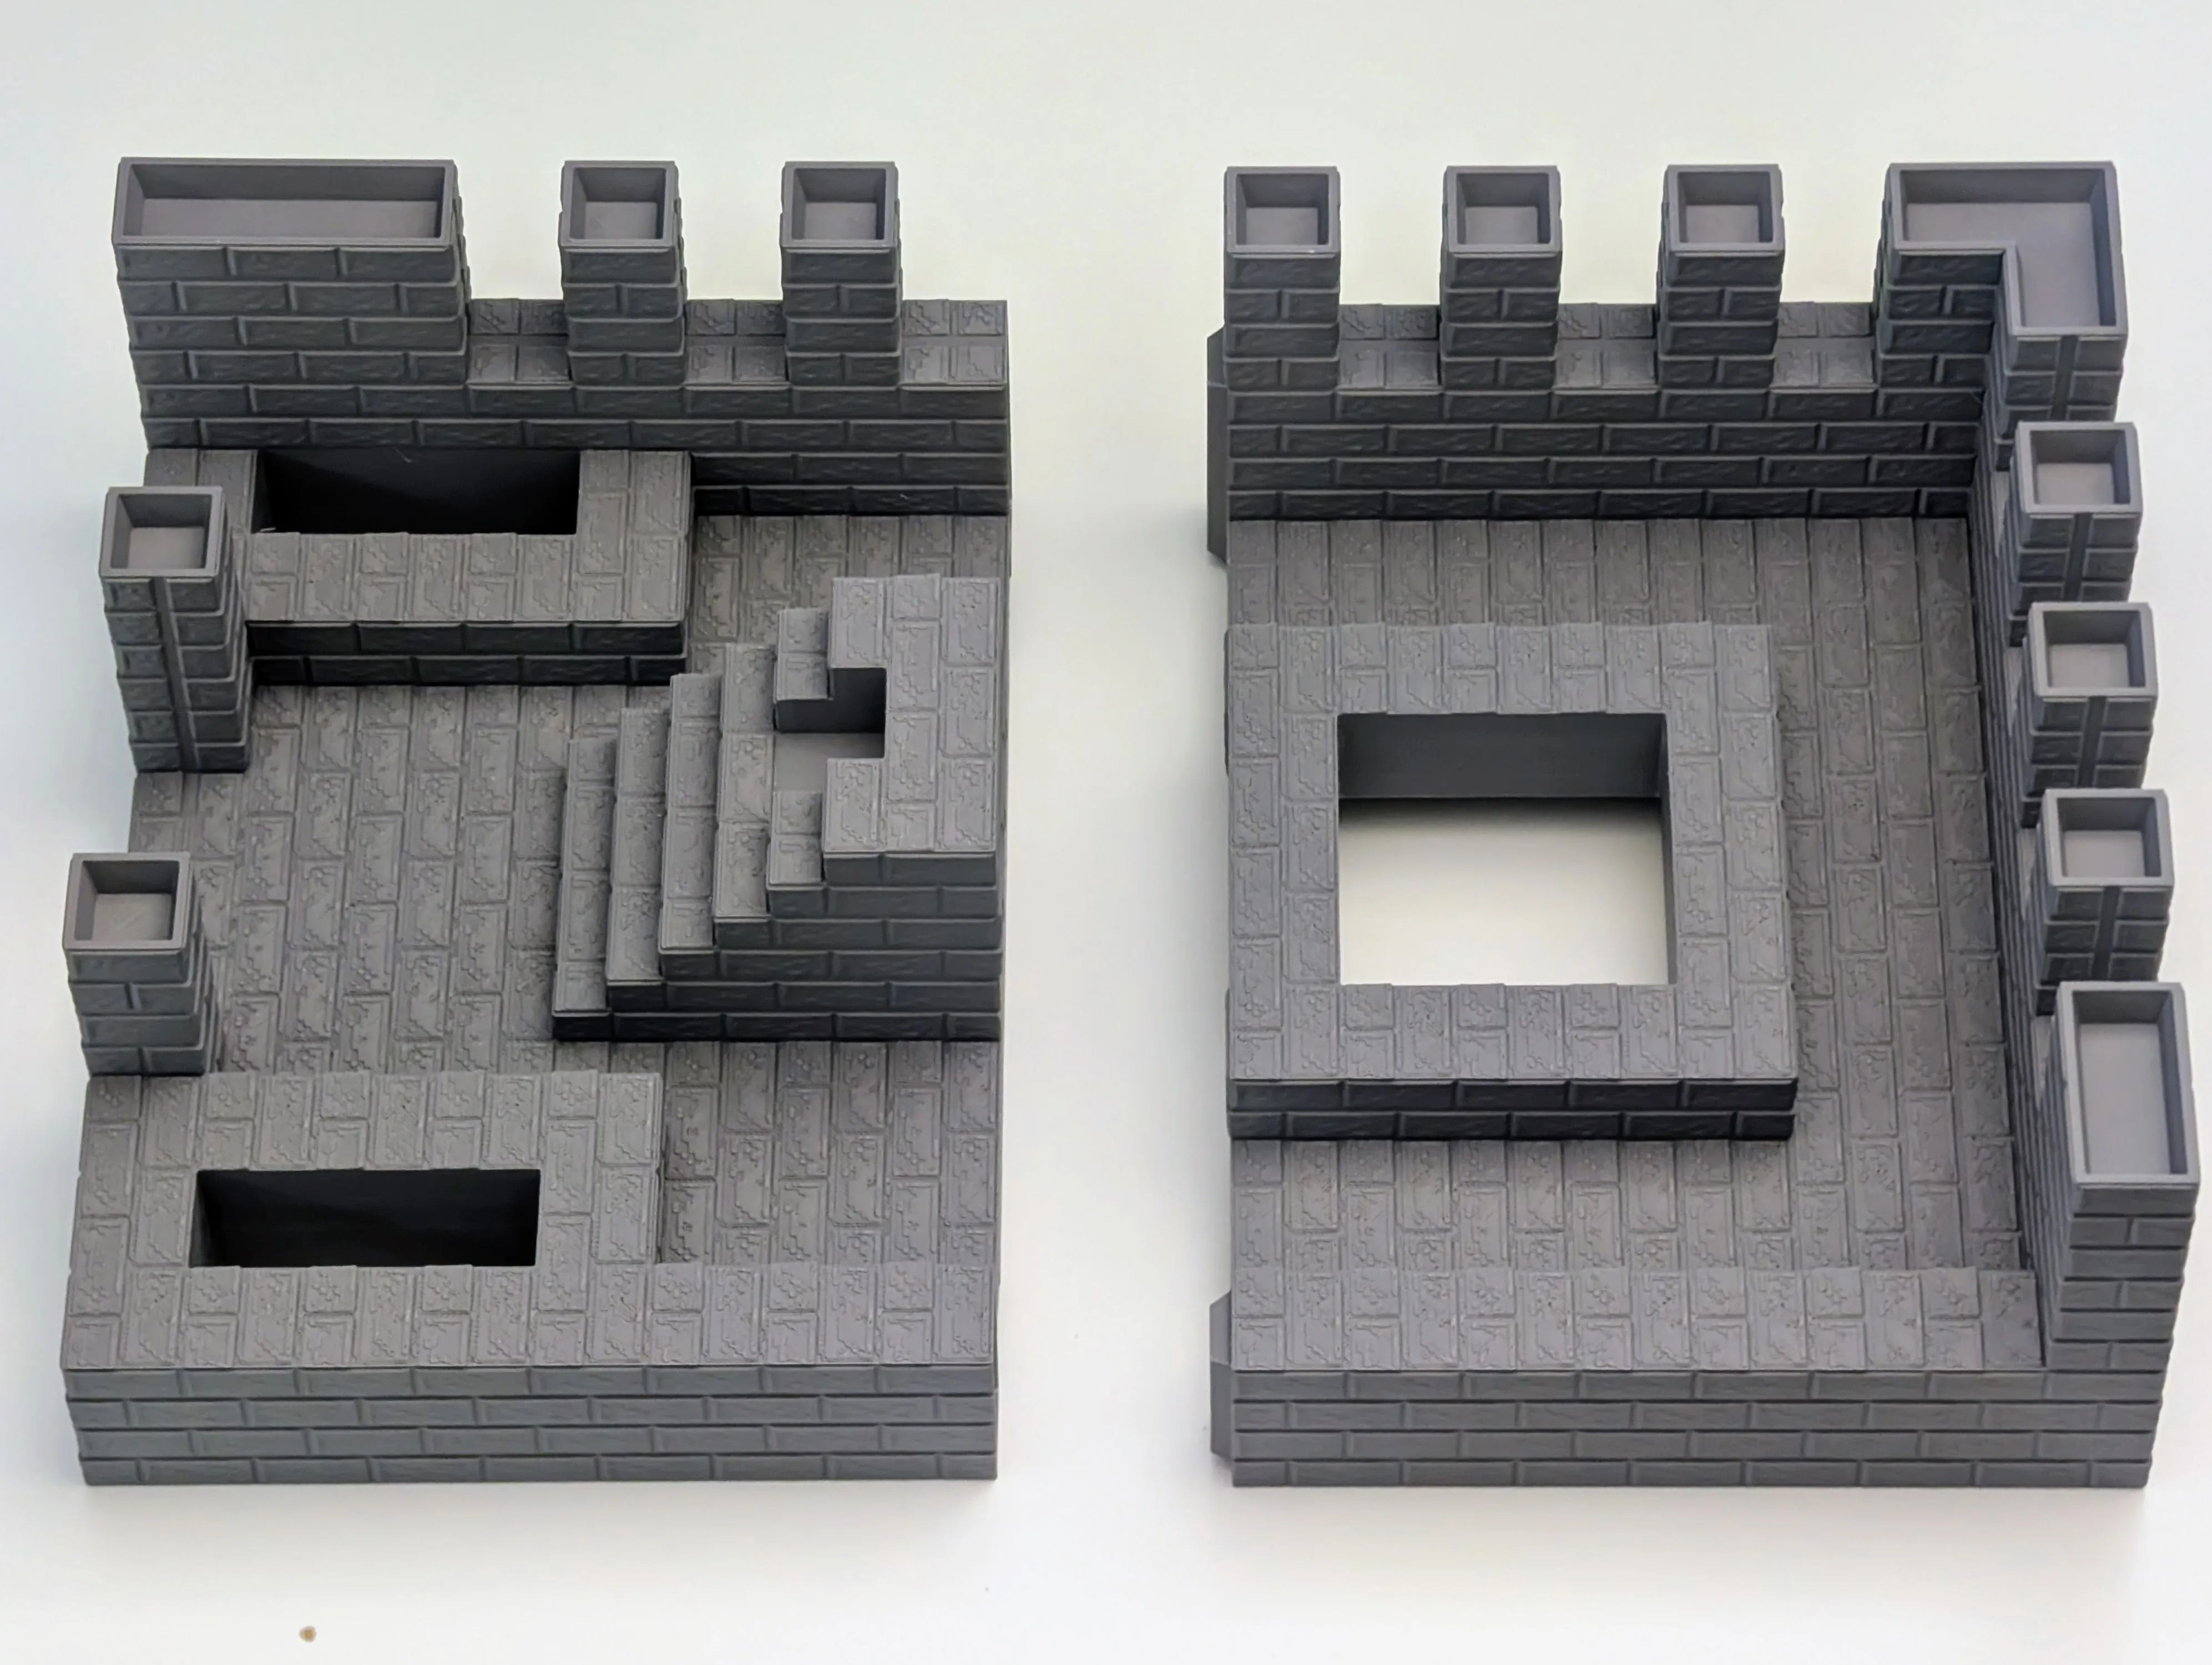
Base Assembly: Connect Stronghold Part 1 & 2 to form the base structure, use the LAVA assembly to secure them.
Iron Bars: Slide into place via the channels, (Give edges a light sanding if they resist) Bed adhesion can be an issue, give plate a good clean and print in batches to minimise issues.
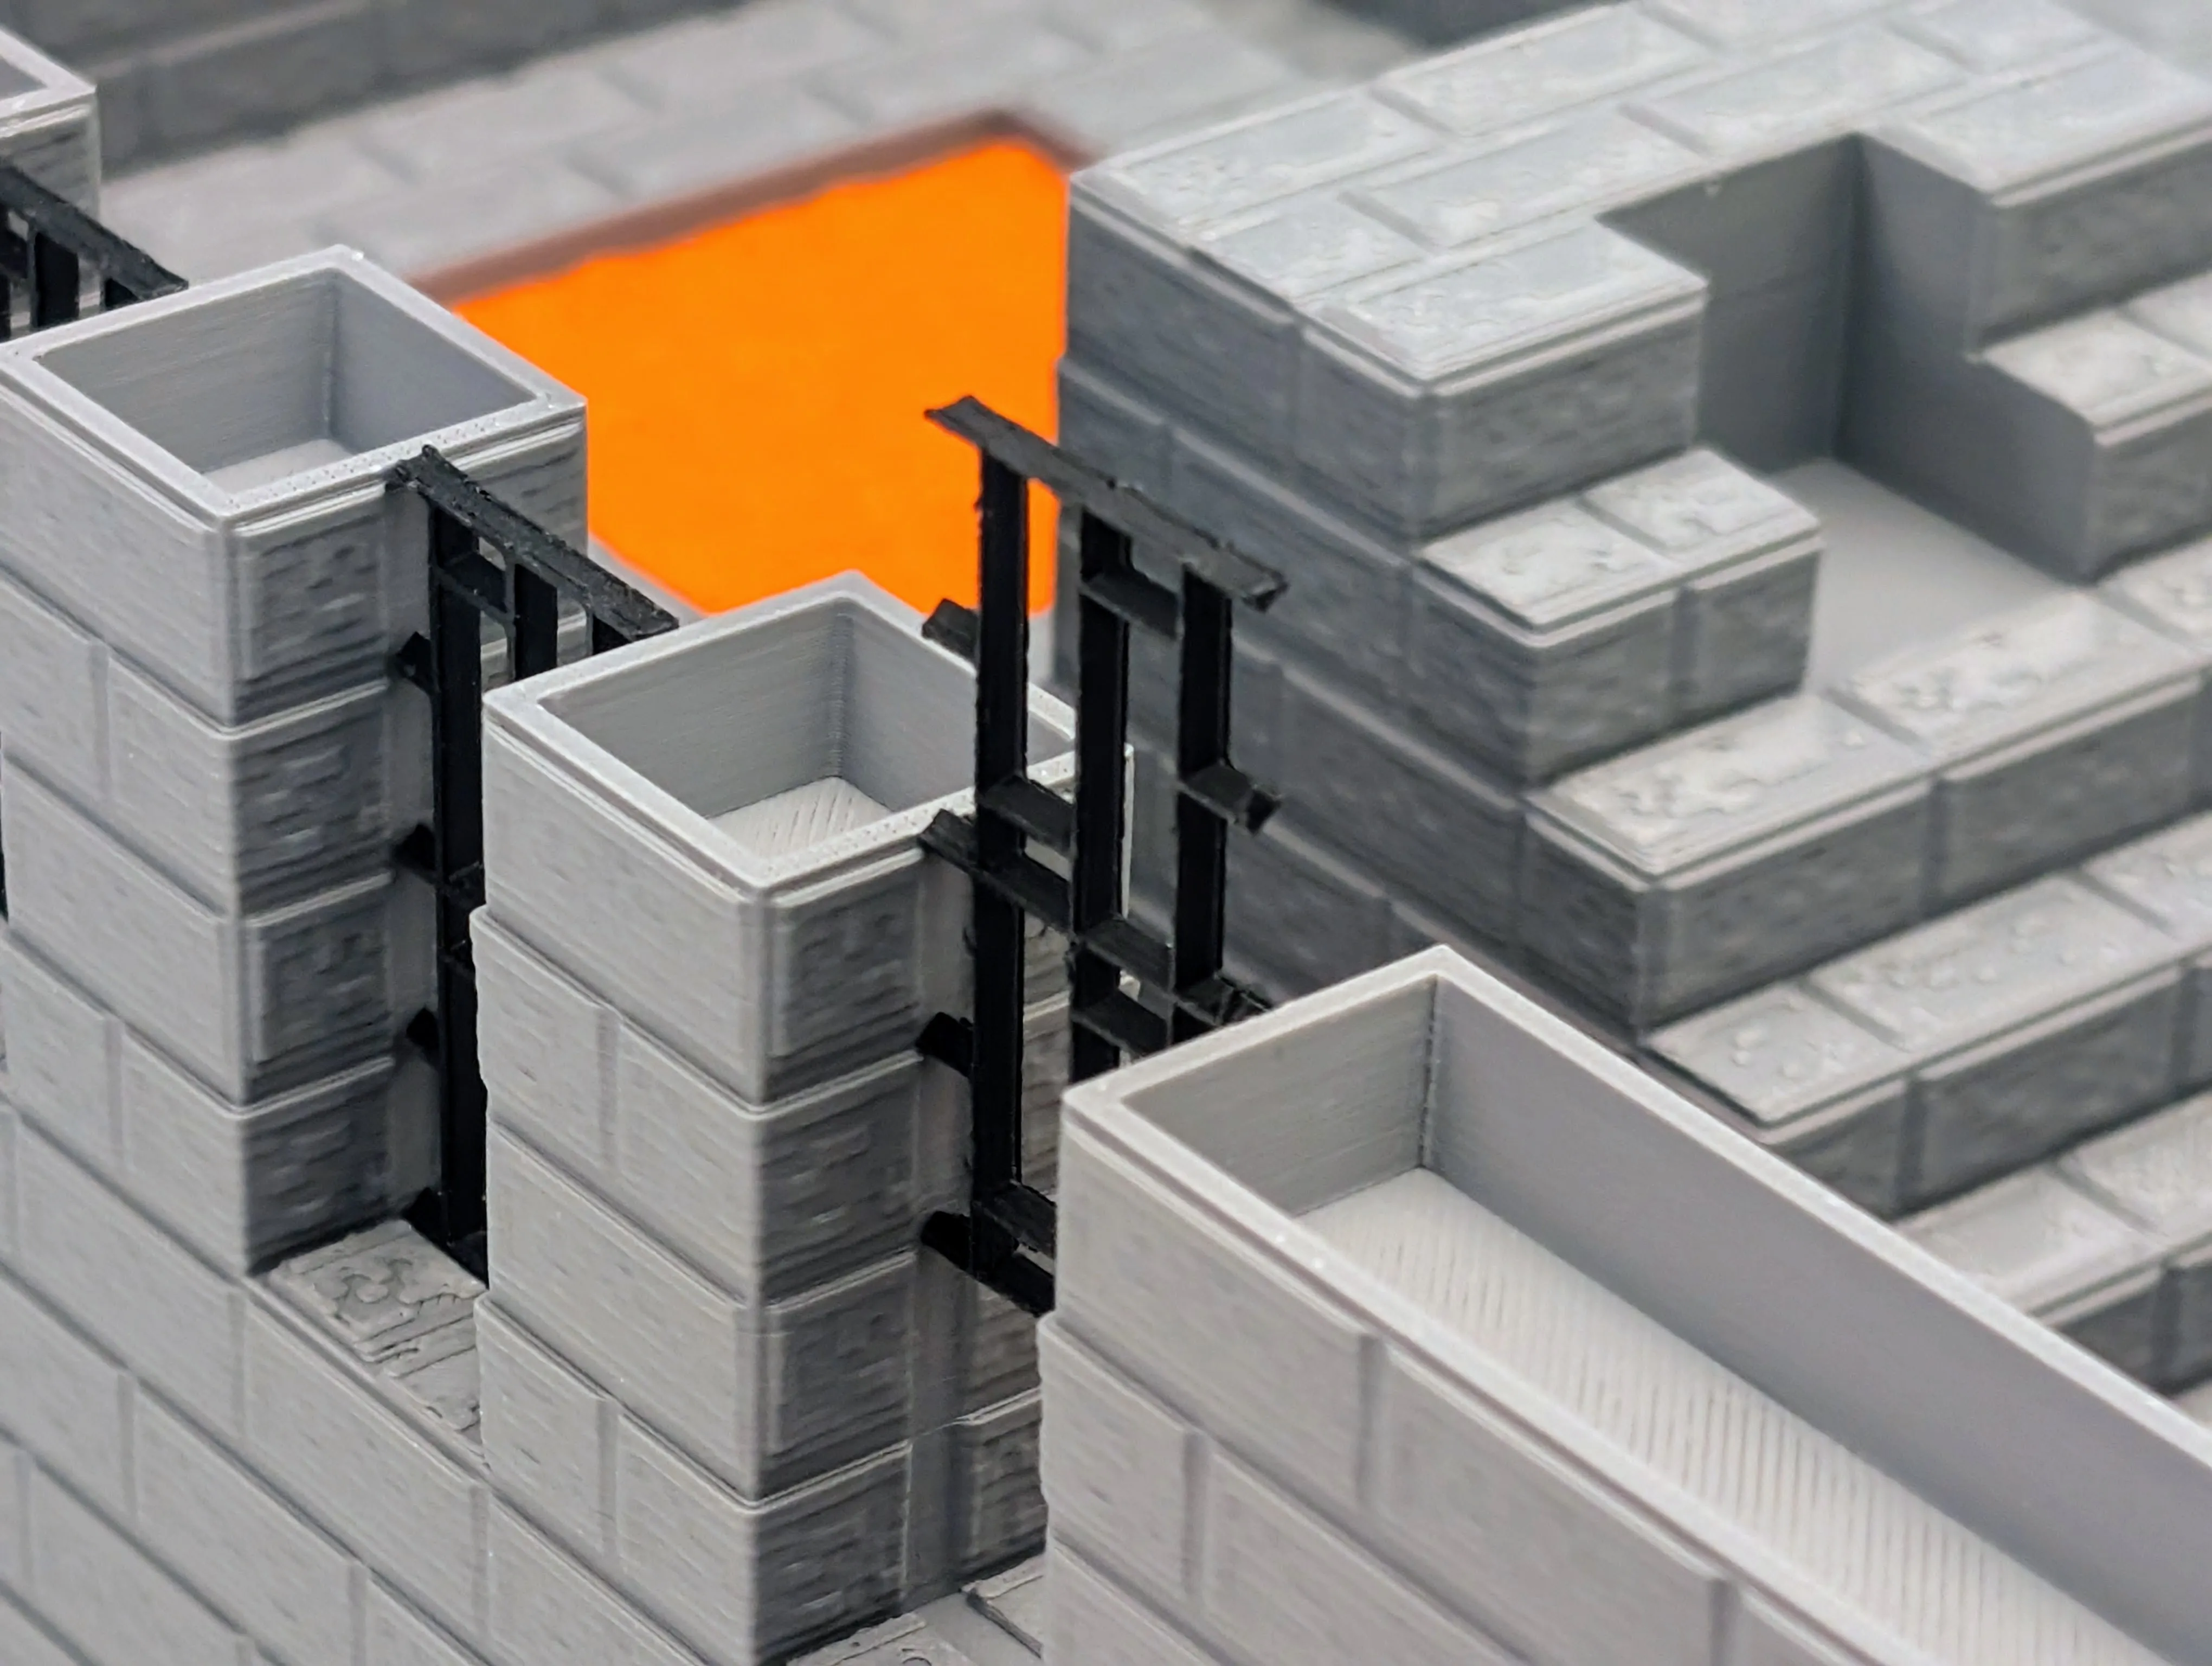
Lintels: Can be glued, insure IRON BARS are in place before hand.
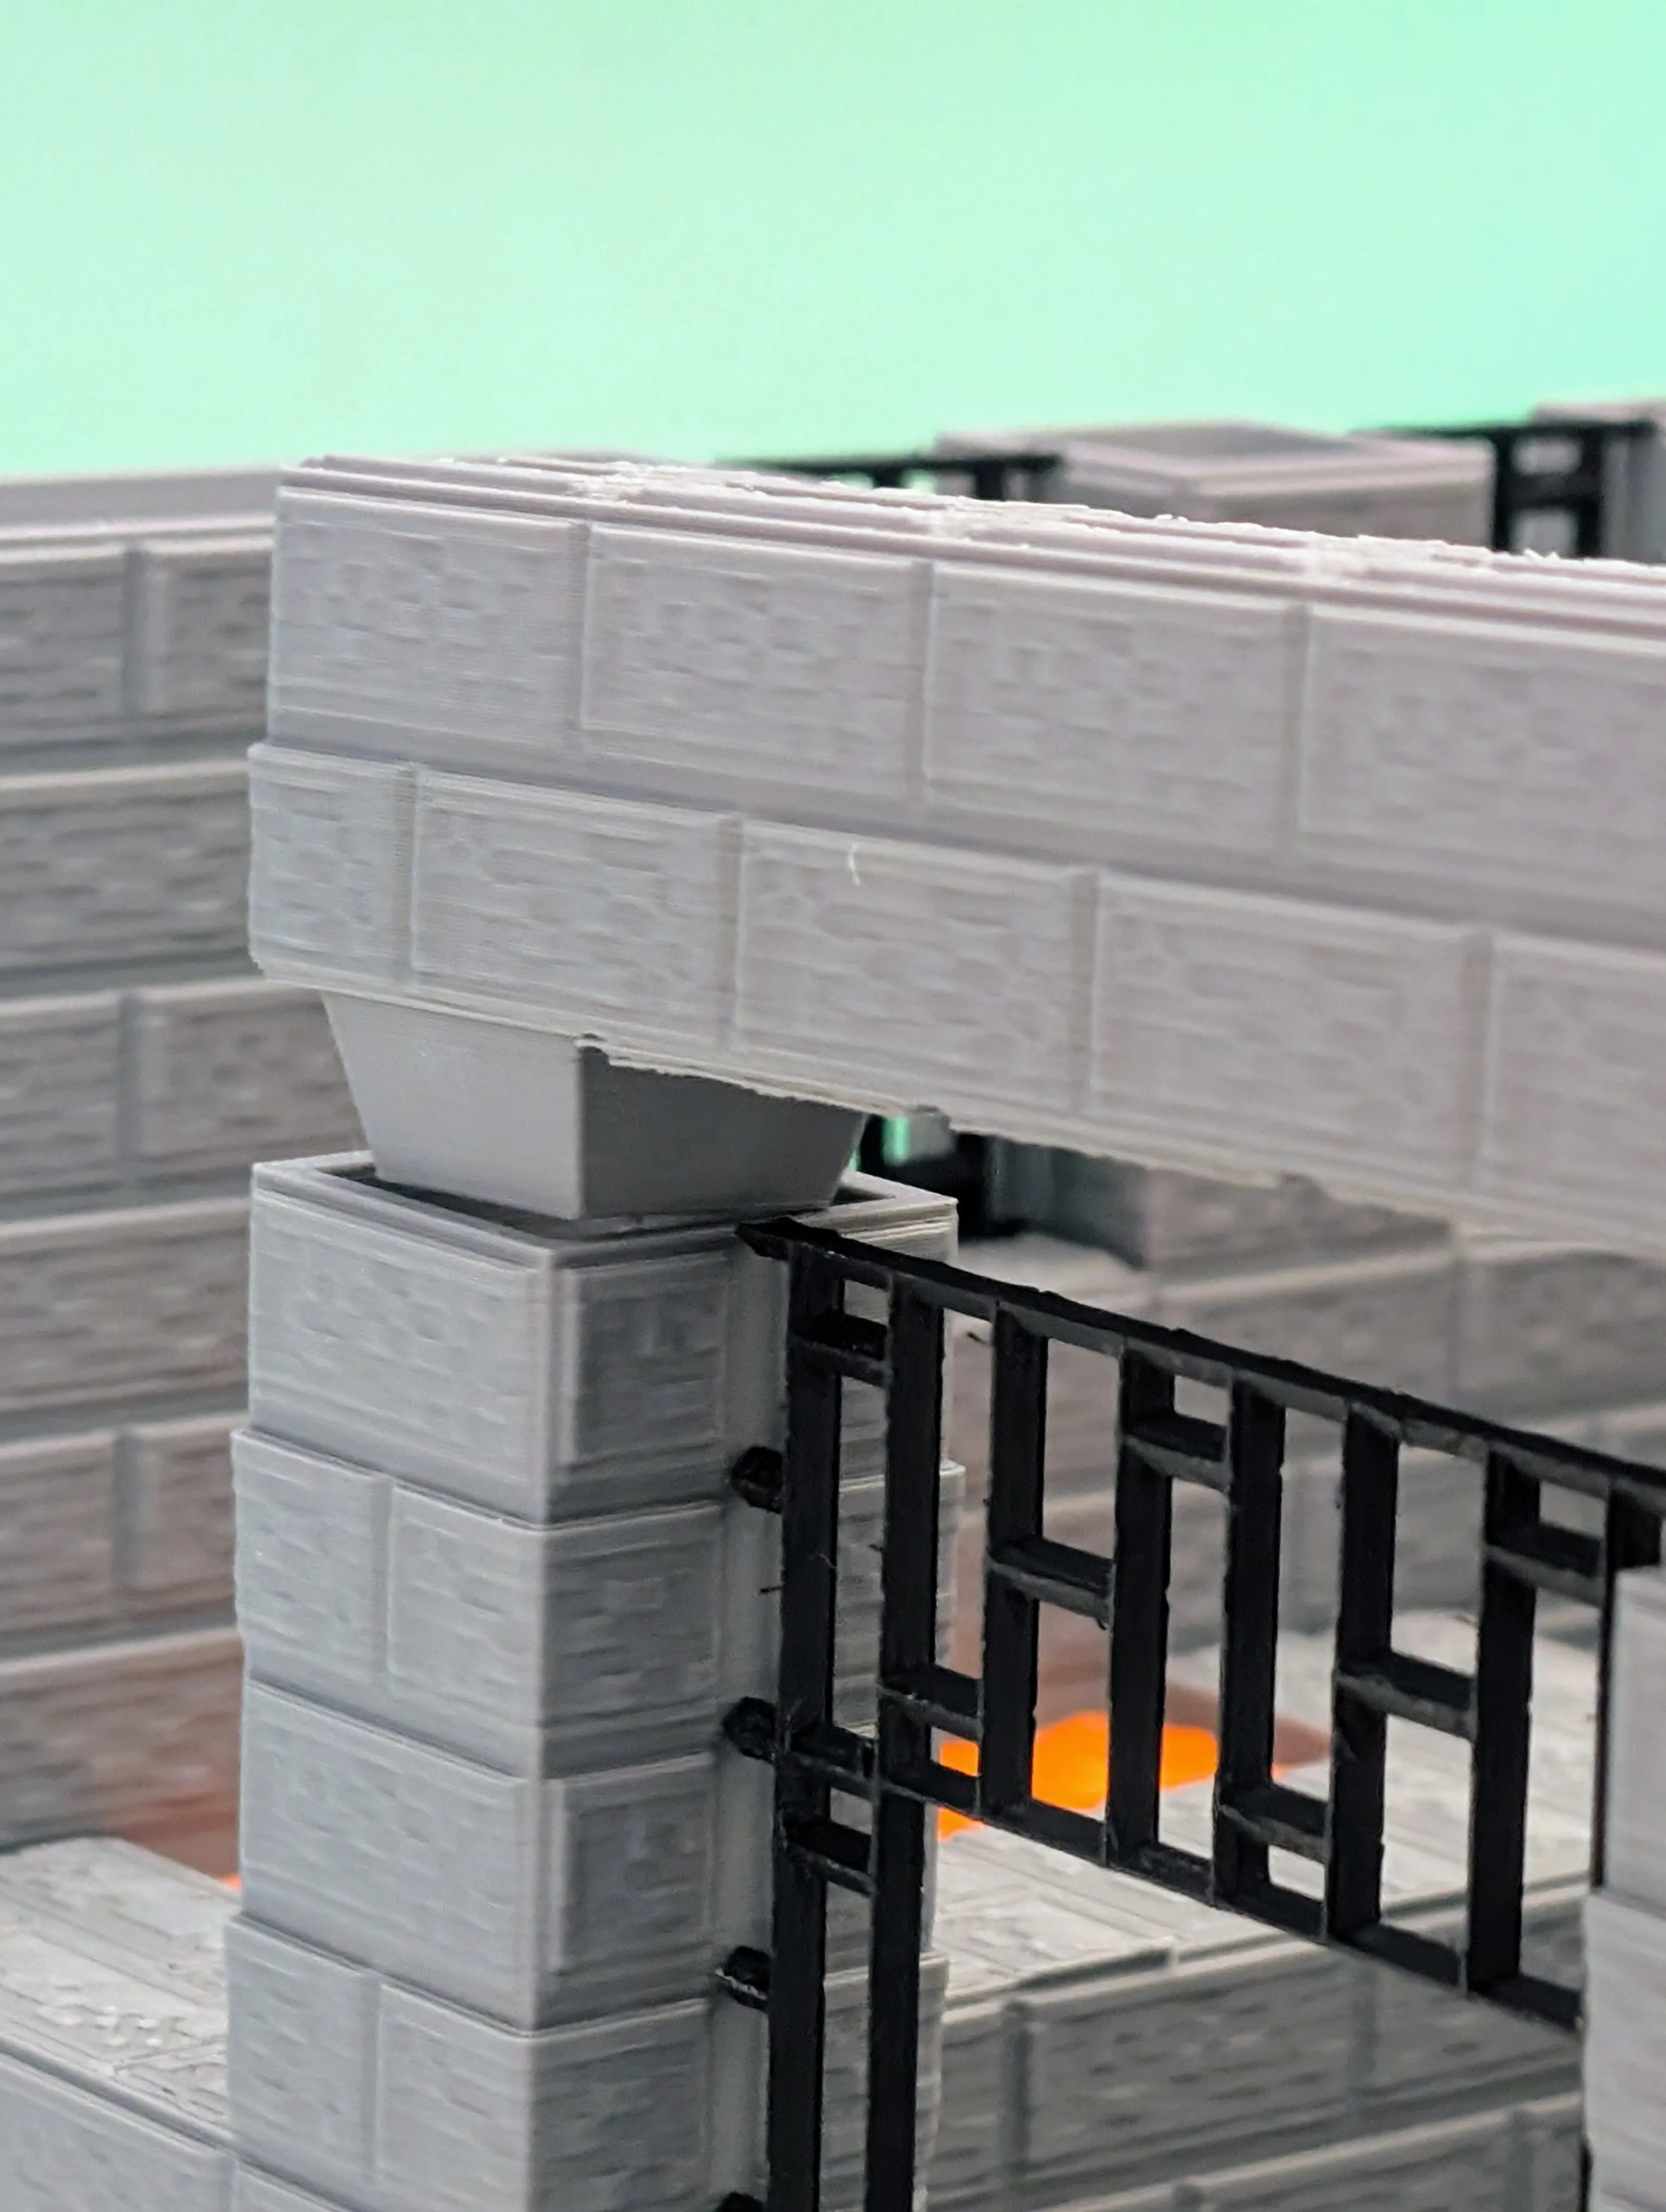
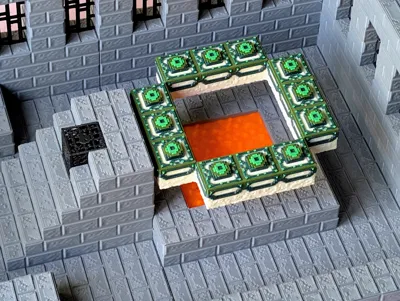
Portal Frame: Remove support material from the bottom of the End Portal Frame and attach the wedge shape backet and then simply insert in to the back of the steps.
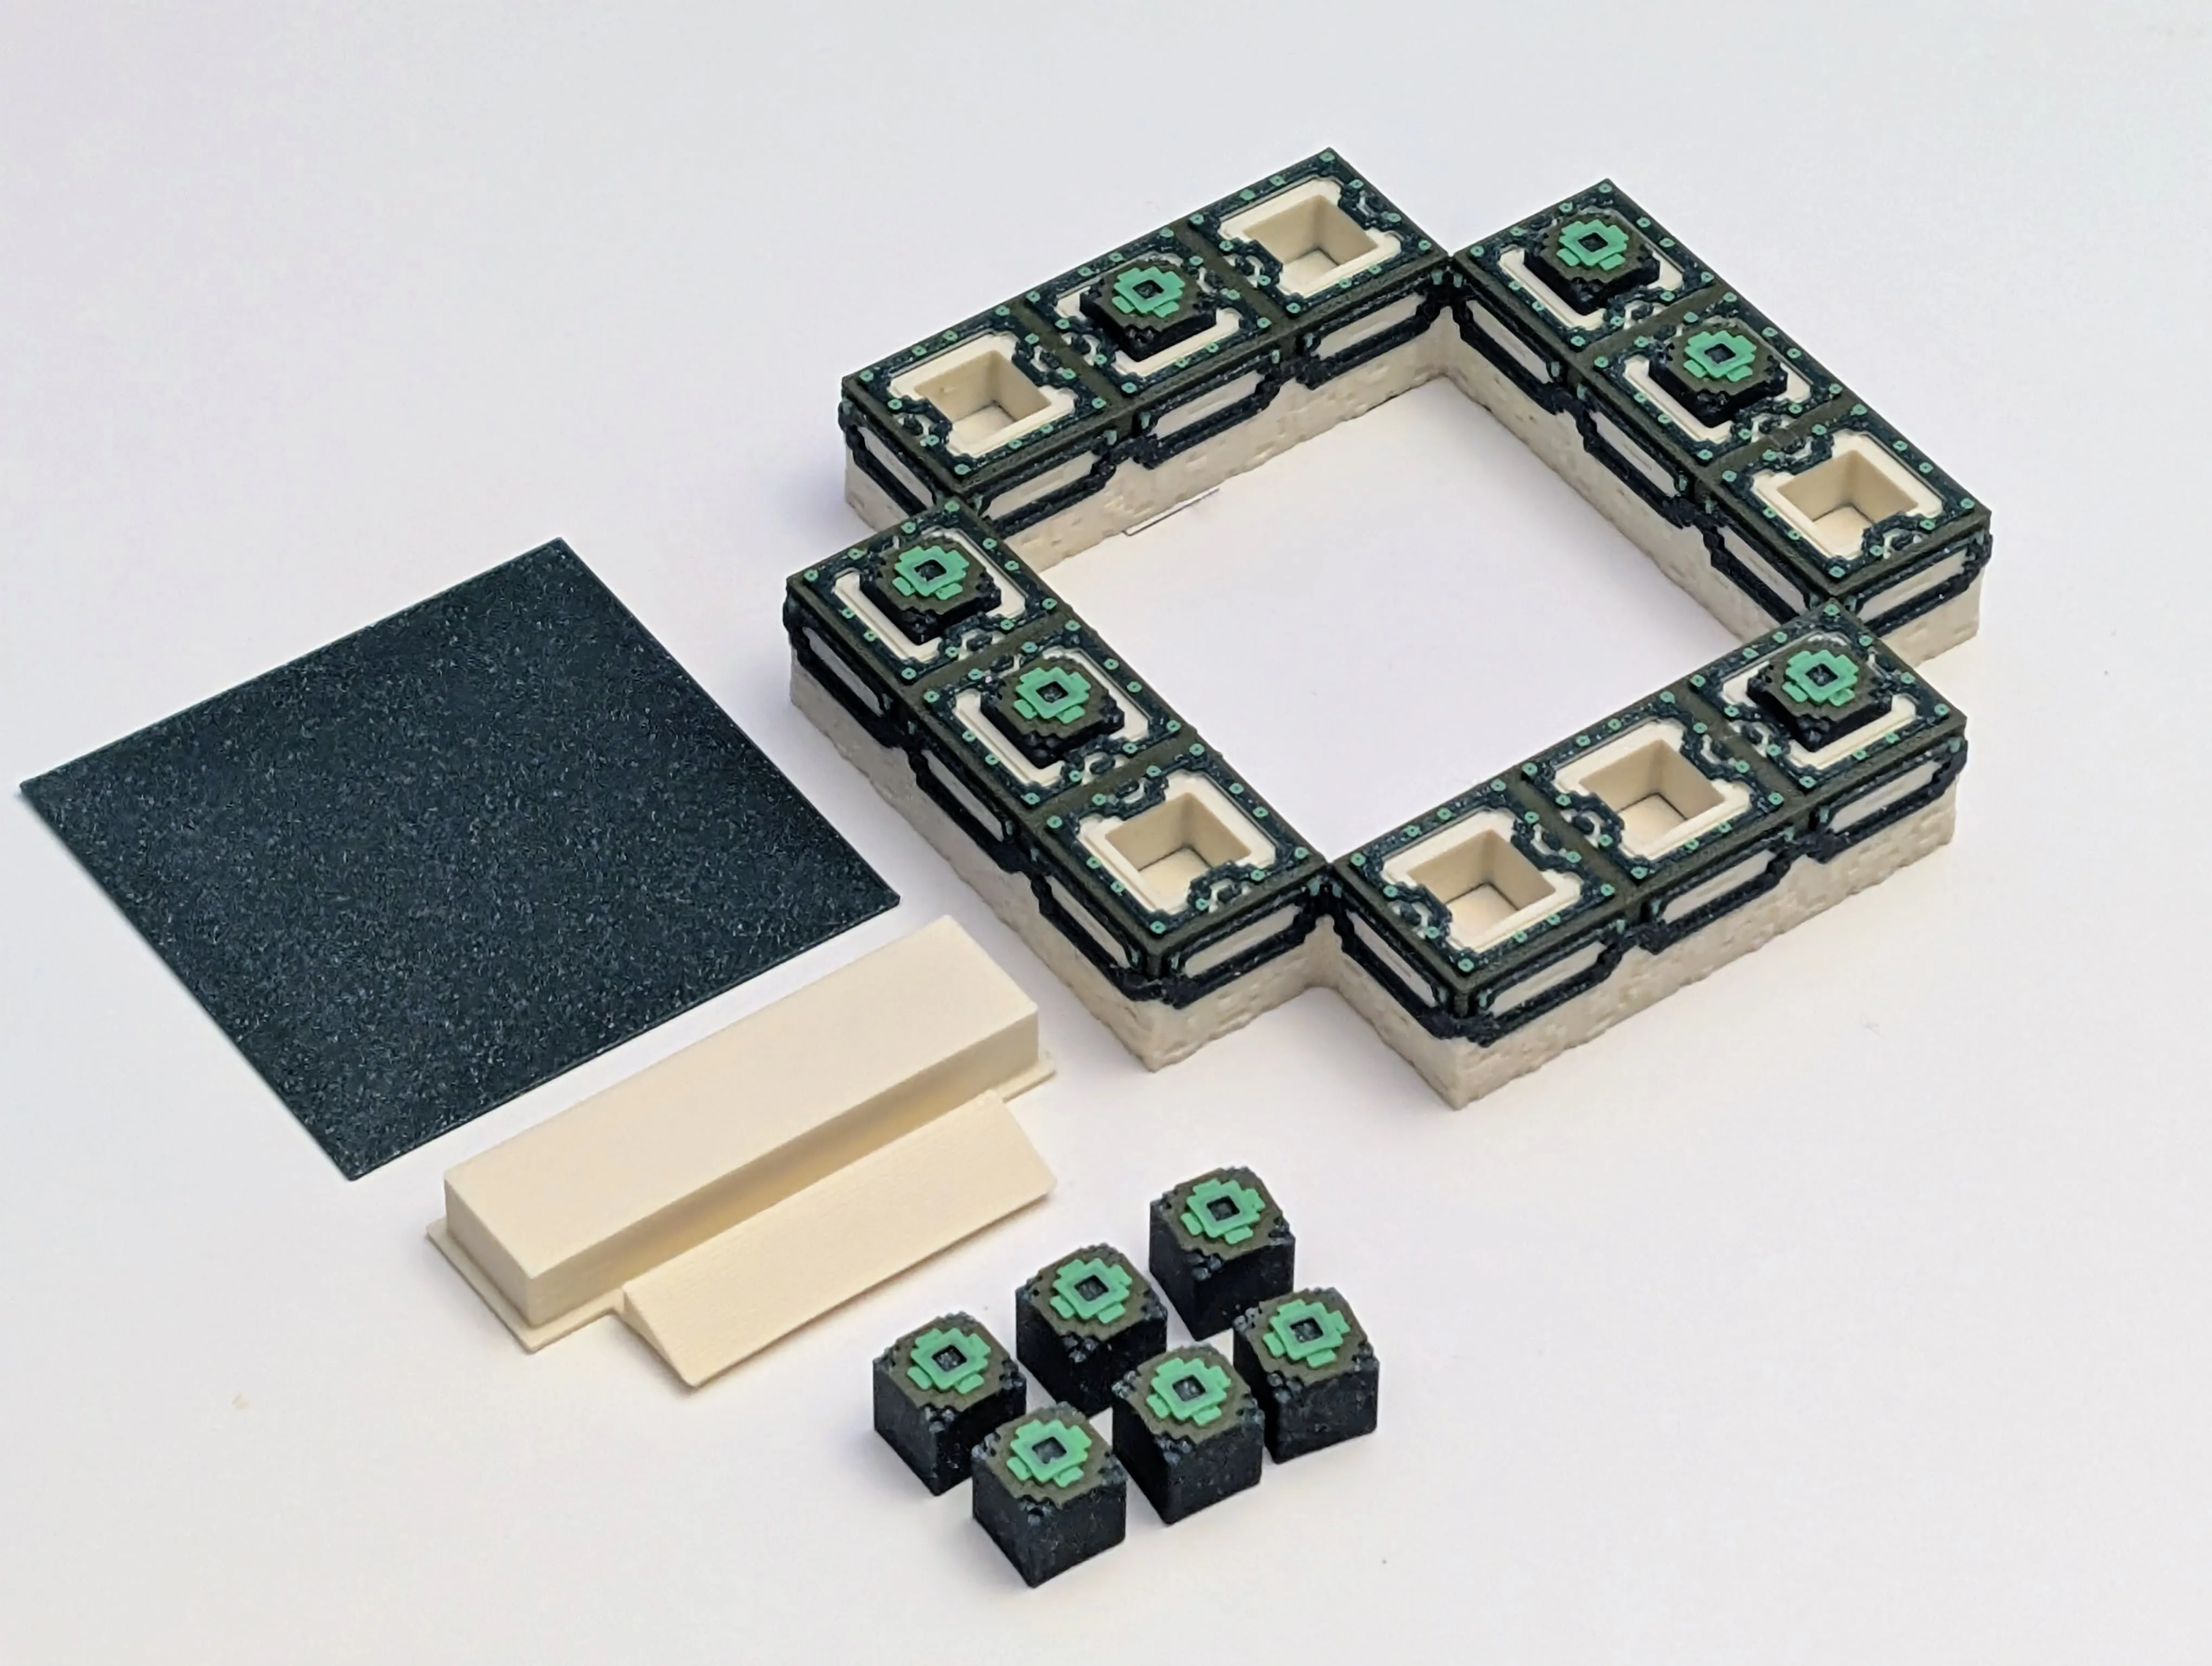
Lighting Assembly Guide: This guide uses components from Maker's Supply
Potentiometer - IA007
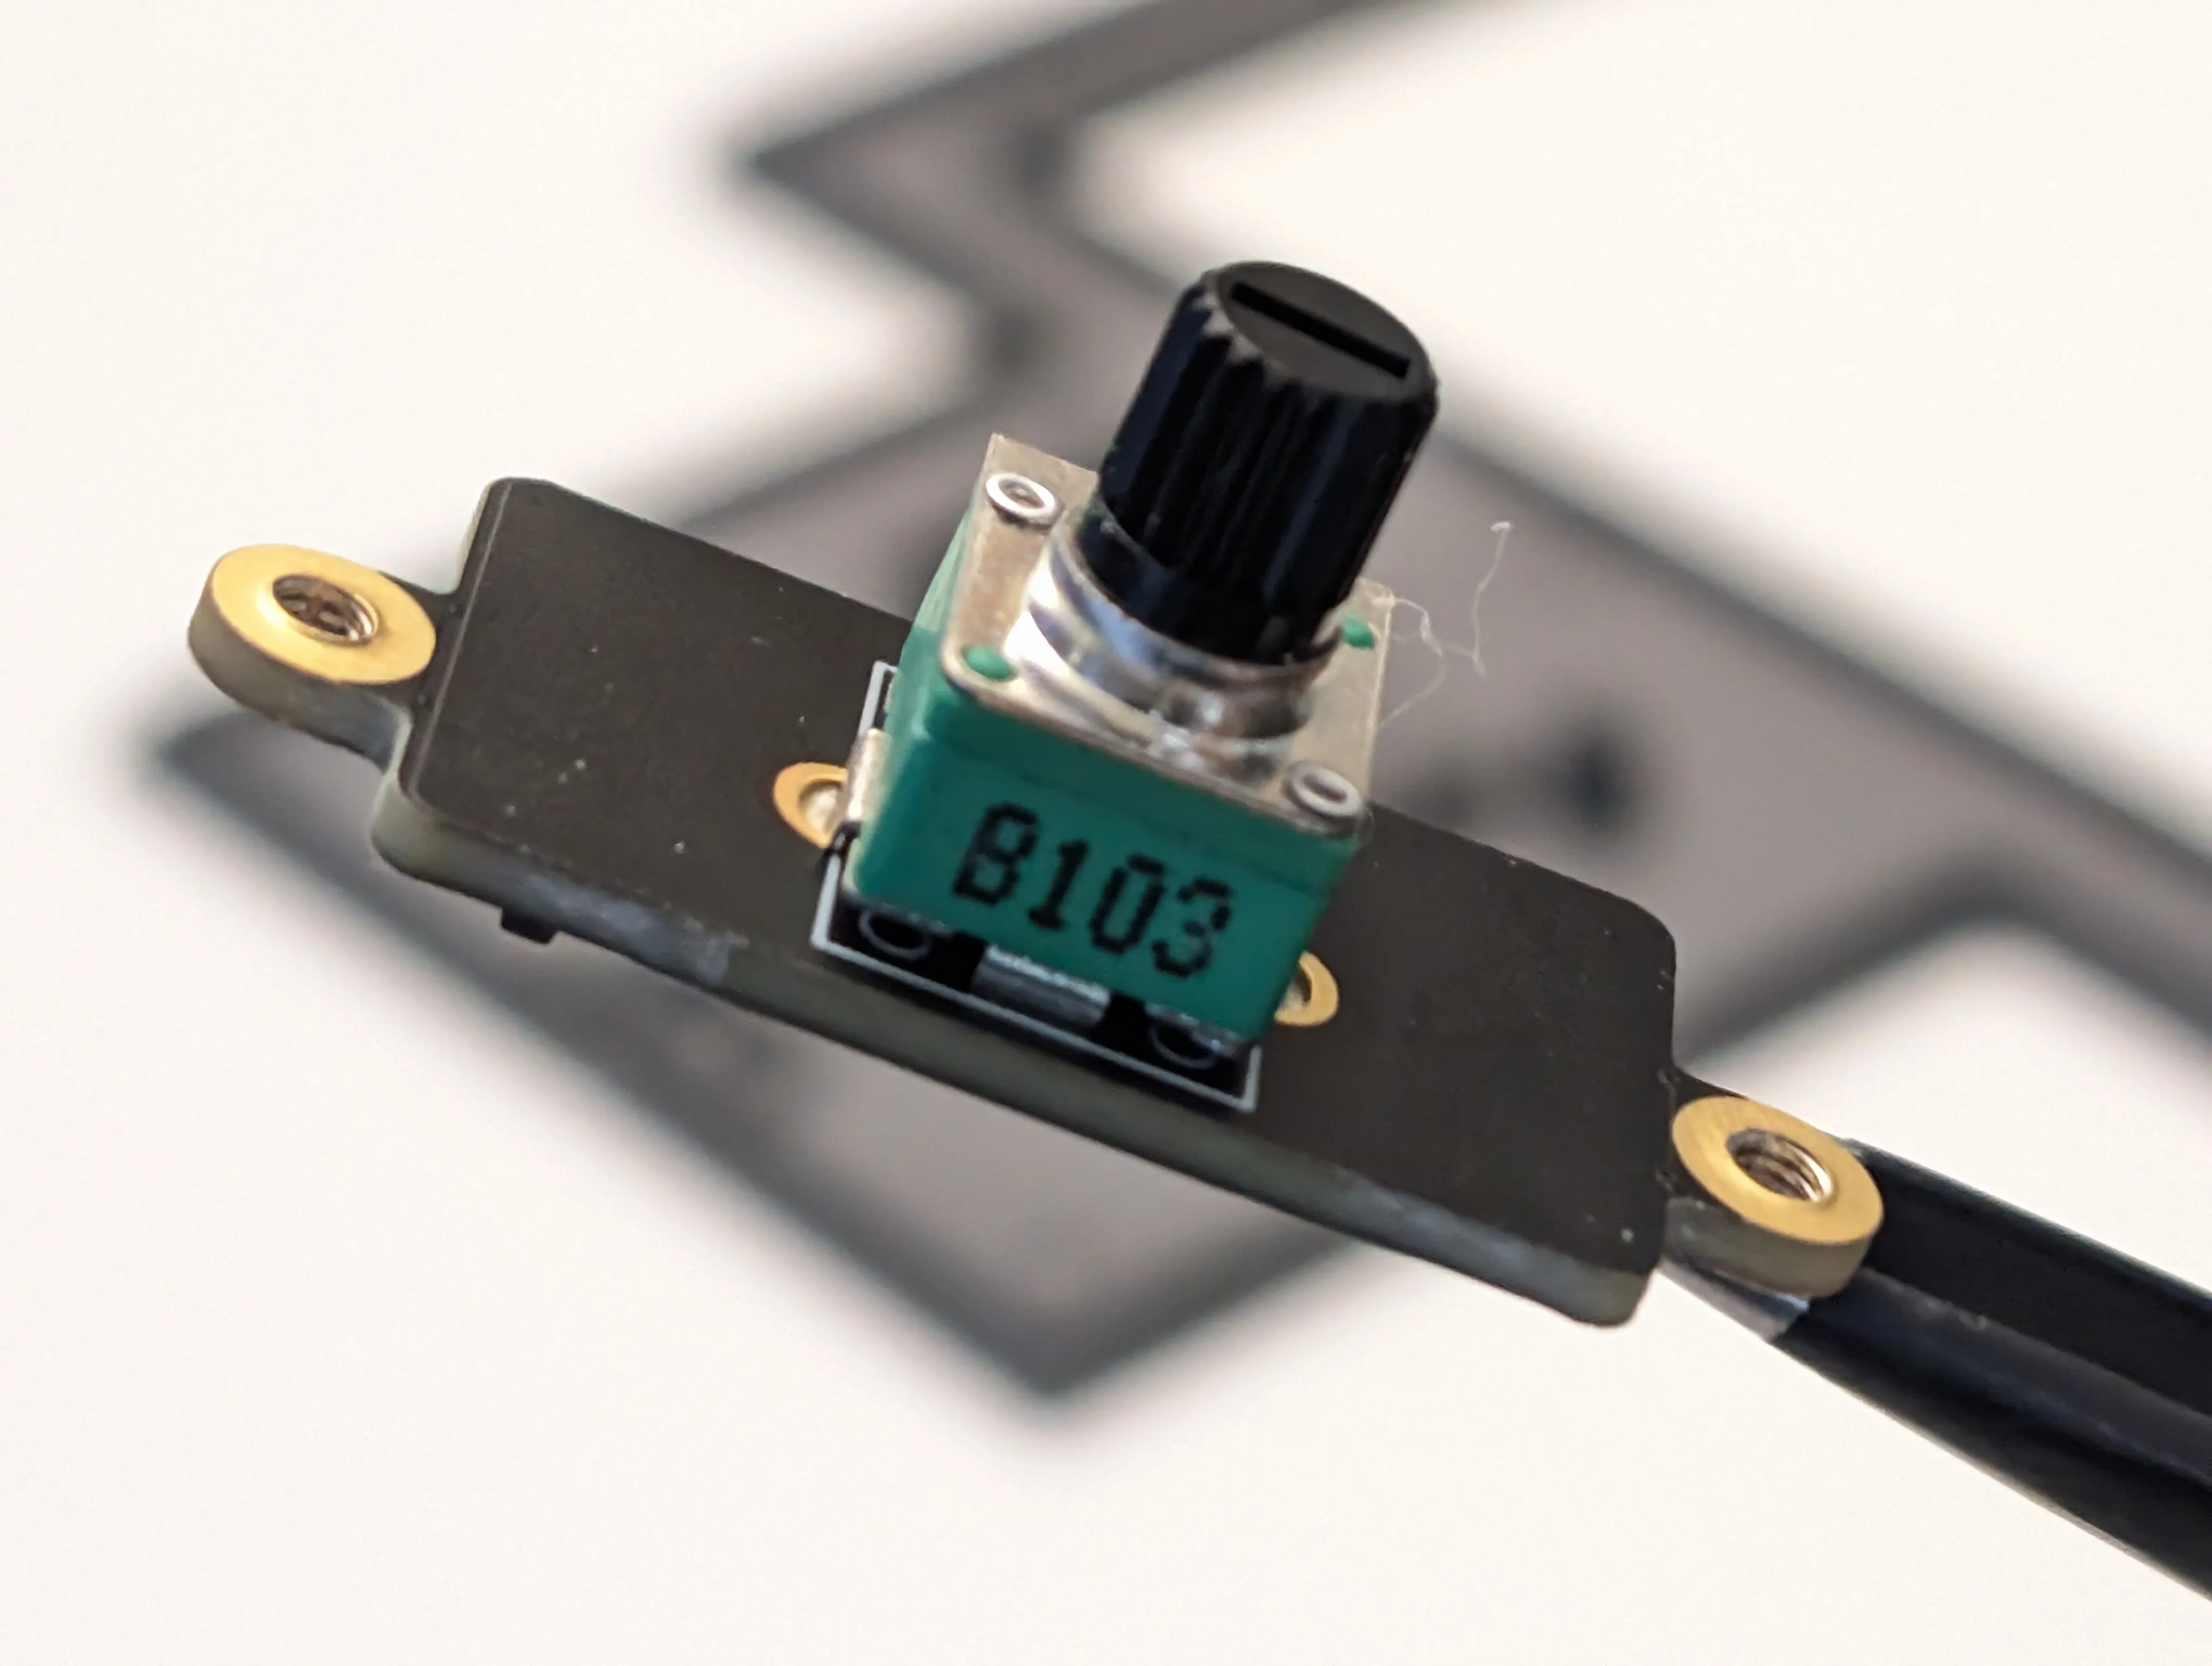
Fix M2.5 Screws - AA013 x 2
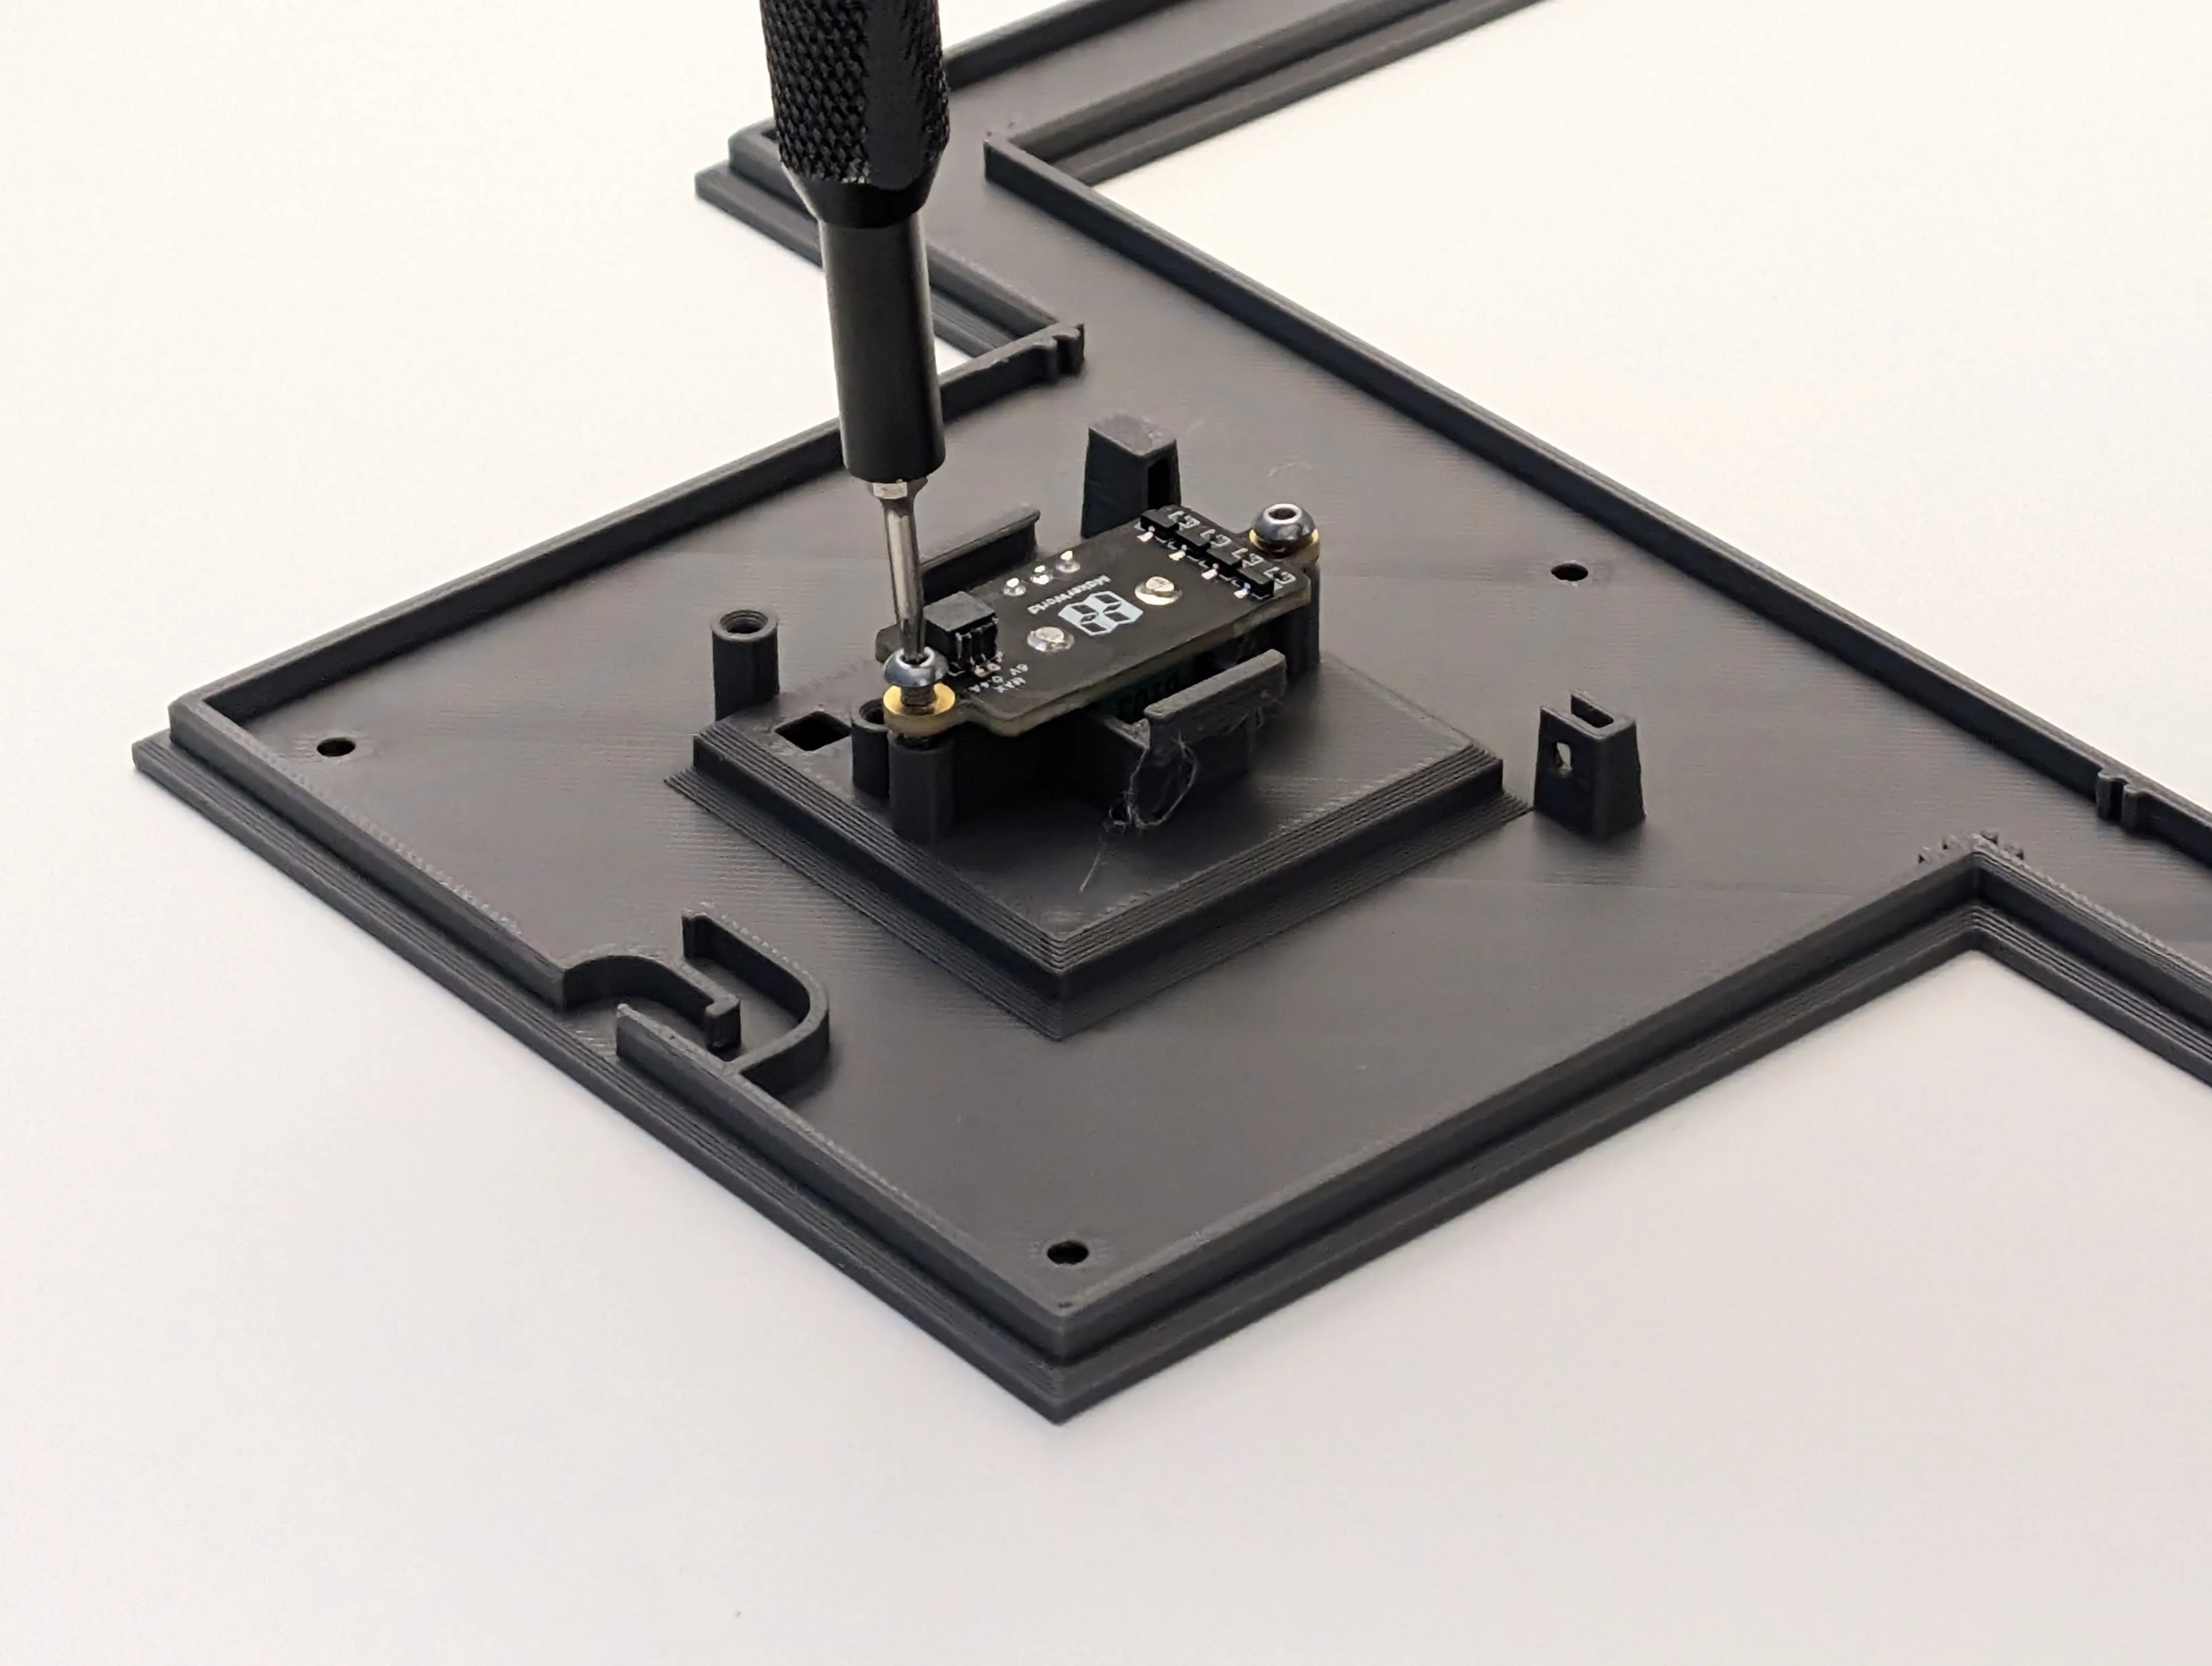
Power Board - IA005
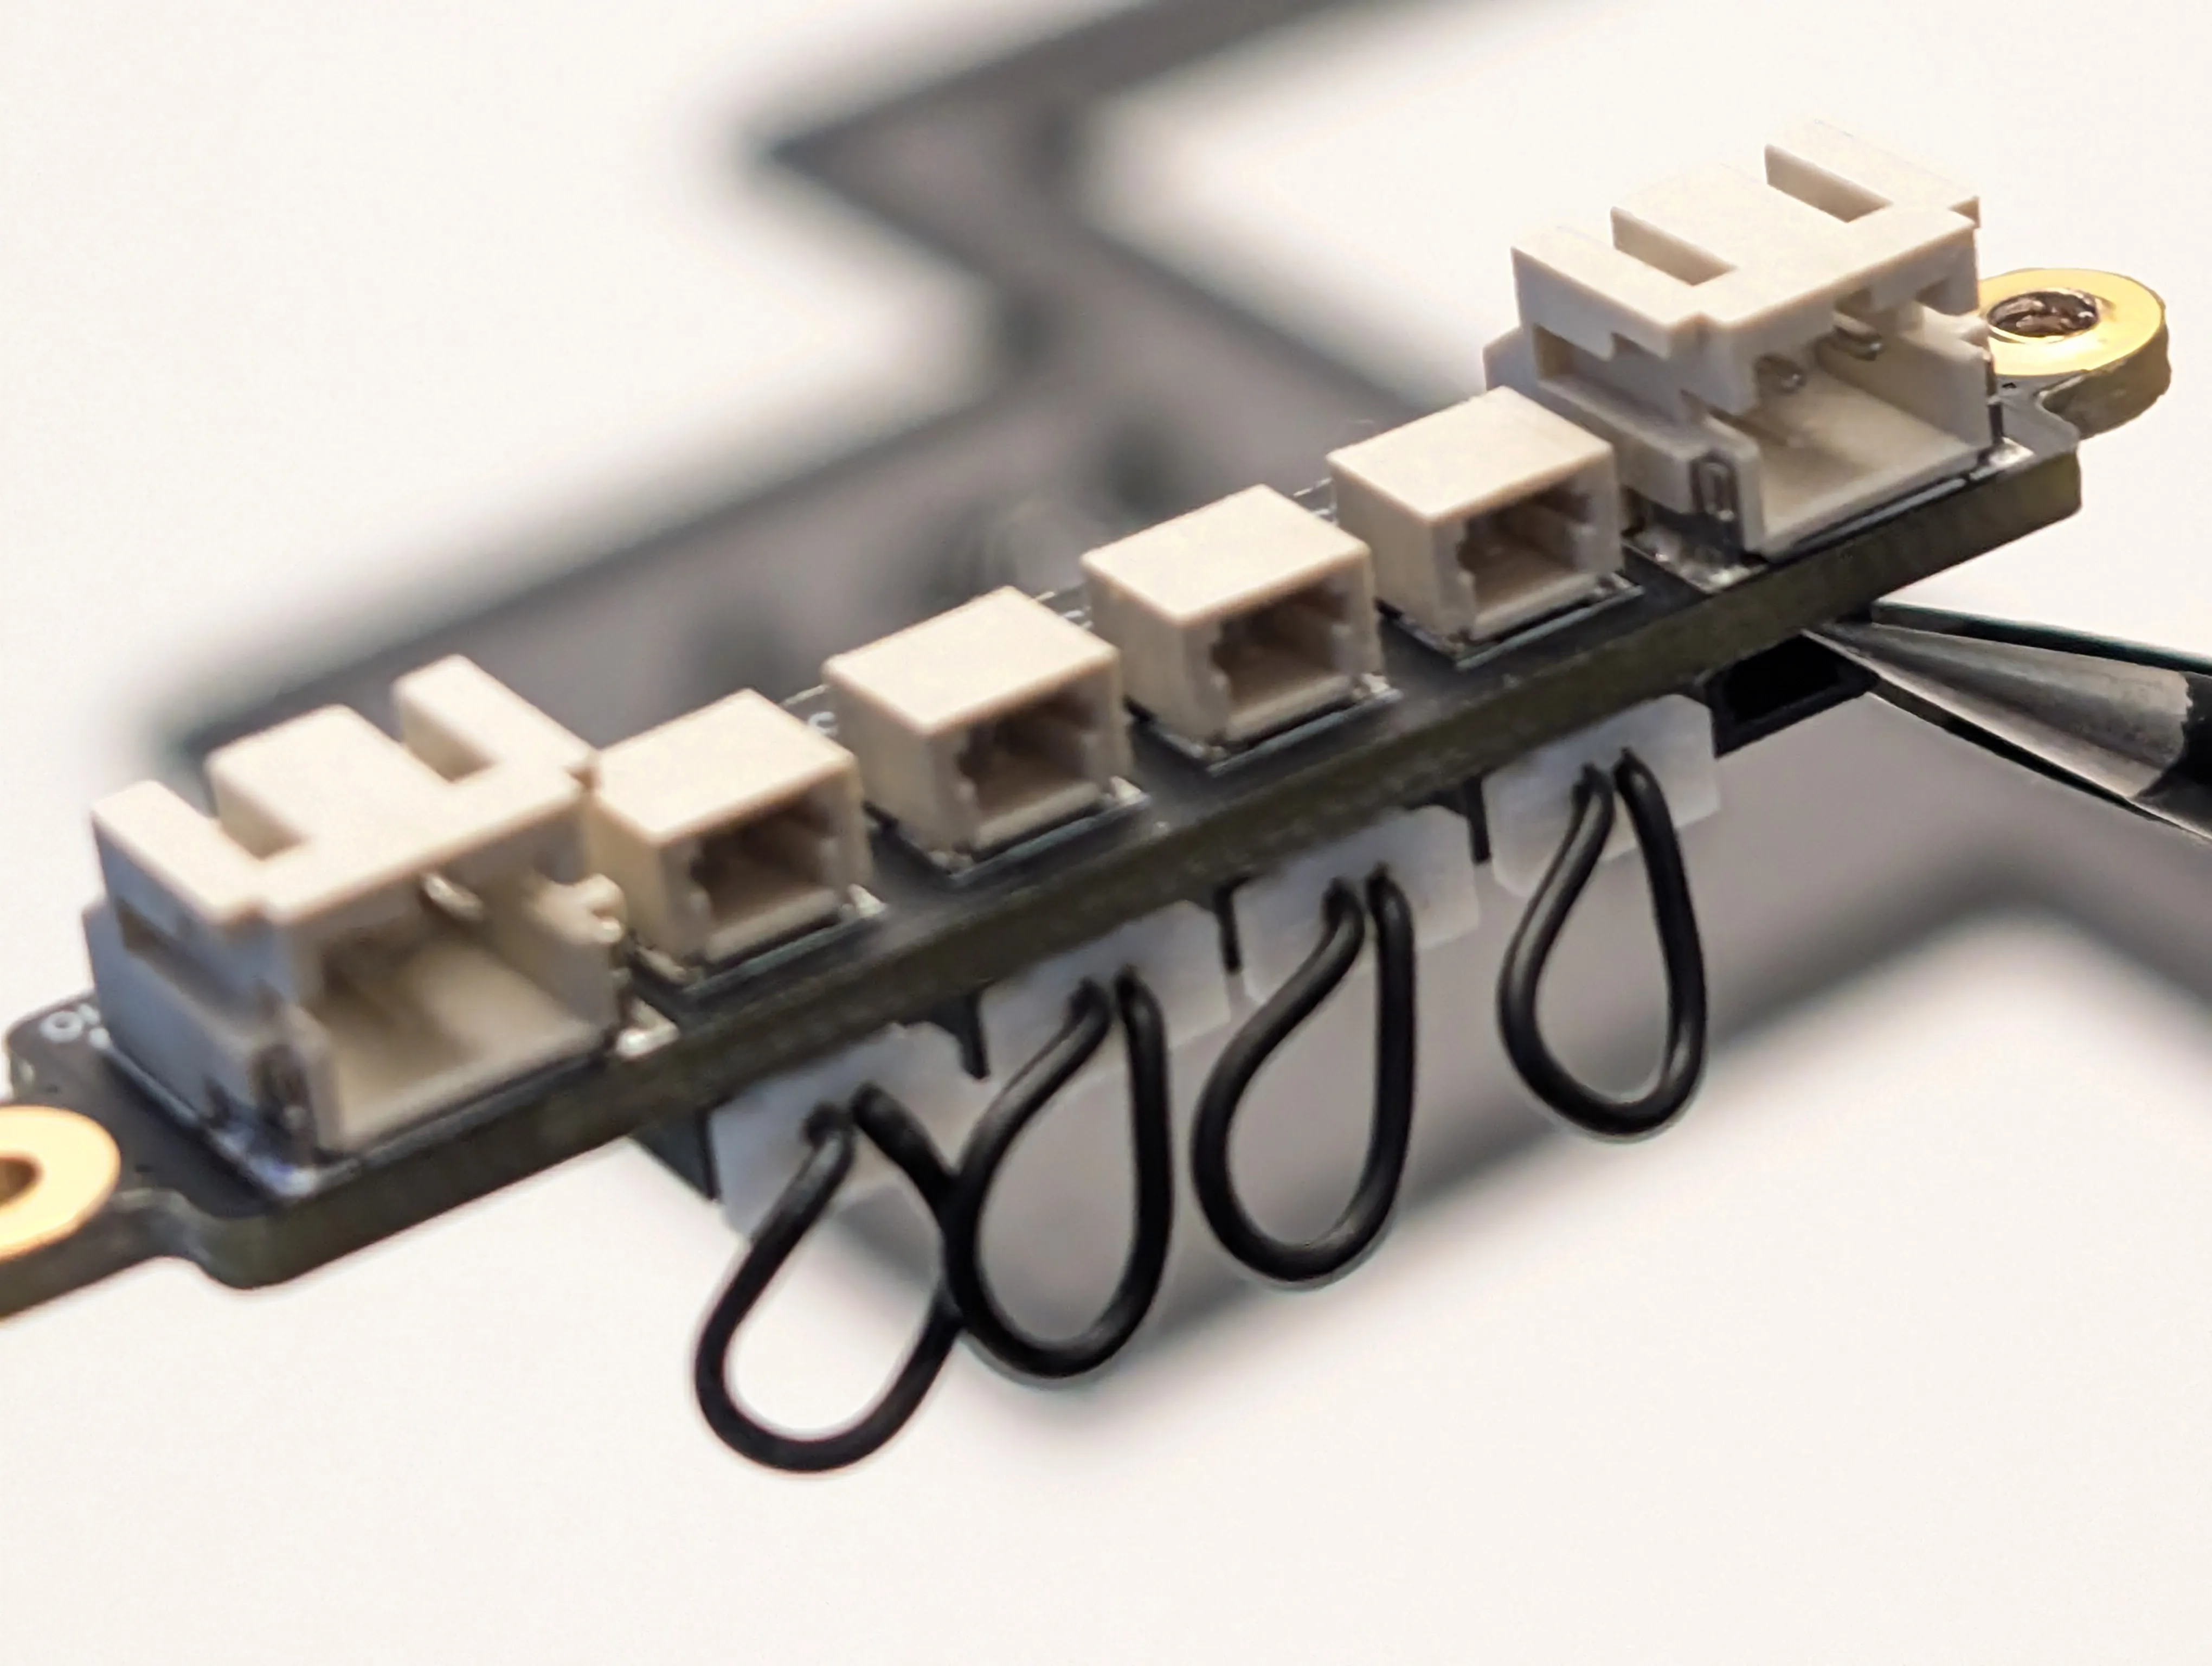
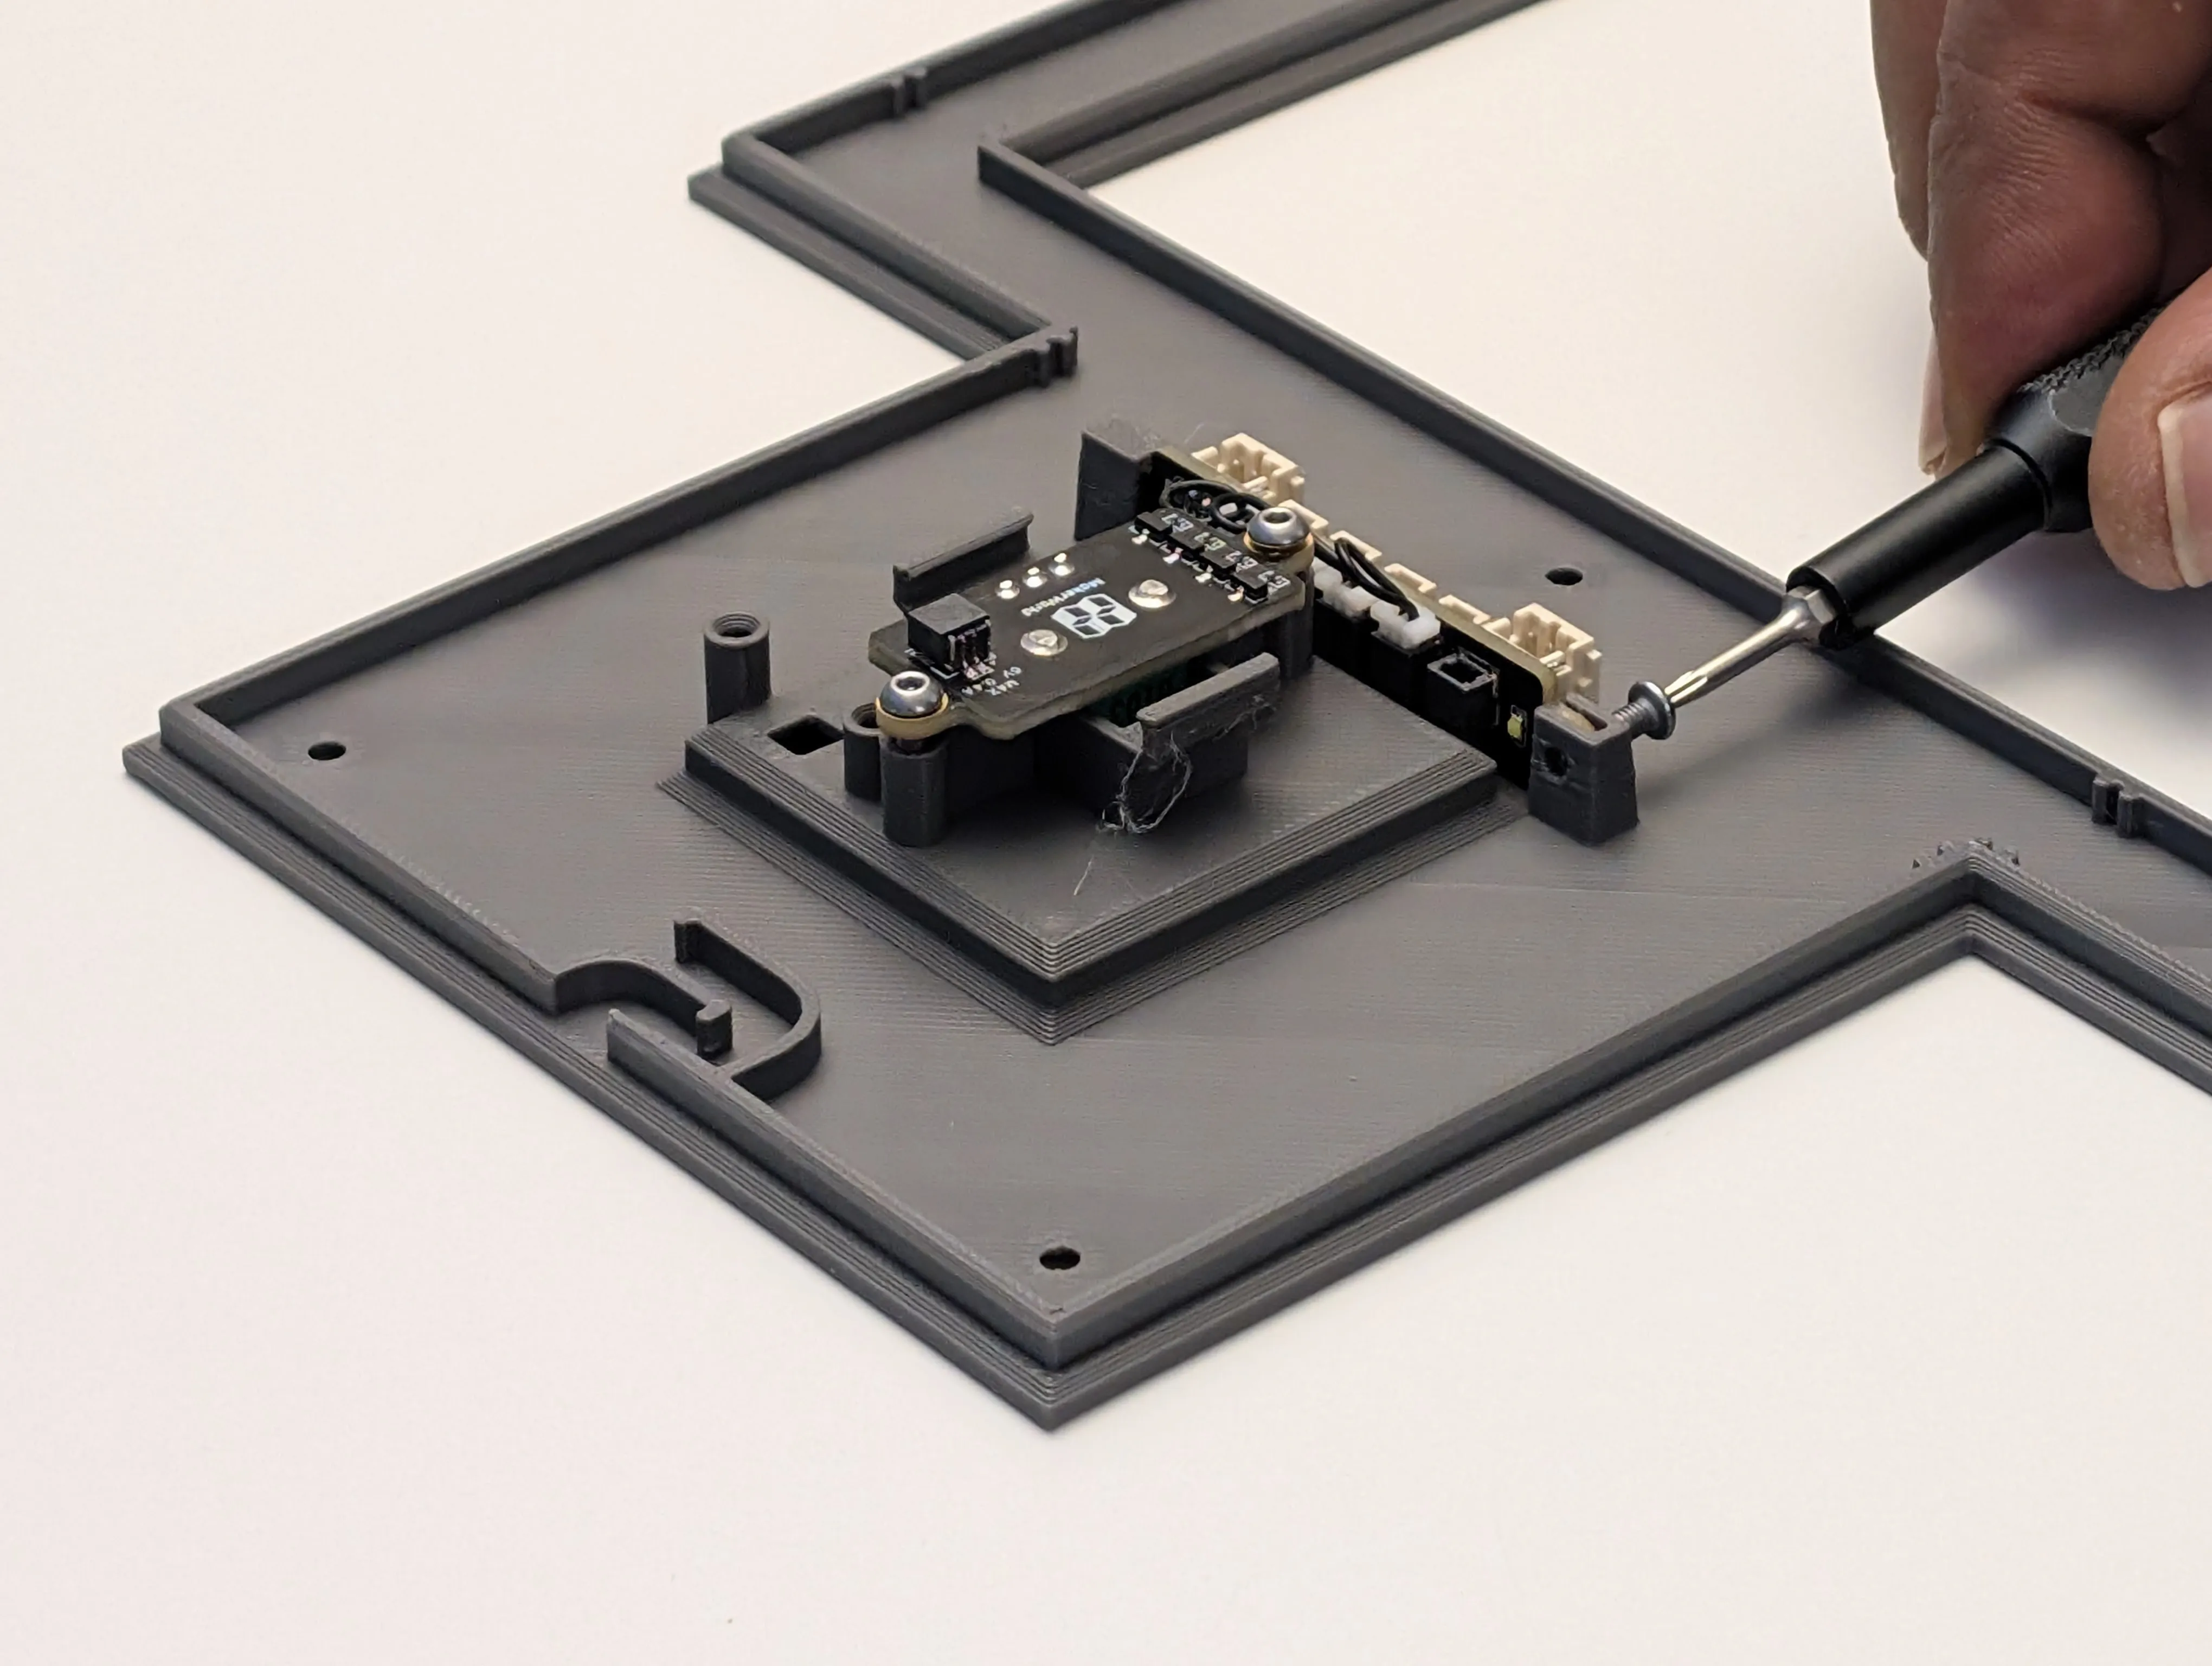
Fix M2.5 Screw - AA013 x 1
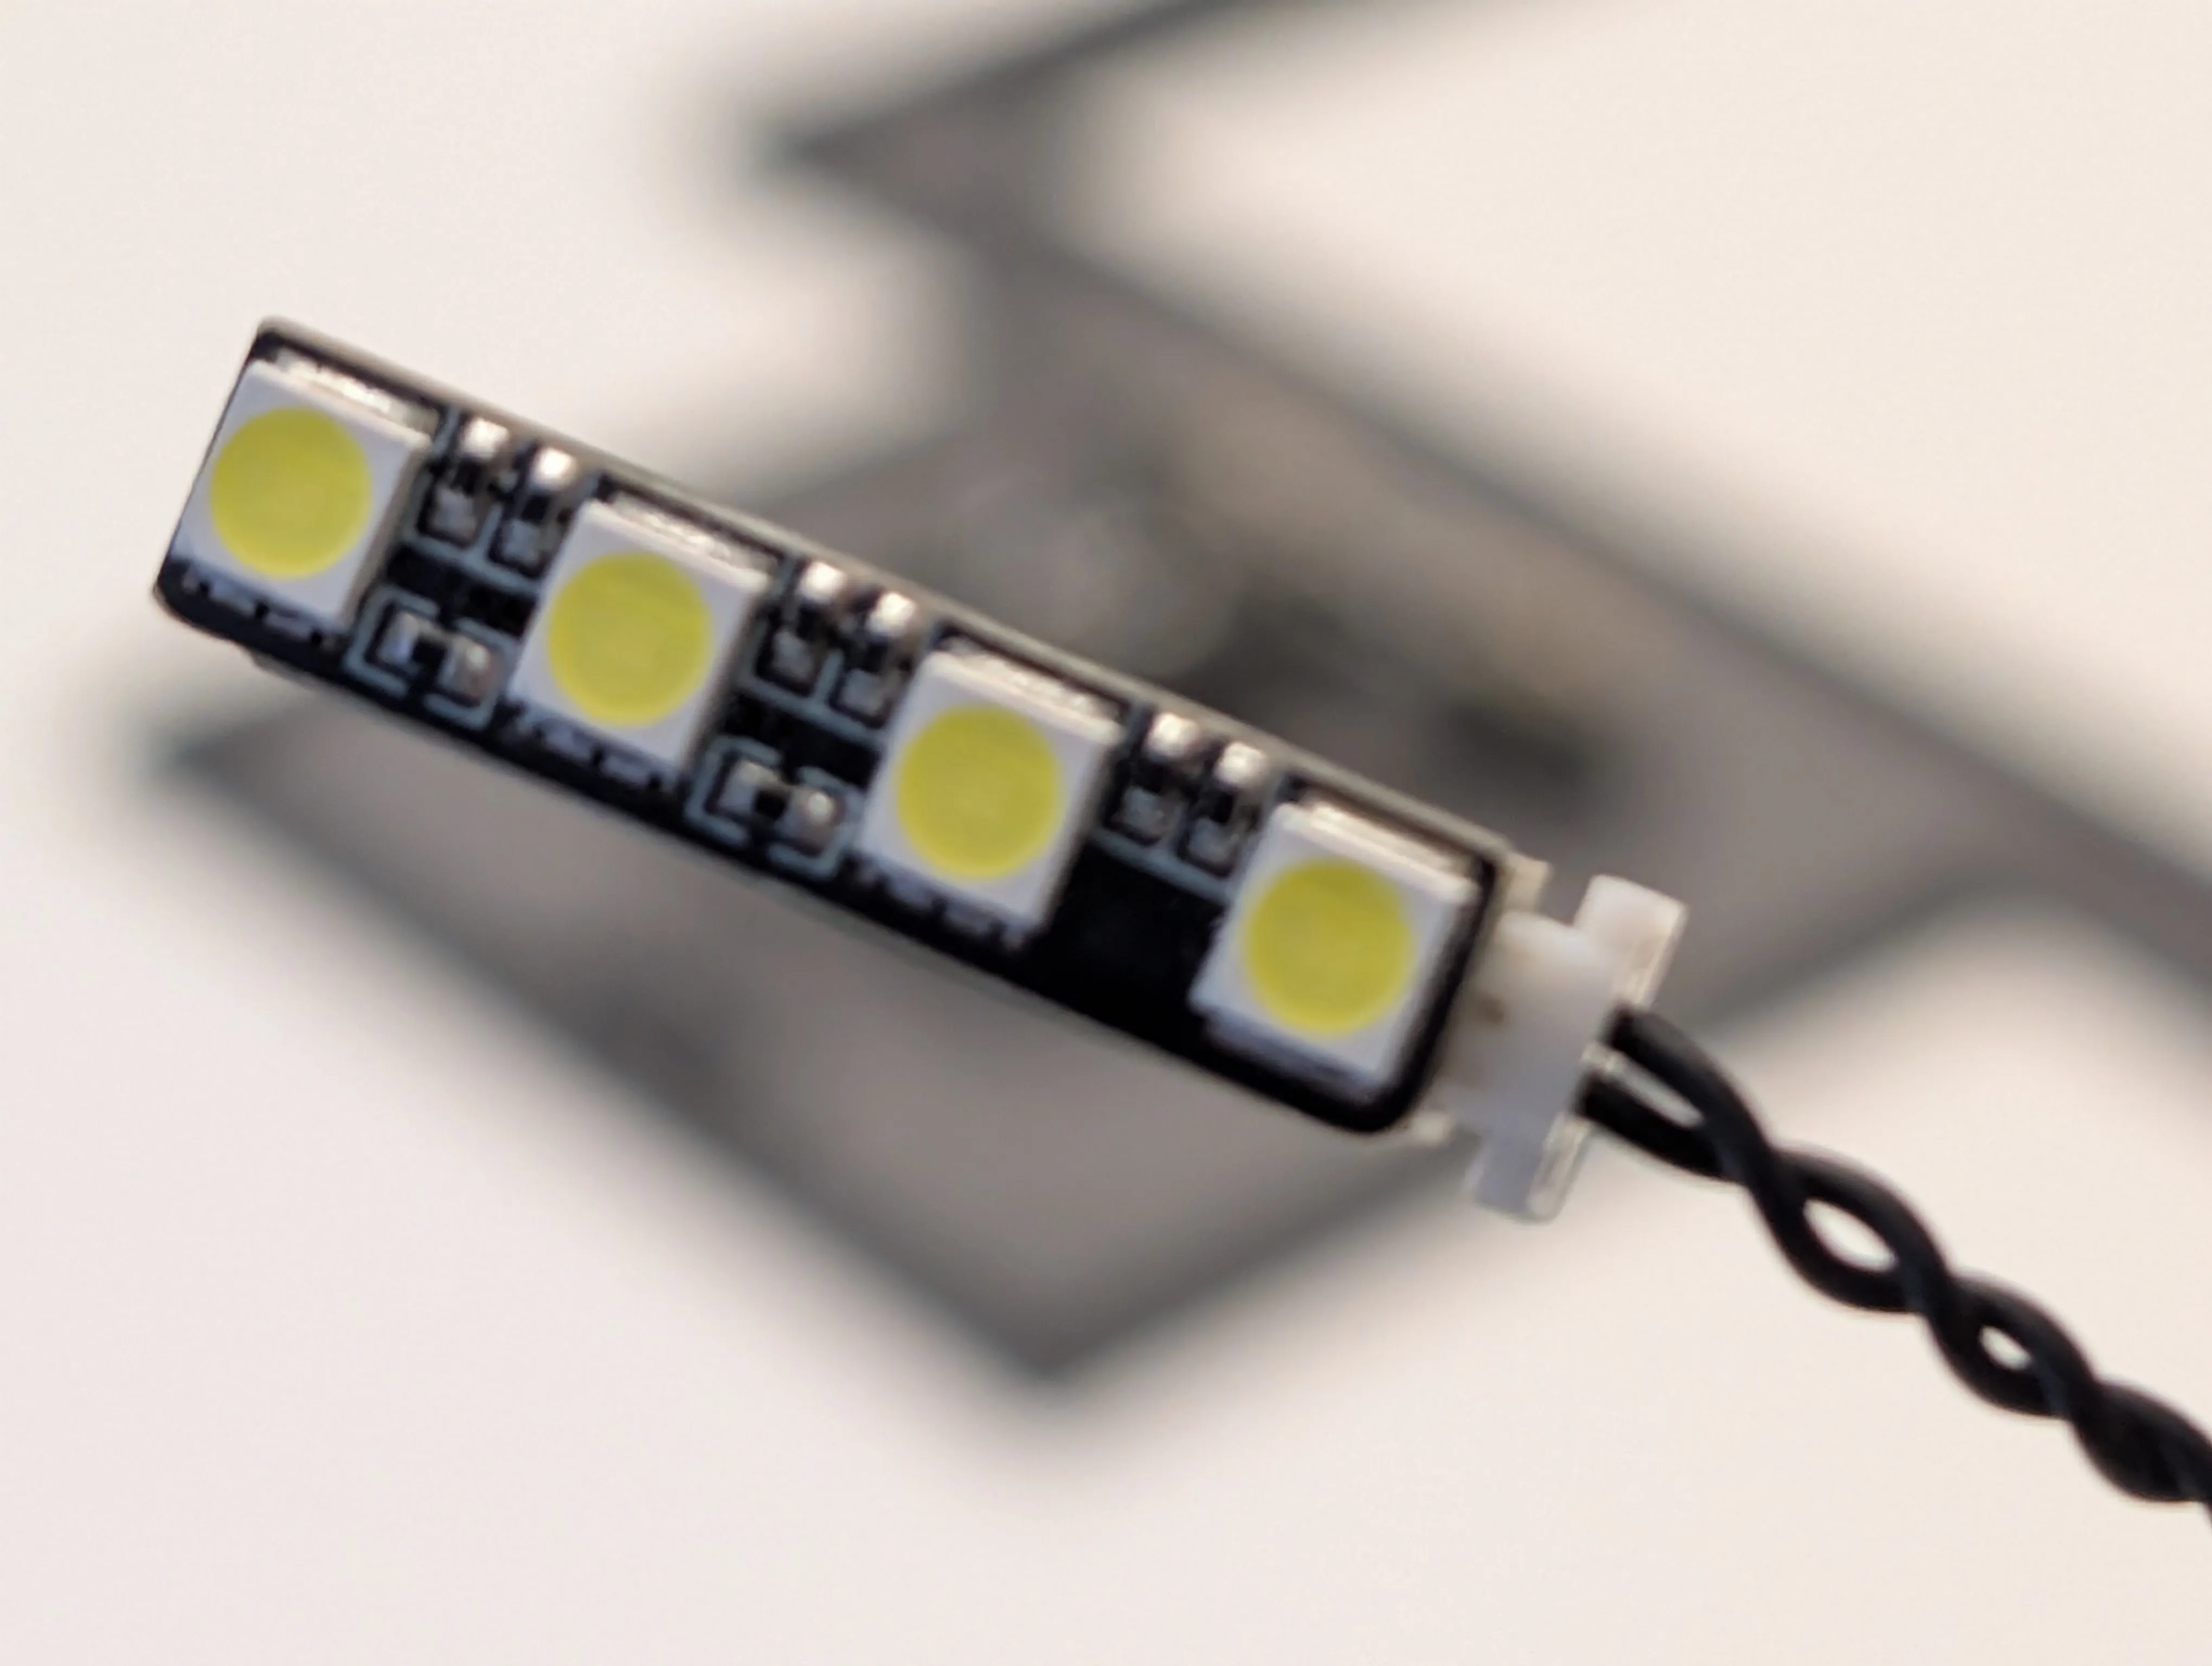
3030 5V LED Board - KB001 x 4
Connect the LED boards
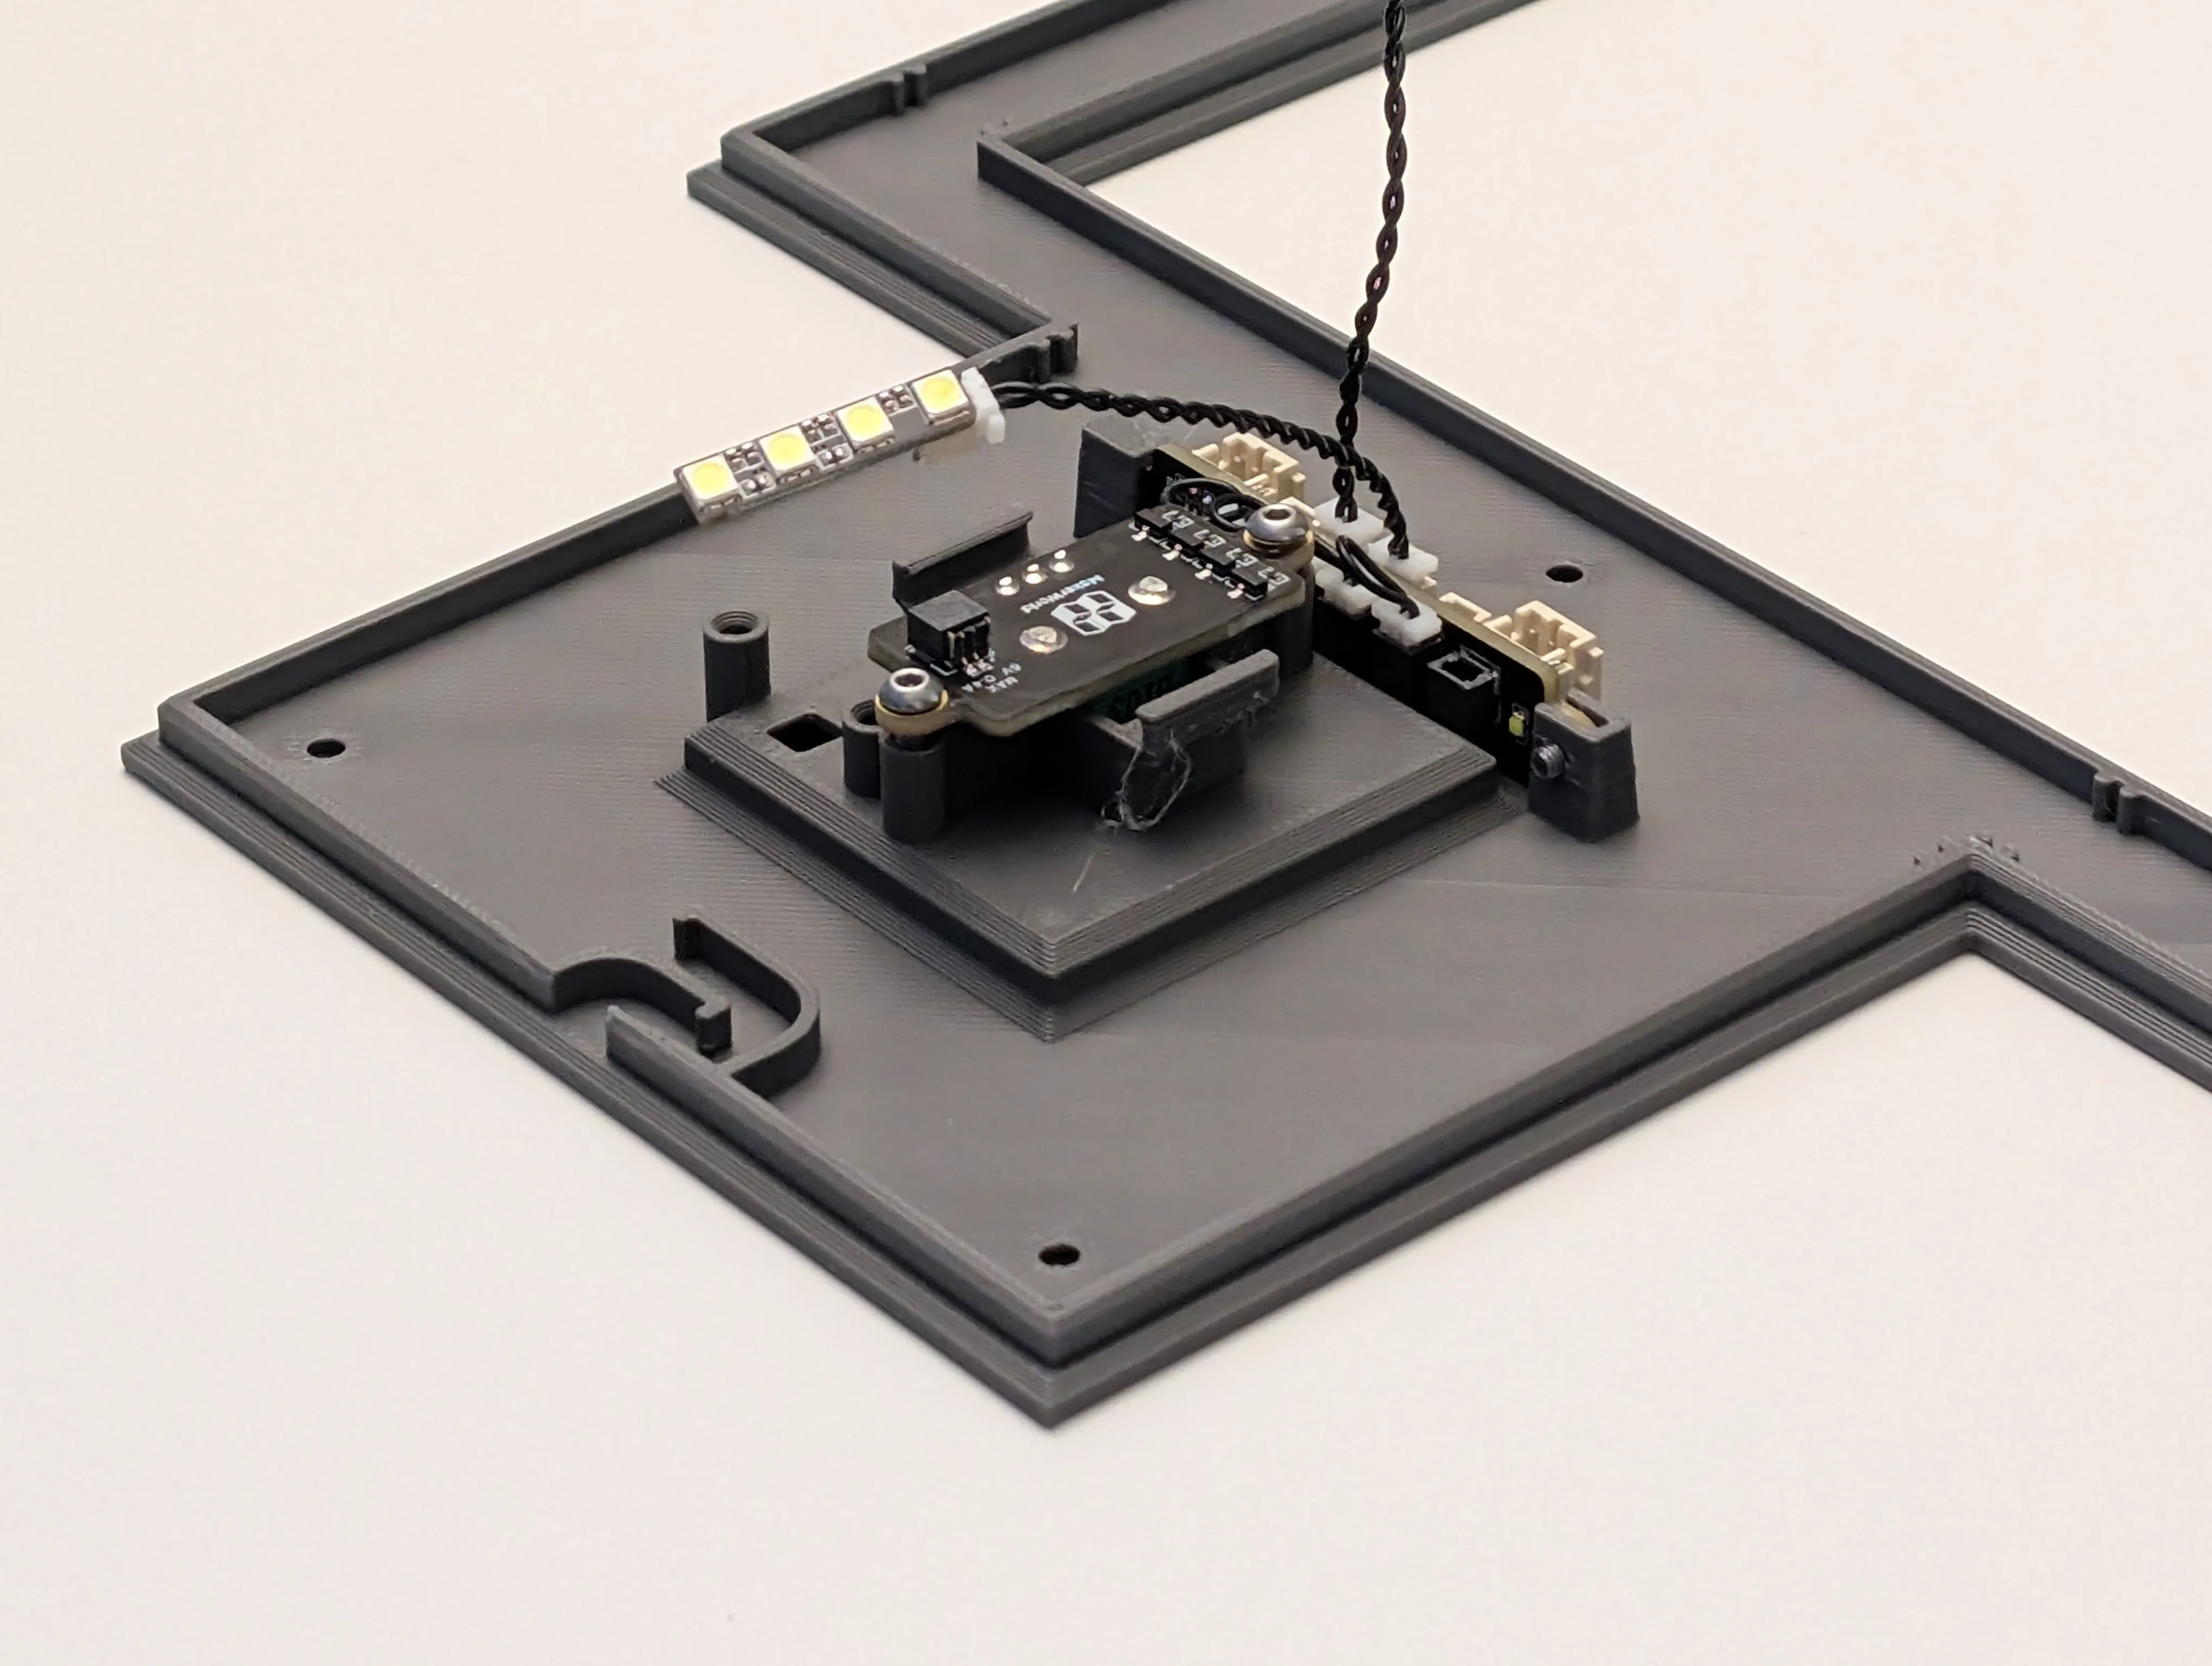
Connect 50mm wire x 2
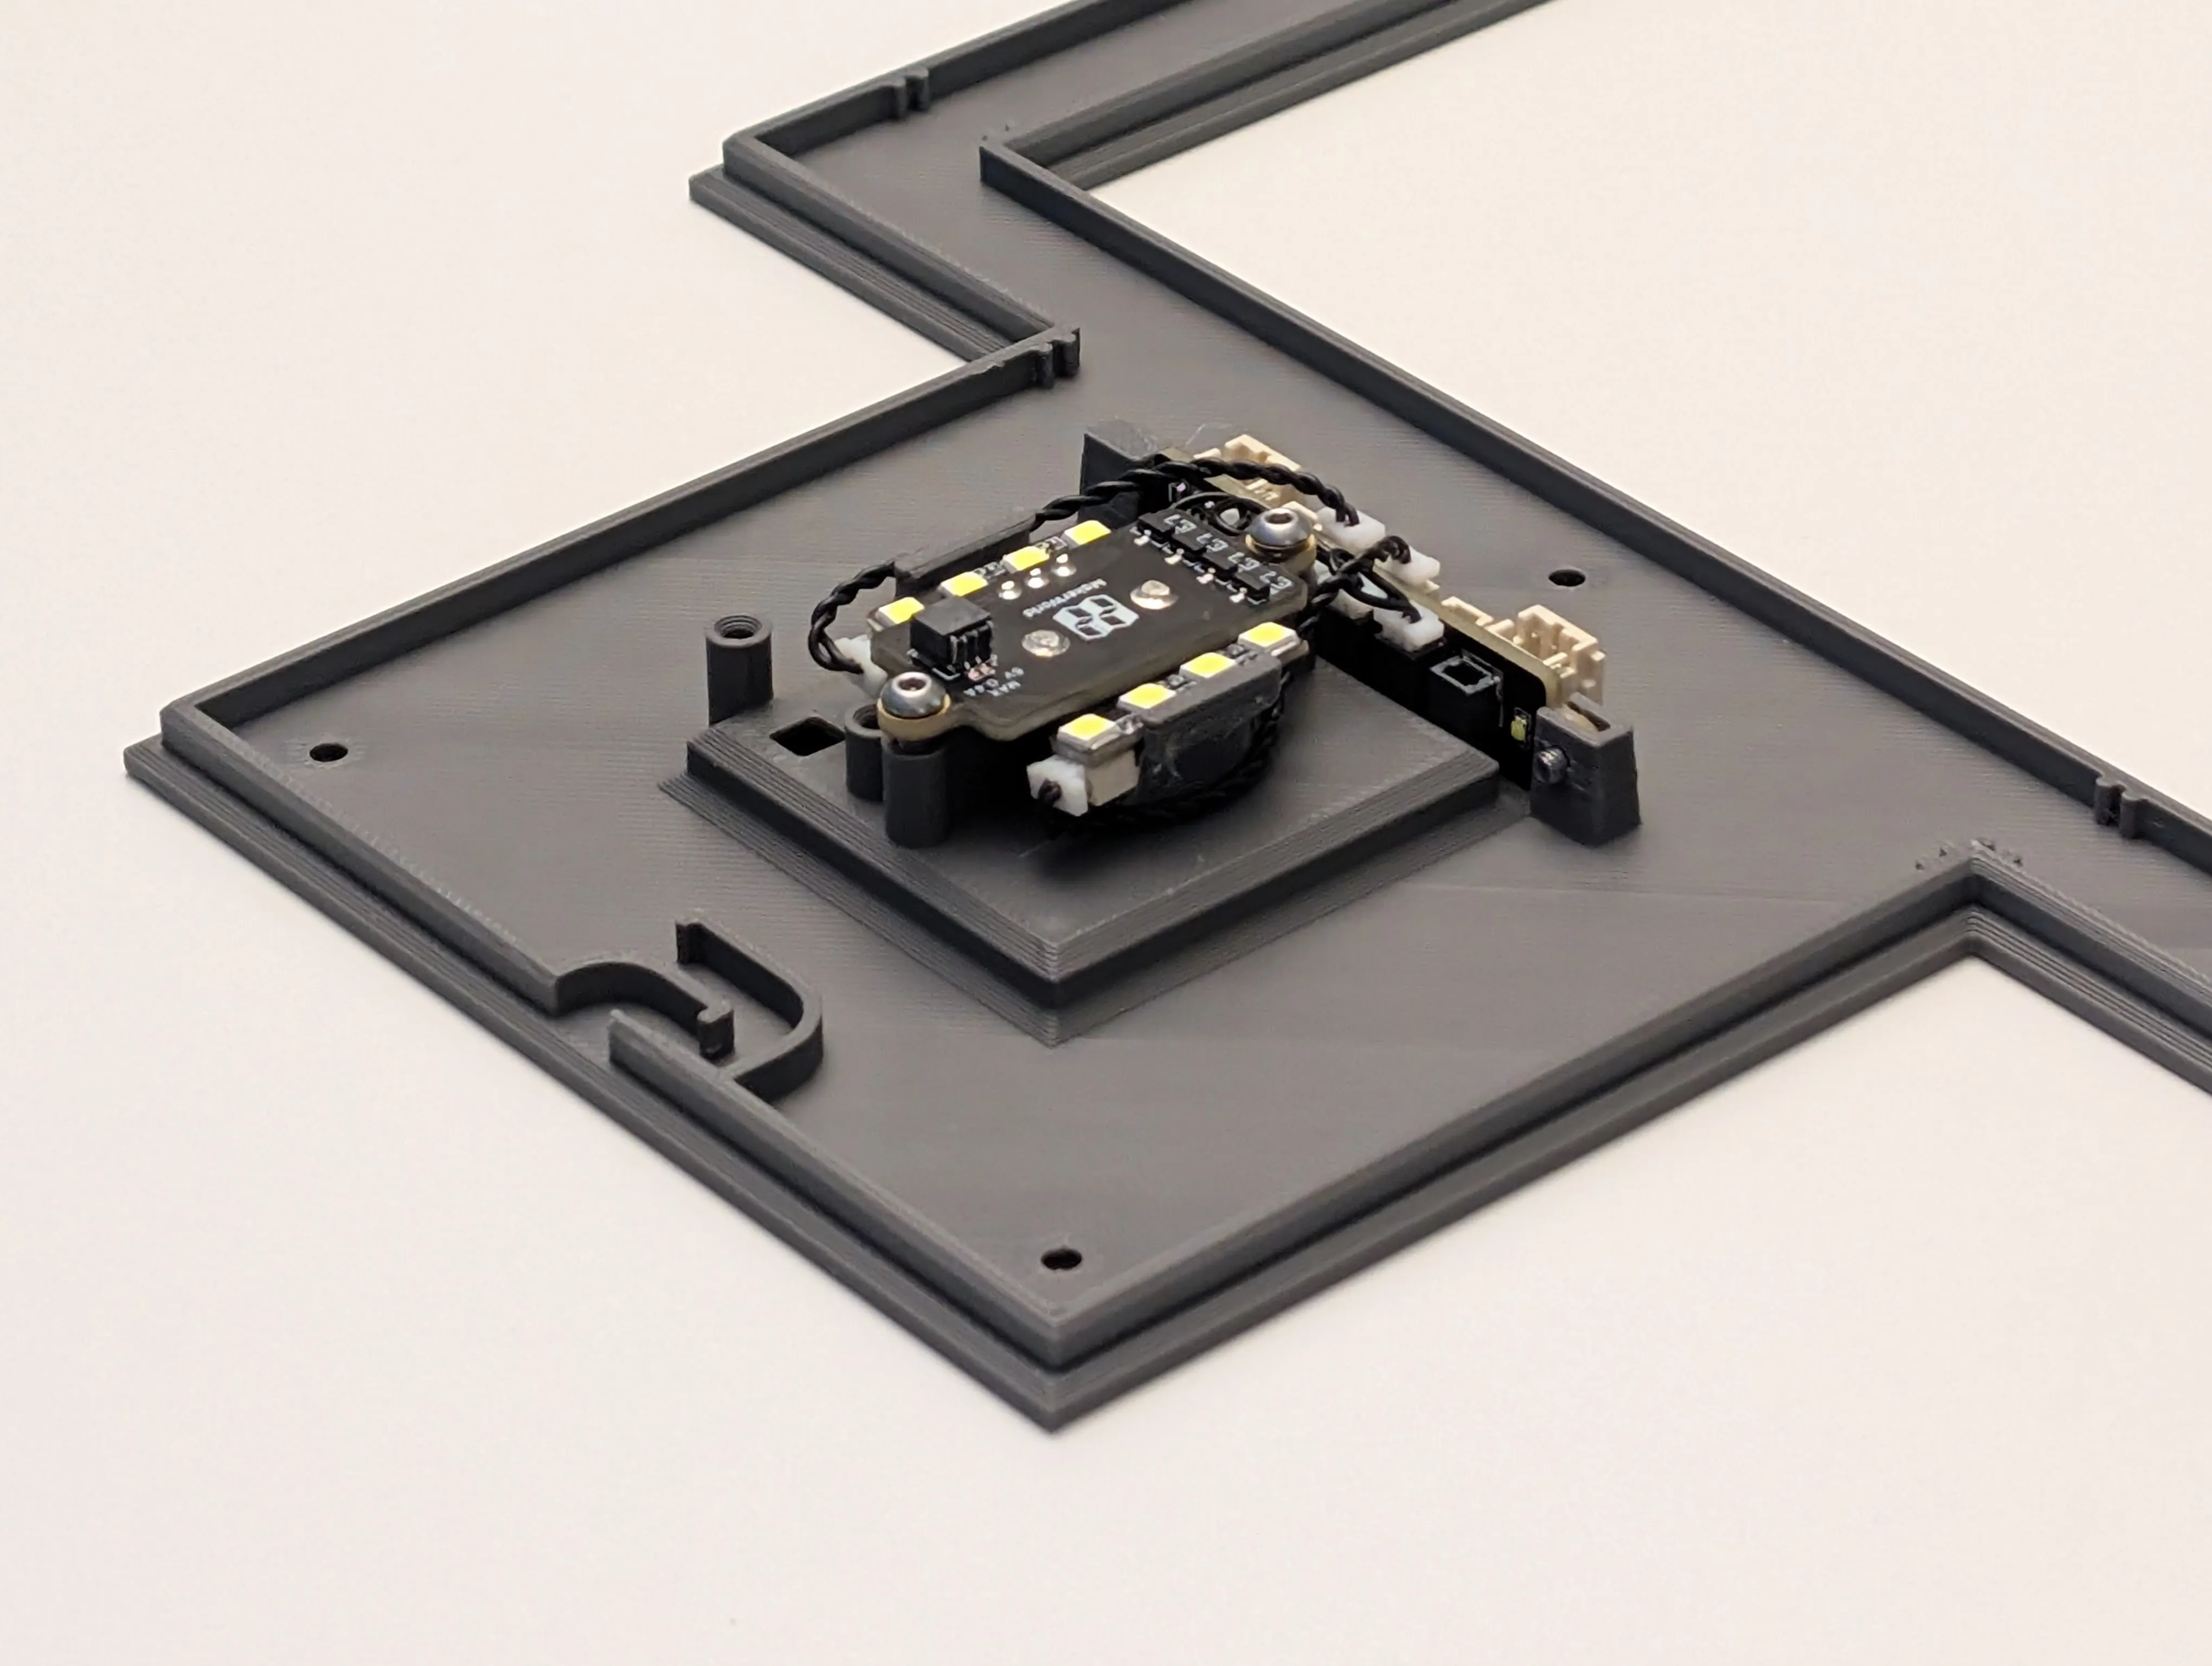
Connect 200mm wire x 2
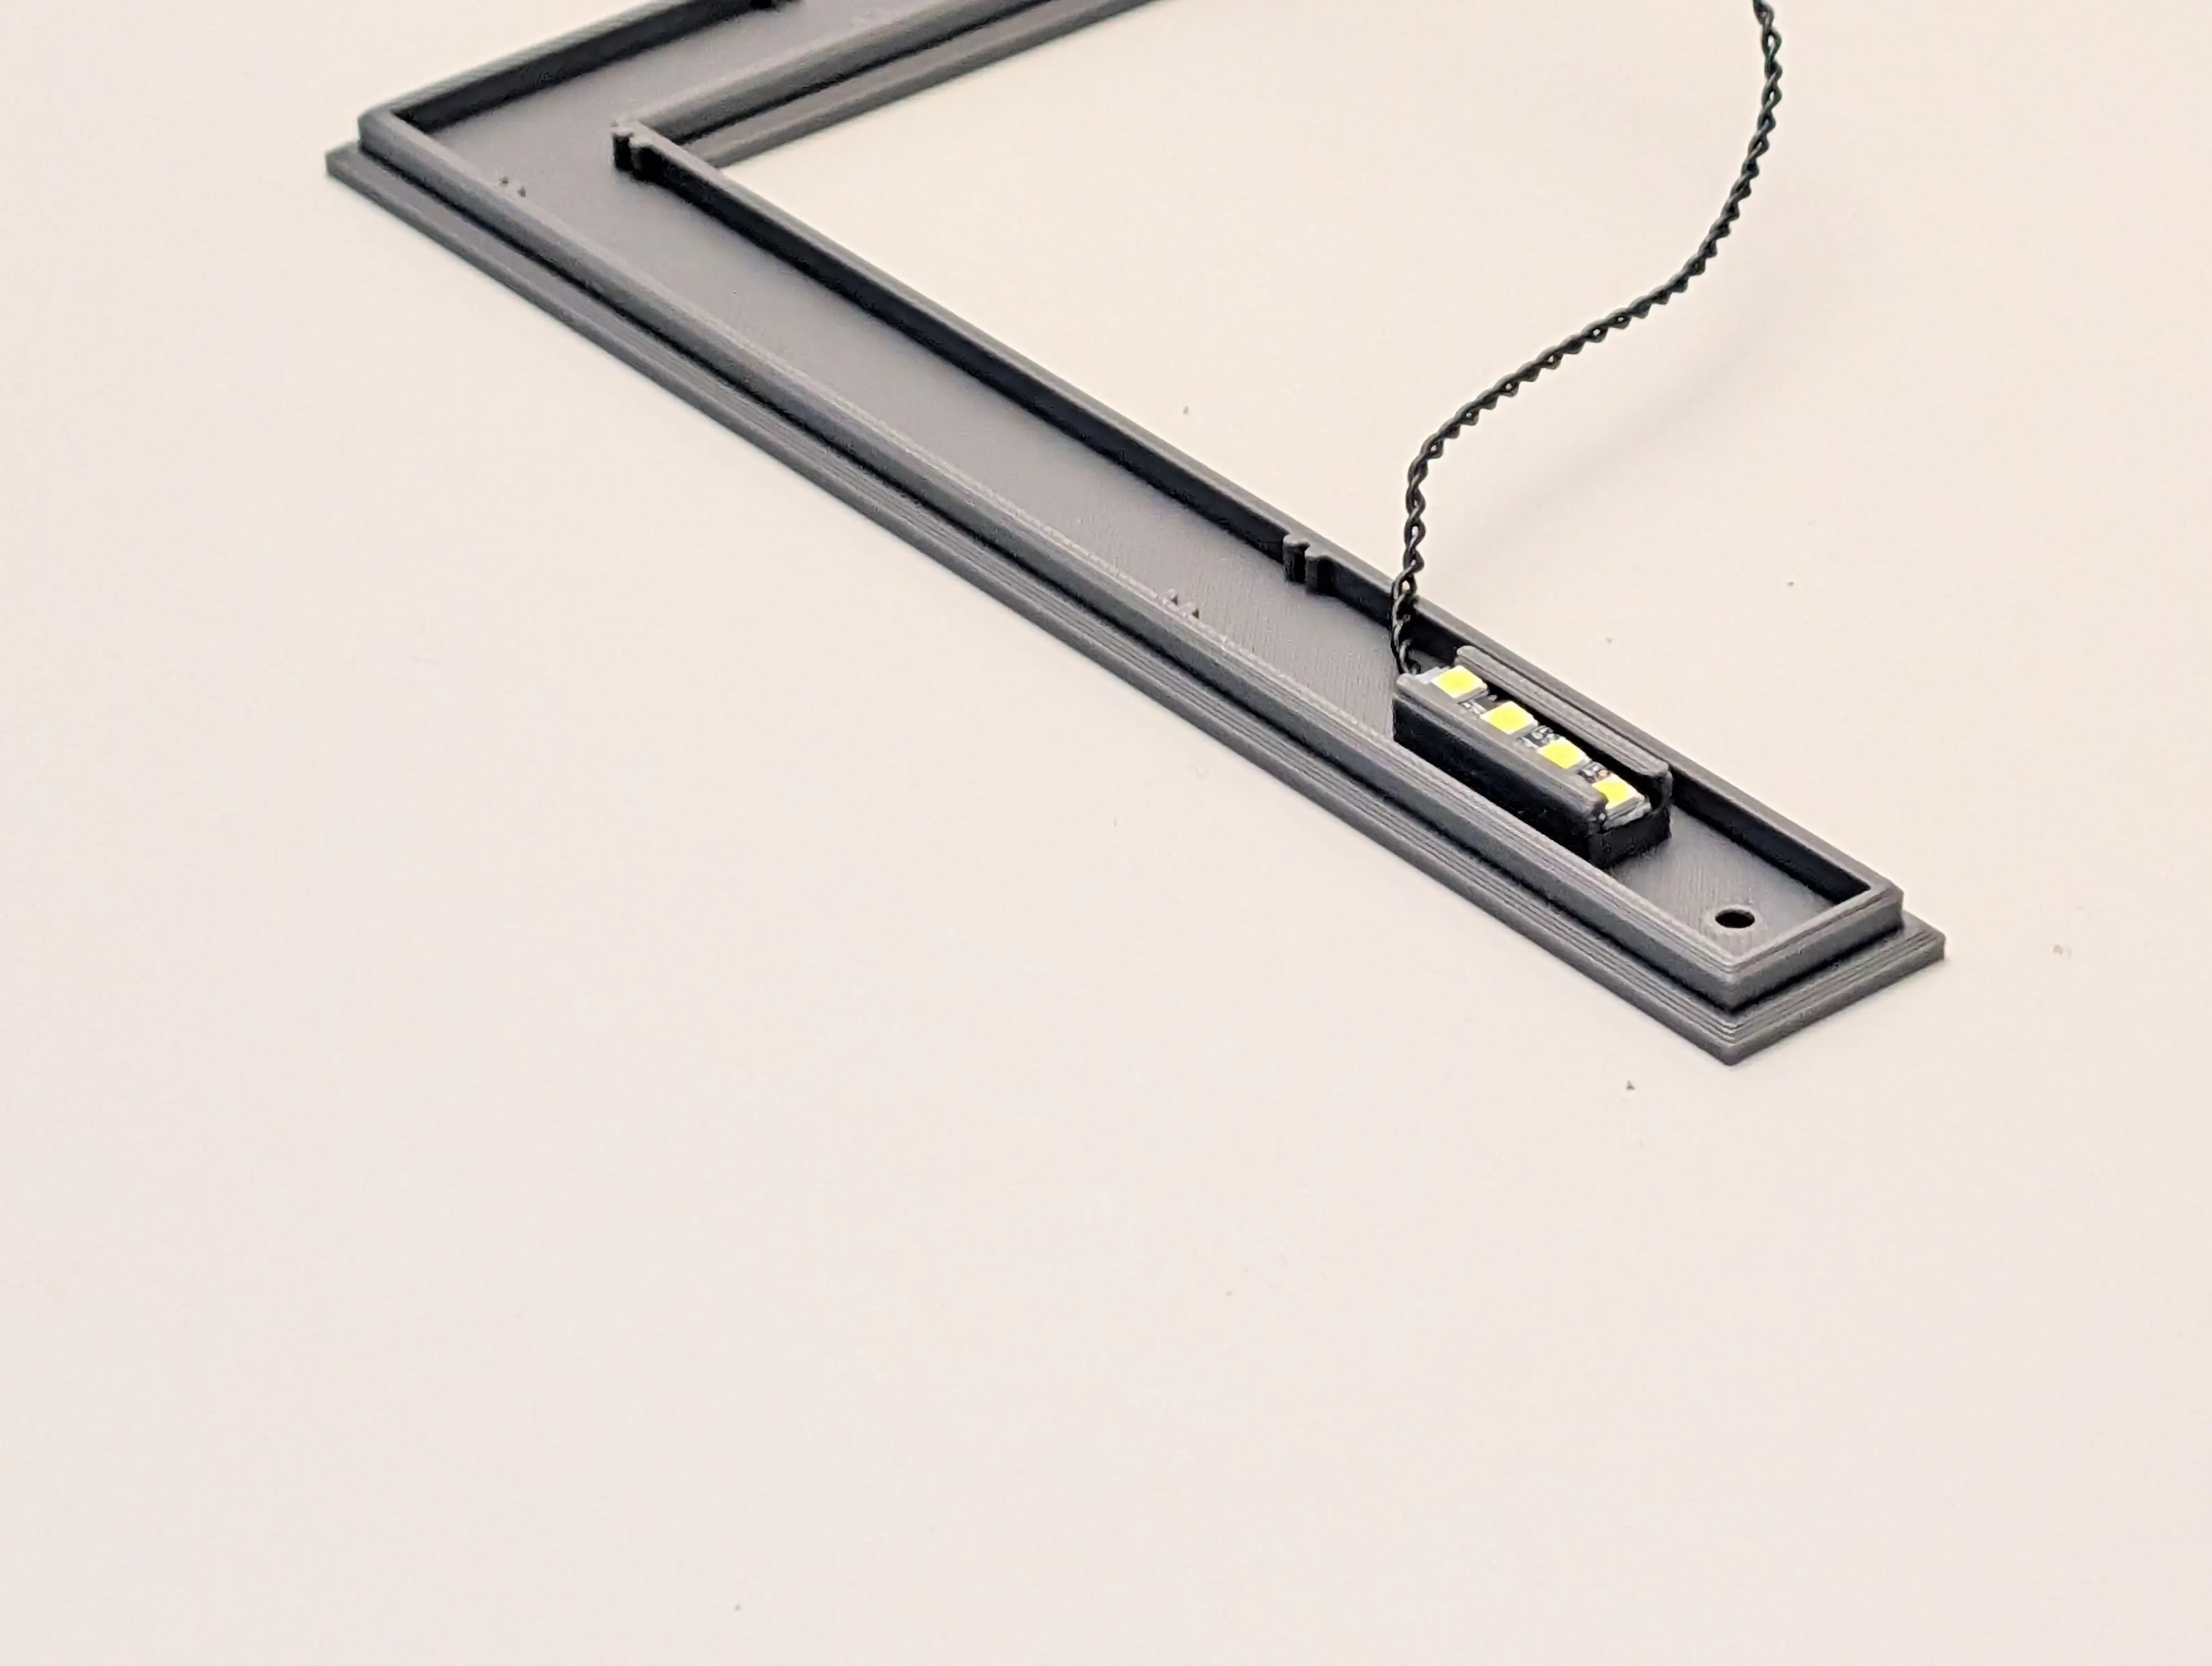
3d printed retainer x 6
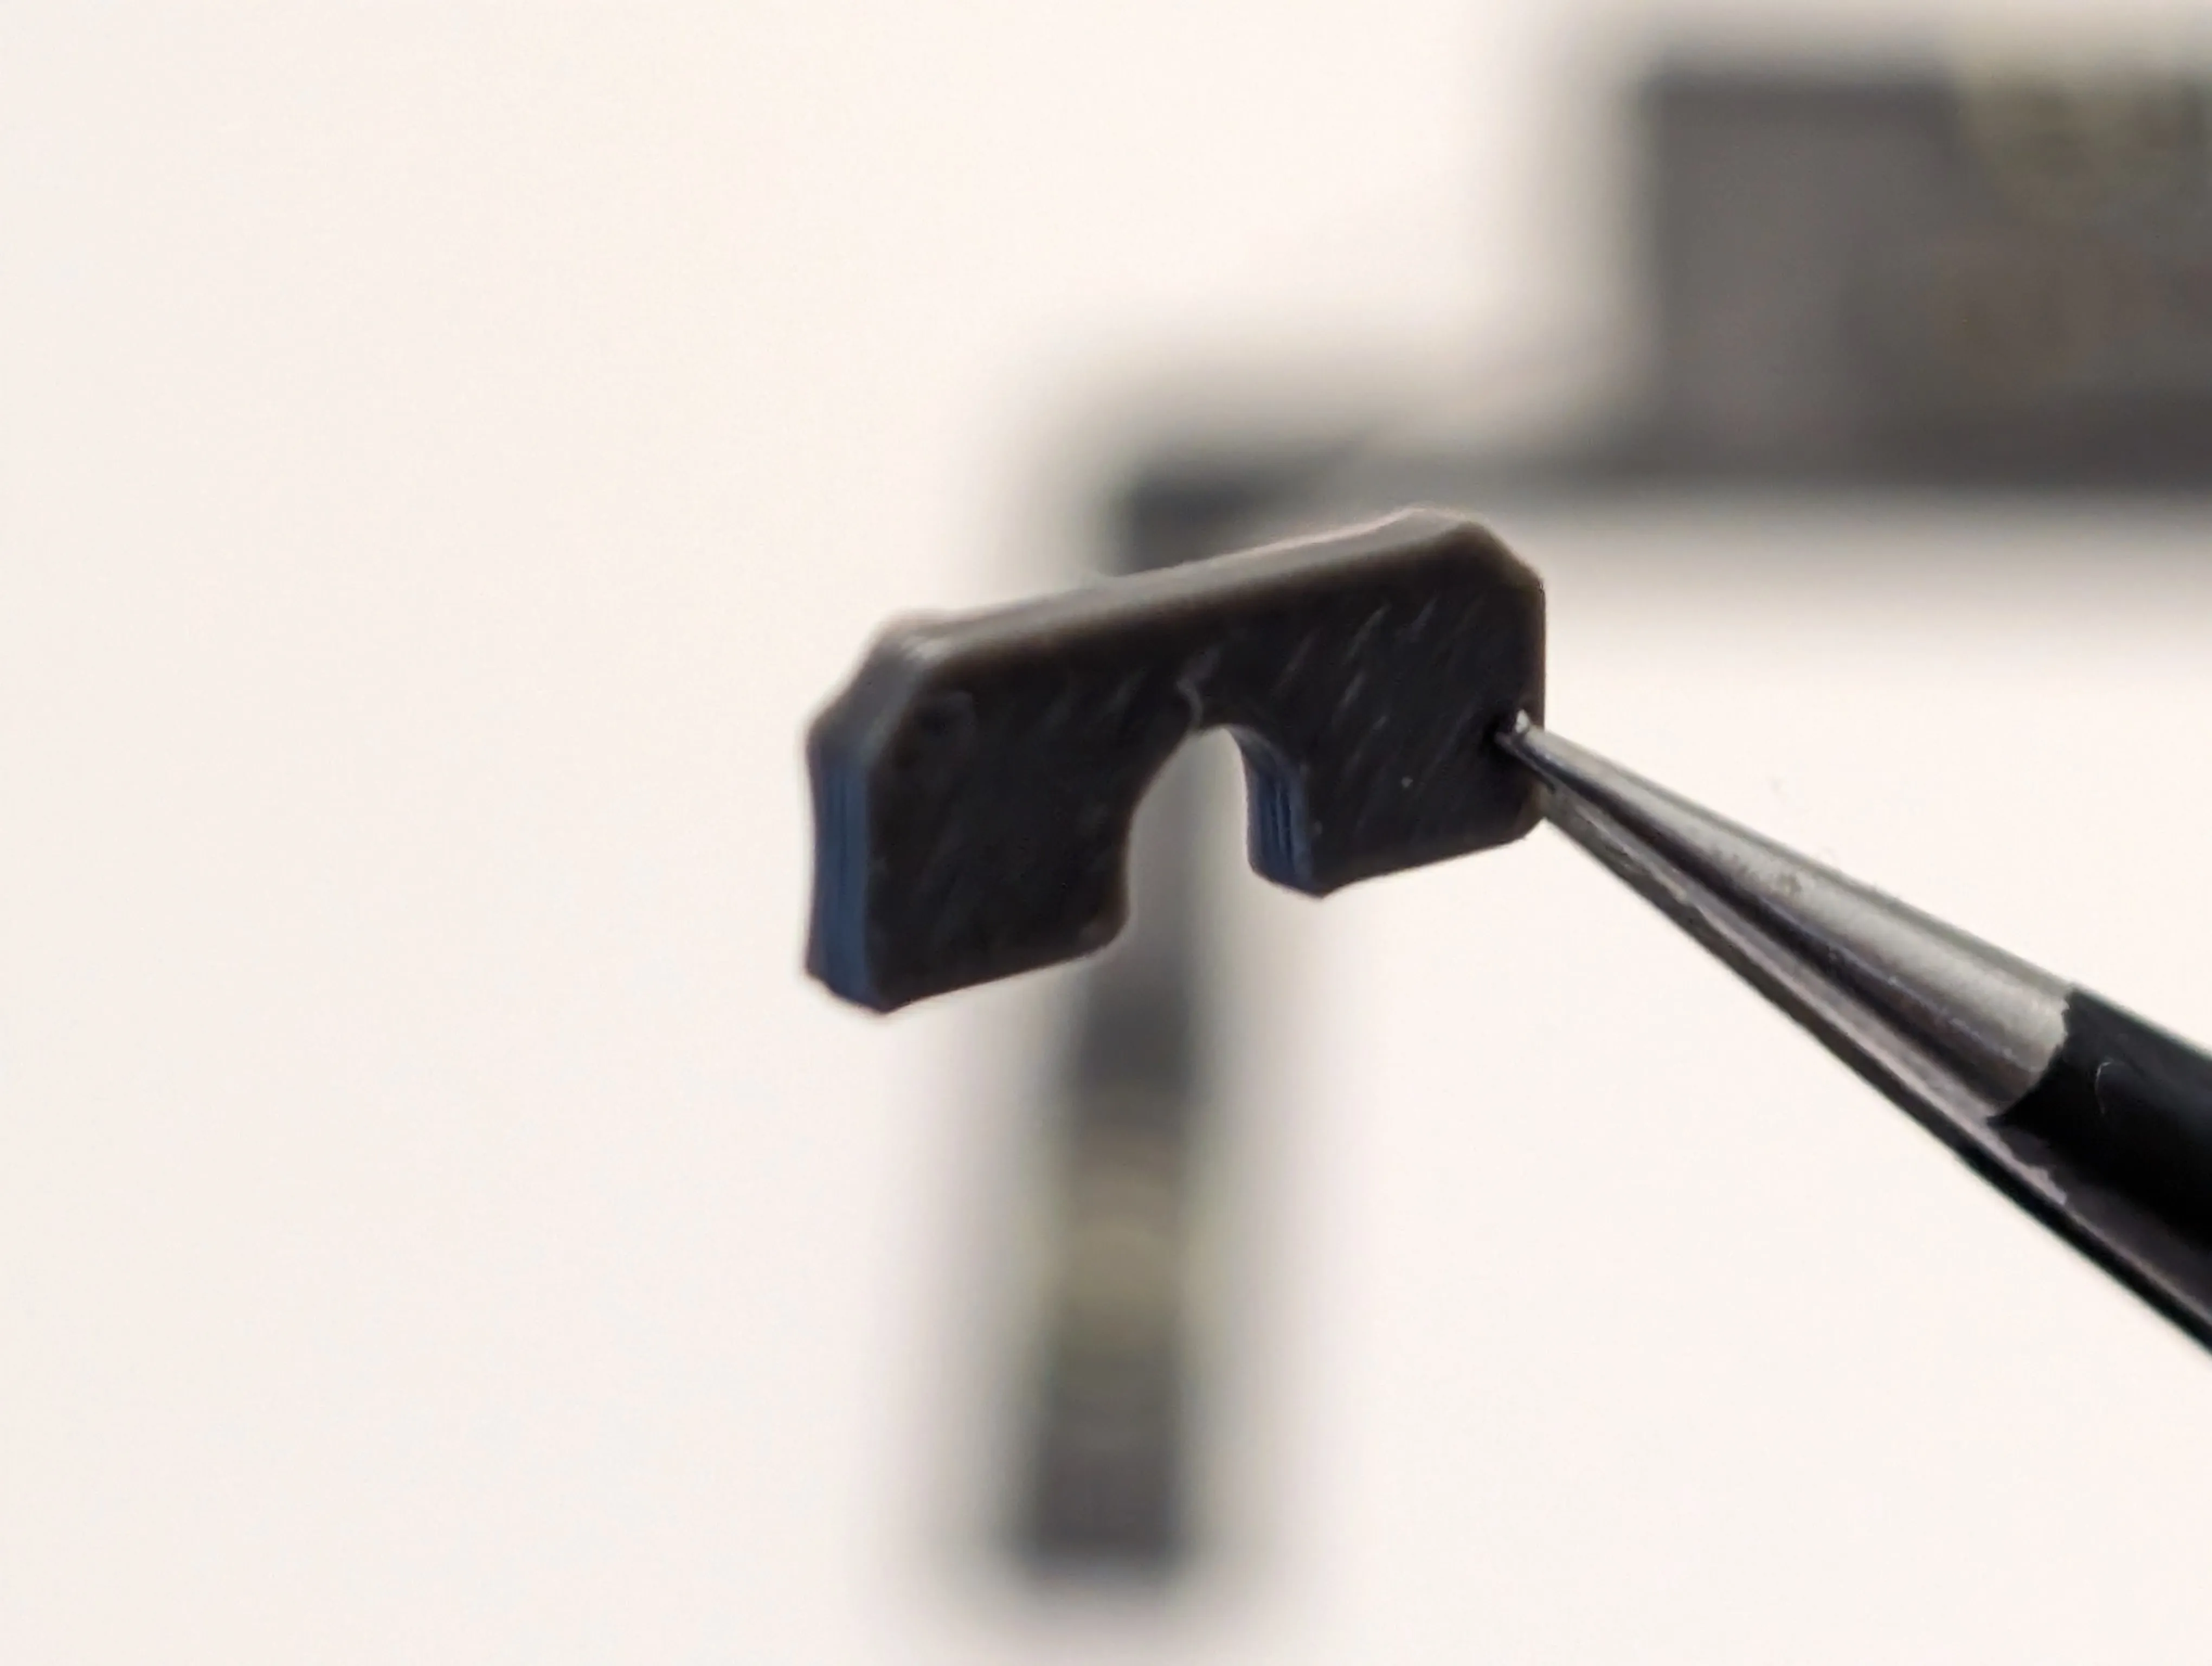
Place retainers in slots
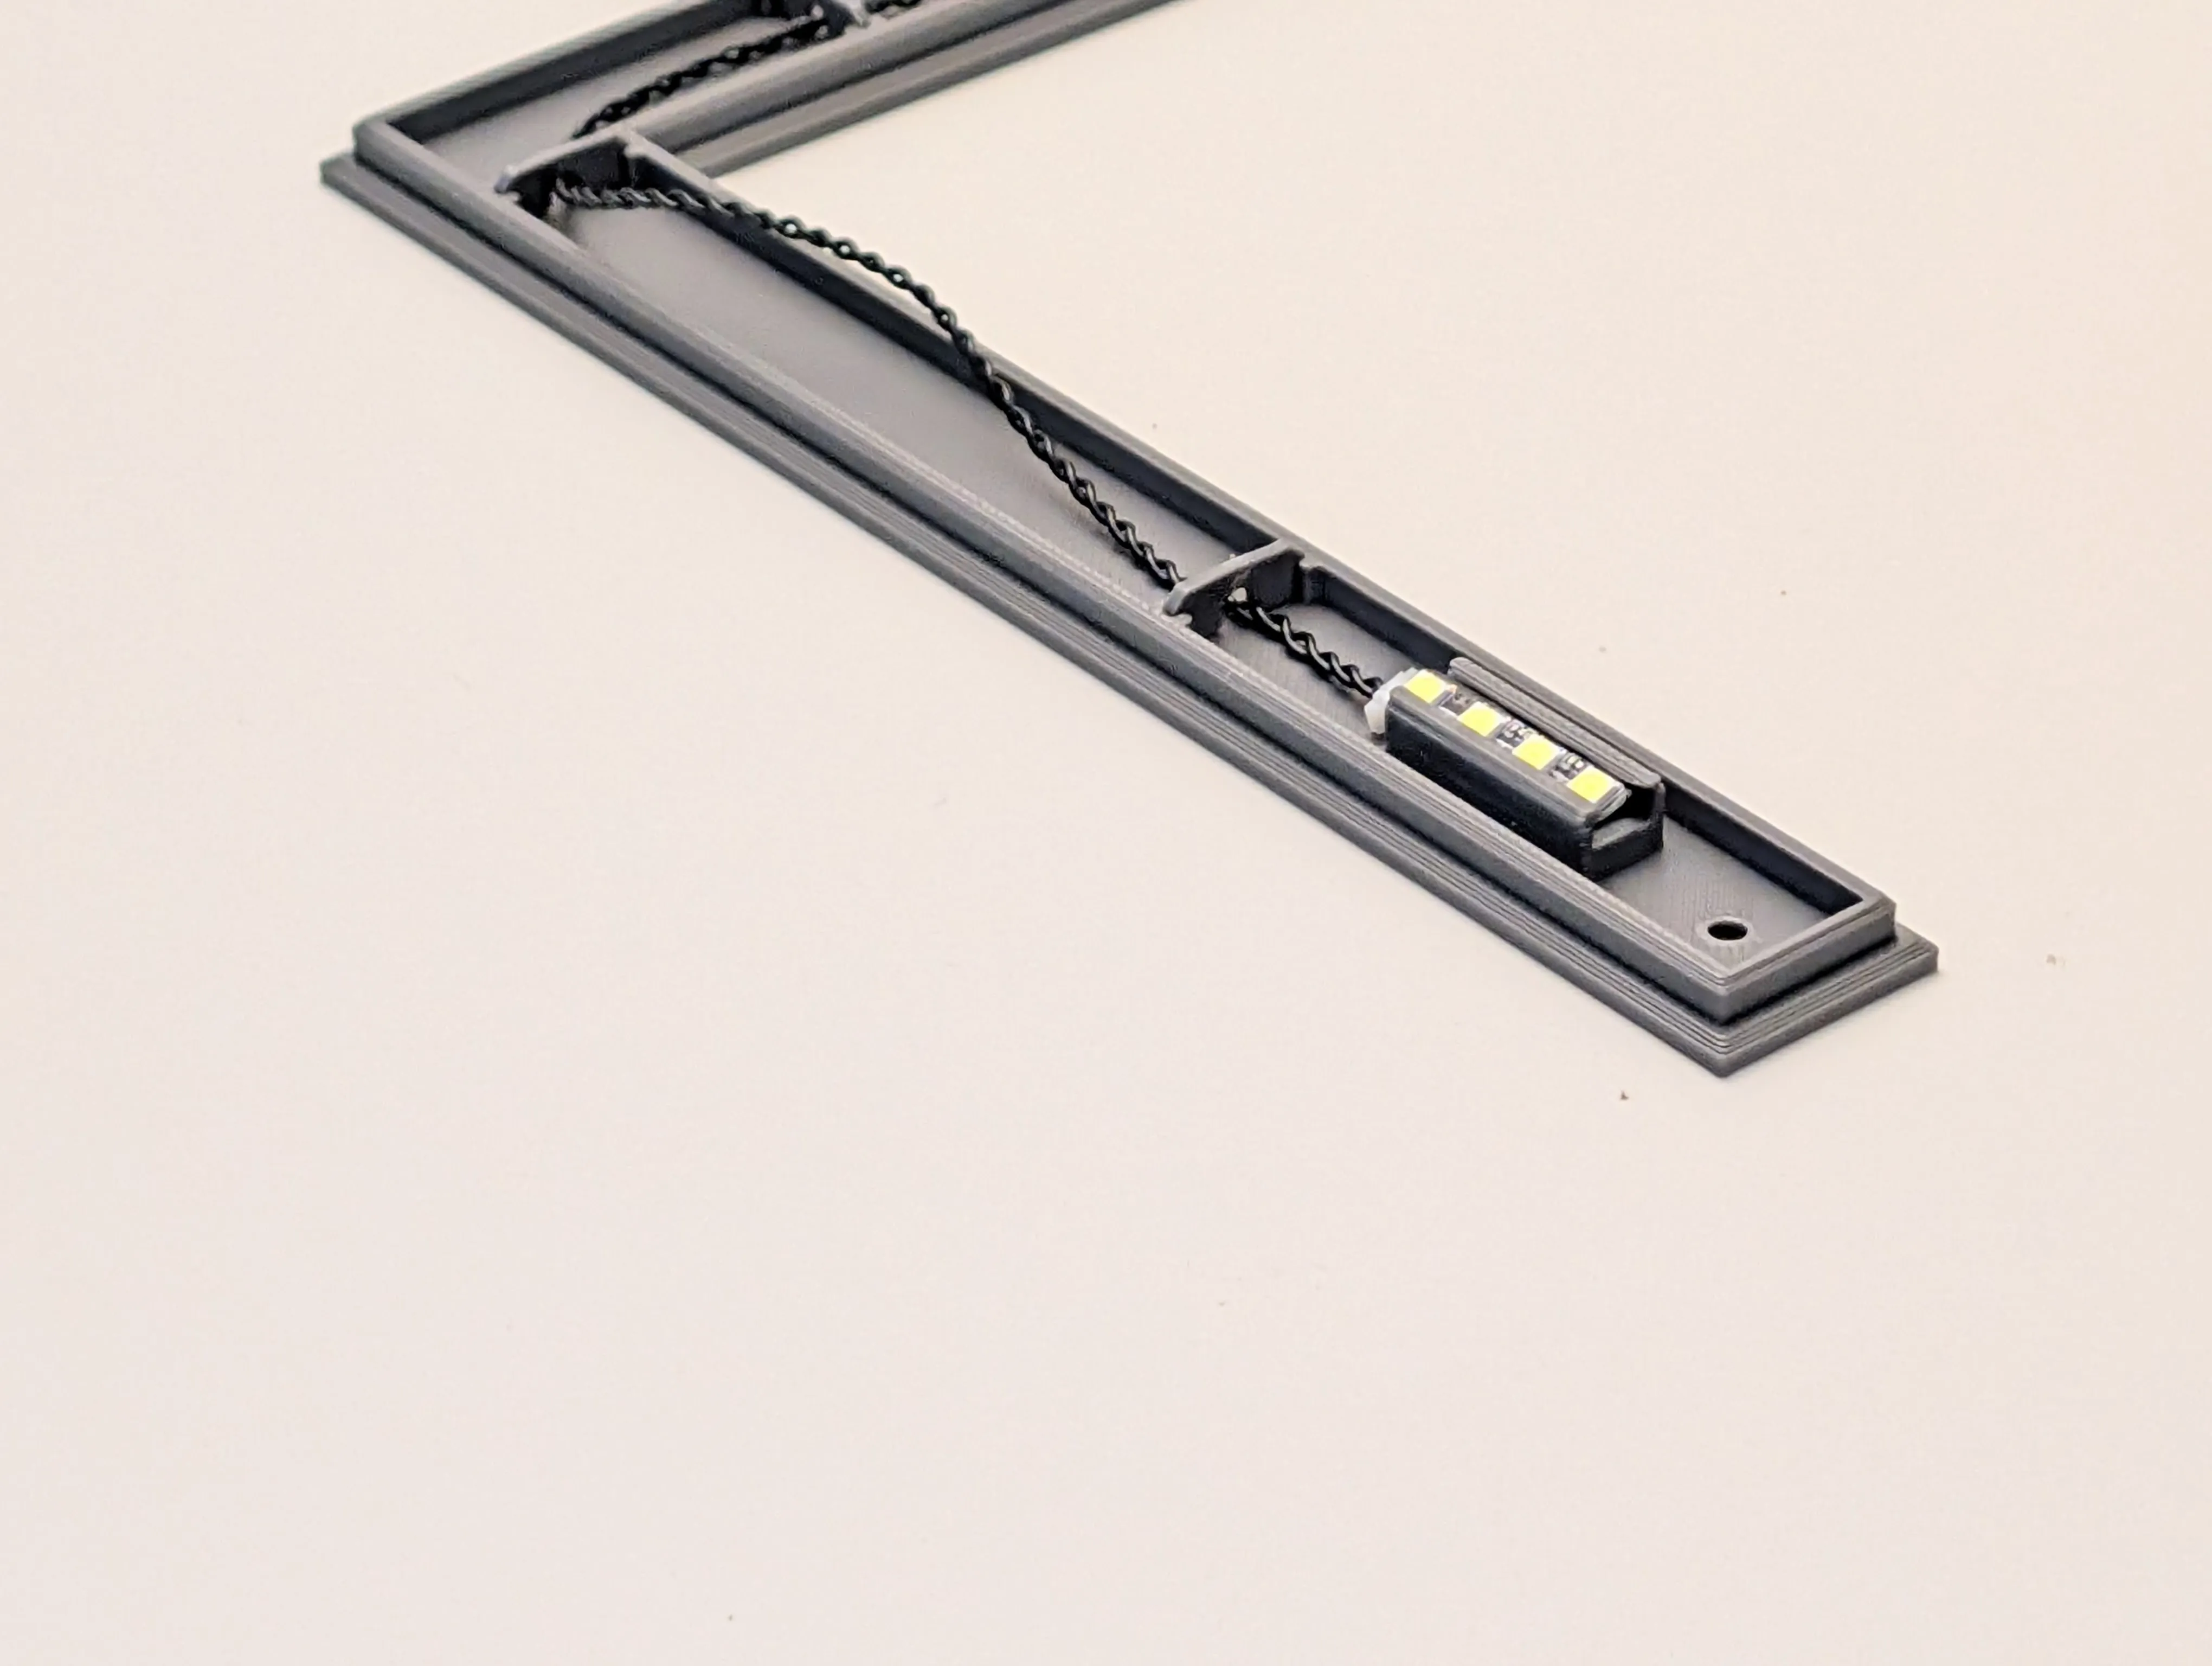
USB-A Power Cable - IC001
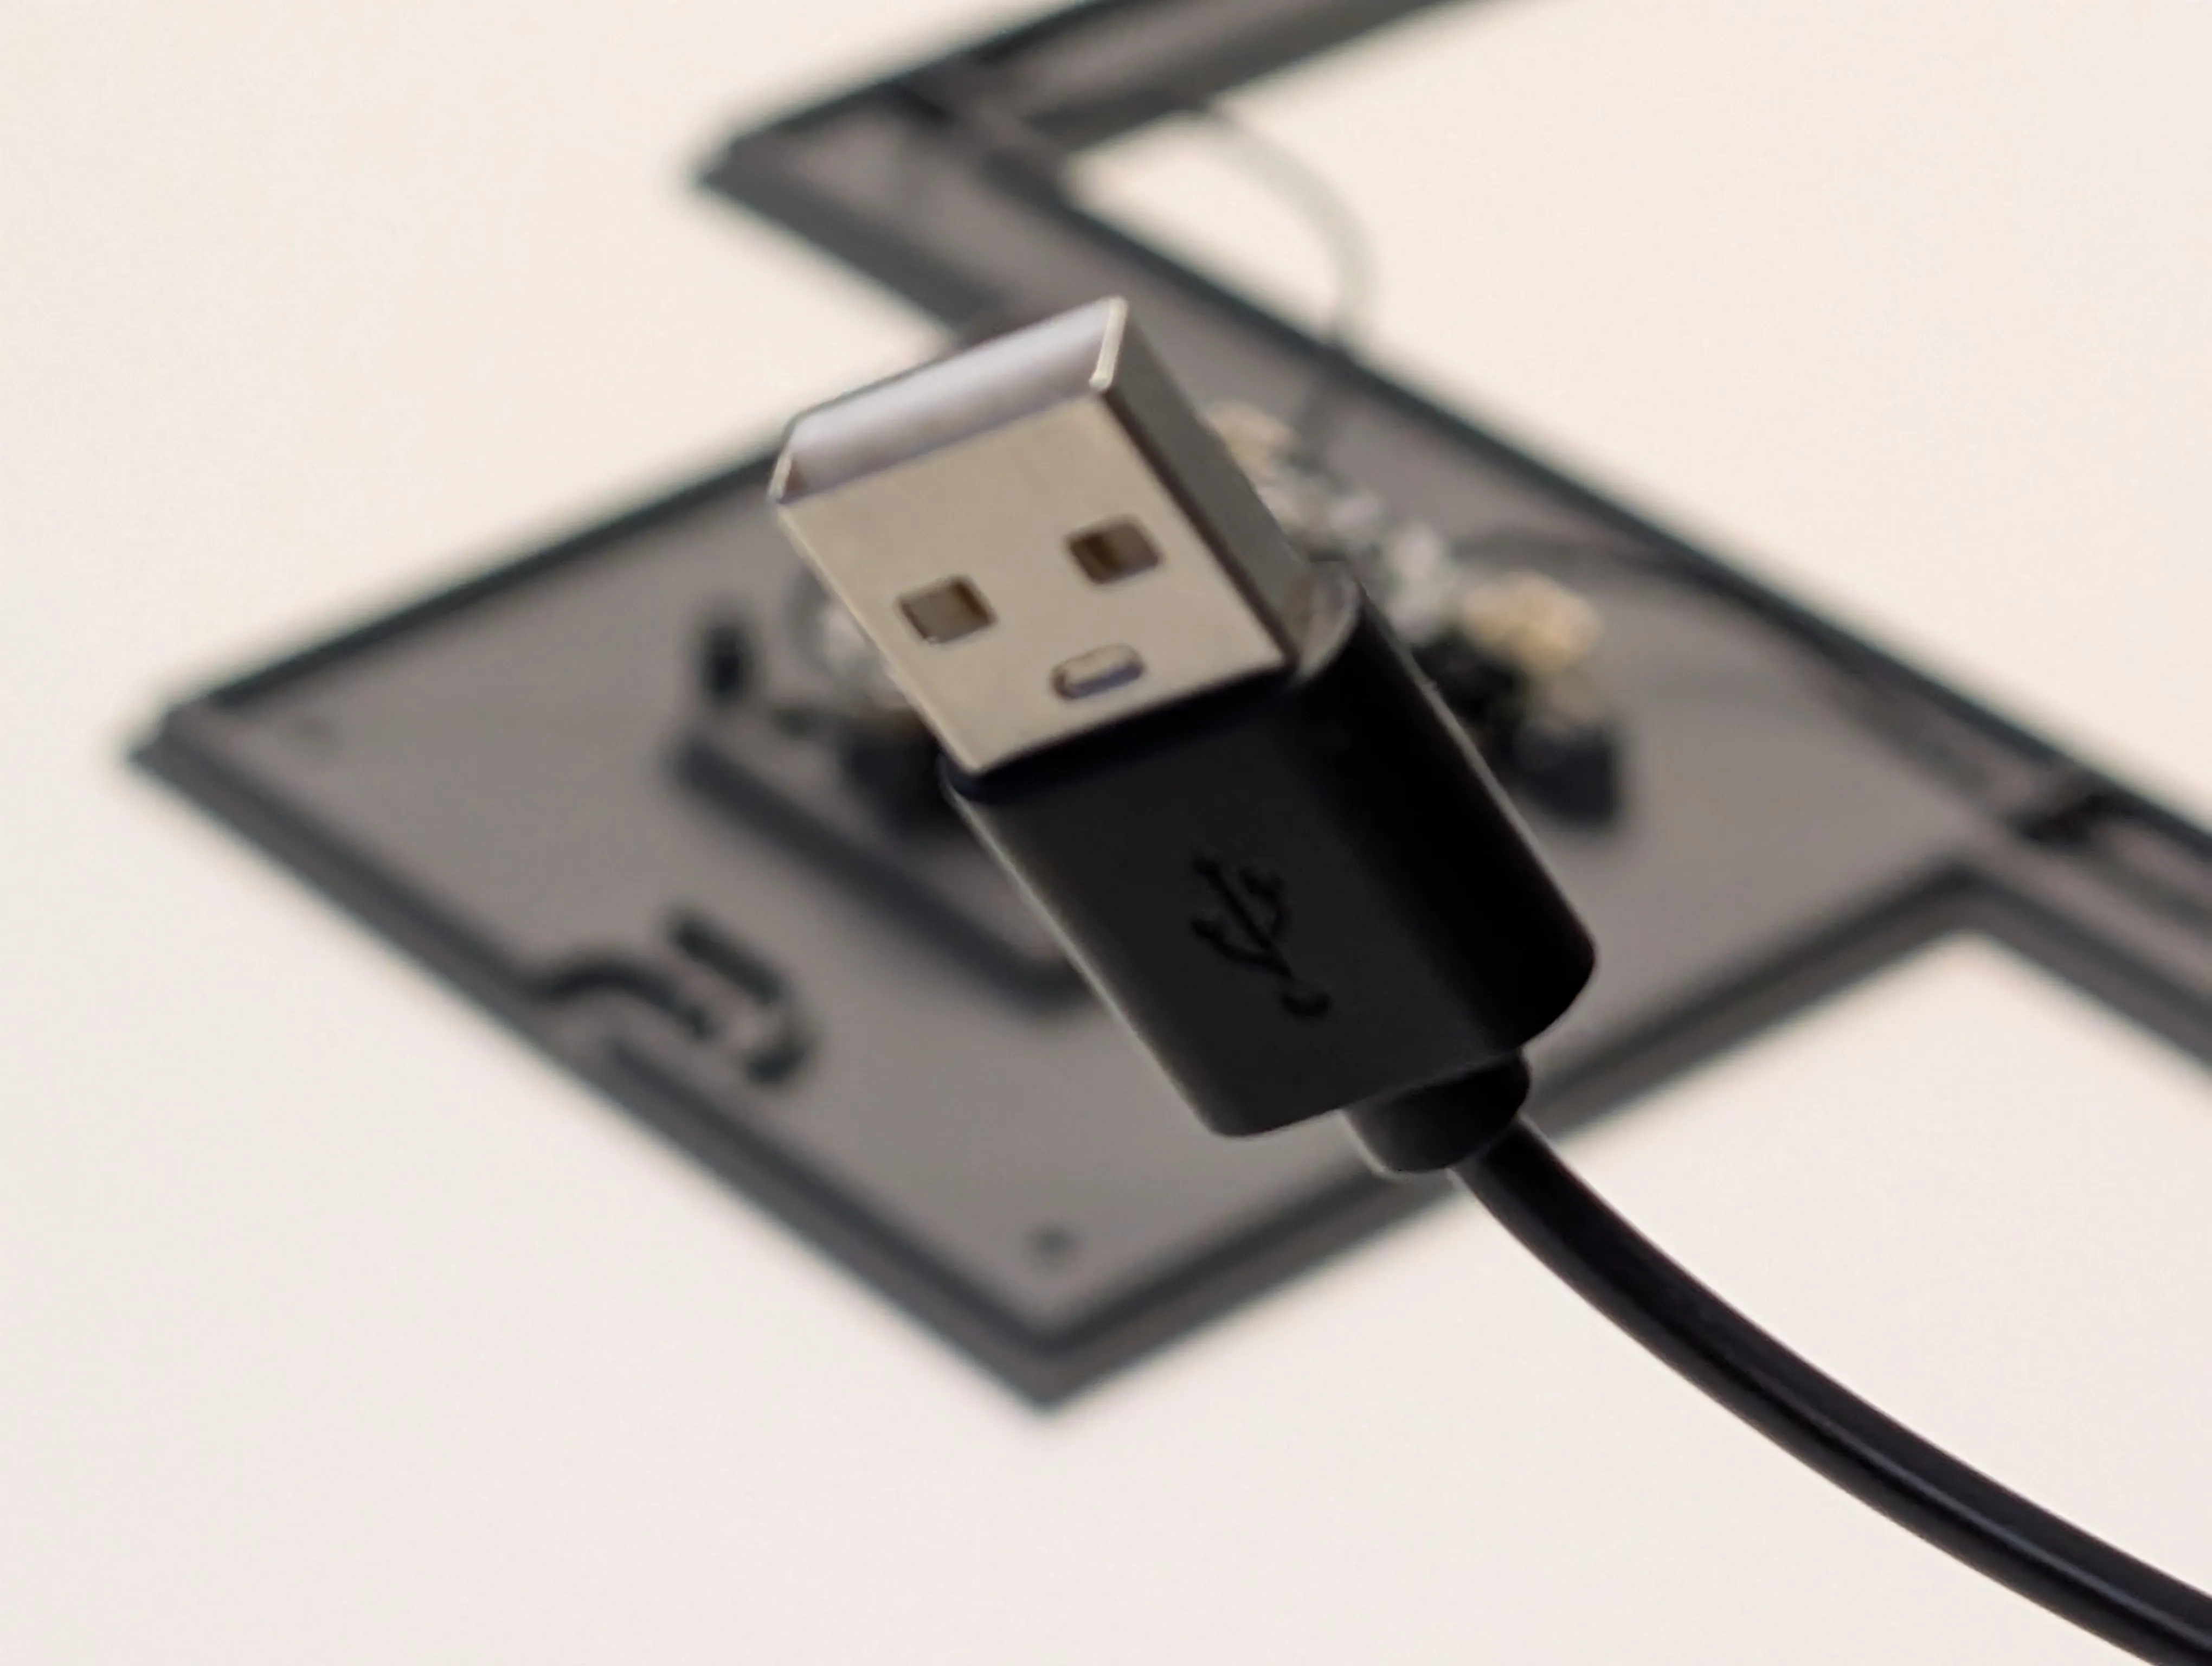
Connect cable as shown
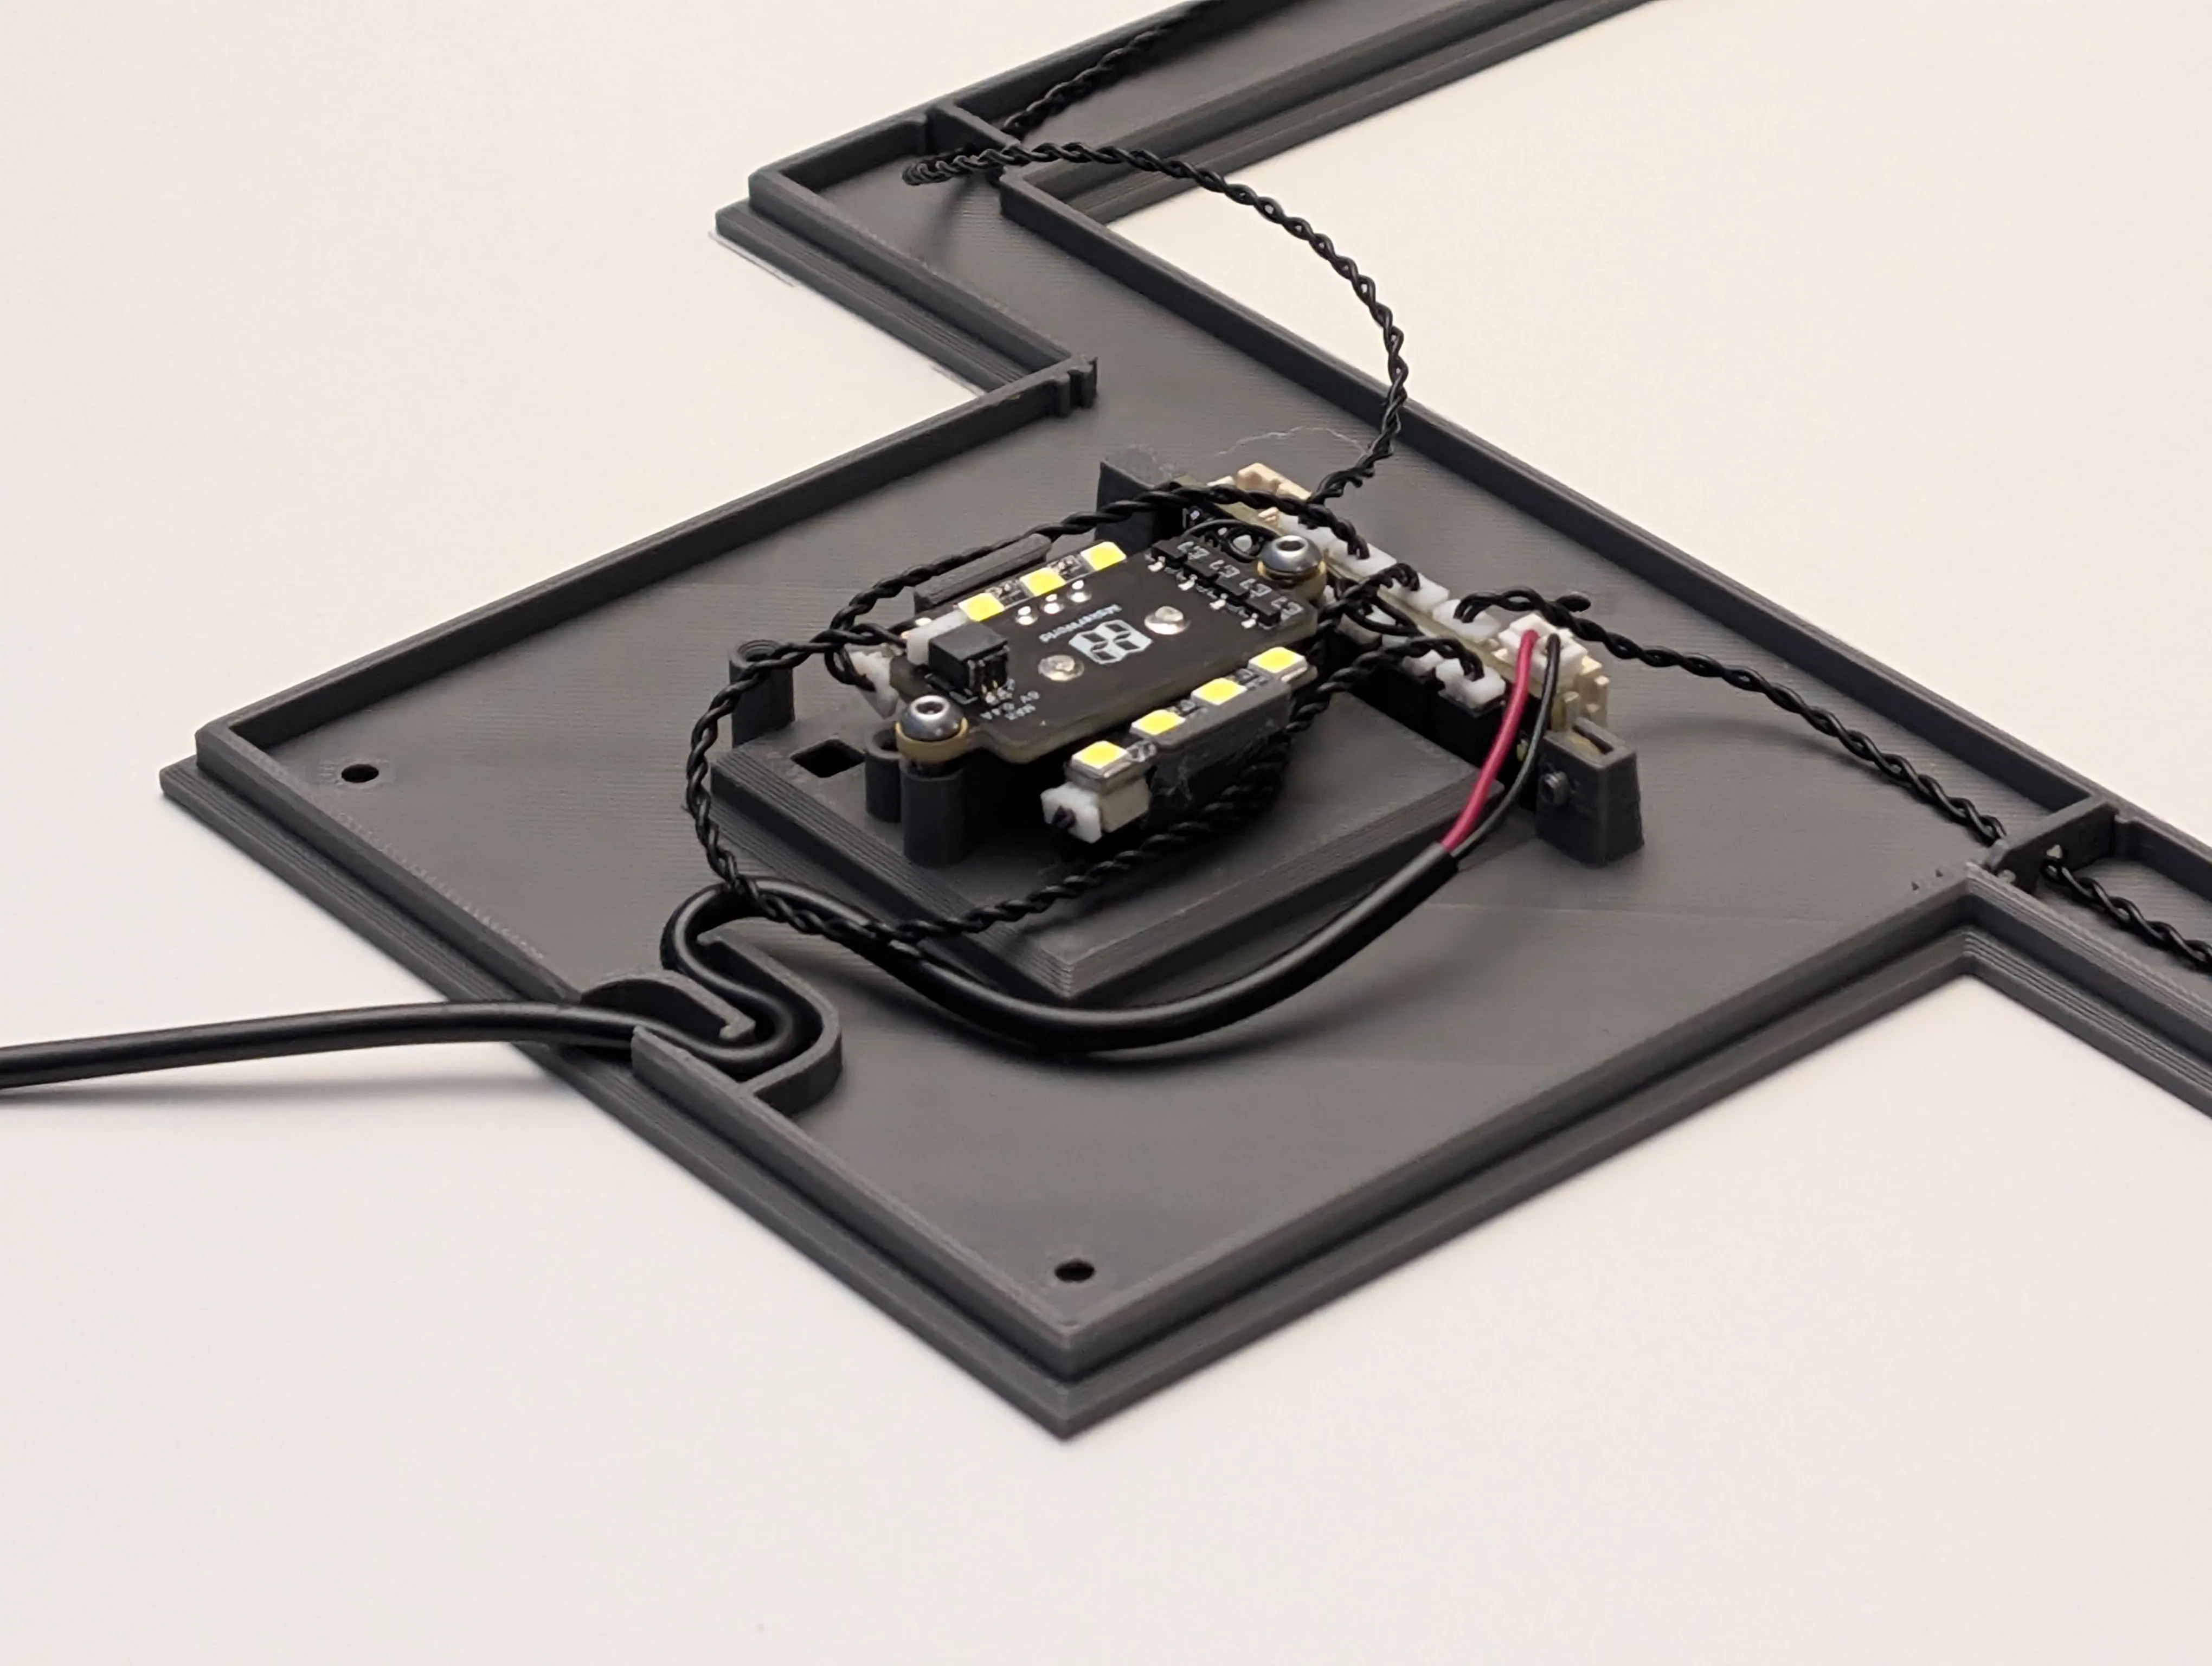
Fix with M2.5 Screws - AA013
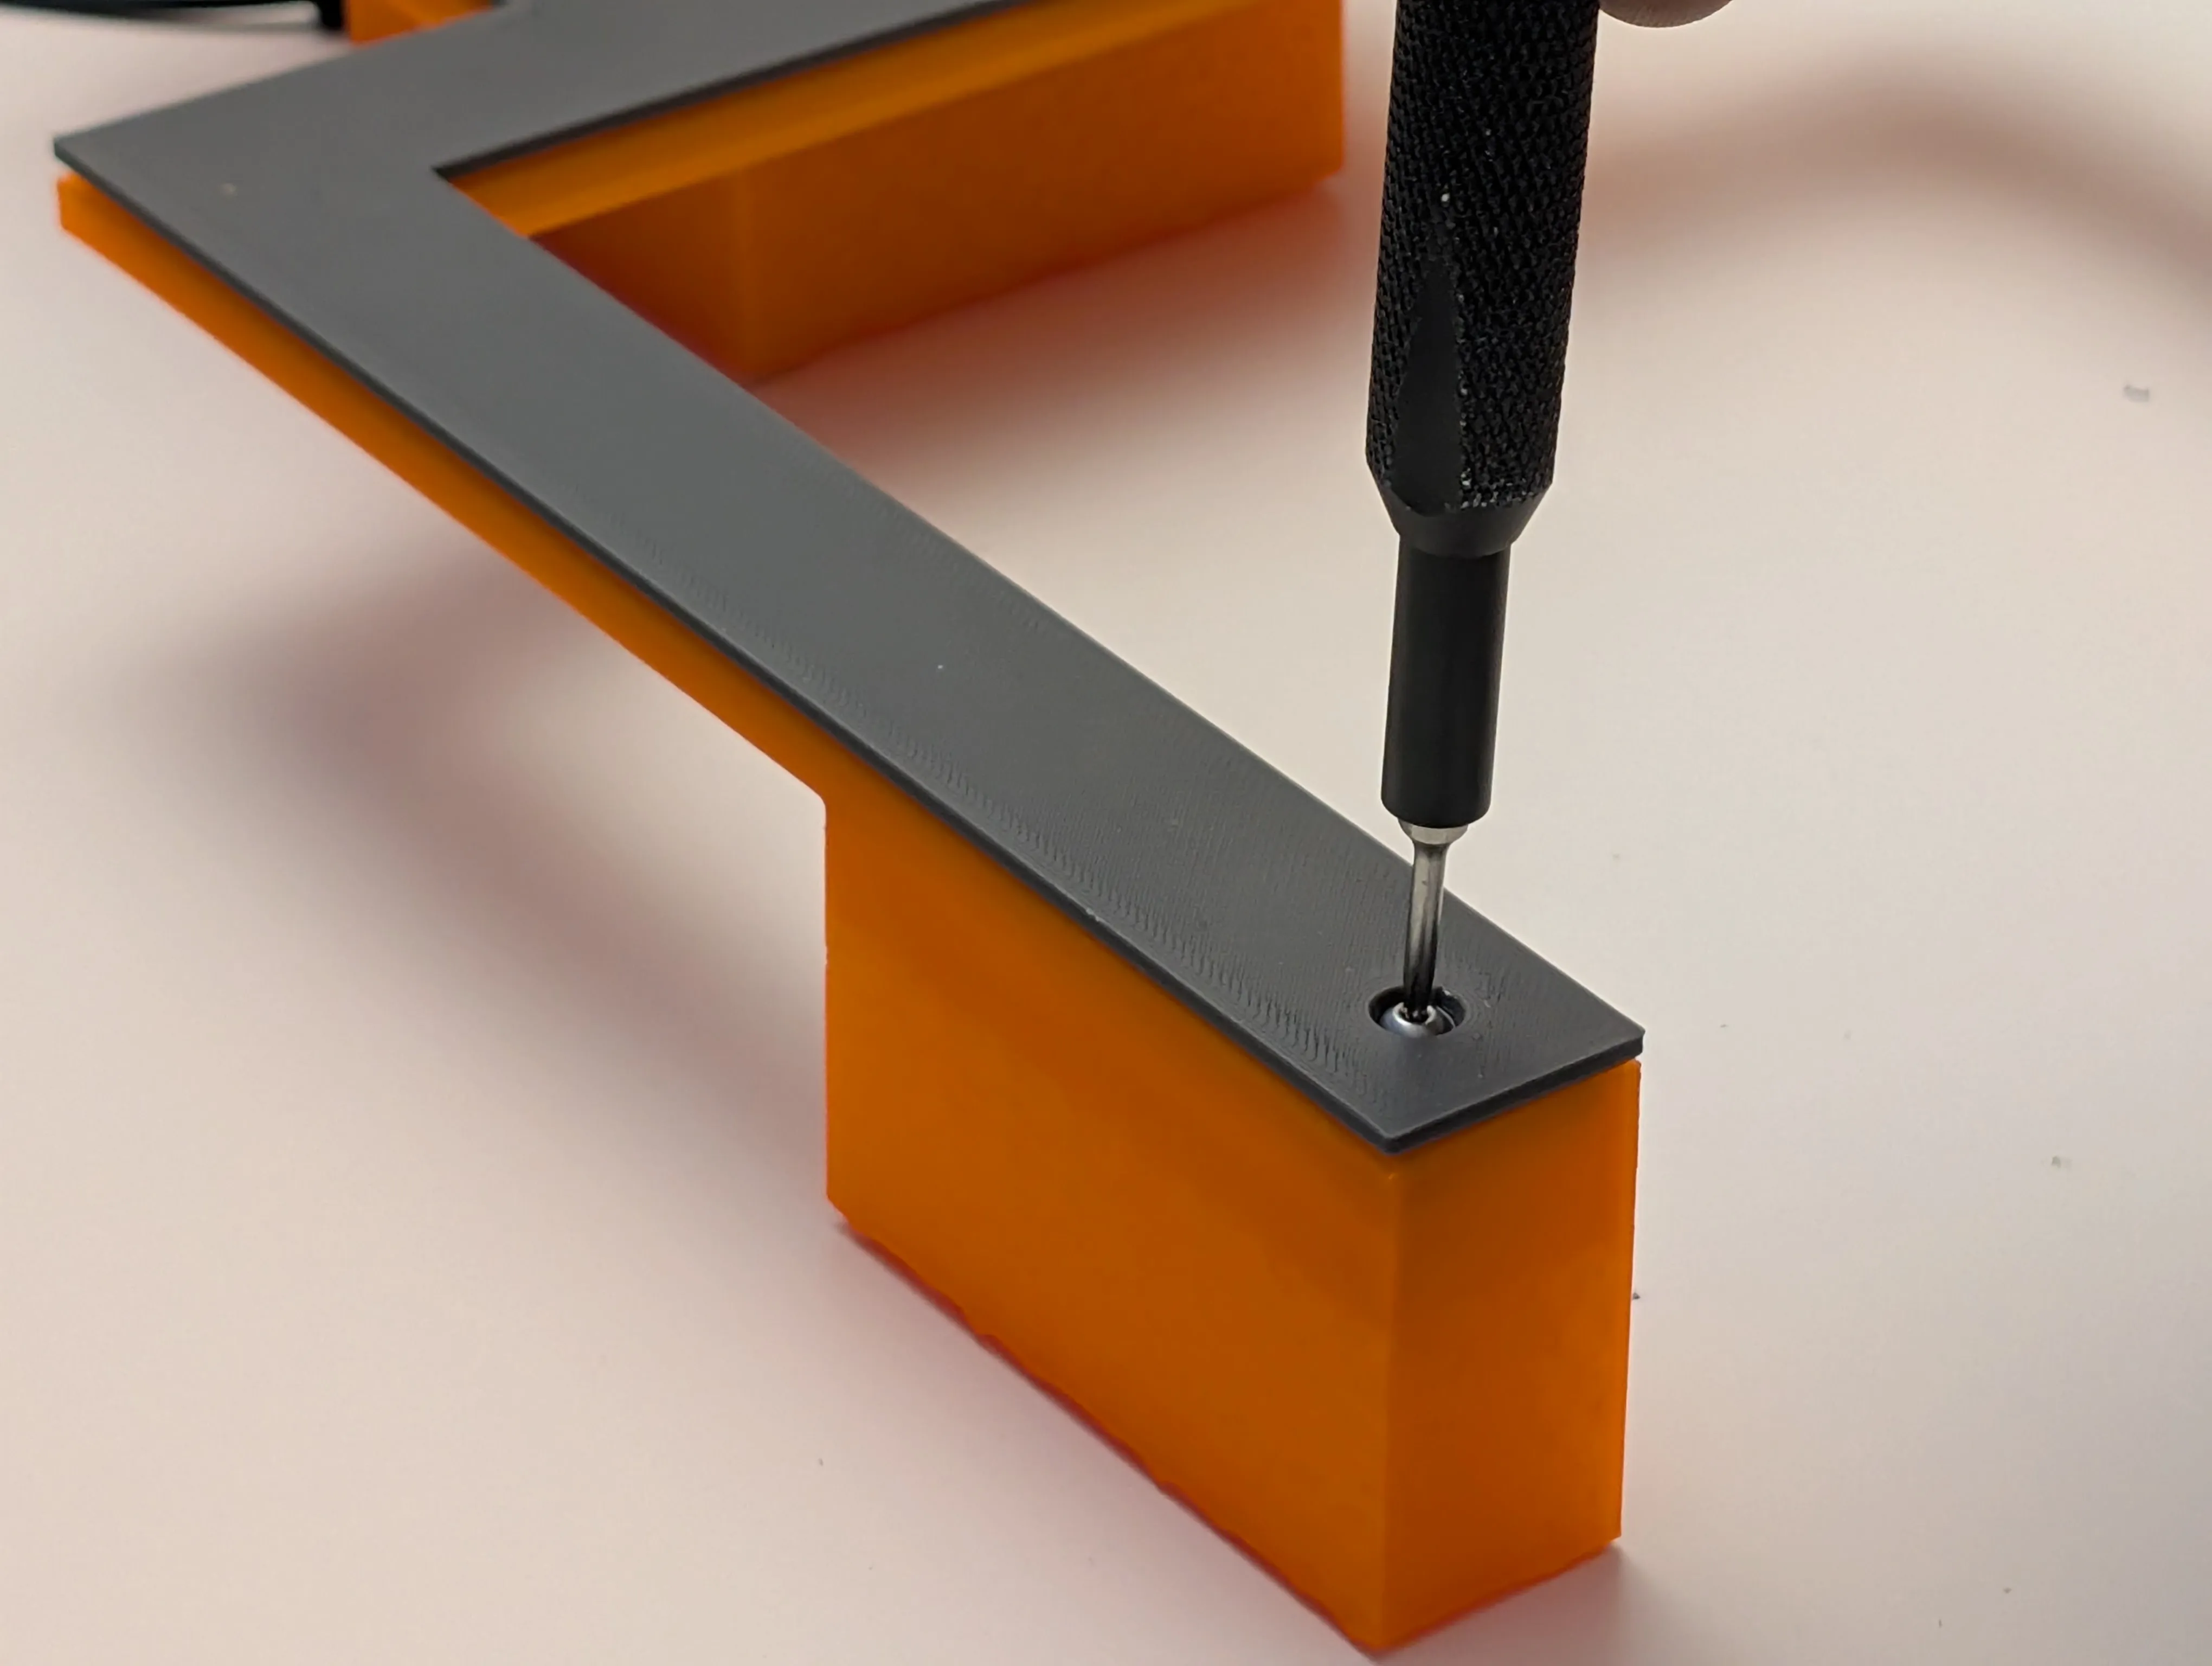
Fix with M2.5 Screws - AA013
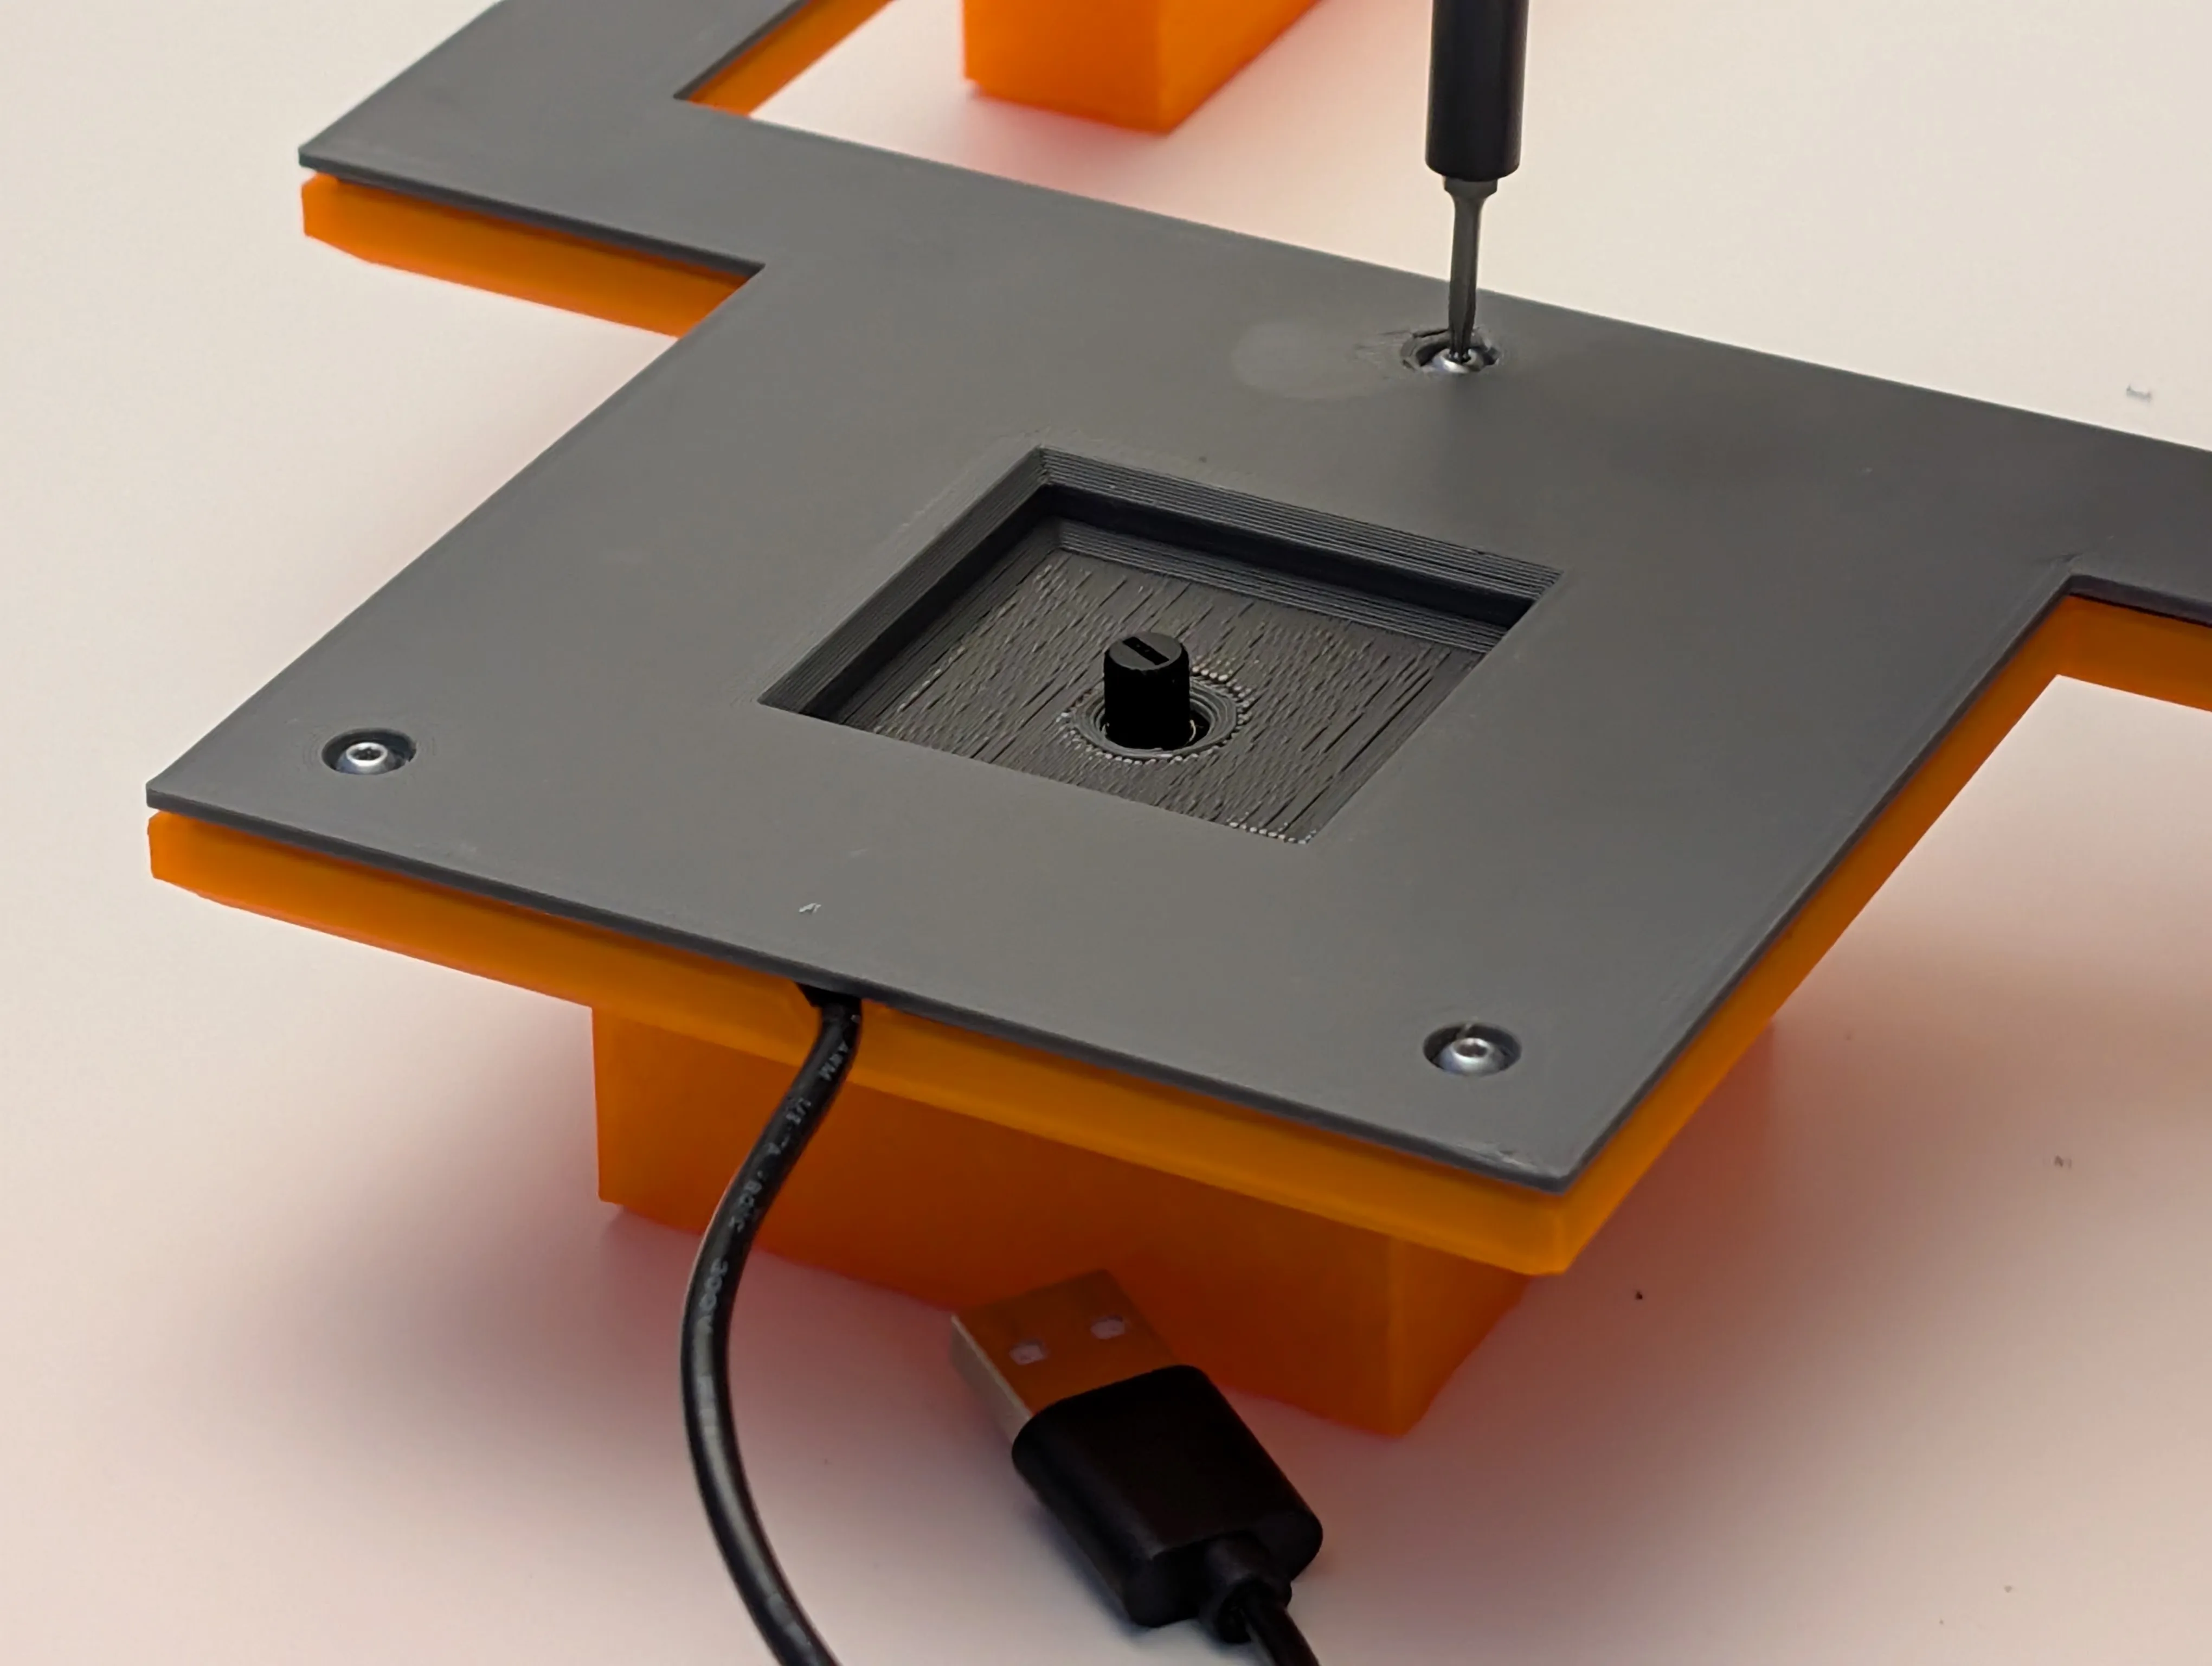
Maker's Supply Component
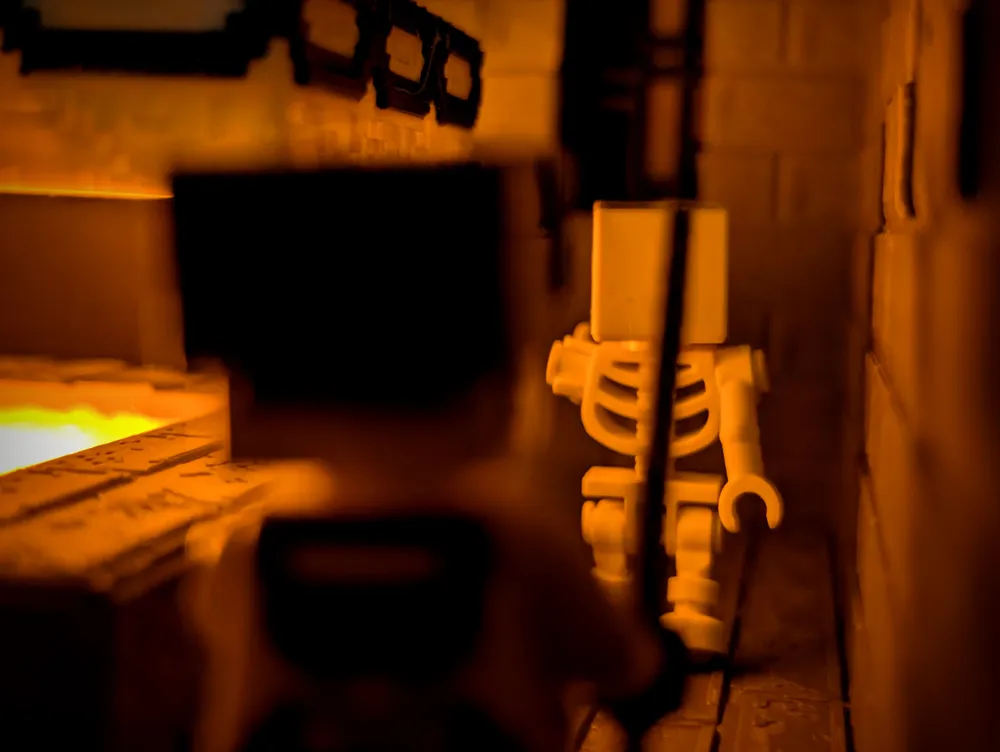
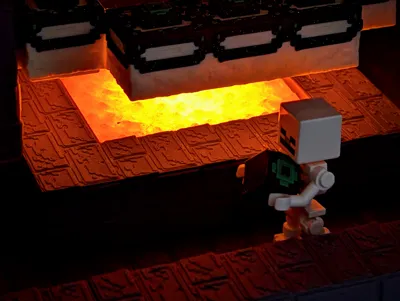
To enhance the storytelling and mood, I incorporated LED lighting using parts from Maker’s Supply. The lighting transforms the diorama, mimicking the glowing lava pools.
I have used the Potentiometer in this example but the is support for the Self Locking Switch if you prefer to use it, both can be installed together but they don't work in tandem as I've come to realise.
Special Thanks 🙏
A special thanks to the community, your creativity constantly inspires me!
I'd love to hear your feedback and answer any questions you might have about my build process or techniques. Feel free to leave a comment!
Happy making!
You May Also Like
I'm continuously creating new models so follow @moss3d to be notified when I upload new models.
Boost Me (for free)
If this model helped you, please support my work by giving me a boost. Thank you!
_______________________________________________
License

You shall not share, sub-license, sell, rent, host, transfer, or distribute in any way the digital or 3D printed versions of this object, nor any other derivative work of this object in its digital or physical format (including - but not limited to - remixes of this object, and hosting on other digital platforms). The objects may not be used without permission in any way whatsoever in which you charge money, or collect fees.


Comment & Rating (49)