
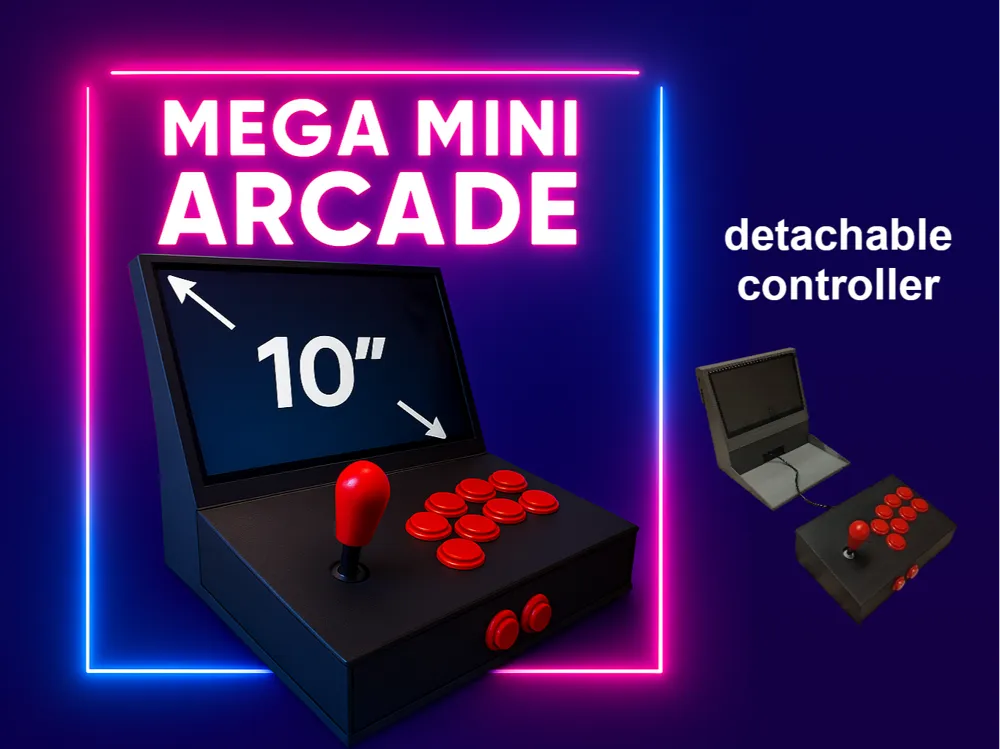
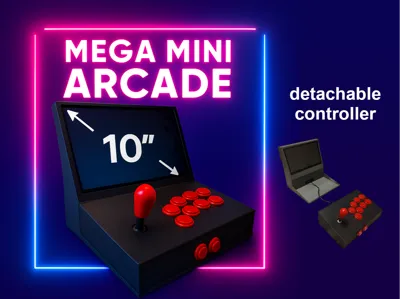
MEGA mini arcade 10" with detachable controller
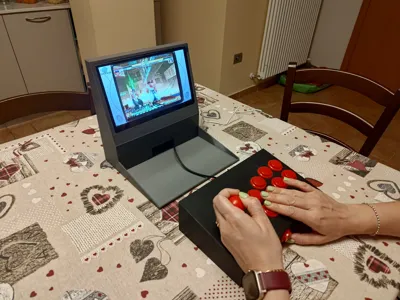
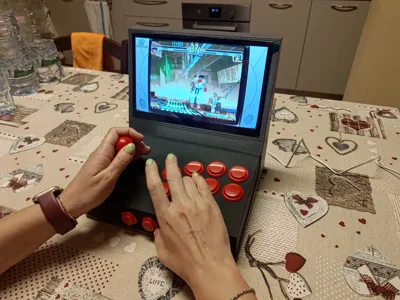
Print Profile(1)

Description
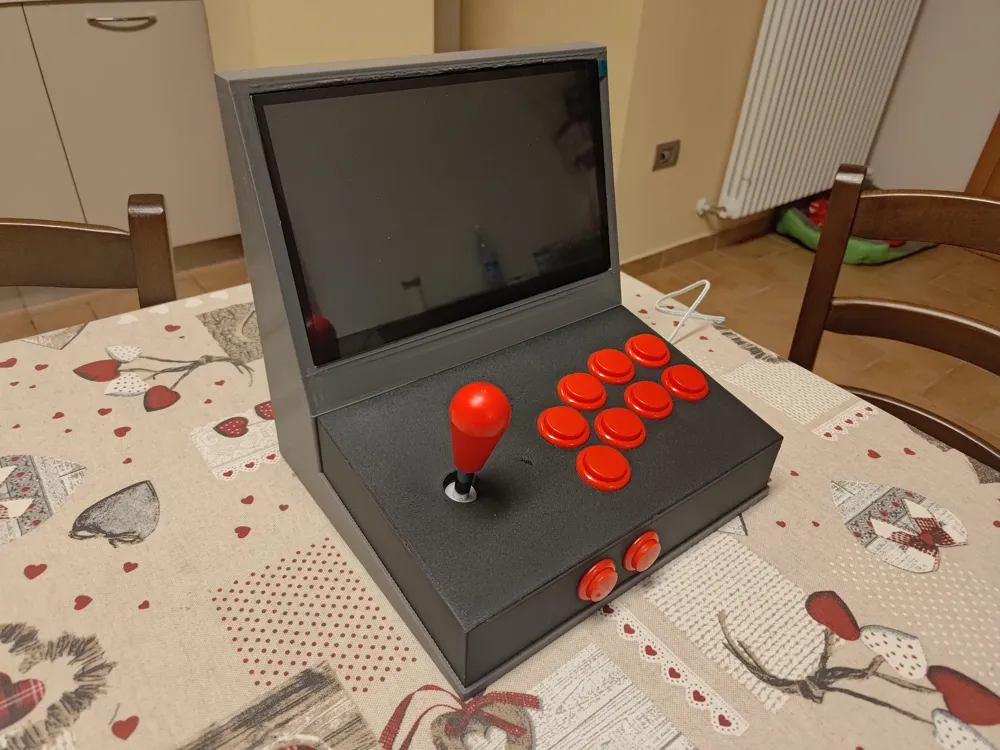
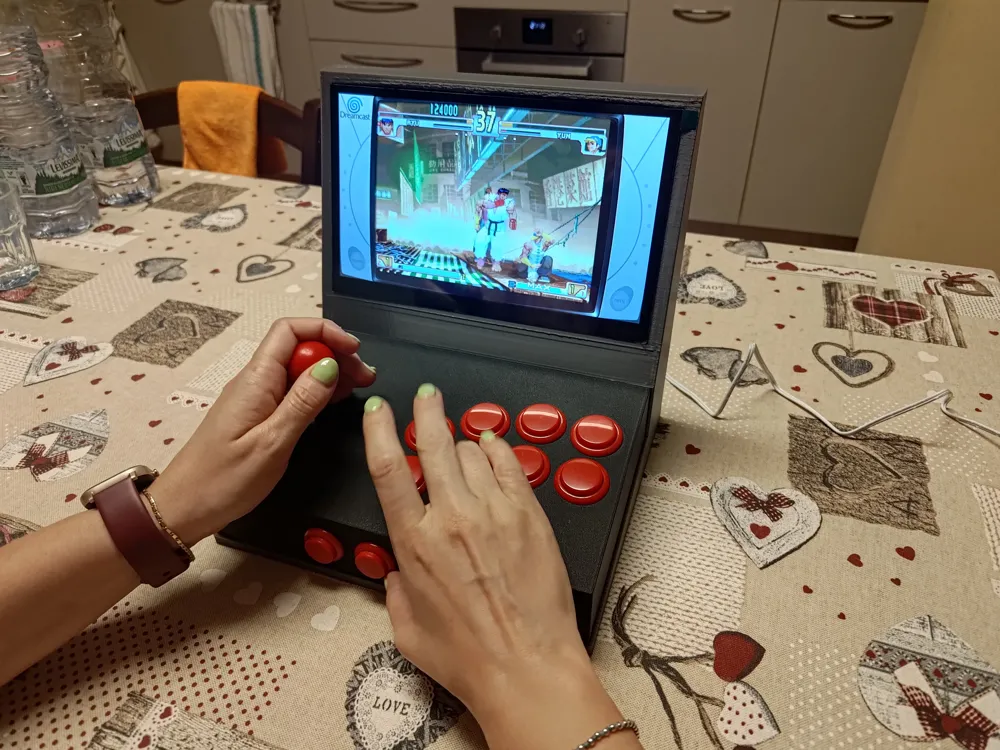
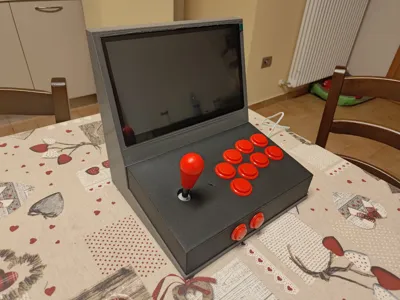
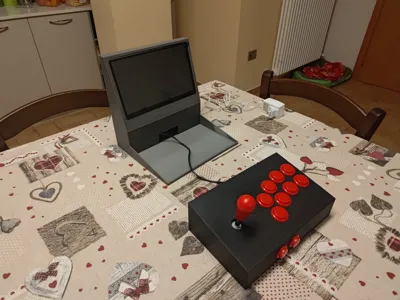
This model boasts a minimalist design, comprising only three 3D-printed parts: a chassis encompassing your entire print bed—for many, this will be the largest print you've ever undertaken, approximately 255x225x250mm—and two controller components.
The model requires a few key components to purchase, plus approximately one kilogram of filament for the printed parts.
The components are:
1 x Raspberry Pi 3B (~€50) [Aliexpress link] (a Pi 4 is also suitable, your choice)
Power supply + microSD card (at least 16GB) ~€5
1 x LCD display with Raspberry Pi mounts (~€65) [Aliexpress link]
1 x Raspberry Pi arcade kit (~€20) [Aliexpress link]
5 x M3 x 20mm self-tapping screws (approximately)
TOTAL ~€140 (but likely less) + filament
I recommend printing the controller_top first, then controller_base, and finally the main base.
This guide was originally written in Italian; I hope the automatic translator performs well; otherwise, I will include numerous images.
Controller Assembly Guide:
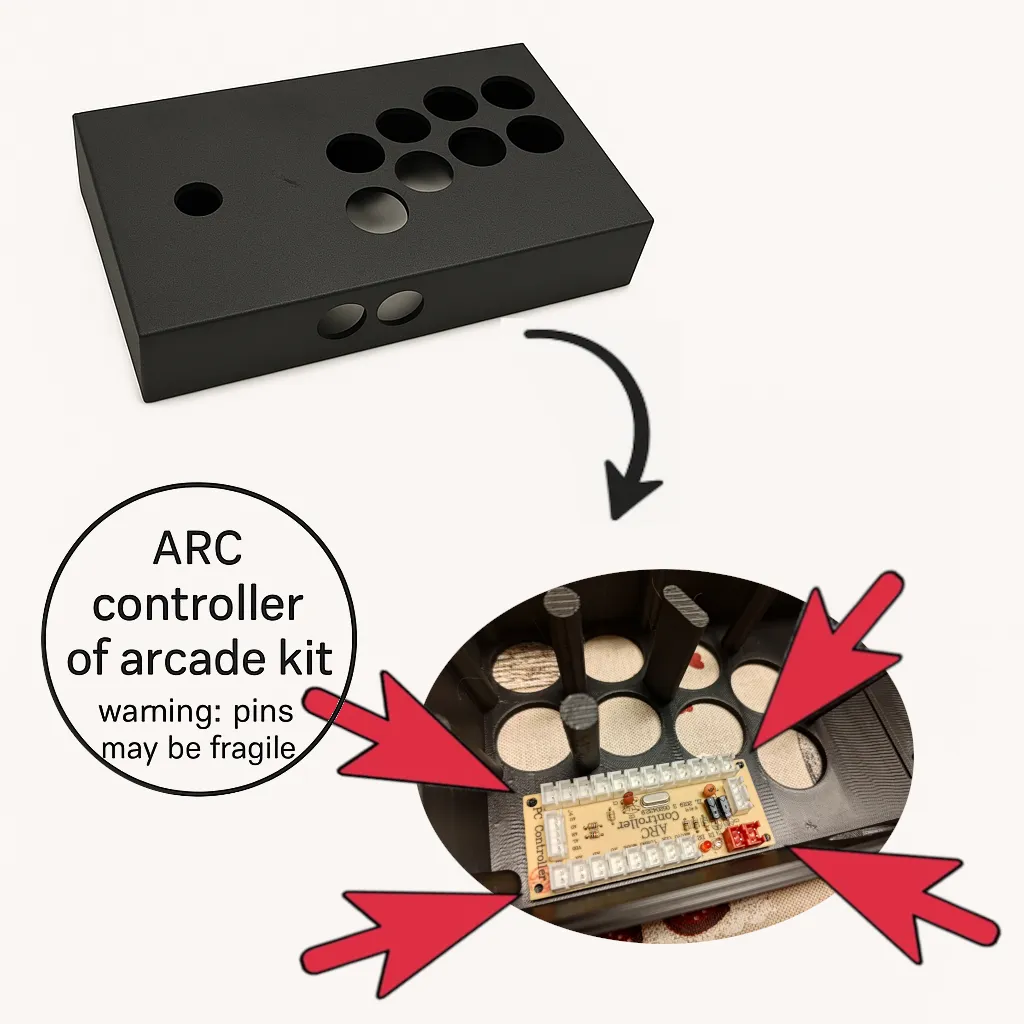
After printing the Controller_Top, you can insert the Raspberry Pi arcade kit chip into the designated pins. These are delicate; if not printed correctly, they may break. However, if a couple break, it's not a problem; once everything is wired, it won't move.
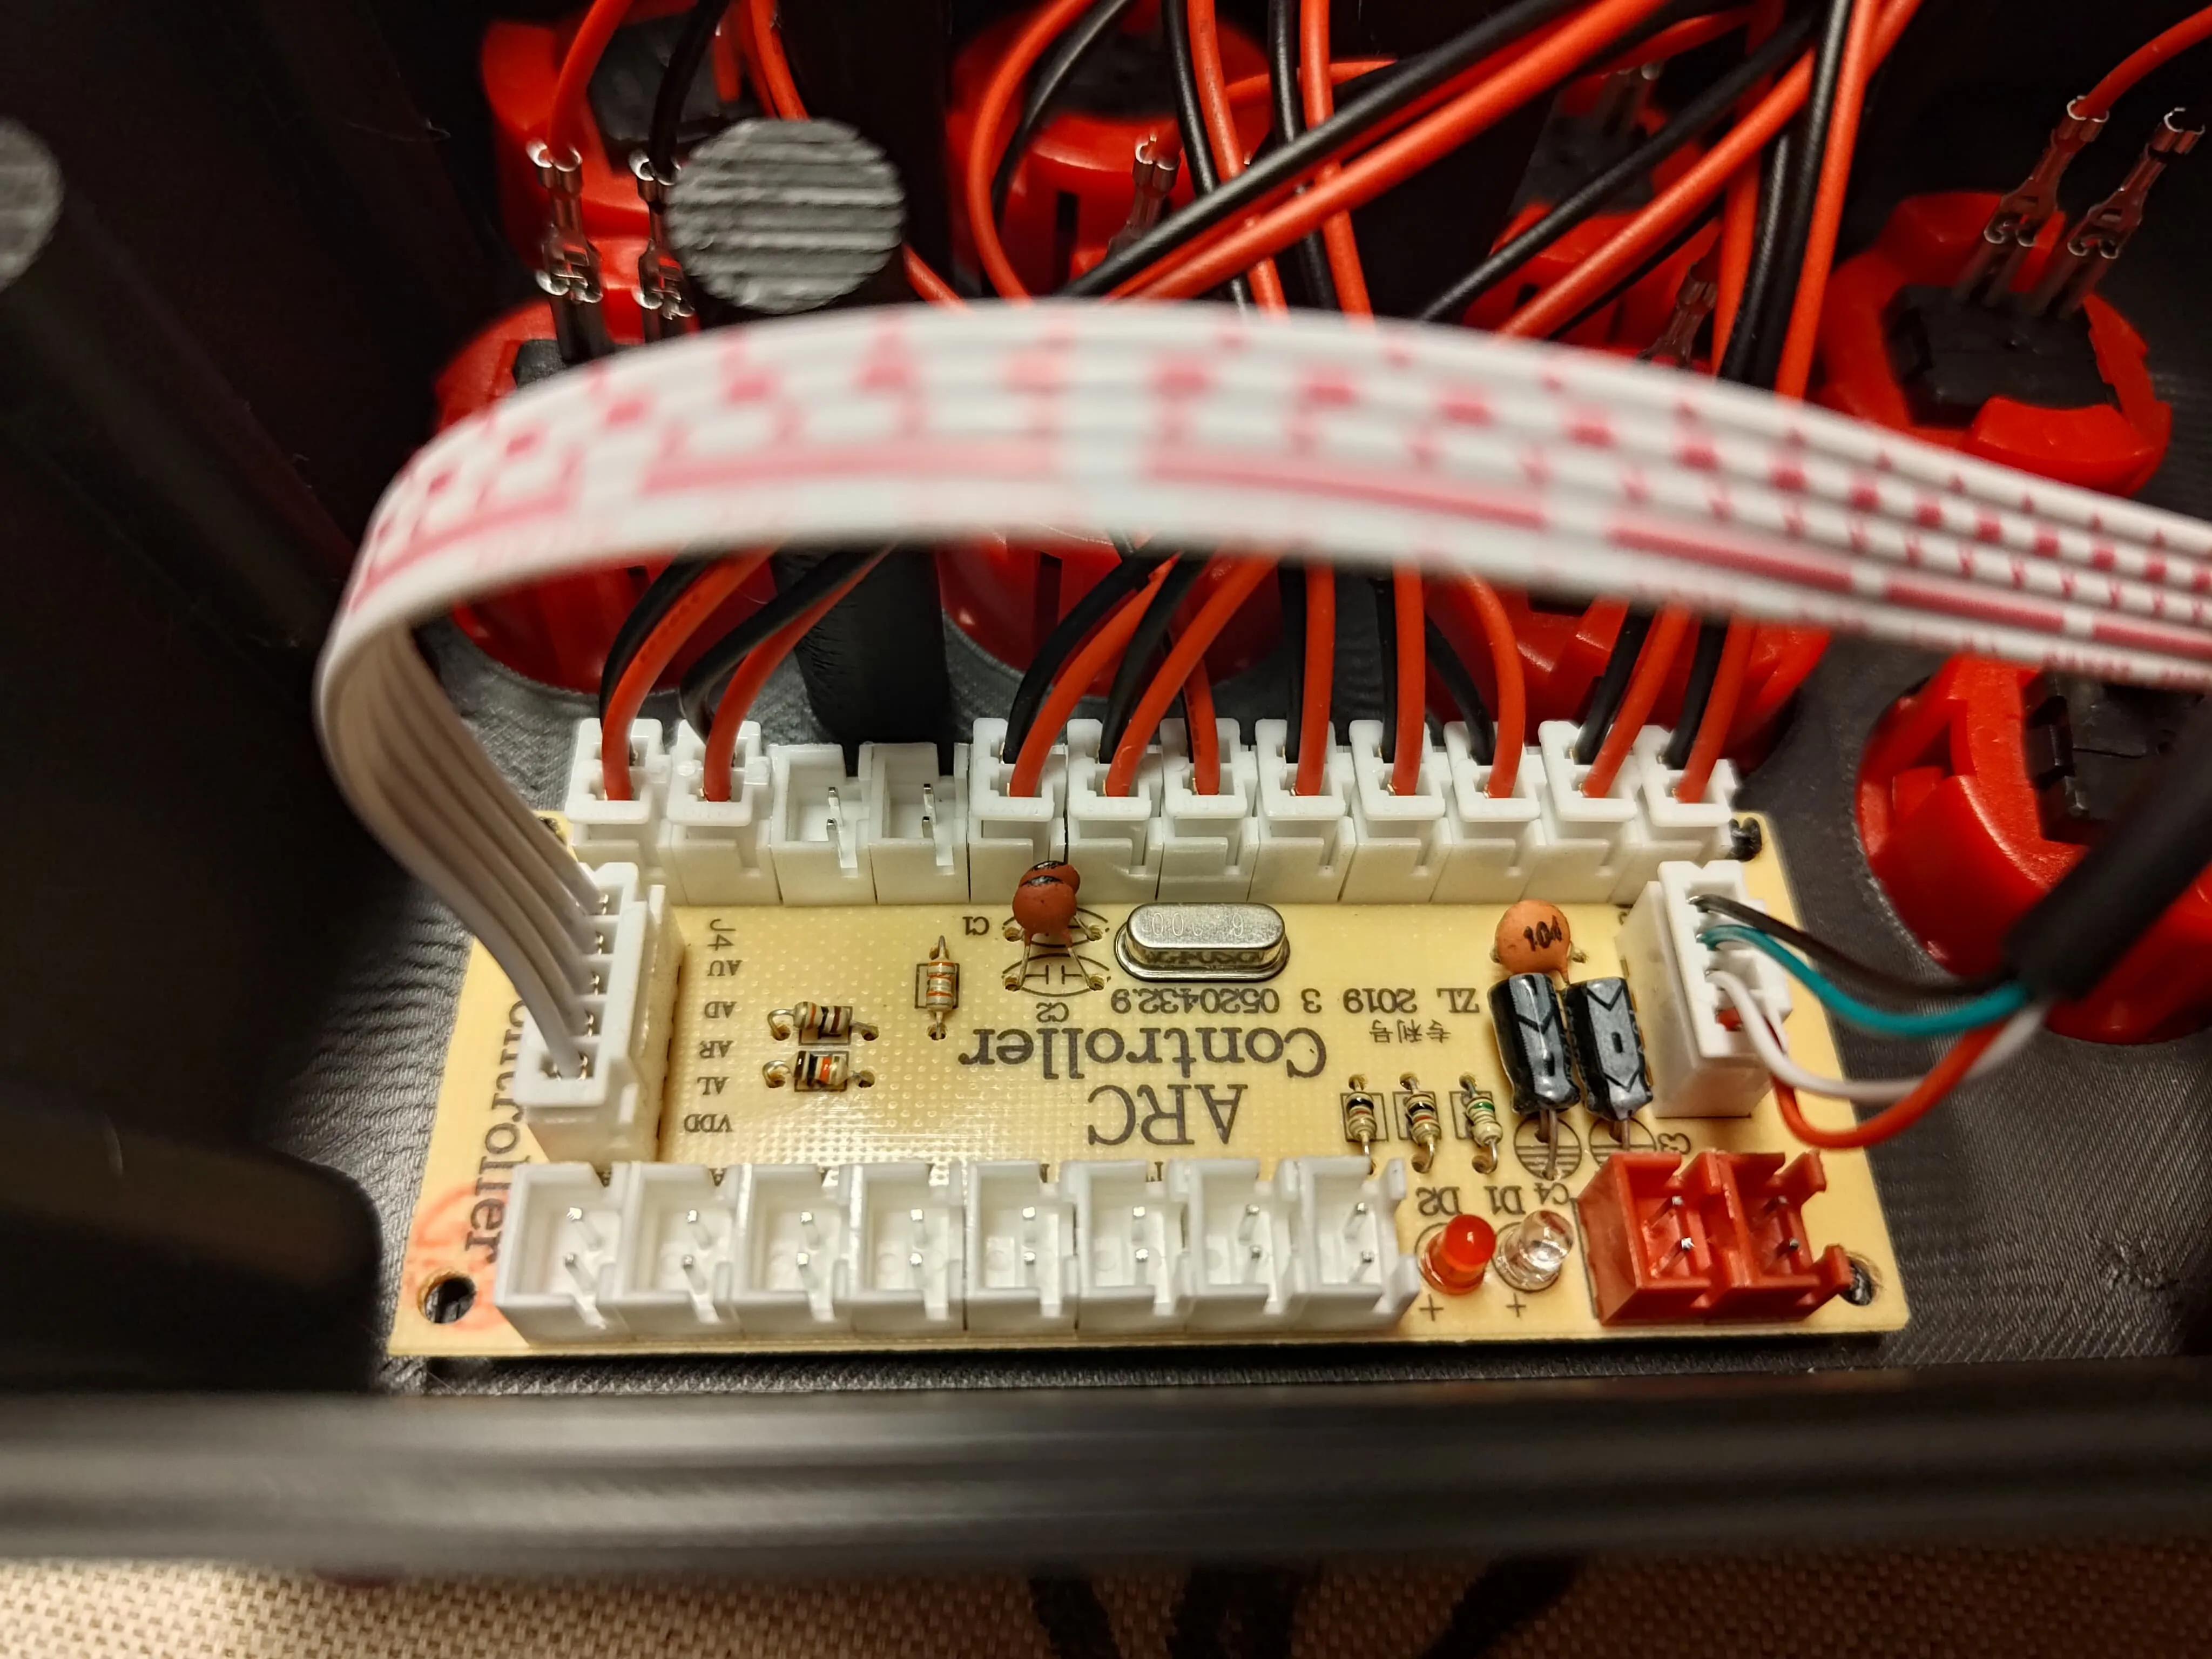
Once inserted, the individual buttons can be wired; each must be threaded through its designated hole and then connected to the chip in your preferred order (button mapping will be done later by Recalbox or RetroPie).
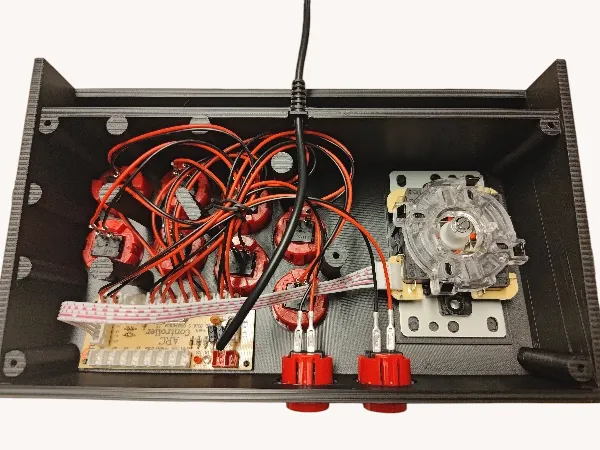
At this point, close the assembly with its lid using 3 M3-M3.5 x 10-40mm self-tapping screws (your choice).
The lid features two important protrusions that hold the joystick lever in place, eliminating the need for additional fasteners or screws.
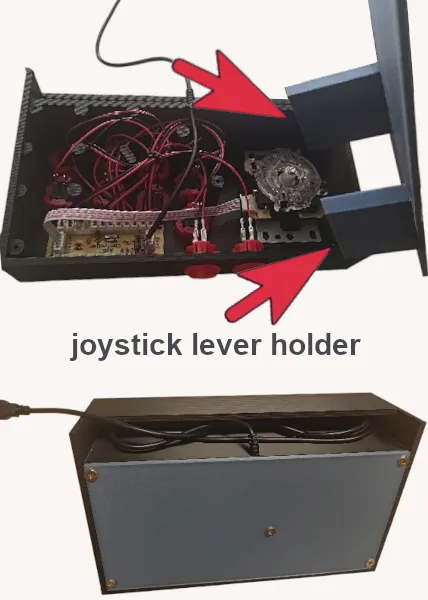
The cable can be conveniently coiled inside the controller itself, as shown in the image, for improved portability.
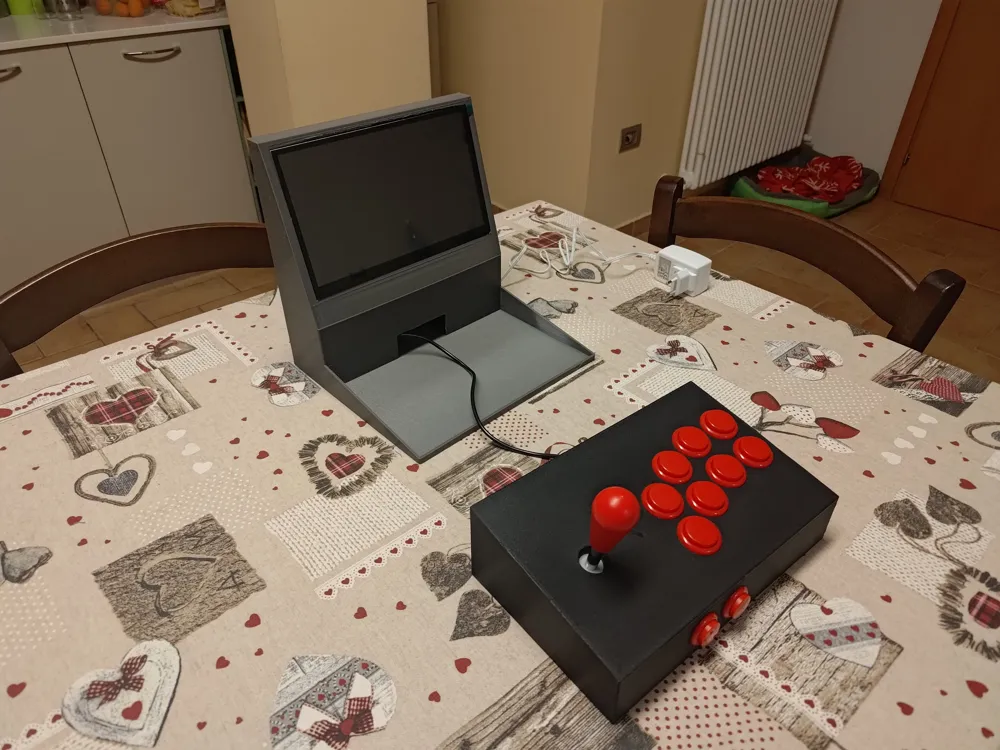
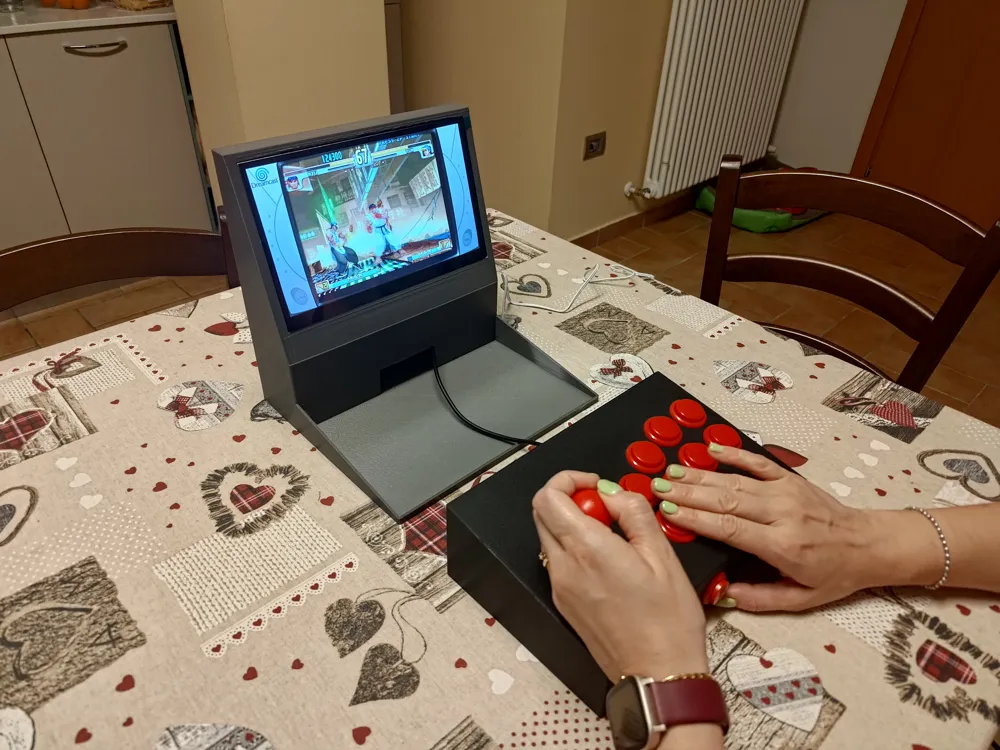
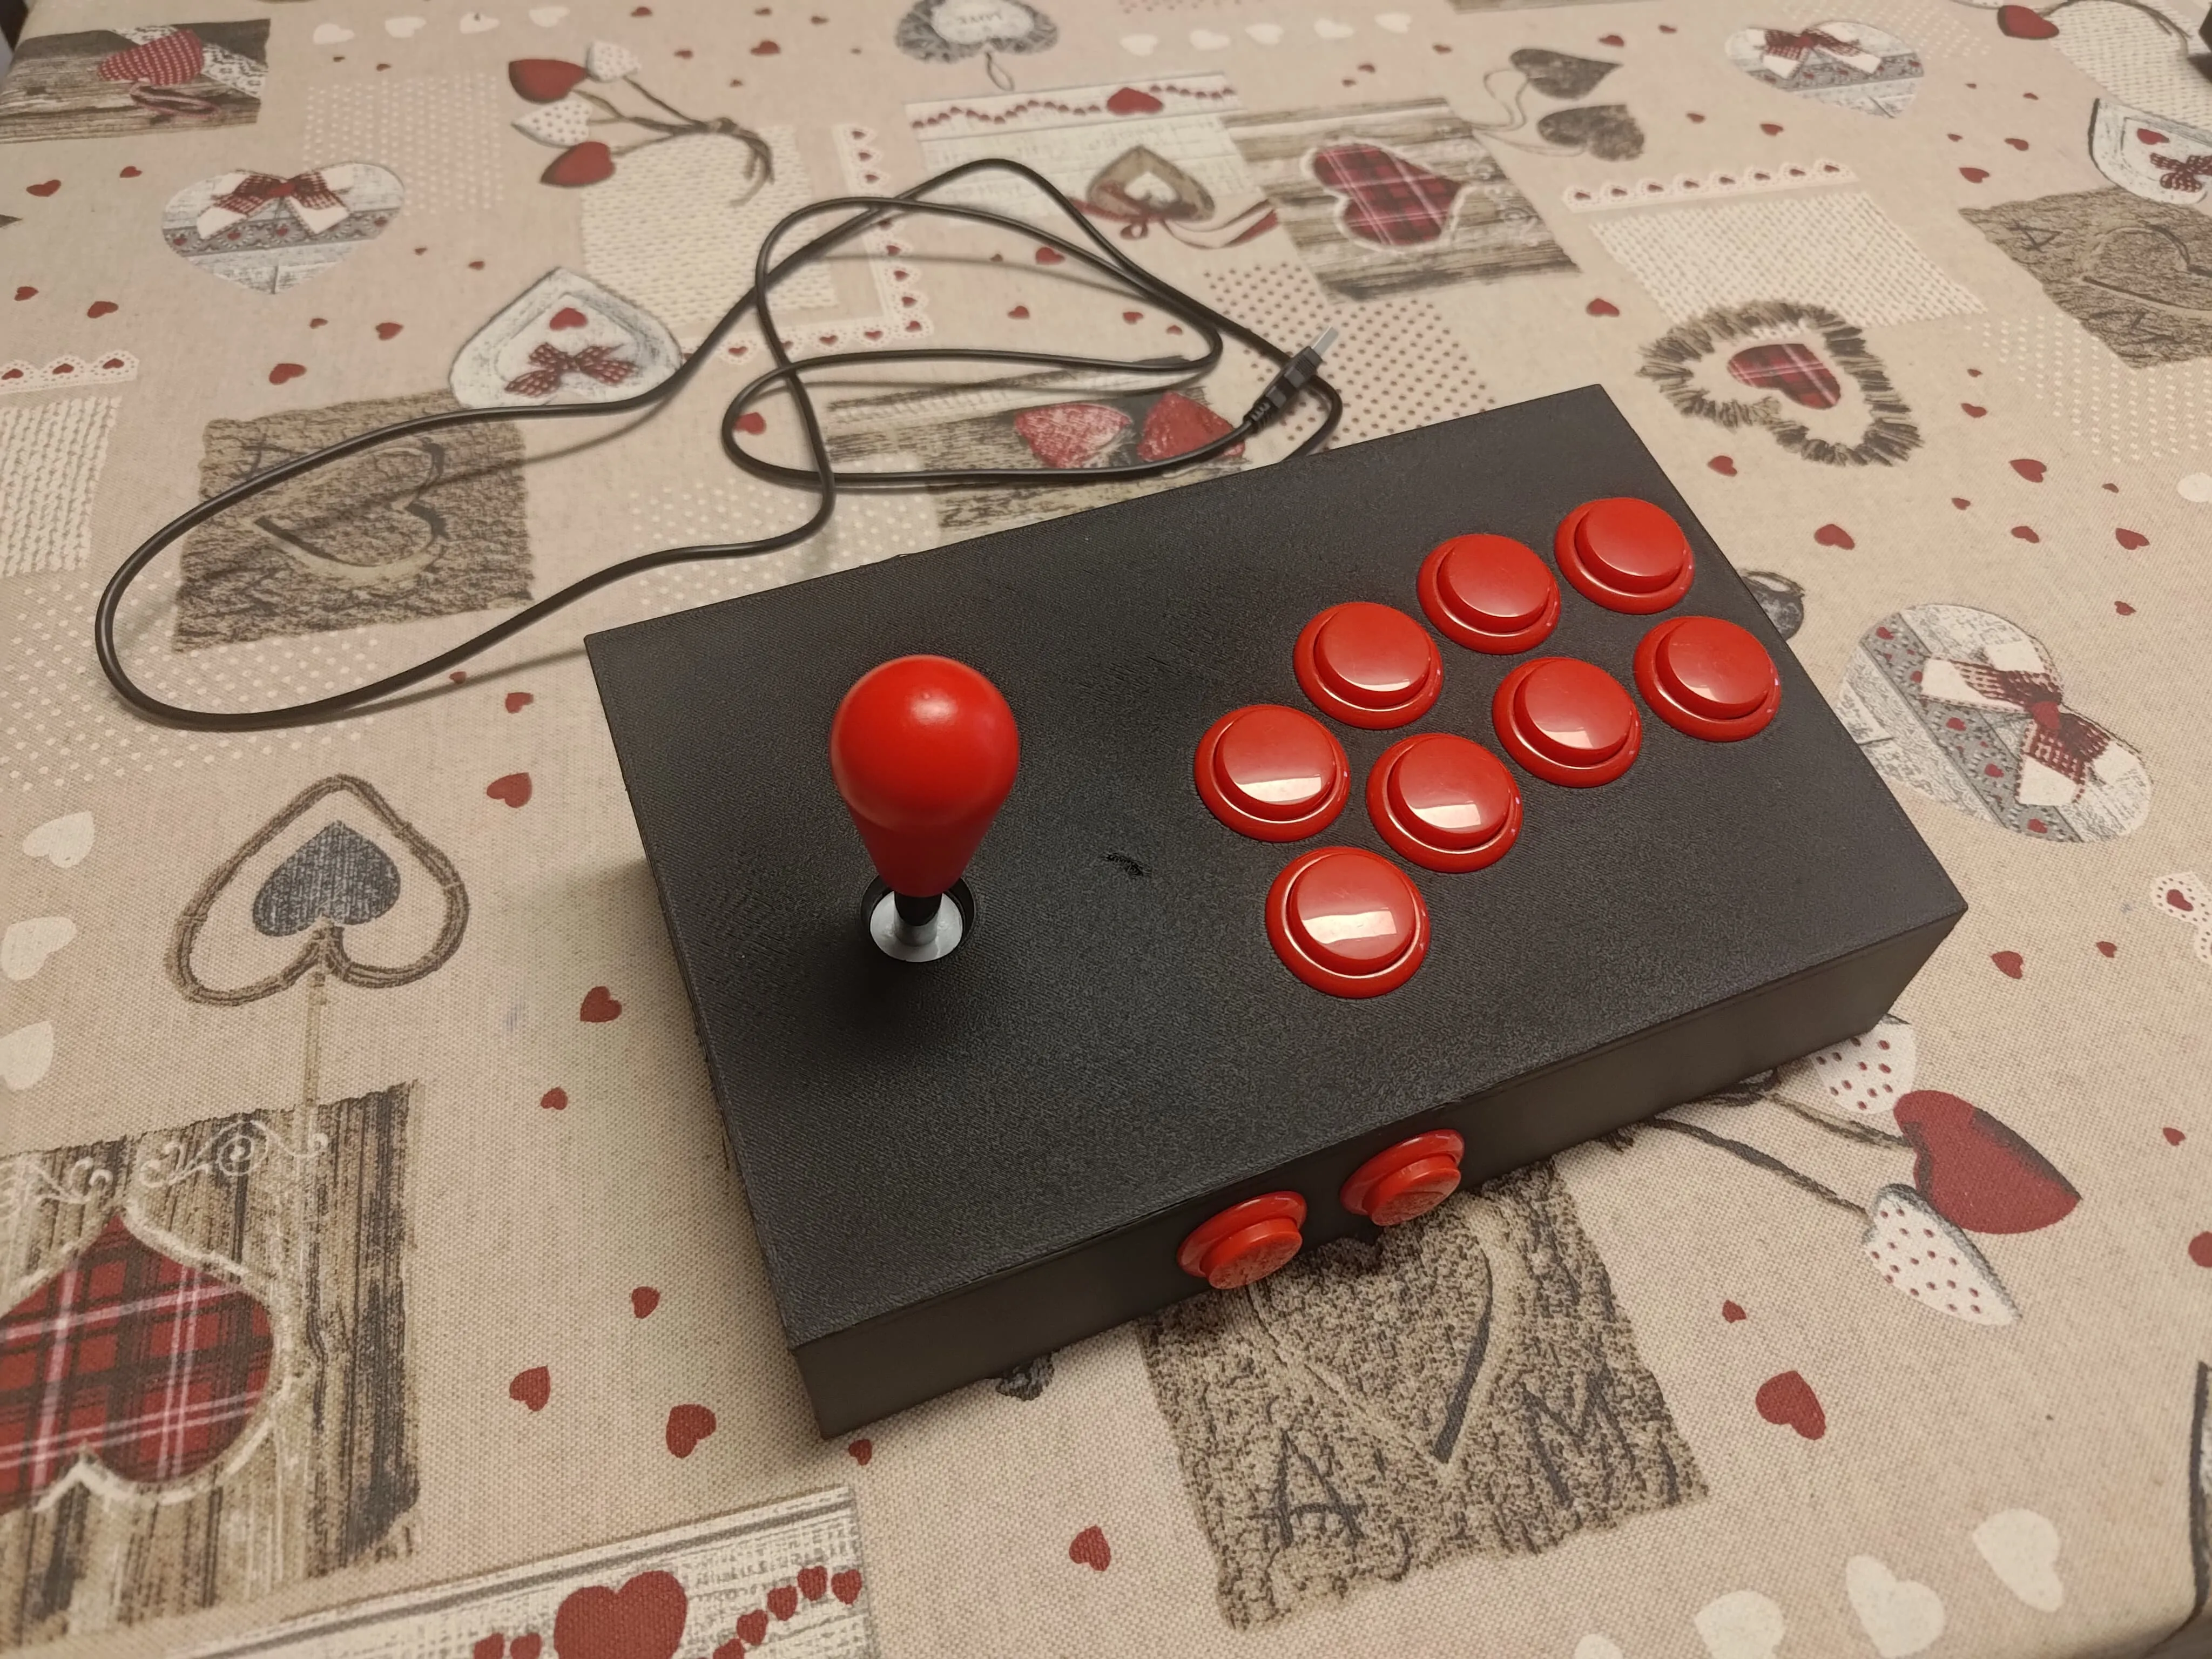
At this point, the controller is complete. Technically, it can be connected via USB to any device that supports it.
(I experienced minor adhesion issues between the lever and buttons; please disregard 😛)
-------------------------------------------
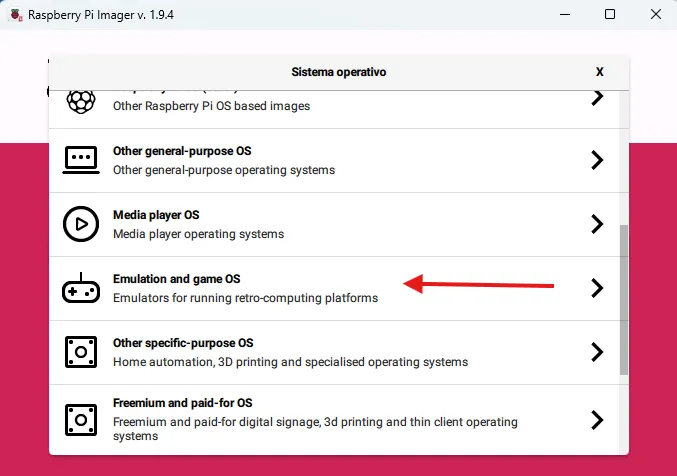
Before assembling the arcade cabinet, prepare your microSD card. I used Raspberry Pi Imager https://www.raspberrypi.com/software/ Run the program, select your Raspberry Pi model (in my case, "Pi 3"), and for the operating system, go to Emulation and Game OS; then choose your preferred option. I used “Recalbox”,
While waiting for the installation to complete, you can assemble the cabinet. Remember to insert the microSD card into the Raspberry Pi before tightening the last two screws.
Main Assembly Guide:
At this point, you will have the assembled controller, the one-piece arcade cabinet shell, your Raspberry Pi 3B or 4B, and the monitor kit. As promised, no additional cables are needed beyond the controller's USB cable and the Raspberry Pi's power supply.
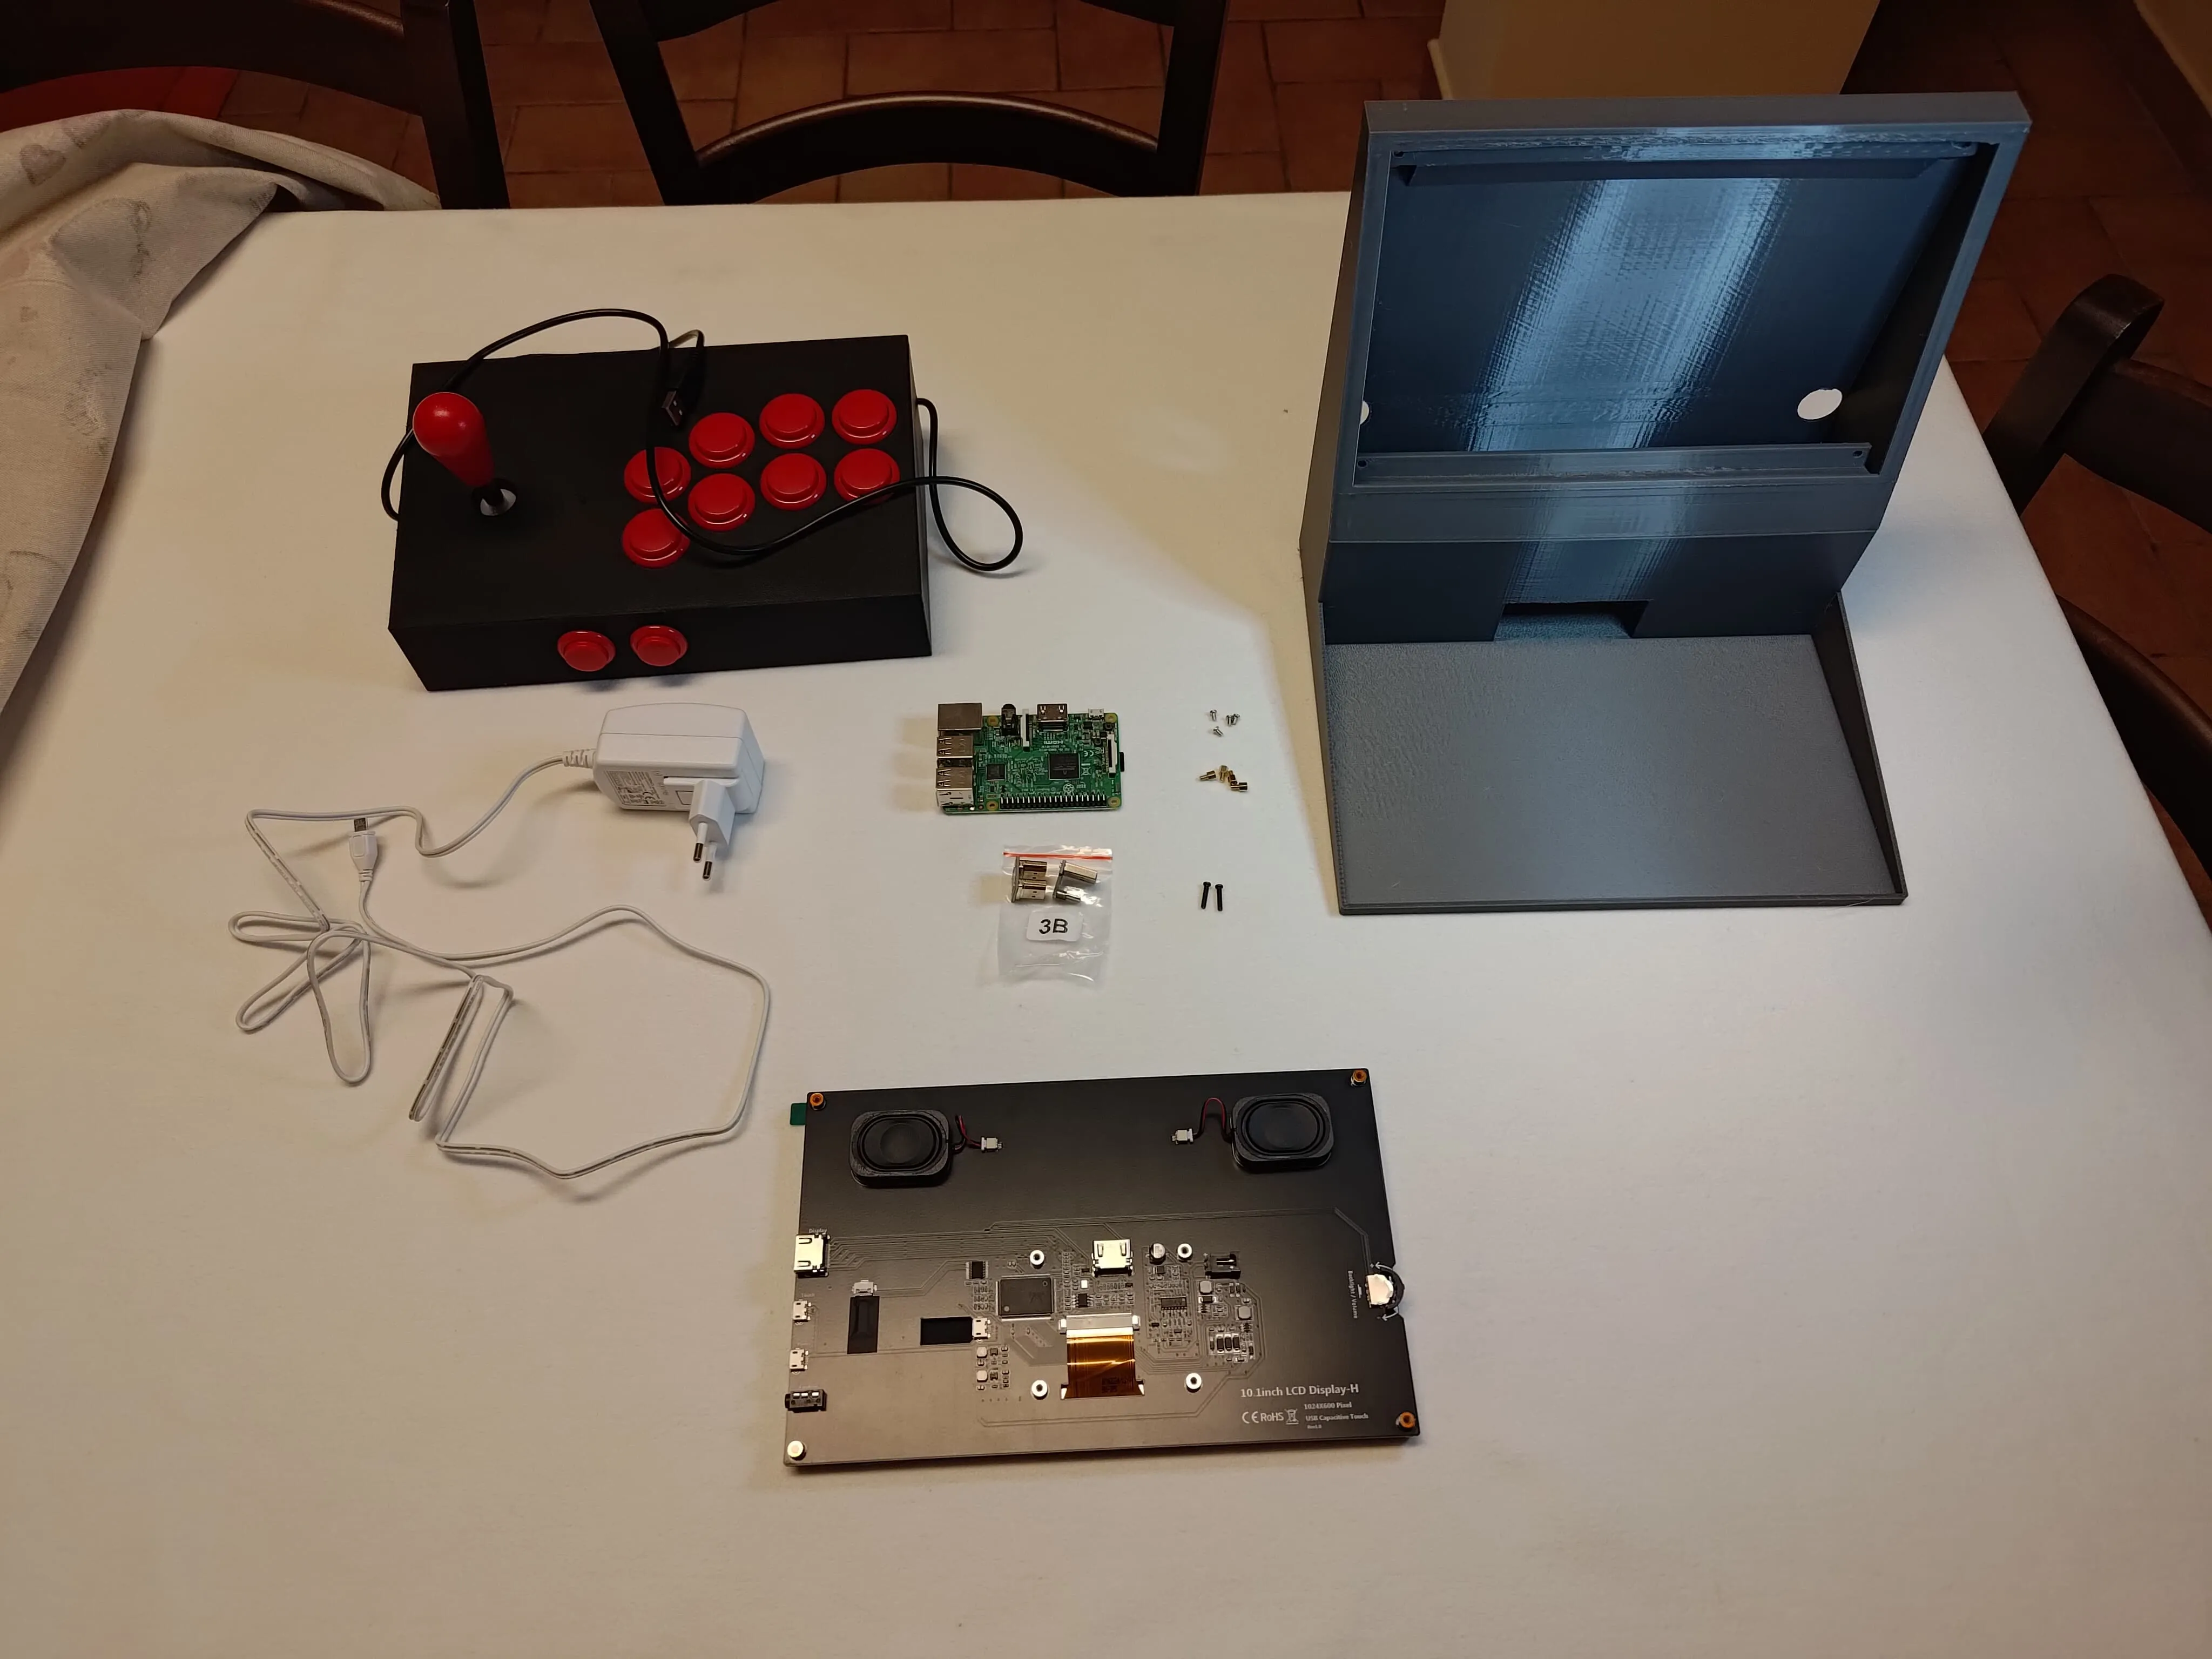
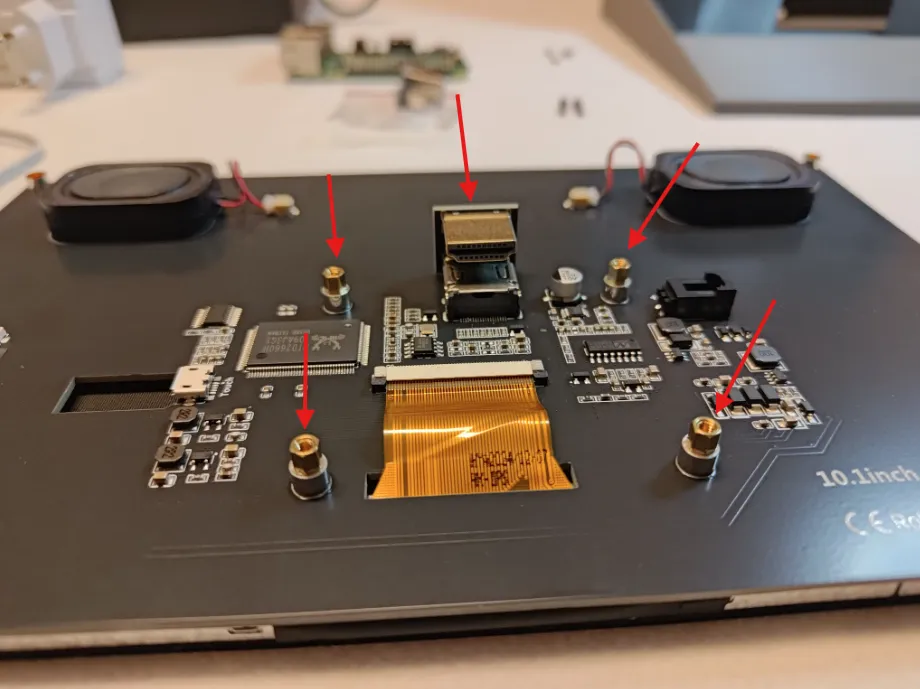
Let's begin assembly. Open the package containing the adapters for your Raspberry Pi (in my case, the 3B), mount the speakers, the small extensions (simply screw them in by hand), and the HDMI adapter.
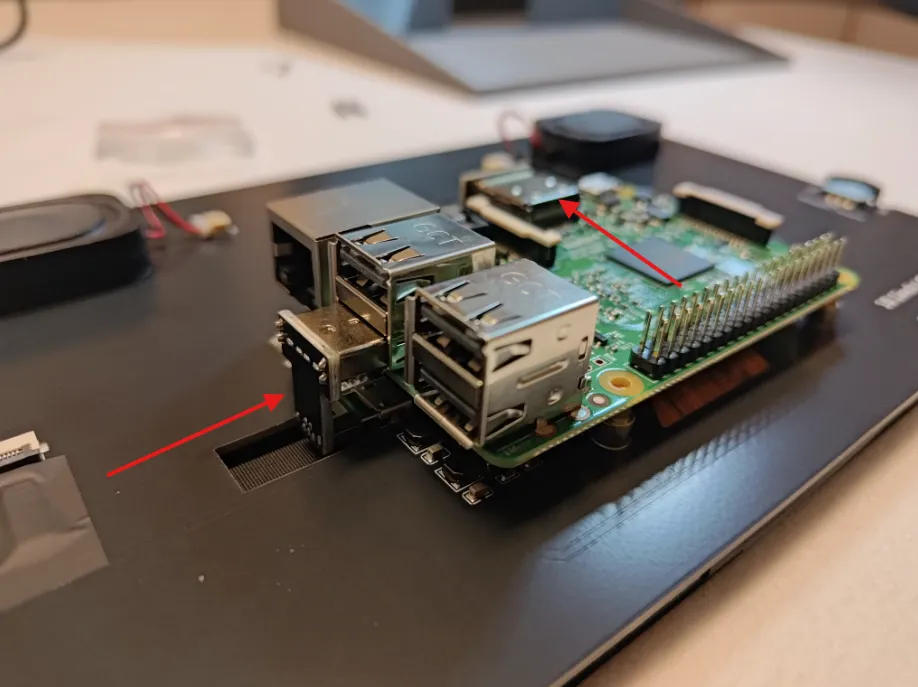
Now, gently slide the Raspberry Pi into position, connecting it to the HDMI adapter just installed, and insert the other adapter for power.
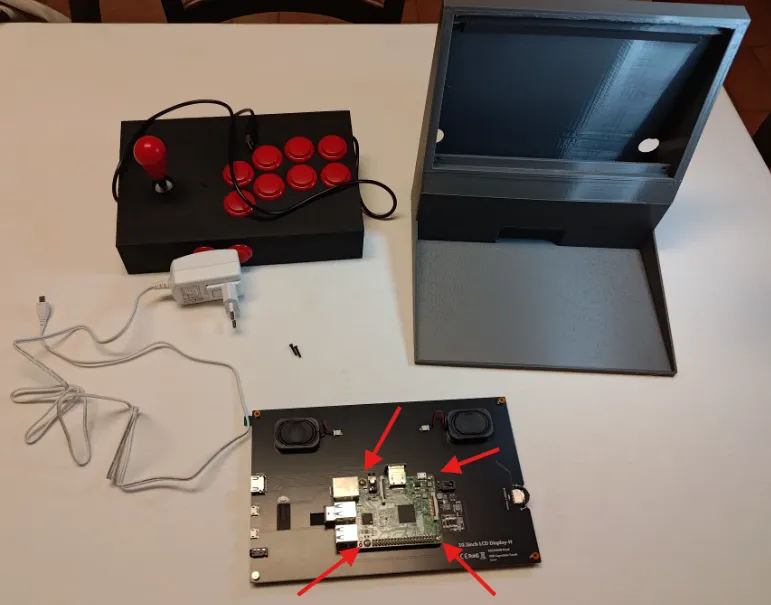
Finally, secure the Raspberry Pi to the display using the four included screws.
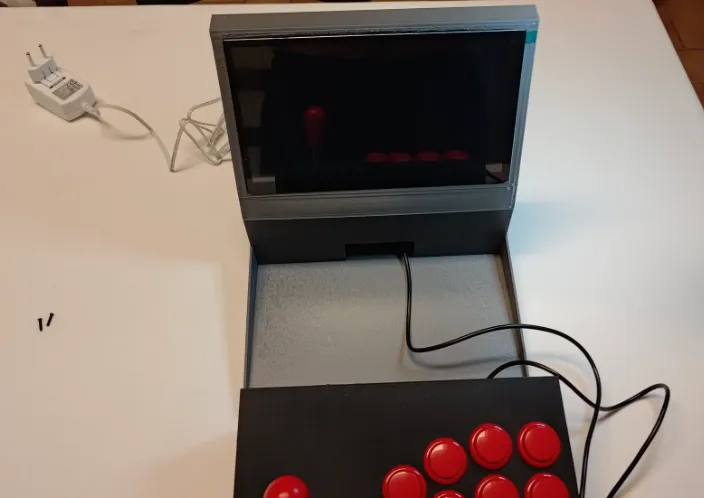
You're almost done. Simply route the power cable through the hole on the bottom of the cabinet and the controller cable through the small front cavity.
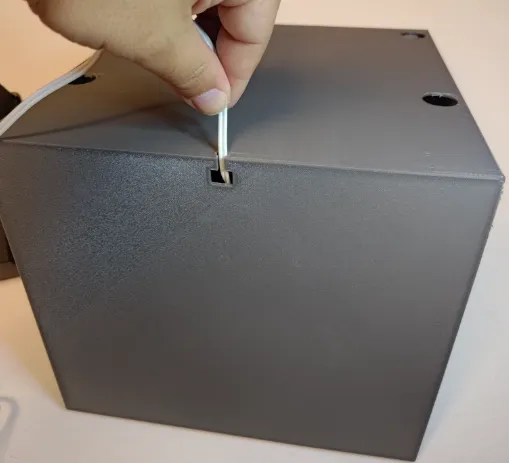
This should result in the following arrangement:
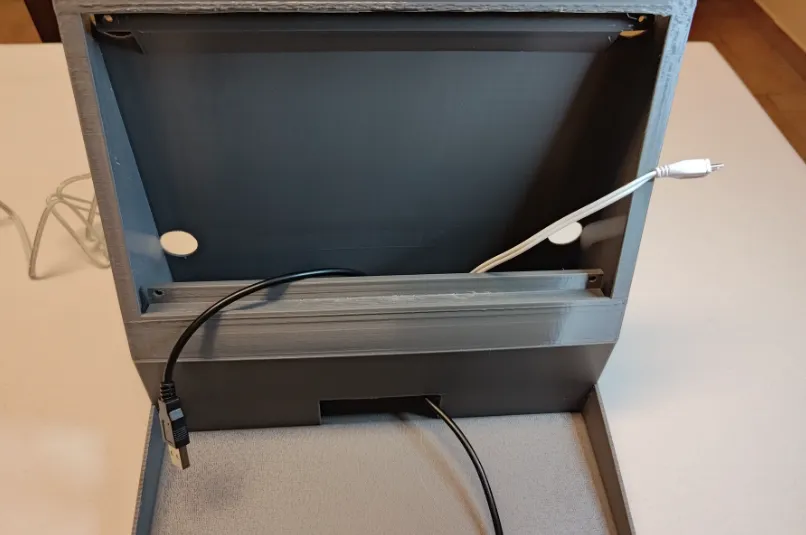
Now, simply place the lower part of the display in its housing and connect the two cables.
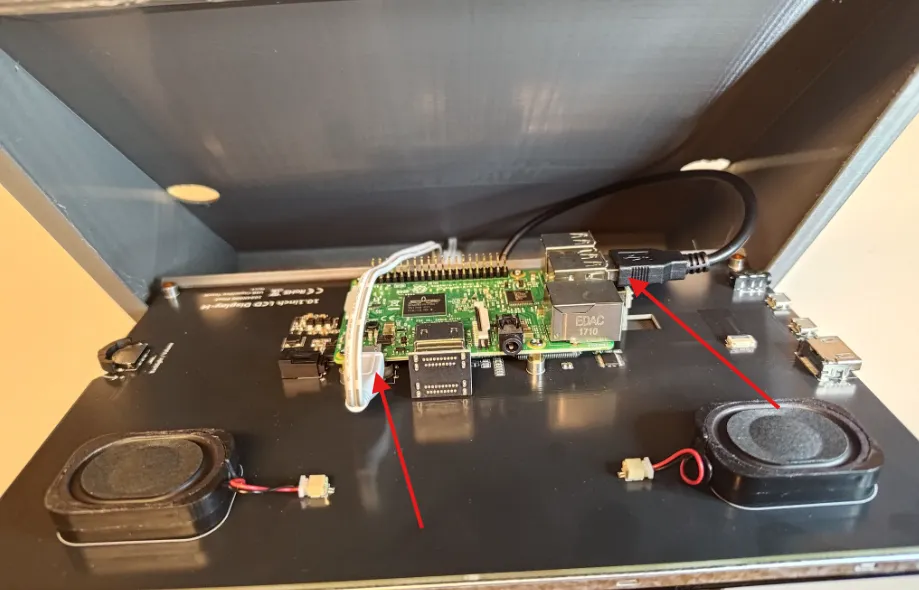
And you're done! I disassembled it to create this guide and reassembled it in under five minutes. The upper part is exceptionally precise; I experienced no issues whatsoever, but if you encounter any problems, avoid forcing the display; if necessary, lightly sand the printed frame.
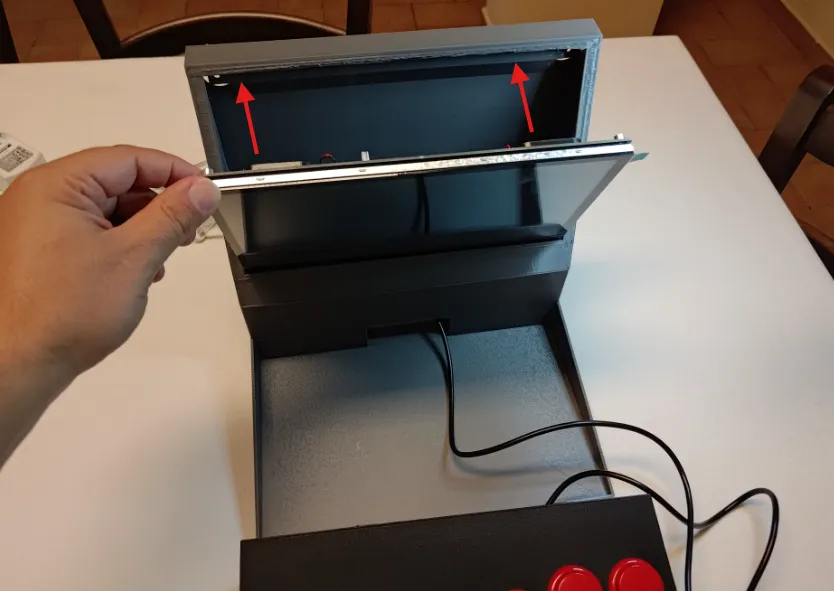
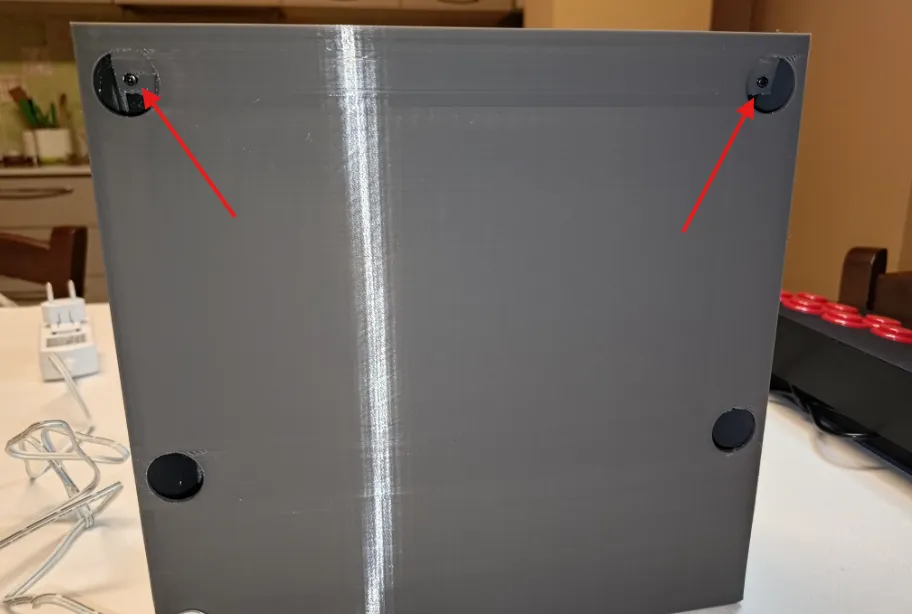
To conclude, the display kit includes two slightly longer screws intended for the display's feet, but we'll use them to secure the display to the cabinet's chassis in the two upper holes (I also drilled two lower holes in case you have extra screws, but they are not mandatory).
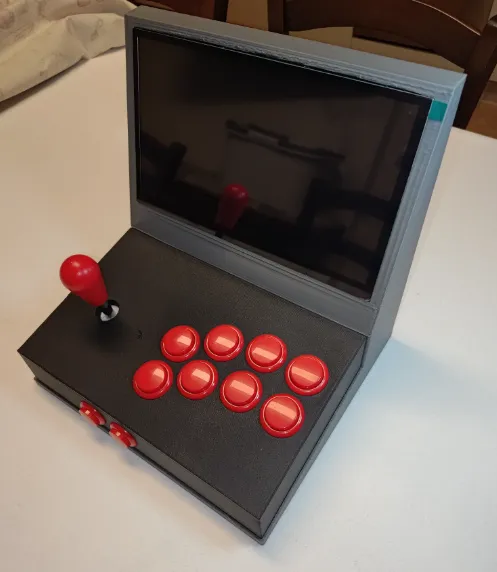
And there you have it, your arcade is ready!
-------------------
If you wish to remove the micro-USB card to add games, simply remove the last two screws, gently push the display back to tilt it forward for access to the Raspberry Pi. Using two fingers, gently move the microSD card to the right and left; it will easily eject.
Boost Me (for free)
The minimalist design, while visually simple, required highly precise engineering that consumed considerable time. If you have any spare boosts and would like to support me, I would be grateful.
License

You shall not share, sub-license, sell, rent, host, transfer, or distribute in any way the digital or 3D printed versions of this object, nor any other derivative work of this object in its digital or physical format (including - but not limited to - remixes of this object, and hosting on other digital platforms). The objects may not be used without permission in any way whatsoever in which you charge money, or collect fees.


Comment & Rating (16)