
Boat Anchor Roller
Print Profile(2)

Description
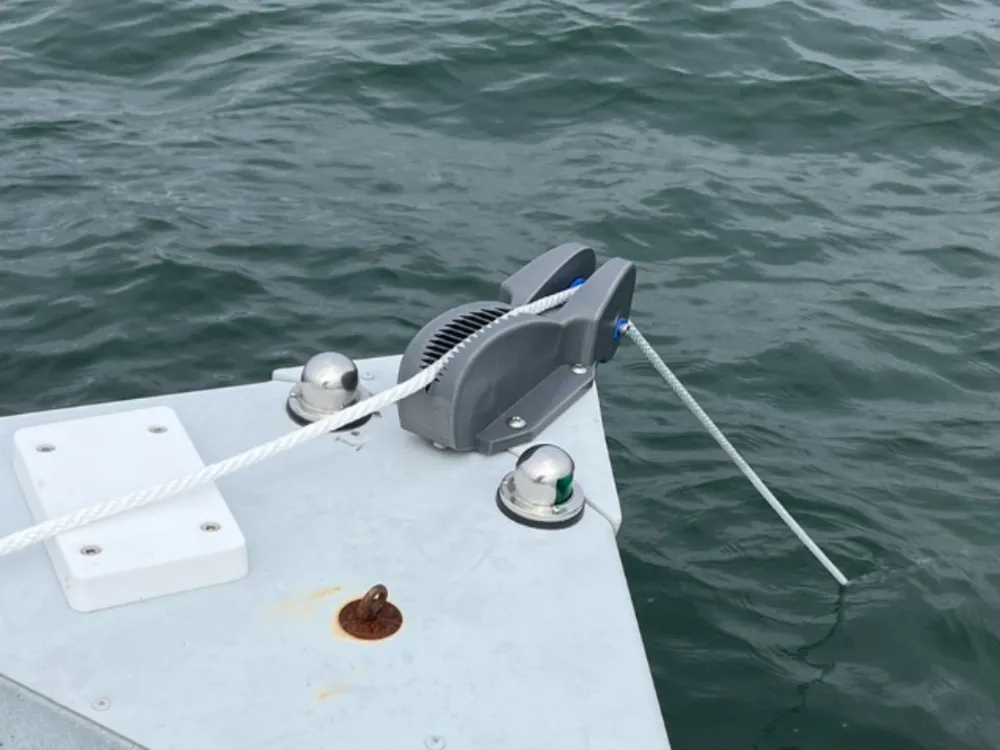
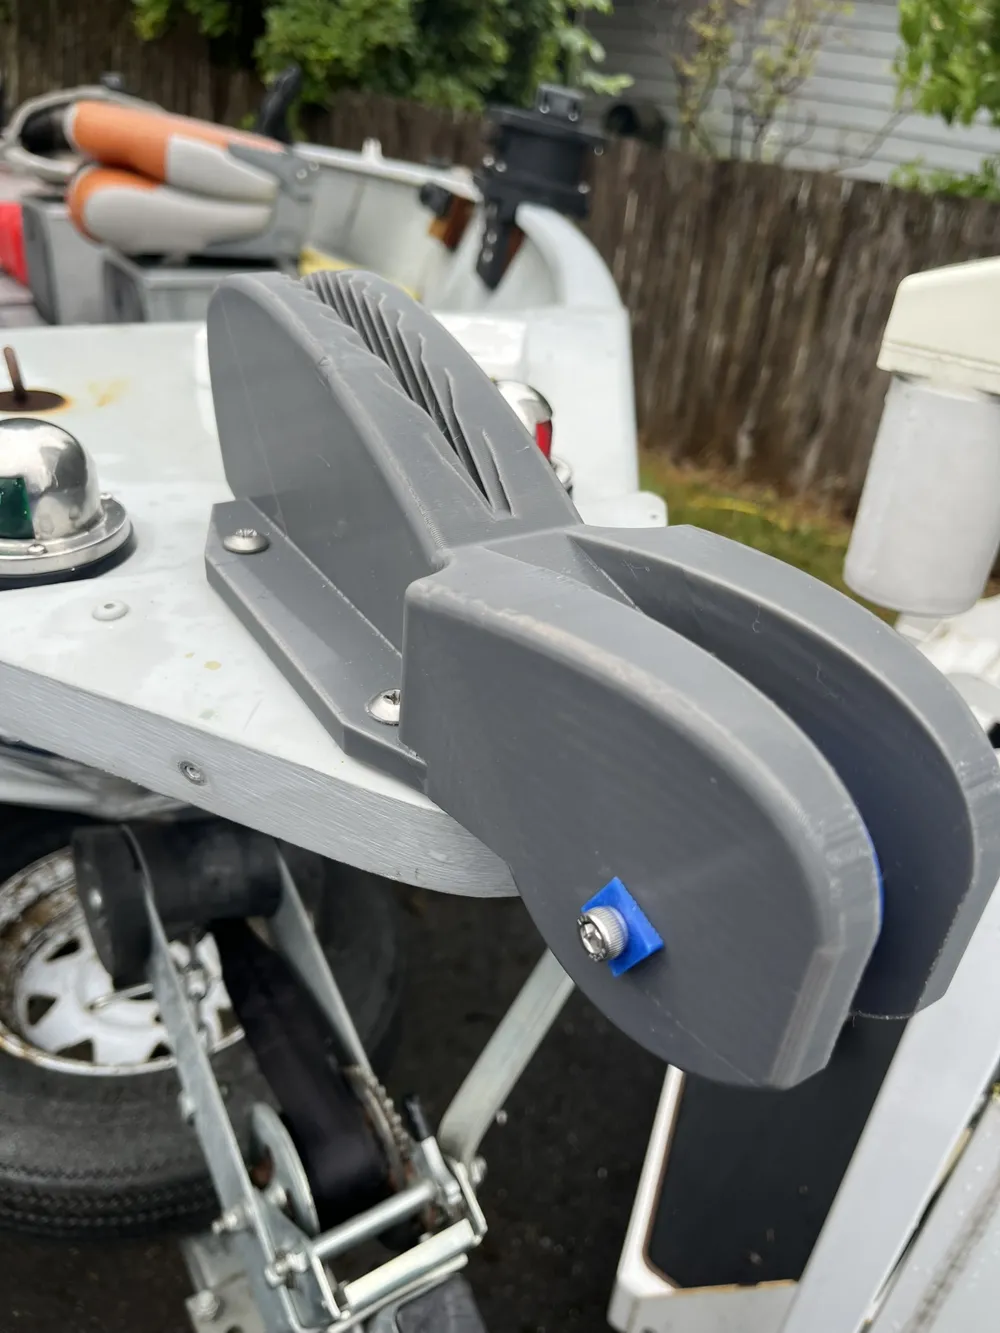
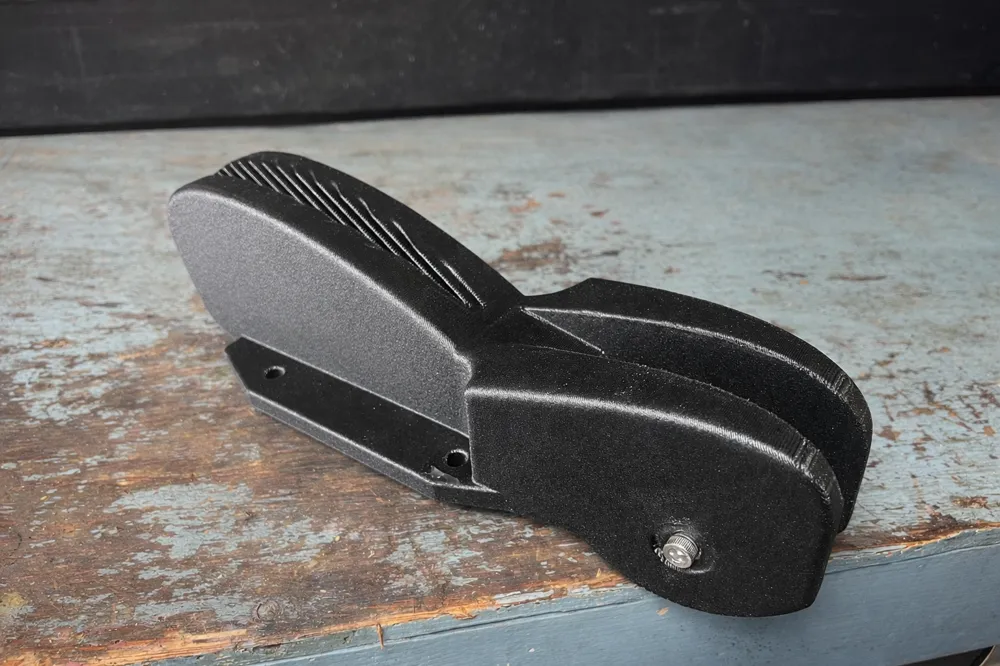
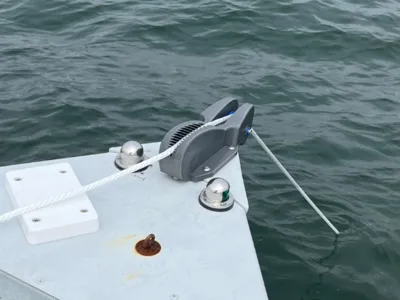
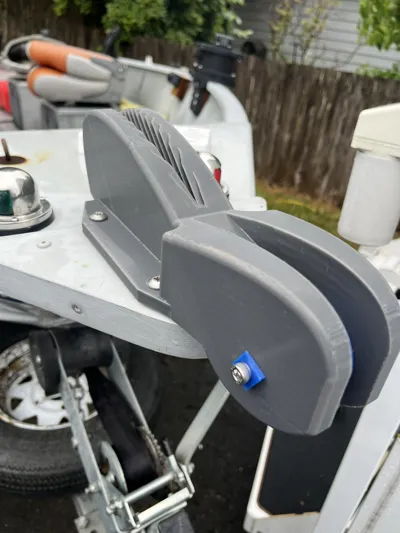
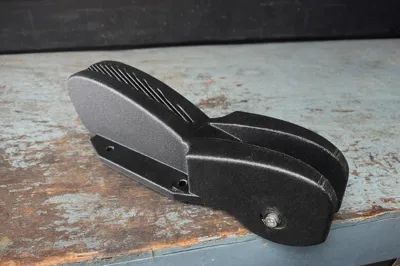
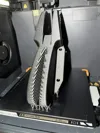
Boat anchor roller with integrated clam cleat. Recommend printing with a quality outdoor rated filament, like ASA or Nylon. Pictured is my prototype printed with cheap PETG, but I do plan on printing it with better material in the near future. As-is, it is plenty strong enough to hold my 16' boat in place in Puget Sound in tidal currents, with a bit of wind, and large boat wakes from holiday weekend boat traffic. I can easily lift the bow of the boat, and pull it around the driveway just from grabbing the printed unit alone. The clam cleat holds a 3/8" anchor rope well, but I still tie off to a cleat just to be safe.
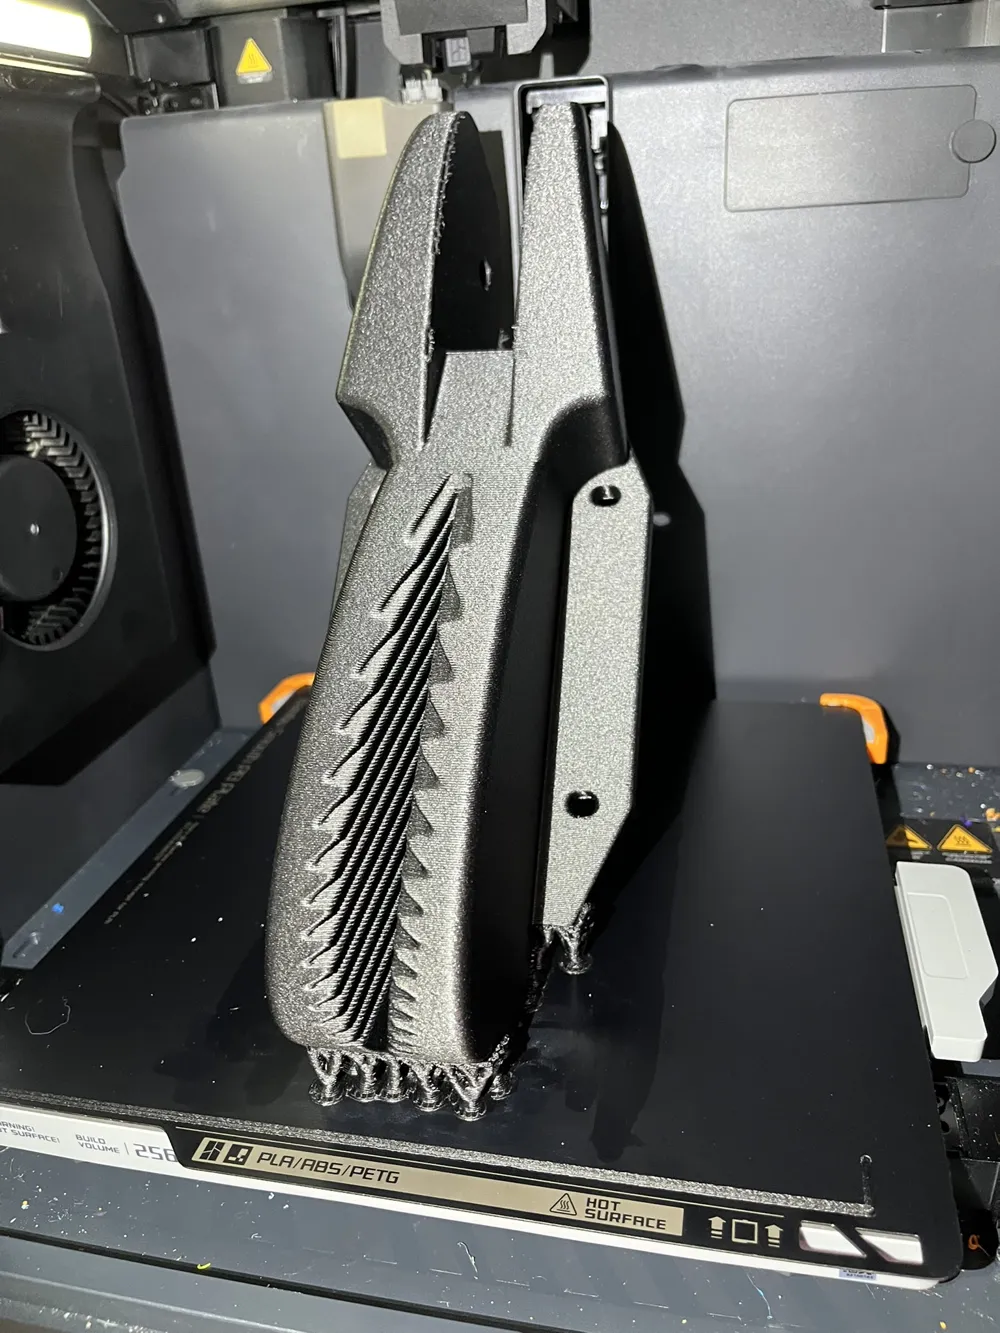
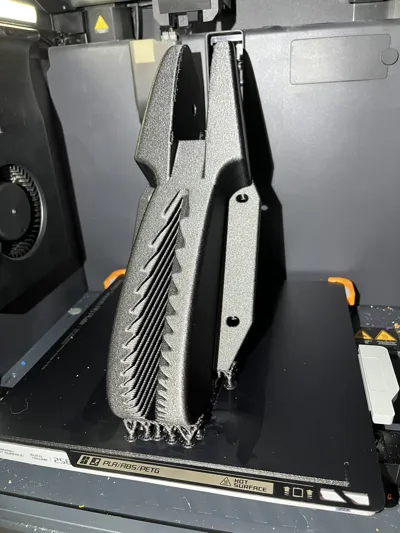
The orientation of the file is at an angle, not just because that's the only way it will fit my printer, but also to put the layer lines at an orientation that keeps the relatively weak bond between the layers at an angle that helps keep the part strong enough in the directions that need the most strength. So if you are printing on a larger printer, please consider keeping the angle in the same orientation for best strength. With thick walls and high infill, the main structure alone will just about use an entire 1kg roll of filament.
The blue shims shown in blue are probably not necessary, but I added them as a precaution to prevent the nut and bolt from digging into the structure of the anchor roller if they were to spin during use. If they do dig in, it will be into the shims which are easily replaced.
Additional parts needed are:
M6 x 75mm bolt and matching M6 locknut
To assemble, cut the tube down to 70mm. Press the bearings into the roller on each side. Insert the roller and push the pipe through. Add the shims and secure with the nut and bolt through the tube. I also added Loctite to the nut as additional precaution
Based on my experience with this so far, I am confident in this design up to at least the 16' boat and 8lb anchor I am using it with, and I think it could easily do more, but I am not responsible if it fails and you lose your anchor.
Boost Me (for free)
If you like my work, please consider giving me a boost, and check out my profile for more designs.
Membership
Commercial license memberships available for all of my designs.
License

You shall not share, sub-license, sell, rent, host, transfer, or distribute in any way the digital or 3D printed versions of this object, nor any other derivative work of this object in its digital or physical format (including - but not limited to - remixes of this object, and hosting on other digital platforms). The objects may not be used without permission in any way whatsoever in which you charge money, or collect fees.


Comment & Rating (7)