
Cornhole 21 points counter
Print Profile(4)



Description
Boost Me (for free)
A Boost would be nice :-)
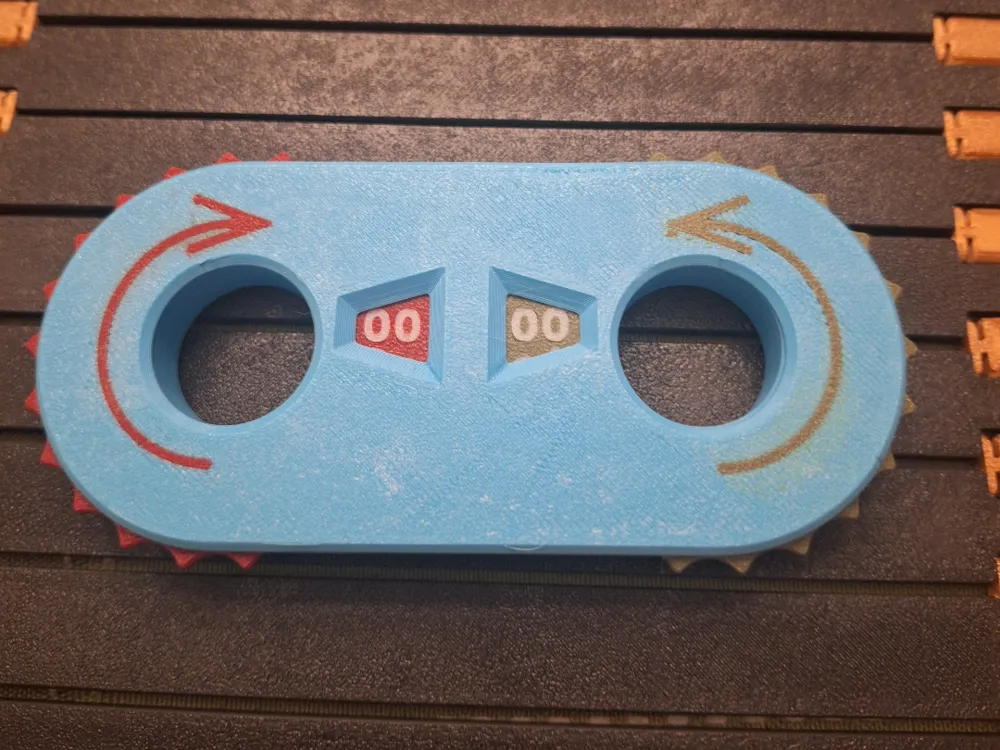

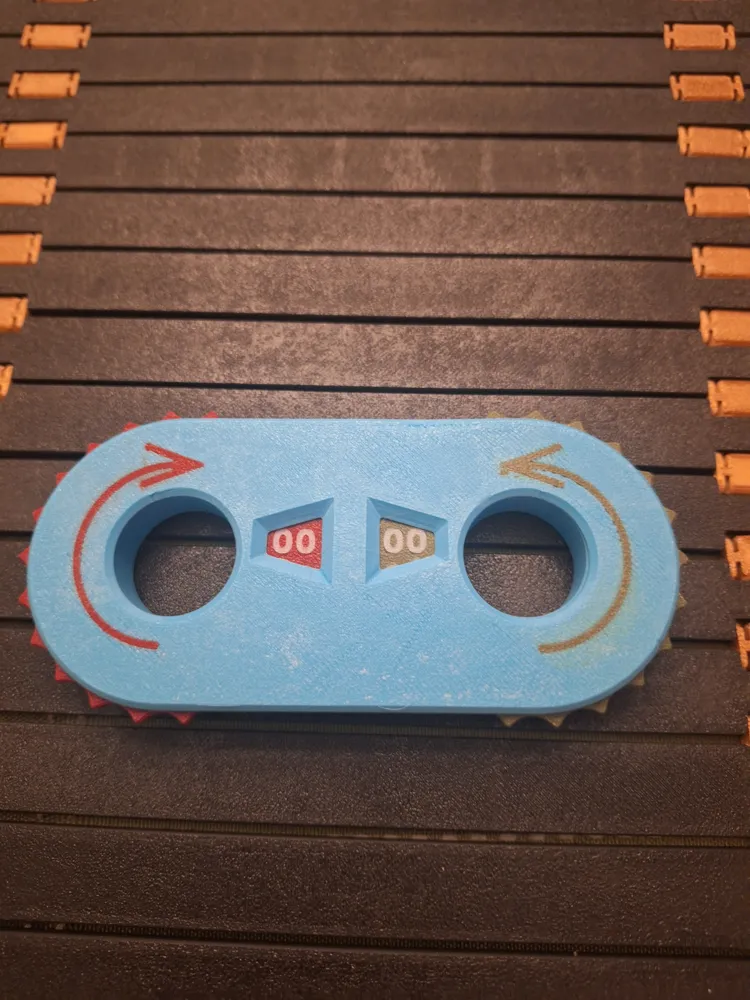
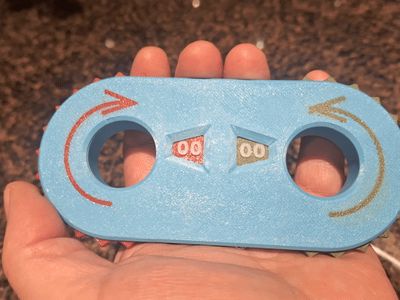
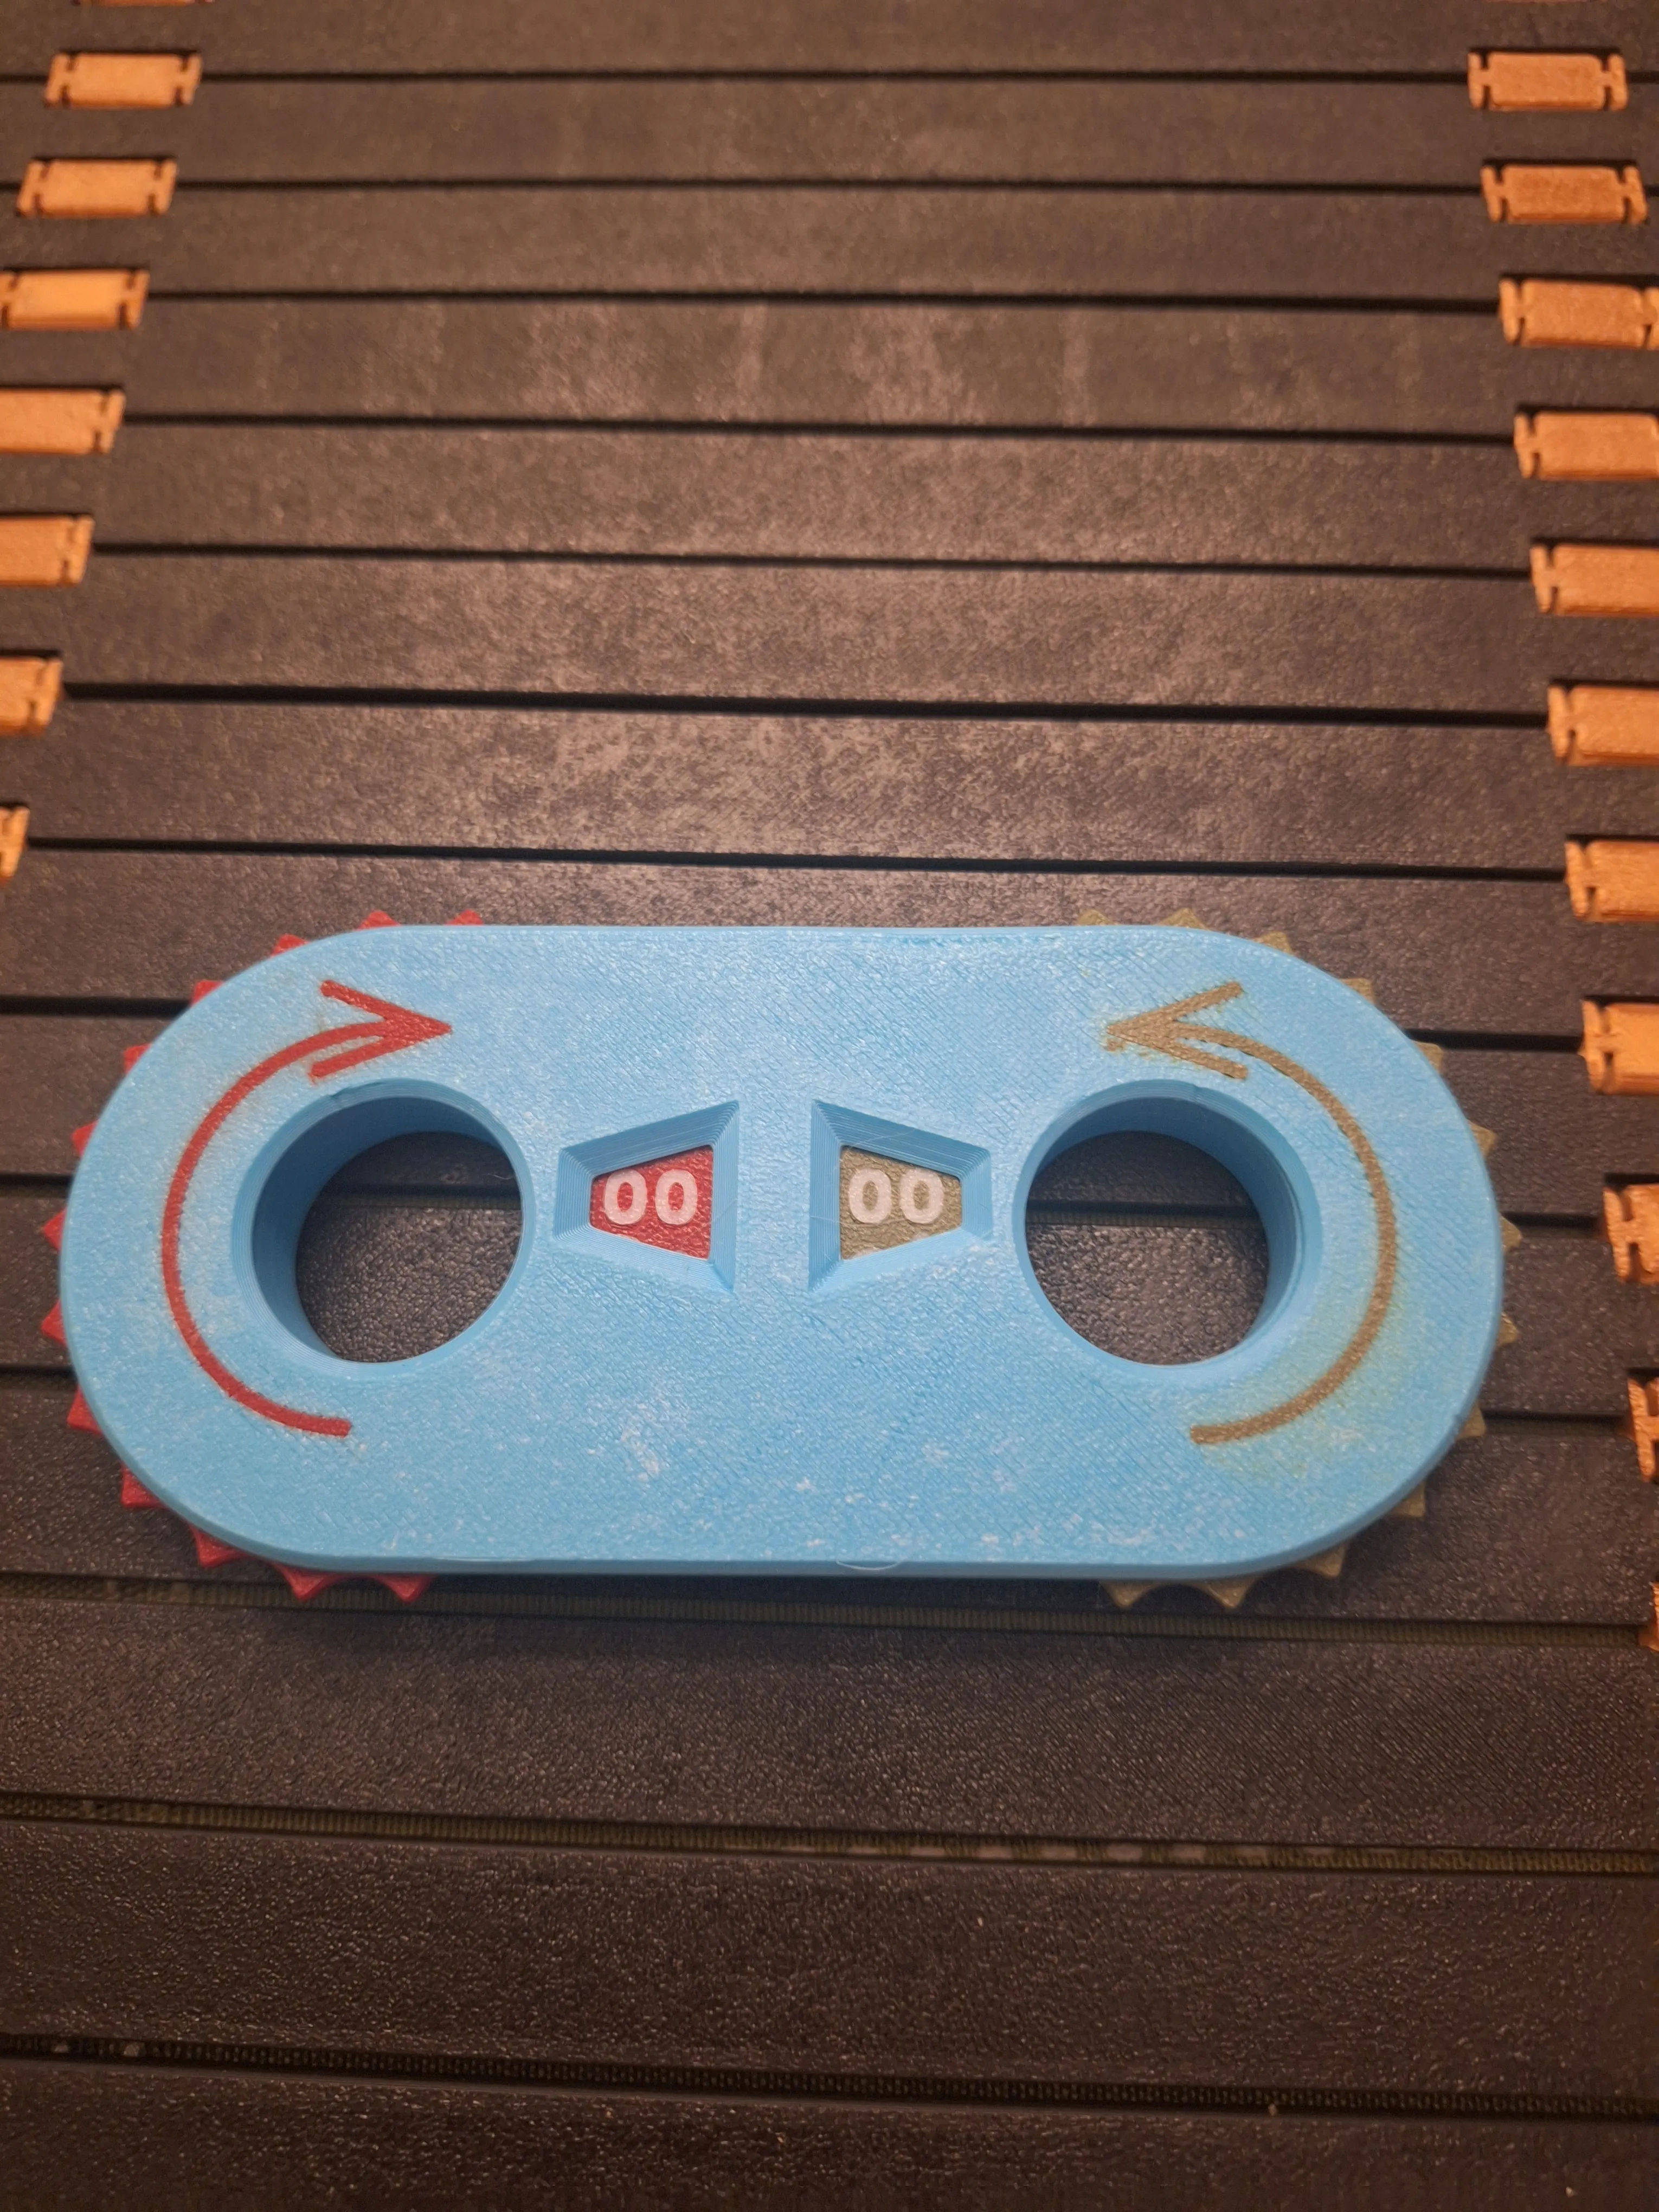
Cornhole Points Counter
Version 2 have been published HERE
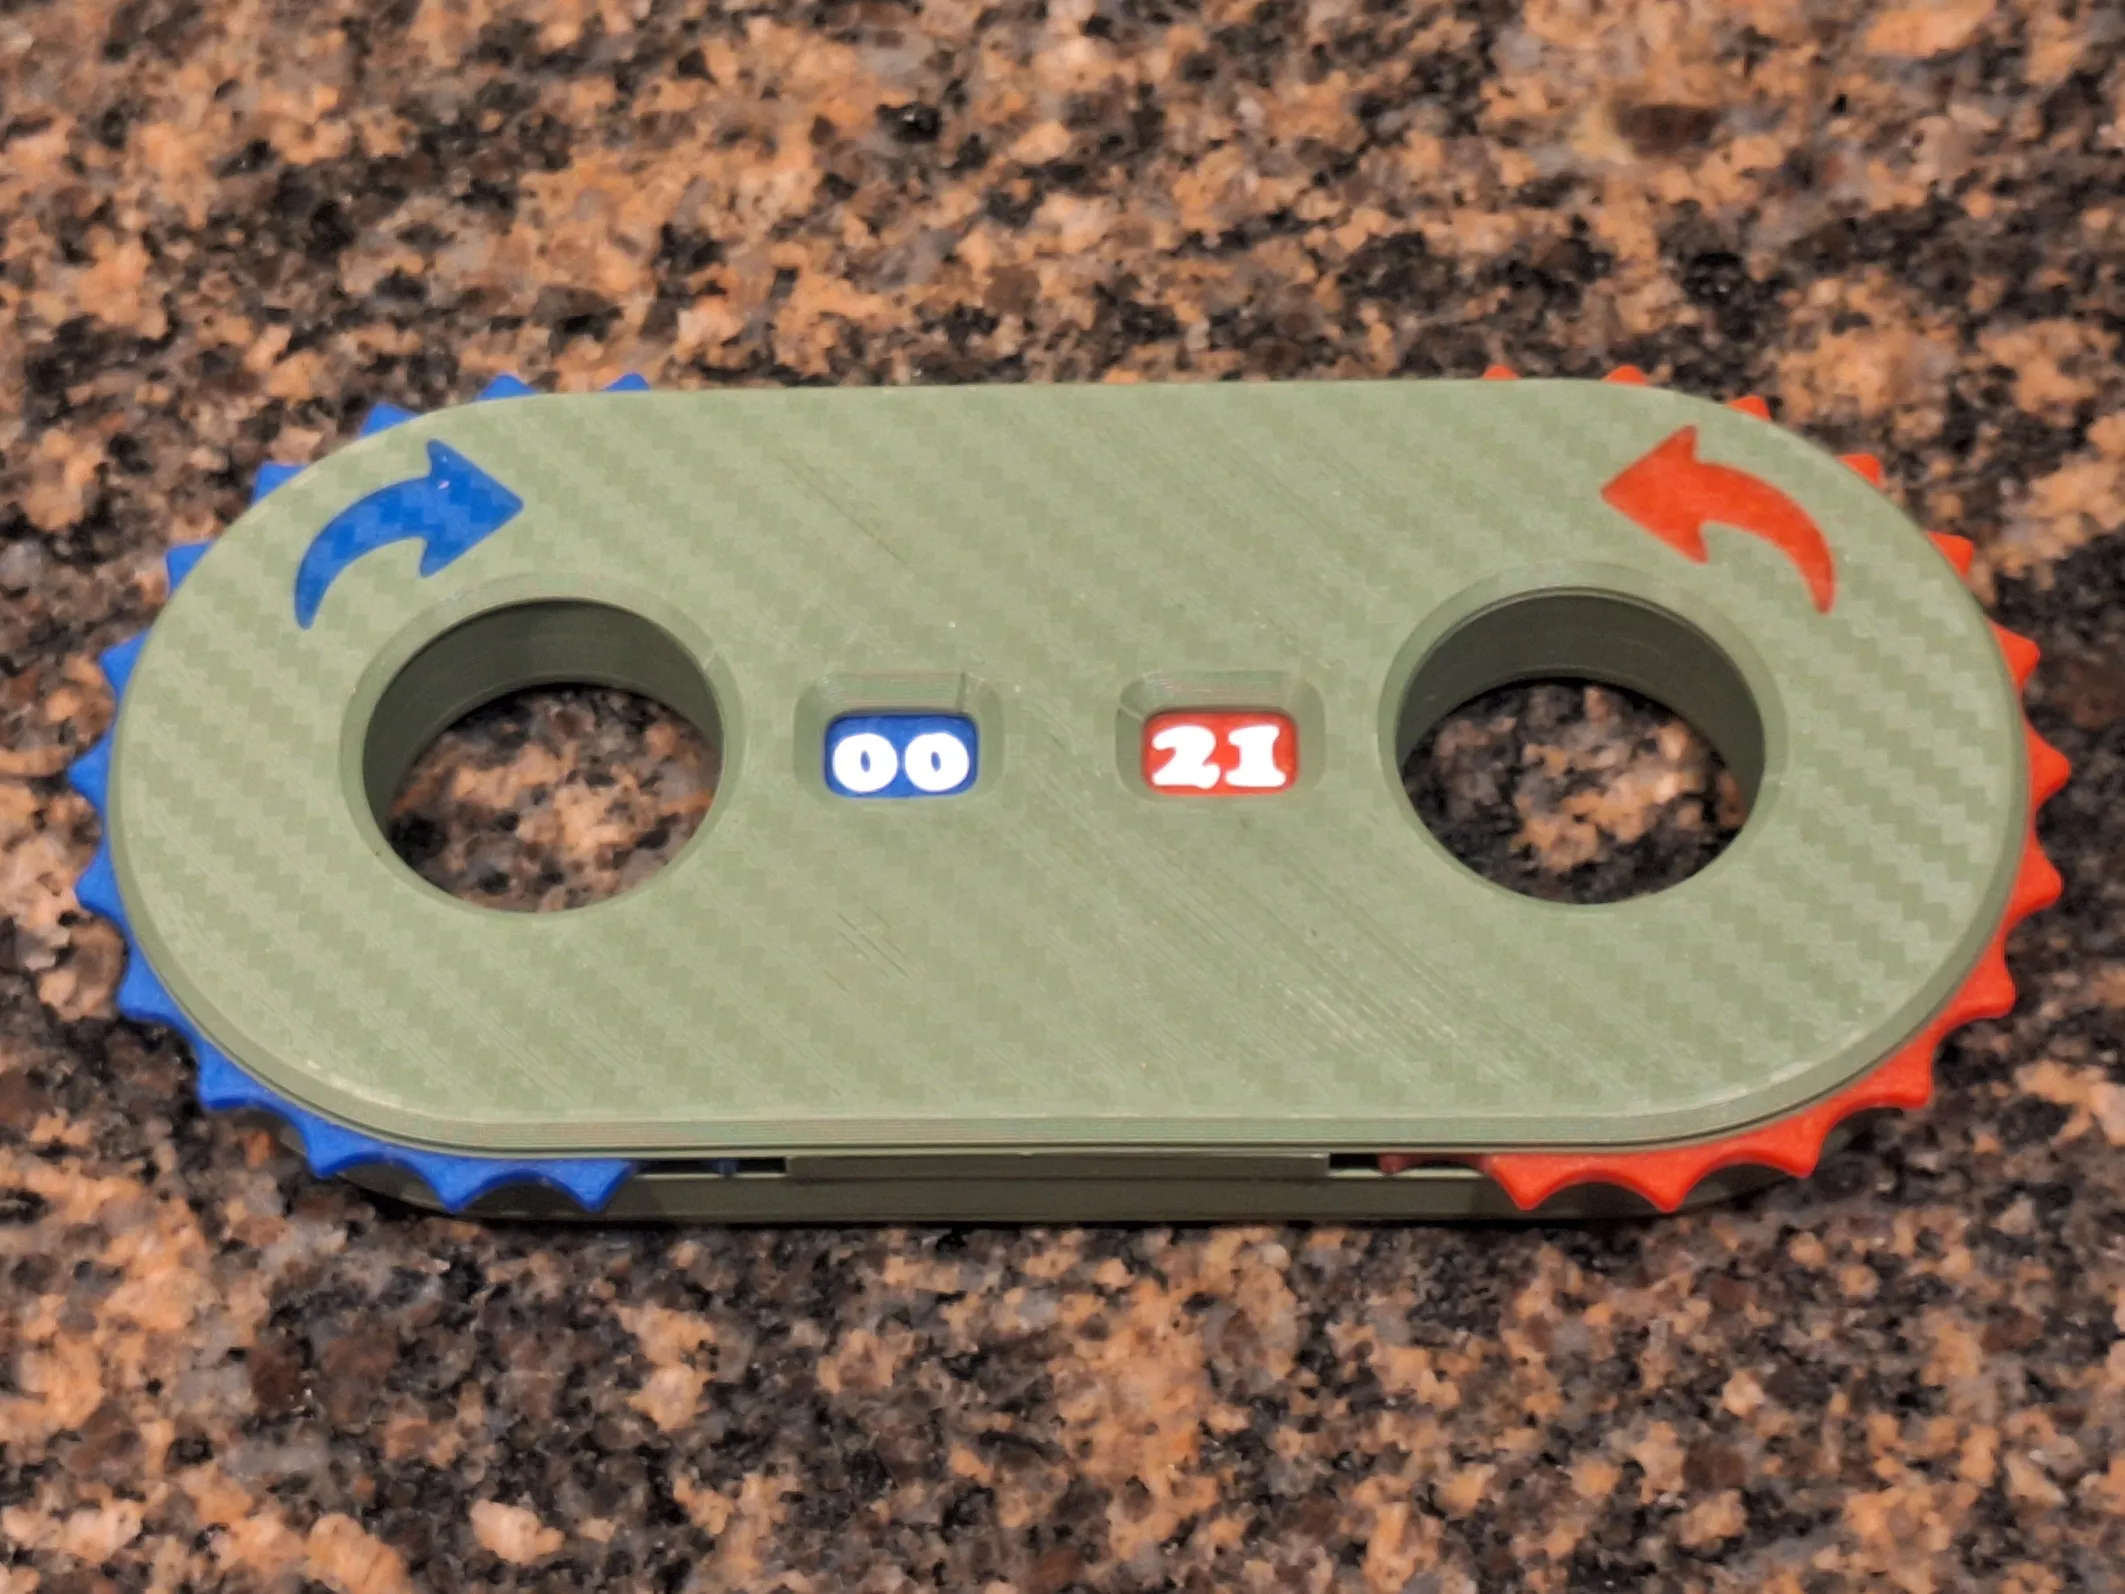
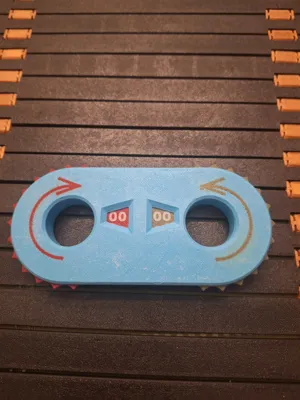
Keeping track of the points while drinking and playing cornhole can be challenging. This helps.
I printed this without an AMS. Just lots of filament changes.
In STUDIO, on the PROCESS tab change from view from GLOBAL to OBJECTS
Of course you can change this as you see fit but this is how I did it.
- Turn off everything but NUMBER 1 and 2 and print those in white.
- While the numbers are on the bed, scrape off the FLOW LINE and the SKIRT LOOP
- Then in STUDIO turn off NUMBER 1 and 2 and turn on GEAR 1 and SPRING 1 and
- Change the filament to red. The faster you do this the better. You don't want the bed to cool off too much. You can also manually raise the bed temperature to keep it hot.
- Print those in RED
- Remove the FLOW LINE, SKIRT LOOP and the RED gear and spring but leave the numbers
- DO NOT REMOVE THE PLATE FROM THE PRINTER
- In STUDIO turn off GEAR 1 and SPRING 1 then turn on GEAR 2 and SPRING 2
- Change the filament to green.
- Print this in GREEN
- Remove the FLOW LINE, SKIRT LOOP and the GREEN gear and spring
- Change the filament to green.
- From plate 2, turn off everything but ARROW 2 and print it in GREEN
- Remove the FLOW LINE and SKIRT LOOP then turn off ARROW 2
- Change the filament to red.
- Turn on ARROW 1 and print it in RED
- Remove the FLOW LINE and SKIRT LOOP then turn off ARROW 1
- Change the filament to teal.
- Turn on BOTTOM and TOP and print it in TEAL
Alternatively, I added another print profile with pauses to change the filament.
ASSEMBLY
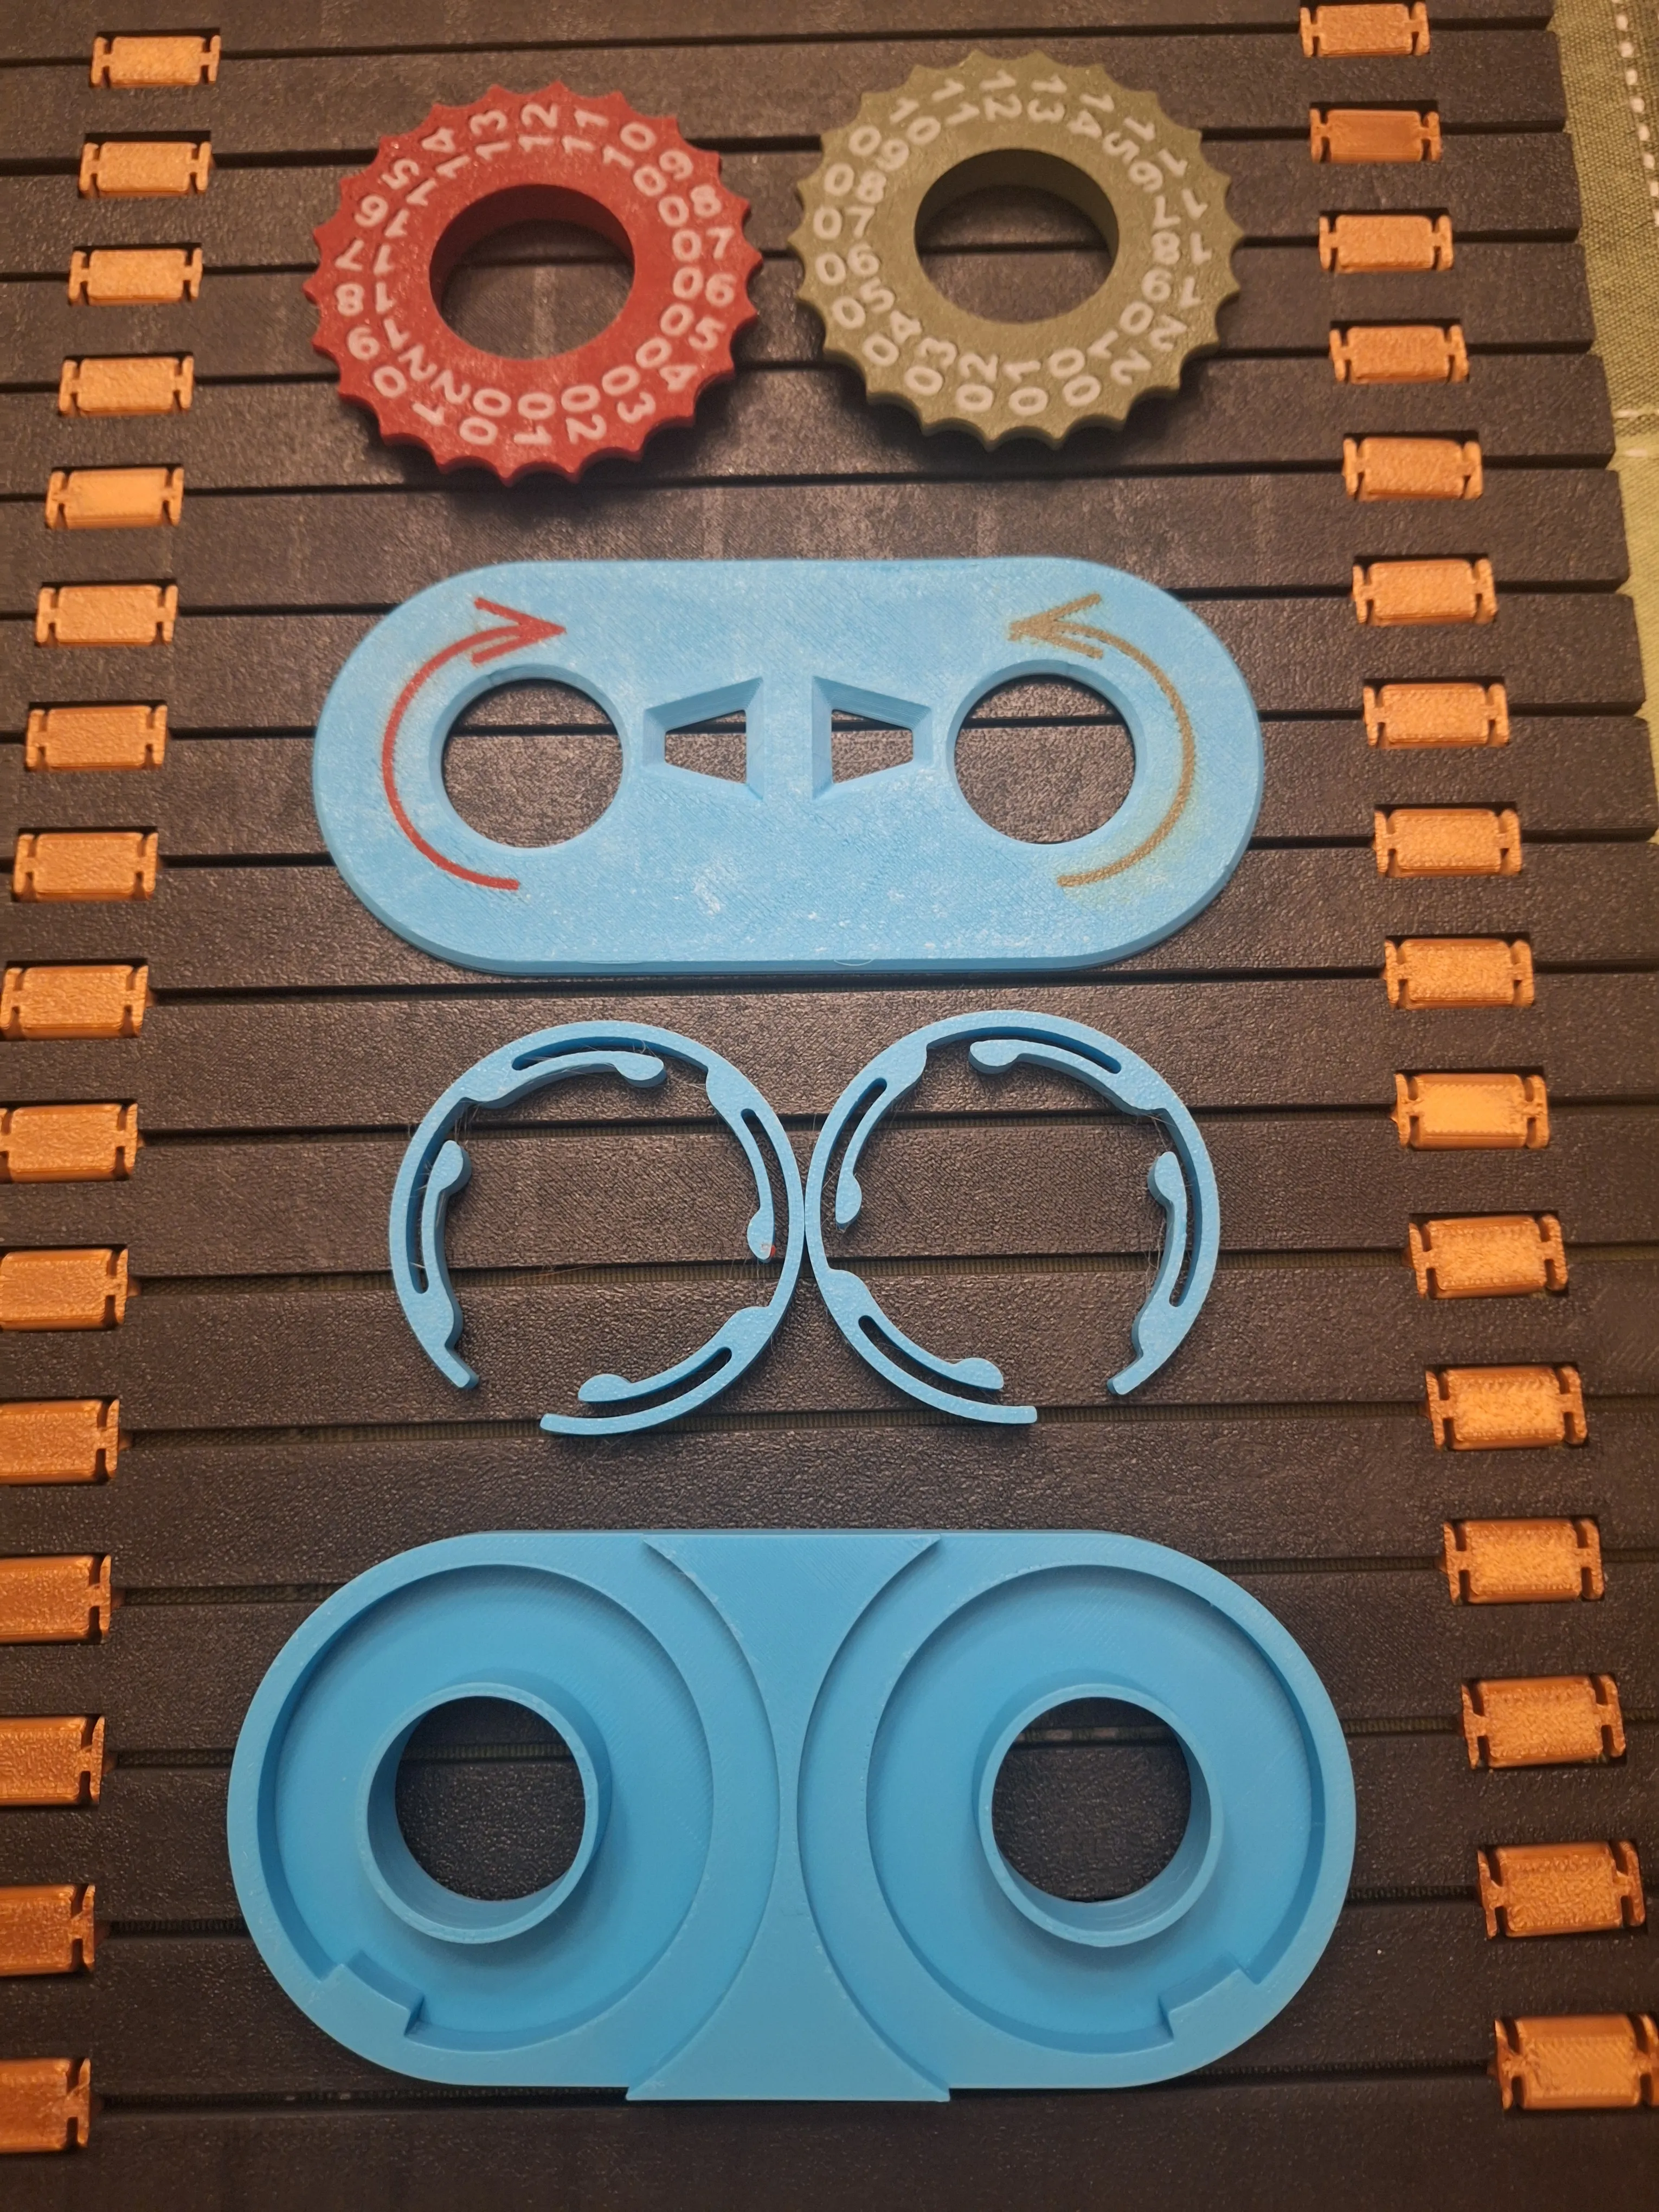
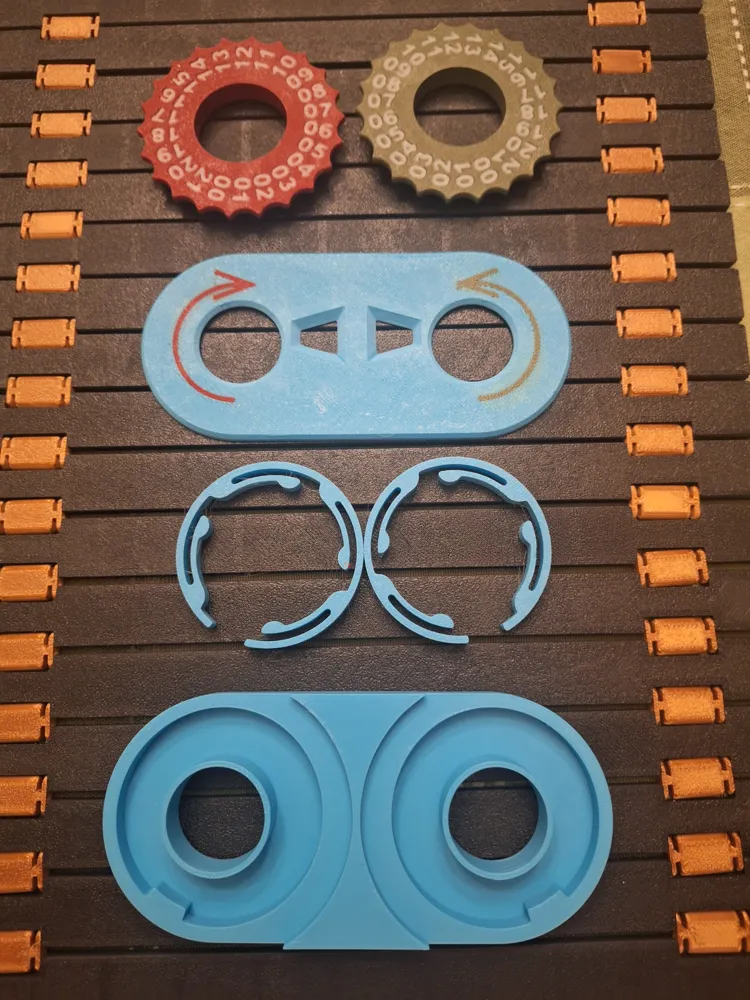
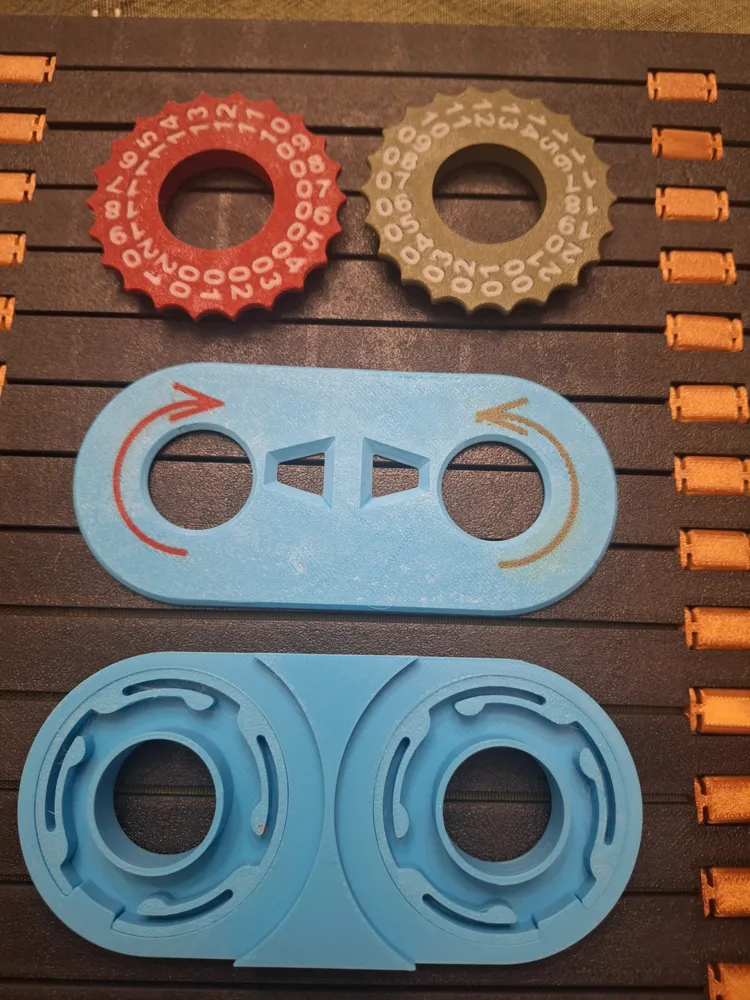
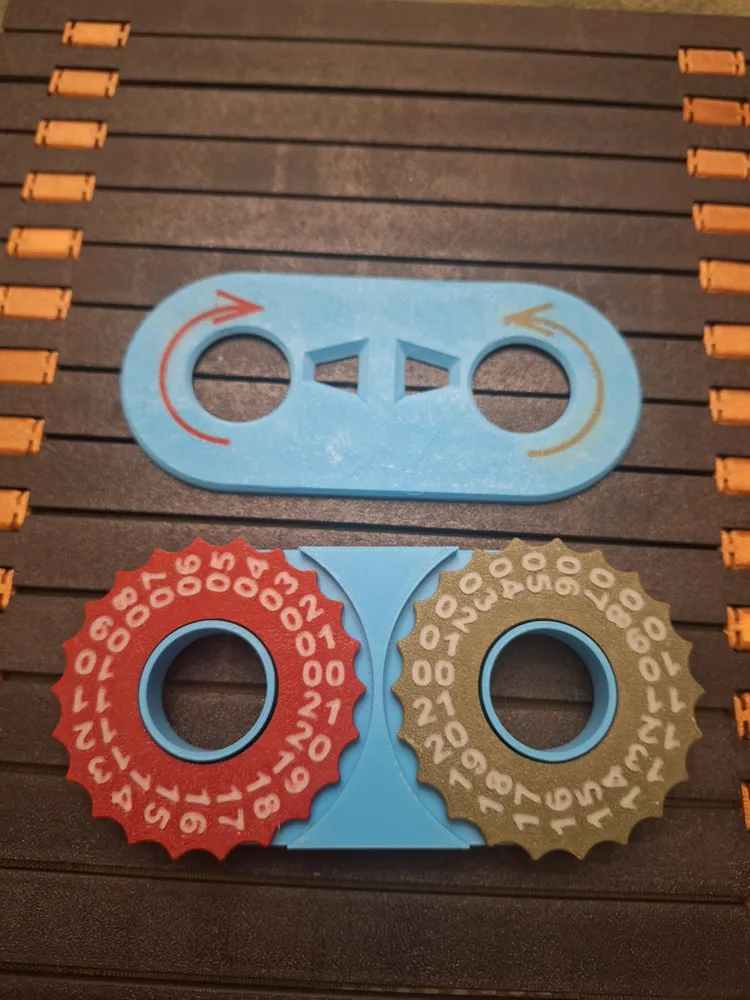
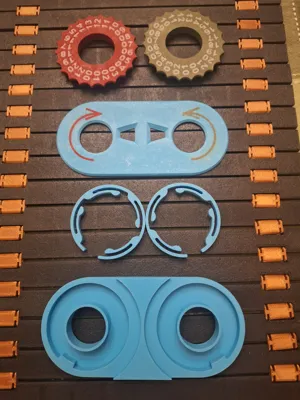
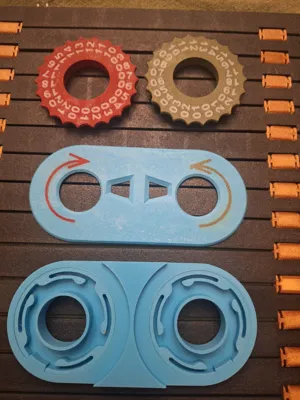
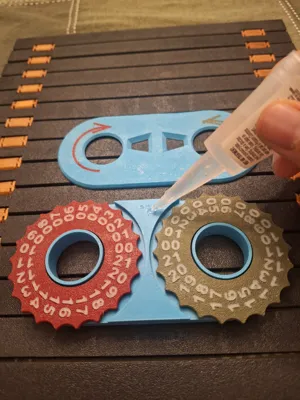
Take all your parts and start assembling them by putting the spring in the bottom part textured side up (mirrored from each other)
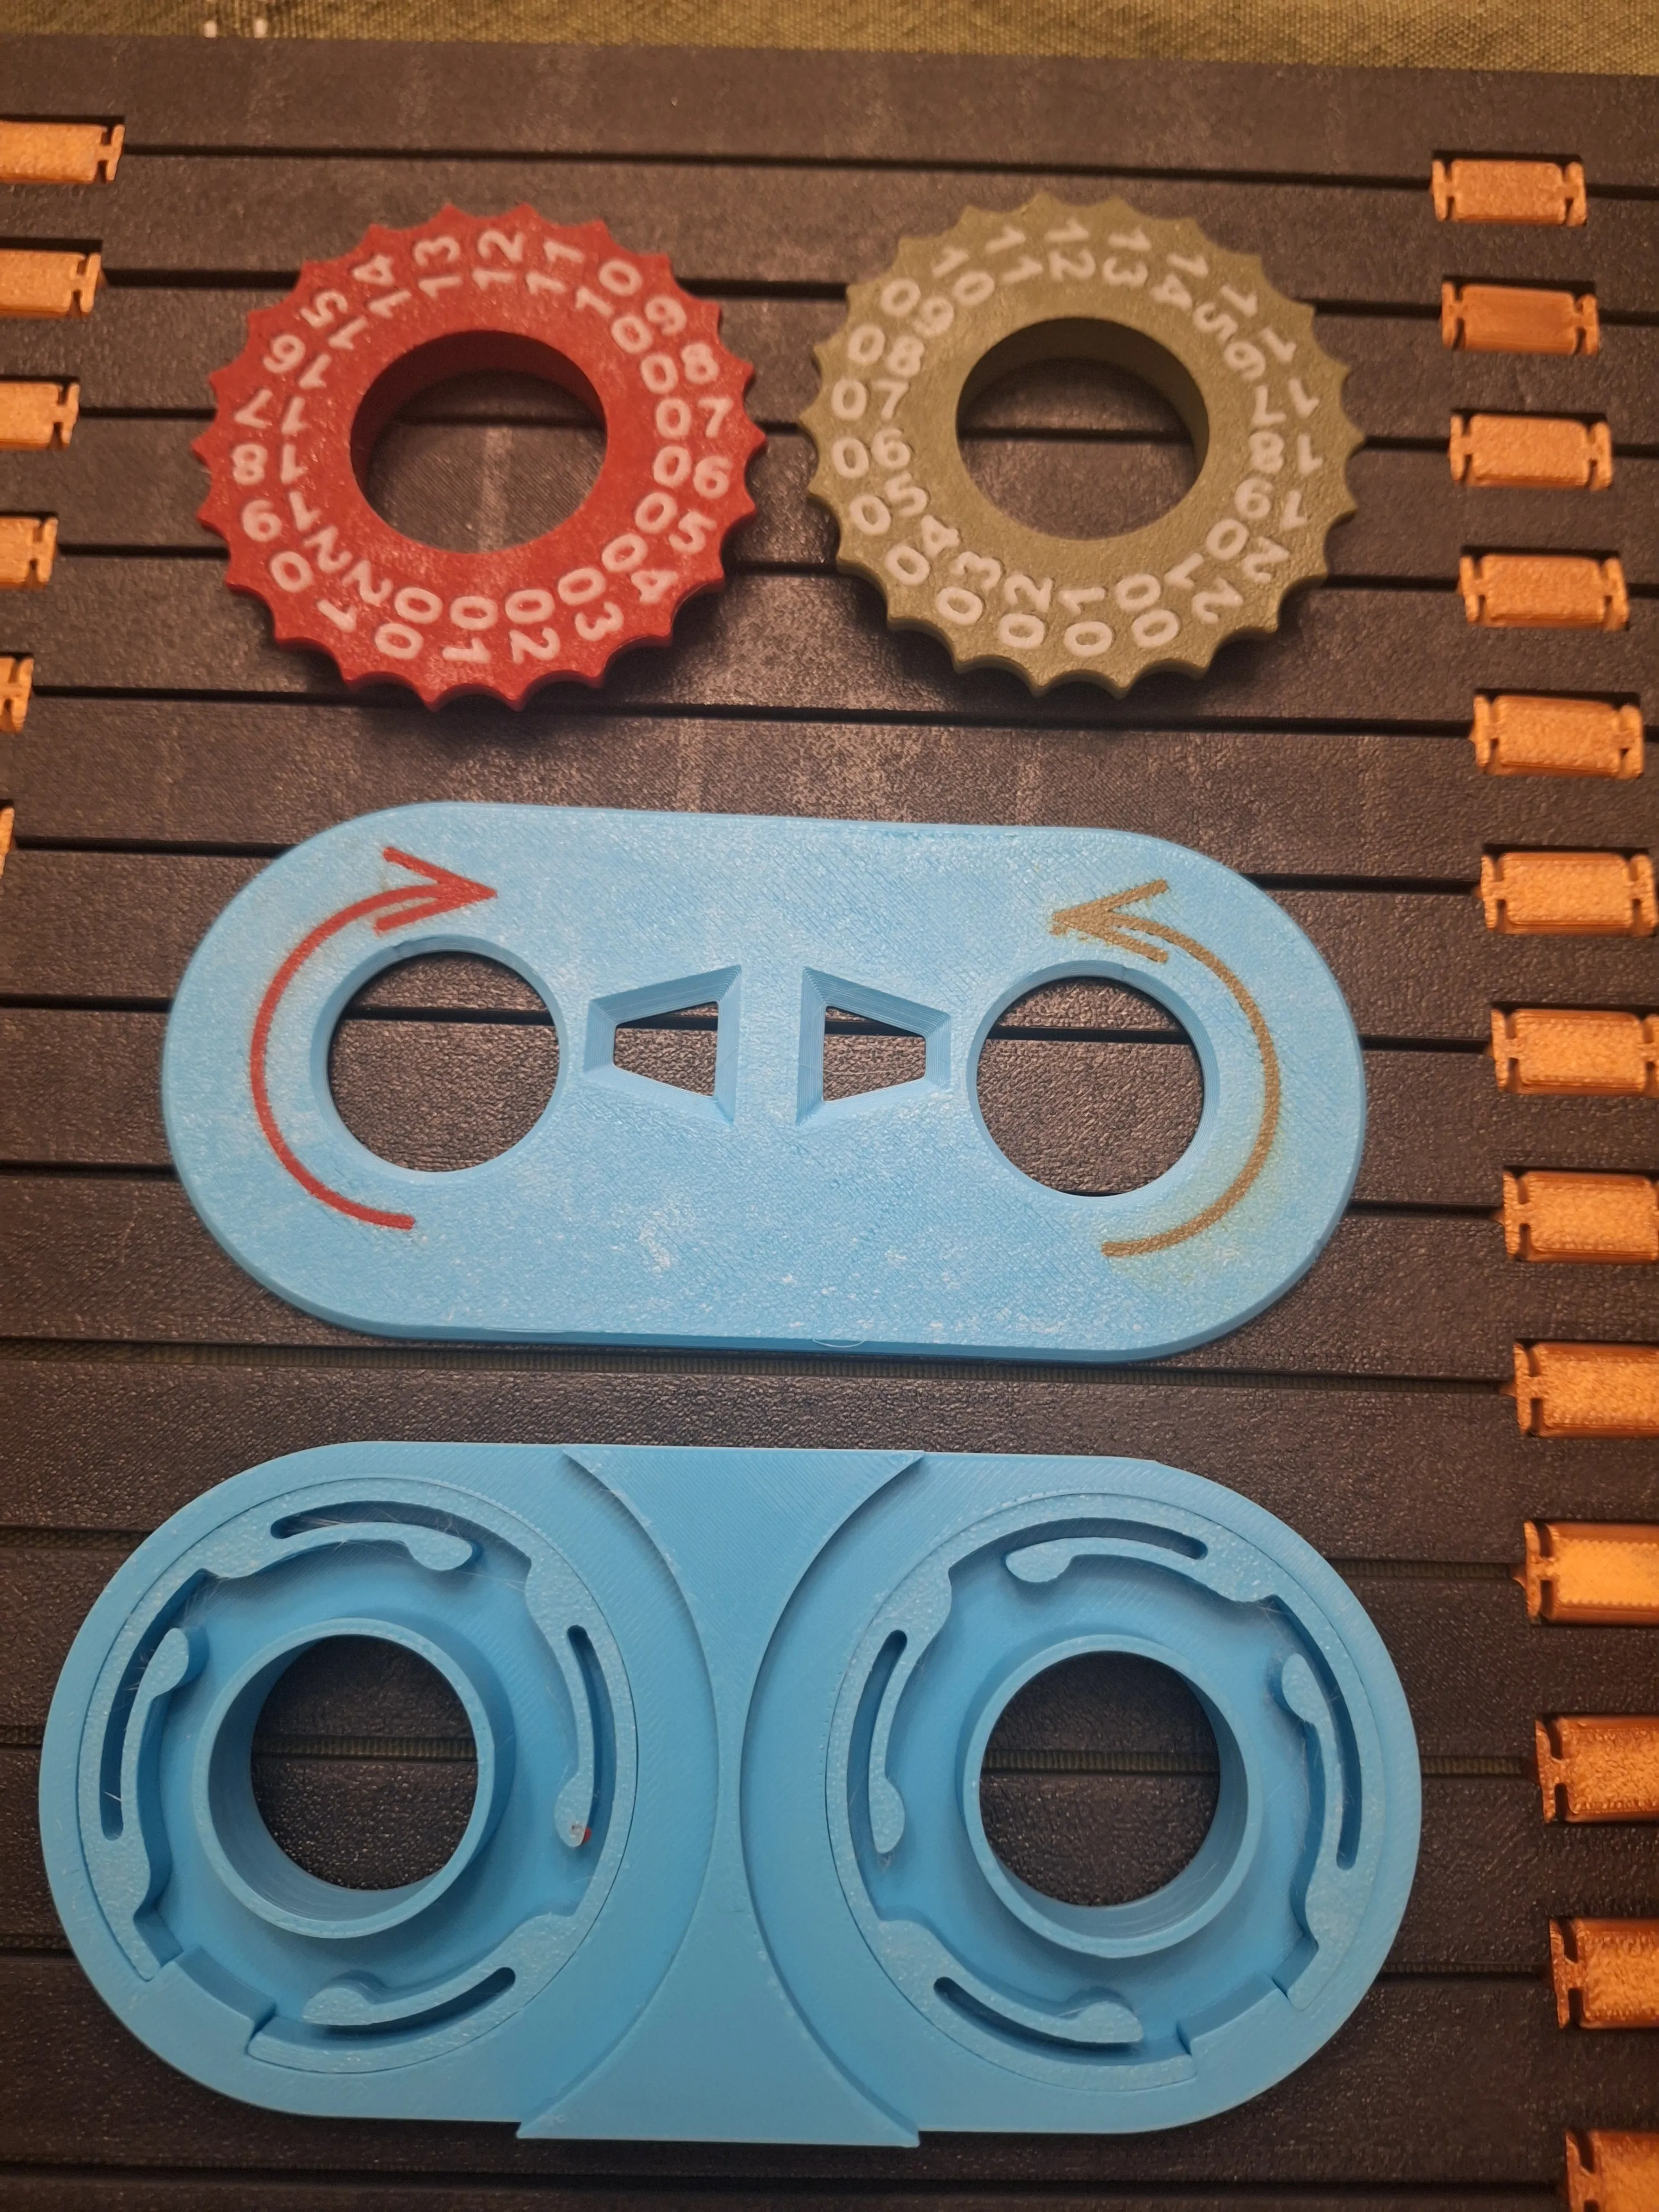
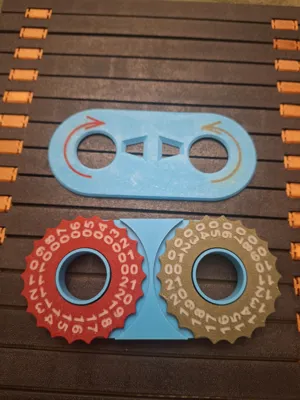
Put the gears in. Make sure they turn and snap into place
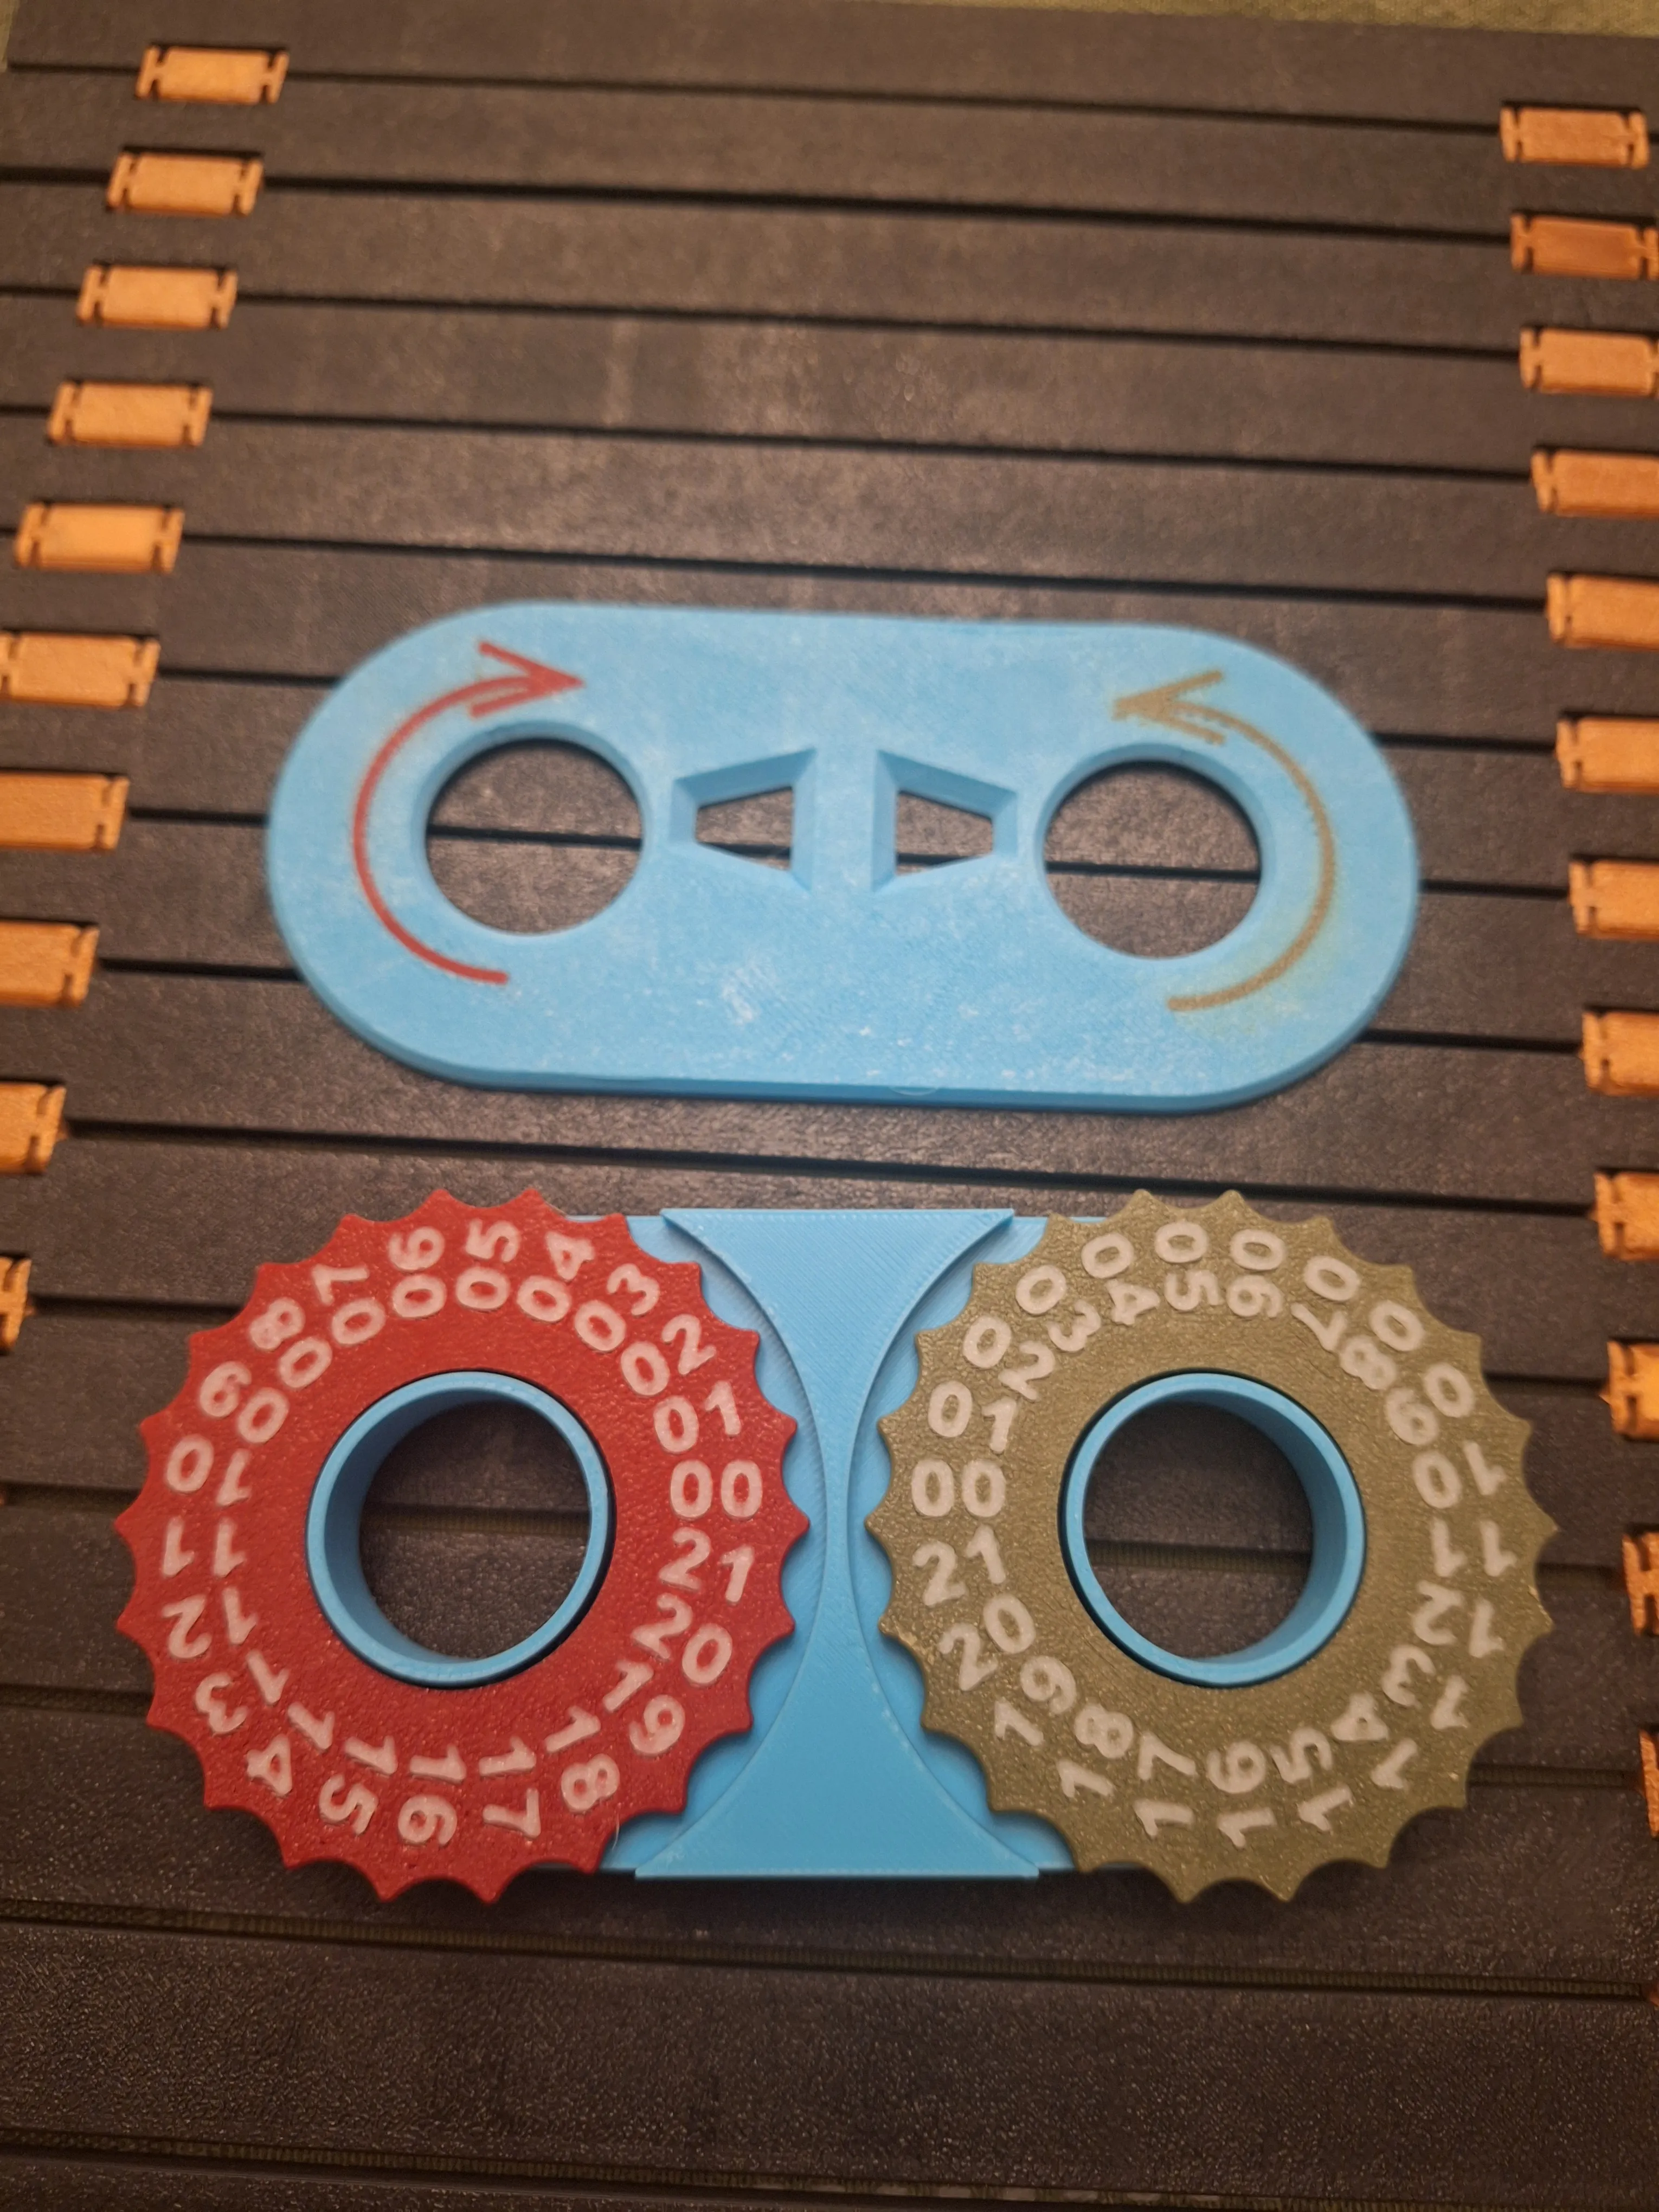
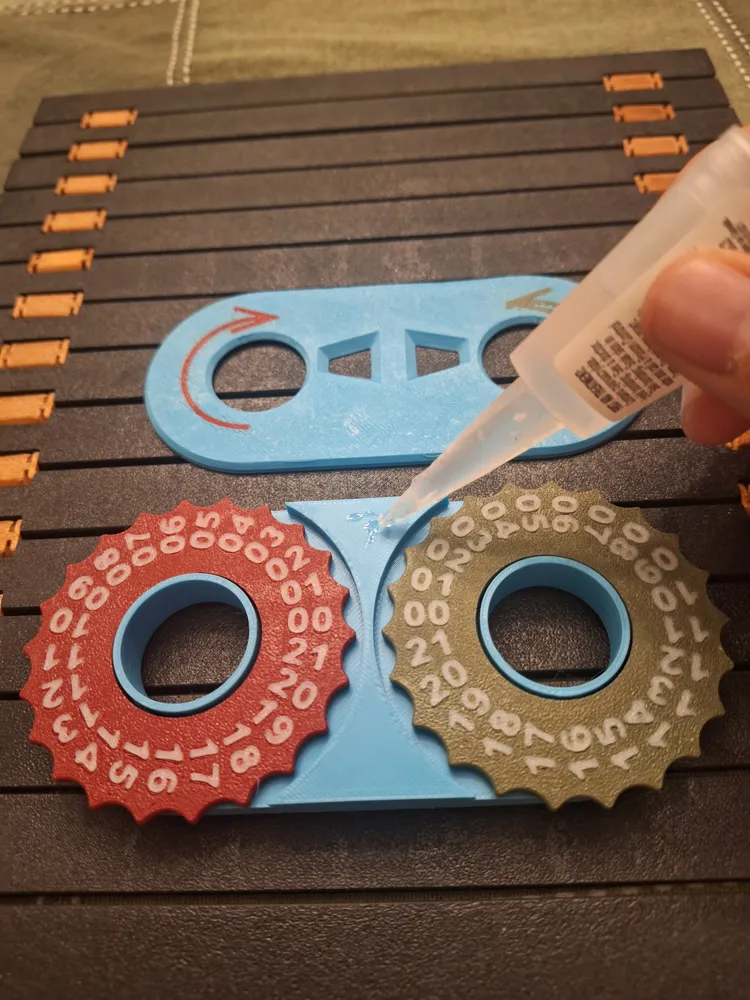
Add a dab of glue at the top and bottom
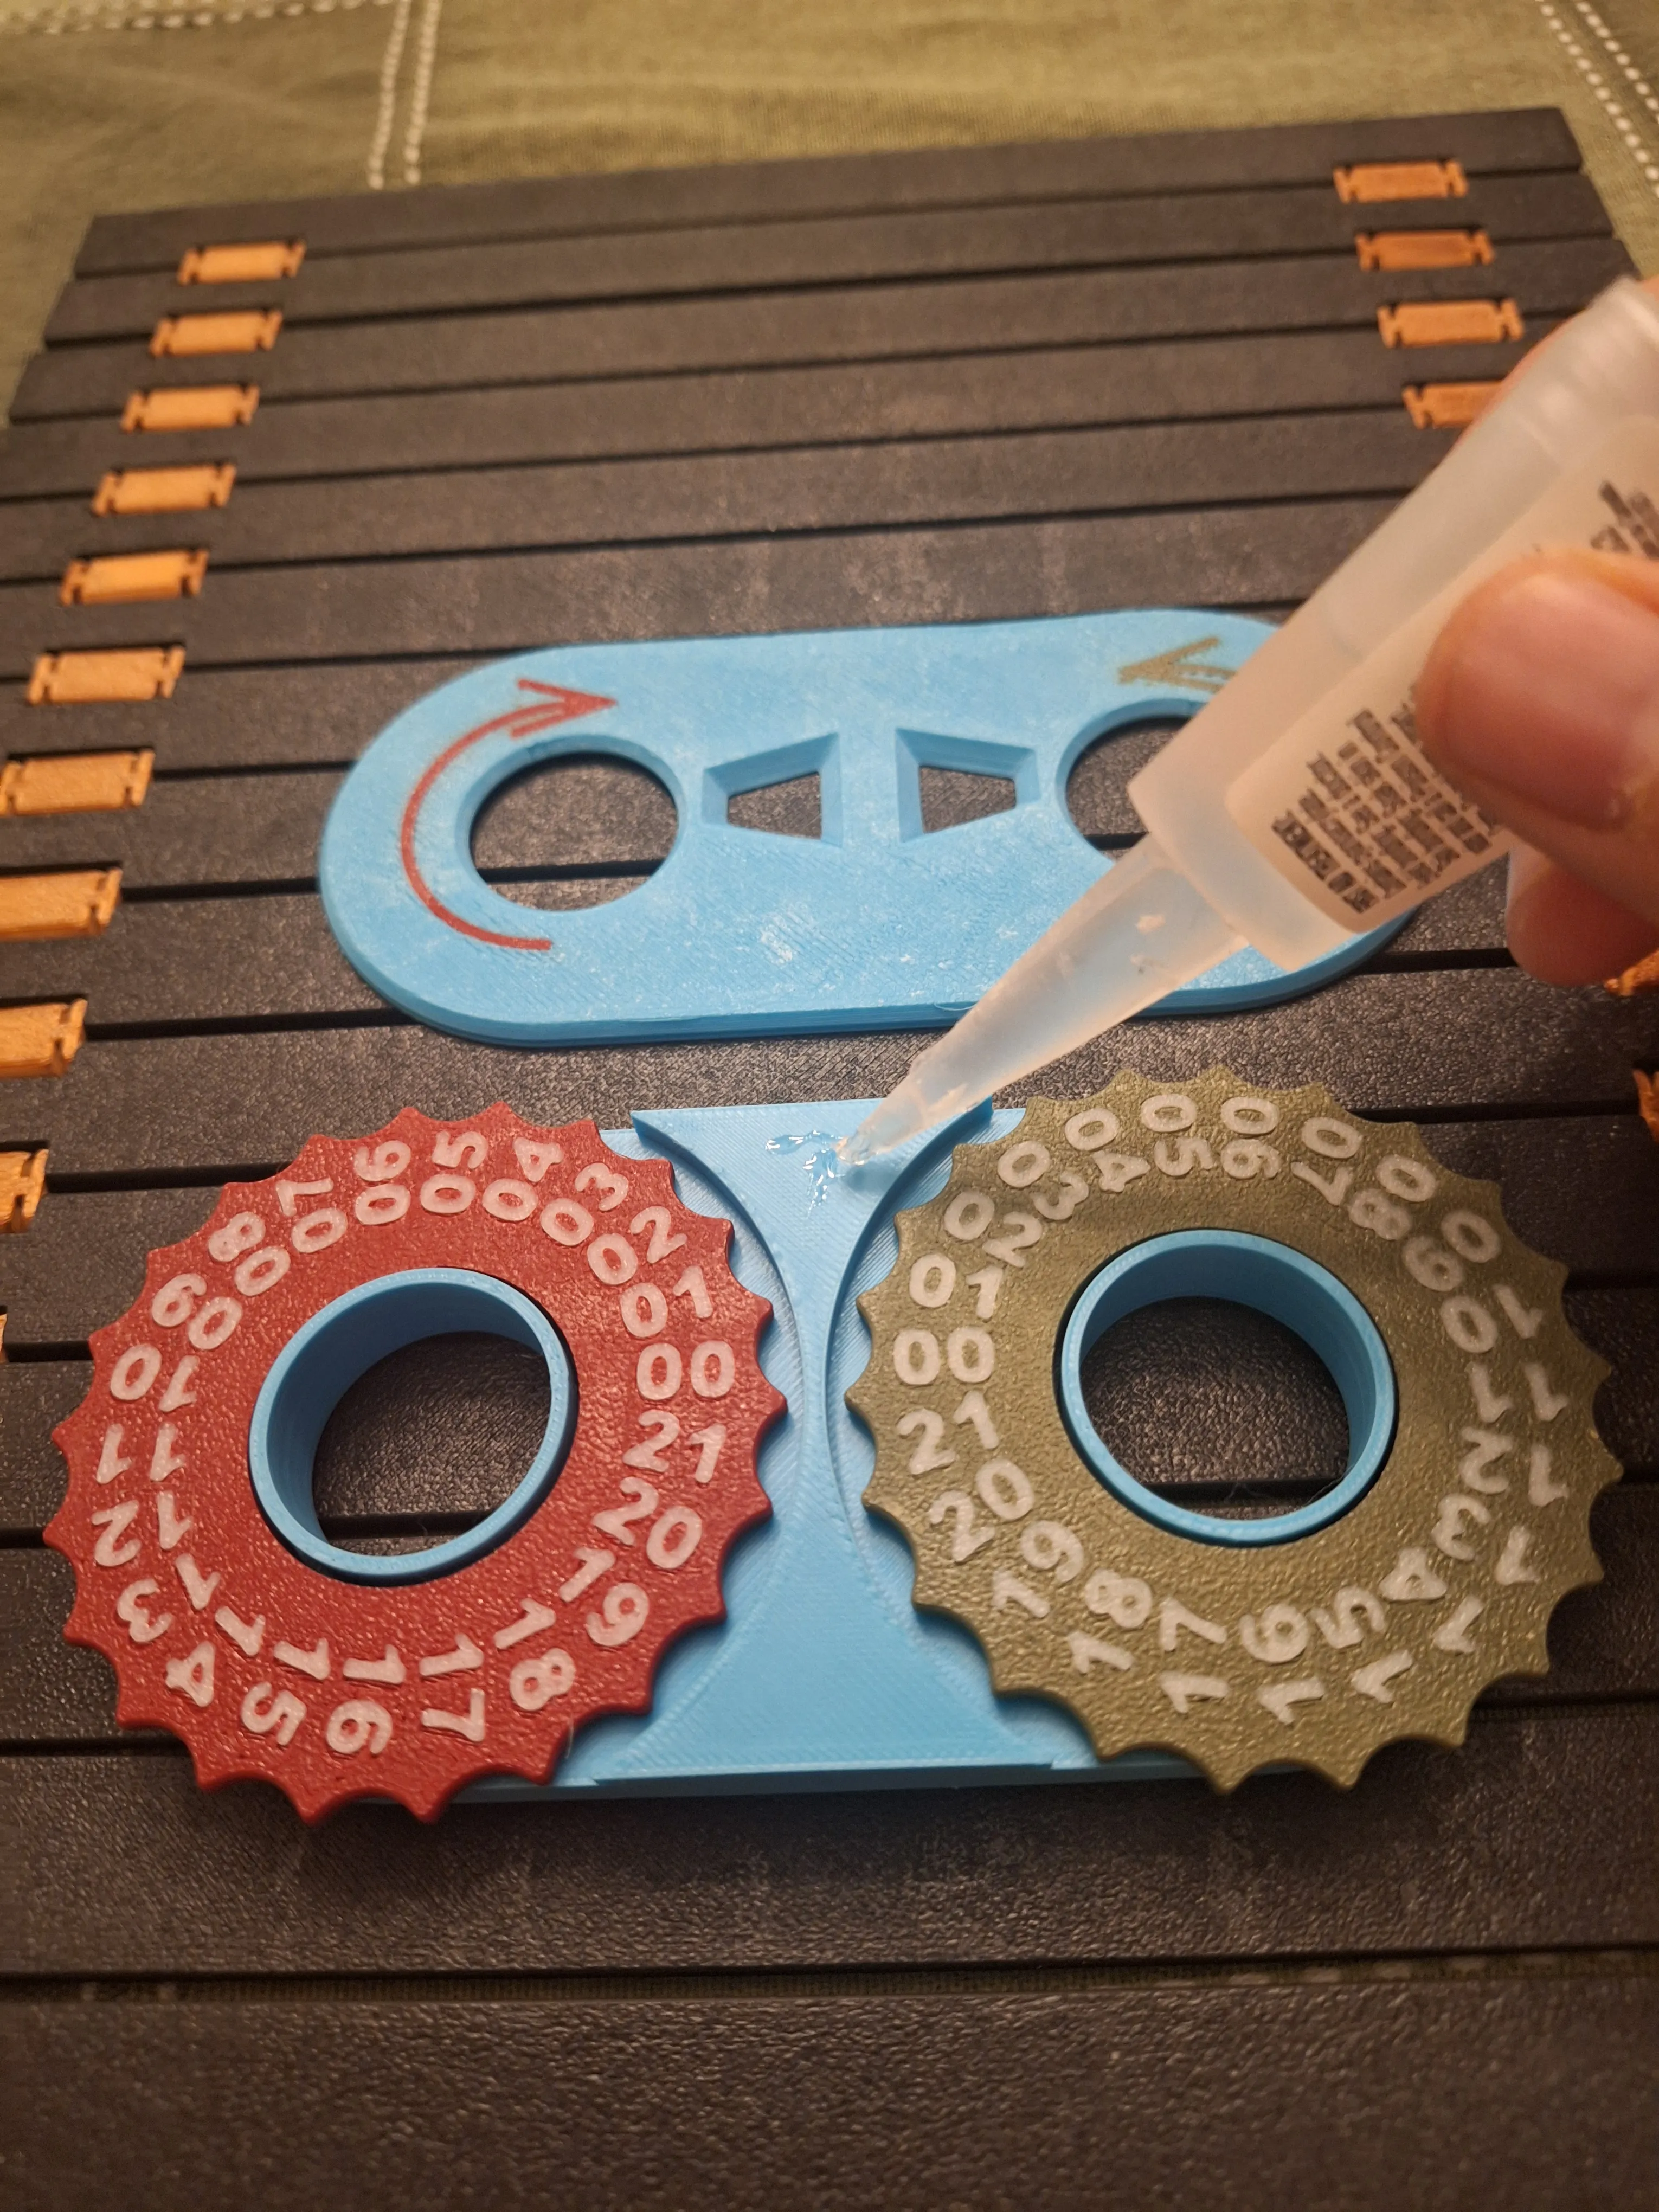
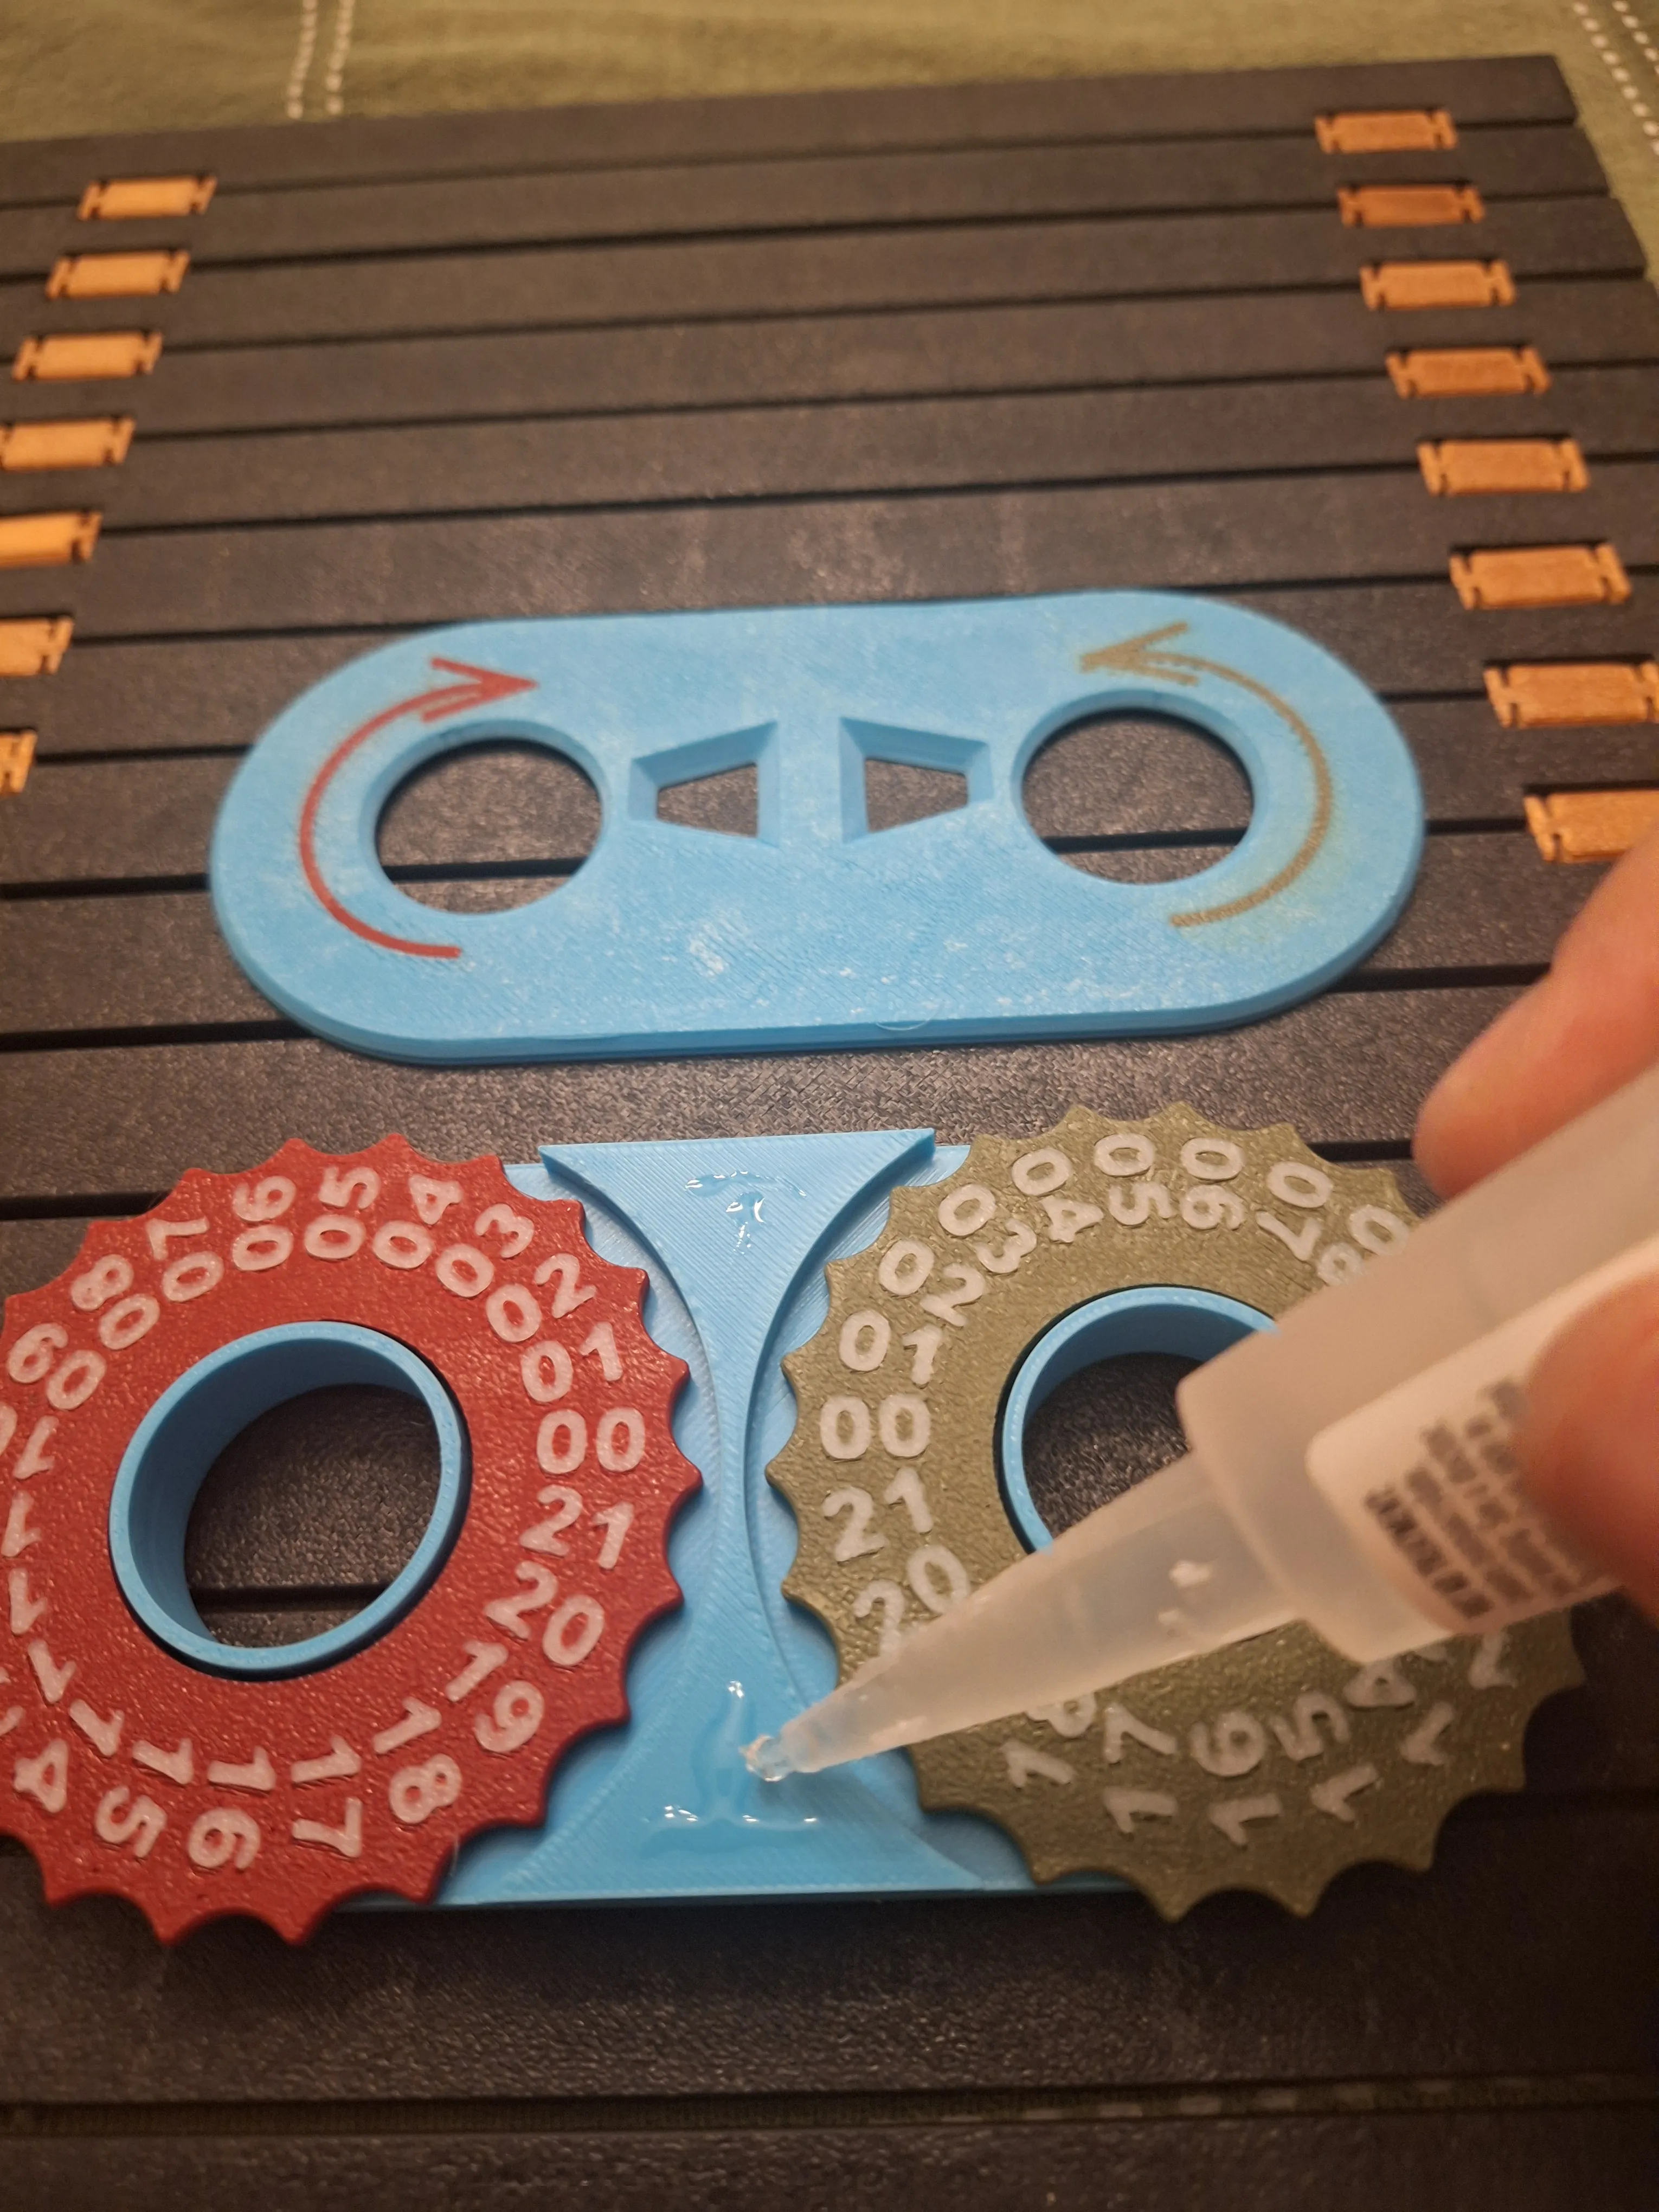
Add something heavy on top and let it sit for a few minutes while the glue sets
License

You shall not share, sub-license, sell, rent, host, transfer, or distribute in any way the digital or 3D printed versions of this object, nor any other derivative work of this object in its digital or physical format (including - but not limited to - remixes of this object, and hosting on other digital platforms). The objects may not be used without permission in any way whatsoever in which you charge money, or collect fees.


Comment & Rating (63)