
3D Printed pocket Disc sander for hand-drill!



Print Profile(1)

Bill of Materials


- Sanding disc x 1: https://allegro.cz/nabidka/fibrovy-disk-fibr-125-mm-bora-9-keramika-g40-60-80-13431567403?utm_feed=712e6653-4749-4512-b084-b6e297fc9e0b&utm_source=google&utm_medium=freelisting&srsltid=AfmBOoqviFp4ftfzMku5xCYSTu2r_EpwR8rfVxuPT25P_rF0MbmlqjGMPMY
- self-tapping screws 4x50mm x 3:
- CA glue x 1:
Description
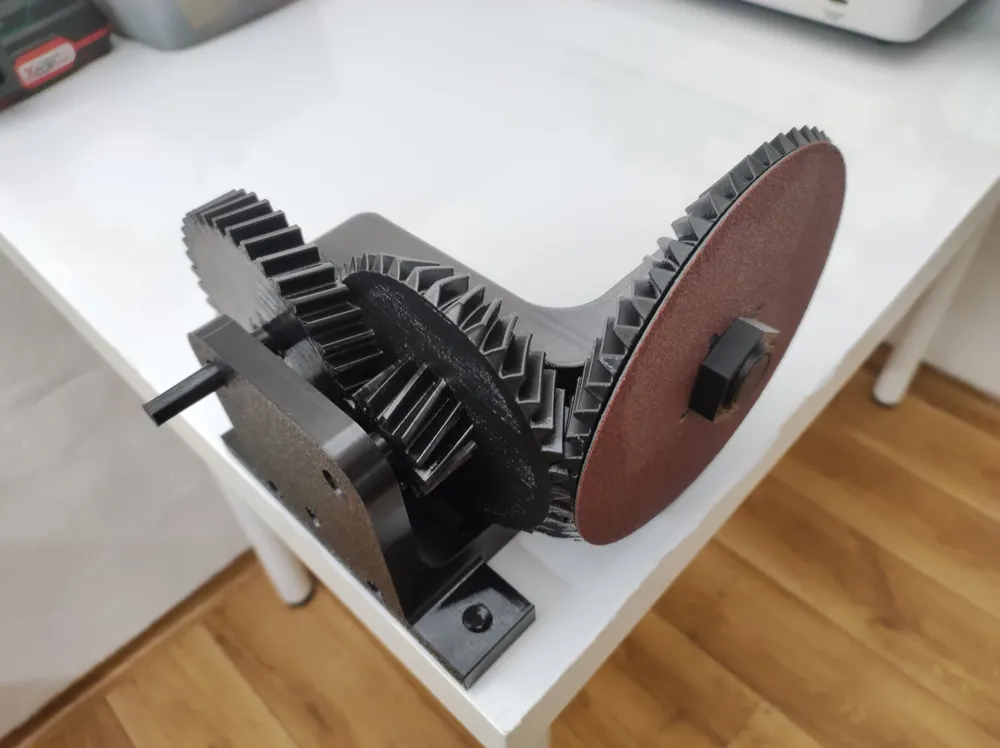
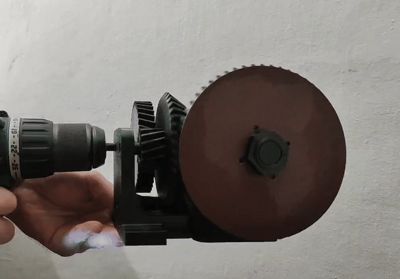
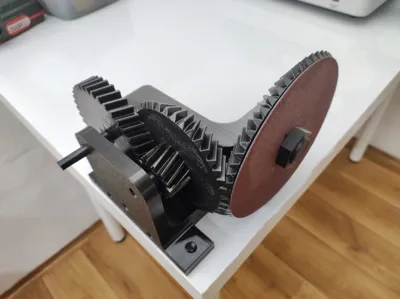
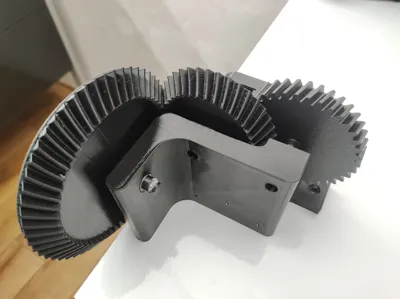
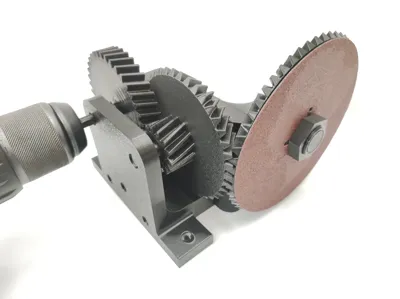
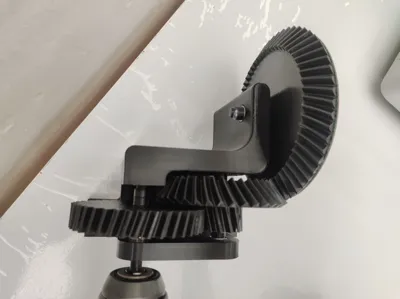
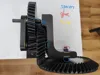
Second sander I've designed uses 125mm diameter sanding disc and four gears for speed enhancement. Compared to my belt-sander, this sander requires less hardware but some is still necessary. The disc-sander is also very noisy when operating so please be careful. Putting fingers in the gears could seriously harm you. Don't put anything else inbetween the gears! Use at your own risk!
Hardware list:
- Sanding disc 125mm diameter
- 6 pieces of bearings either 12x8x3,5mm or 22x8x7mm (I used the smaller ones)
- 3 self-tapping screws 4mm tapping diameter, length cca 50mm (longer is ok but will stick out)
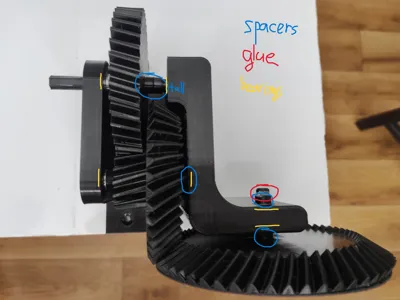
- Glue for securing the spacer of the sanding wheel shaft
- Vaseline or some different kind of tough grease (don't use WD-40 like I did, it squirted all around my kitchen)
Assembly procedure:
- Press-fit all 6 bearings into their housings
- Press-fit the part called mezikus.stl into the largest wheel
- Align the small bevel gear with the small helical gear (the smallest gear)
- Now you can press-fit all the shafts into the wheels. All the way in!
- Put the spacers on the other side of the shafts as shown in the picture
- Put the shaft with the two gears into its bearings, then insert the shaft with the input gear
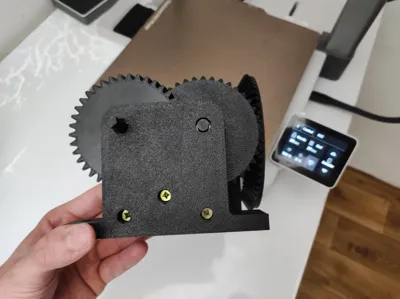
- Now you can secure the two shafts of the input gears in place with the opposite housing using 3 self-tapping screws
- Put the sanding disc onto the largest wheel and secure it with the 3D printed nut using your hands
- You're all set to insert the last gear into its bearings and securing its shaft from behind using glue (CA glue for example - be careful to not to put the glue into the bearing!)
- Put grease inbetween all the gears so you get less noise and longer lifespan
Boost Me (for free)
Be careful and enjoy!
Documentation (1)
License

You shall not share, sub-license, sell, rent, host, transfer, or distribute in any way the digital or 3D printed versions of this object, nor any other derivative work of this object in its digital or physical format (including - but not limited to - remixes of this object, and hosting on other digital platforms). The objects may not be used without permission in any way whatsoever in which you charge money, or collect fees.


Comment & Rating (20)