
Adjustable Vertical Phone Tripod - Full 3D Printed
Print Profile(4)



Description
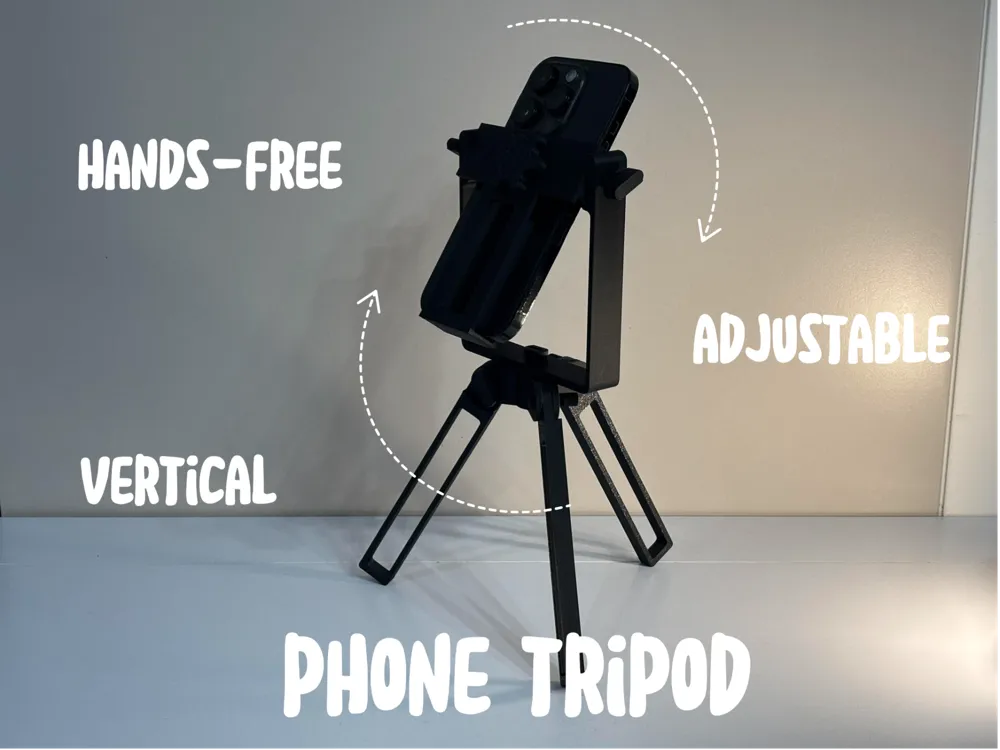
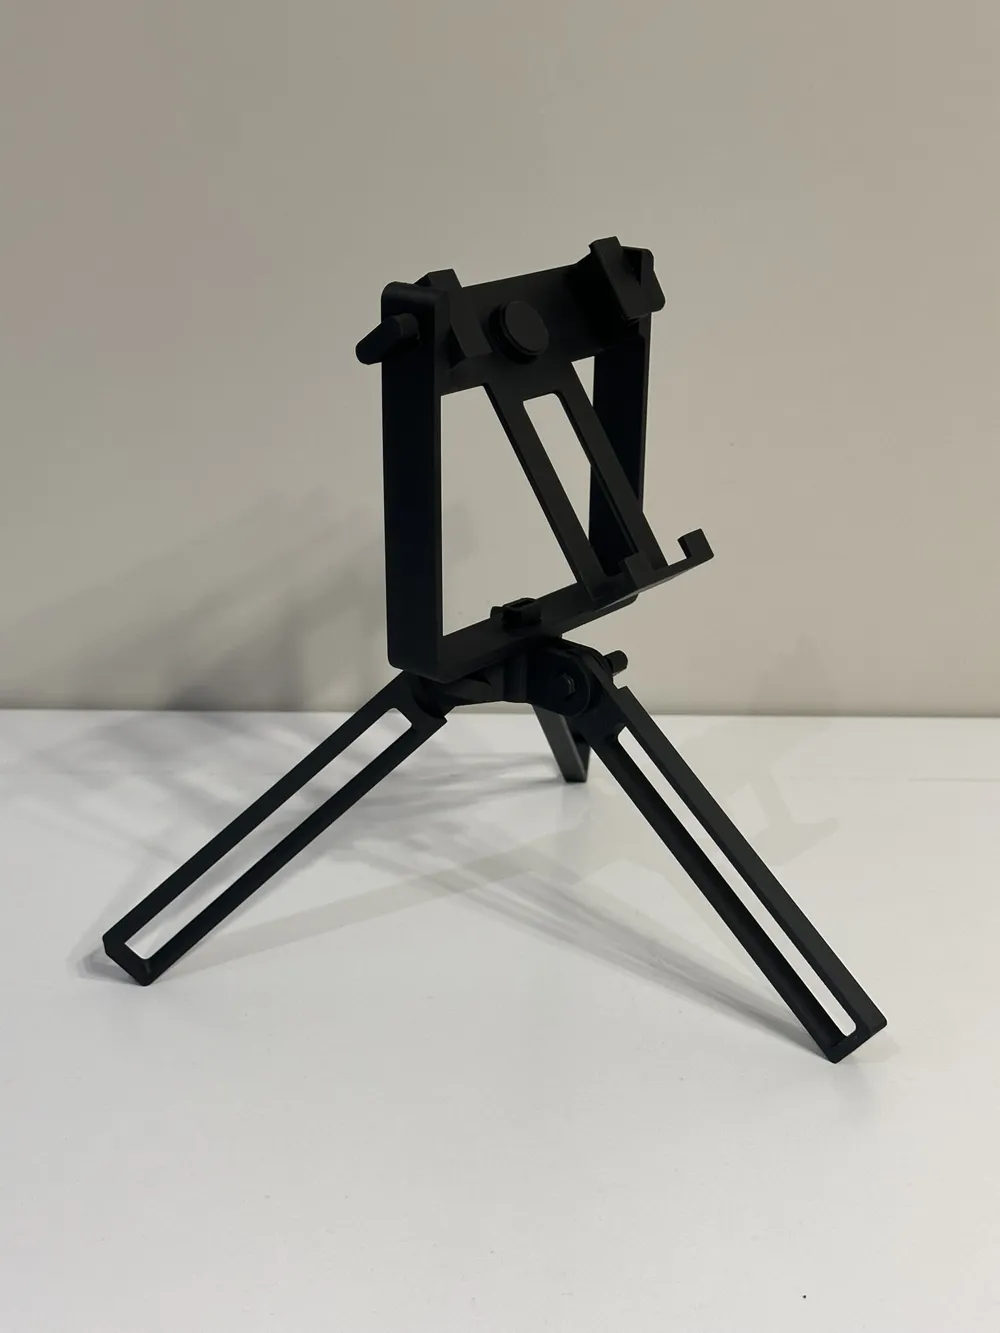
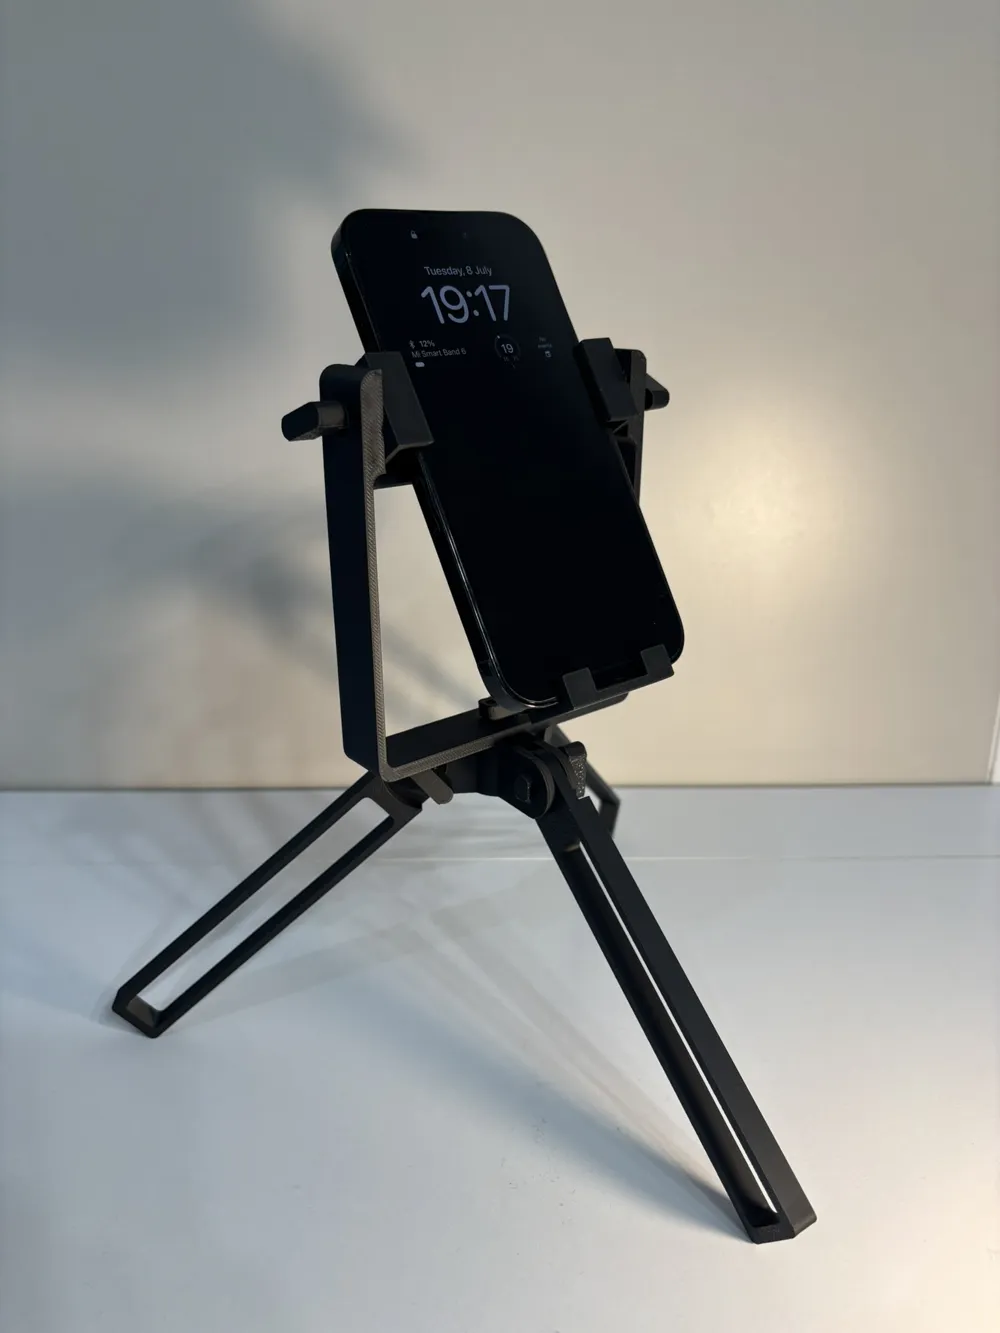
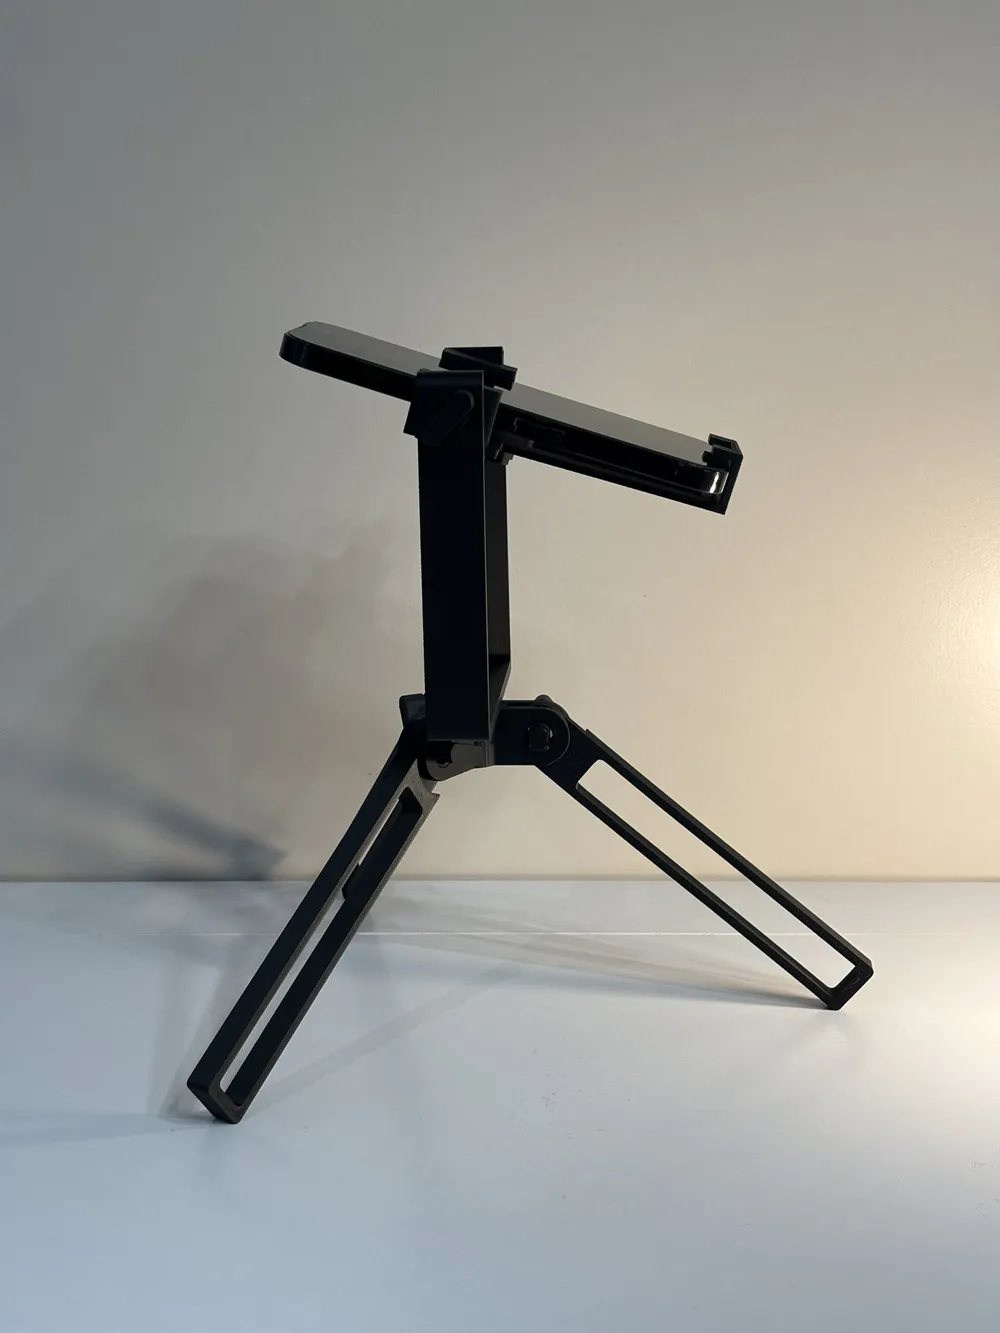
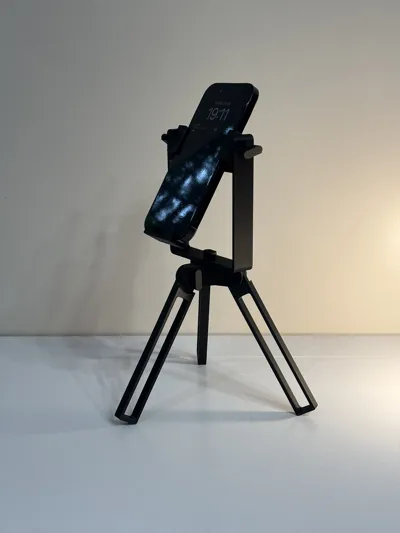
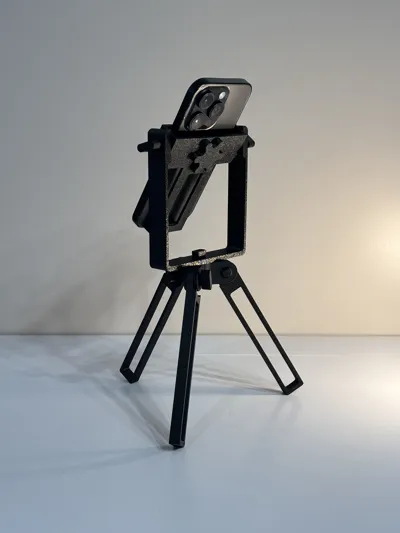
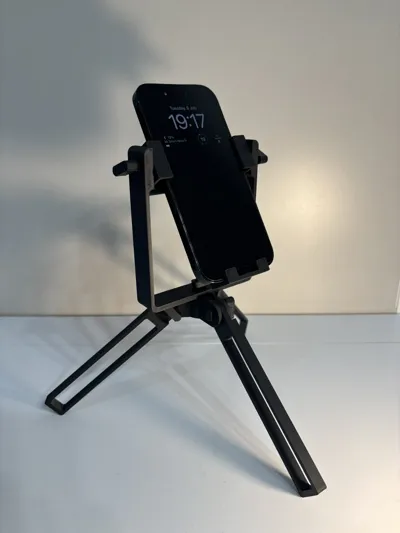
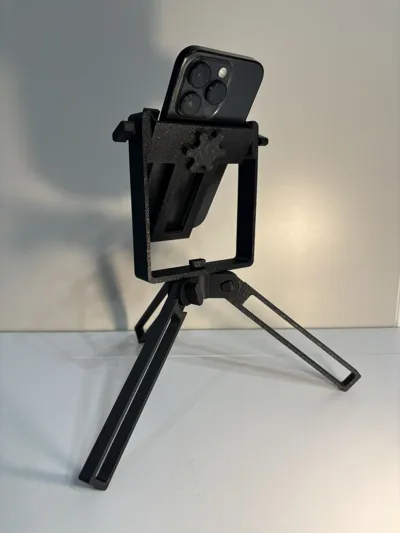
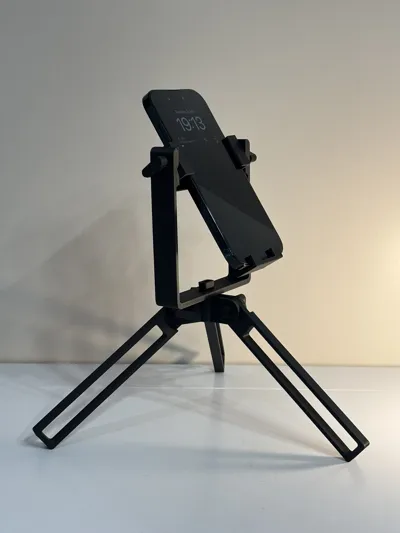
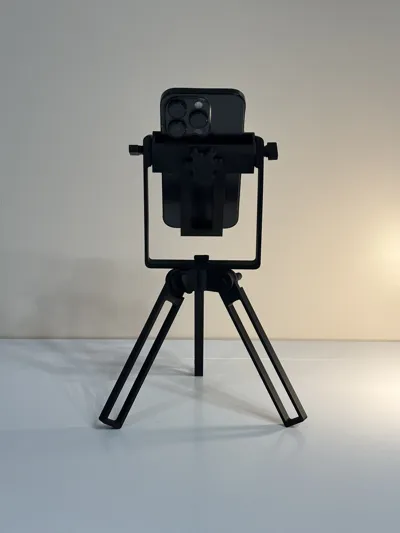
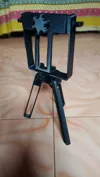
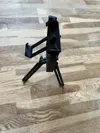
A fully 3D-printable, lightweight yet sturdy phone tripod that fits most modern smartphones – and requires no extra hardware!
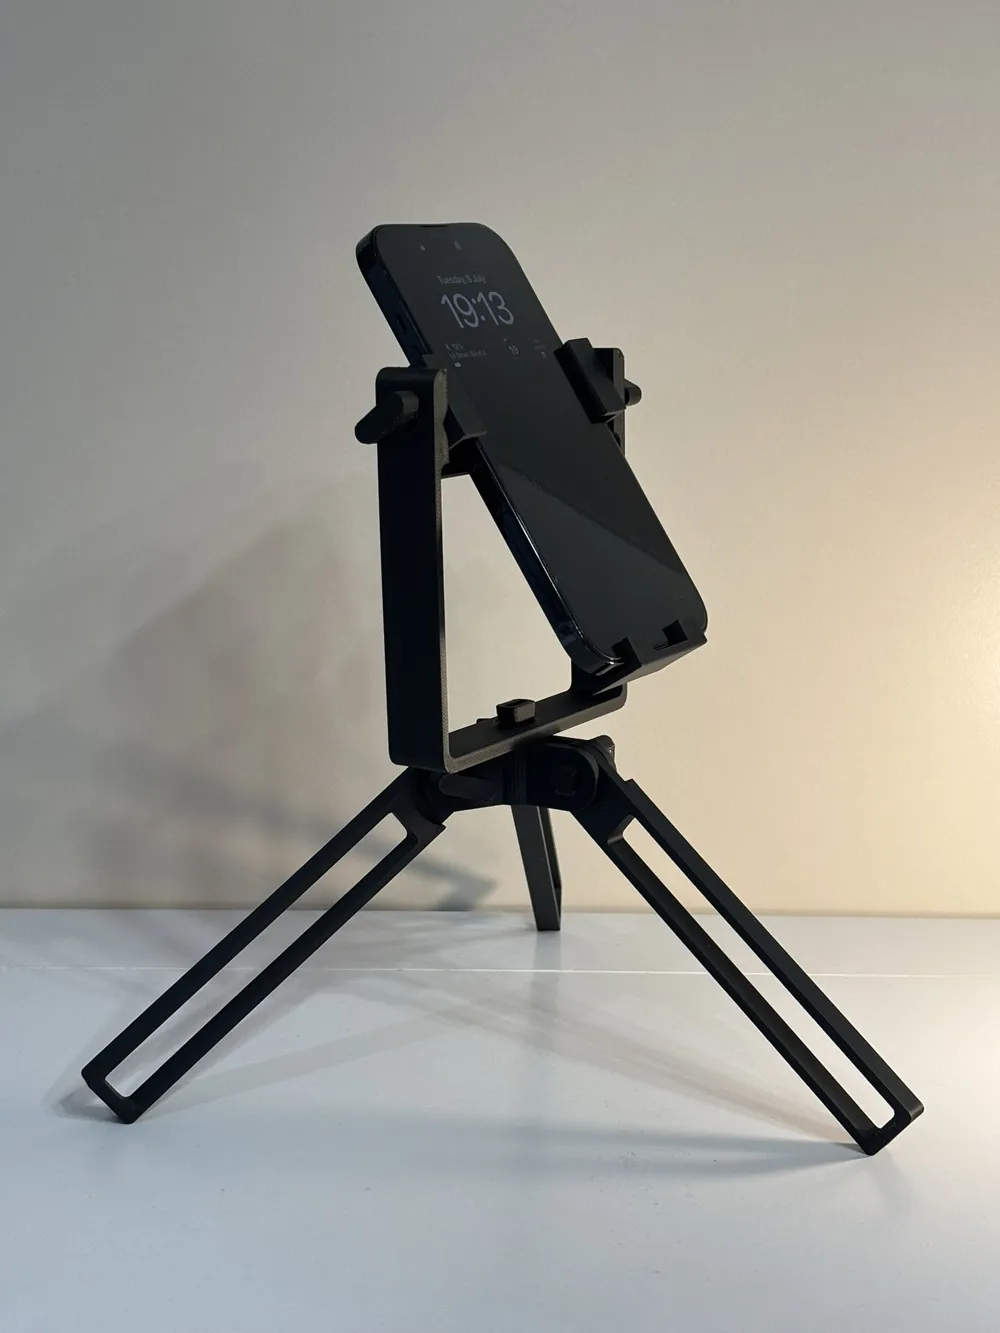
The Hands-Free Adjustable Vertical Phone Tripod is designed to securely hold your smartphone for video calls, filming, casual viewing, or anything where you just need an extra hand. Despite its strong construction, it only takes about 80g of filament – making it filament-efficient without sacrificing durability.
✅ Key Features
- Lightweight but durable – strong enough for daily use, yet easy to carry
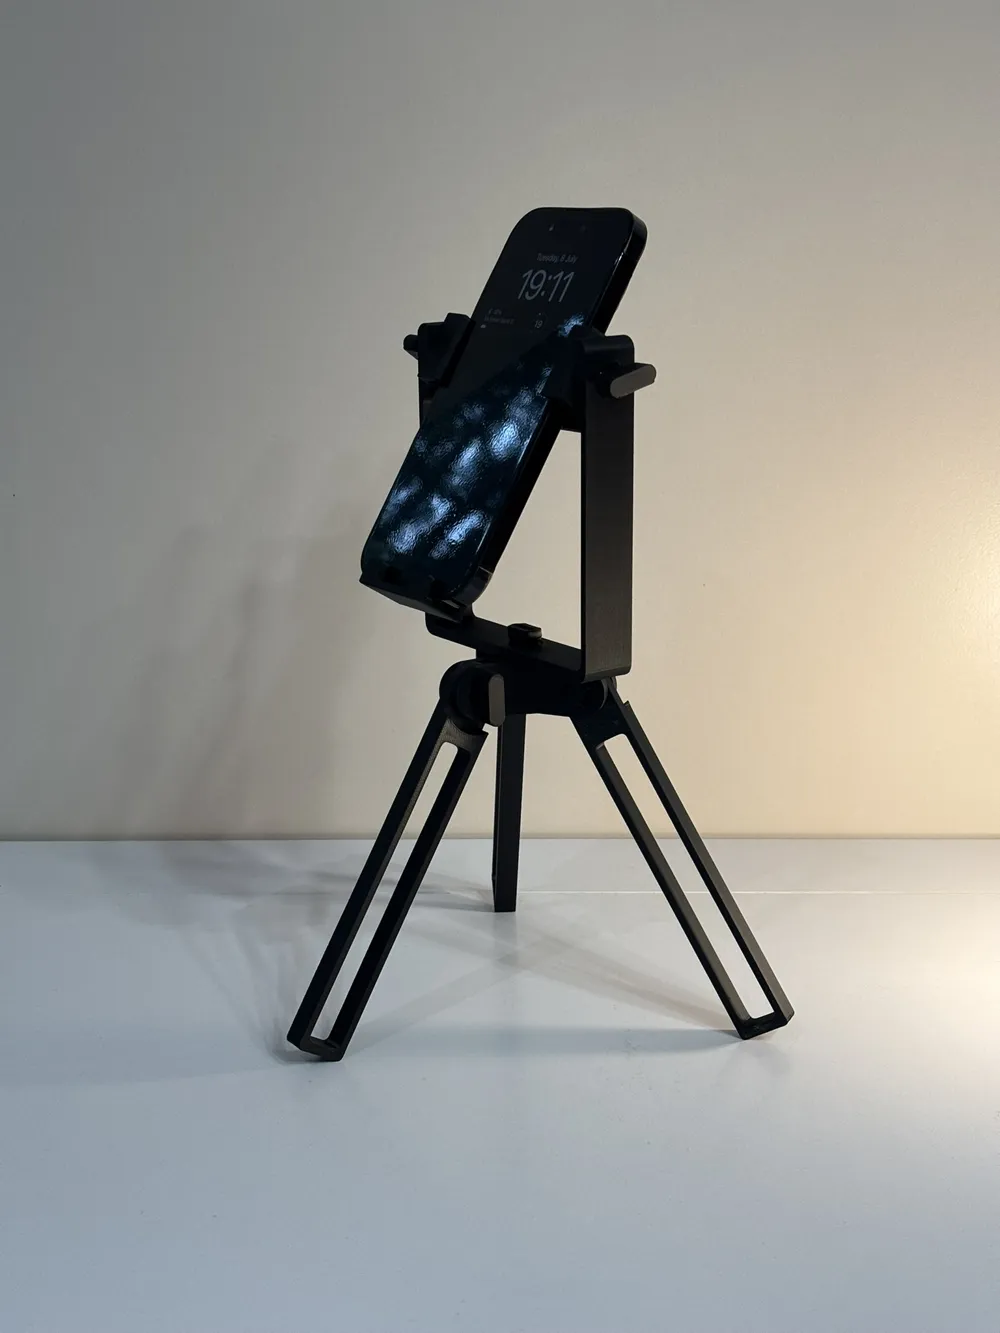
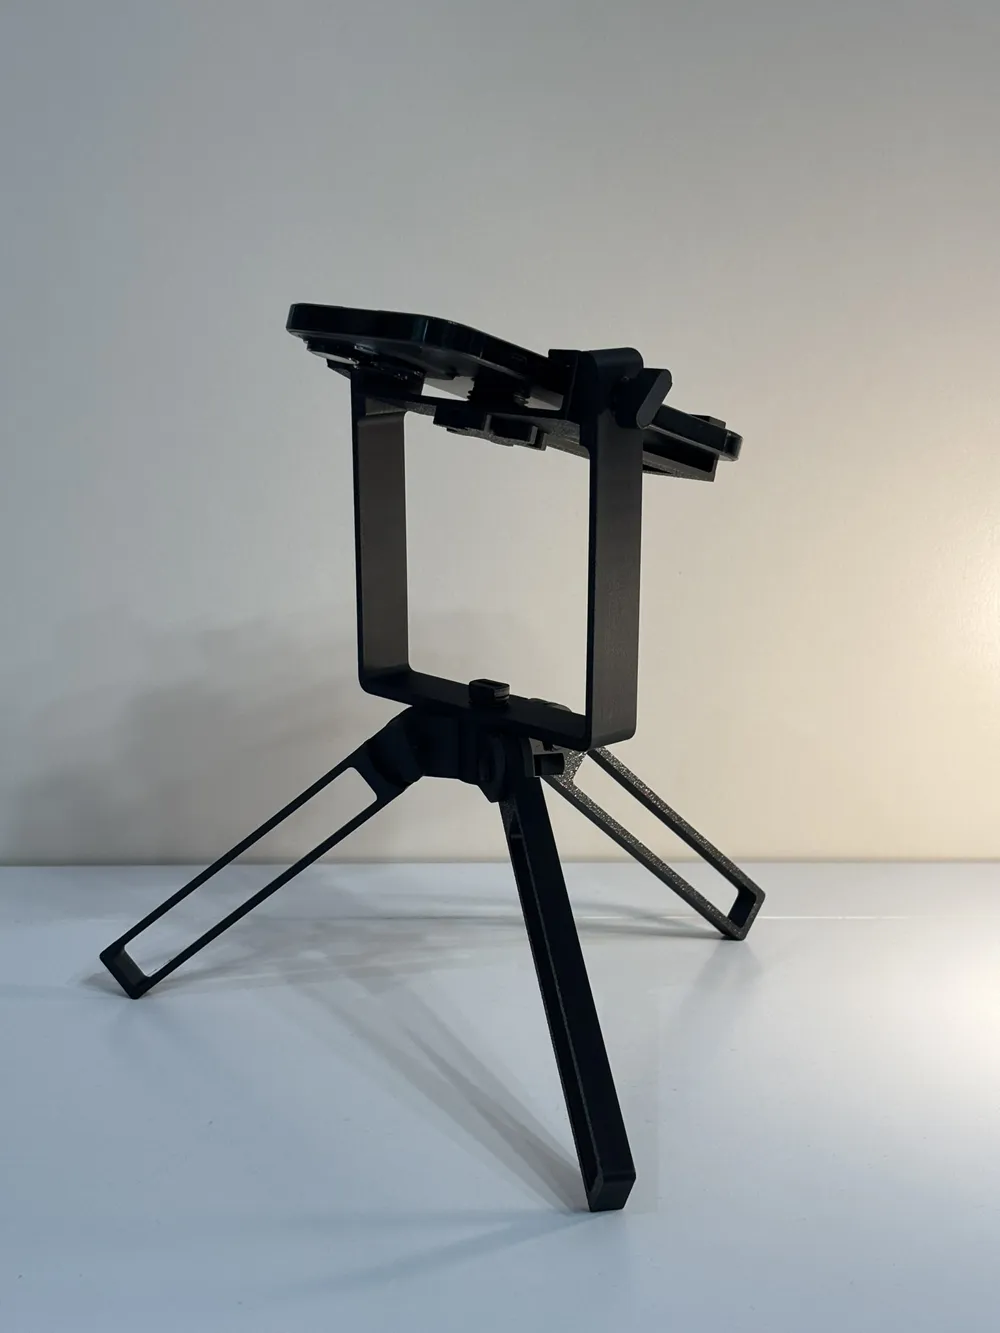
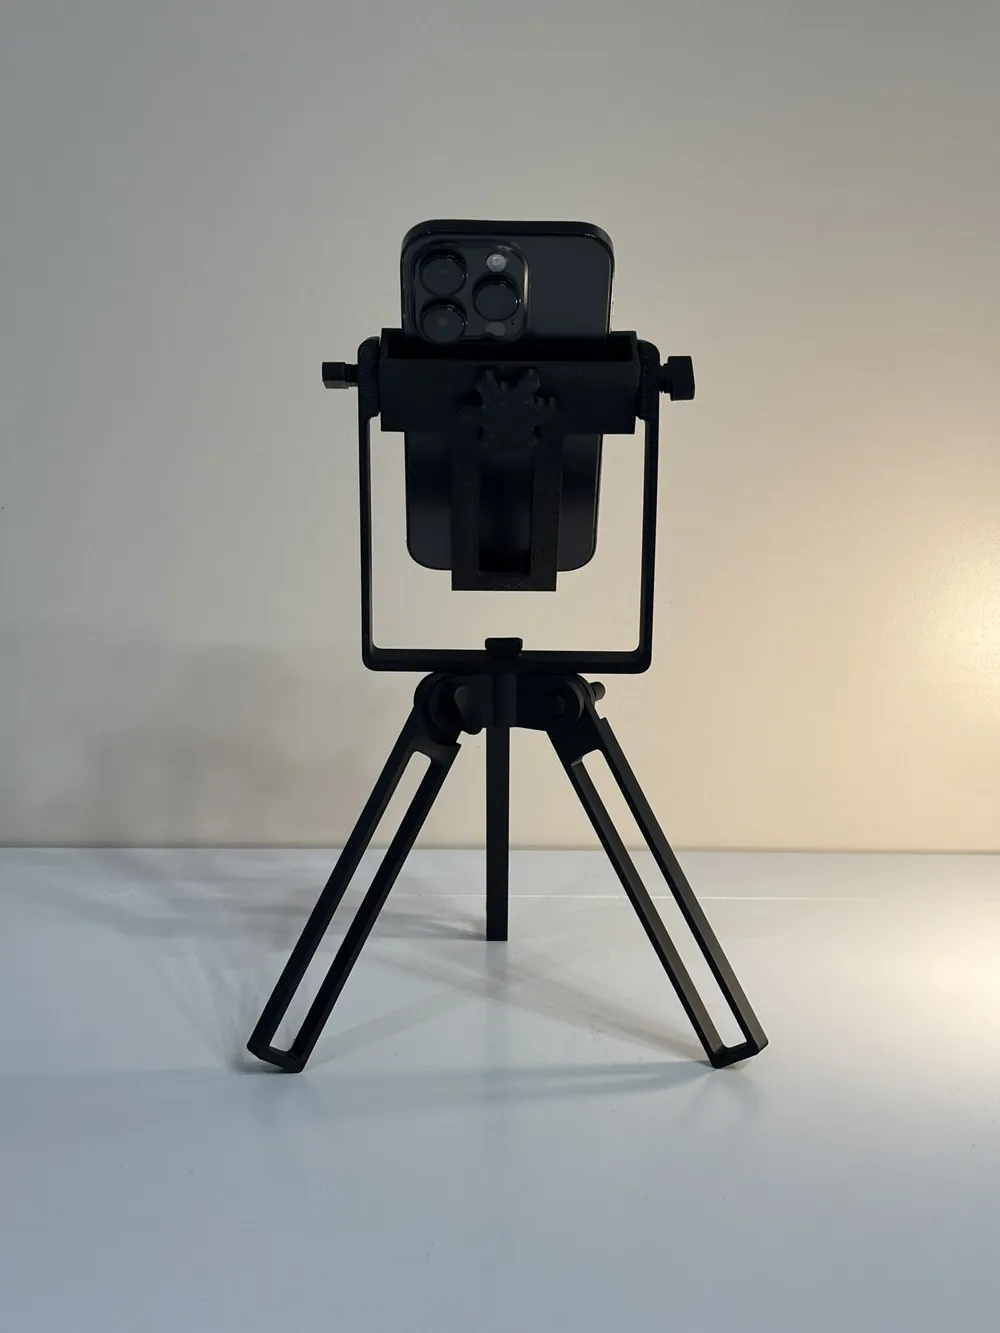
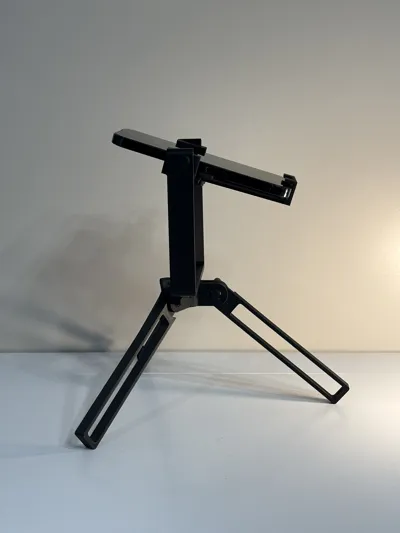
- Three adjustable legs to set the tripod height
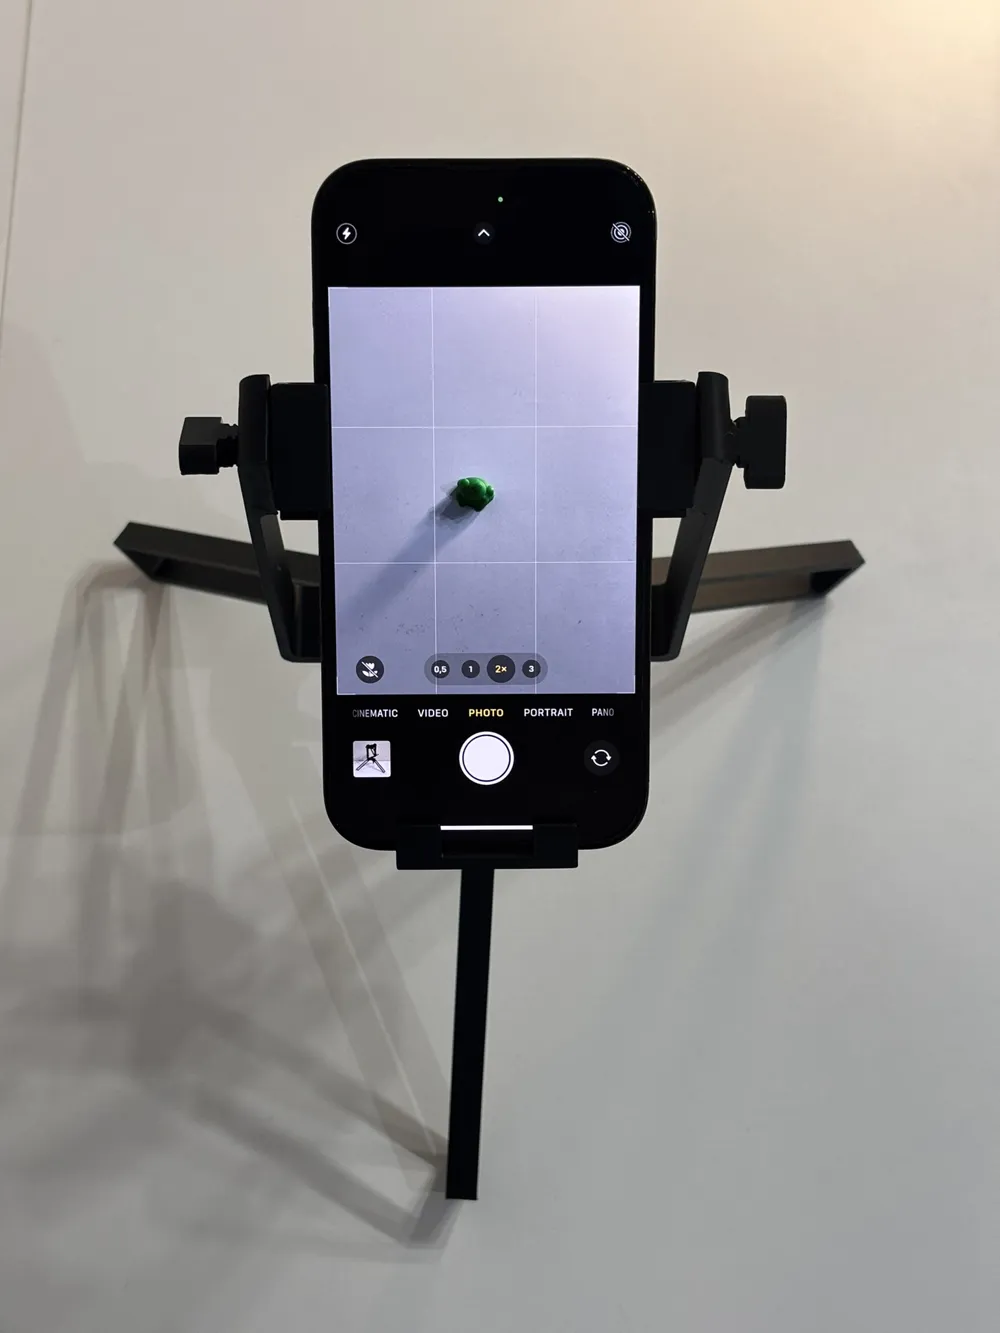
- Tiltable phone holder for precise viewing or recording angles
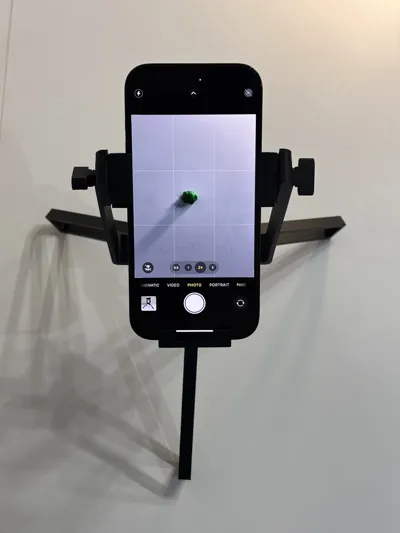
- Supports most modern smartphones (up to ~85 mm wide)
- Fully 3D printable – all screws and parts included, no extra hardware needed
- Fine-tuned adjustability – you can loosen or tighten the screws to set exact leg and tilt angles
🛠️ Assembly Instructions
Assembly is simple and straightforward:
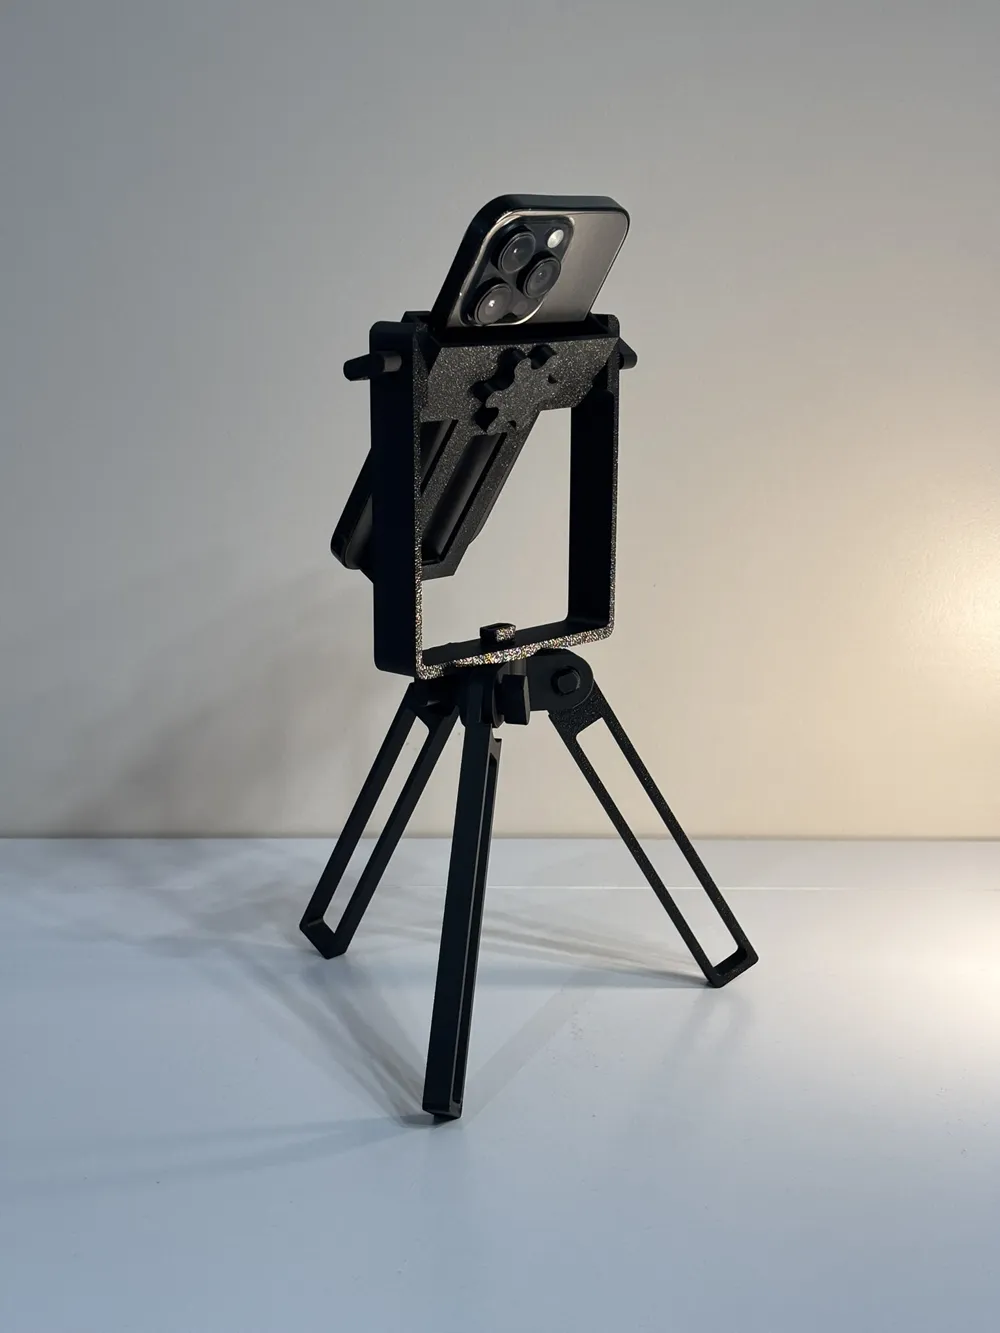
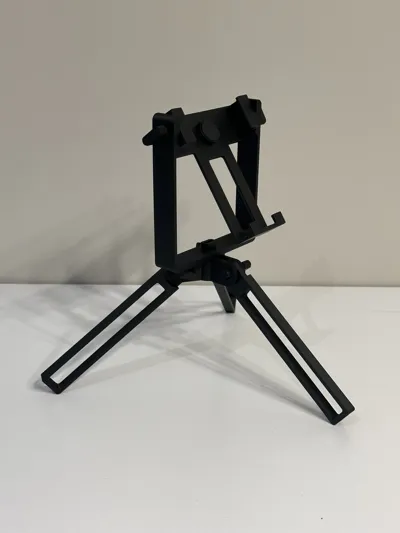
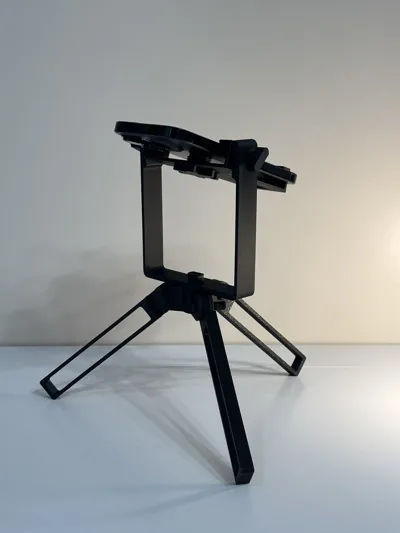
- Attach the three legs to the tripod base using the included 3D printed screws.
- ⚠️ The leg screws are marked with dots for easy identification.
- Make sure to align the notches (teeth) on both the legs and the base – these act as detents, allowing you to adjust and lock the legs in place.
- Depending on your printer and filament, the fit might feel tight or slightly loose — this is intentional. The model is designed to hold firmly, so apply gentle pressure; you don’t need to push the screws all the way in — leaving a small gap is fine.
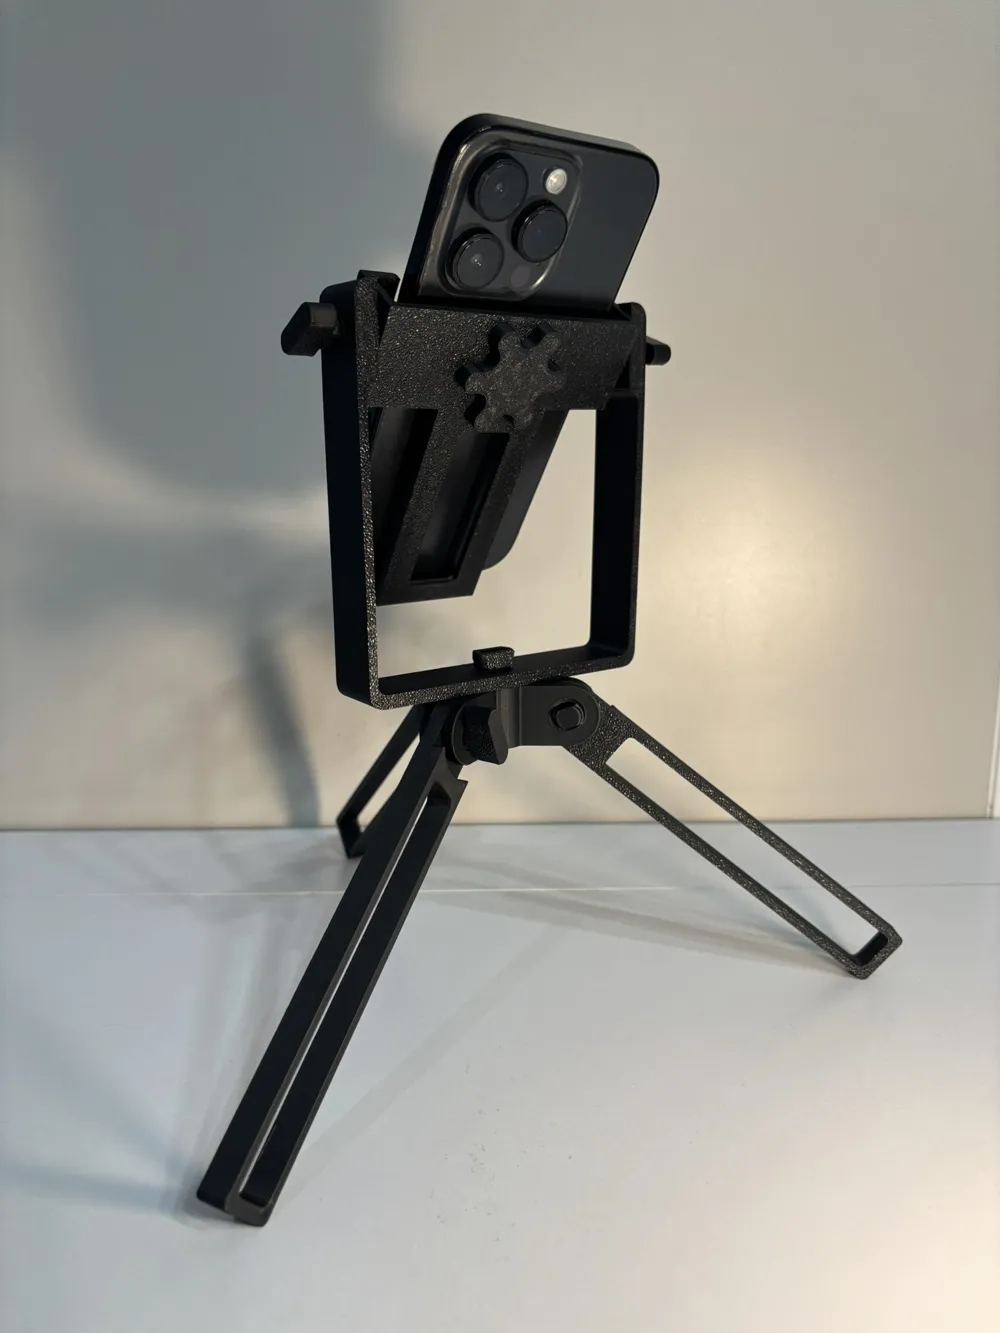
- Attach the U-shaped holder base to the tripod base using the center screw.
- The screw hole is shared between the two parts for perfect alignment. You can pre-screw the center screw slightly into the U-shaped part first, and then align and finish screwing the assembly into the tripod base.
- Connect the phone holder to the U-shaped base using the two side screws.
- The screw hole is shared between these two parts as well and on both sides. Make sure to align the U-shaped base and the phone holder so that both face downward in the same direction. This ensures the screw goes smoothly through both sides of the U-piece and into the holder evenly.
- Secure your phone using the small screw at the back of the holder.
- Gently tightening it will lock your phone in place without damaging it.
Whether you're making content, on a long call, or just want a solid phone stand that packs flat and prints efficiently — this tripod is a fun and functional print worth trying!
Looking for more Practical Prints?
If you liked this tripod and enjoy printing useful and functional designs, check out my other models that help you keep your desk tidy and organized:
- Pocket Phone Stand – ultra-portable, lightweight phone stand you can carry anywhere.
- Adjustable Vertical Laptop Stand – a clean, sturdy, and fully adjustable vertical laptop stand.
- Minimalistic Charging Stand – a clean dual charger stand with MagSafe support for your iPhone and AppleWatch/AirPods.
- Desk Cable Holder (Screw-Mounted Organizer) – a minimal, sturdy solution for keeping your cables organized on your desk.
- Tidy Desk Cable Holder (Magnetic, 5 Slot) – keep your charging cables always in place and within reach on any metal surface.
🎯 These make perfect companion prints for a productive, clean workspace!
Boost Me (for free)
👉 If you liked this model, please Boost it to support me and help others discover it! 💚
License

You shall not share, sub-license, sell, rent, host, transfer, or distribute in any way the digital or 3D printed versions of this object, nor any other derivative work of this object in its digital or physical format (including - but not limited to - remixes of this object, and hosting on other digital platforms). The objects may not be used without permission in any way whatsoever in which you charge money, or collect fees.


Comment & Rating (308)