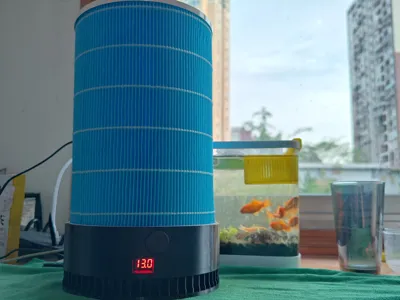
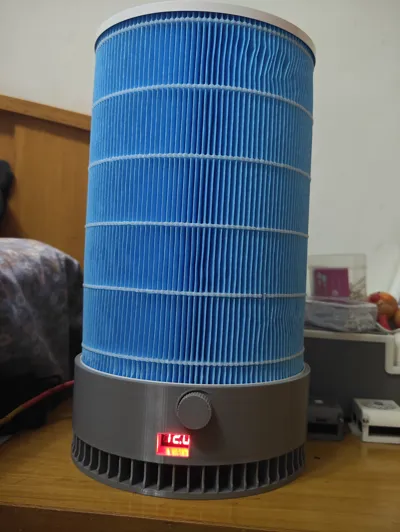
Air Purifier—14CM Fan, Type-C Interface, Compatible with 20CM Xiaomi Filters


Print Profile(2)

Description
Boost Me (for free)
2026.03.01
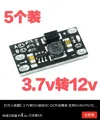
Updated non-adjustable, non-LED version, requires buying a separate boost module to work with a 12V fan! It's very cheap, about 5 yuan for 10 on PDD, which is 0.5 yuan each!


I saw an air purifier made by the great Kachi on TikTok, and on a whim, I wanted to make one myself, so it was inspired by the purifier from the great Kachi (https://makerworld.com.cn/zh/models/1349859-kong-qi-jing-hua-qi-gua-pei-xiao-mi-lu-xin-mei-gua?from=search#profileId-1457011) Since I didn't have a 12CM fan and didn't want to use a DC power jack, I decided to reuse the 14CM fan from my disassembled computer, then added a boost module and changed to a Type-C interface, so it can be powered by a computer, charging adapter, or power bank
Enough talk, let's start the tutorial, I hope everyone can replicate it
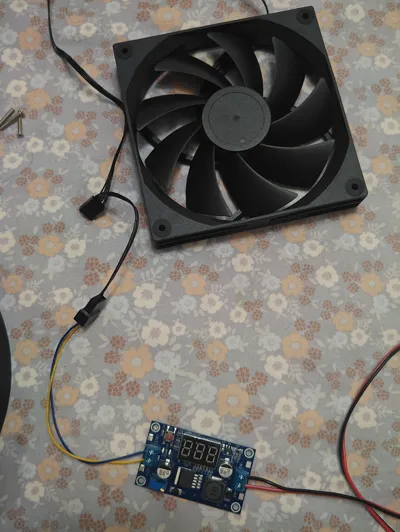
The accessories I used are as follows (searched on PDD, the cost is about 12 yuan):
1. One 14CM fan: 4.91 yuan
2. One upgraded boost module with digital display: Original price 7.85 yuan (search JJJ on PDD, 3 orders for 7.9% off makes it 5.8 yuan)
Note: Make sure not to buy the wrong one, this is a boost module, don't buy a buck module! A boost module without a digital display can be cheaper, only a few yuan more, but having a digital display is much more convenient
3. One 8cmX8cm self-locking switch: 0.3 yuan (3 yuan for 10)
4. One Type-C female connector (horizontal ear): 0.47 yuan (4.71 yuan for 10)
5. One 32cm stranded wire, 4 M3 screws (preferably 6cm or longer), some heat shrink tubing or electrical tape. These are hard to price, very cheap, so they are omitted


I. Solder the Type-C female connector and self-locking switch pins as shown in the figure (if you can't solder, you can skip this step and not use a switch, then you won't need a soldering iron for the entire process):

First, solder the positive terminal of the Type-C female connector to switch pin 3 or 4, then solder the positive red wire of the 32cm stranded wire to the corresponding pin 1 or 6. After soldering, connect the negative terminal of the Type-C female connector to the negative terminal of the stranded wire and insulate and secure them with heat shrink tubing or electrical tape (the negative terminals can be twisted together without soldering)


II. Connect the other end of the stranded wire to the input terminal of the boost module as shown, test if the switch works properly, then use a flathead screwdriver to turn the voltage regulator to adjust the output voltage to 12V (Be sure to check if it's showing the output, there's a button in the bottom right corner, you can press it to check, the output display is indicated by the light on the right)

Output display

Input display
This step is crucial, there will be no way to adjust the output display later, so make sure to adjust the output display before installation
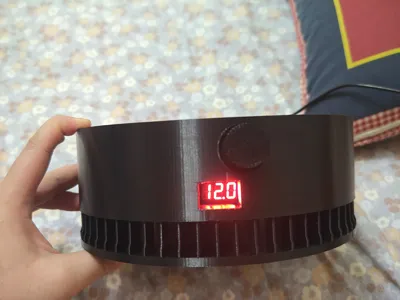
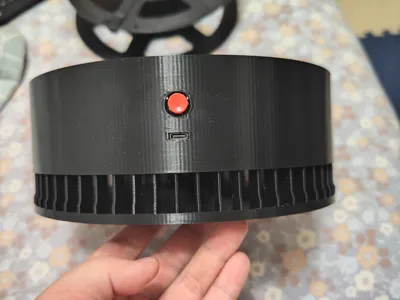
III. Install and snap the Type-C female connector and self-locking switch into place as shown in the figure, you can use a bit of 502 adhesive to secure it, hot melt glue also works, fix the horizontal ear hole of the Type-C female connector by inserting a small piece of filament strand

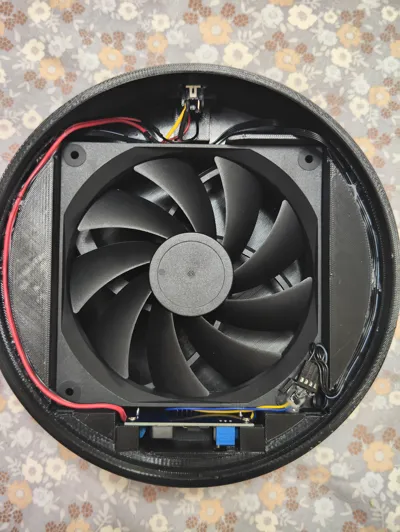
IV. Directly cut the fan plug, connect the positive and negative terminals to the output of the boost module, then fix the boost module in place with M3 screws, and insert the voltage adjustment knob. Arrange the wires neatly in the wire slot, it's better to use some hot melt glue in the slot to secure them, the wire slot is intentionally designed deep, make sure to fix the wires at the bottom of the slot, because the filter element has a protrusion that will press slightly above the wire slot. Finally, screw in the 4mm screws that came with the fan, and you're done!


Note: The voltage should not be too high. Although too high voltage can increase the fan speed and airflow, it will drastically shorten the fan's lifespan and generate more noise, and it will also cause the boost module to overheat. The recommended voltage is around 12V, and the maximum should not exceed 15V. For voltages above 12V, the charging adapter needs to support 9V or even 12V output, and the data cable must be rated above 2A or be of good quality, otherwise the boost can only reach 12V. Friends who need high-power fan output and prolonged use above 15V should debug it themselves. This boost module supports a maximum output of 35V! For voltages above 15V, a heat sink needs to be added to the boost module
Boost Me (for free)
If you find this useful, thank you for your support!
Documentation (1)
License
You may create derivative works based on this object, provided that all such derivative works are published exclusively on the MakerWorld platform and include proper attribution to the original creator. You may not share, upload, host, distribute, or publish this object—or any derivative work of this object—on any other digital platform, marketplace, or distribution channel. Commercial use of this object and any derivative works is strictly prohibited. This includes, but is not limited to, selling, renting, sublicensing, or using the object in any context in which you receive monetary compensation or other financial benefits.
Comment & Rating (4)