“Whispers of the Crystal Veil” – Fortune Hueforge


Print Profile(1)

Description
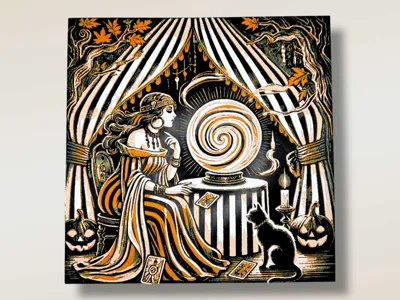
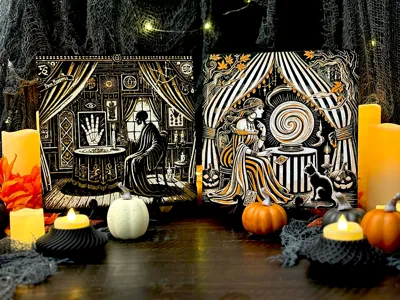
Step beyond the veil and listen closely—can you hear the whispers?
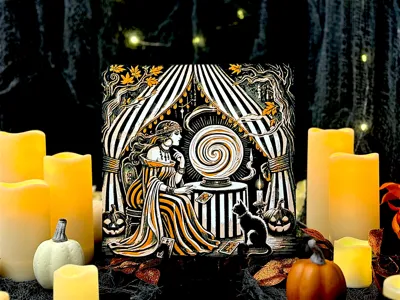
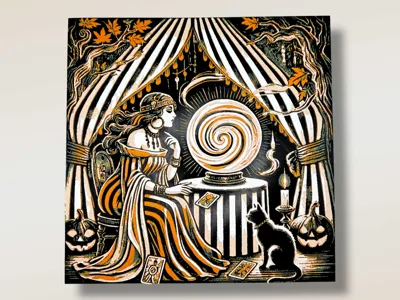
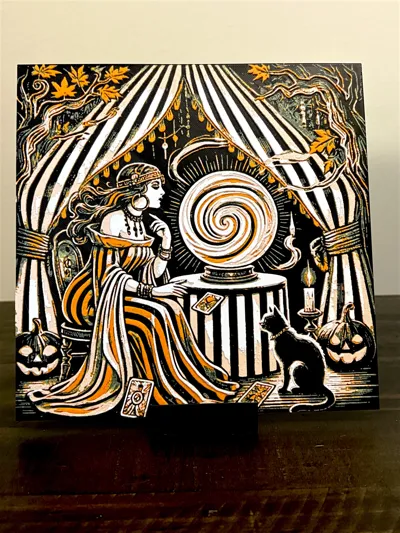
Whispers of the Crystal Veil invites you into an enchanting tent where a fortune teller gazes deeply into a swirling crystal ball. Her long robes flow like autumn wind, cards scattered on the floor as her loyal black cat watches in silent curiosity. Illuminated by flickering candlelight, the striped curtains frame a chillingly beautiful Halloween scene.
This layered Hueforge panel brings haunting elegance to your seasonal decor. With bold black, warm orange, and ghostly whites, the design blends vintage mystique with spooky charm—perfect for a decorative shelf or fortune-themed Halloween display.
Project: Fortune Teller.hfp
Print at 100% infill with a layer height of 0.08mm with a base layer of 0.16mm
The Model is 200x200mm in size
You may print at higher layer heights below the Min Depth of 0.48mm
The Max Depth is 2.2mm and the Actual Depth is 2.1mm
Filaments Used:
PLA PolyLite Black Transmission Distance: 0.3
PLA BambuLab Basic Yellow Transmission Distance: 6
PLA Kexcelled Orange Transmission Distance: 8
PLA Kexcelled Skin Transmission Distance: 4.4
PLA BambuLab Basic Jade White Transmission Distance: 0
This print uses 5 unique filaments
Swap Instructions:
Start with Black
At layer #8 (0.72mm) swap to Yellow
At layer #12 (1.04mm) swap to Orange
At layer #18 (1.52mm) swap to Skin
At layer #21 (1.76mm) swap to Jade White for the rest.
Please note, a height modifier was applied to ensure a thicker base - this results in the layer numbers being offset by 3 layers, however the heights remain consistent.
One AMS? No problem! There is a pause included before the 4th color is completed - one method to utilize one AMS is to assign the additional colors to previously used slots when sending your print. Here is an example of my preferred method and strategy:
 | 
If you have more than one AMS or are manually changing filaments, |

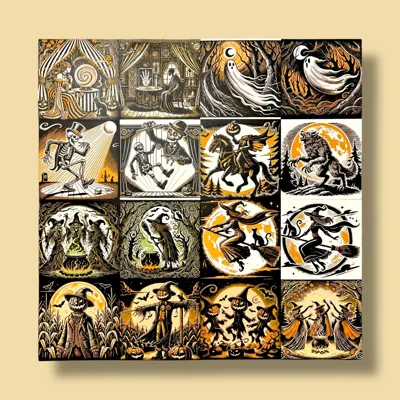
This print is part of a coordinated Hueforge series by Manic 3D Prints, designed to showcase a classic Halloween aesthetic using just 4–5 filament colors. Each piece in the collection features rich black, warm pumpkin orange, creamy bone white, and golden autumn tones to create a unified, vintage-inspired display. Mix and match panels for a seamless look across your tiered trays, shelves, or gallery wall this spooky season!
🎃 Halloween Hueforge: Witching Hour Whimsy 🎃
Want to sell your physical prints of this model? A commercial license is available through my profile.
This model was created by Manic 3D Prints using Hueforge, based on a concept and idea fully developed by us. The source image was generated with the help of AI as a tool to bring our vision to life. The 3D model itself was entirely designed and rendered by us using Hueforge as part of our original creative process.
License
You shall not share, sub-license, sell, rent, host, transfer, or distribute in any way the digital or 3D printed versions of this object, nor any other derivative work of this object in its digital or physical format (including - but not limited to - remixes of this object, and hosting on other digital platforms). The objects may not be used without permission in any way whatsoever in which you charge money, or collect fees.
Comment & Rating (0)