
P1S︱X1C︱X1E Chamber Drybox⧸NoSpill
Print Profile(2)






Description
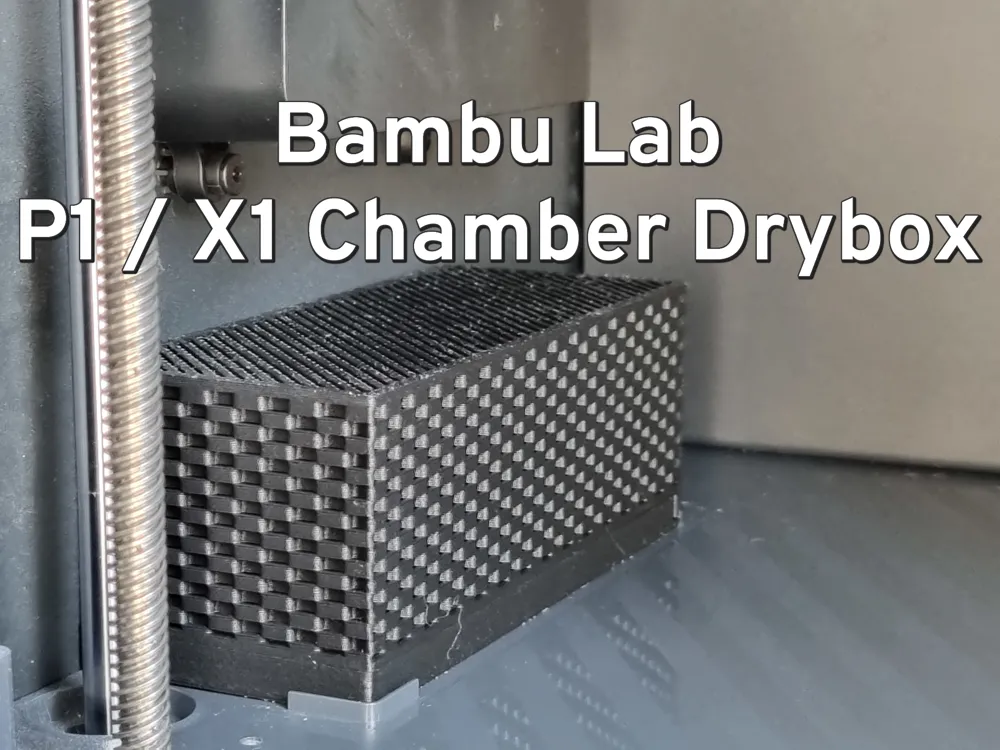
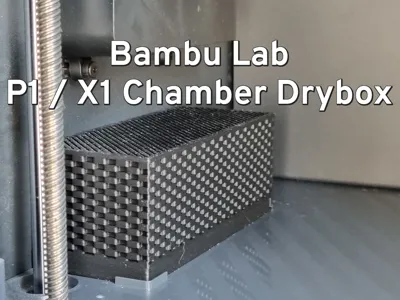
Push chamber drying to the max with a perfectly fitted No Spill drybox that adds vents, strength, and capacity without stealing a single millimeter of print volume.
Boost Me (for free)
If you like this model, hit Boost or Follow. It keeps the filament rolling in and saves me from explaining another Bambu Lab bill at home.
More vents. More strength. Maximum drying. Meet the No Spill Bambu Lab P1S / X1C / X1E Chamber Drybox - designed to push chamber drying to the next level.
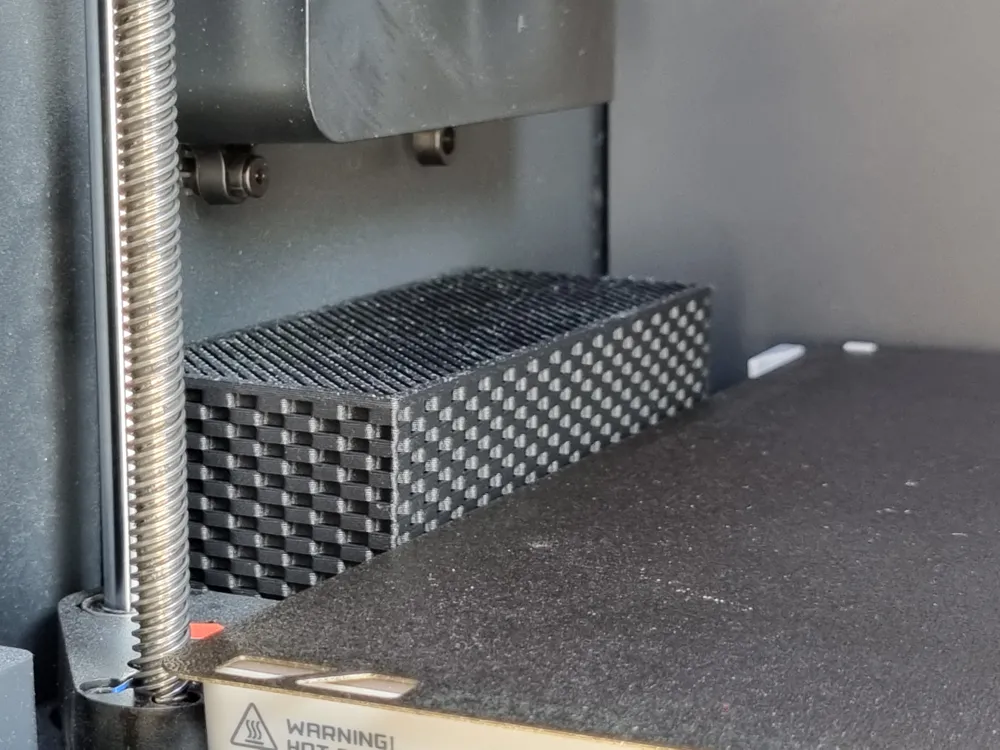
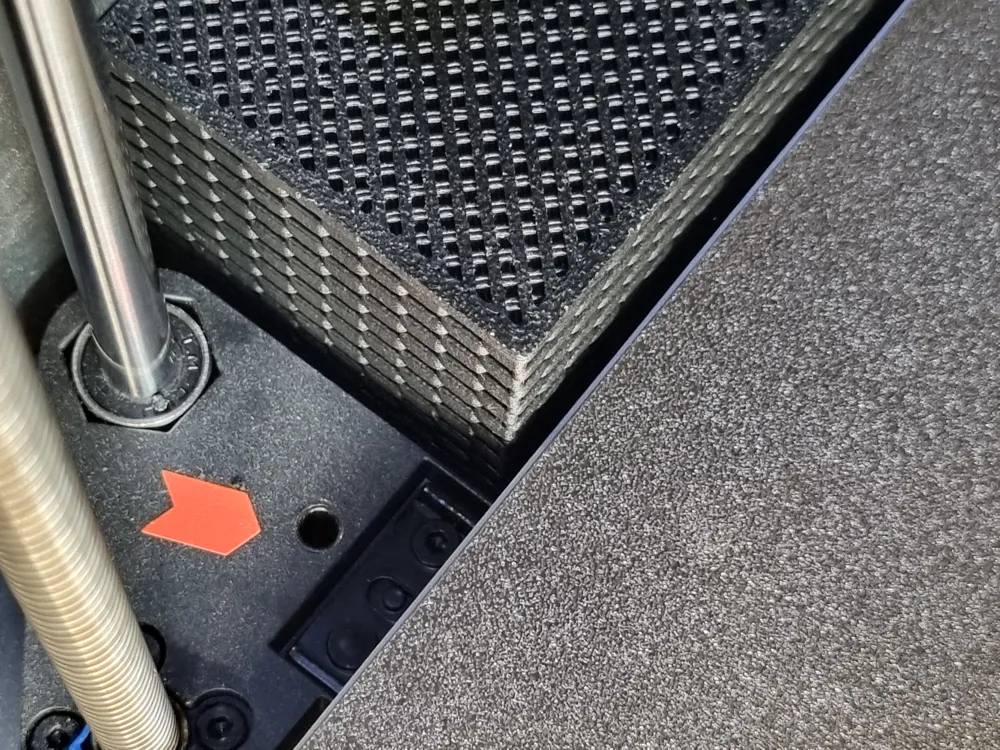
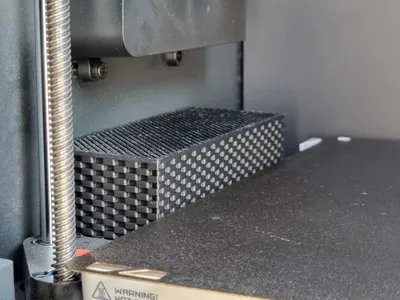
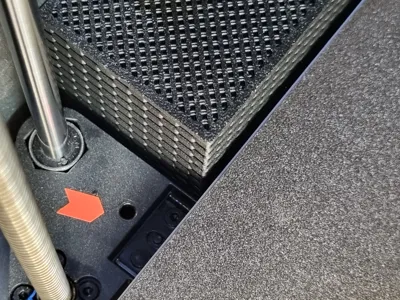
It fits perfectly to the left of the print bed in your P1S, X1C, or X1E. No interference with the Z-axis. No contact with the bed. Full print volume preserved.
Available in three heights:
- 25 mm – “the third”
- 50 mm – “looks just right”
- 70 mm – “all the way to the fan”
Keep your chamber extra dry for demanding filaments like nylon—because moisture has no place in perfection.
Take a look at the list of filament temperatures below and choose a suitable filament for your target temperature compatibility.
Attention, use the right nozzle for the model and your filament. The wall thickness and properties of the model are optimized for either a 0.4 mm nozzle and 0.2 mm layer height or a 0.6 mm nozzle and 0.3 mm layer height.
Sturdy and Fast – What’s the Difference?
Wall geometry is identical in both versions. The difference lies in the base and lid design.
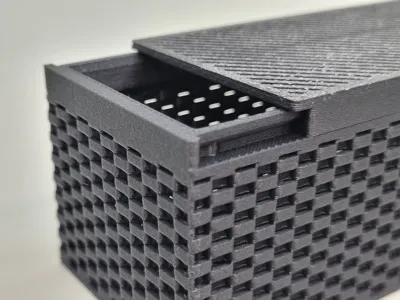
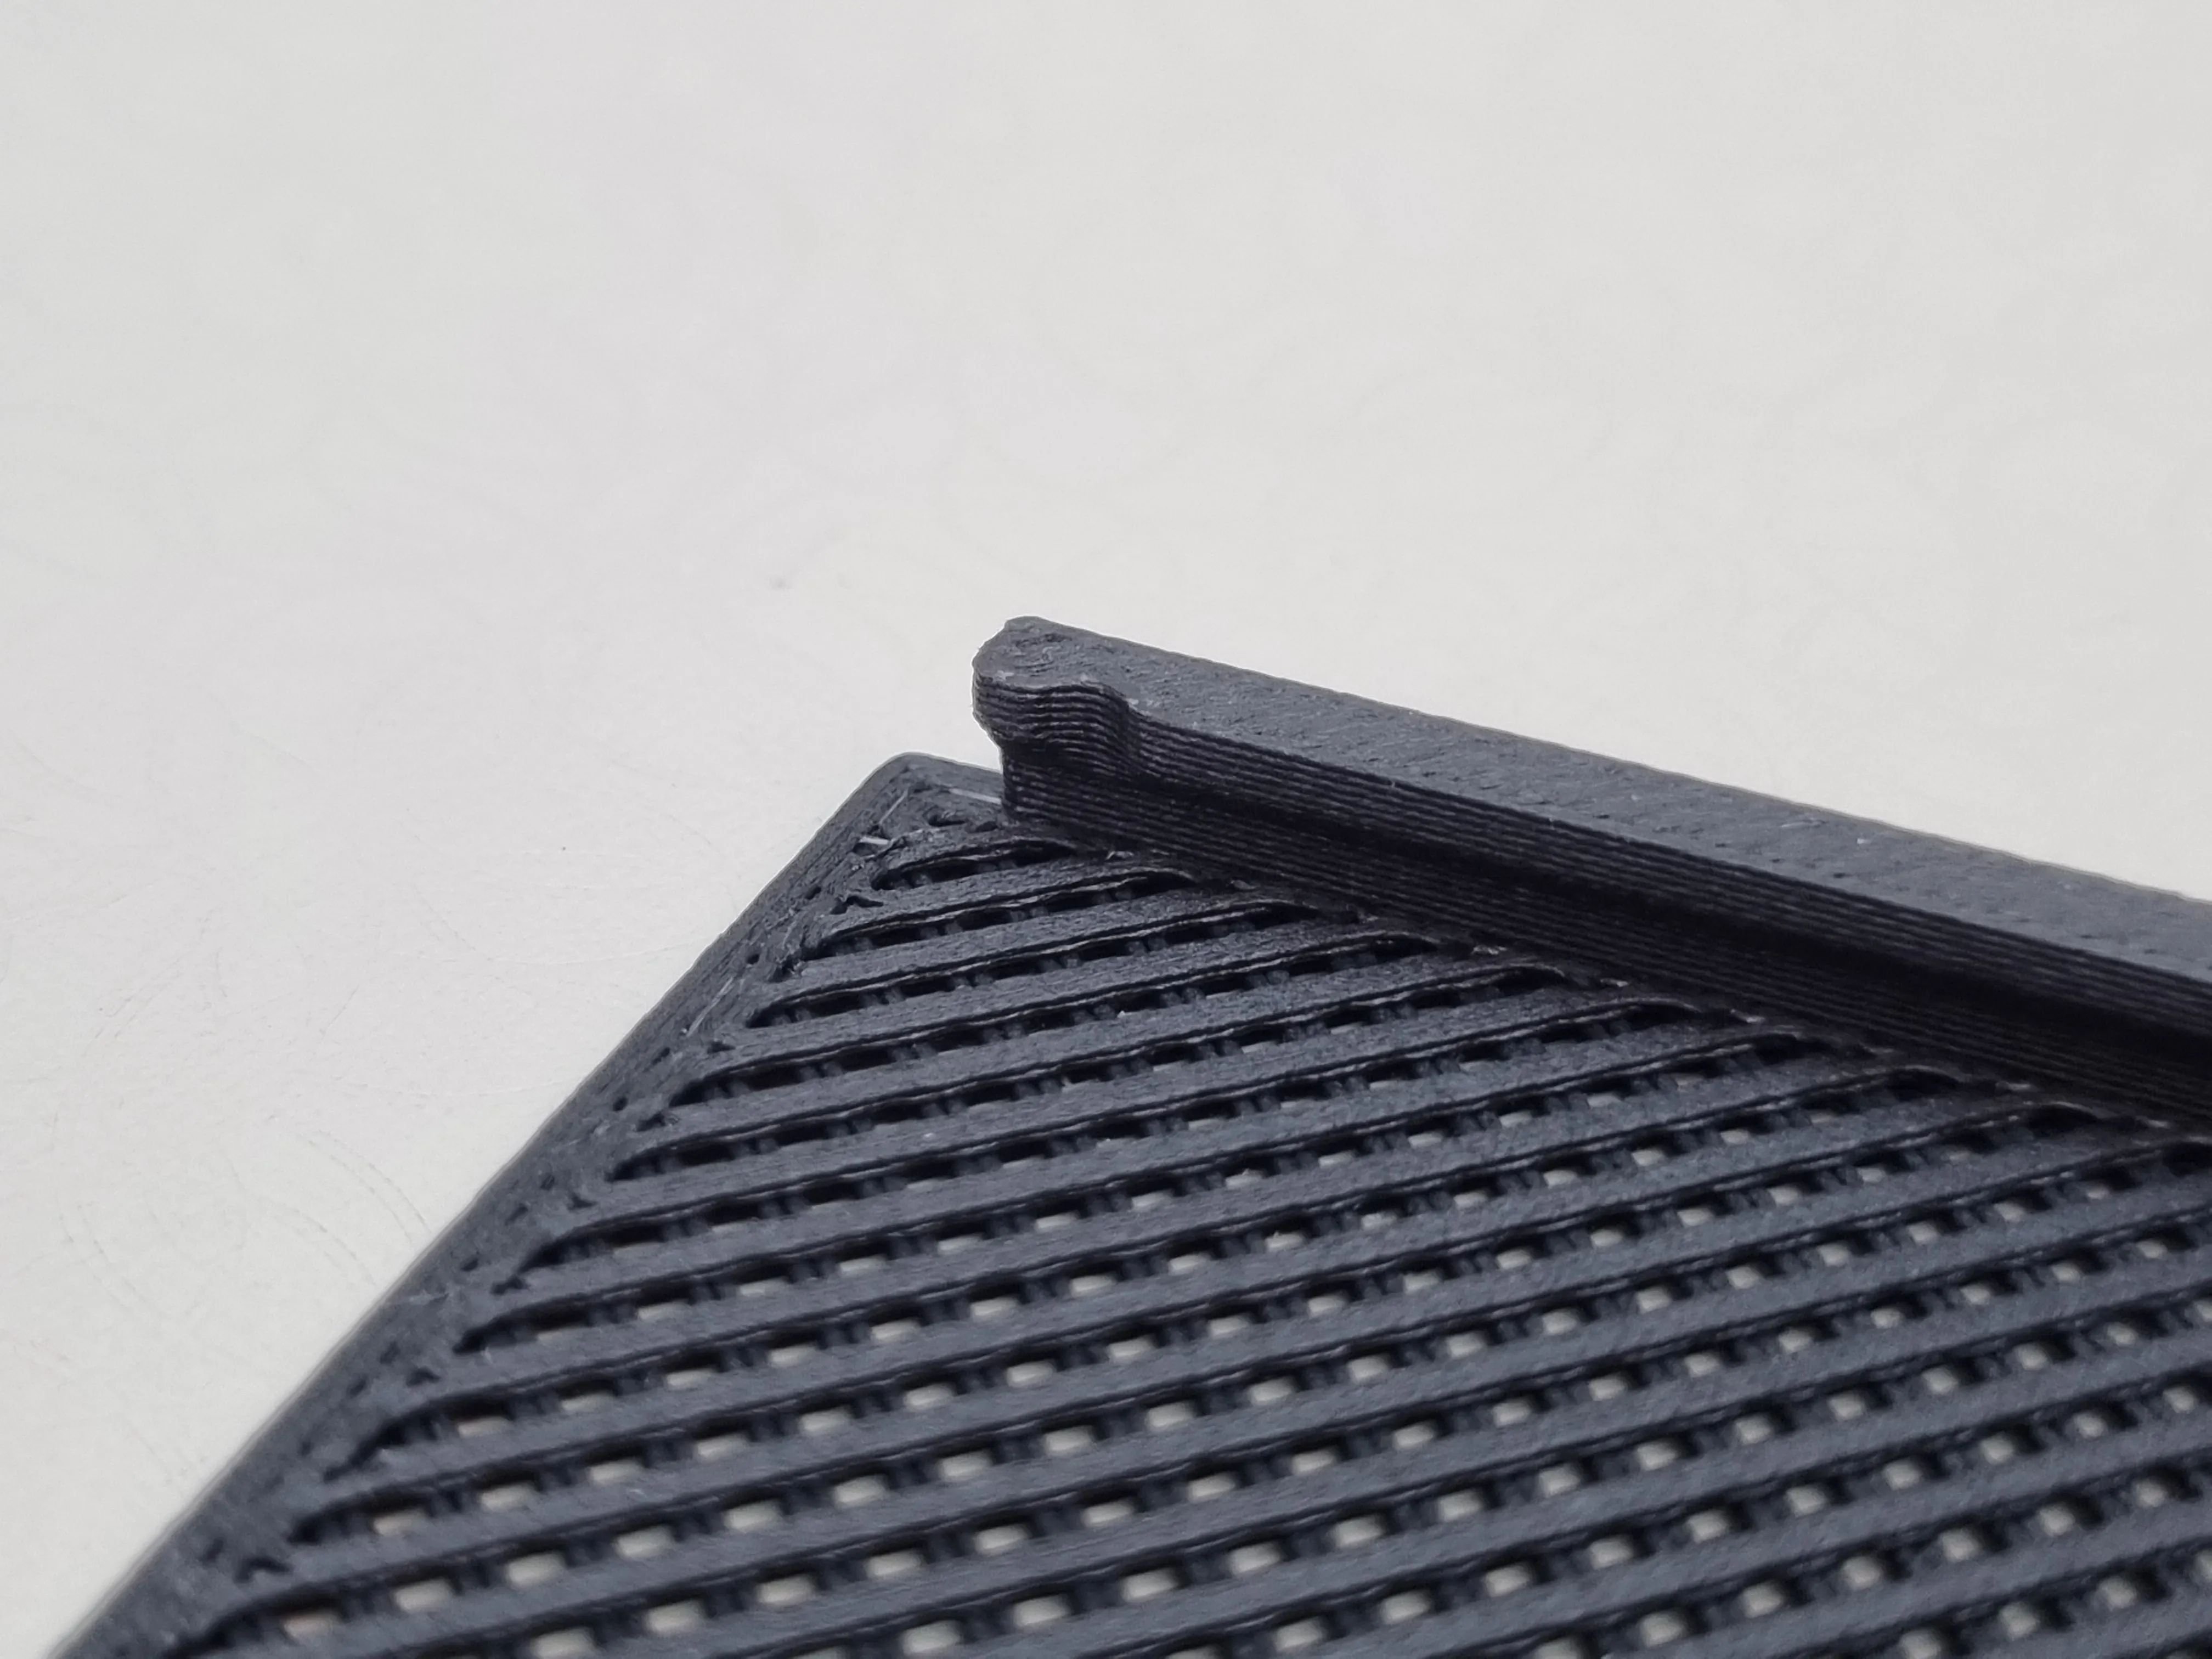
The Sturdy version uses a hand-modeled ventilation grid with 1.2 mm thick walls and 0.6 mm layer gaps for airflow.
The Fast version relies on slicer-generated rectilinear infill to create the grid—much quicker to print, but also more fragile. If your filament sticks too well to the build plate, the Fast model may not come off cleanly without damage.
Intended Use Cases
- Active drying of the internal air in the printer chamber
- Improved print results with hygroscopic filaments like nylon
- Compatible with silica gel beads ≥ 0.6 mm (virtually all common types)
Installation Tip
Flip the container upside down so the lid is on the bottom. It just looks better.
Filament list
Choose a filament suitable for your printer’s chamber temperature. The Bambu Lab P1S, X1C, and X1E can reach up to 60 °C inside the enclosure—sometimes even 65 °C in localized areas. PLA starts to deform noticeably at these temperatures (I’ve tested it) and tends to become brittle, especially in thin-walled functional parts.
I strongly advise against any PLA as its temperature stability is insufficient.
I recommend PETG-CF as the chamber normally does not get significantly warmer than 65 °C.
If you plan to print a lot with engineering filaments, with active chamber heating or the heating plate cranked up to 11, then you should consider the following filaments for this model:
I recommend ASA-CF simply because I like a small safety margin.
I recommend PAHT-CF if you want to dry your silica gel, including the container, in the convection oven without decanting and emptying.
Please note that silica gel beads with indicator are typically regenerated at 110 to 120 °C and the indicator can be destroyed at temperatures above 150 °C. I have tested regeneration at 65 °C and 85 °C, and this is sufficient if carried out occasionally.
I use 3DLAC Stick on the textured PEI build plate as an adhesive and release agent for PETG-CF and ASA-CF. For PAHT-CF I use the smooth PEI build plate and Magigoo for PA as adhesion promoter.
Tier B: (B like in Bad choice, avoid for this model)
- 52 °C PLA Galaxy (insufficient temperature stability, unsuitable for this model)
- 53 °C PLA Silk Dual Color (insufficient temperature stability, unsuitable for this model) (only 0.4 mm nozzle)
- 55 °C PLA-CF (insufficient temperature stability, unsuitable for this model) (0.4 mm or 0.6 mm hardened nozzle)
- 55 °C PLA Glow (insufficient temperature stability, unsuitable for this model) (0.4 mm or 0.6 mm hardened nozzle)
- 55 °C PLA Sparkle (insufficient temperature stability, unsuitable for this model)
- 56 °C PLA Marble (insufficient temperature stability, unsuitable for this model)
- 57 °C PLA Basic (insufficient temperature stability, unsuitable for this model)
- 57 °C PLA Wood (insufficient temperature stability, unsuitable for this model)
- 58 °C PLA Matte (insufficient temperature stability, unsuitable for this model)
- 60 °C PLA Silk+ (insufficient temperature stability, unsuitable for this model) (only 0.4 mm nozzle)
- 62 °C PLA Metal (insufficient temperature stability, unsuitable for this model)
- 69 °C PETG HF *could work, depending on your chamber temperature
- 70 °C TPU 85A / TPU 90A (soft, unsuitable for this model) (only 0.6 mm nozzle)
- 70 °C TPU 95A HF (soft, unsuitable for this model)
- 70 °C TPU for AMS (soft, unsuitable for this model)
Tier A: (A like in Almost, just works)
- 74 °C PETG-CF (0.4 mm or 0.6 mm hardened nozzle) - recommended by the designer
- 74 °C PETG Translucent
- 87 °C ABS
- 99°C ABS-GF (0.6 mm hardened nozzle recommended)
- 100 °C ASA (0.4 mm nozzle recommended)
Tier S: (S like in Supercalifragilisticexpialidocious, works like a charm)
- 110 °C ASA-CF (0.6 mm hardened nozzle recommended) - recommended by the designer
- 113 °C PC-FR
- 117 °C PC
- 186 °C PA6-CF (0.6 mm hardened nozzle recommended)
- 186 °C PA6-GF (0.6 mm hardened nozzle recommended)
- 194 °C PAHT-CF (0.6 mm hardened nozzle recommended) - recommended by the designer
- 205 °C PET-CF (0.6 mm hardened nozzle recommended)
- 227 °C PPA-CF (0.6 mm hardened nozzle recommended)
- 264 °C PPS-CF (0.6 mm hardened nozzle recommended)
Passion for Detail
Optimized Material-to-Hole Ratio:
- No limitation for desiccant granule size (as long as > 0.60 mm).
- More vented surface without slowing your printer down.
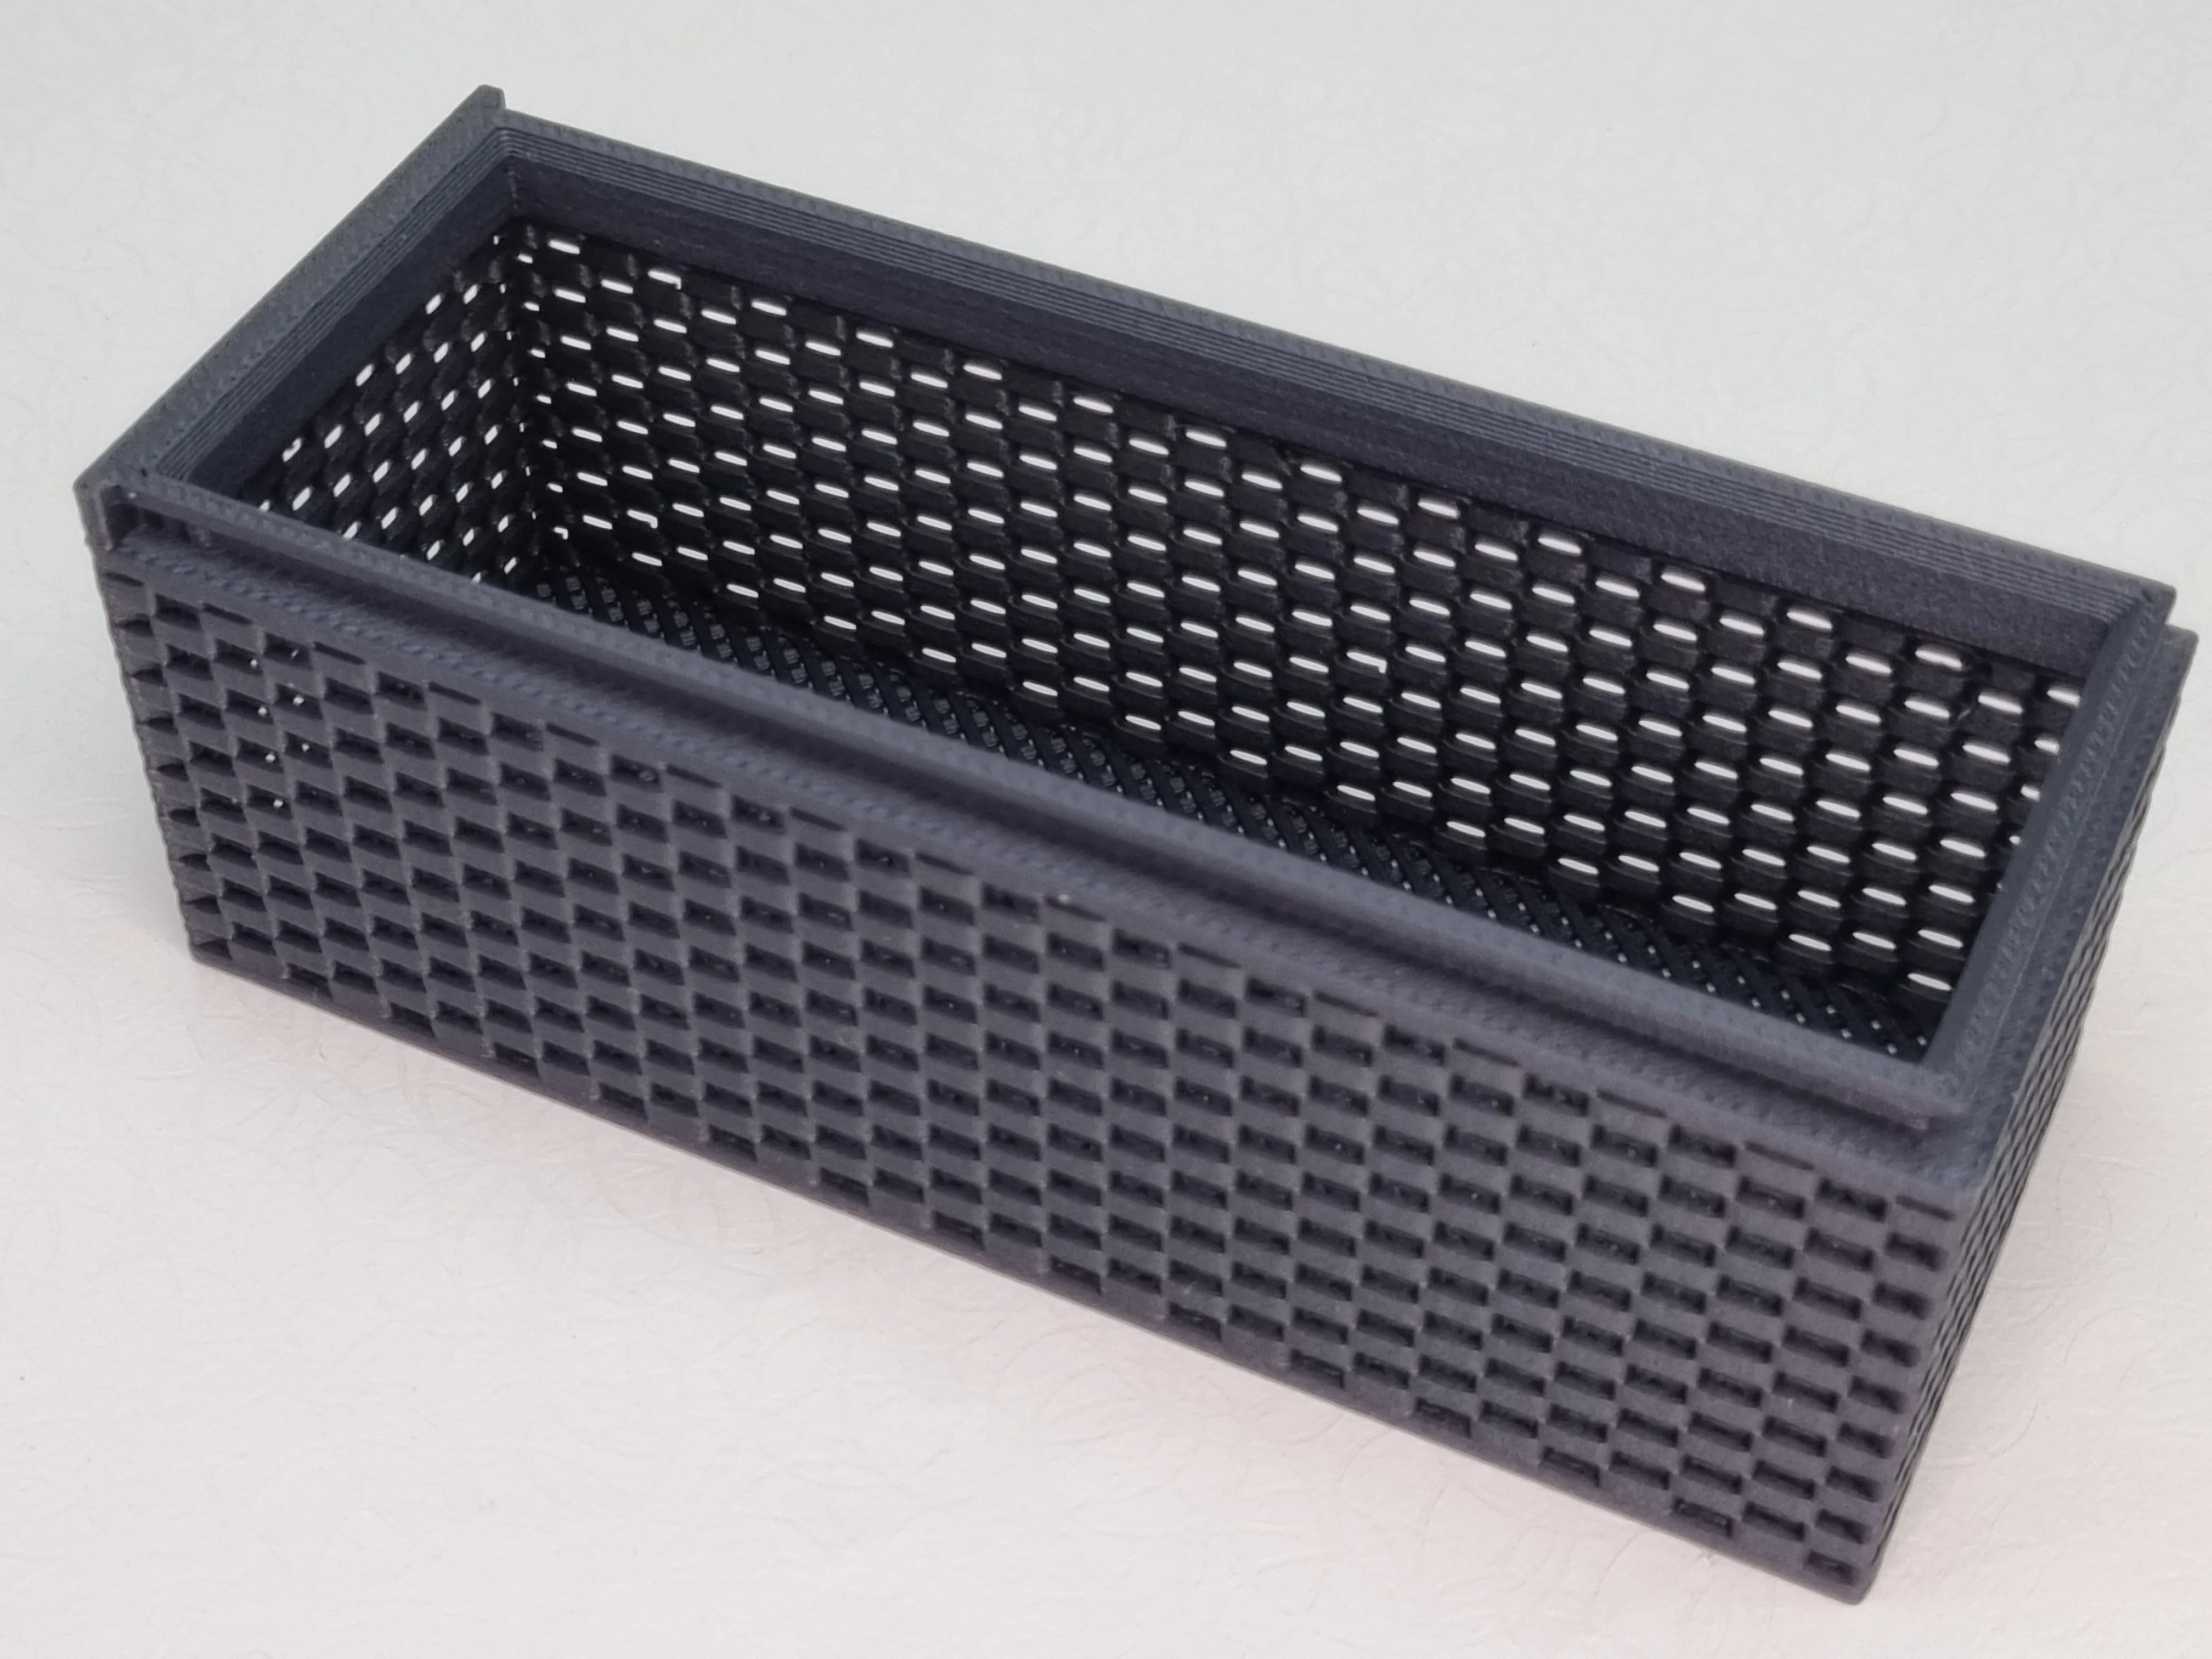
Optimized Lid and lock
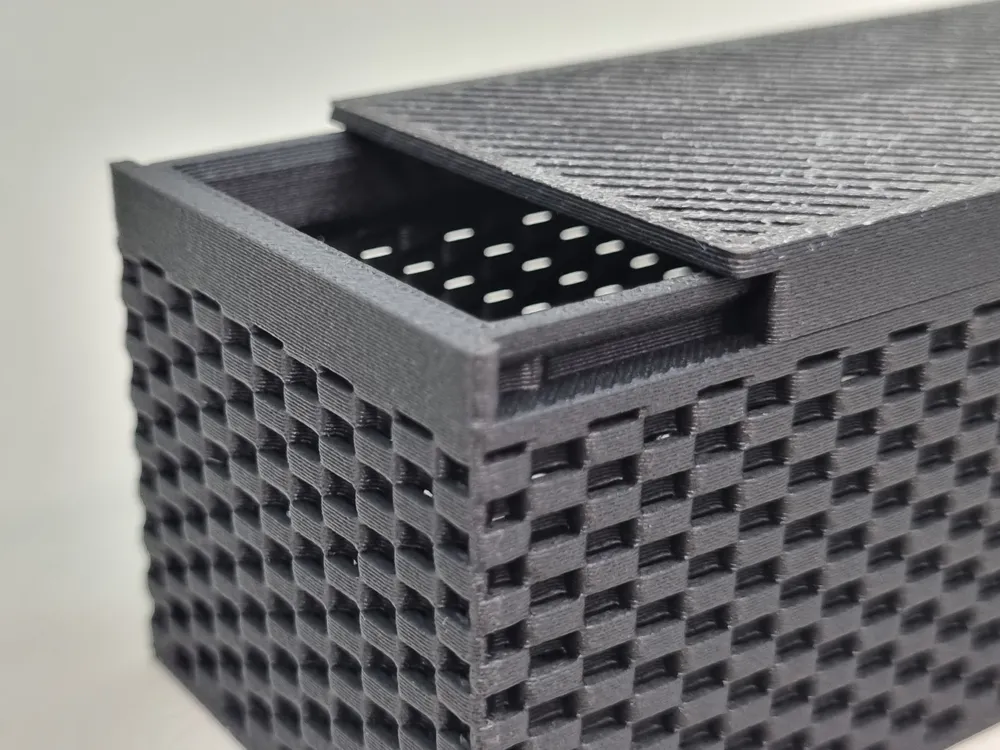
The lid slides smoothly onto the container and locks in place with a satisfying click. That’s the essence of the No Spill design.
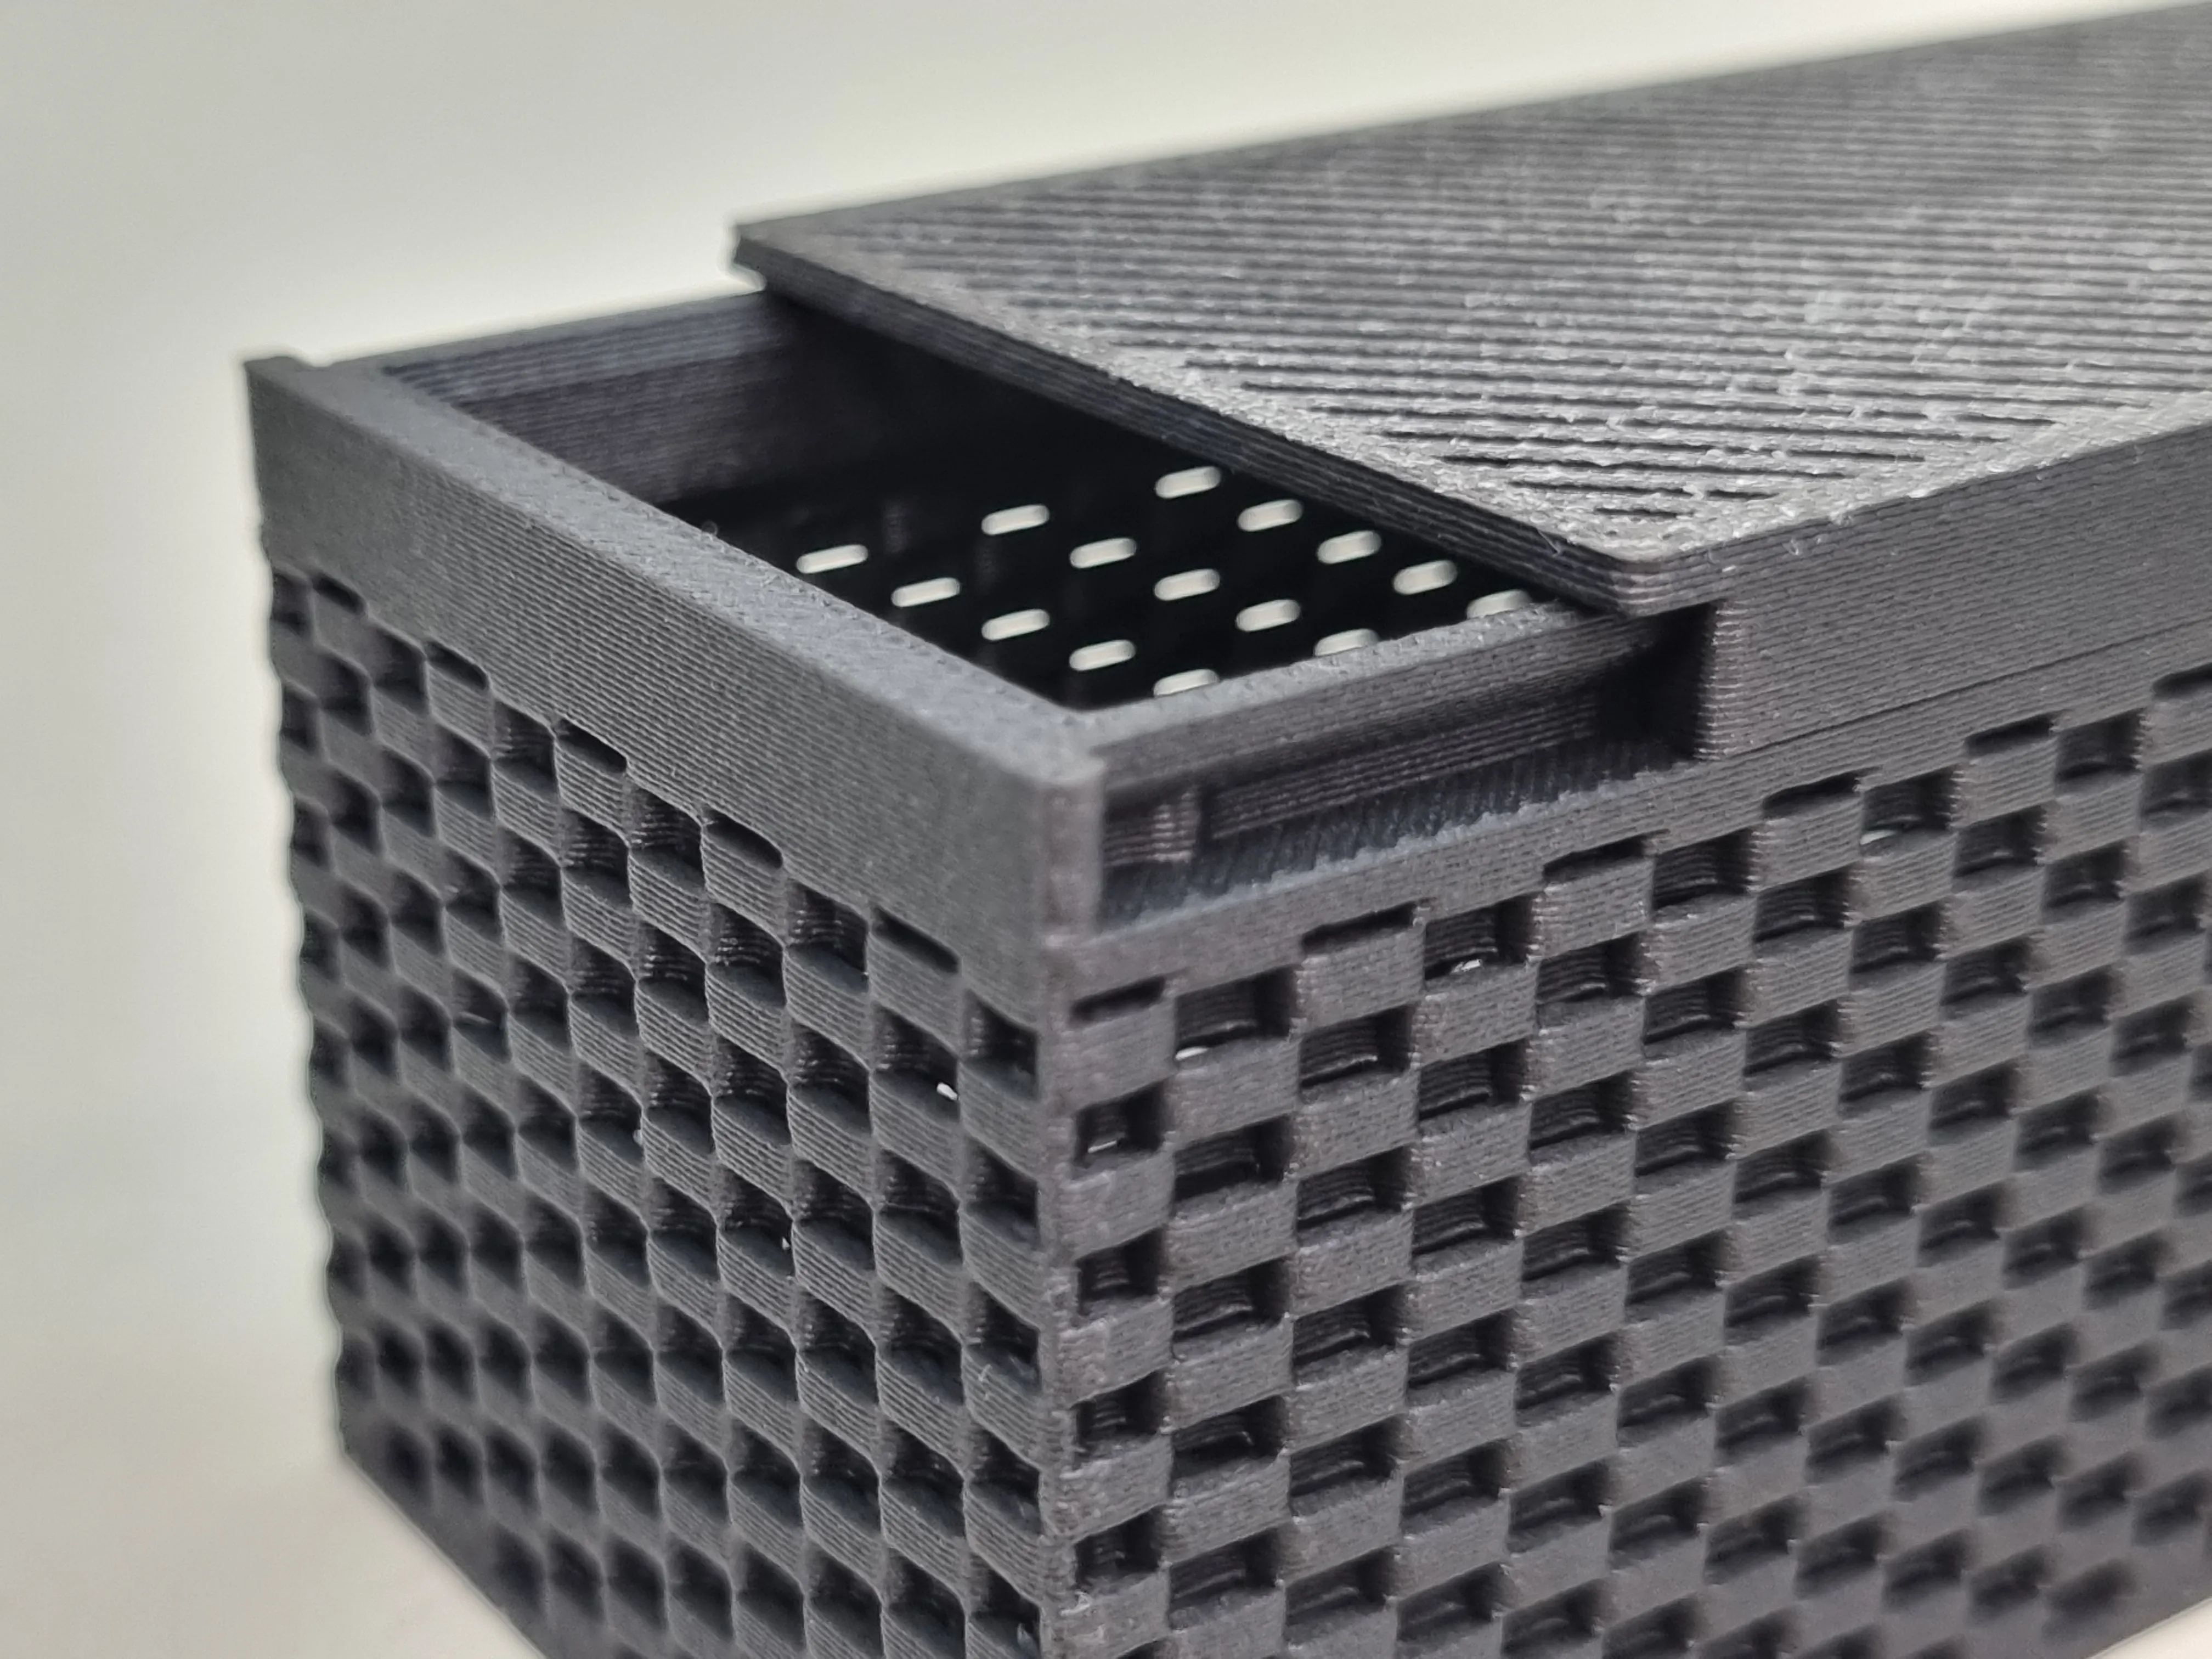
Flush top
Perfectly straight rim—no snagging when closing, no spilling when filling with desiccant. Clean, simple, reliable.
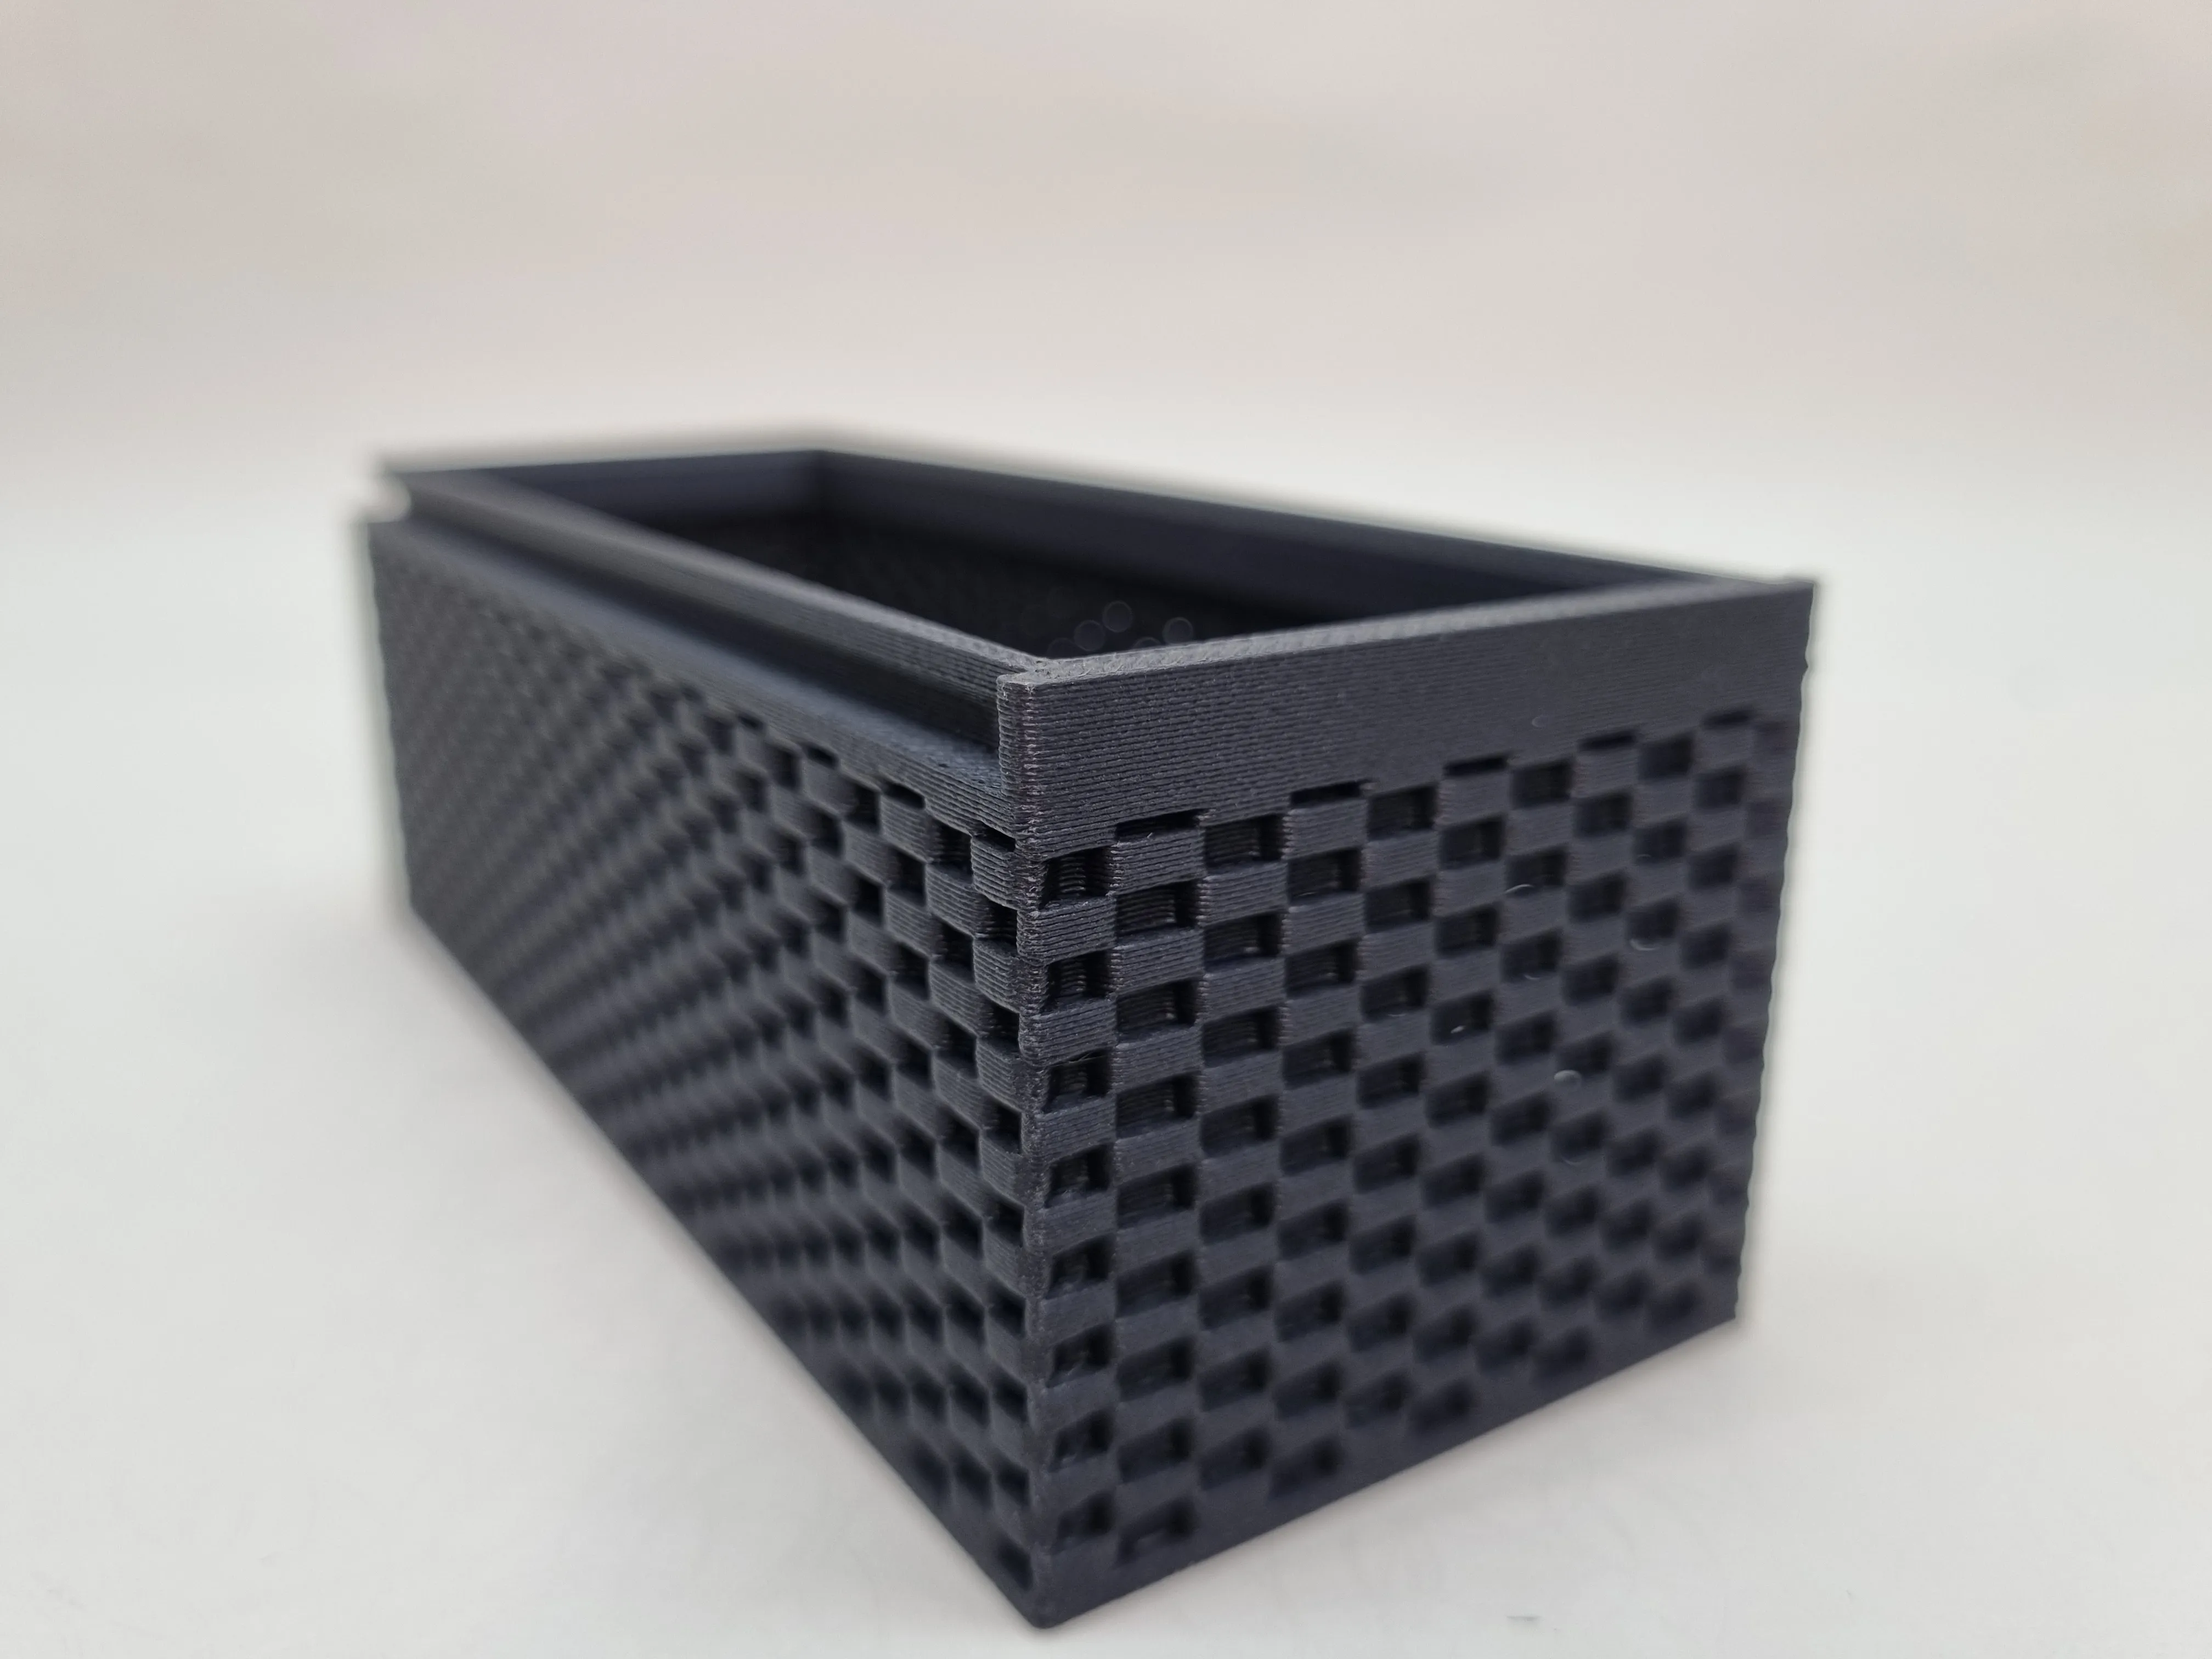
Minimal Stringing, maximum speed:
- Retracts and Z-hops are minimized to avoid stringing.
- Walls are mostly printed as double-wall lines to save filament and speed up printing.
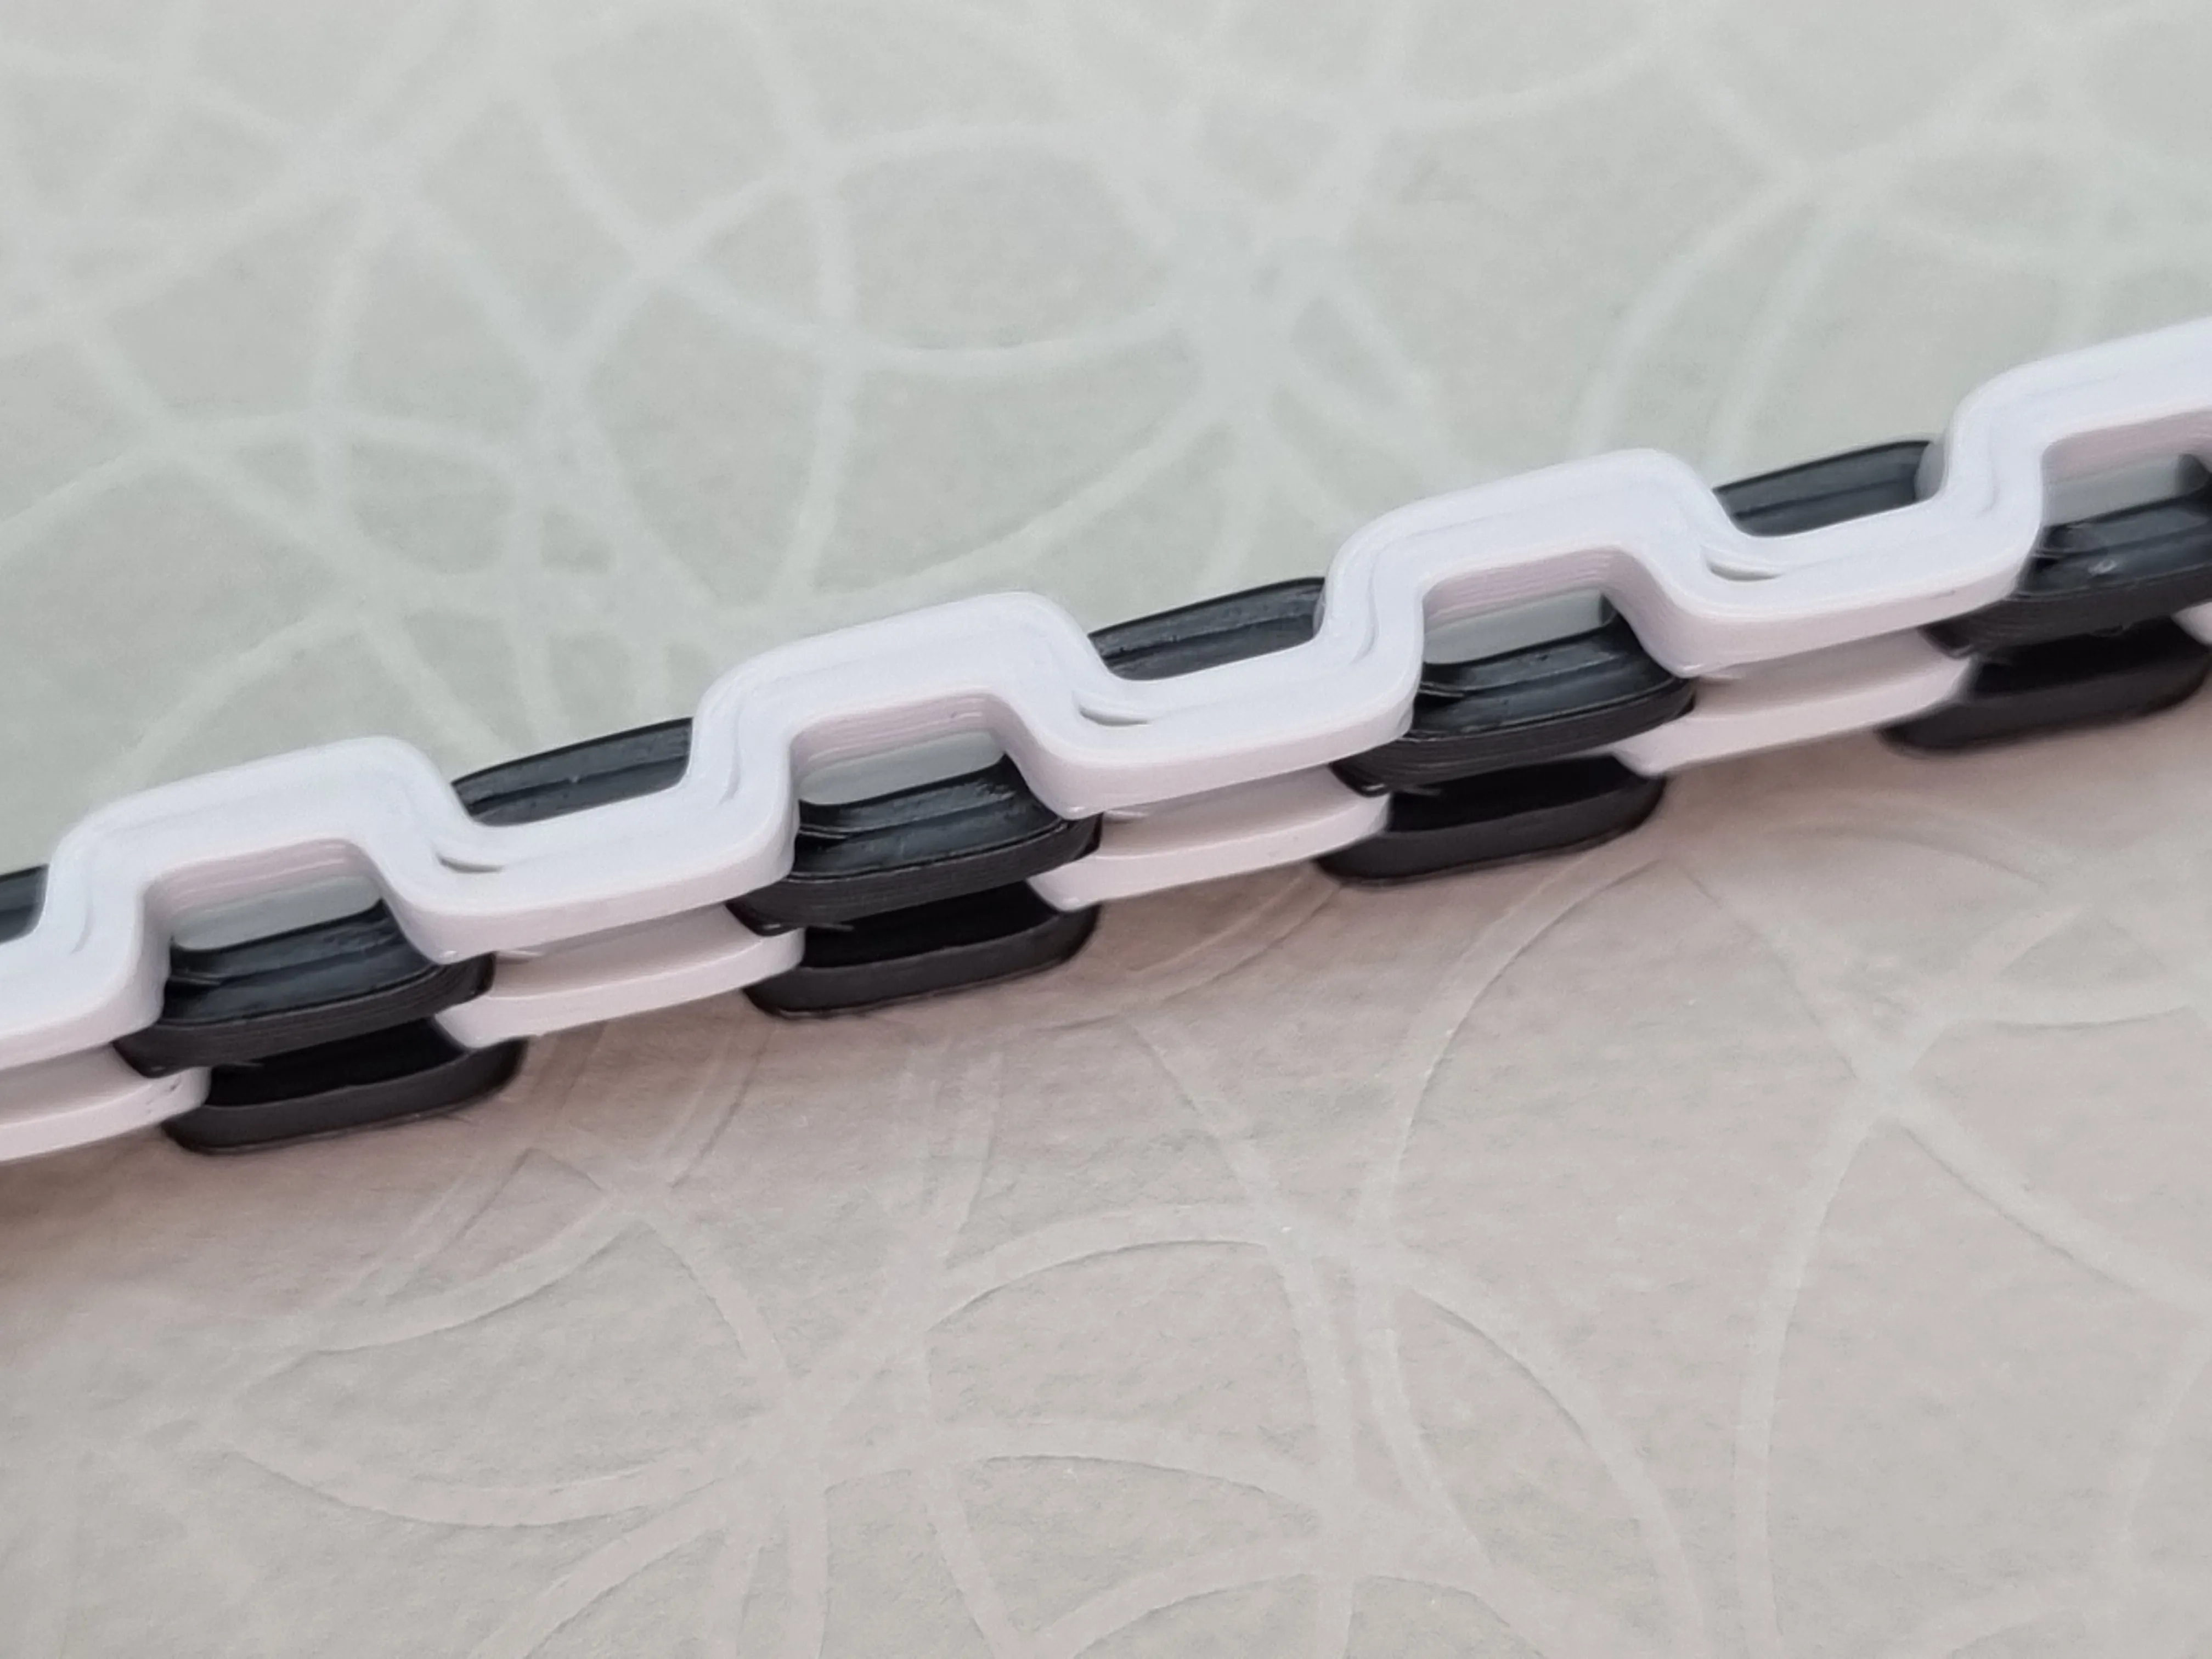
Wall & Bridge Geometry:
- The base and lid feature a calculated pattern that avoids crossing printed lines—no scratching, no noise, and no bed adhesion issues.
- Straight, short bridges print perfectly without supports, thanks to slicer speed optimization.
Boost Me (for free)
Support for this model helps fund 3D printing in a local school in Lower Saxony, Germany. Contributions go toward printers and filament for student maker and robotics clubs, including preparation for "Jugend forscht" competitions. Likes, follows, and boosts help increase visibility and indirectly support hands-on technical education.
Translation Notice: I am not a native English speaker. I write all descriptions in English to ensure the best automated translation into other languages. To make the text smoother and more readable, I use language tools to refine my wording.
Bill of Materials Notice: Hero Shot models are usually printed in Bambu Lab PLA Basic, primarily Pumpkin Orange, Purple and Matte Charcoal Black. The Bill of Materials contains the recommended filament for the model, which may differ from the filament used for the photos.
Purchases made via the BOM support my work through the Maker World Commission Incentive at no extra cost to you.
License

You shall not share, sub-license, sell, rent, host, transfer, or distribute in any way the digital or 3D printed versions of this object, nor any other derivative work of this object in its digital or physical format (including - but not limited to - remixes of this object, and hosting on other digital platforms). The objects may not be used without permission in any way whatsoever in which you charge money, or collect fees.


Comment & Rating (77)