
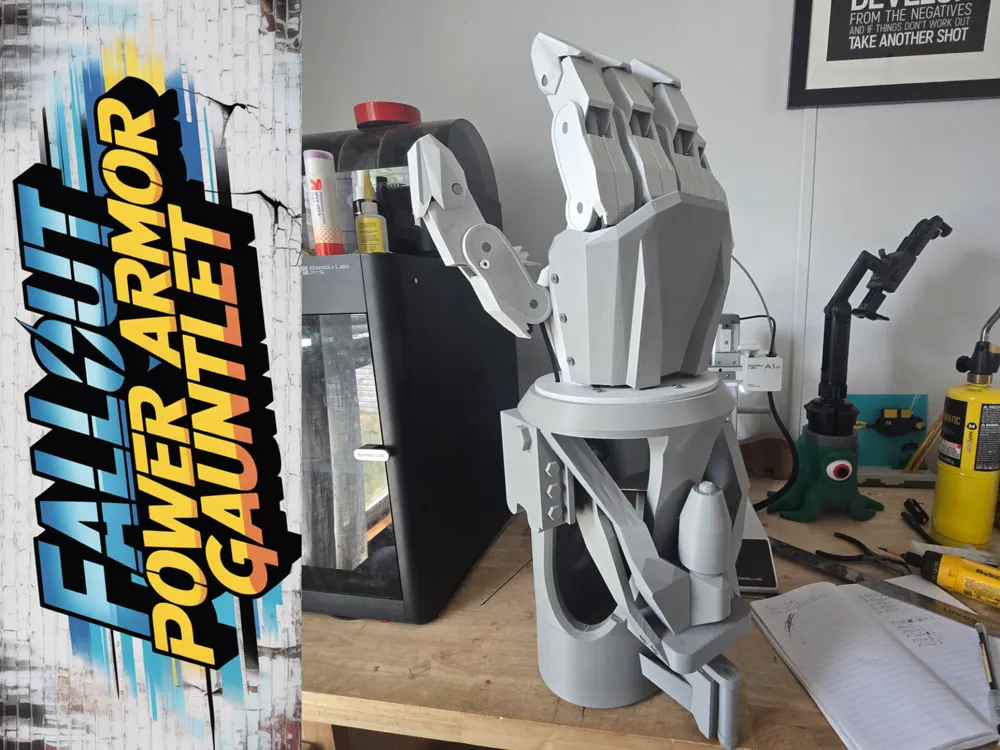
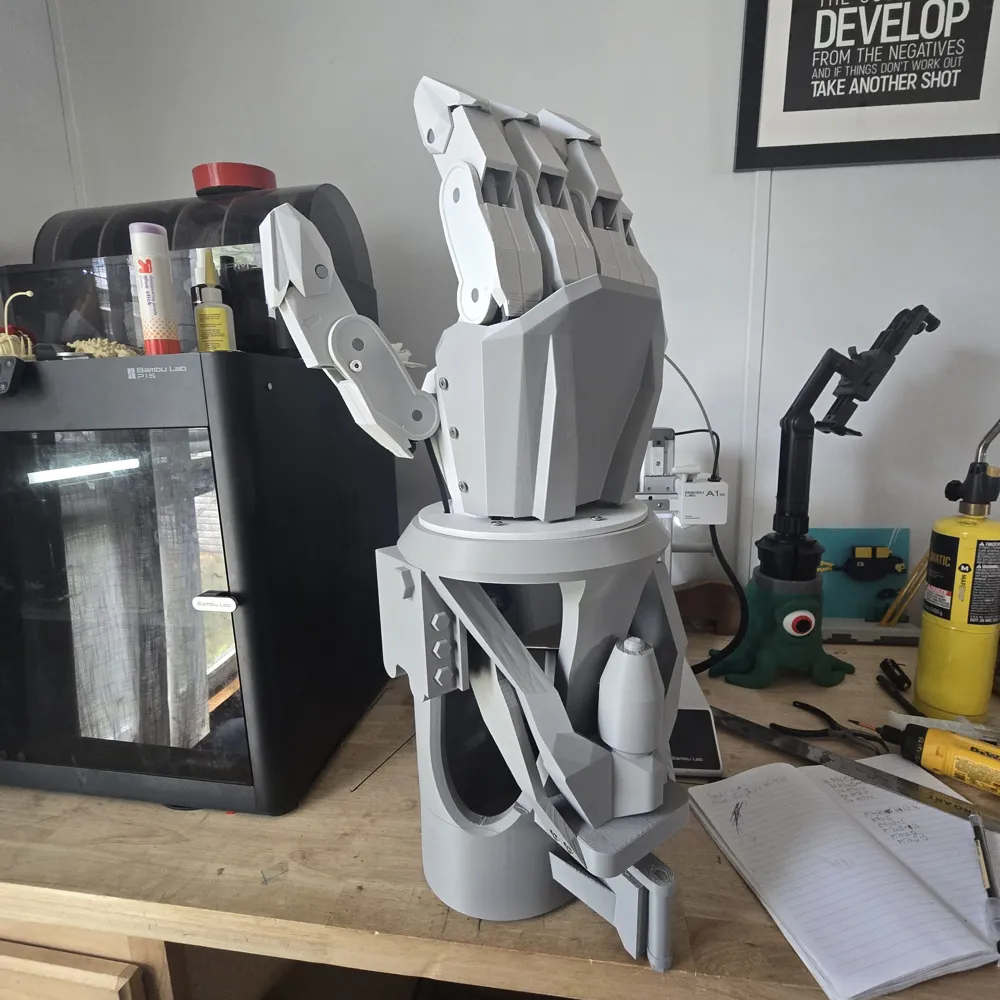
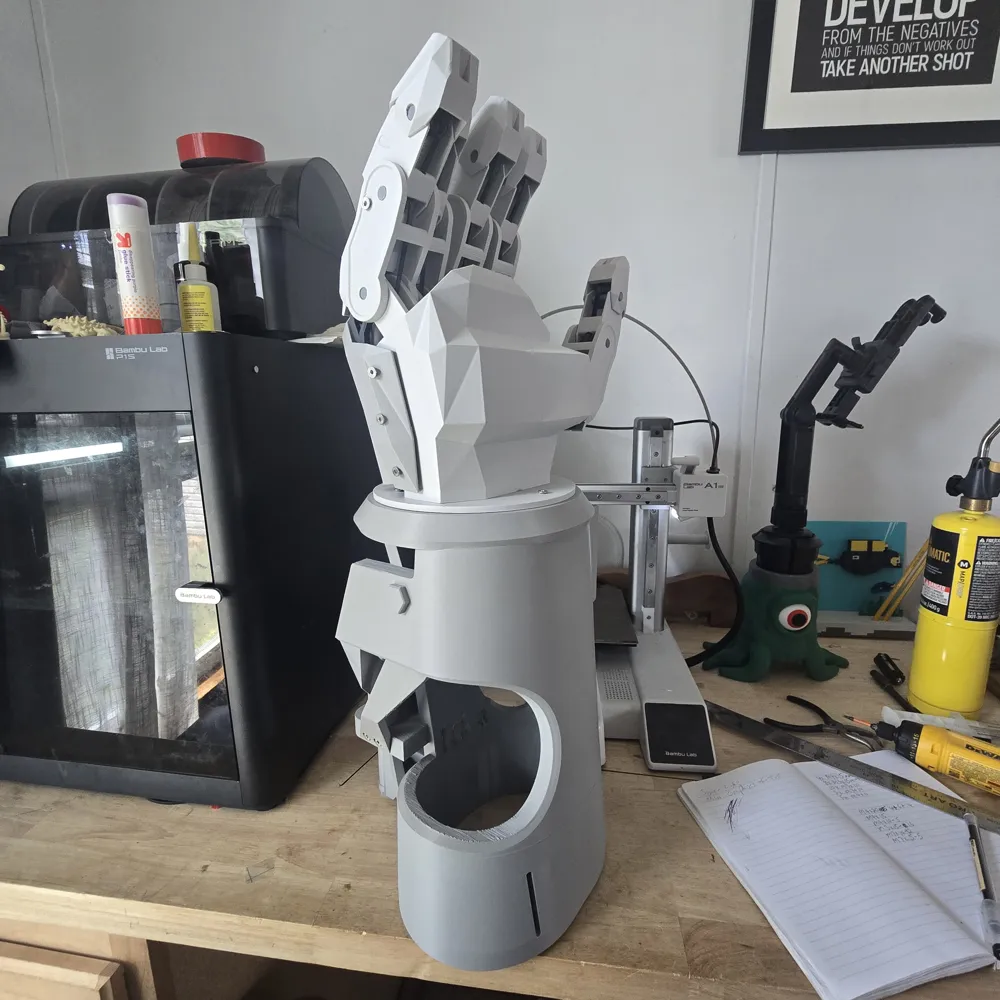
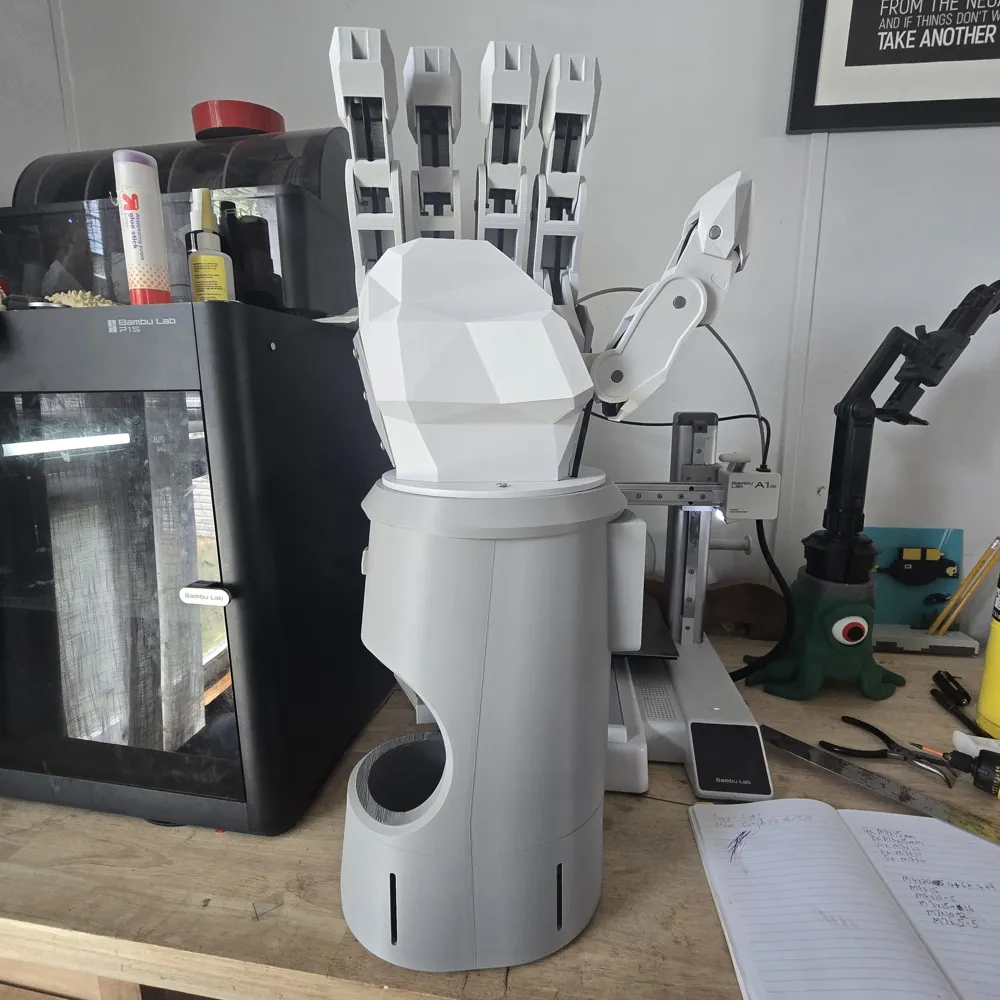
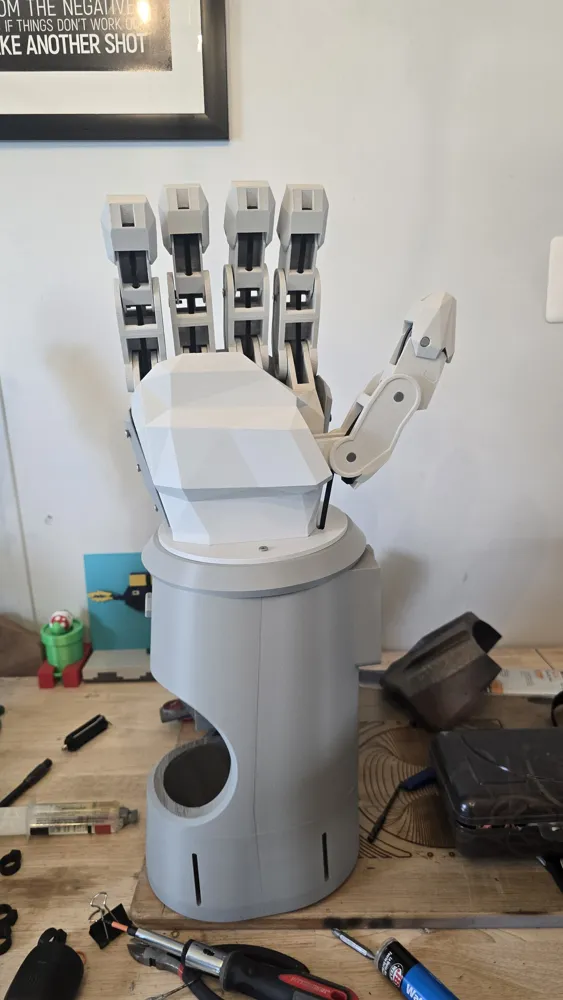
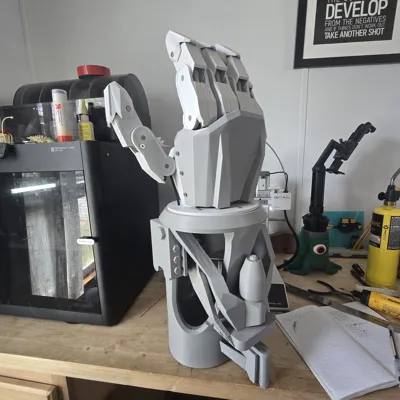
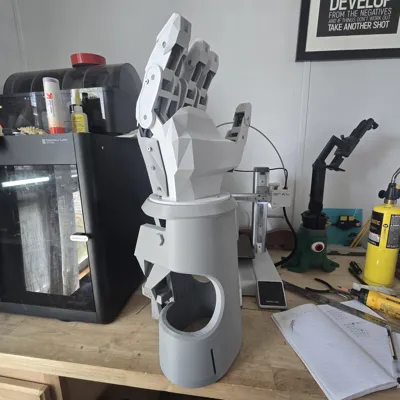
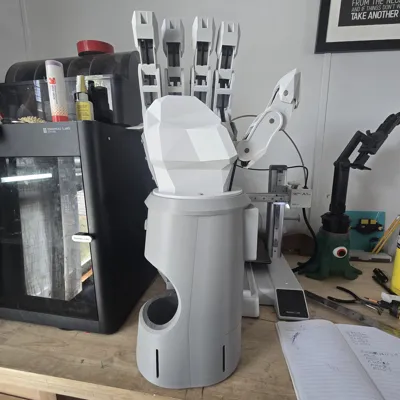
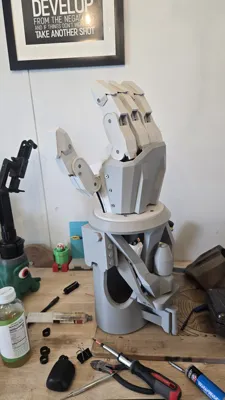
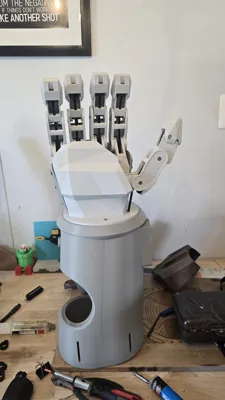
Fallout Power Armor Gauntlet



Print Profile(7)



Description
This has been in the works for a while. If you have any issues let me know and I'll see what I can do. I would have a few extra of each screw just in case.
Make sure to read through this along with the video. If you get stuck let me know.
Highly recommend an electric screwdriver with metric Allen bit set. If using one be careful not to strip out the holes.
7/10/2025 UPDATE:
Added a profile for a grip that has a slider in it for the thumb control instead of a ring. It will be fairly easy to get it in if you prescrew the screws and have enough slack in the zip tie. If it's not pulling so you can screw from the openings you probably need more slack.
Non Printed Parts List:
Screws
M4x20 qty 22
M4x10 qty 5
M3x15 qty 16
M3x10 qty 12
M3x5 qty 5
Tendons
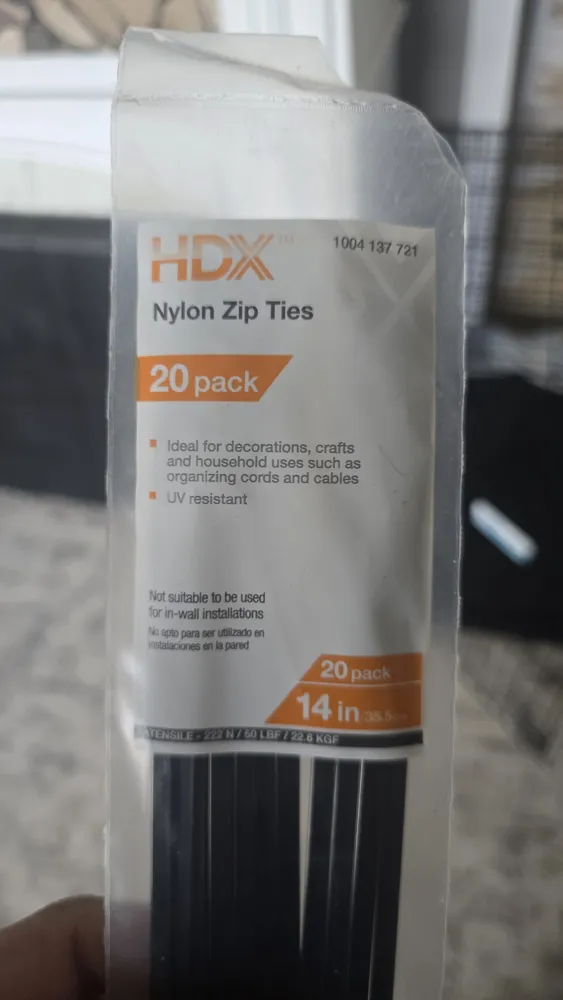
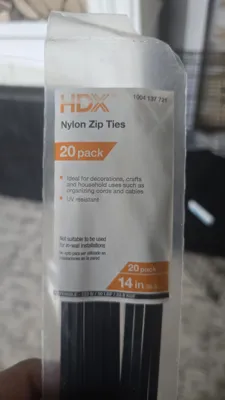
HDX Nylon Zip Ties 14" qty 5 Item# 1004 137 721 from Home Depot
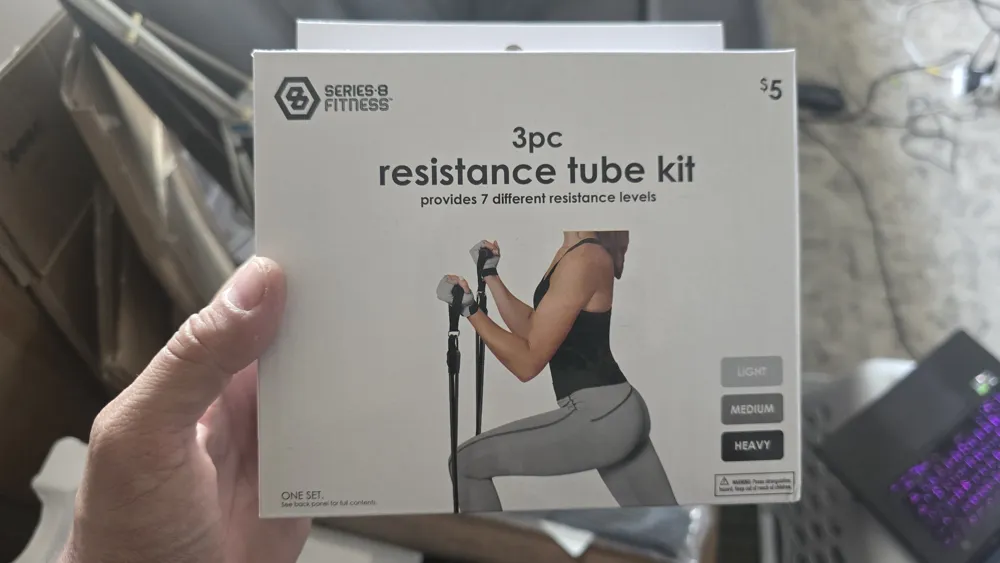
3 PC Resistance Tube Kit from Five Below. These are just normal cheap exercise bands if you don't have five below. Cut into 5 16cm pieces.
Assembly
Decent Super Glue
Optional - Plastic welding pins. I welded the inside of the bracer with them for extra strength.
Set 1 - Palm Large Parts
Palm Connects to the plate with 8 M3x15 screws. The plate connects to the bracer with 4 M4x20 screws. I would pre install them slightly protruding so it's easier to line up on the bracer.
The top of the hand connects with 6 M4x20 screws.
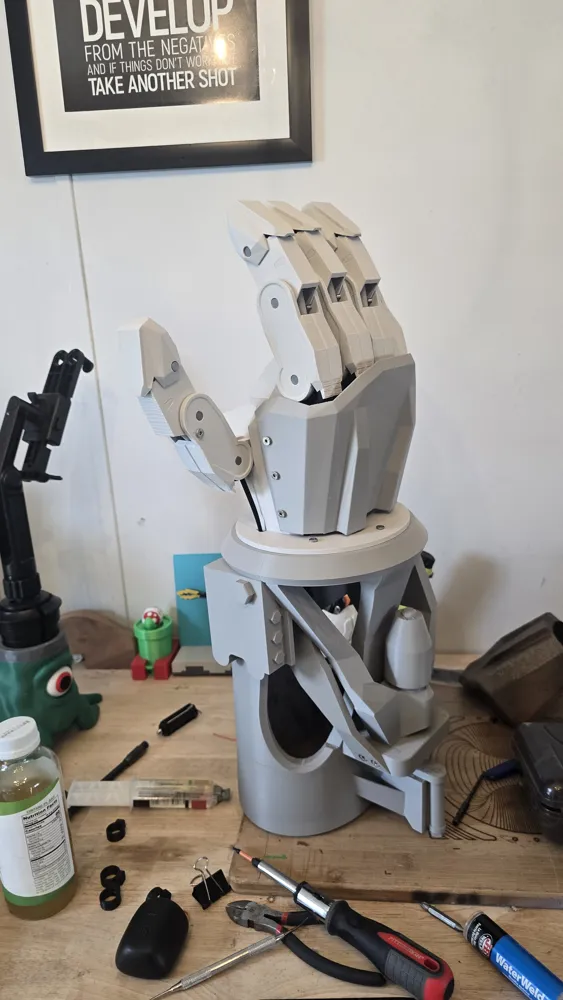
The handle assembles and connects to the bracer with 4 M4x20 screws. Assemble the handle before attaching to the bracer.
Set 2 - Fingers
Pre-screw 2 M3x10 screws into each fingertip plate. Place 1 16cm piece of exercise band slightly folded so the plate covers it and it comes out along the top of the finger. Carefully screw plate down to hold the band in place.
Insert zip tie through the bottom of the fingertip.
Run band through the top and zip tie through the bottom of the mid finger part. Insert pin to connect pieces after.
Screw a M4x10 into the small hole on the side of the third finger part. Continue the band through the top and tie through the bottom. Insert pin after.
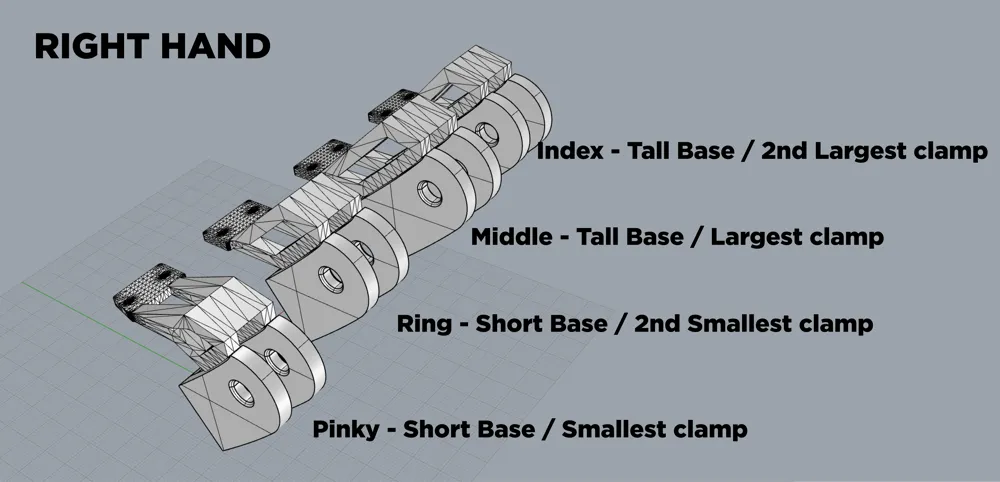
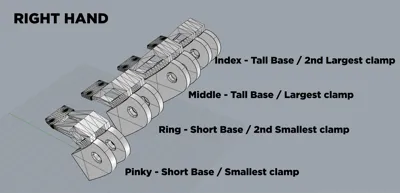
After you have the all 5 fingers assembled, start on one side and attach a finger base with M4x20 screws to the palm. Attach the finger with a pin before adding the next base. See image base and band placement. Index and middle finger are large bases, pinky and ring are the shorter bases. Thumb band clamp is the tiny one.
Make sure the plate is attached so the larger hole will let the thumb zip tie through.
Pre-screw the band clamps with M3x15 screws (M3x10 for thumb). Pull the band tight and place the clamp over top then tighten down carefully until the band is held in place.
Pull the zip ties through the plate holes. Pre-screw the finger rings with M3x5 screws leaving room for the zip tie to pull through. Pull the zip tie through the finger until it's just barely making the finger bend. Loop the zip tie back through the bottom hole and back through the plate. Tighten it more if needed then tighten the screw to keep the ring in place.
Wait to add the thumb ring until later.
Install the hand top with 6 M4x20 screws
Set 3: Armor Frame
Assemble with pins and glue together. I used a plastic welder along the inside for added durability.
Attach the handle with 4 M4x20 screws.
Line up the pre-screwed plate on the top of the bracer and finish screwing.
Now the thumb ring can be installed. It will take a bit of adjusting to get a good feel for it.
There are strap slots for up to a 1.75" wide straps over the top of the hand and the bottom of the bracer. I am going to look into a pad for the bottom of my bracer for comfort.
License

You shall not share, sub-license, sell, rent, host, transfer, or distribute in any way the digital or 3D printed versions of this object, nor any other derivative work of this object in its digital or physical format (including - but not limited to - remixes of this object, and hosting on other digital platforms). The objects may not be used without permission in any way whatsoever in which you charge money, or collect fees.


Comment & Rating (105)