
Miniature Pinball Machine
Print Profile(1)

Description
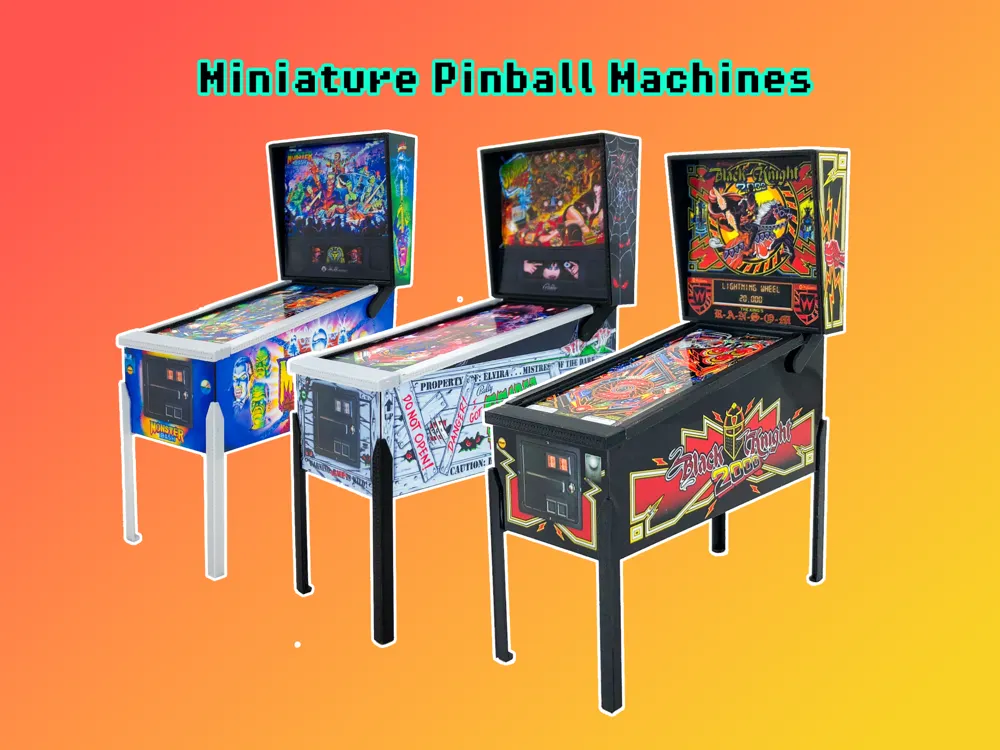
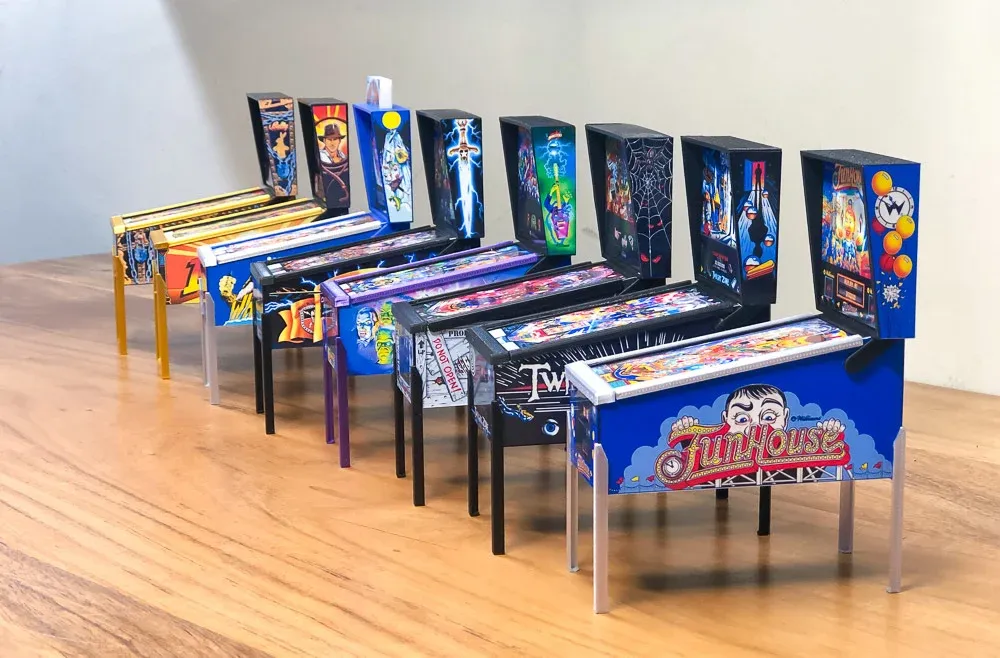
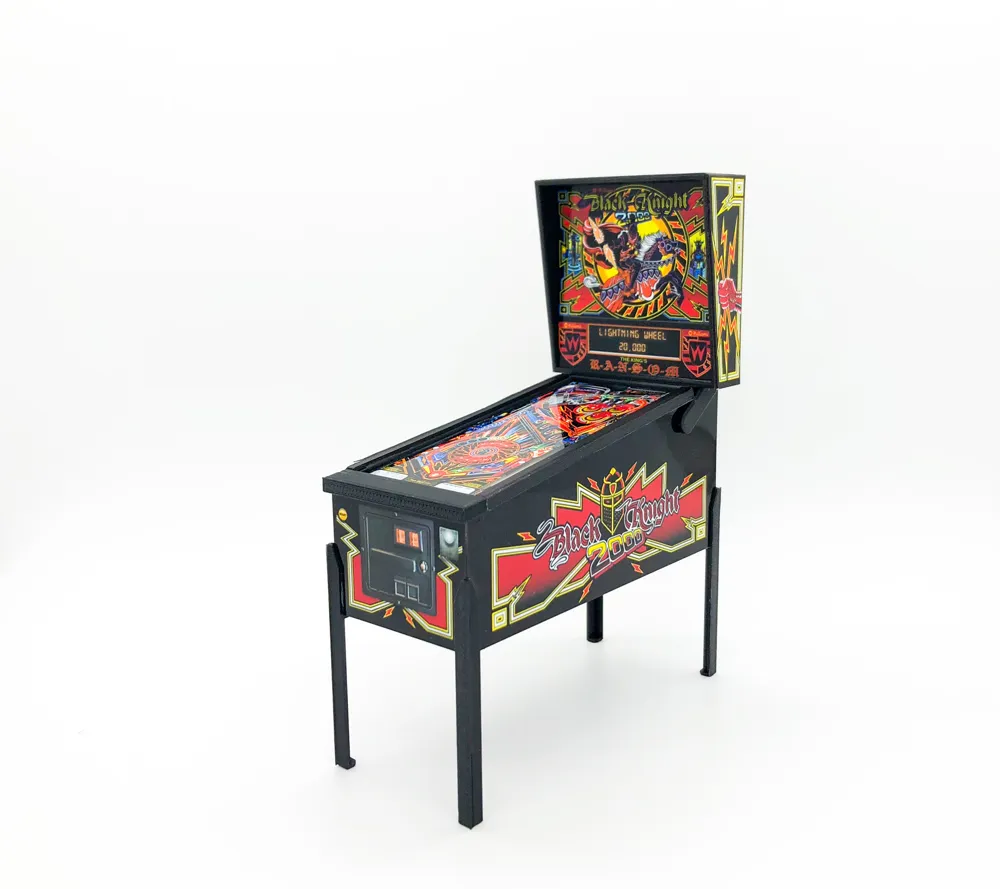
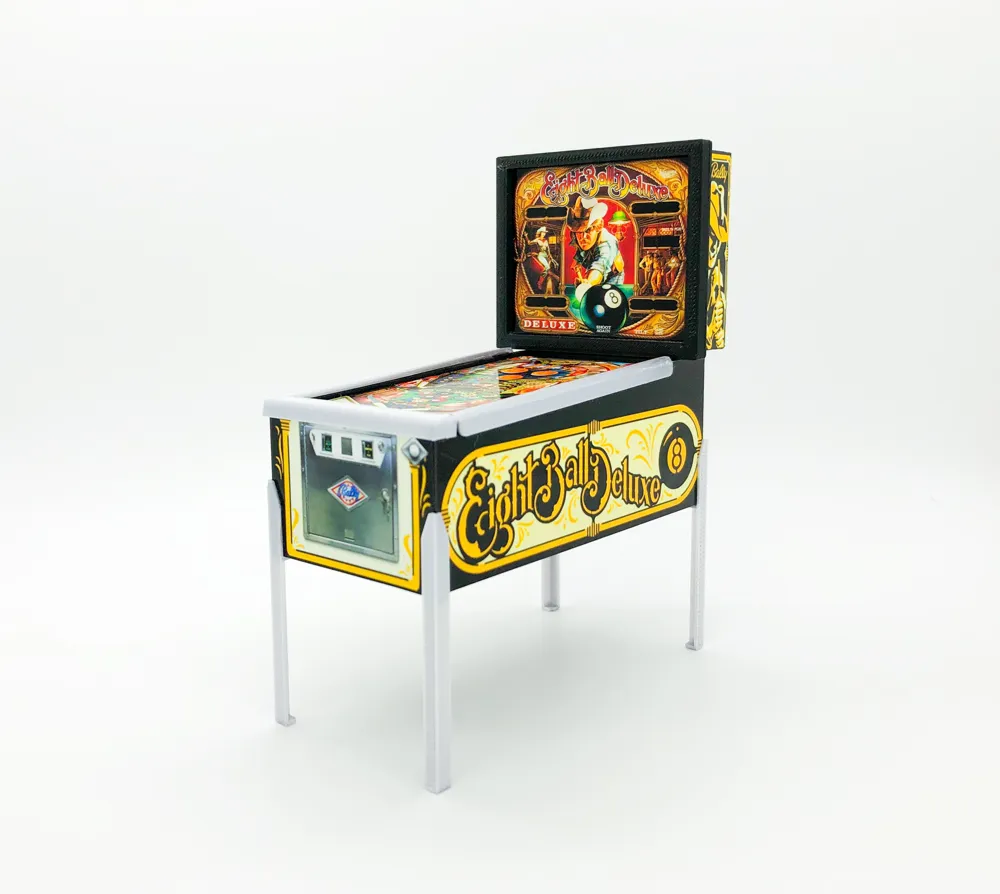
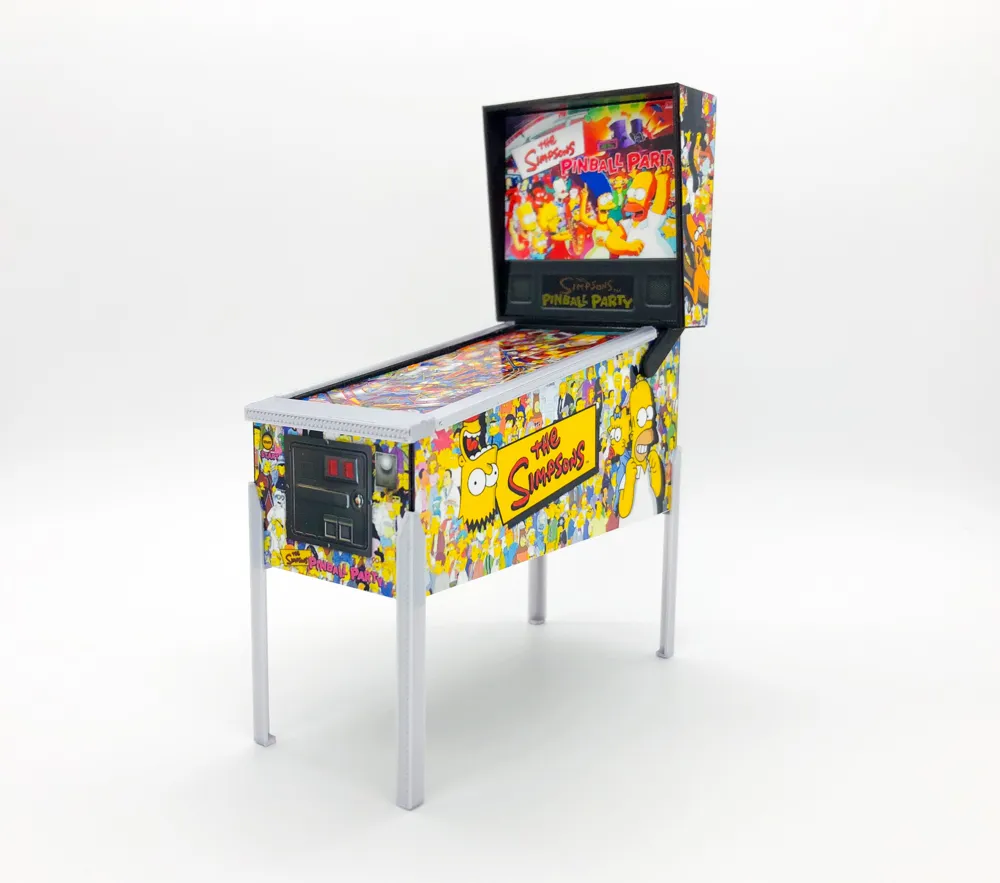
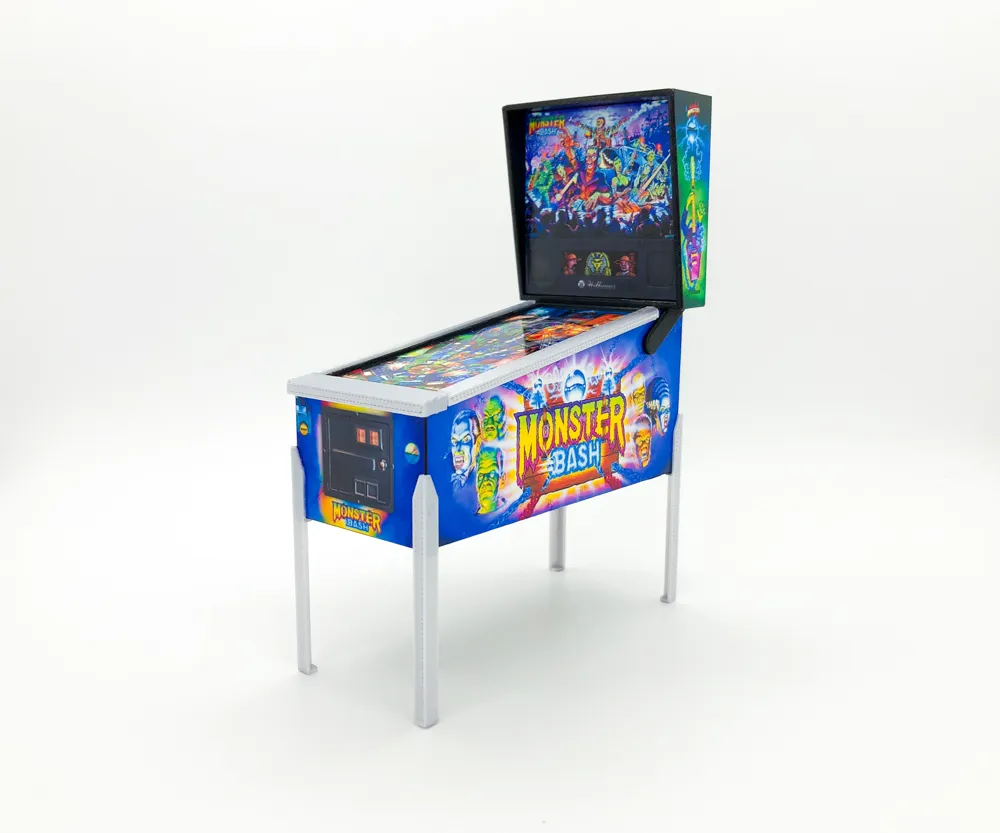
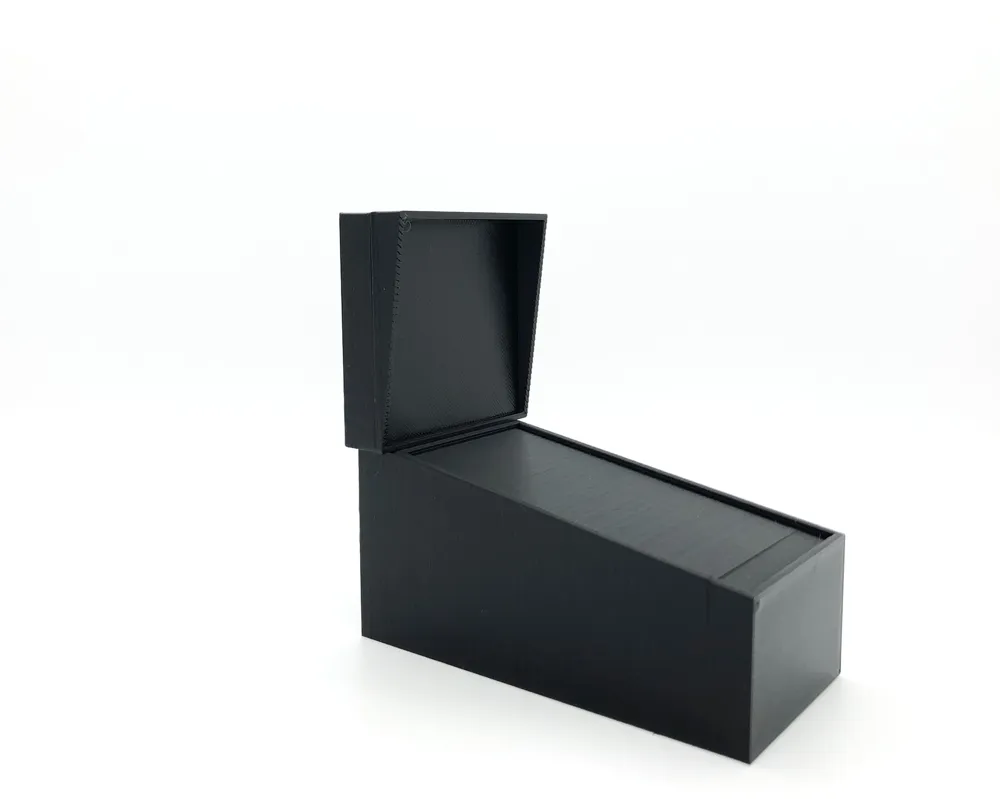
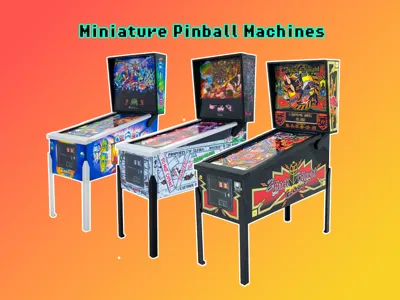
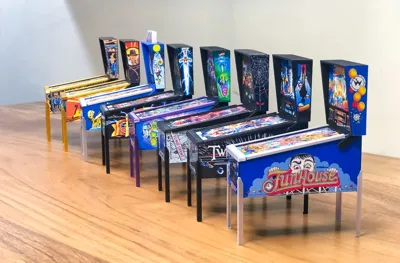
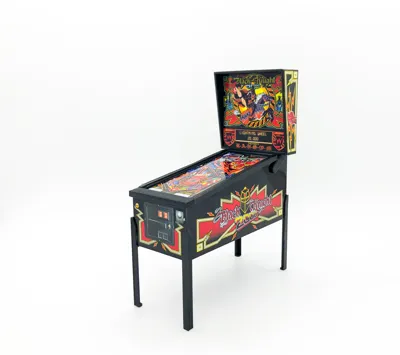
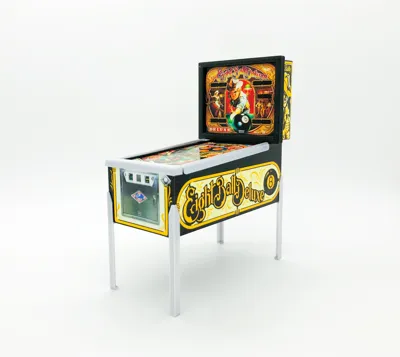
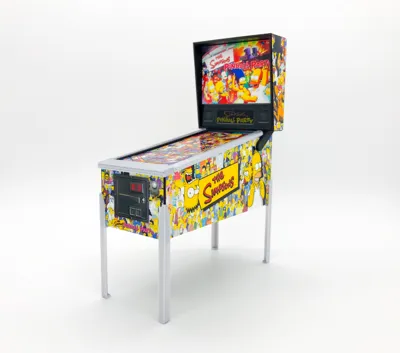
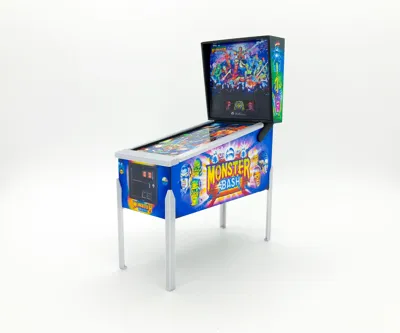
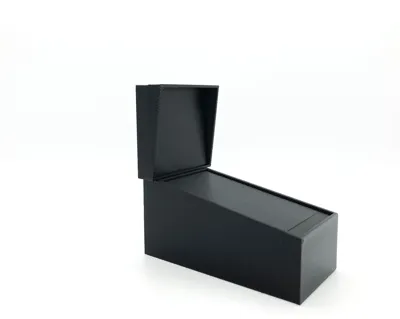
Being a huge fan of pinball, and wanting to have miniature versions of my games to put on my mantle I decided to model some cabinets that you then could attach decals to, resulting in a very realistic pinball mini! These are all modeled off the dimensions of the full-sized counterparts.
Boost Me (for free)
Enjoying these models, show your support by Boosting this :)
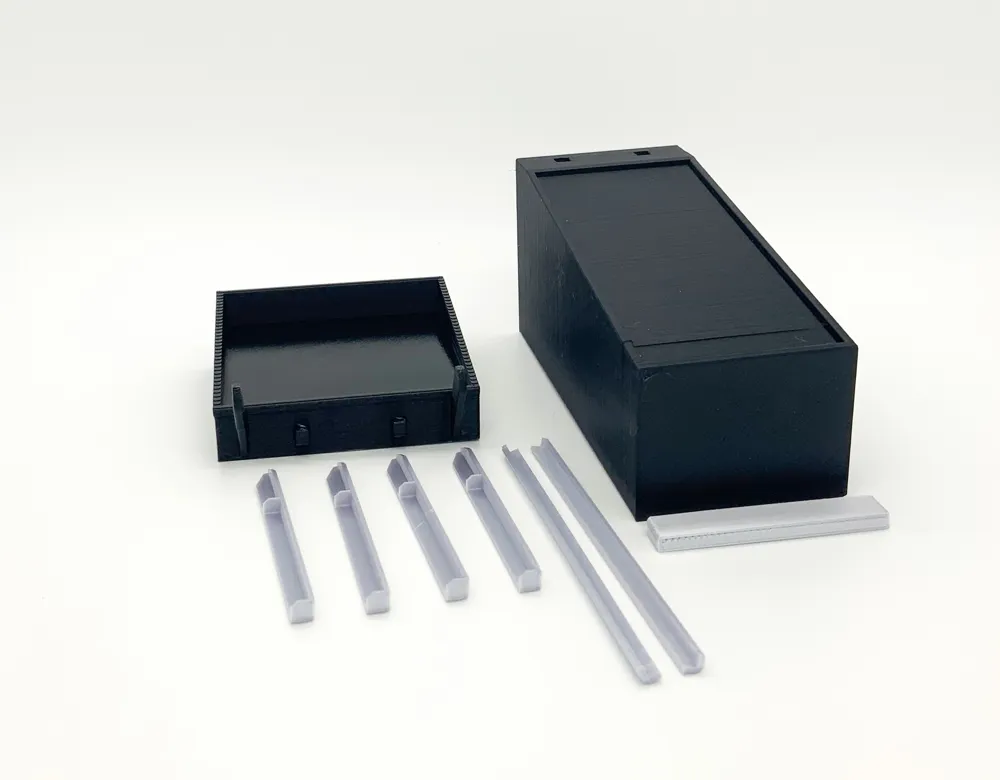
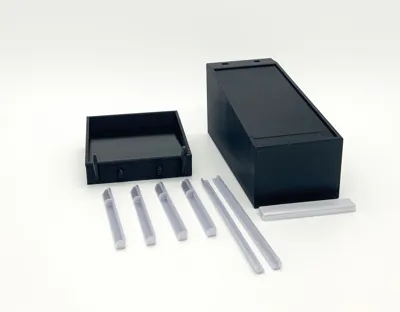
Included are a variety of models. Each model is 1/24 scale. These are very detailed and include the Trim, lockdown bars, legs, cabinets, and backboxes. There are filled and hollow versions of the cabinets depending on if high speed or low filament usage is your goal.
Included are 3 different models:
- Standard Cabinet & Backbox: 90's era Bally/Williams games, works perfectly for modern-day Stern, Chicago Gaming, and Spooky Pinball.
- Wide Body Cabinet & Backbox: 90's era games, can work for JJP widebody games.
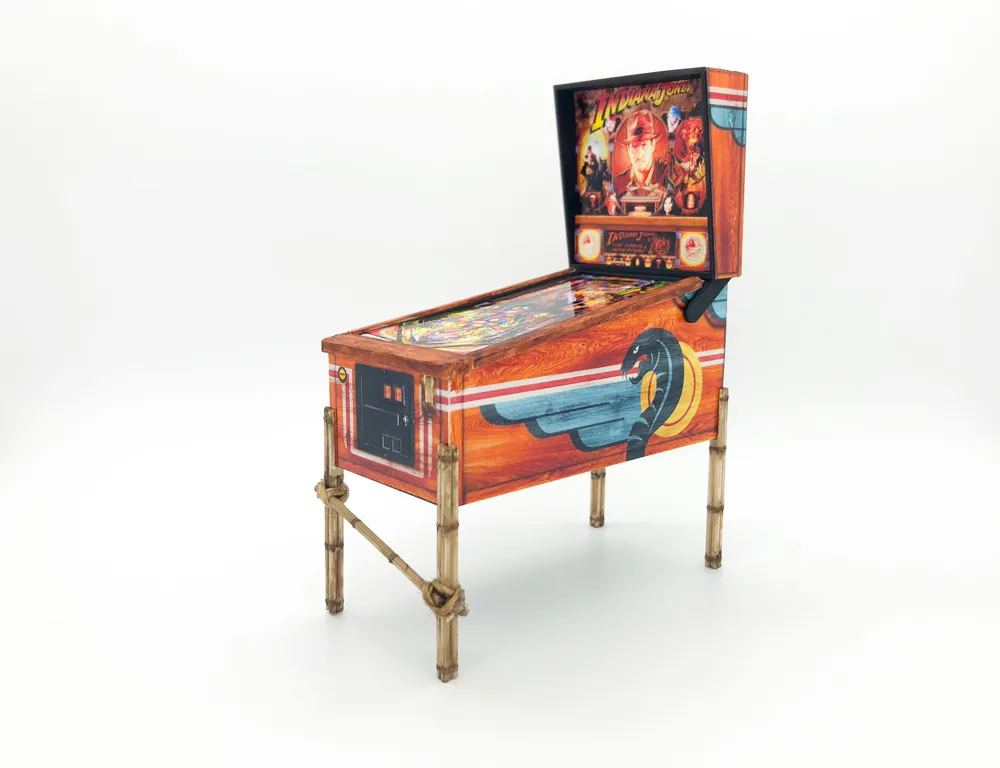
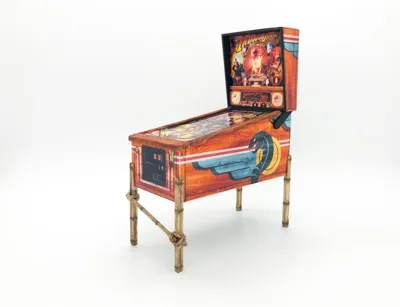
- Indiana Jones Trim and decals From Disneyland included!!
- Classic cabinet: Bally/Williams 80's games
- Classic Backbox for 81' Bally/Williams (requires supports)
- Classic Backbox for 84' Bally/Williams (requires supports)
Decals
- Attached to this project you will find a .zip containing 4 decal sets. You can also use for templates to make your own.
Printing & Assembly
I personally found that printing the trim in one batch and the cabinet + backbox in another works well. If you have trouble with bed adhesion use a small 1mm or 2mm brim and it will really help.
- Printing the cabinet and backbox: I recommend printing the cabinet and backbox at .2mm and 10% fill.
- Cabinets print them with the bottom on the build plate, so you are printing bottom to top lengthwise
- Standard and Widebody babckboxes print upside down with the top on the build plate
- Classic backboxes print with the back on the build plate so it's lying flat, you will need supports.
You can use any black PLA. both the classic backboxes require supports only on the bed, and should be printed back down.
- Printing the trim: legs, lockdown bar, and side rails .1mm works really well.Stainless looking PLA filament
- Use the PSD file to add your own graphics. The file is assembled using smart objects - you have to double click the layer icon and then you can alter/add your graphics to the given decal.
- Printing Decals on a decent inkjet printer -ensure print setting is set to 100%, not scale to fit- I have found this sticker paper to work well. maker sure you clean the surface well, and light sanding can help adhesion. In some cases I even use additional spray adhesive.
- Trimming Decals: I use a paper cutter to cut the decals. A straight edge and sharp hobby knife will work as well. Sometimes after installing the decals you may need to do some fine trimming with a hobby knife. Even better you could use a Cricut or vinyl cutter
Documentation (2)
License



Comment & Rating (56)