
Arcade Stick and Console All-In-One
Print Profile(1)

Description
ATTENTION! NEW UPDATED MODEL: https://makerworld.com/it/models/2163540-arcade-stick-console-all-in-one-new#profileId-2345814
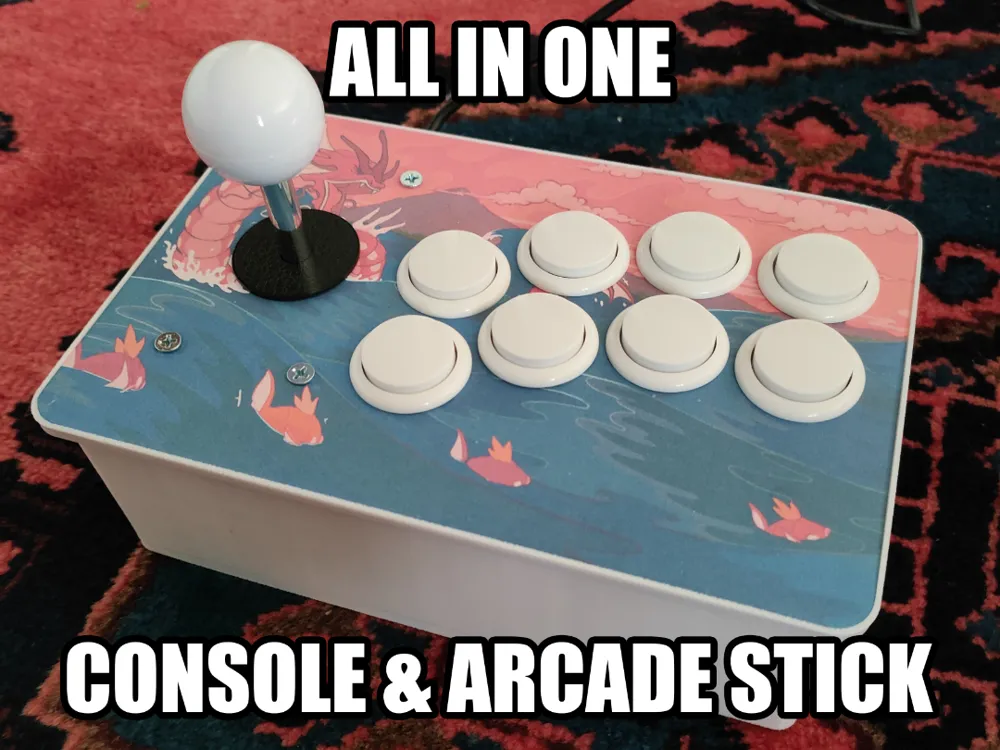
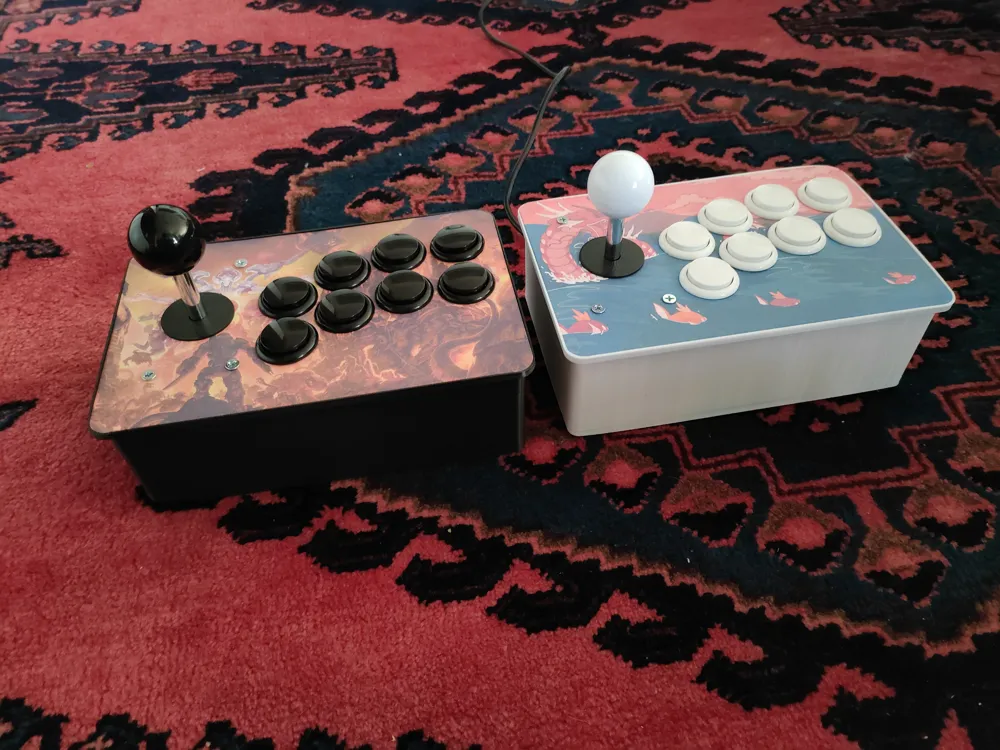
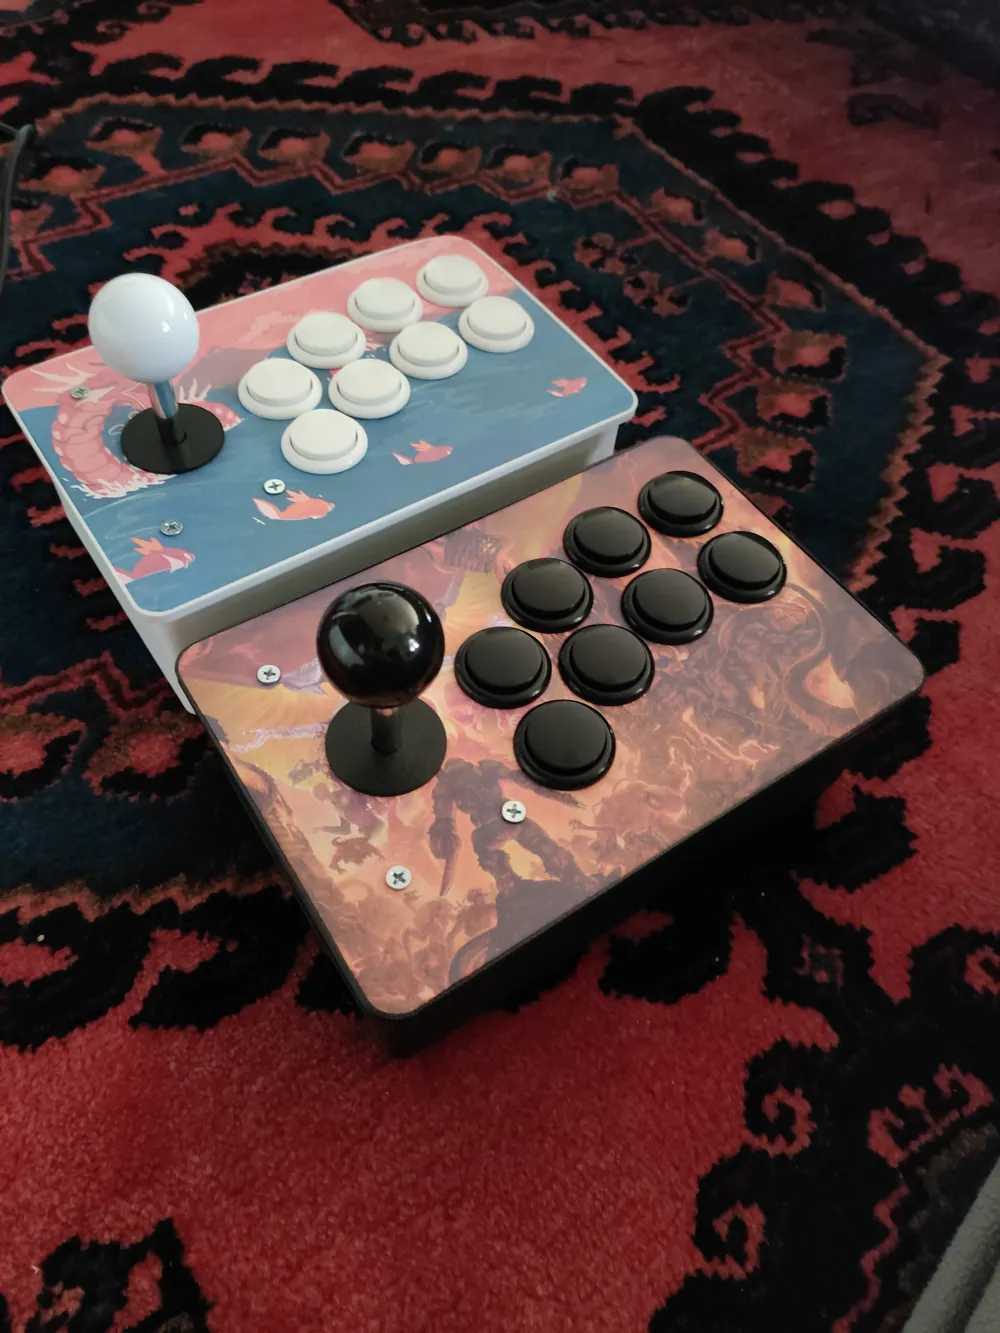
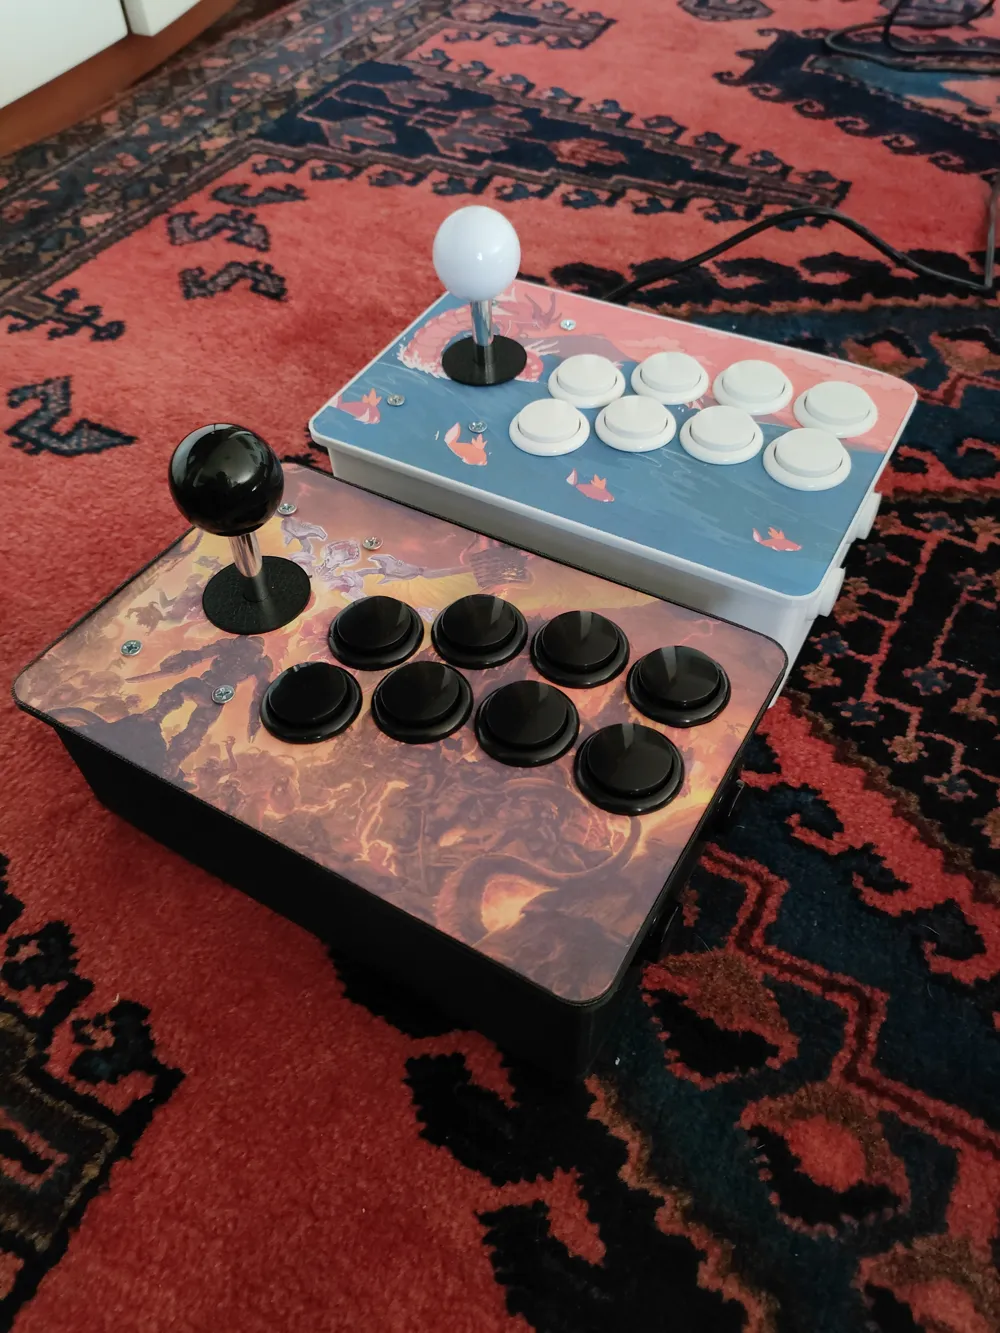
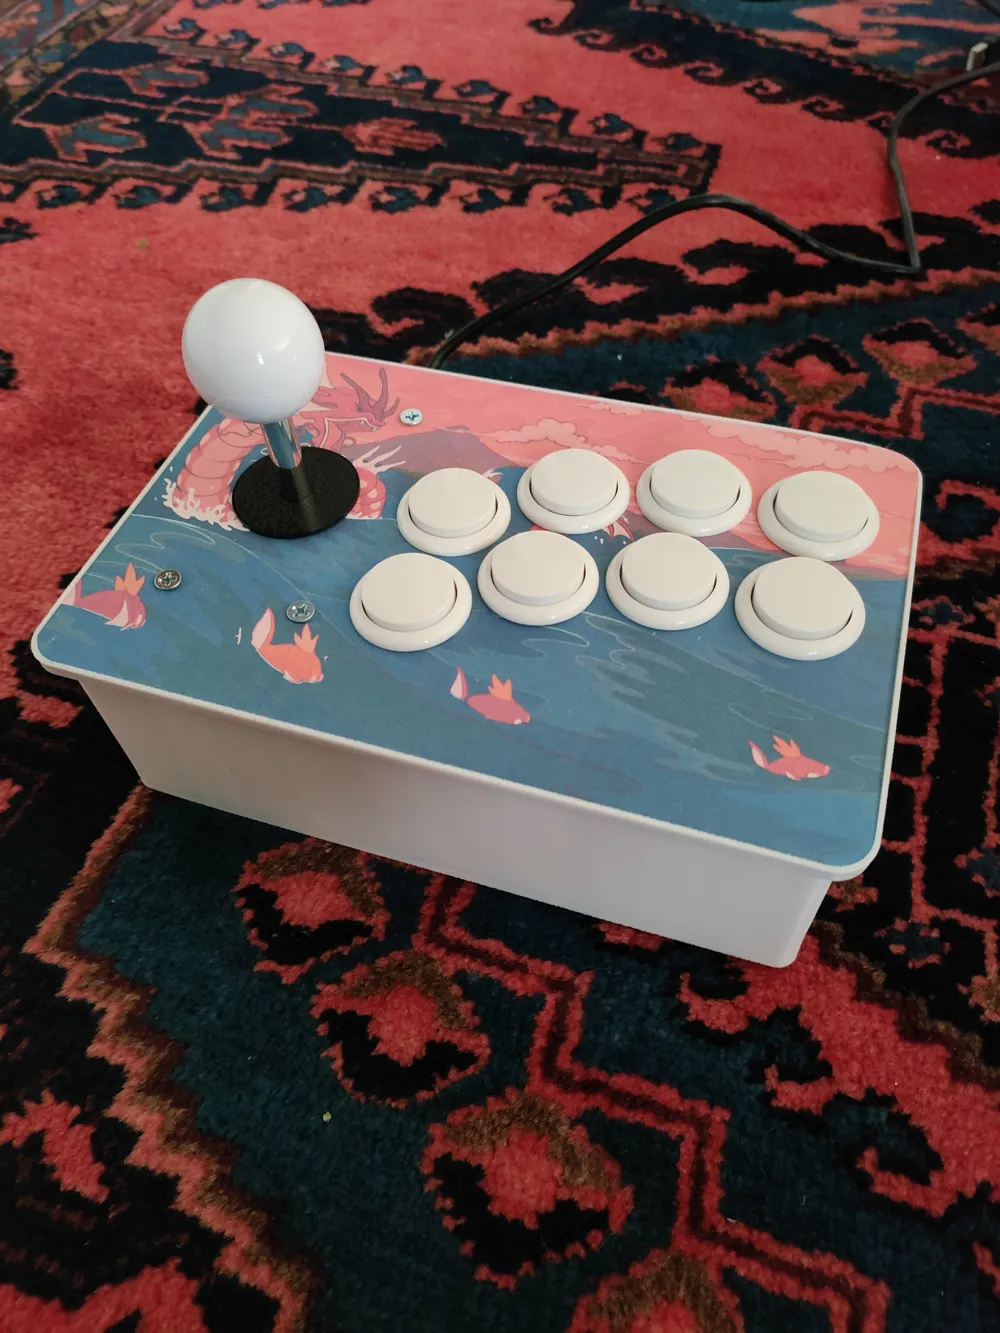
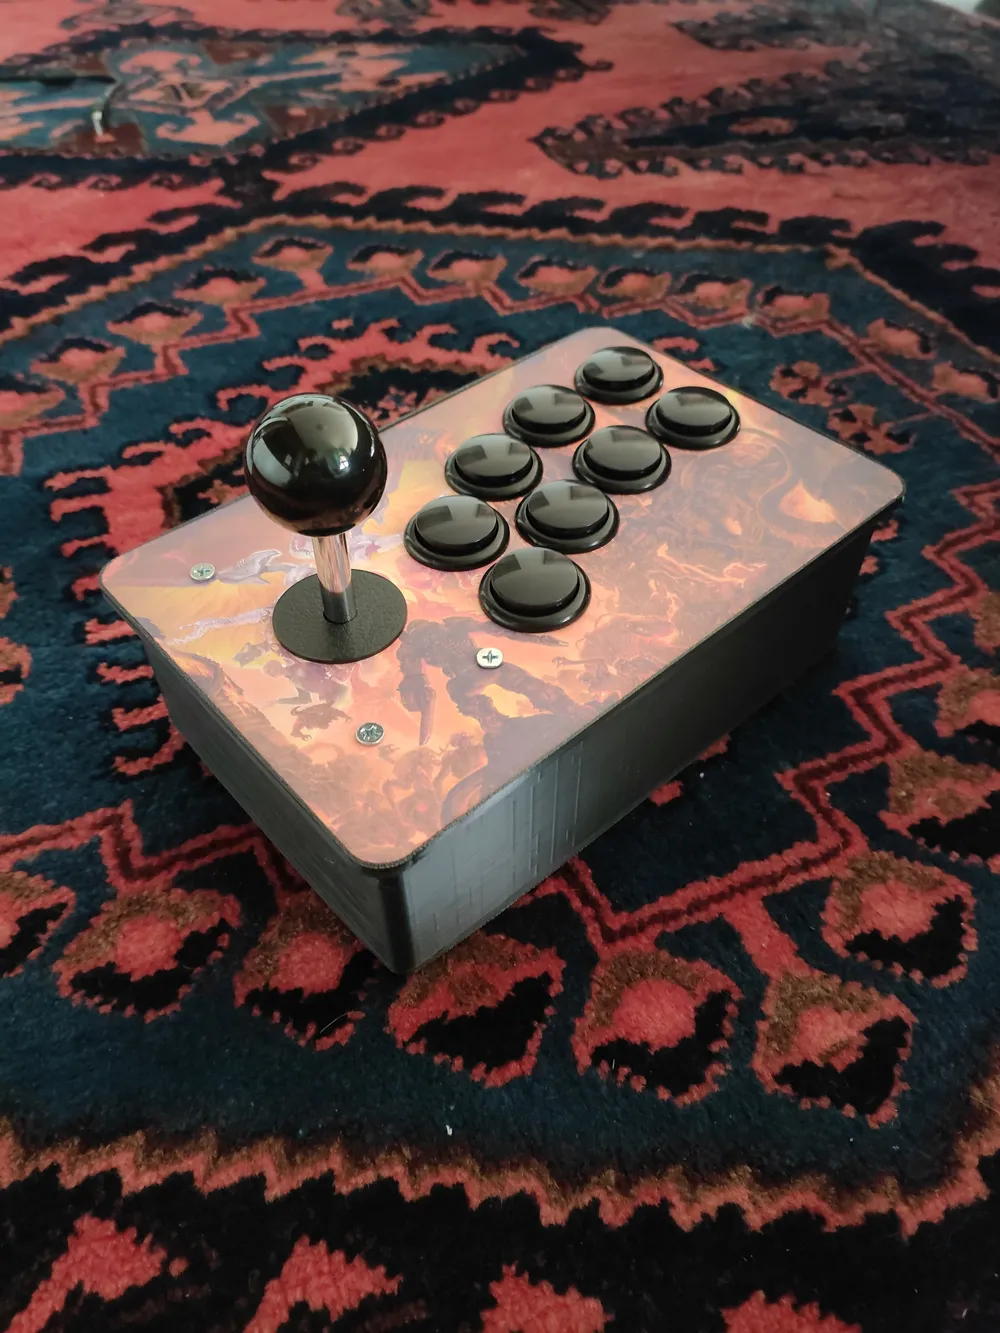
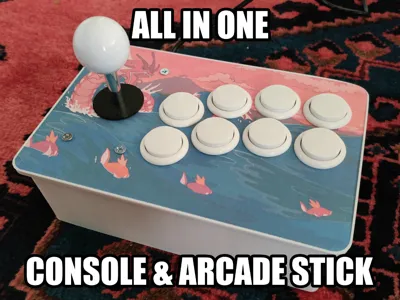
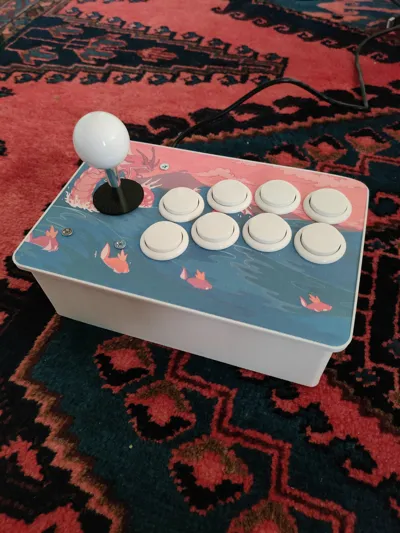
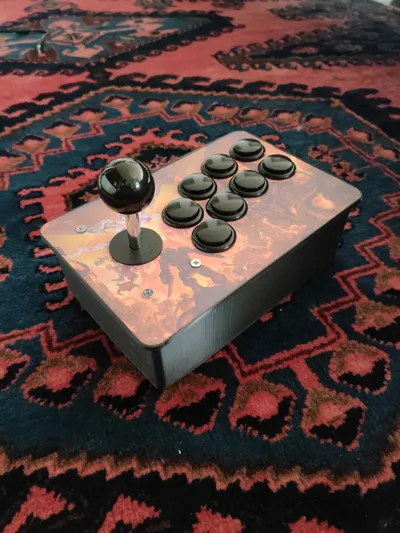
Hello! This project can be used both as a normal arcade stick, that you can connect to your computer, and as an ALL-IN-ONE console that will allow you to play all your favorite titles comfortably from the sofa, even multiplayer! Since there is the possibility of connecting a second controller to the first!
Obviously, the common part between the two options is the creation of the controller ...
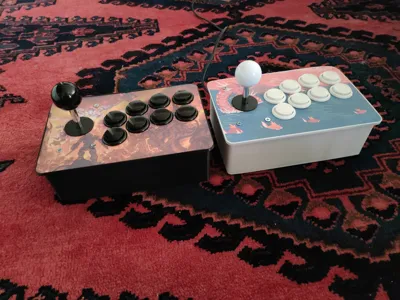
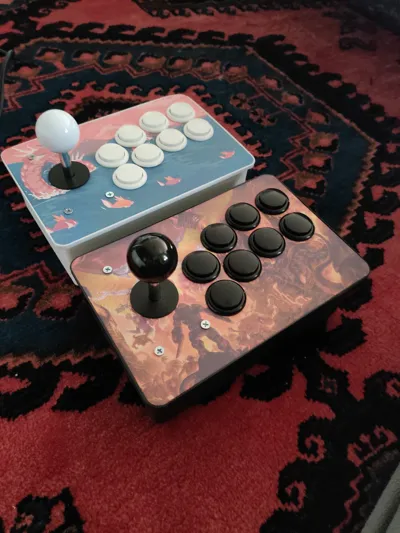
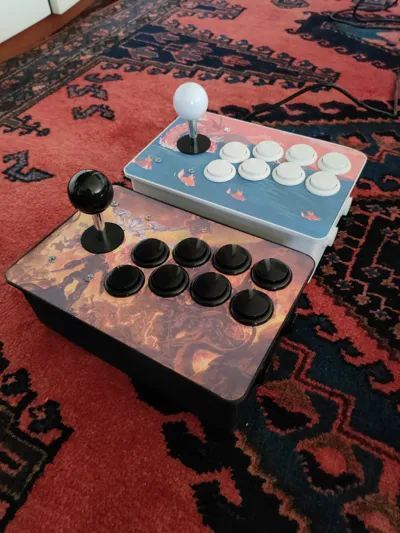
I added among the print files a border that can be positioned on the sides of the controller if you want to add graphics to the upper part (as I did in the photos), once this is done, just glue to ensure that the adhesive sheet does not peel off.
If you also want to create a durable adhesive graphic, I recommend you buy the sticker paper and download the following template to customize as you see fit: https://imgur.com/a/9uY16yb or https://postimg.cc/GT9VK1Wd
GLOSSY adhesive paper: https://amzn.to/44DcBQ7
As for the creation of the controller, you need to buy a button kit, you can find many online and the sizes are universal, these are the ones I used:
Kit x2: https://amzn.to/4lGWLLh
Kit x2 LED: https://amzn.to/3TTMyir
Kit x1: https://amzn.to/4nzkMFM
Kit x1 LED: https://amzn.to/404TFbz
For the price, I recommend you buy the 2-pack kit directly…
Once you have printed everything and (POSSIBLY) applied an adhesive graphic, you are ready to assemble everything!
I recommend you start by inserting the buttons, just apply a little pressure and they will enter without problems.
To install the joystick I recommend using 4x M3 screws and 4x M3 nuts.
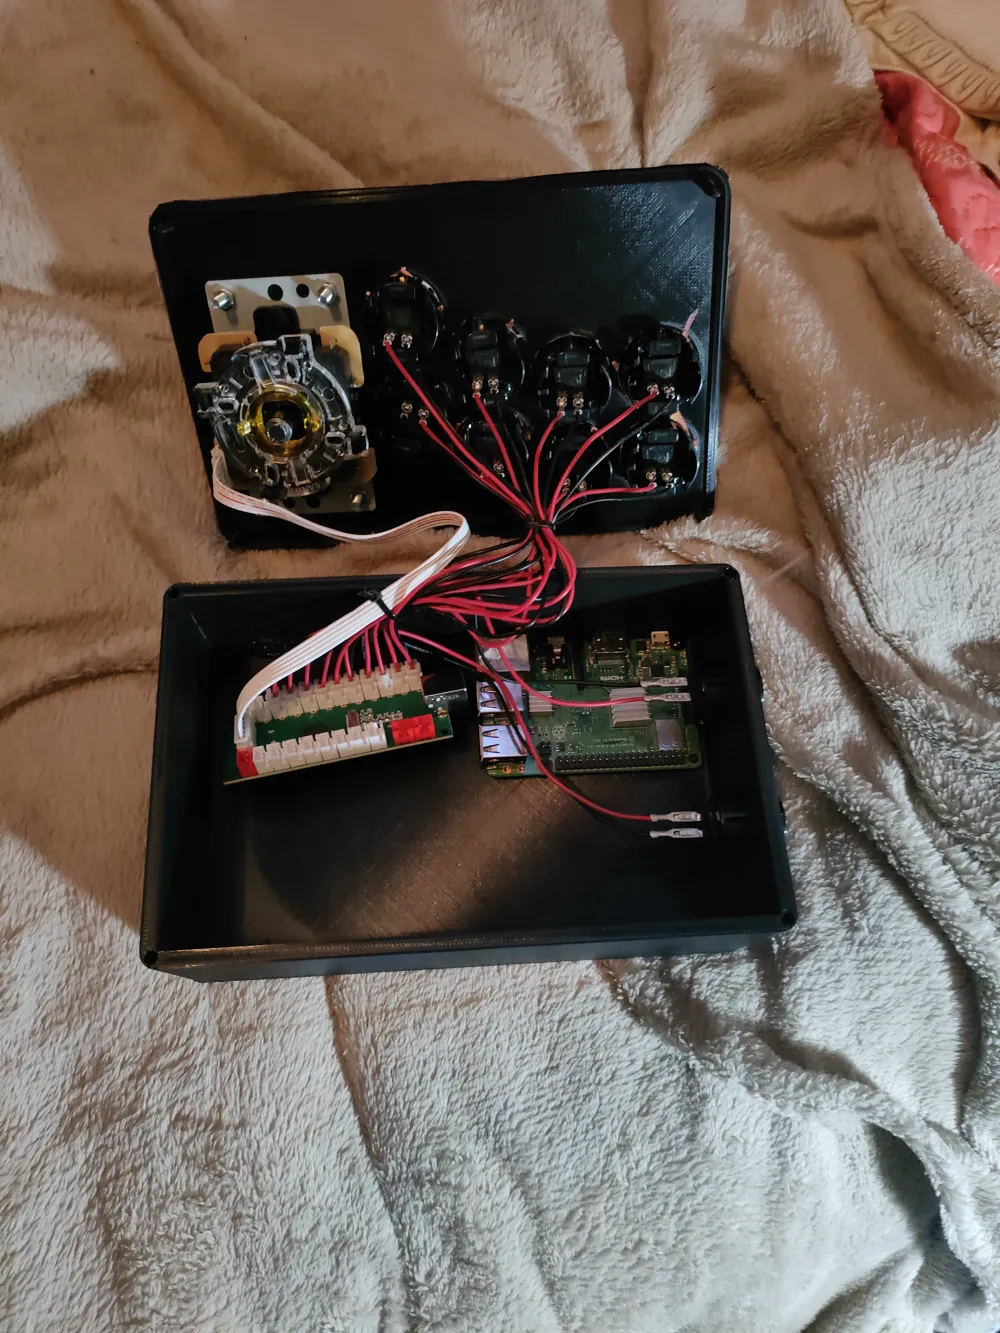
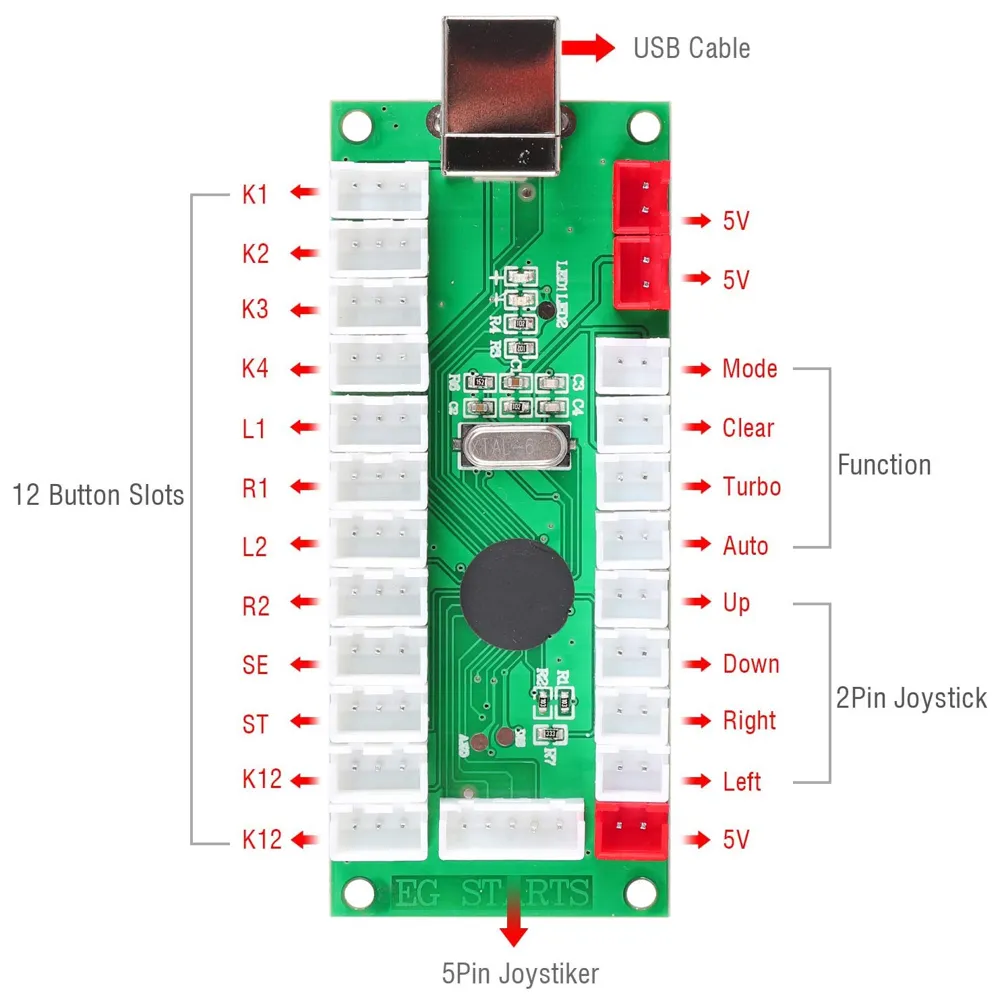
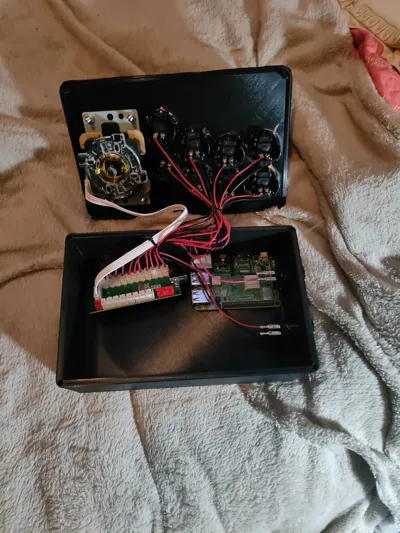
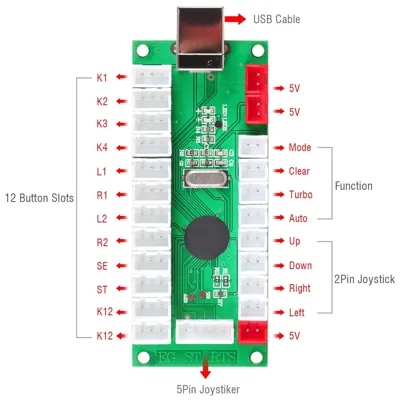
Once you have done this, all you need to do is make the wiring between the button connectors and the joystick with the encoder provided! You can easily follow the diagram shown in the images of the project!
Once you have connected your controller to the computer, it will be automatically recognized and will be ready for your arcade games!
If you are interested in designing the ALL-In-ONE console, I used a raspberry pi3+, you just need to insert it into the appropriate slot and screw, and finally connect the encoder's USB cable to the raspberry. To connect the console to the TV you will need long HDMI and Micro-USB/Type-C cables.
NOTE: I recommend everyone to install Recalbox on your raspberry for game emulation!
If you liked the idea please leave a like and share :)
Boost Me (for free)
License

You may create derivative works based on this object, provided that all such derivative works are published exclusively on the MakerWorld platform and include proper attribution to the original creator. You may not share, upload, host, distribute, or publish this object—or any derivative work of this object—on any other digital platform, marketplace, or distribution channel. Commercial use of this object and any derivative works is strictly prohibited. This includes, but is not limited to, selling, renting, sublicensing, or using the object in any context in which you receive monetary compensation or other financial benefits.


Comment & Rating (22)