
Jotaro J & Hand Badges Set
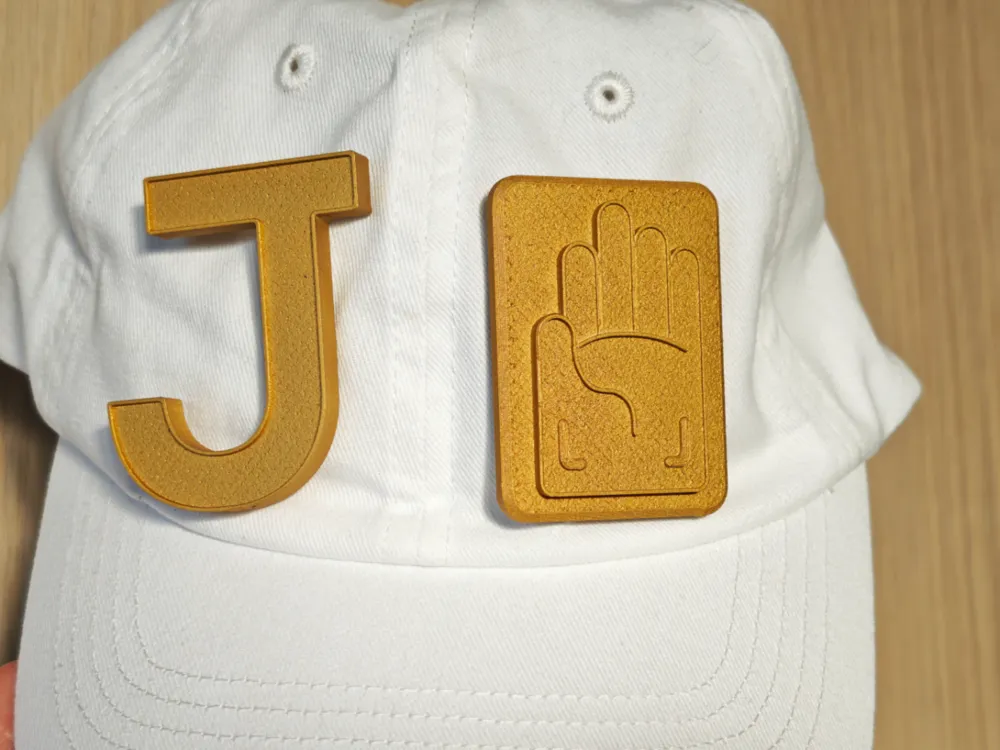
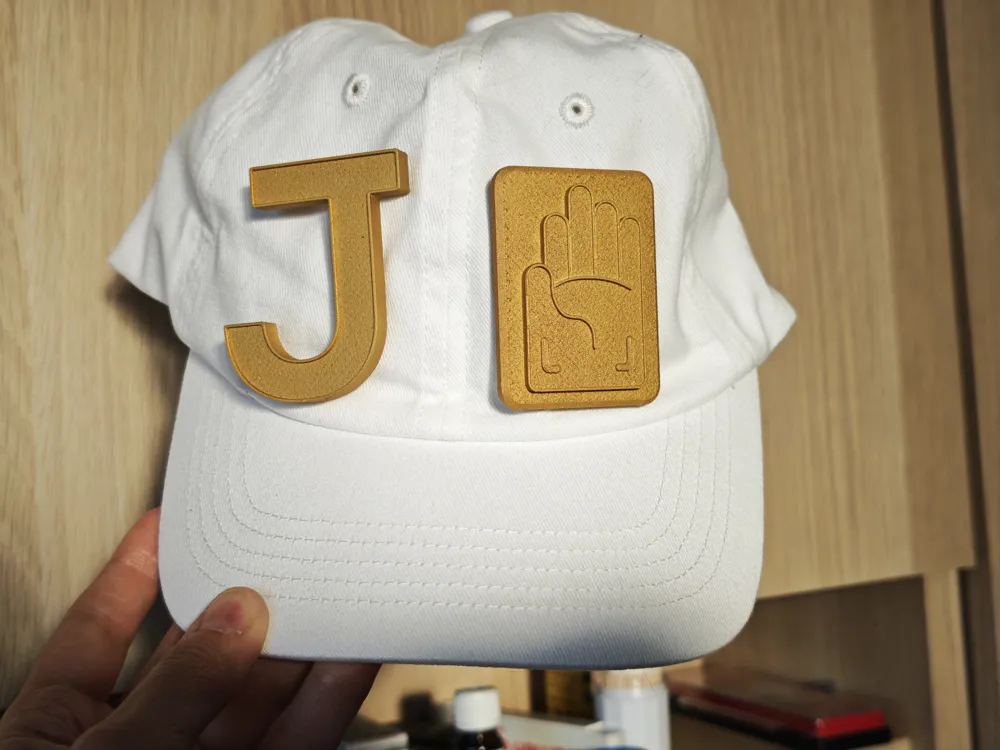
Print Profile(1)

Bill of Materials

- White hat x 1: By your choice. Pay attention, that if you want to attach the badges with screws as i did, you will need to make 4 holes in the hat, with diameter around 3mm each.
- Paint x 1: This what you can see on the pictures is Vallejo 70801 Brass
- Varnish x 1: I used AK190, Matte Varnish. It's needed to seal the paint, otherwise it can fall off when touced or can color the hat.
Description
I made these for one of my sons for an upcoming Comic Con, he like em I hope you will like them too!
⚠️ Important Notes:
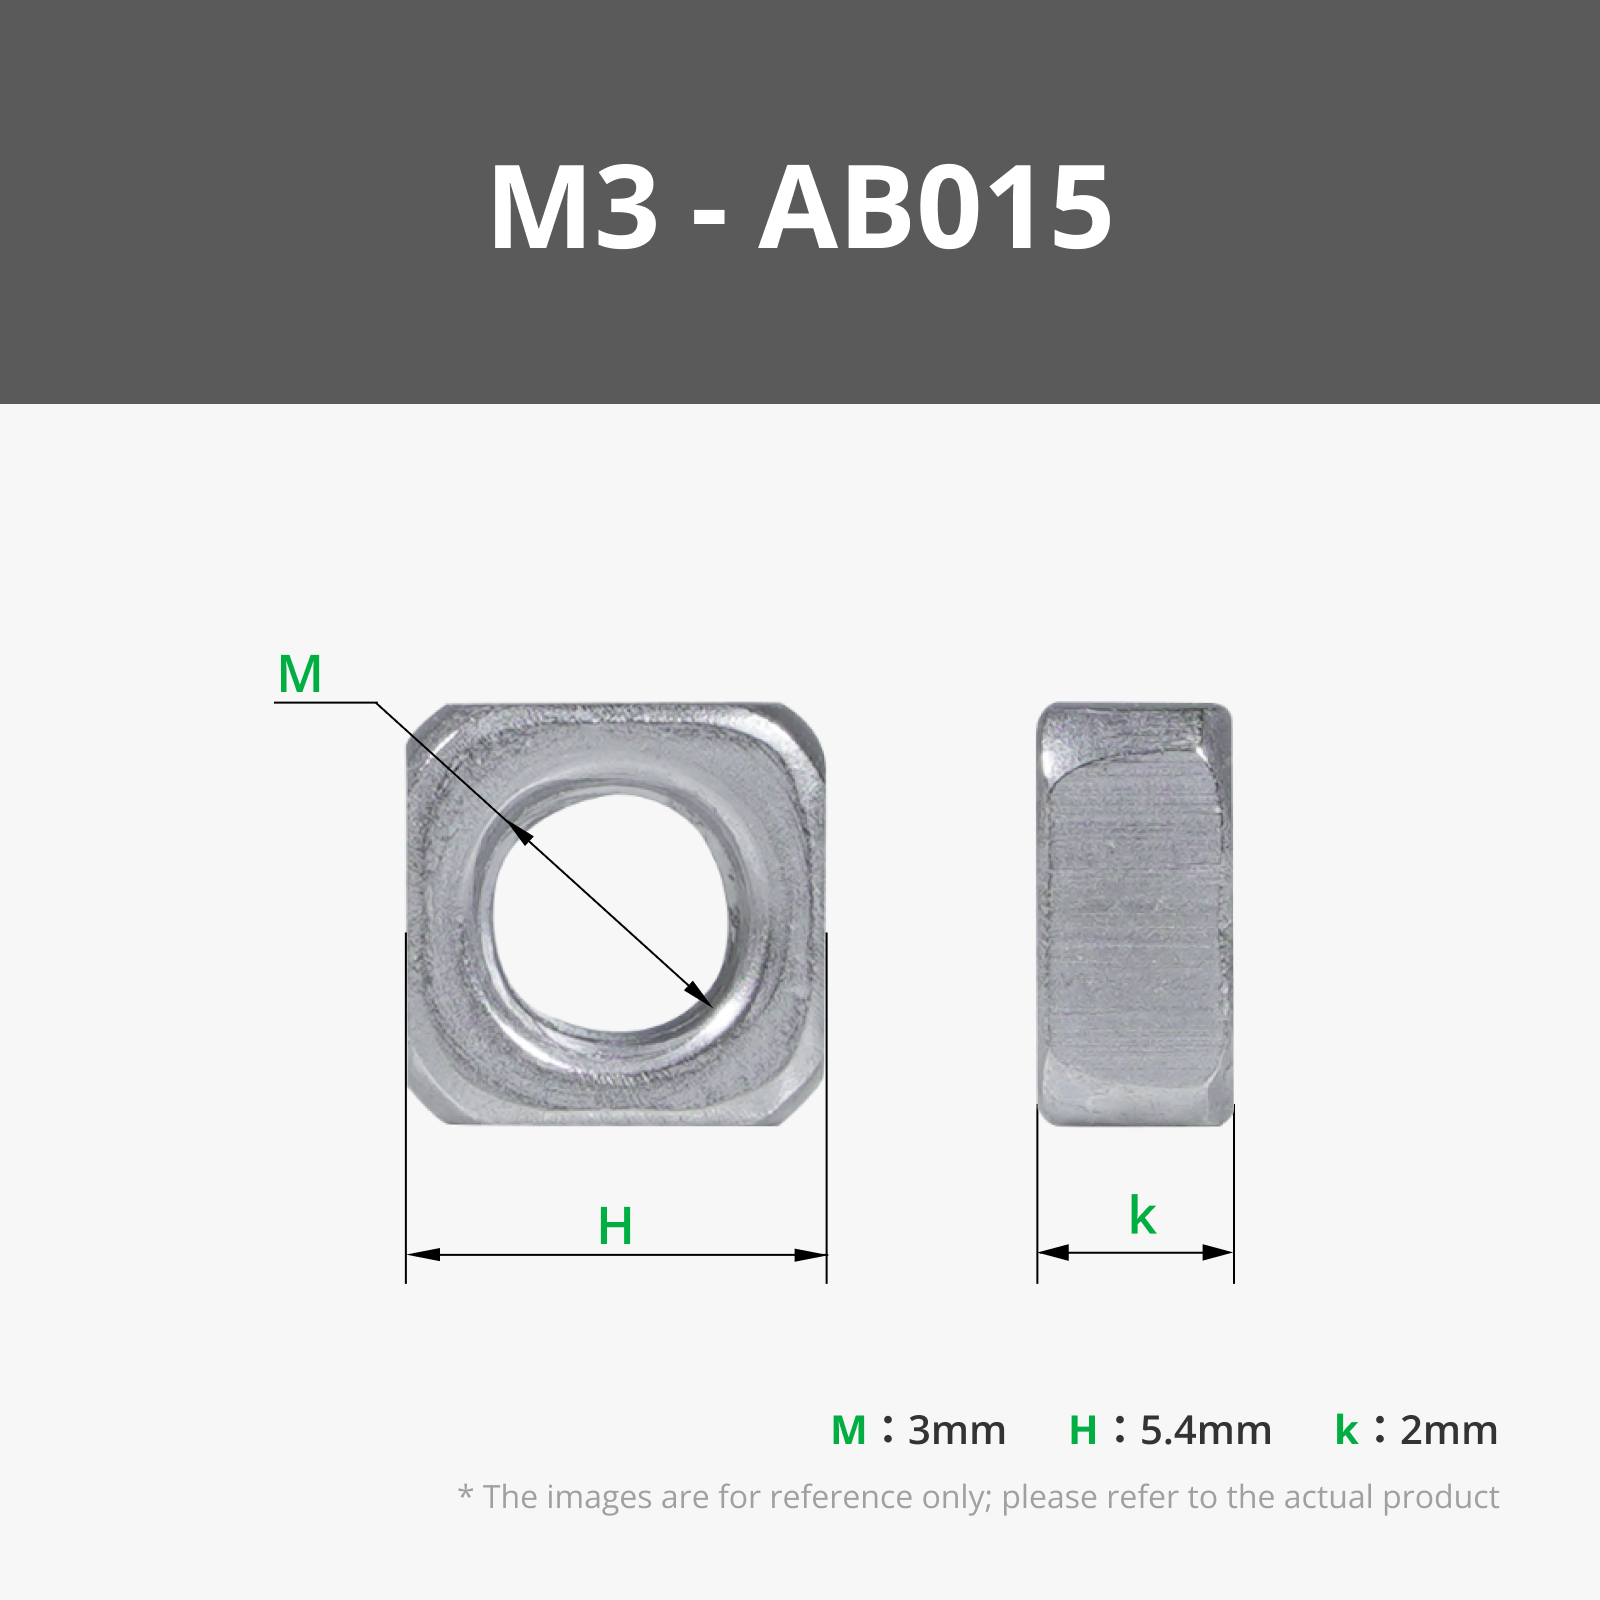
The included print profile contains a pause on layer 23 to allow insertion of nuts. If you don’t have the specific nuts, you can still print the model without them. However, be sure to remove the pause from the print settings before starting the print. Or in case you dont do it, to click contunue when the pause occur.
If you want yo attach the badges to the hat with screws as I did, you must make 4 holes into the hat, each with diameter around 3mm.
Dont overtight the screws. The connection with the hat is loose, stop when you feel resistance (the screw touches the inside wall of the model).
If you decide to color the model with paint as I did, i recommend to spray varnish over it to protect the paint and the hat also, if not varnished the paint can color the hat.
I set both badges on separate plates, because one may want to print only one of them. But you can edit it and place the both badges on one plate and print them at once.
Boost Me (for free)
If you like the model and want to support my efforts you can boost me anytime, thanks in advance!
Hi, I’m Nick, the person behind moDelnik.
With every project I create, I put in my heart, time, and energy to make sure you have a great printing experience. From airtight, ready to print models with clean, optimized geometry to detailed project settings, everything is prepared so you can simply load, print, enjoy and have…Happy Printing & Modeling!
I never upload a project without first test printing it multiple times with different settings and model properties. Sometimes, a final object that uses just a few grams of filament may have cost me hundreds of grams, many hours of trial and error, and complete mess in the house. 😄
But I never regret it and I’ll keep doing it this way. Because, lowering the speed here, adjusting the seam there: make a huge difference. When I get a result that makes me happy, I feel confident it’ll make you happy too.
I share this with you so you know you can trust my modest portfolio. And please know: every like, idea, proposal, or honest rating means the world to me.
If you ever decide to support or boost my work, I’ll be honored, but it’s never expected or required.
Thanks for being here,
Happy Printing & Modeling by moDelnik!
Membership
License

You shall not share, sub-license, sell, rent, host, transfer, or distribute in any way the digital or 3D printed versions of this object, nor any other derivative work of this object in its digital or physical format (including - but not limited to - remixes of this object, and hosting on other digital platforms). The objects may not be used without permission in any way whatsoever in which you charge money, or collect fees.


Comment & Rating (13)