
Print Profile(3)


Bill of Materials

Description
# UPDATE #
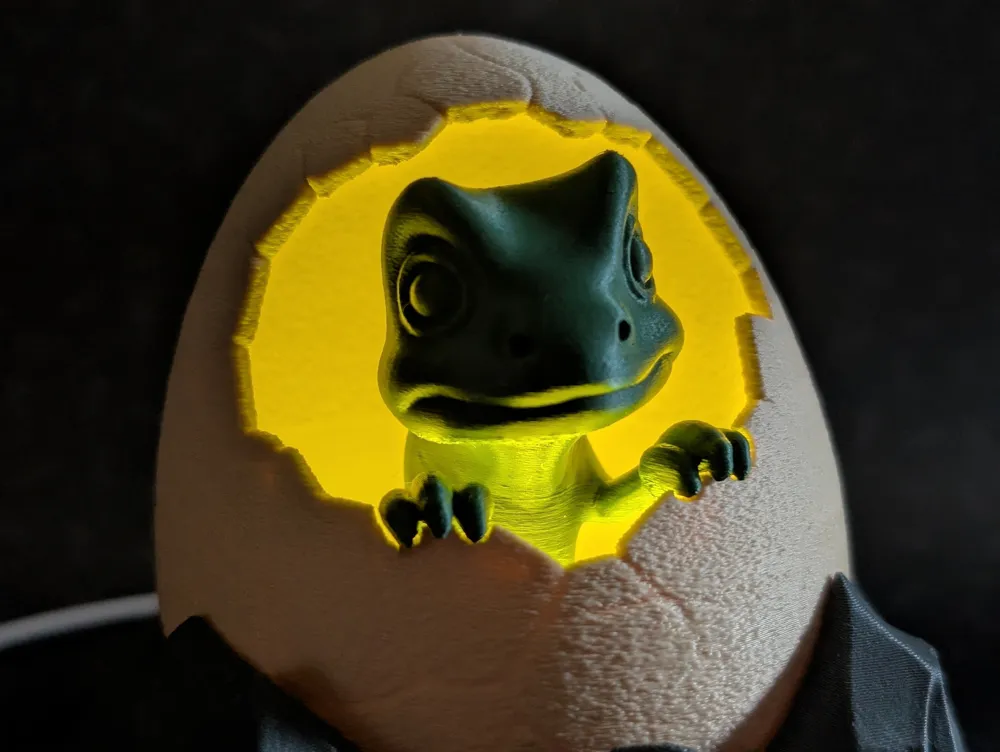
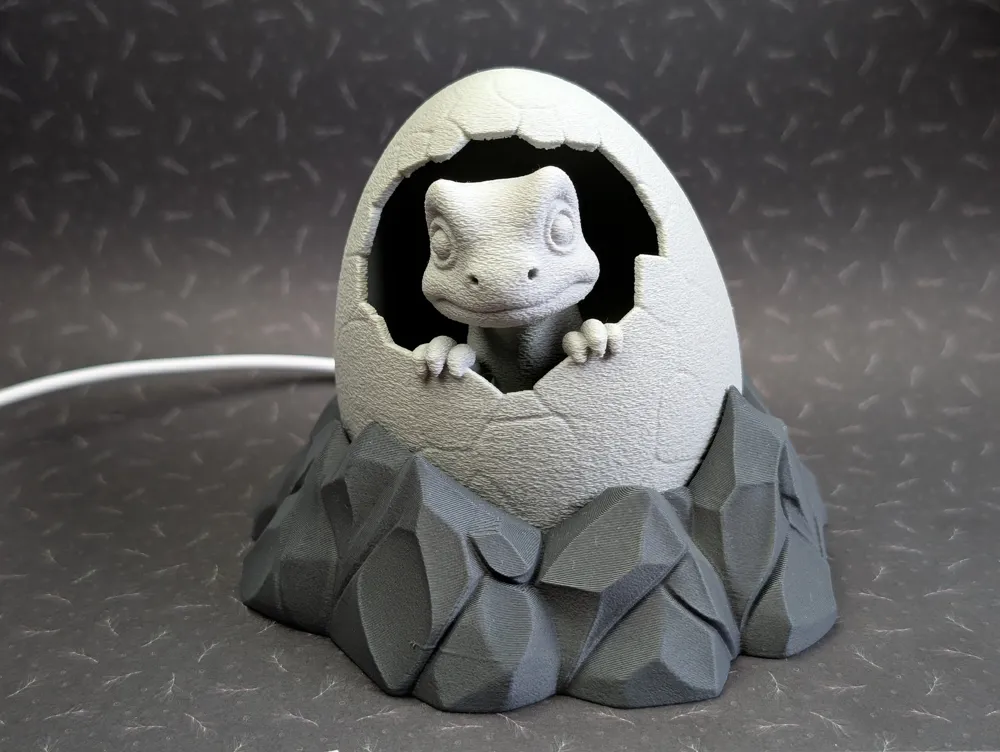
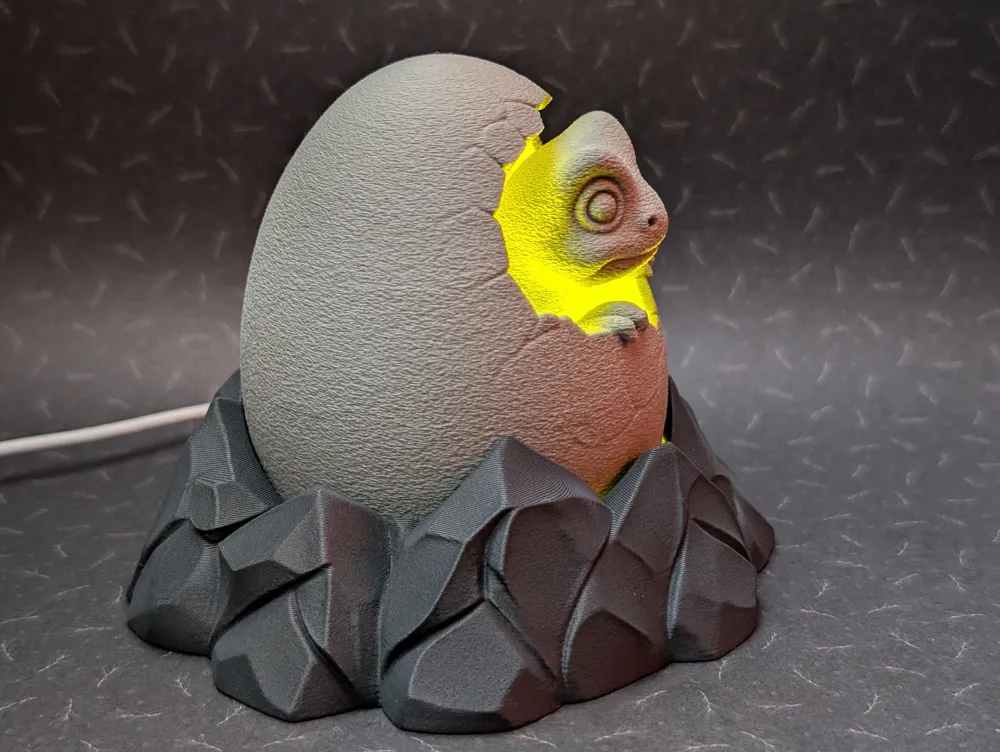
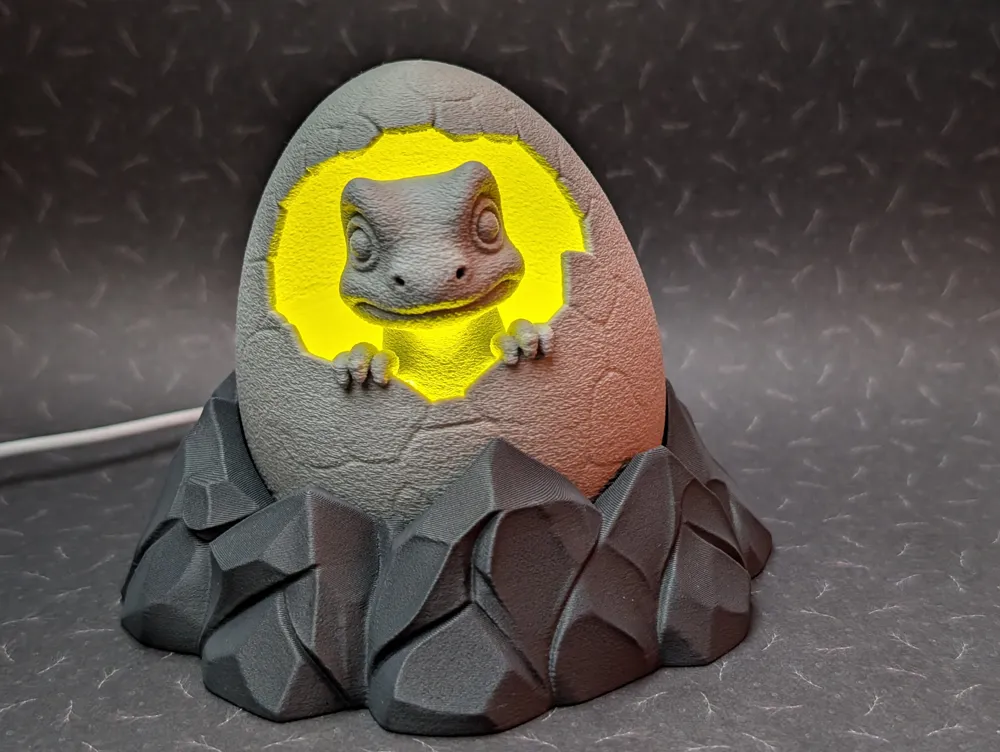
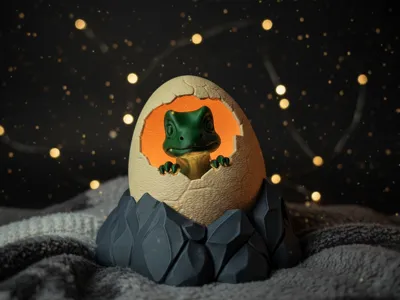
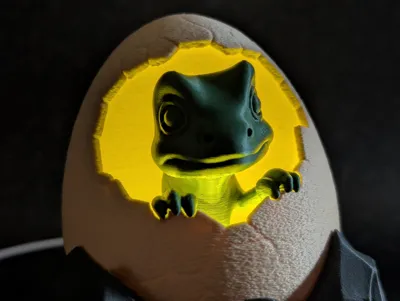
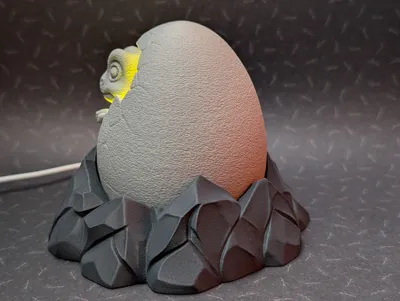
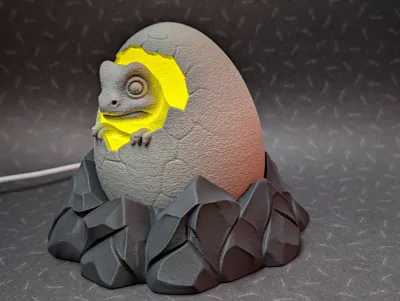
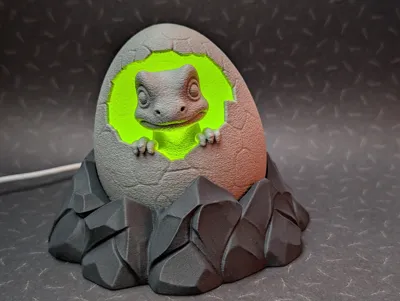
So many makers asked me if the dino could be printed separately. Well, here it is: V2-Separated-Baby-Dino-Night-Light! 🦖🥚 Now you can print the baby dino in a different color. Just rest the little hands on the edge of the egg when placing it in. That’s all it takes.
Thank you all so much for the incredible support, boosts, makes, and your kind words! 🫶
I'm beyond happy that the Baby Dino Night Light even got featured as Model of the Week on All3DP!
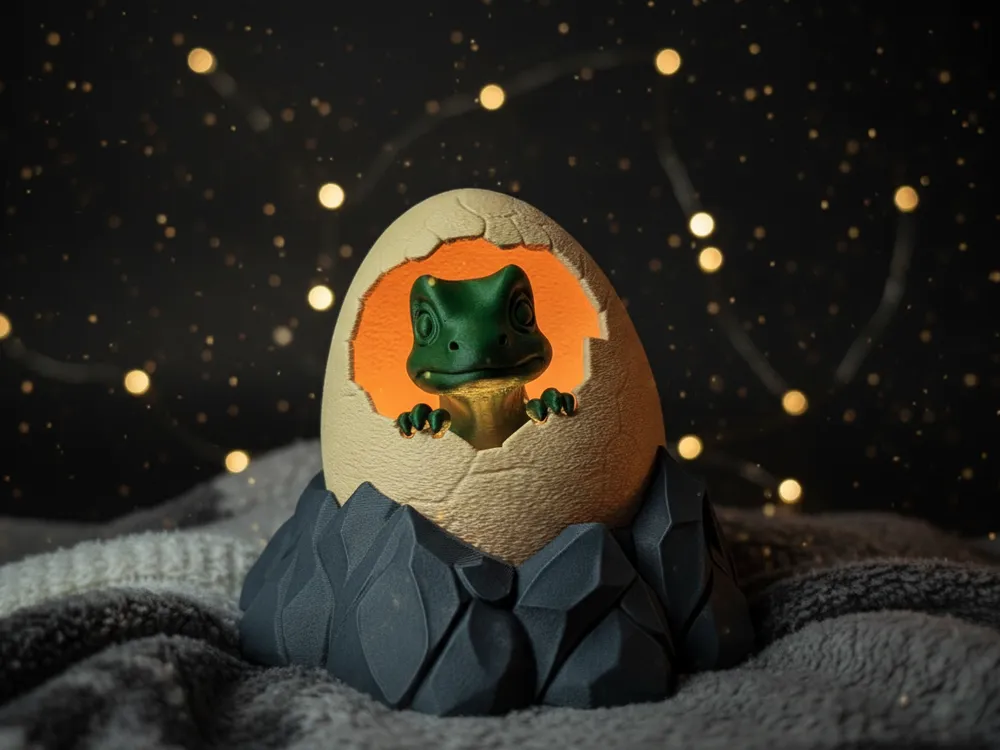
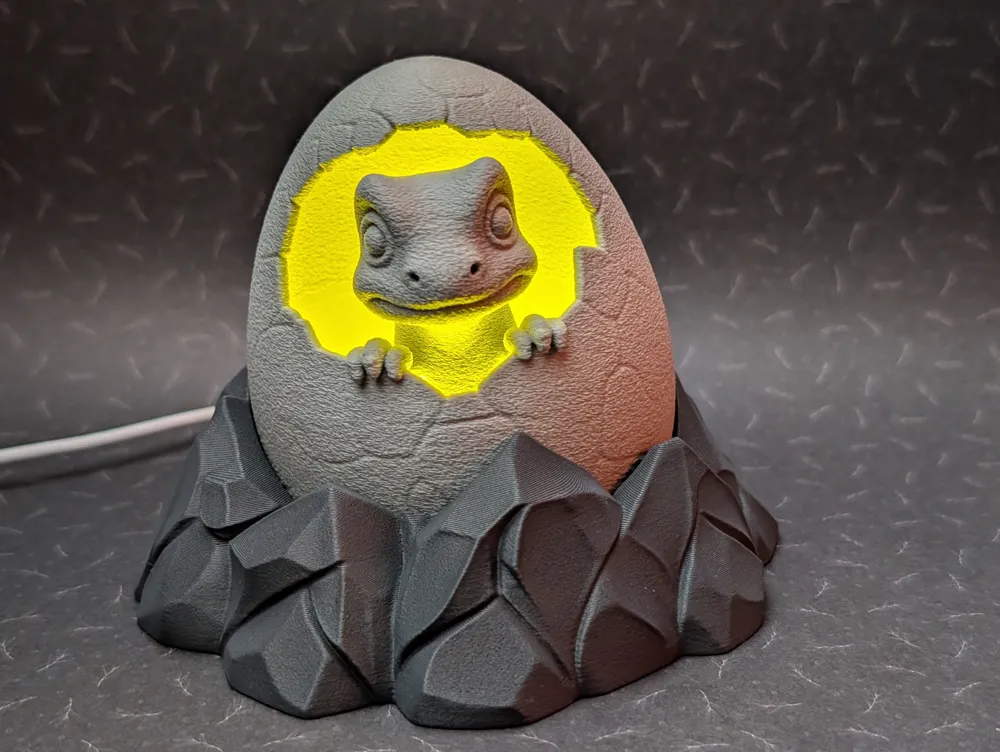
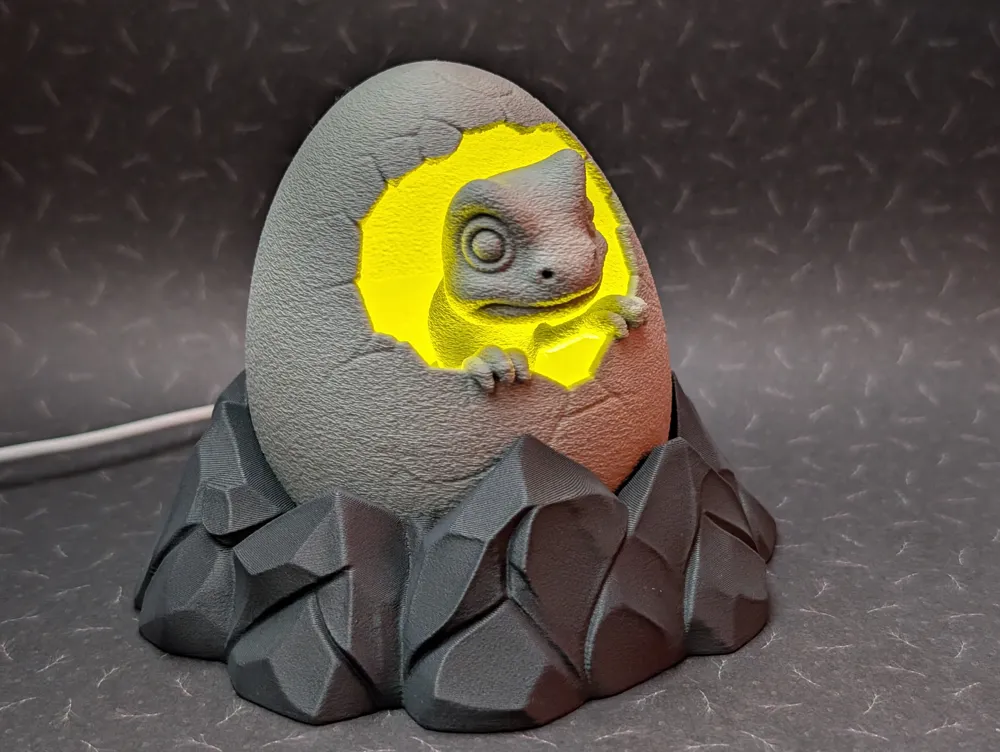
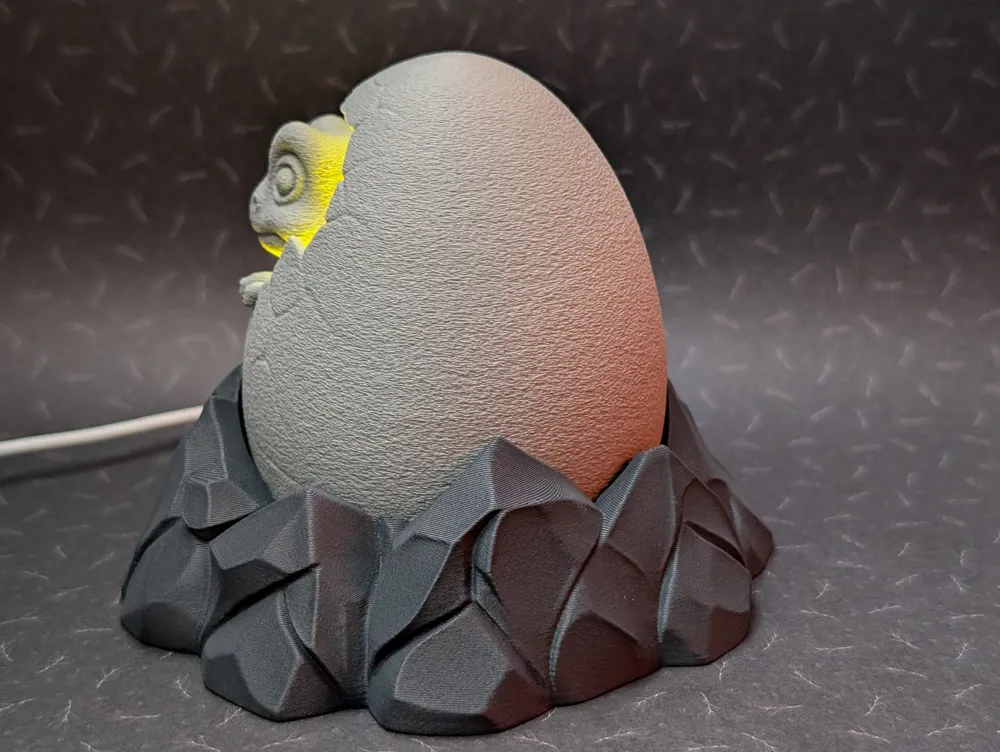
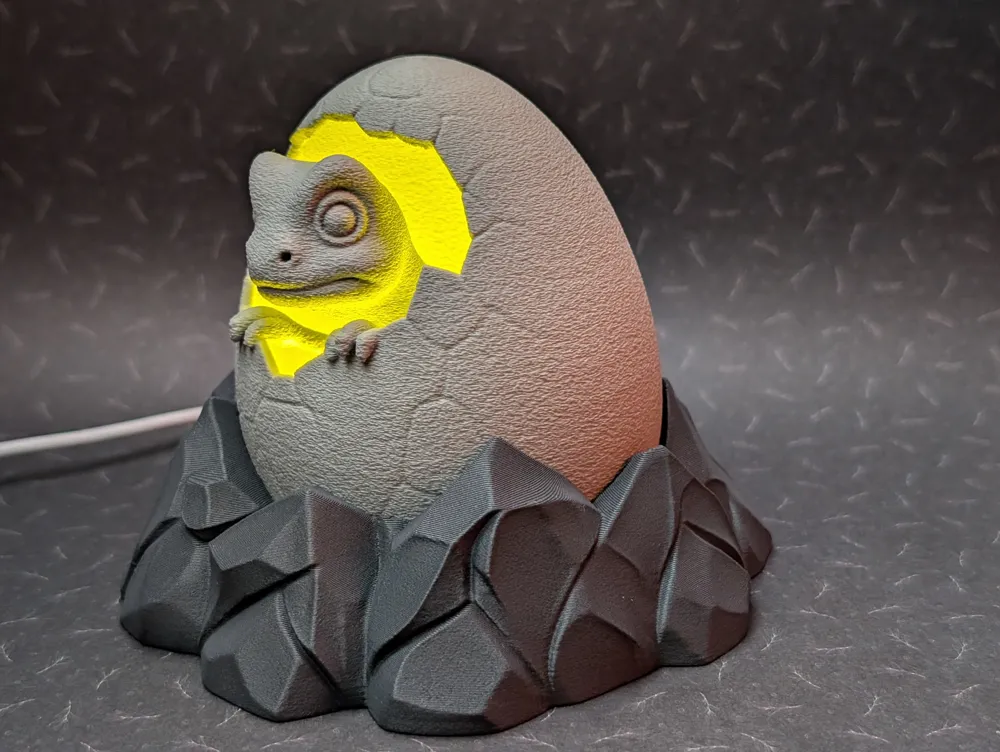
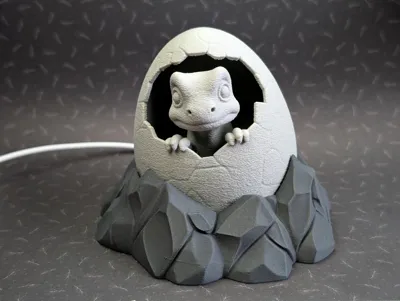
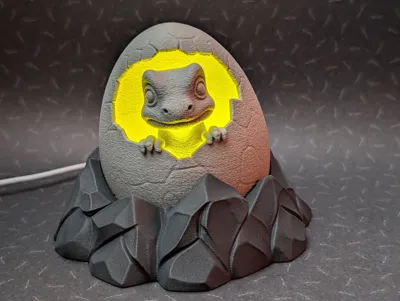
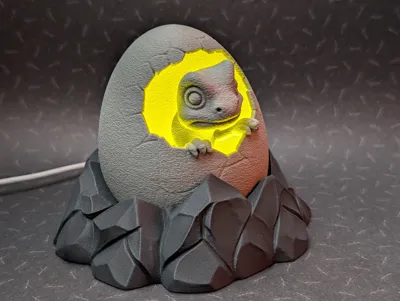
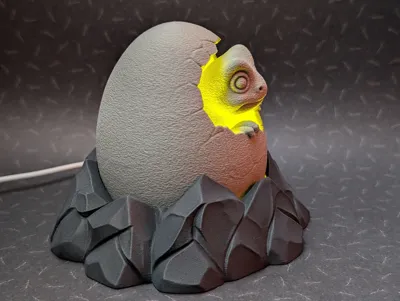
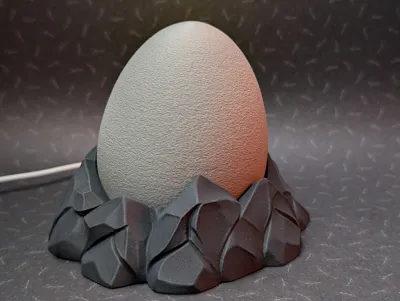
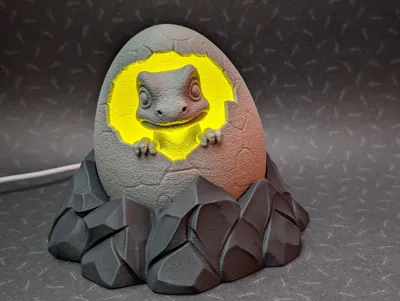
This is it. My very first lamp using the LED Lamp Kit!
I went through several prototypes to make sure everything fits just right, and now I’m genuinely happy with how it turned out. I let the lamp run non-stop for 3 full days to make sure it doesn’t get too hot, and I can finally place it next to the kid’s bed with a clear conscience. My four-year-old loves it and even assembled it himself. So yes, it’s pretty much child’s play. 🦖😂
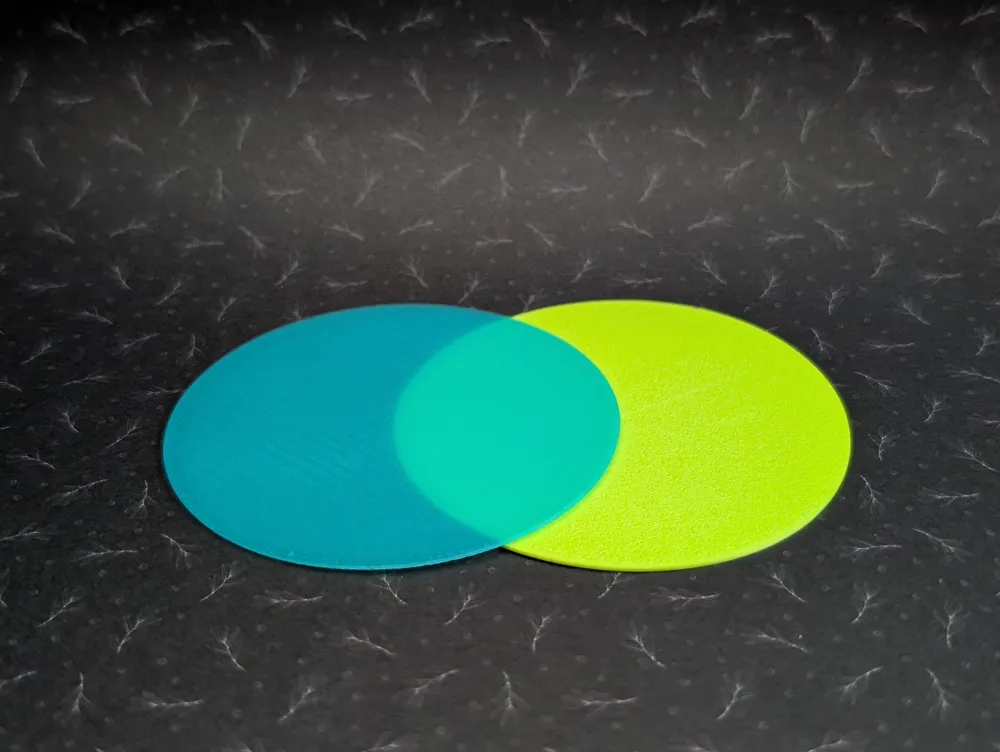
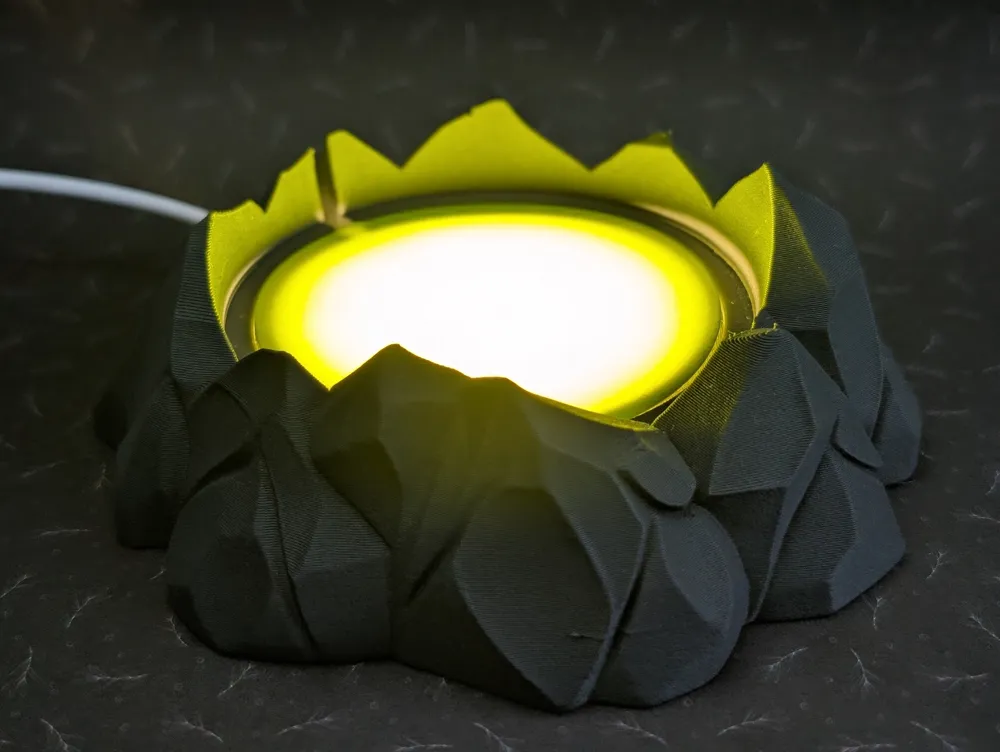
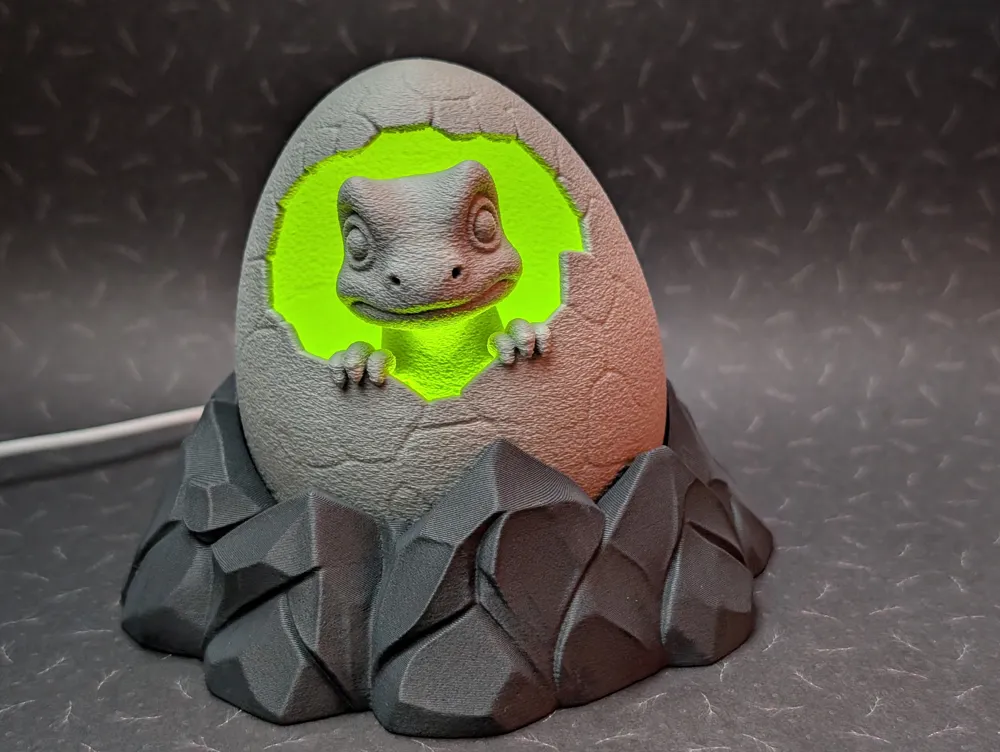
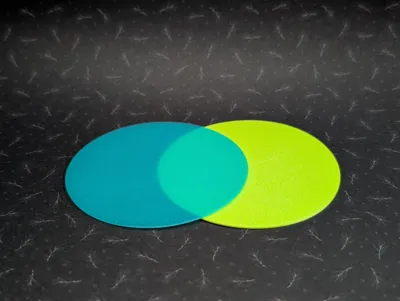
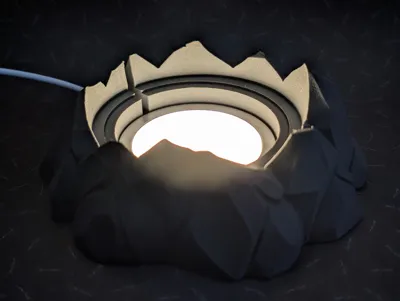
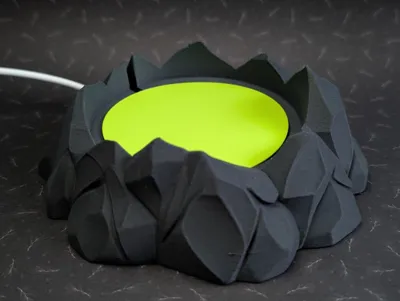
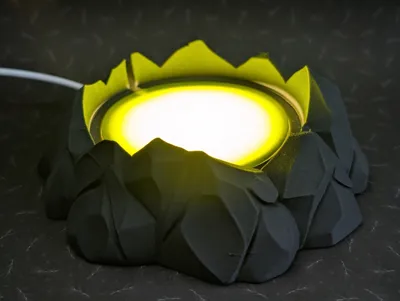

I missed a bit a RGB function so you can easily change the light color by printing and swapping out different diffuser parts in your favorite filament colors. I tested green, blue and red allready but feel free to chose whatever color you like!
To light up this night light, you'll need the Bambu Lab LED Kit.
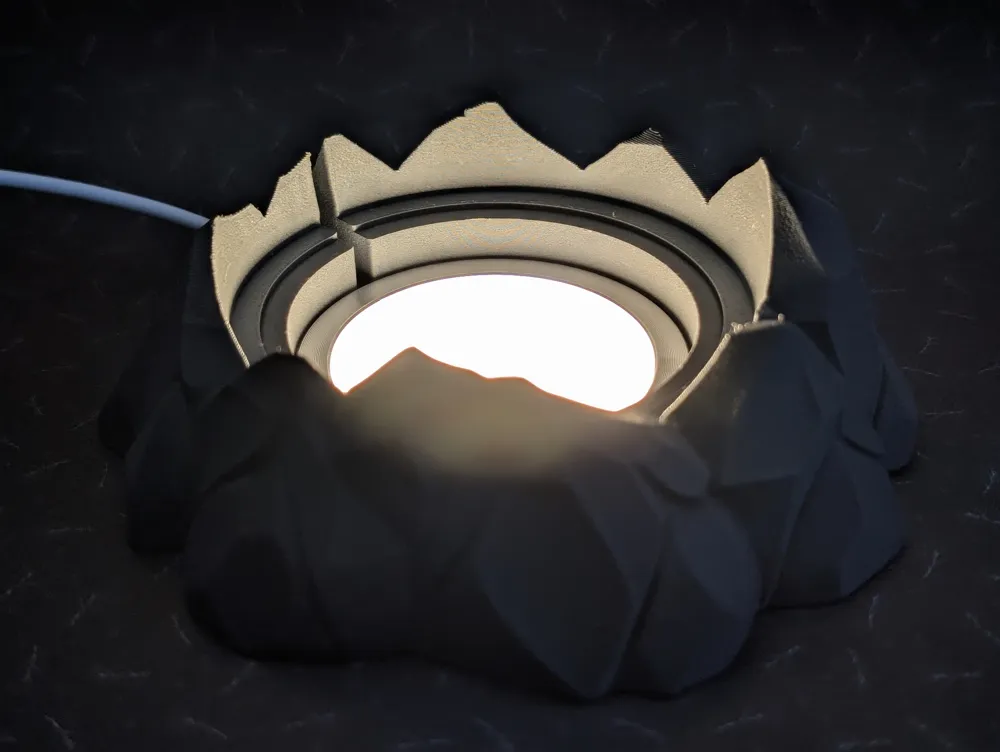
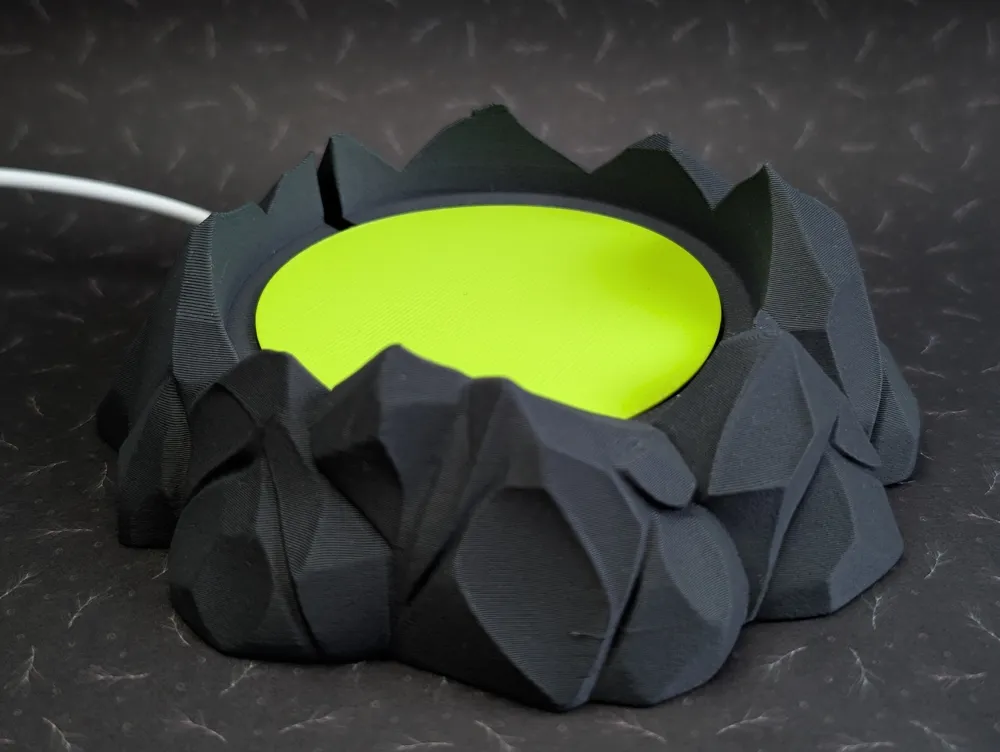
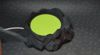
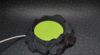
Step 1: Place the LED lamp into the stone base

Step 2: Insert the diffuser into the stone base

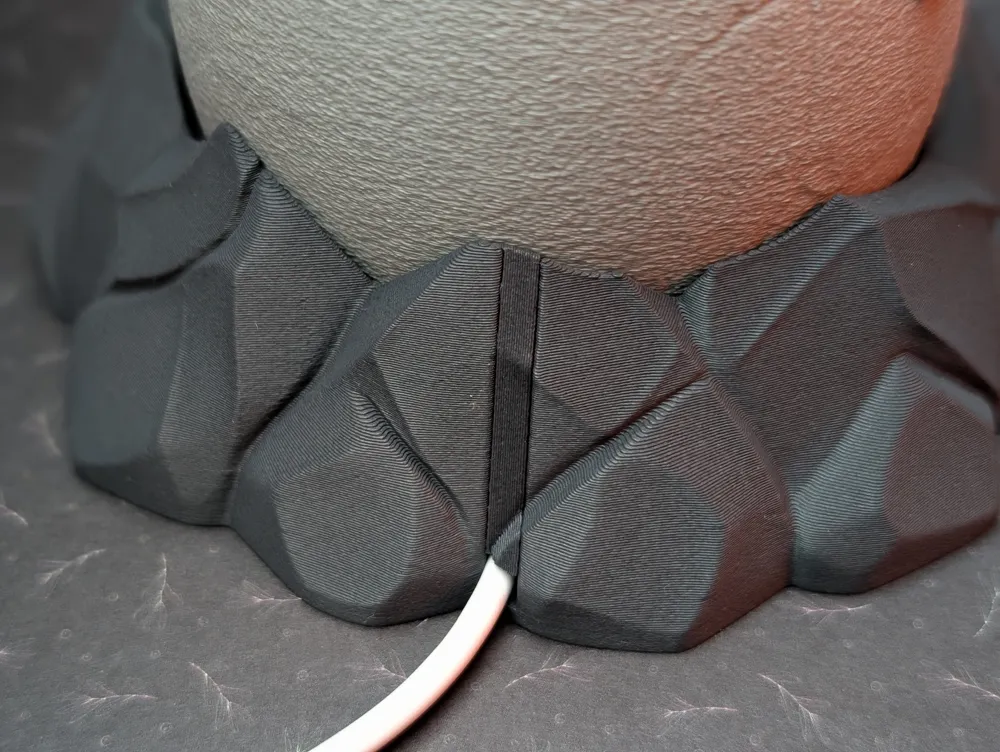
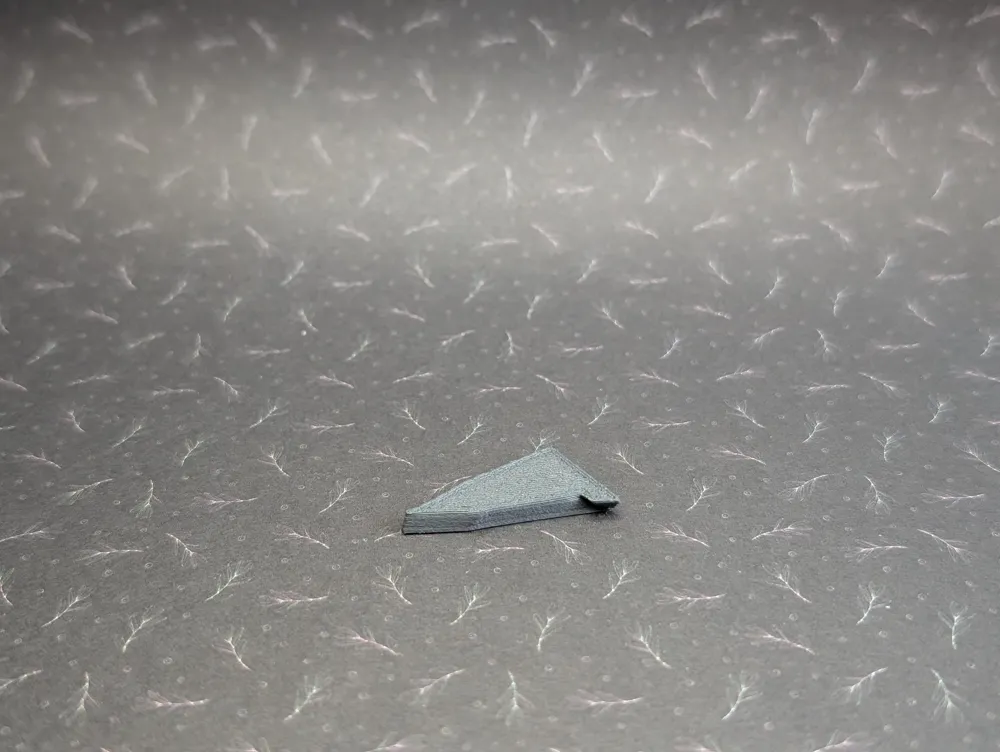
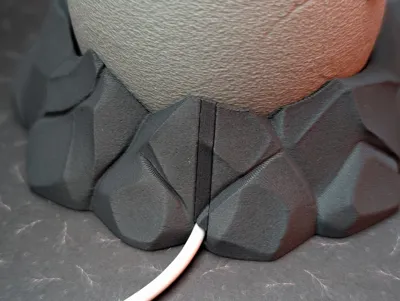
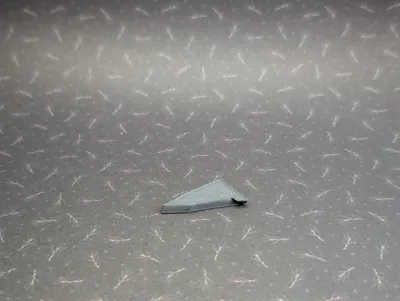
Step 3: Slide the light blocker into the slot above the cable
(it's a tight fit to keep the light inside)

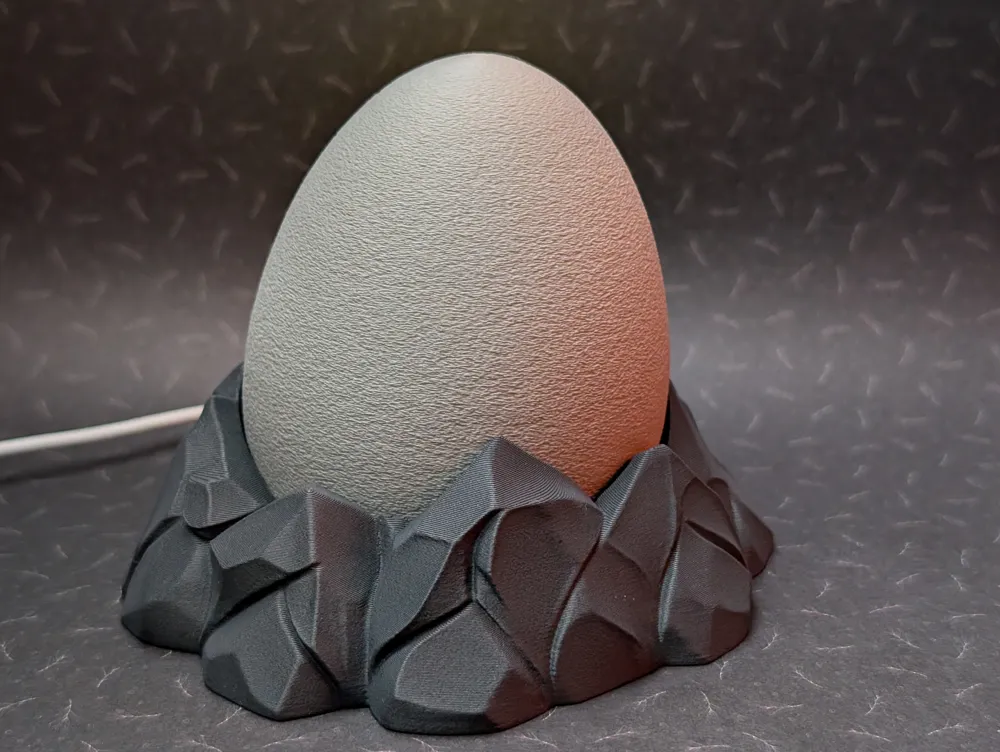
Step 4: Place the dinosaur with its egg on top of the stone base and turn it on
Print settings i used (included in the 3MF File):
- Global
- Layer height: 0.2 mm
- Infill: 15% Grid
- Dinosaur-Egg
- Wall loops: 4 (IMPORTANT!)
- Supports: Yes
- Support type: Tree (auto)
- Top interface layers: 3
- Top interface spacing: 0.2
- Support/object xy distance: 0.5
- Branch distance: 1
- Fuzzy Skin: Contour
- Fuzzy Thickness: 0.2 - Fuzzy Point Distance: 0.4
Want to sell physical prints of my models? Check out my Patreon.
Boost Me (for free)
Your boost would mean a lot! I put a ton of love (and filament) into prototyping, and a simple boost helps me keep going. Thanks so much for your support! 🫶
Documentation (4)
License

You shall not share, sub-license, sell, rent, host, transfer, or distribute in any way the digital or 3D printed versions of this object, nor any other derivative work of this object in its digital or physical format (including - but not limited to - remixes of this object, and hosting on other digital platforms). The objects may not be used without permission in any way whatsoever in which you charge money, or collect fees.


Comment & Rating (405)