Earthborne Rangers - Challenge Tokens


Print Profile(2)


Description
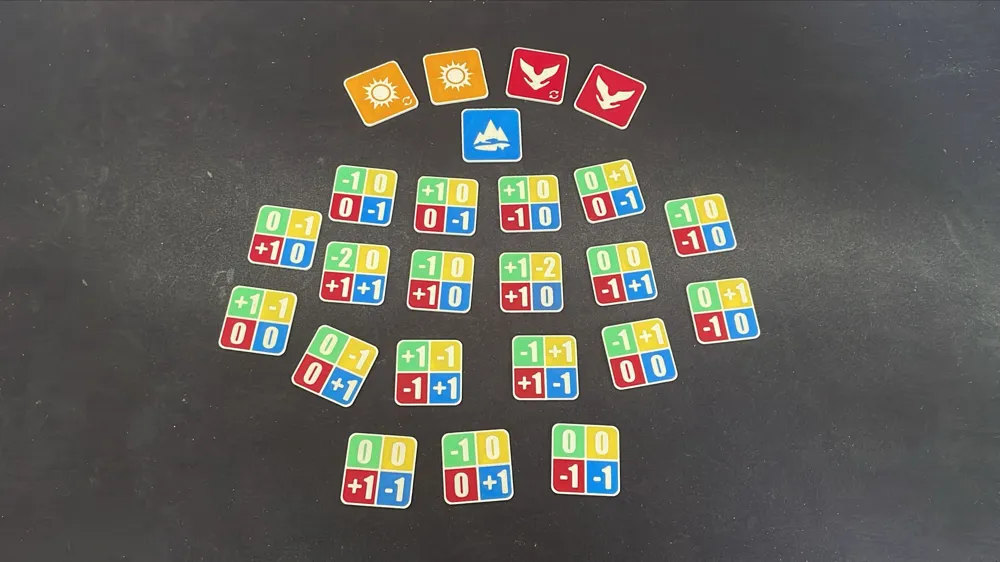
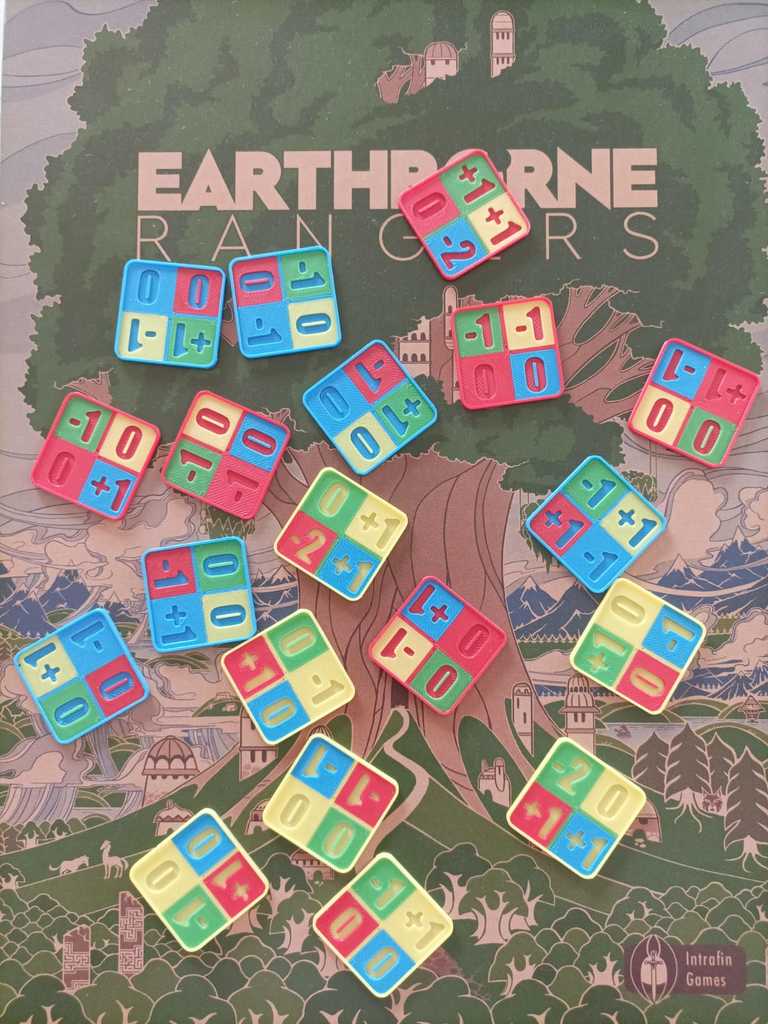
I recently started playing Earthborne Rangers and have had a great time playing it so far, but I found repeatedly shuffling the challenge deck a bit tedious, as it happens so frequently. I noticed that creator samb001 also found this an issue and chose to solve it by replacing the cards with tokens, favouring instead to blindly draw from a bag, and as such shuffling becomes much easier.
While I liked the challenge tokens they had created, this remix aims to improve on them in the following ways:
- I've reduced the thickness (from 1.8mm down to 1.2mm)
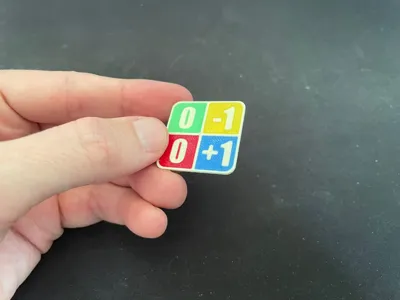
- I've improved the readability by giving all the numbers the same colour (bone white).
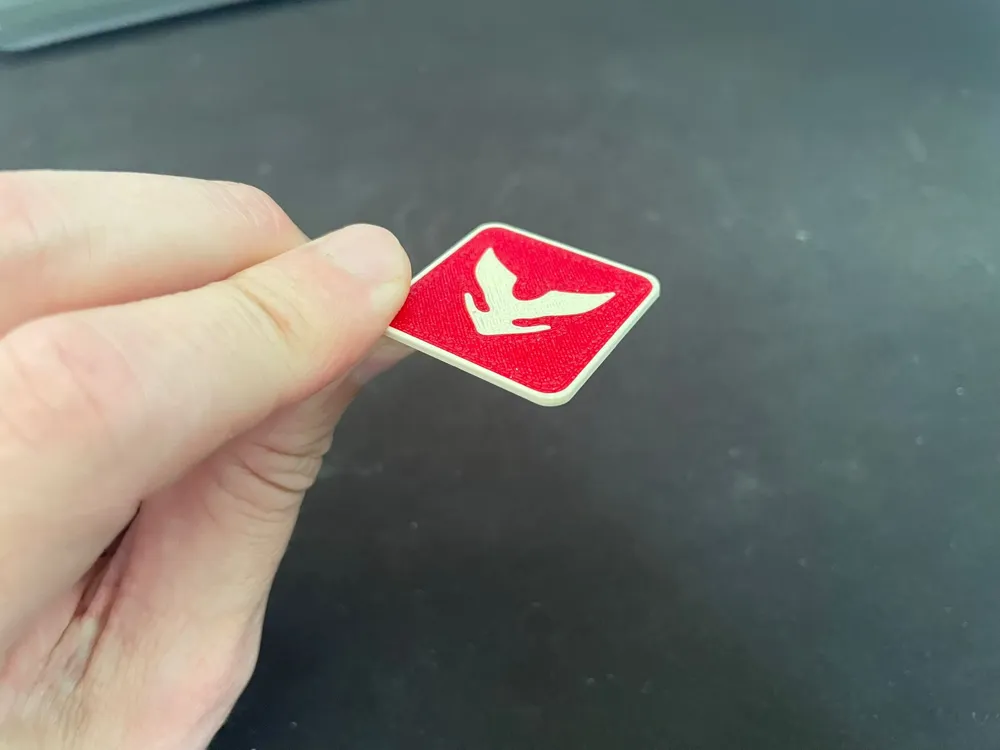
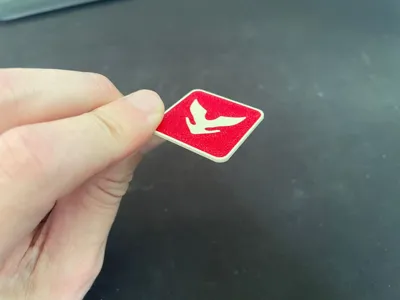
- I've created a icon on the back of the token to denote the type of challenge card that the token represents, rather than relying on the border of the token.
- Alongside the icon on the back, I've also included a “shuffle” icon, rather than relying on me having to remember that all “-2” tokens mean a reshuffle (I'm already pretty bad at remembering to shuffle anyway!)
It's worth noting that the Red (Crest) and Blue (Mountain) tokens by default use 5 colours, and the Orange (Sun) tokens use 6, which means that it technically shouldn't be possible to print these in one go on an A1 with AMS Lite, however it can be done with a little bit of manual filament swapping. To do this, I'll outline my process below:
- Ensure that the printer is loaded with:
- the colour for the background of the base (Blue for Mountain, Orange for Sun, Red for Crest)
- the colour for the borders (some kind of White)
- plus the first two colours that the token will print out of the top corners.
- Keep the profile's initial amount of colours. It will be 5+.
- Check the print process of the 5th and 6th layers, and note the order that the colours will print.
- Ensure that when you select Print, map missing colours to the spools of the a colour that has previously been printed in that layer.
- Once the print finishes a colour that needs to be swapped over, do so while it is progressing with the rest of the print. This doesn't have to be rushed as there's plenty of time between flushing and printing colours already on the AMS.
- Repeat until all the colours have had their turn in the AMS. You may need to swap a colour back again for the 6th layer.
It's a bit fiddly, and would certainly be one of the higher maintenance prints I've done so far, but I far prefer this approach (rather than printing parts separately) as it allows a single piece to be produced with no gluing or seams of any kind.
Of course, if you have a printer that supports 5 or 6 colours then this is a non-issue. Similarly, if you are happy to compromise on some of the colour choices, then I'm sure it's possible to just print in 4 colours.
The steps I've listed above are admittedly a little vague, so if anyone is interested in more detailed instructions, I can lend a hand.
Filaments Used:
- SUNLU PLA - Bone White
- SUNLU PLA - Green
- SUNLU PLA - Yellow
- eSUN PLA+ - Fire Engine Red
- SUNLU PLA - Blue
- SUNLU PLA - Orange
Comment & Rating (19)