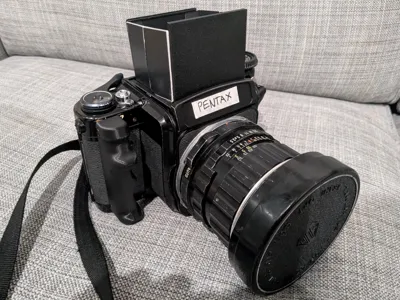
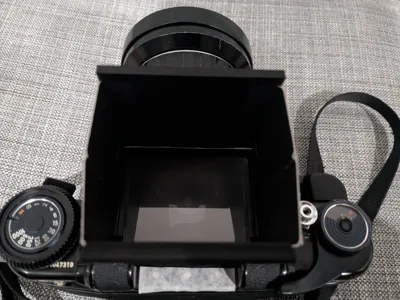
Pentax67 waist level finder


Print Profile(1)
Description
I wear glasses, and it's tough to see the whole image through a prism finder. Since the original Pentax 67 Waist Level Finder is quite expensive, I searched online for a better solution but didn't find anything suitable. But then I found these two models "Waist Level Finder for Pentax 67 (unfoldable)" and "Phase ONE XF waist level viewfinder" by Rayfor so I decided to combine the two together.
What I Did
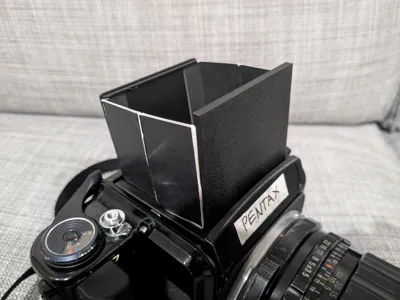
I removed the light cover from the original Pentax 67 WLF model and incorporated the mechanism of the Phase One WLF into the Pentax's. This required some tinkering because the Phase One WLF isn't the same size as the Pentax's, but once it was all done, the device worked perfectly.
Printing
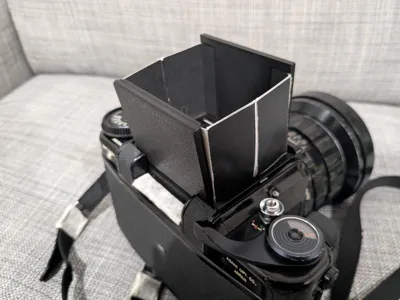
For the main body and front plate, printing in a vertical orientation yields the best quality for the model's curves. However, this limits what you can place at the back of the body, which is why I removed the sloped bit that covers the camera's connector. If your printer setup allows for horizontal orientation, feel free to print that way.
You can choose between using the built-in pin or sourcing your own. I printed mine with the built-in pin because I couldn't find the necessary parts, but this approach has a downside, which we'll cover next.
Assembly
Assembling the parts is intuitive once you see all the pieces together, with the exception of the front lid. It requires some strength to bend the main body and secure the front lid's pin in place. You can trim the pin or adjust the model to make it easier, but if possible, using a metal rod would be a more robust solution.
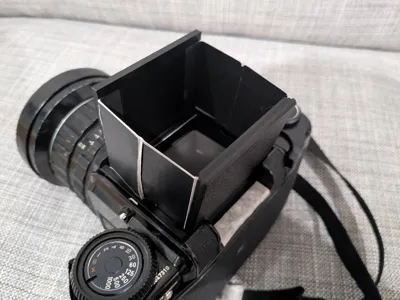
The side cover is a piece of black paperboard cut to size using the provided template file. Attach it to the model using your preferred method; I used double-sided tape. The width and length can be adjusted, but you'll need to experiment with this yourself.
(Assembling video here https://youtu.be/i5orwQIYji8)


Comment & Rating (0)