
Helldivers 2 - GP-20 Ultimatum
Print Profile(4)


Description

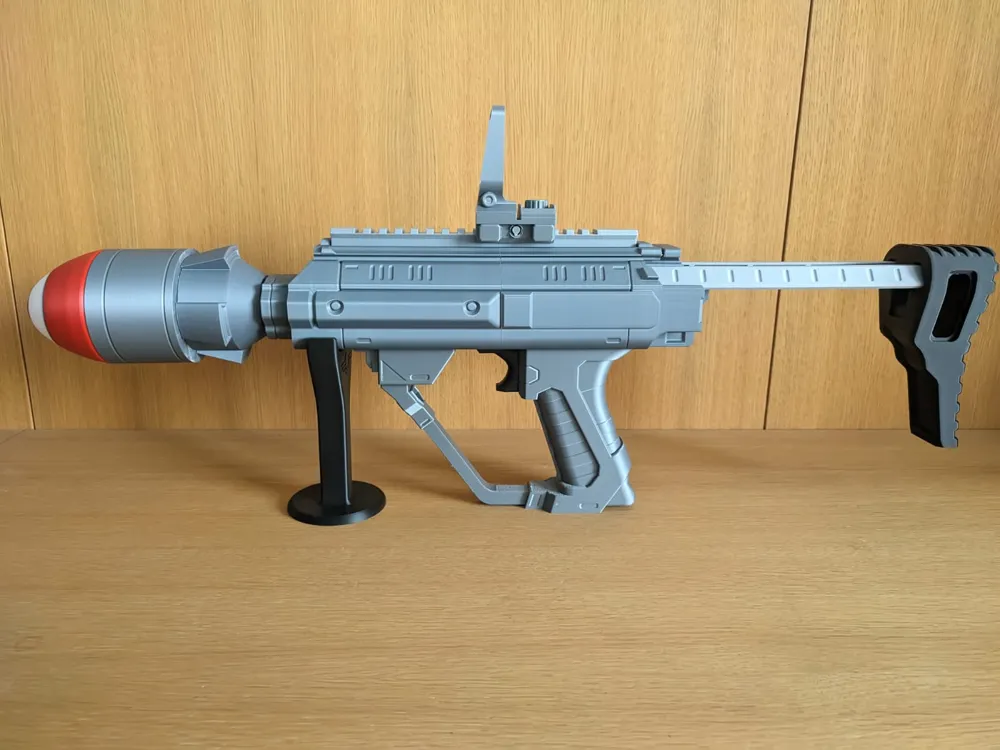
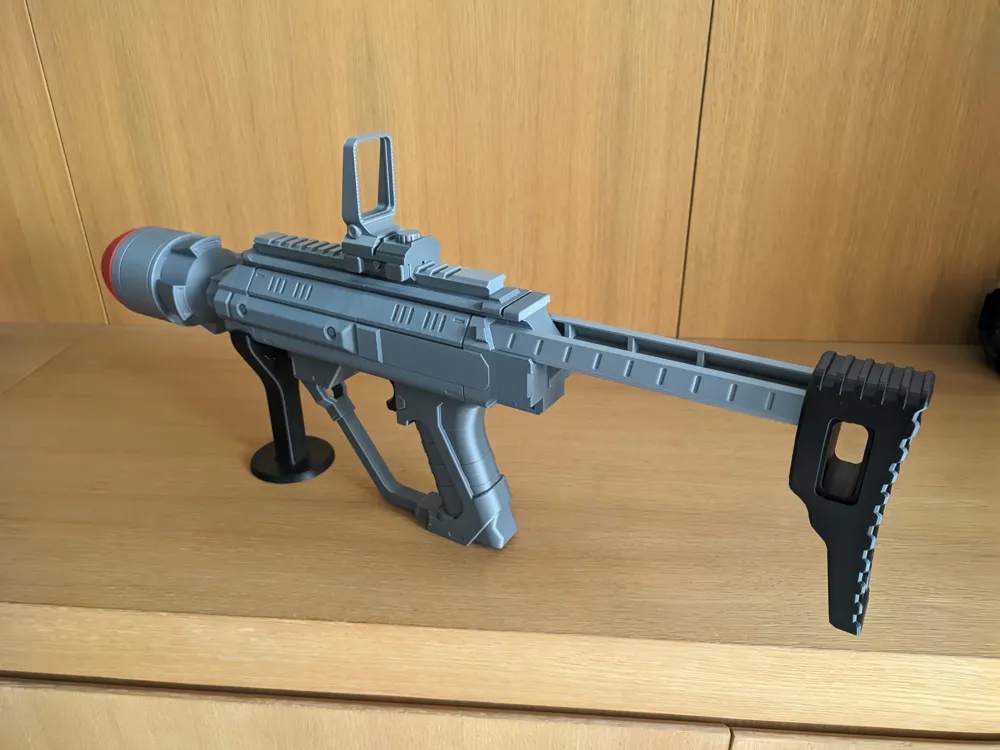
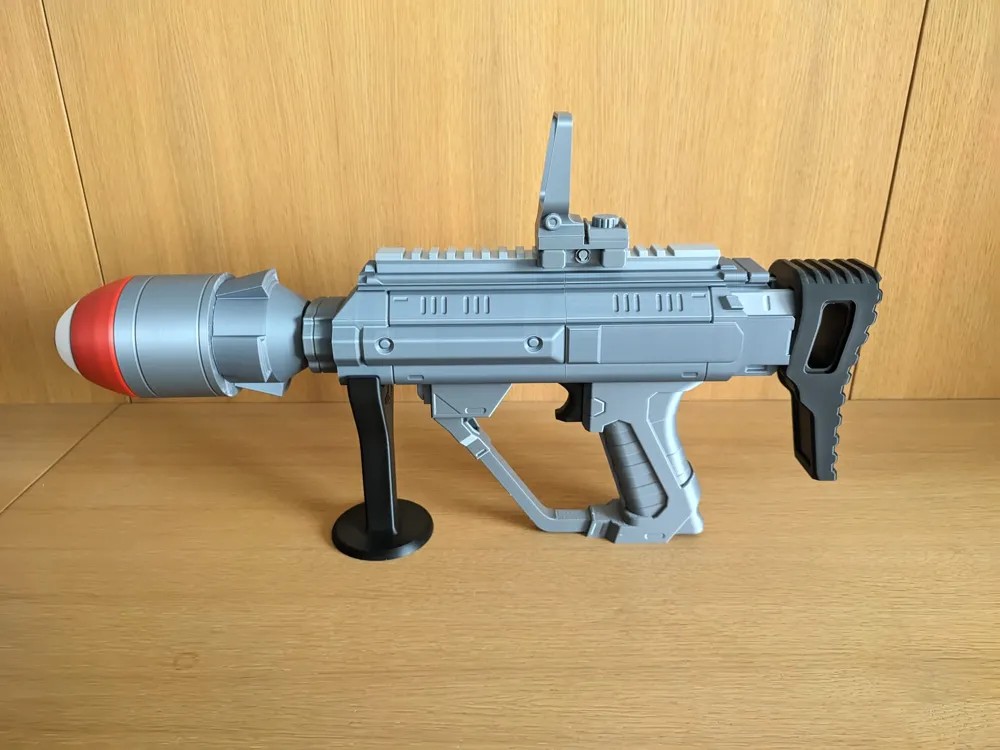
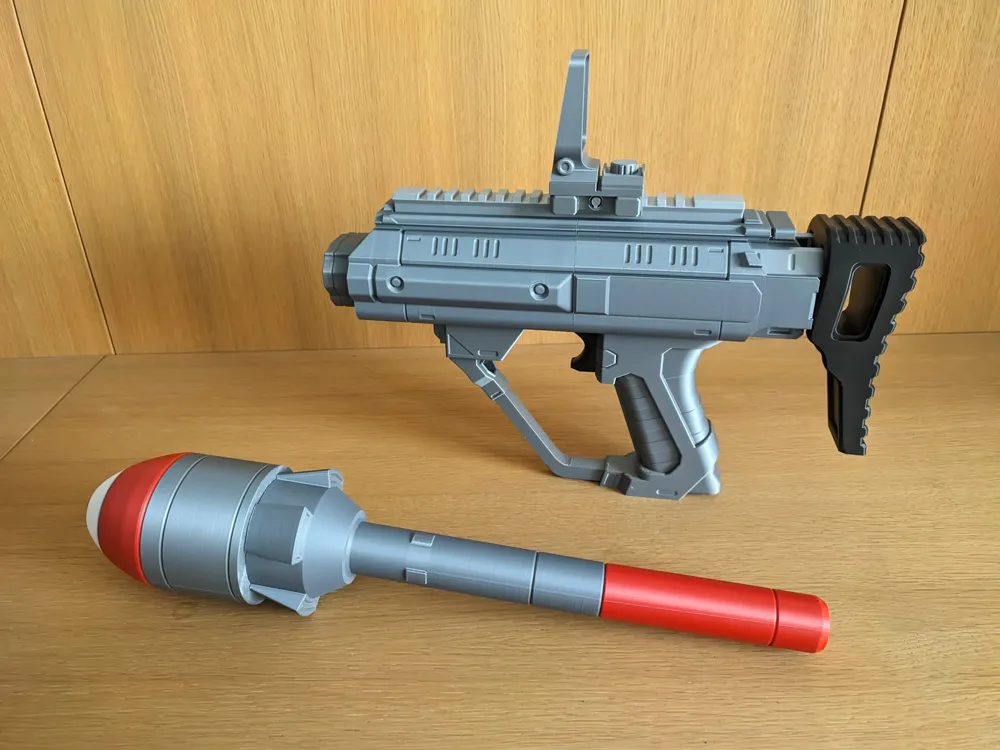
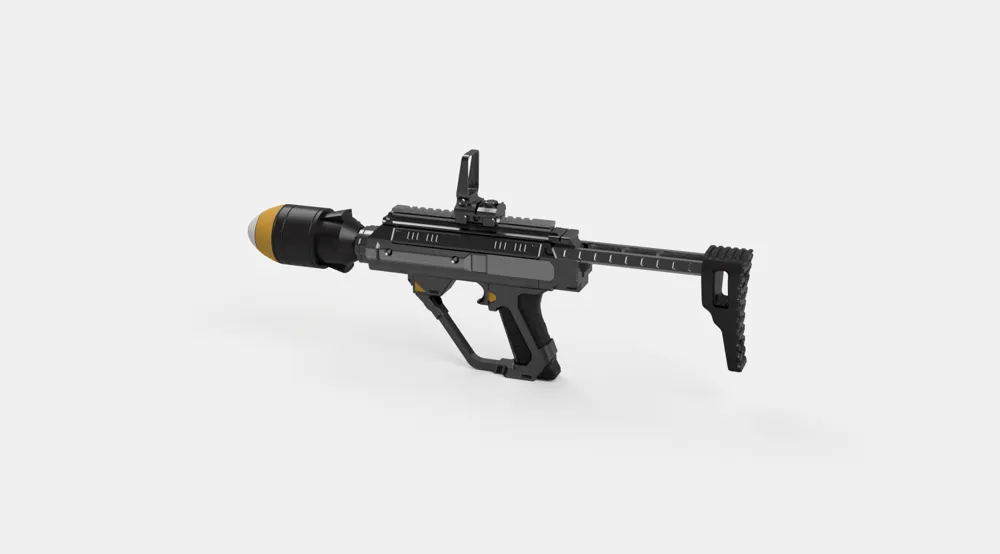
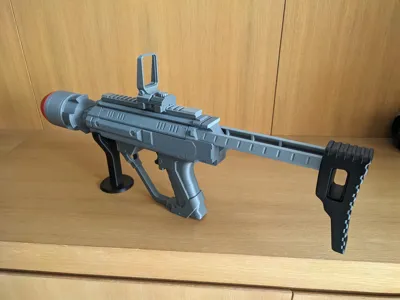
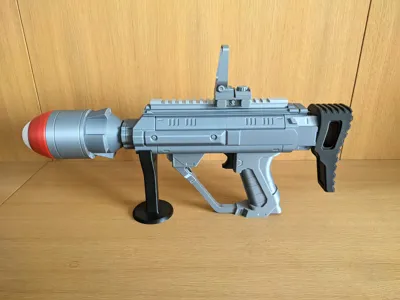
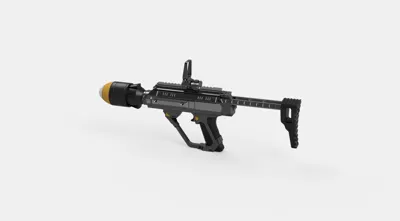
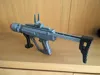
This is a model for the GP-20 Ultimatum from the video-game Helldivers 2, this model its A1 mini compatible and AMS is not necessary but recommended for one single part, its also a 100% 3d printed so no extra metal parts are required.
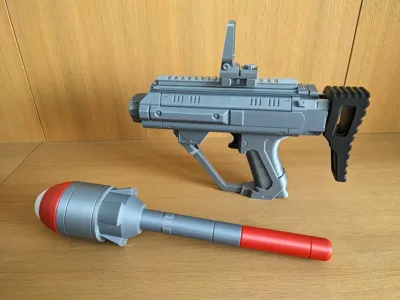
This model has a collapsible stock that, although non-functional in the game, makes sense when you look at the design. It also features a trigger with a 3D-printed spring, a Picatinny rail compatible with all Picatinny accessories, and a reload mechanism that works just like the one in game.
I always really like this gun in the game apart for being one of the most powerfull and unique secondaries the genius concept of combining the M29 Davy Crockett Weapon System and the Sturmpistole in single gun makes it one of my favorite guns in video game history overall.
This is my larger model to date and my first big project without metal parts , i hope that for my next project i will have a X1C and i can design for bigger bed sizes , so boosts are appreciated for getting close to this goal.
I hope you enjoy this model and any doubts or recommendations for my next project are always welcome in the comments.
Boost Me (for free)
Boosts are always appreciated
--------------------------------------------------------------------------------------------------------------------------------------------------------------------------
For assembly:
First of all the things you are going to need:
- Glue
- Some string from filament to make tiny cuts out of it.
This is my first big gun design without any metal parts and is 100% 3d printed , this i have use some 3d printed springs for the trigger.
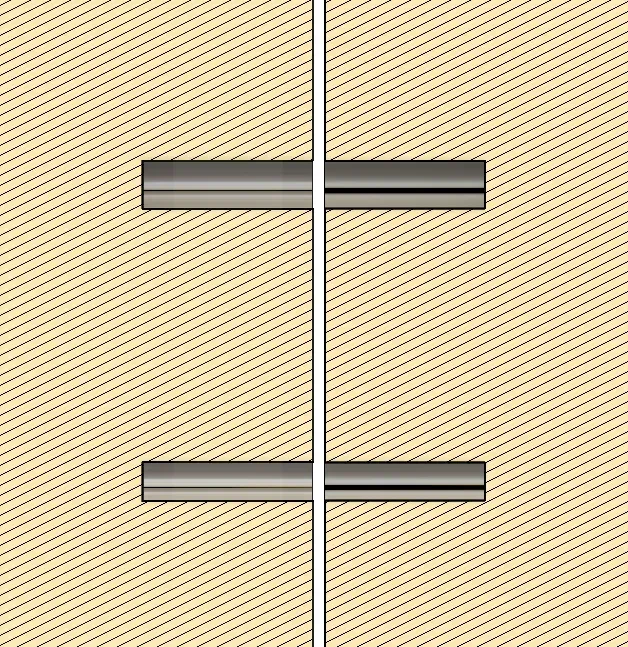
This model uses bits of 1,75mm filament to use as guides like in the image:
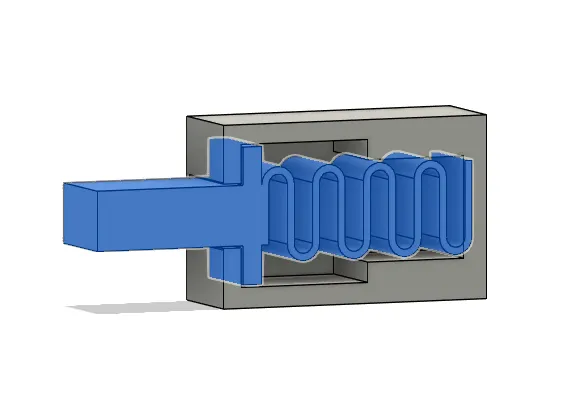
We can start for the trigger assembly , we just have to put the spring inside the square part , it has to be under some pressure, glue is not needed.
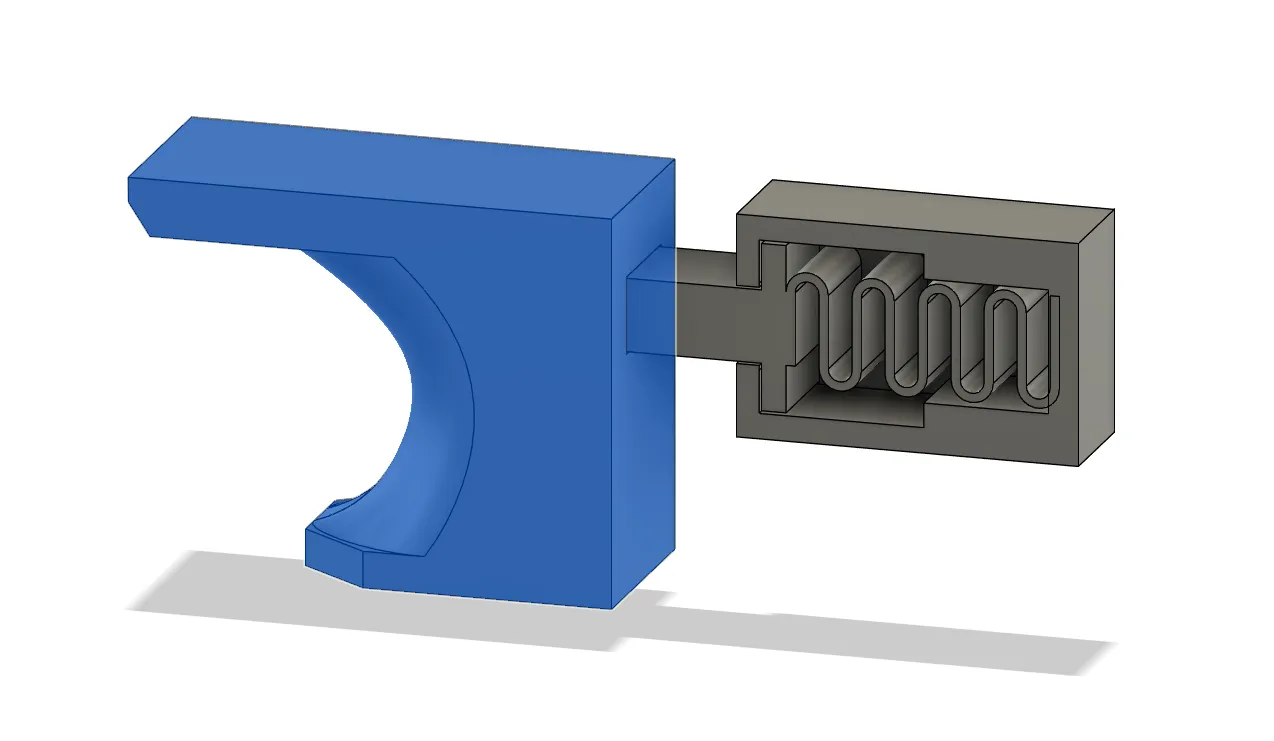
Now be can glue the trigger to the final part of the trigger like in the image.
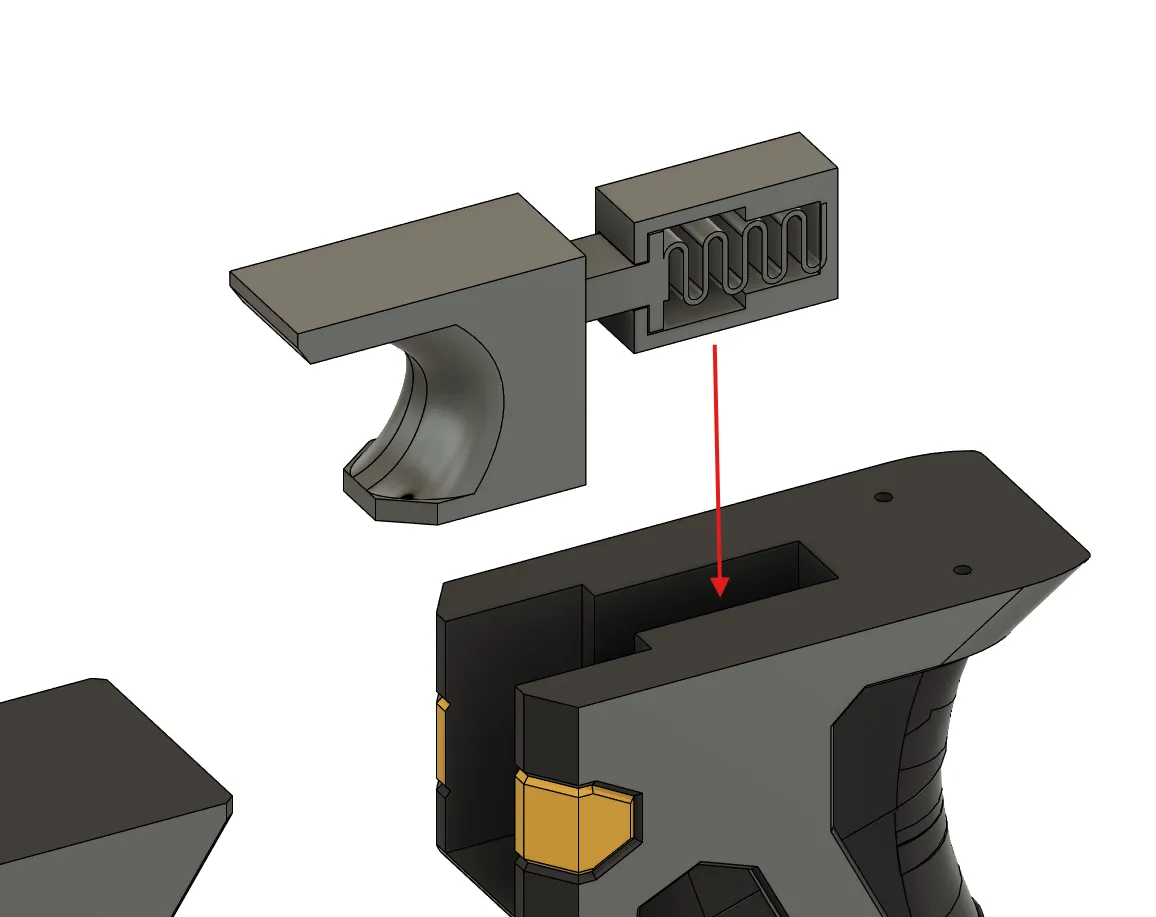
Now we can introduce the assembly into the grip , you can put a couple of drops of glue in the square part to make it stay in place in plain faces , be careful no to glue the moving parts.
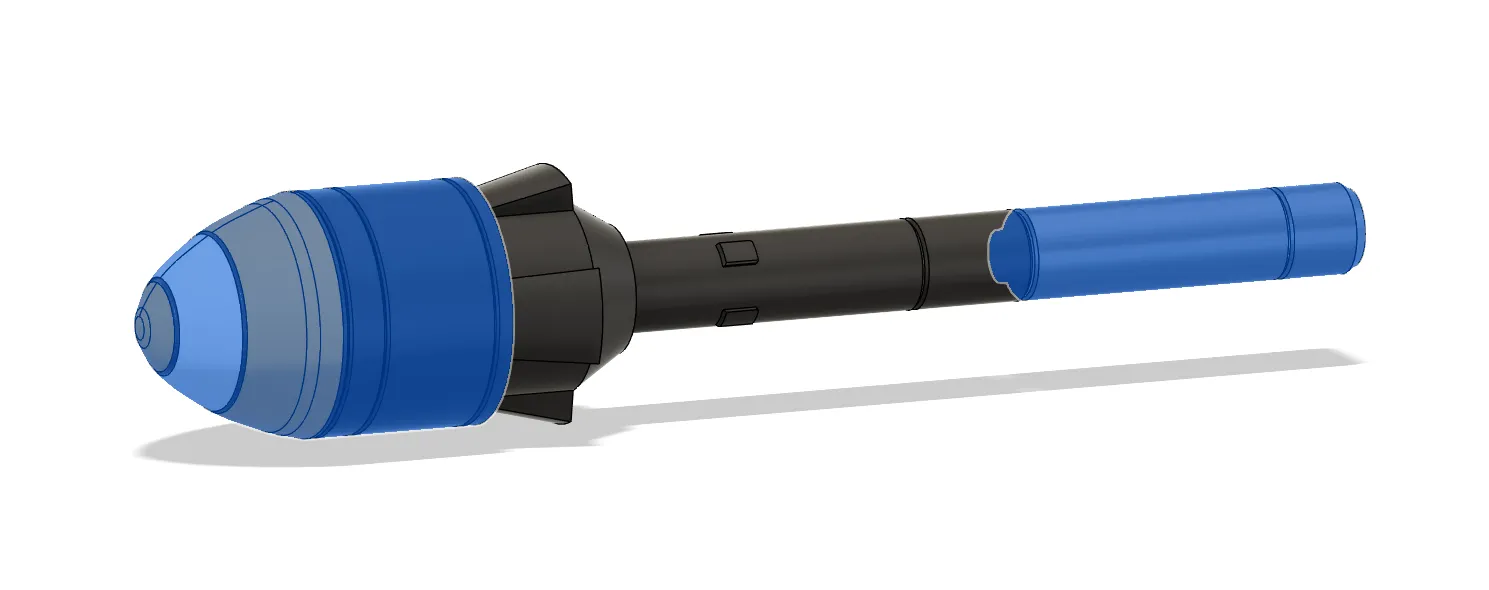
We can also glue the 3 parts that make the rocket , one using guides and the other is just cylinder that fits in place , be sure the last one is well align.
For the main body the first step is to introduce the rails for the stock in the back part of the main body , glue is no necessary and they stay in position with friction , they have to stay as far back as they can go.
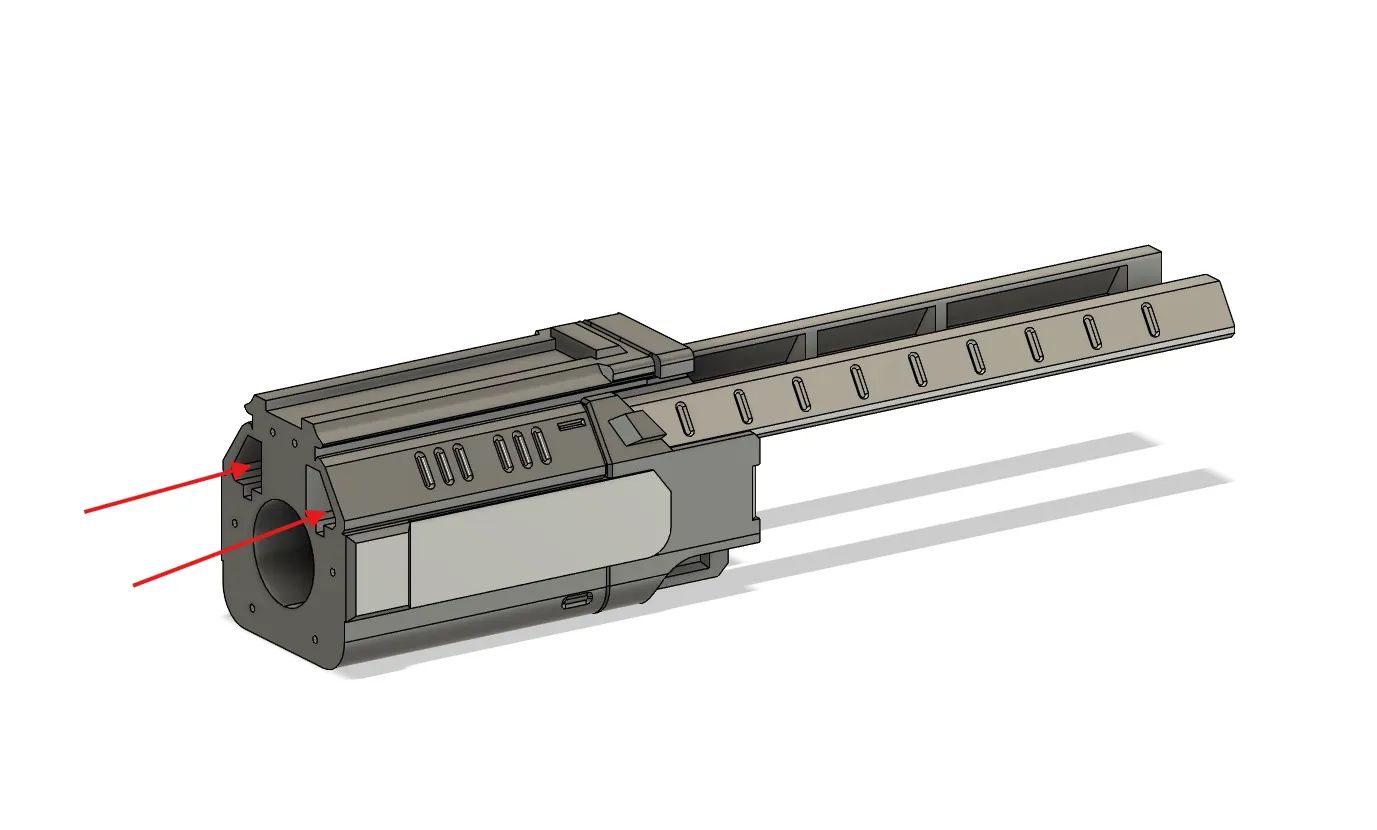
Now we can glue the front part , its very important this pieces are aligned , use some of the holes for strings of filament to help you with that , its also important that before moving the rails to its forward positions the glue is completely dry otherwise the rails might get glue in place.

Now we can glue the rail , the grip and the stock , like i have say before be careful to not glue the trigger in place.

Now we can add the sight , you need to glue the 3 big parts together you also have small hole for bits of filament to help but they are optional, then we slide it in the rail and we secure it with the stick.
We can also insert the rocket , is just like the reload in the game.
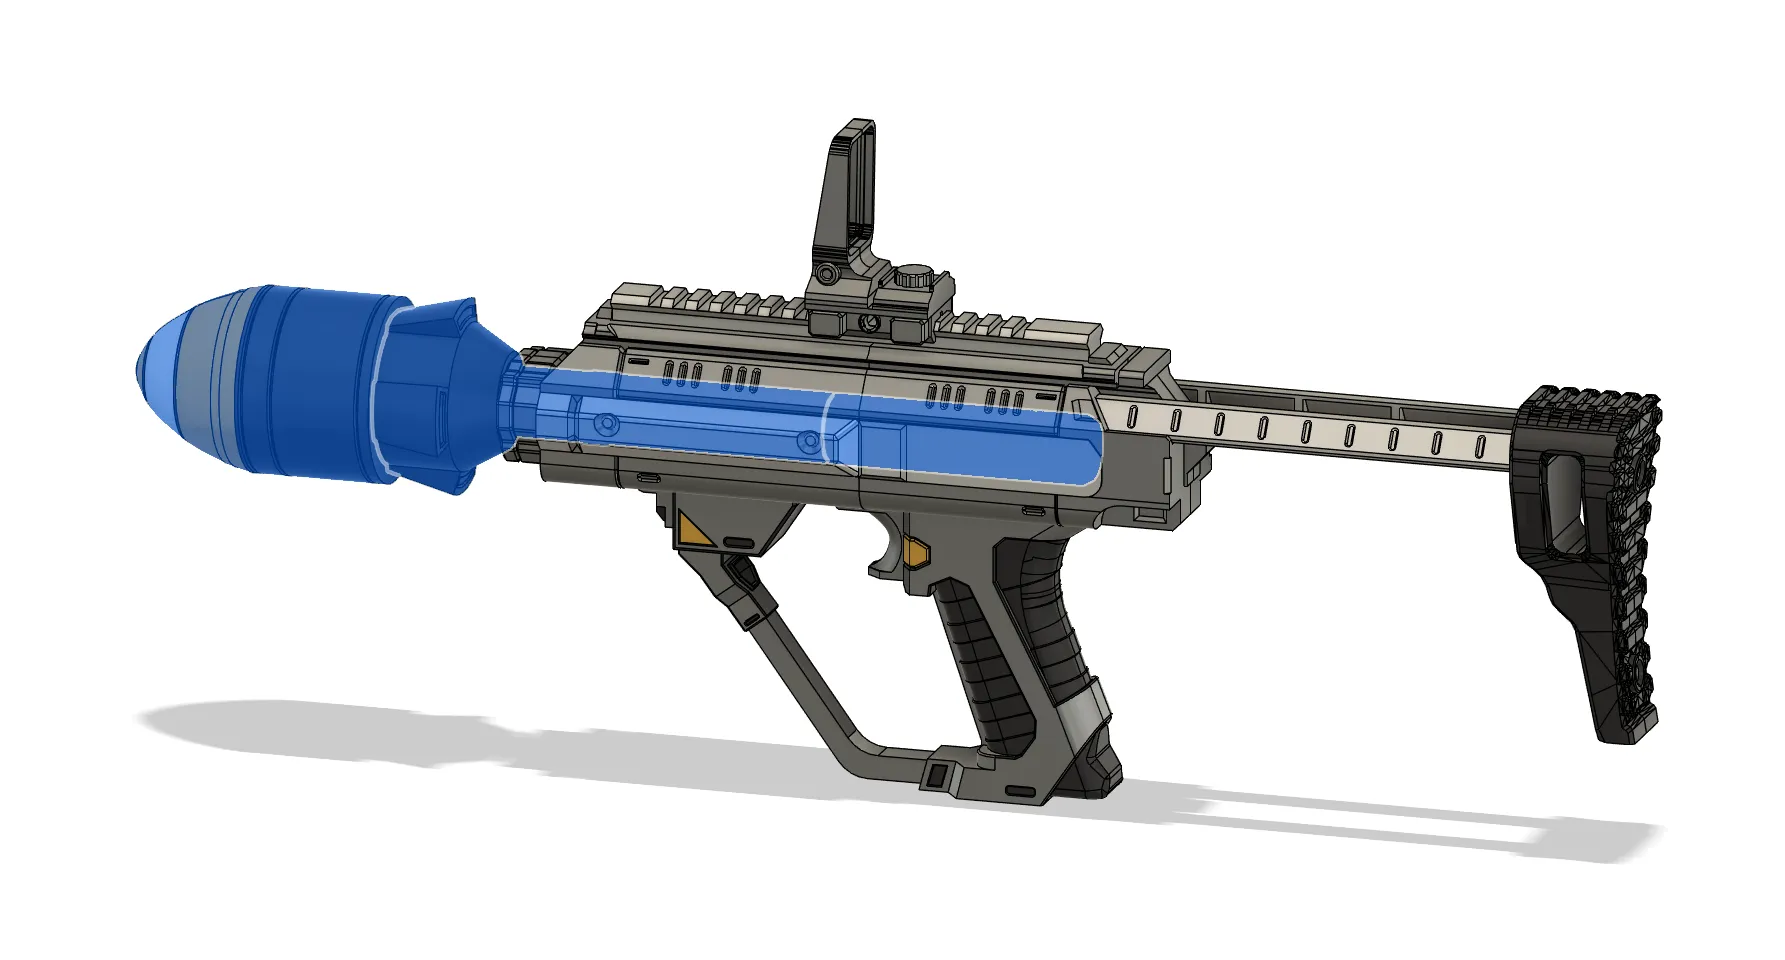
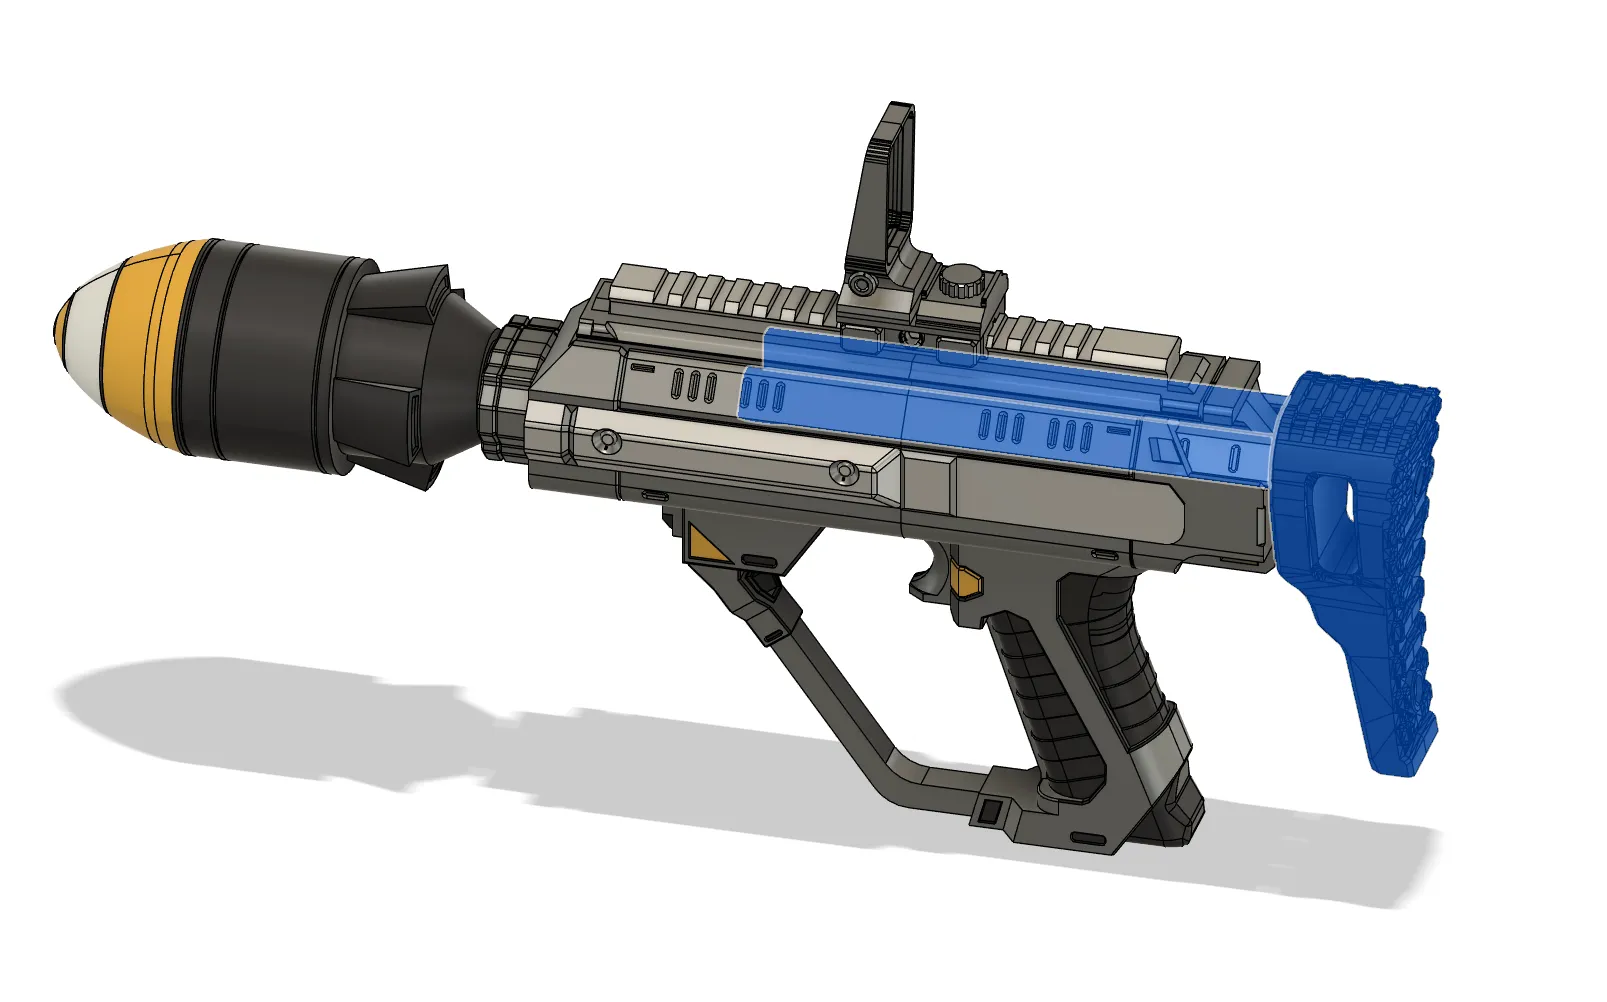
Now we can collapse the stock , and the assembly is finish.
License

You shall not share, sub-license, sell, rent, host, transfer, or distribute in any way the digital or 3D printed versions of this object, nor any other derivative work of this object in its digital or physical format (including - but not limited to - remixes of this object, and hosting on other digital platforms). The objects may not be used without permission in any way whatsoever in which you charge money, or collect fees.


Comment & Rating (105)