
WH40K - Grimdark Field Kit - Universal Mk.1
Print Profile(1)

Bill of Materials

Description
+Begin Transmission+
Commissar: "You There! Guardsman! Battle Readiness Inspection!
Soldier: Sir! Yes, Sir!
C: First Aid Kit?
S: Check!
C: Grooming Kit?
S: Check!
C: Card Holder?
S: Check!
C: Weekly Medication Doses to keep Nurgle Away?
S: Check!
C: Documents Case?
S: Check!
C: Recreational Activities?
S: Check!
C: AHA! I'll have you in the Stockades for such Heresy Soldier! You Simply could not have all these items on you! What sort of Idiot do you think I am!?!?
S: But Sir! I have the Field Kit - Universal! Freshly delivered from the Quartermaster's STC Generator, This thing simply does it ALL!
+End Transmission+
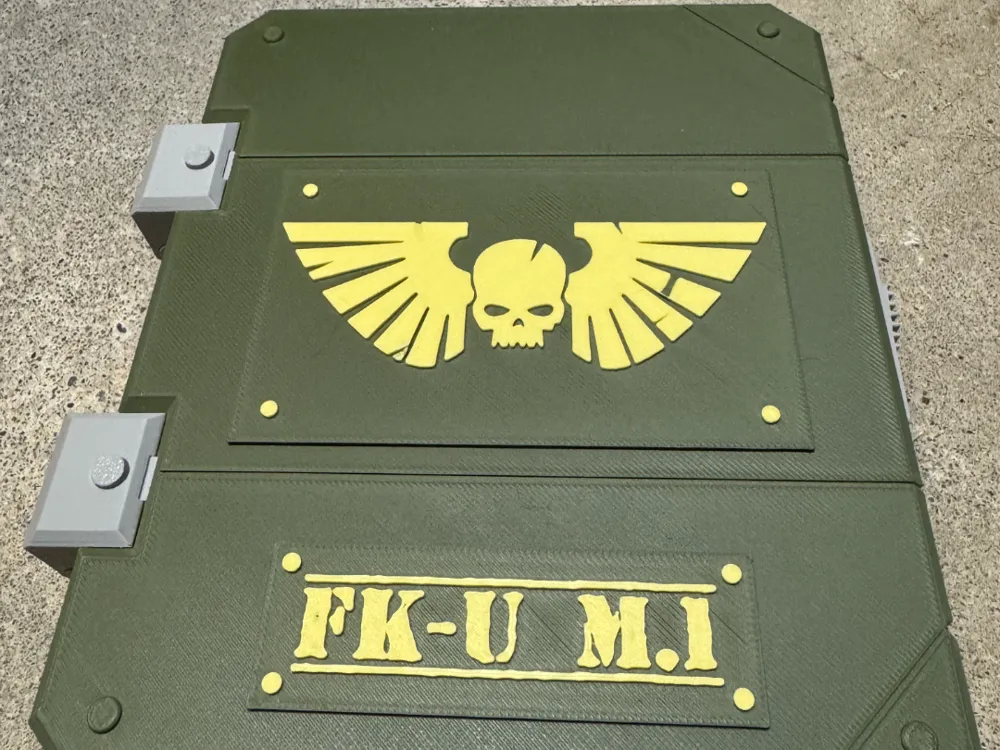
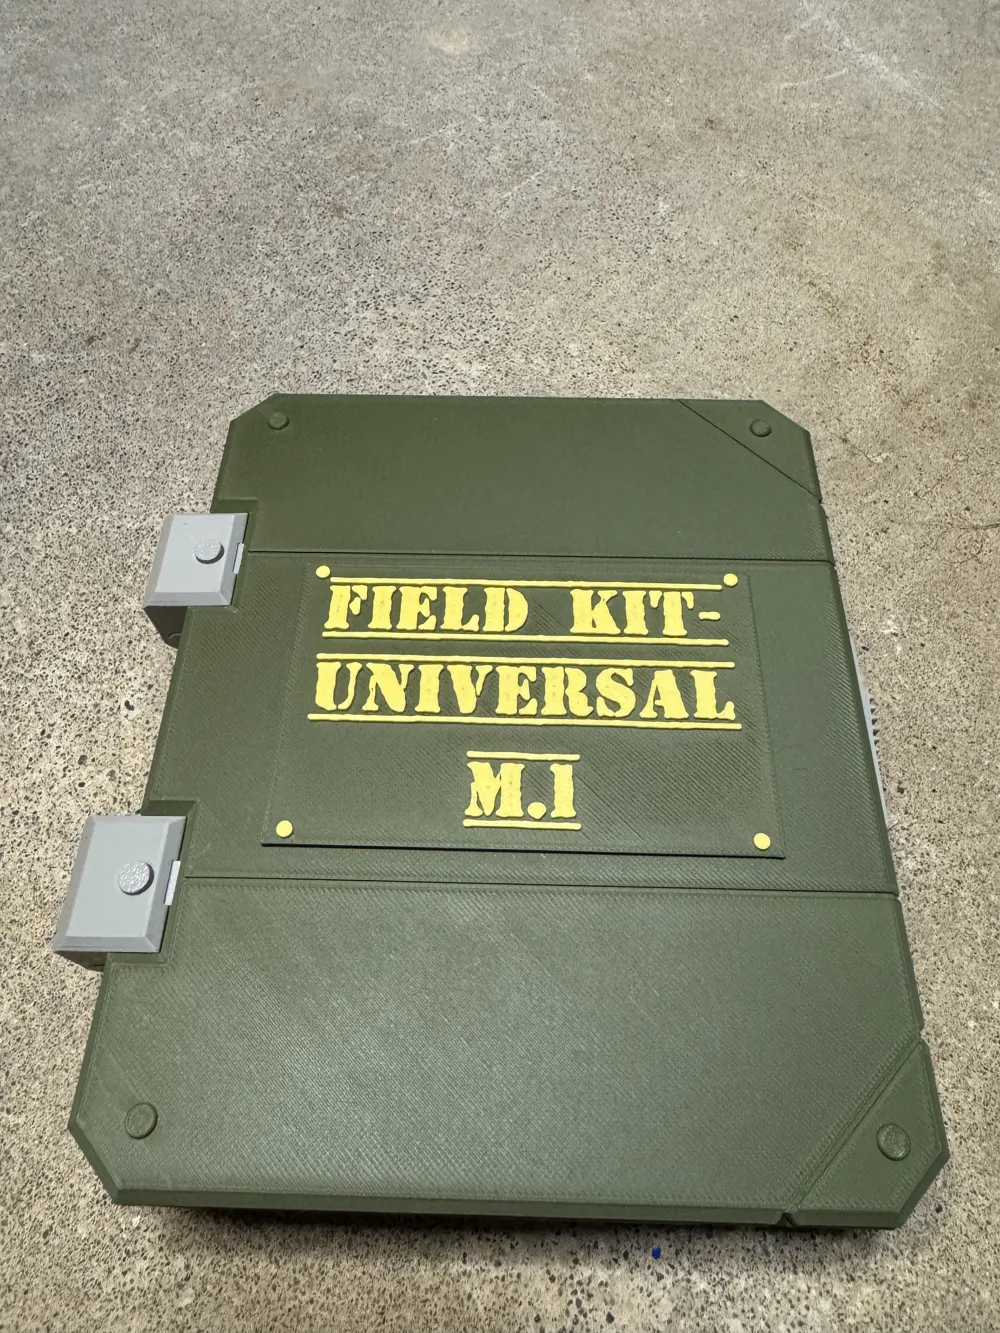
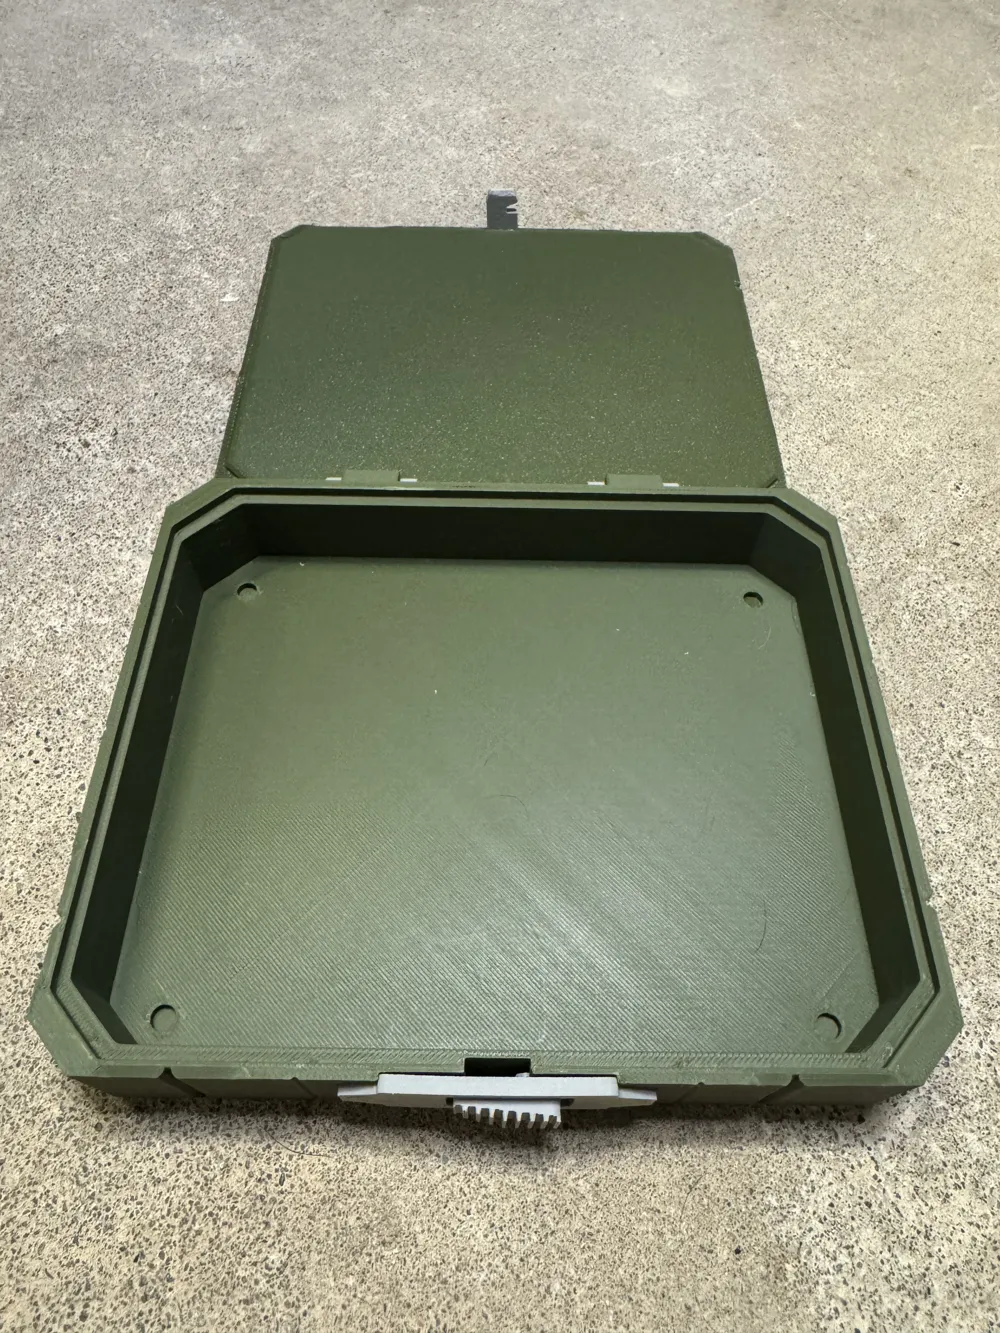
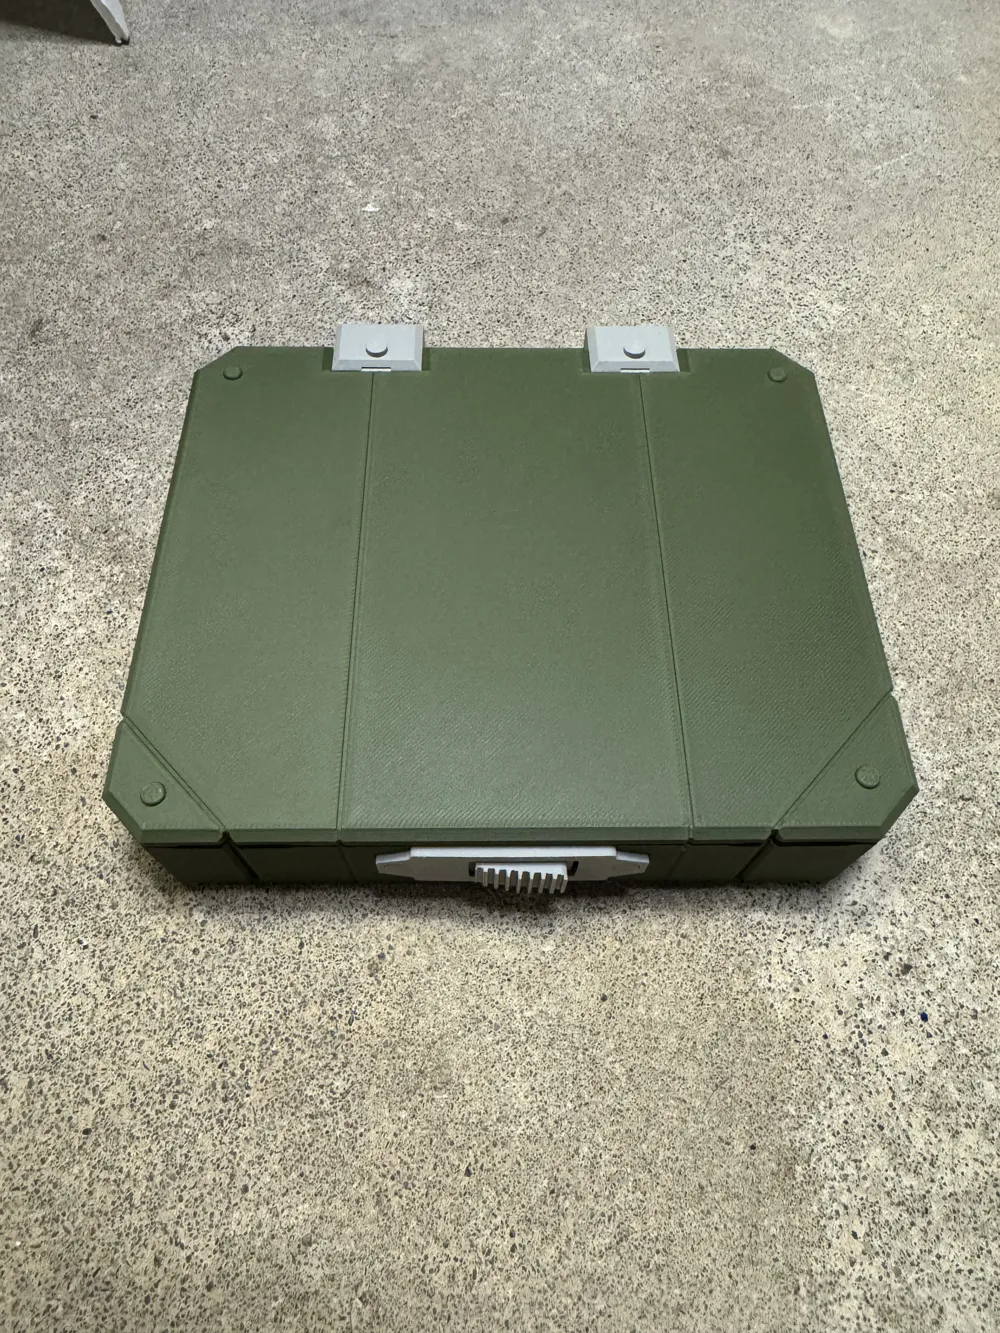
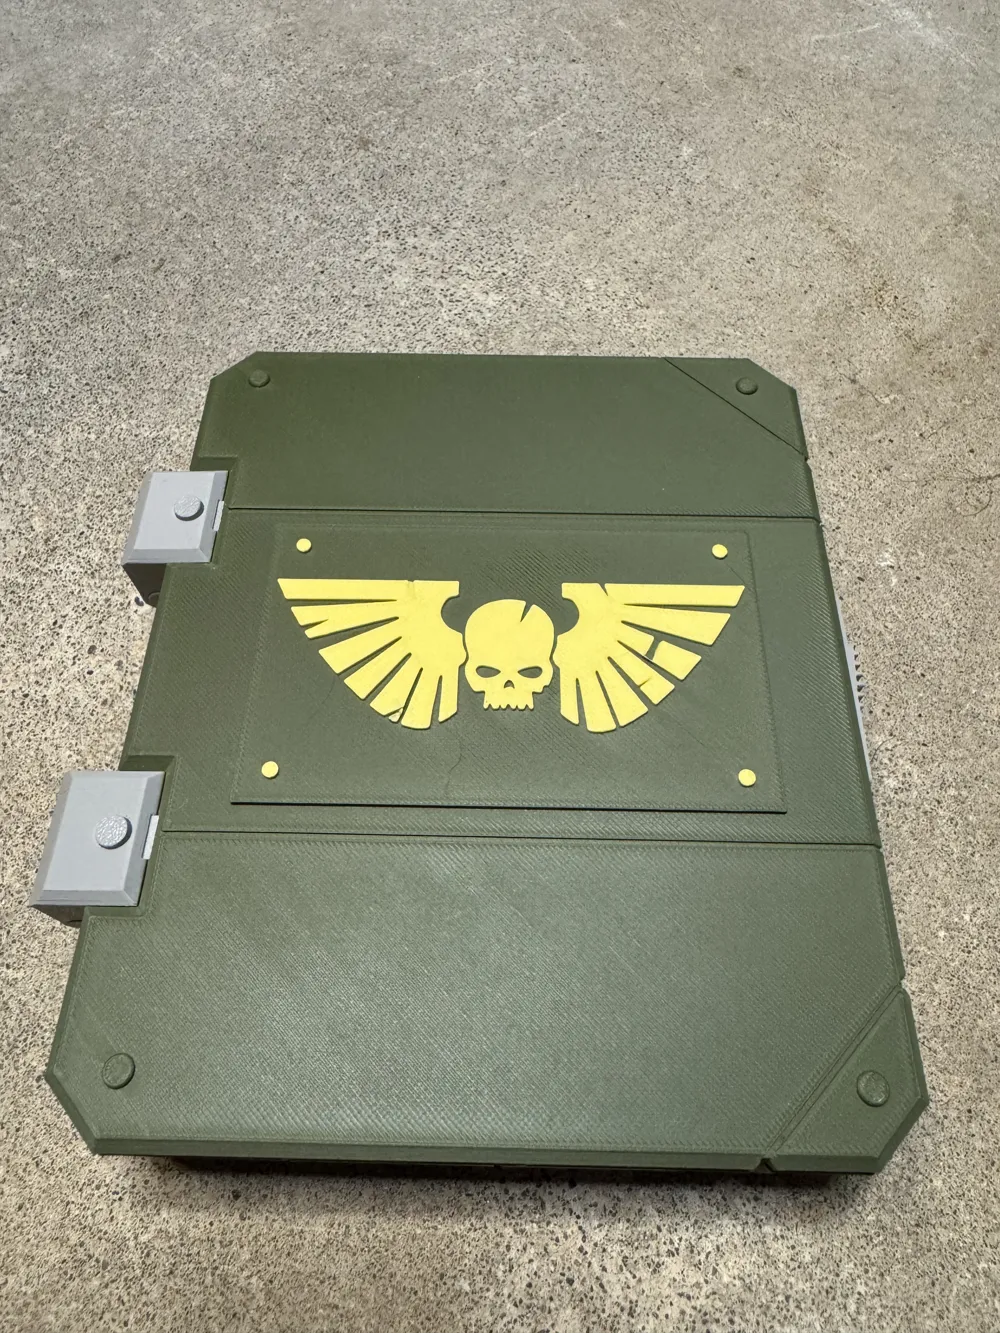
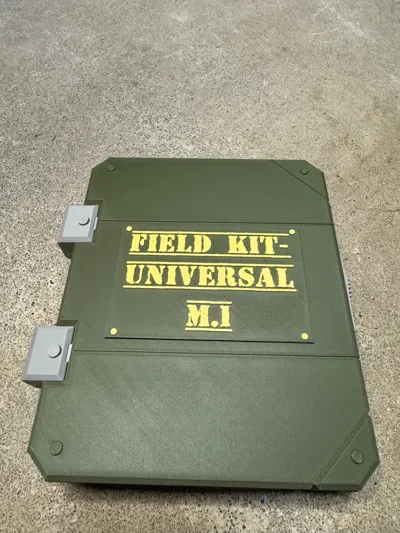
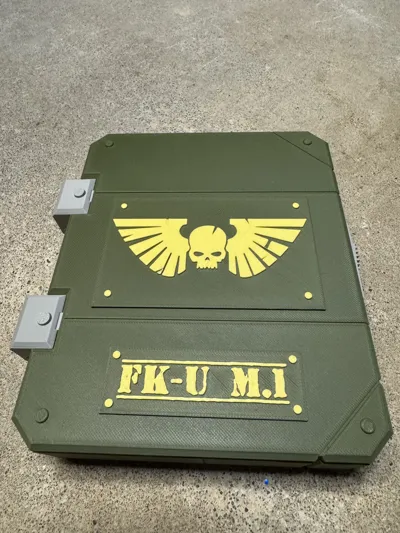
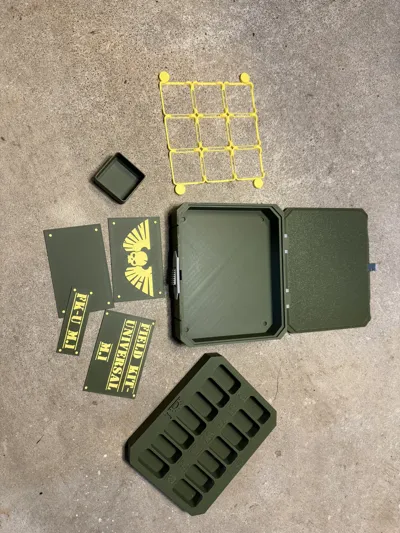
This Techpriest Lives to Serve! The STC files contained within this archive contain the plans for the Field Kit - Universal Mk.1 Container
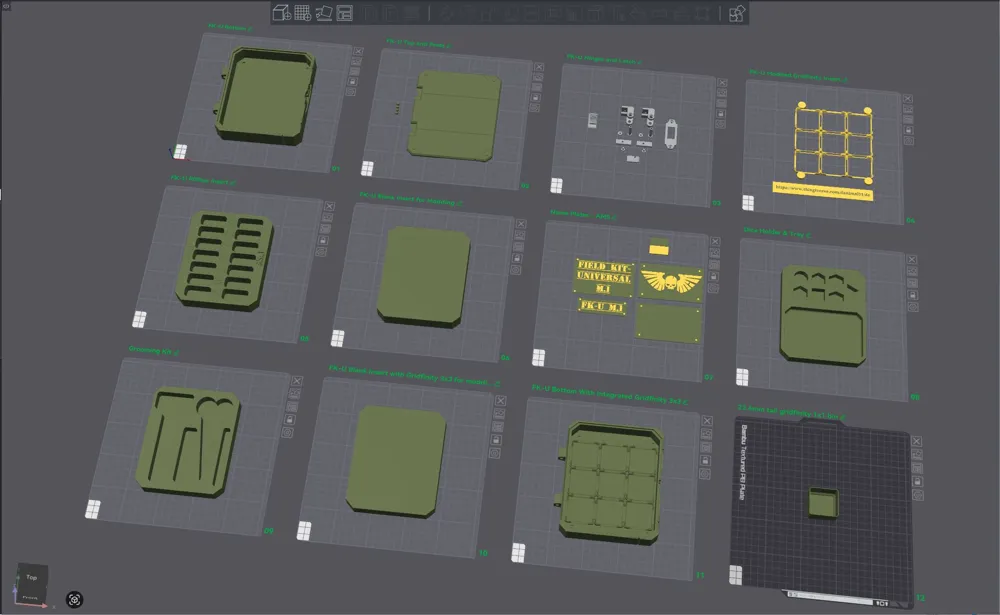
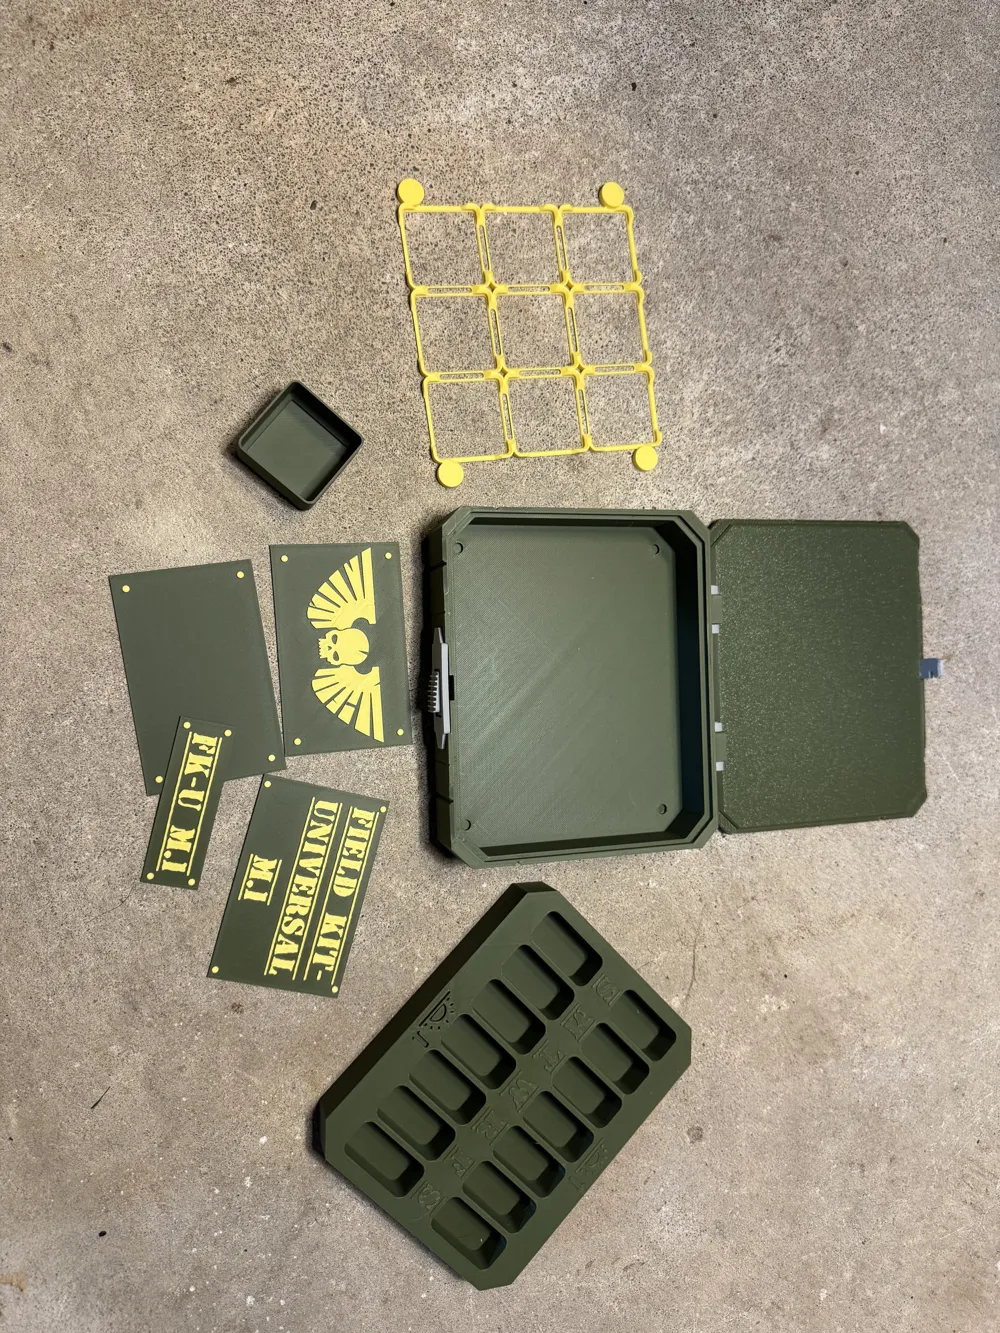
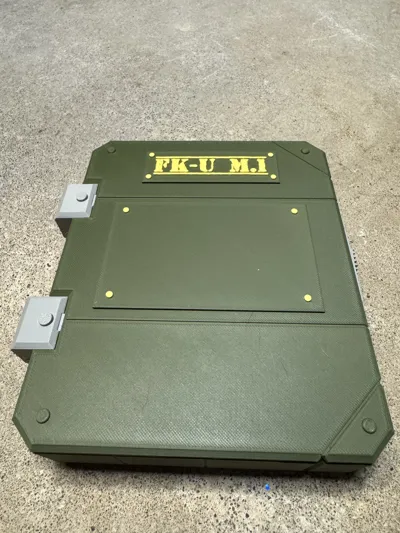
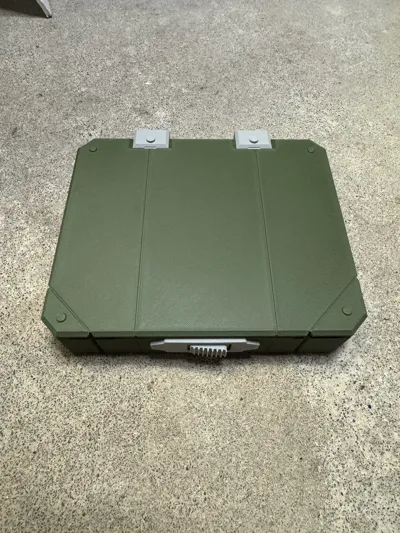
Plates 1 and 2 - FK-U Mk.1 Container Body and Lid
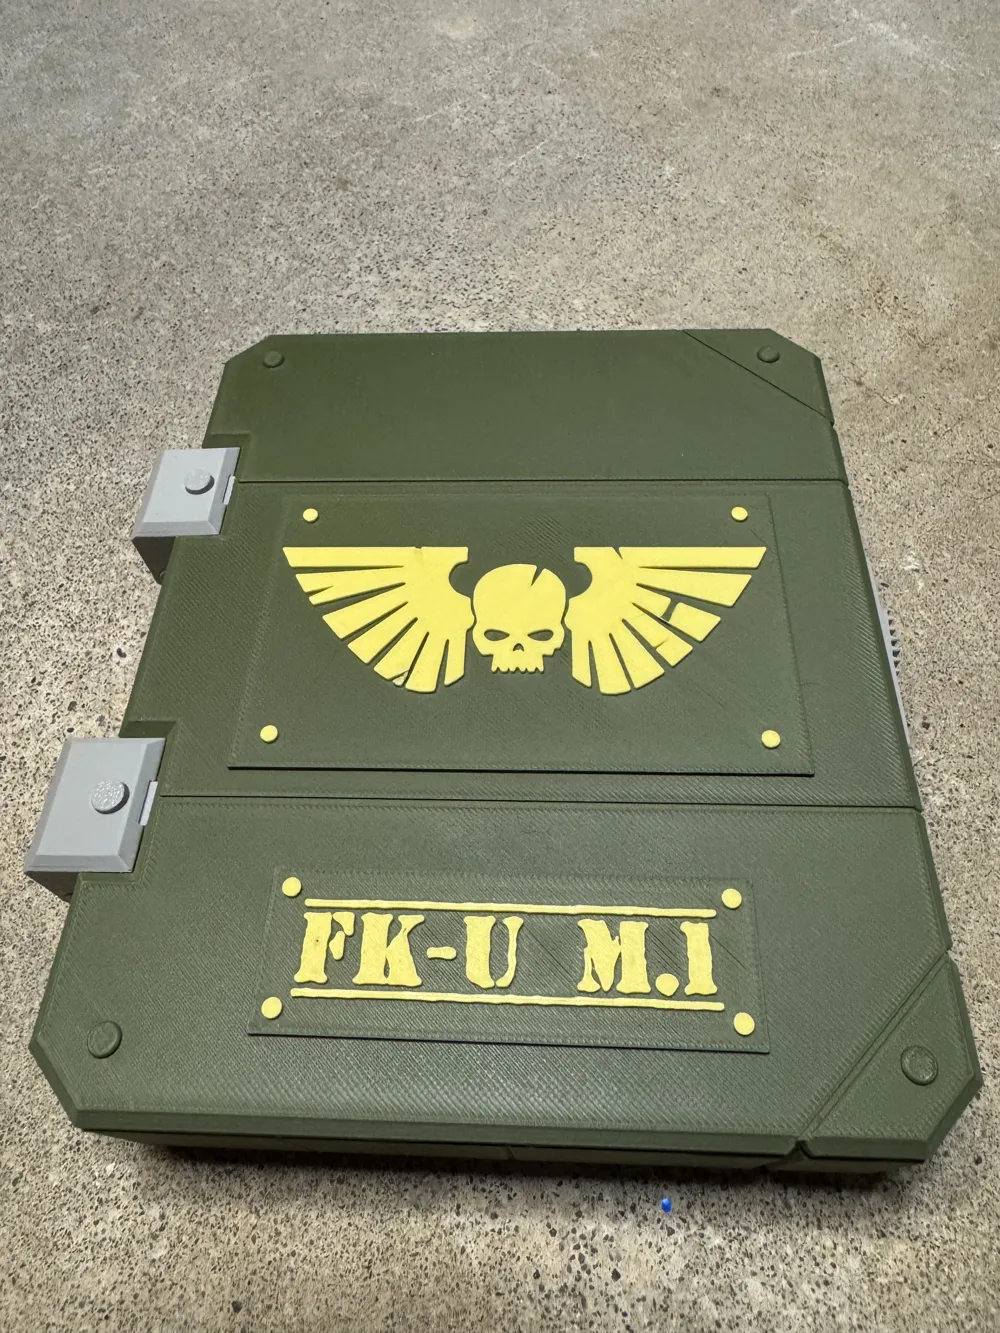
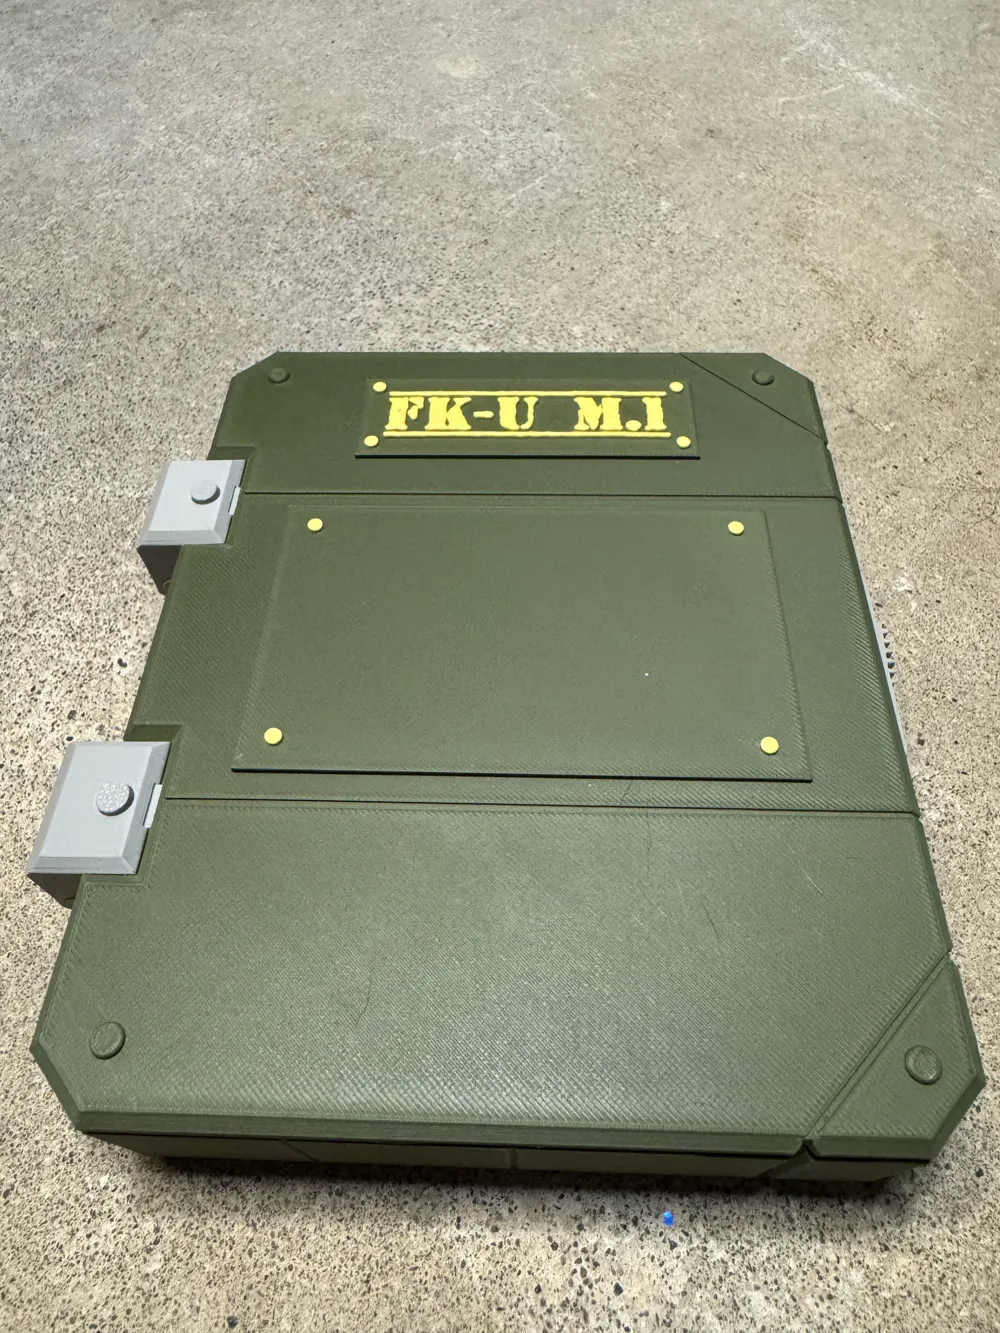
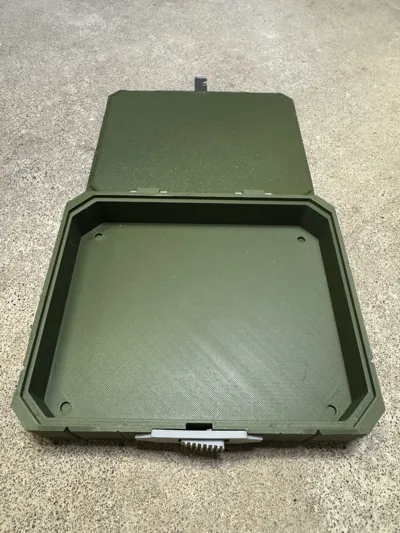
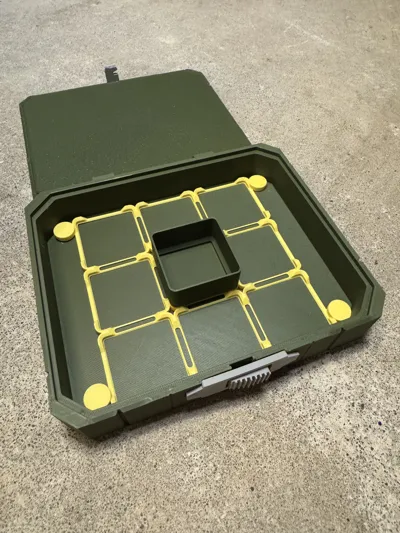
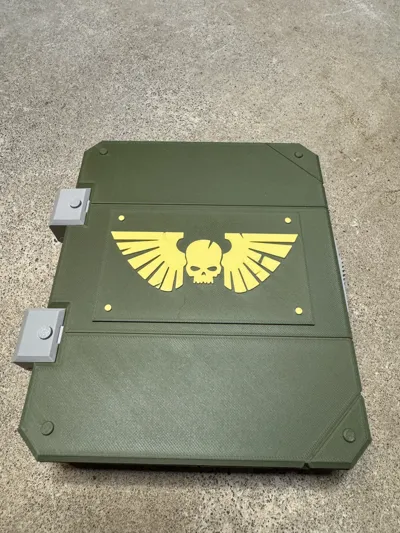
This is a 140mm x 170mm x 38mm sized container modeled after @ratjob's grimdark aesthetic and supplied with all the rights for Quartermasters and Armorers alike to customize the internal layout trays so that you can truly have your own Field Kit - Universal Mk….make sure tyo share your mods and photos @ratjob and attribute the model if you repost.
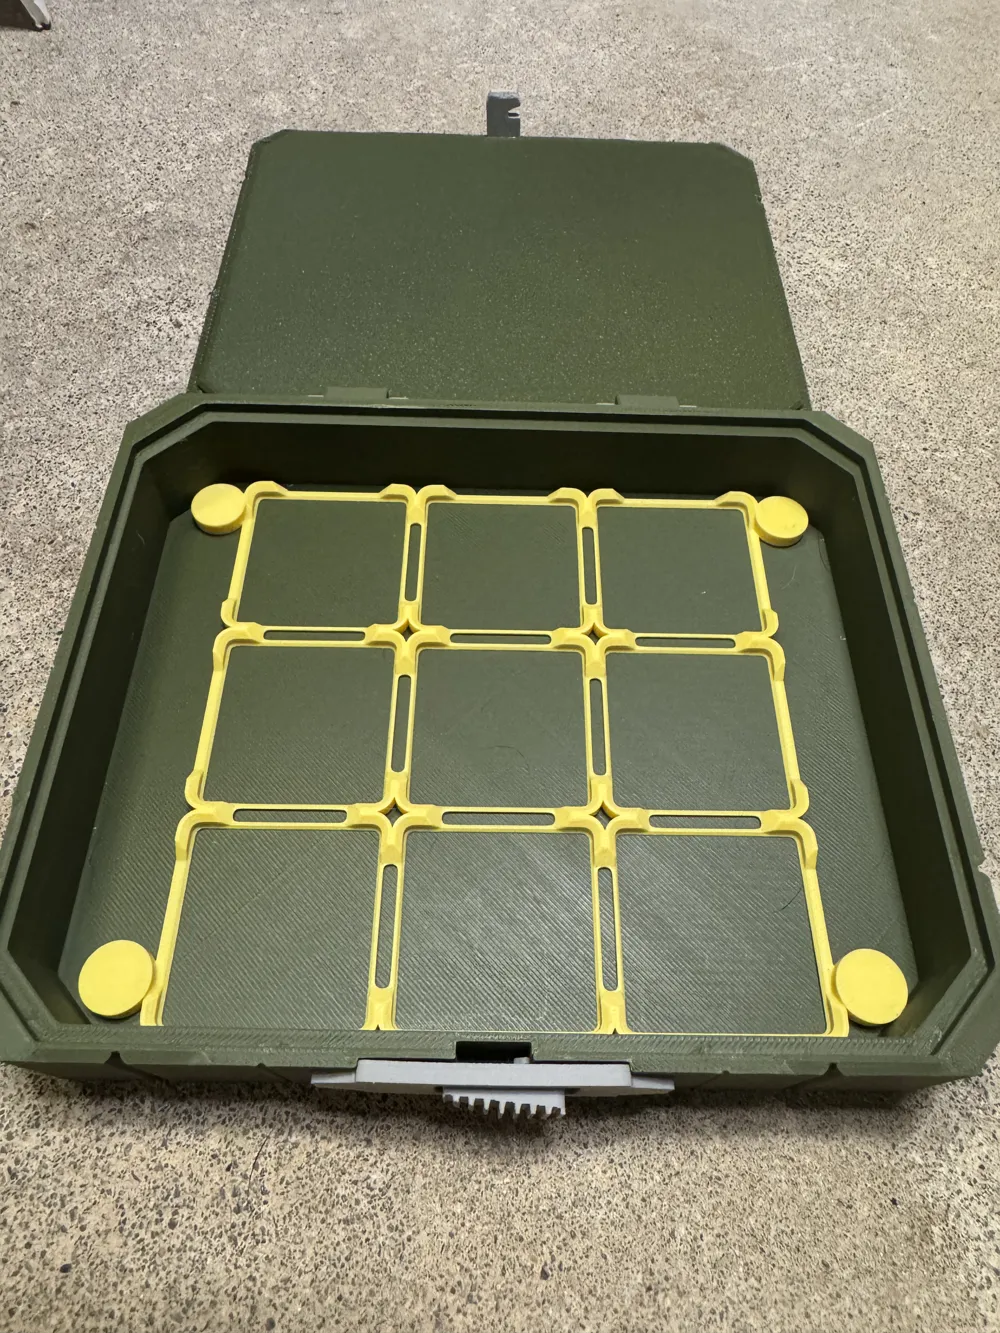
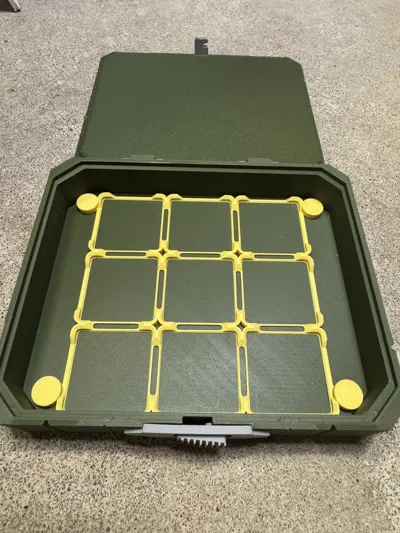
The four round insets on the inside of the box are for optional 5mm round magnets that can be used to secure swappable trays into and out of the FK-U Mk.1 Container. If you choose to magnetize your FK-U Mk.1 Container, be sure to keep magnet polarity in mind when insetting magnets in the corresponding trays.
The four small tabs are mini “feet” for the underside of the FK-U Mk.1. They are optional.
Plate 3 - Hinges and Latch
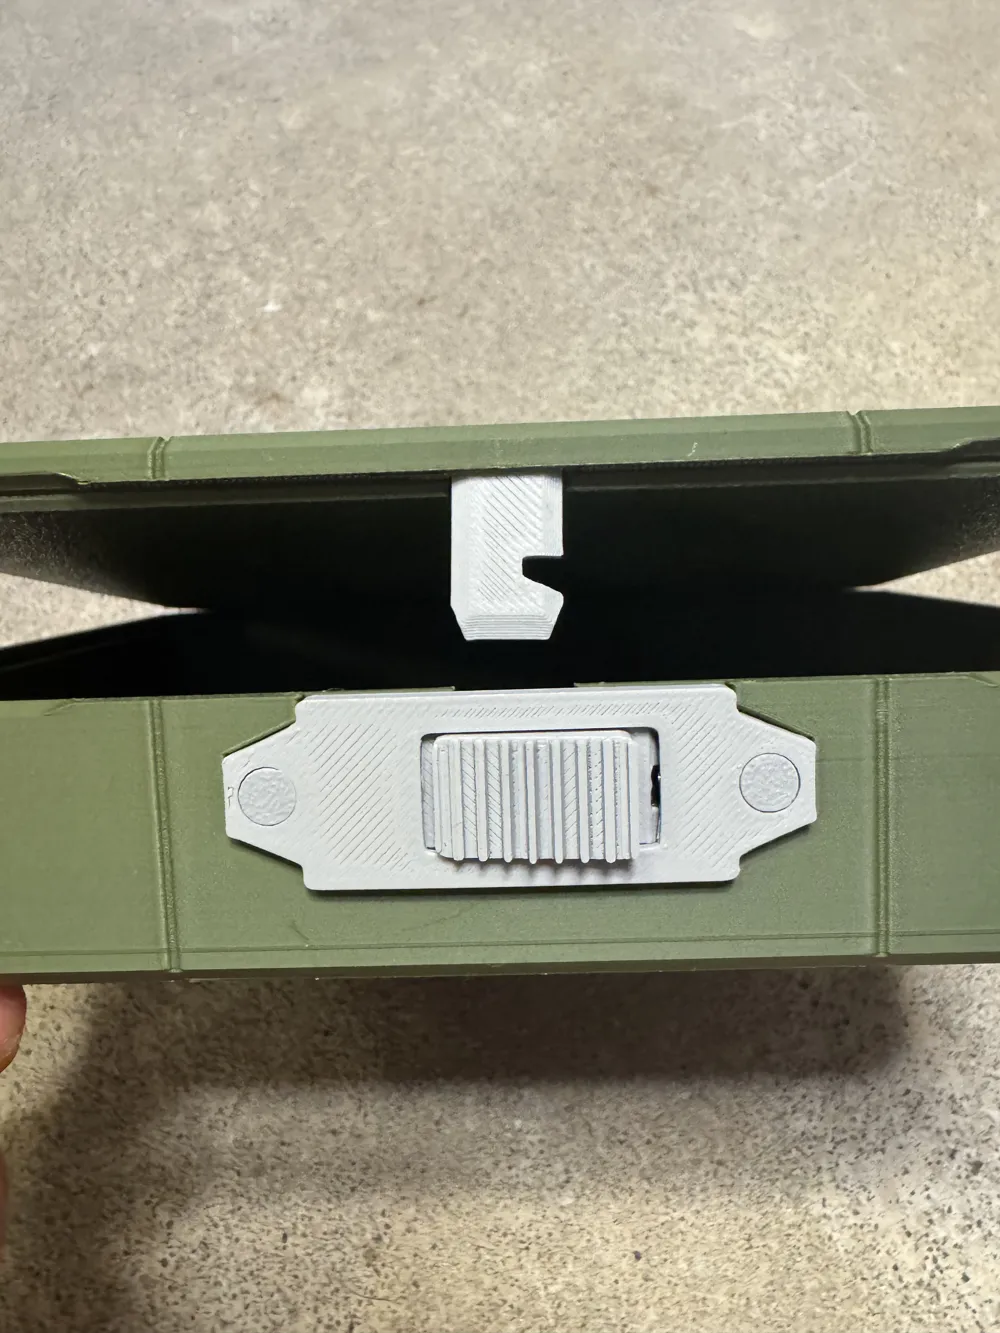
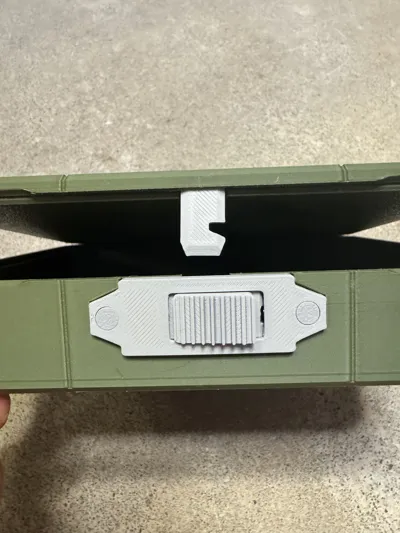
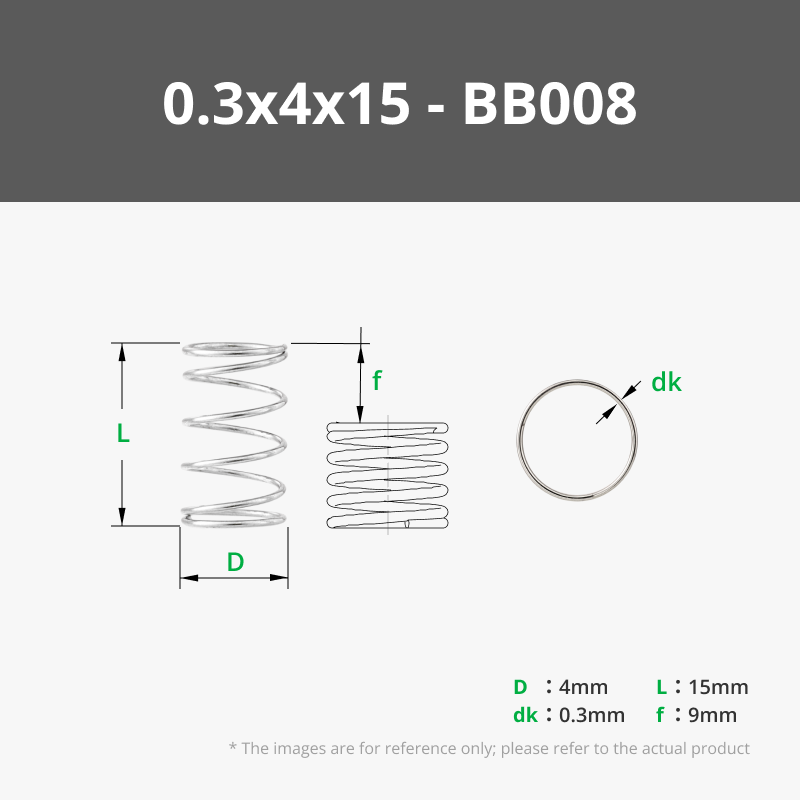
This model has a spring loaded latching mechanism, you will need a single 4mm diameter x 10mm length spring to operate it, a spring from a retractable pen should do the trick. The mechanism is simple and is held in place with two M3 sized plugs. be careful when using glue where there are moving parts. Place the spring in the rectangular channel, and use the latch to compress the spring while you sandwich the lot with the faceplate. Two M3 sized plugs secure the latch. You may use glue on these pins to secure the latch. The slotted tab that serves as the catch for the latch should be glued into the container lid.
The hinges of the model are attached to the lid with a trapezoidal tab and a single M3 diameter plug. Be sure to set the tab in the correct direction so the holes line up! The hinges are pinned to the FK-U Mk.1 Container with the long bolts and then capped with the short plugs. Be wary when gluing the caps in so you do not bind the hinge with glue.
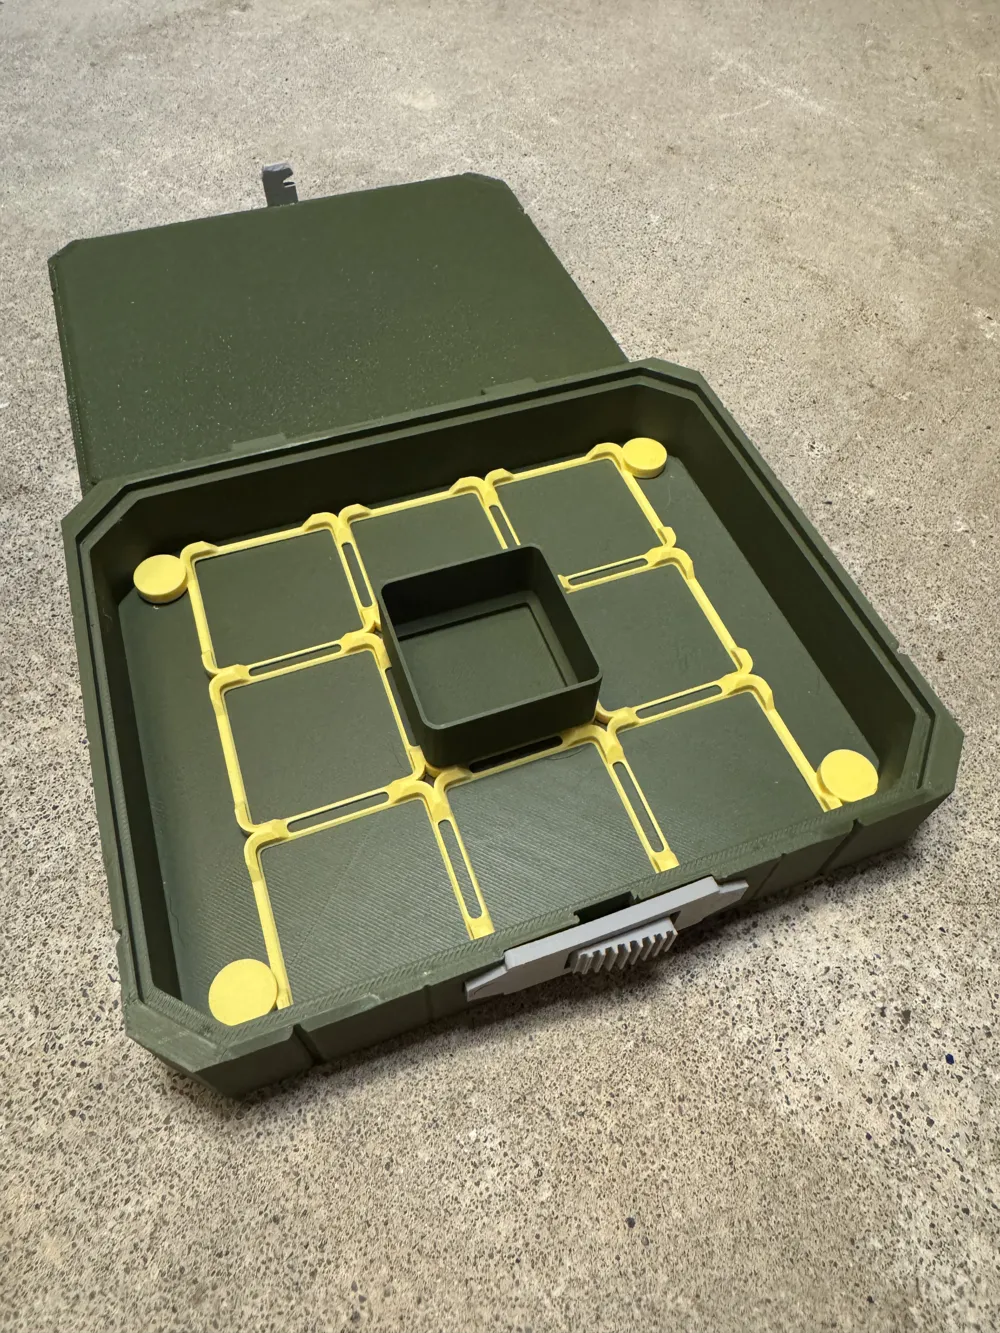
Plate 4 - Gridfinity Insert
This Techpriest sought the deigns of another (@daniel91 on Thingiverse ) for the use of the skeletonized gridfinity frame 3x3 and then added some material so that could be magnetized. This Plate can serve as a nice way to swap between so many amazing gridfinity options out there and the magnetized options this model offers. The box fits 3x3 gridfinity sets that are not taller than 22.6mm (23mm can work too).
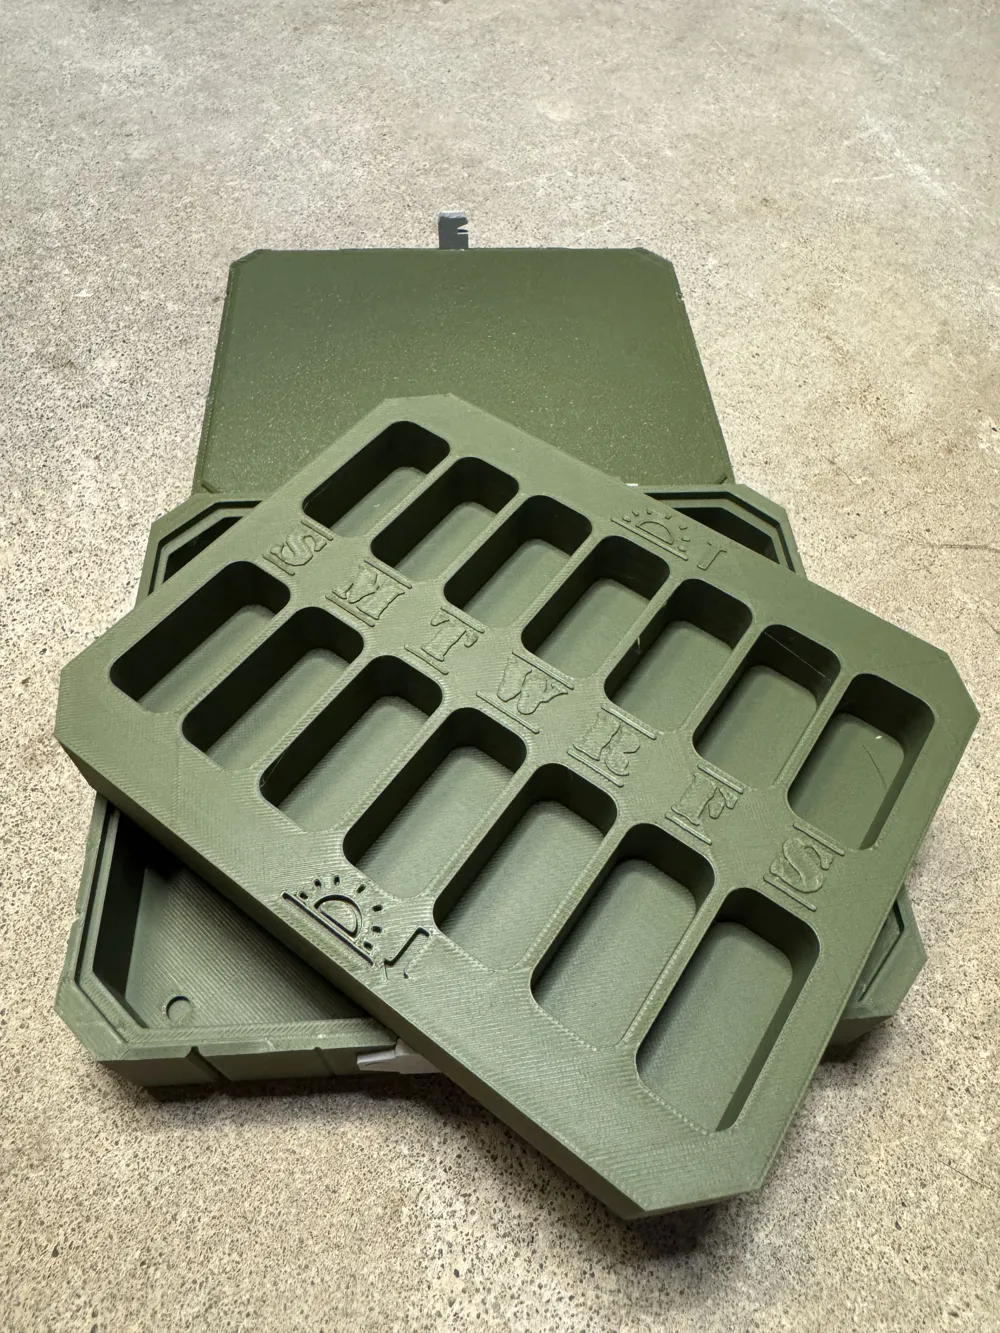
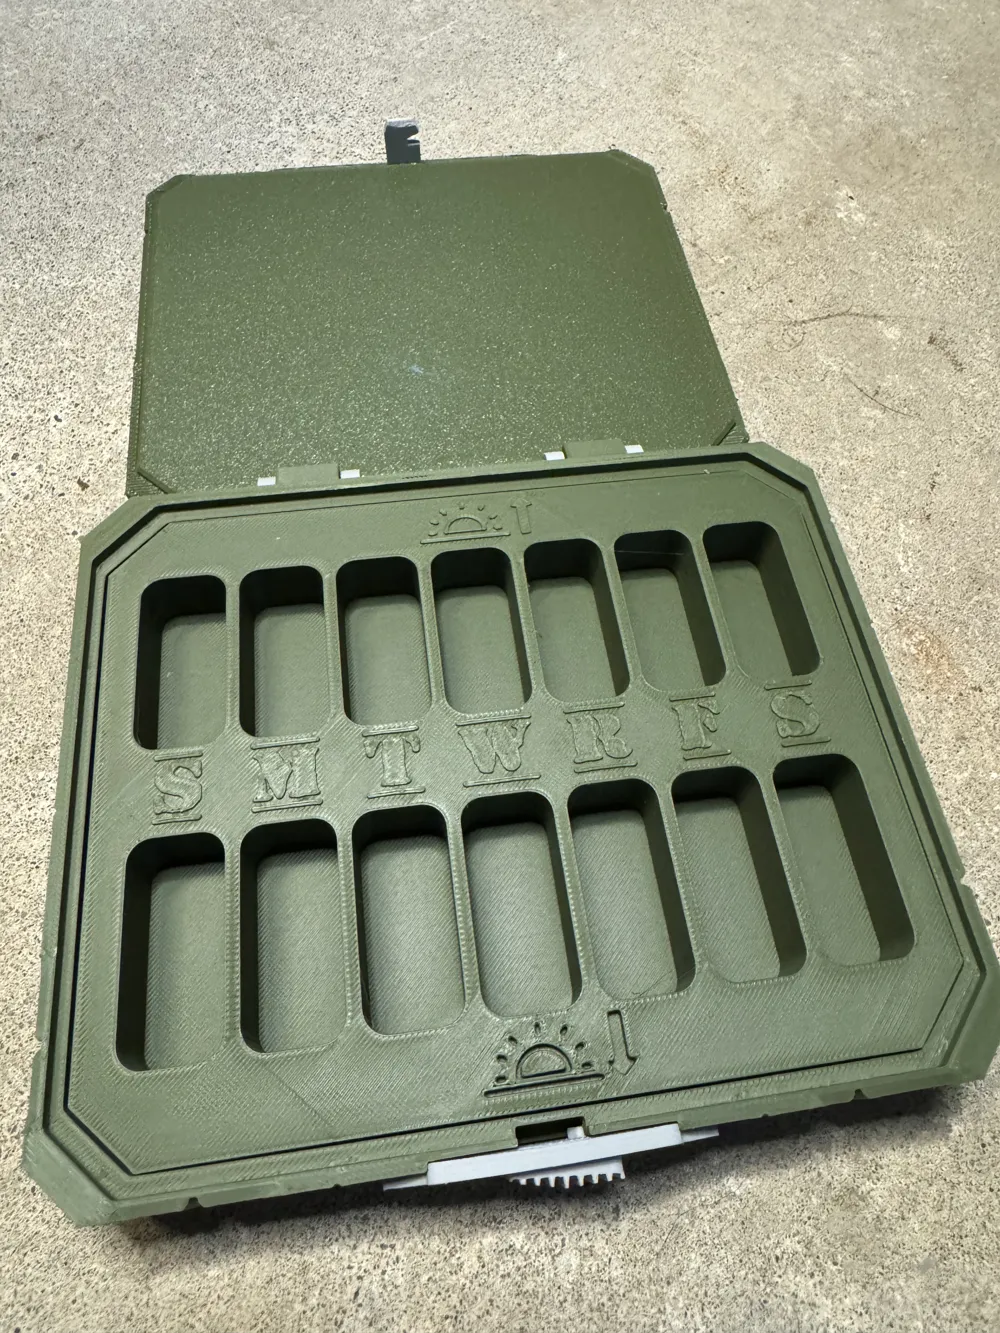
Plate 5 - Pillbox Insert
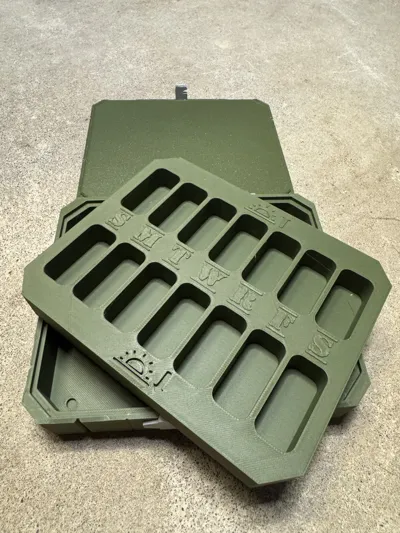
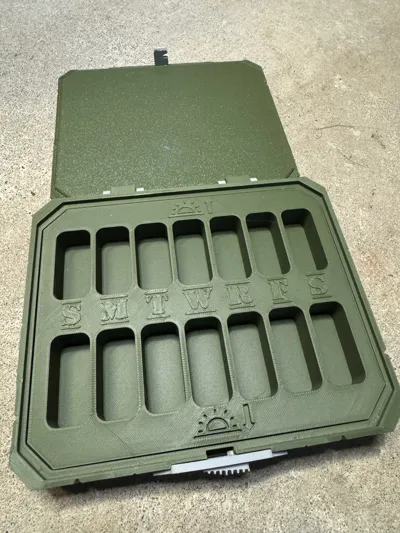
Designed upon request, This Insert has 7 days, morning and nighttime pill pockets. Take Your Supplements Soldier! Unless your pills are super tiny, they should all remain in their slots even if the FK-U Mk.1 container is overturned. Probably overkill for the function of being a pill box, but what better way to keep demons from your supplements?!!??!
Plate 6 - Insert for Modding
A rather dense plate, this is the dimensions of the FK-U styled Insert Trays it is NOT INTENDED FOR PRINTING, IT IS INTENDED FOR YOU TO USE AS A BASE FOR MODDING. There are 4 insets on the bottom for magnet connections with the FK-U Mk.1 Base Unit. This plate is provided so that you can take it and model into it and around its dimensions to make your own swappable trays. Every good armorer knows their needs and wants in field gear, and needs to adapt to the ever-changing battlefield. Make sure to share your profiles under this model and attribute @ratjob, the enemies of mankind need to be united in thier wargear. WARNING: The max height of insert trays should not exceed 23mm or the lid to your FK-U Mk.1 Unit may not close and latch properly!
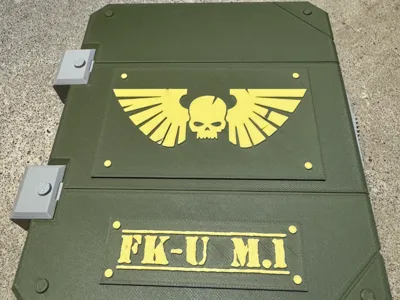
Plate 7 - Name Plates
A few examples of what is possible for modifications to the FK-U Mk.1. please feel free to modify these files to your own purposes, just share and attribute @ratjob alike.
Plate 8 - Dice Tray
A simple tray @ratjob designed, feedback desired if you make it. This Techpriest is concerned that varied dice sizes may require individual modifications to this tray so it may suit your own hallowed dice. Share your mods, love seeing people's work.
Plate 9 - A grooming Kit
May require mods as not everyone's razors and tools to keep Nurgle at bay are identical. Share your mods @ratjob.
Plate 10 - Blank Insert with Gridfinity 3x3 in bottom
IF you like the gridfinity style, this is a blank that can serve as a base for your personalizations like Plate 6 above. Share and share alike. @ratjob.
Plate 11 - Merging the FK-U Bottom and the Gridfinity 3x3 into one model
Merged the parts if you are committed to gridfinity already (its pretty freaking cool what people have already made…why not integrate it into this?!?!). Remember 23mm max height for things going into the box.
Plate 12 -22.6mm tall gridfinity 1x1
a simple gridfinity styled 1x1 set to the optimal height for the FK-U Mk.1 Bottom that uses either the gridfinity insert (Plate 1 and Plate 4), or the integrated gridfinity (Plate 11). Keeps small objects in the tray even when the FK-U is overturned (probably not sand though…).
Please let me know if I can make another box bottom if you have a need for a different height. I do not know how to make these “parametric” files that I keep seeing, but a parametric version of this container would be awesome. LMK.
This Techpriest Lives to Serve! Reach out to @ratjob if you have any feeback regarding this model or if you have any difficulty in its assembly. As always, remember the first litanies of STC generating if you run into issues:
“Dry Your Filament, Clean Your Build Plate, Calibrate your Flows”
The Models imaged above were printed on a P1S with AMS system, in BambuLab PLA (dark green) and PETG HF (gray) that was dehydrated in a Hamilton Beach food dehydrator for 9 hours at 55C (PLA) and 65C (PETG) before being loaded into an AMS system with dessicator pods and hygrometer reading 12-13%RH.
+Blessed Is The Mind Too Small For Doubt+
License



Comment & Rating (8)