
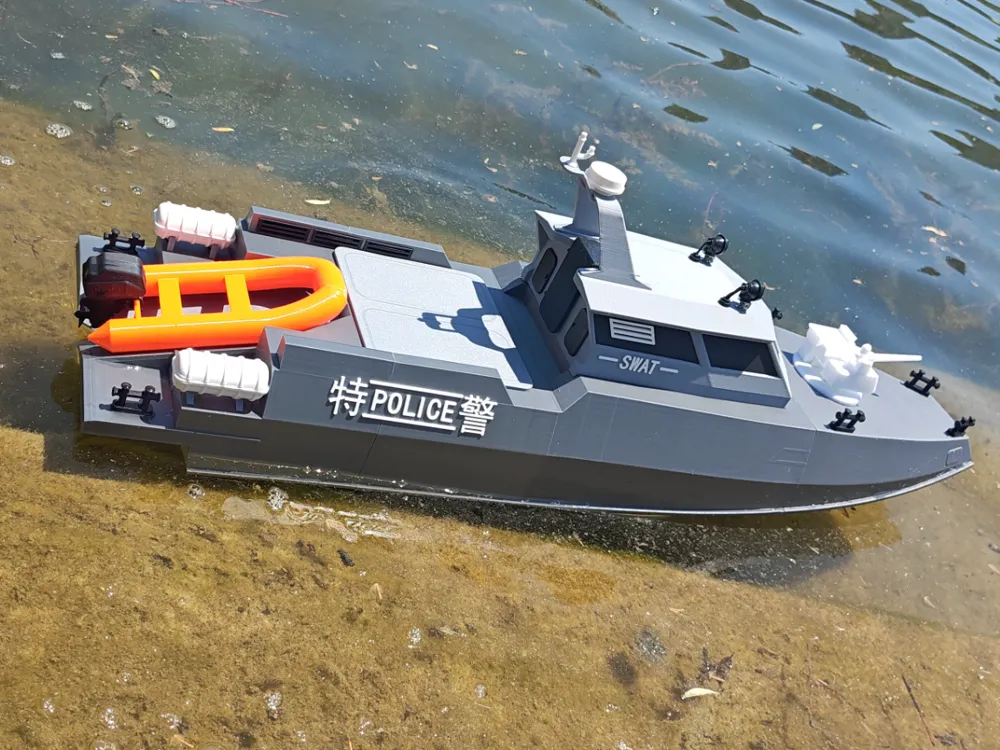
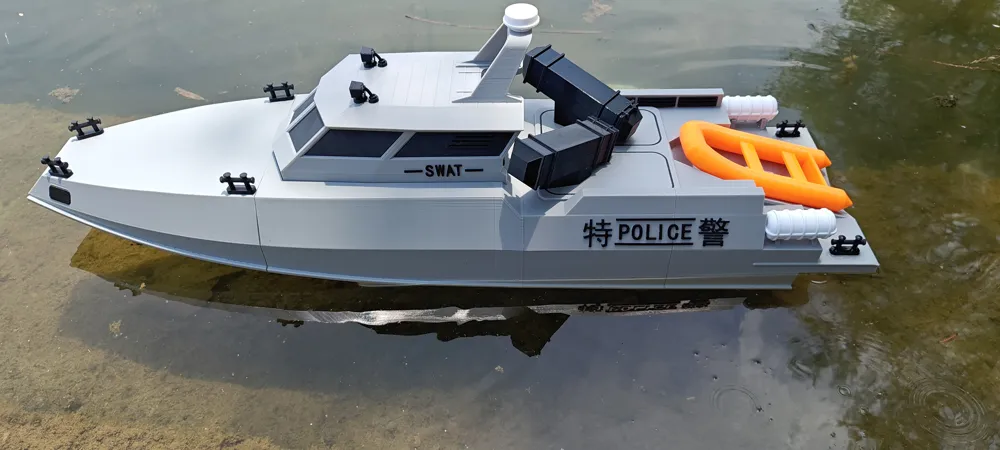
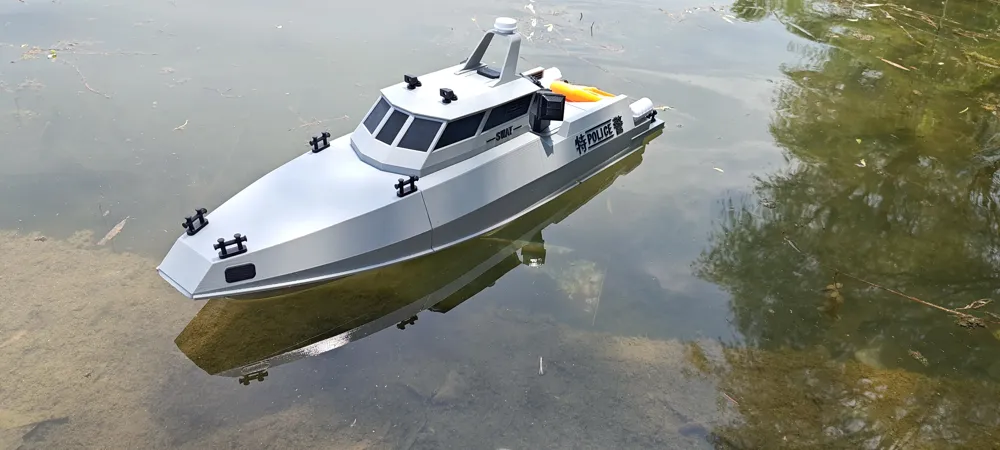
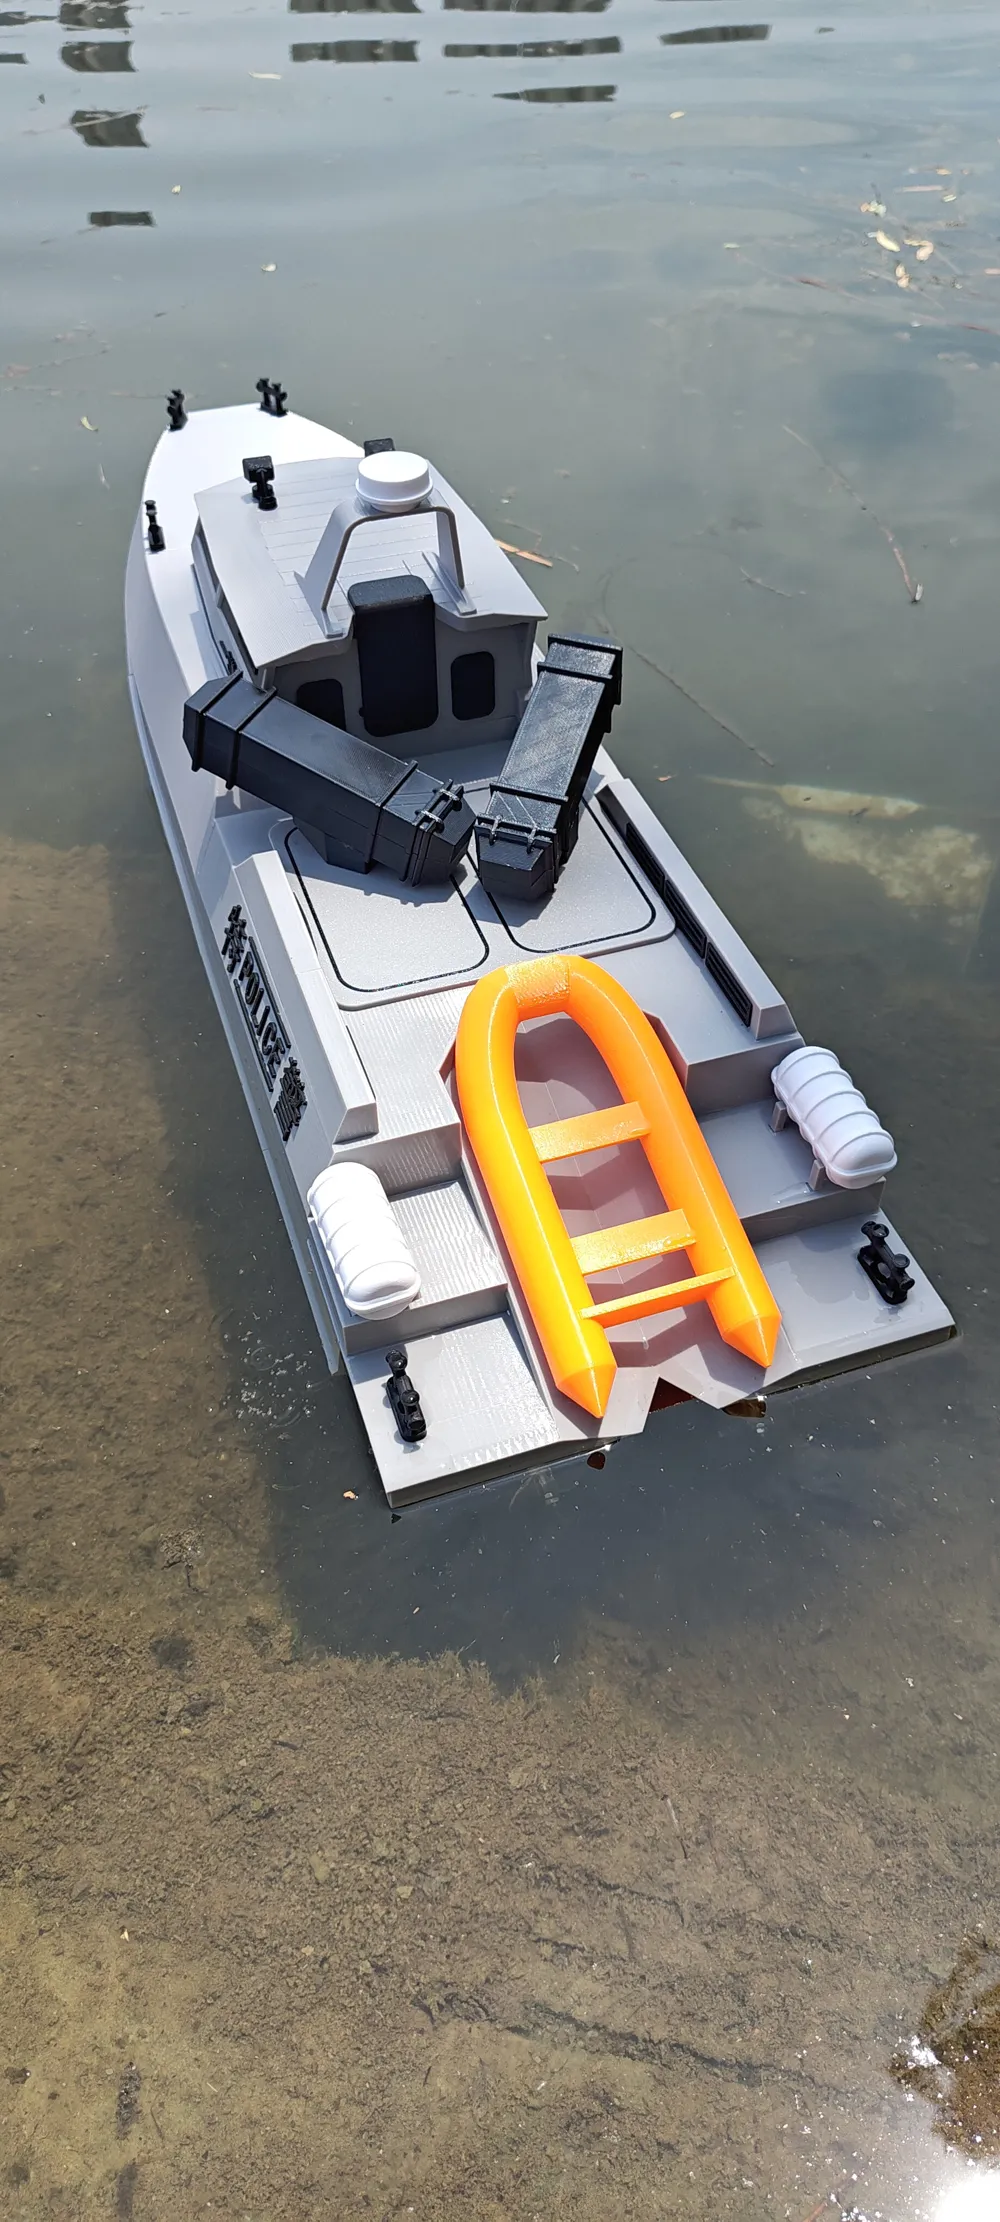
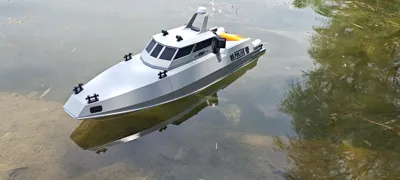
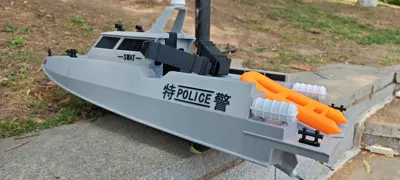
RC Swat Boat
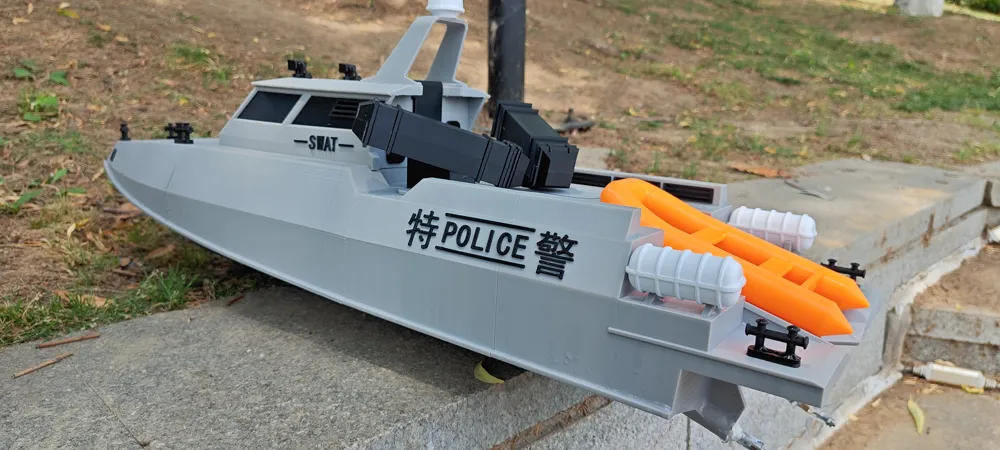
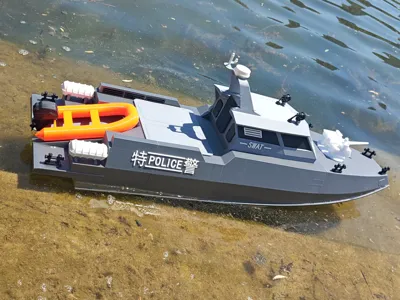
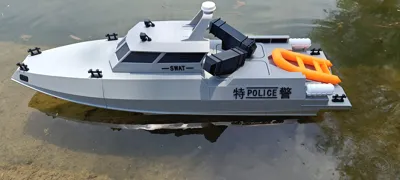
Print Profile(2)


Description
Boost Me (for free)
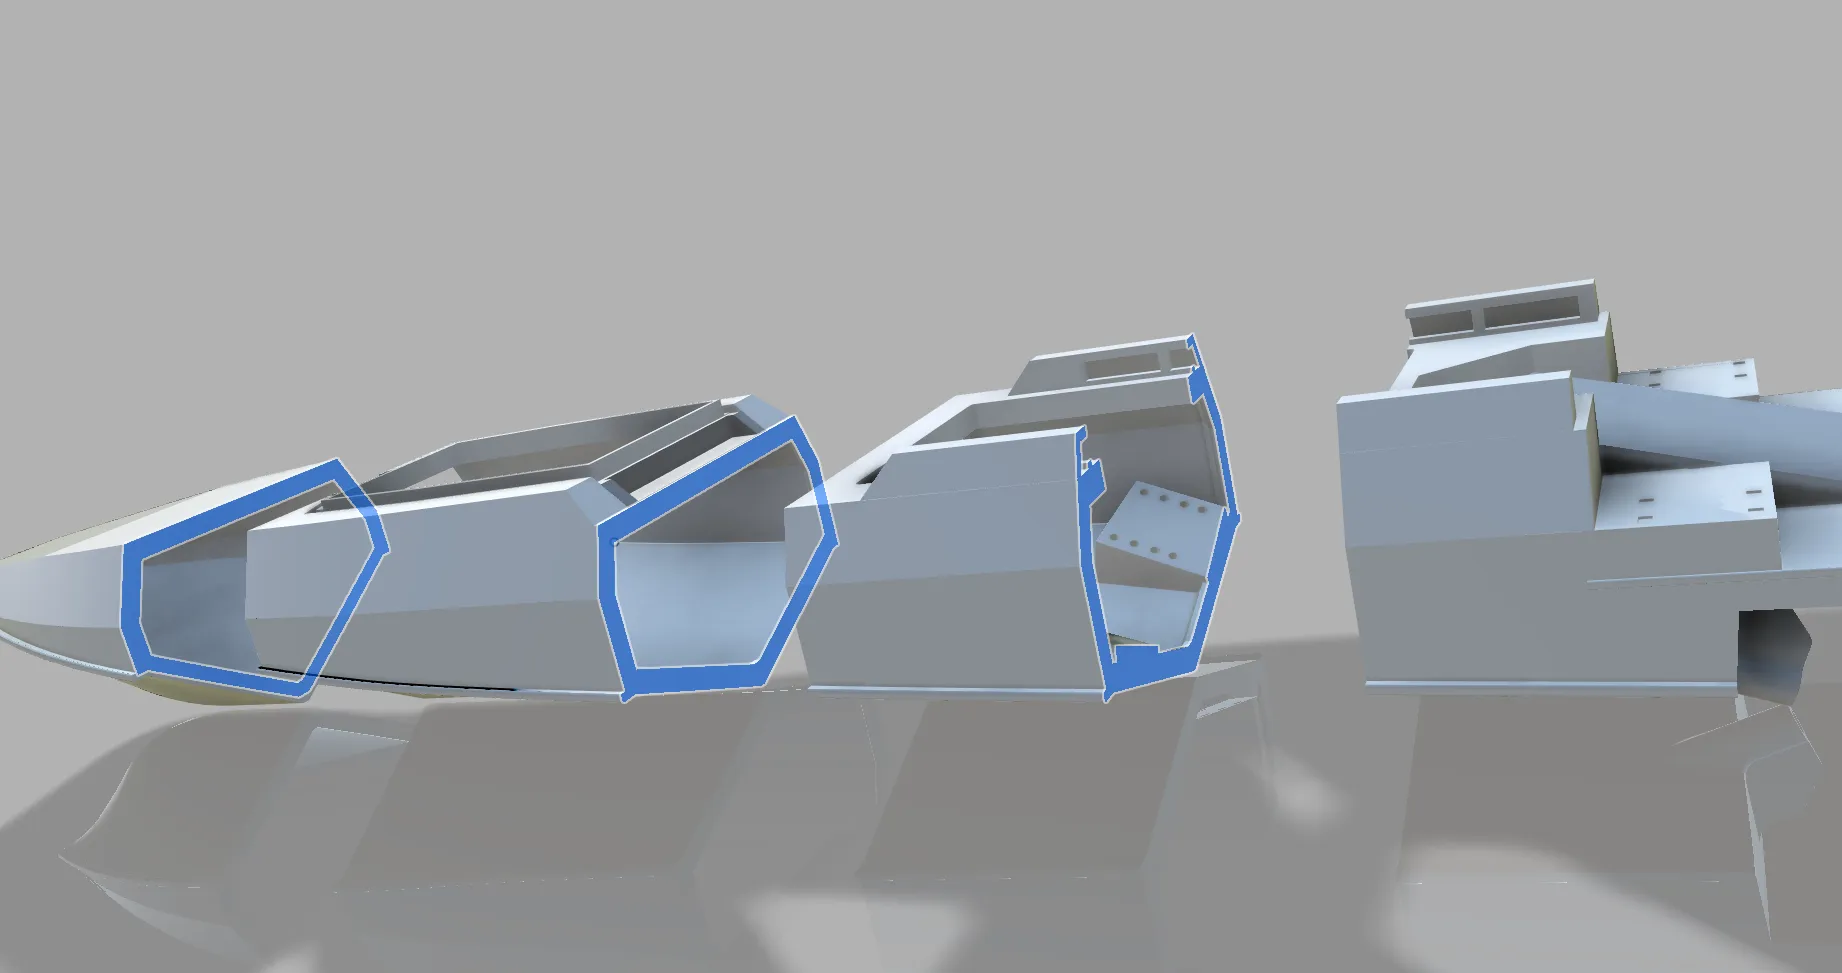
1. Apply adhesive to the highlighted areas and assemble the pieces. Remember to reapply adhesive to the seams after each piece is attached to ensure watertight integrity. Use 495 adhesive; I will provide a purchase link below.
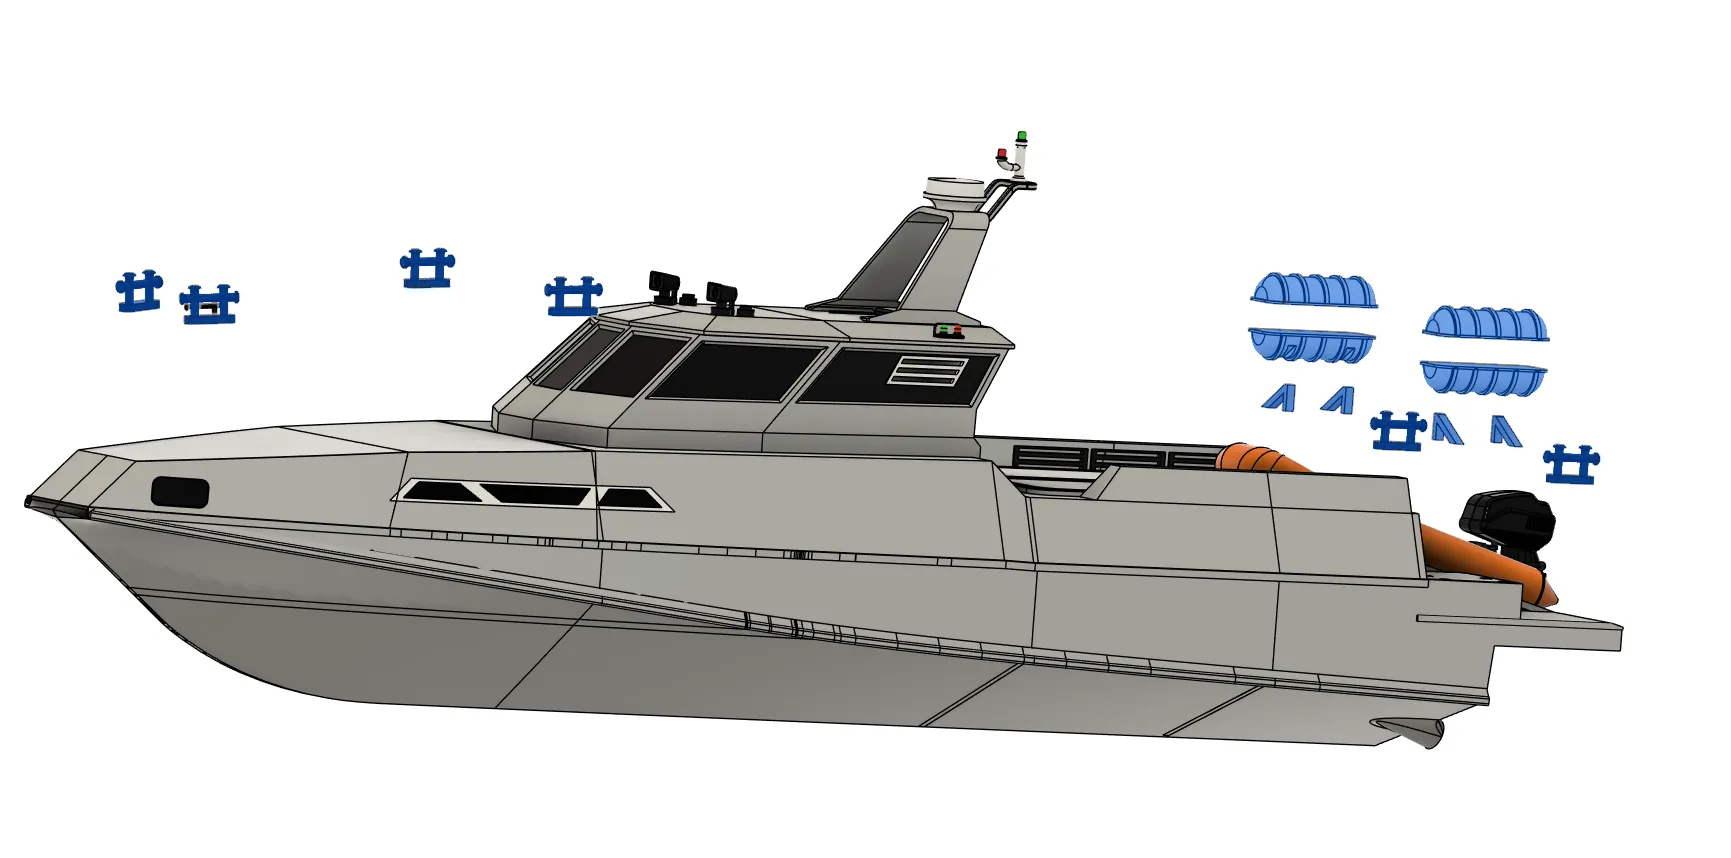
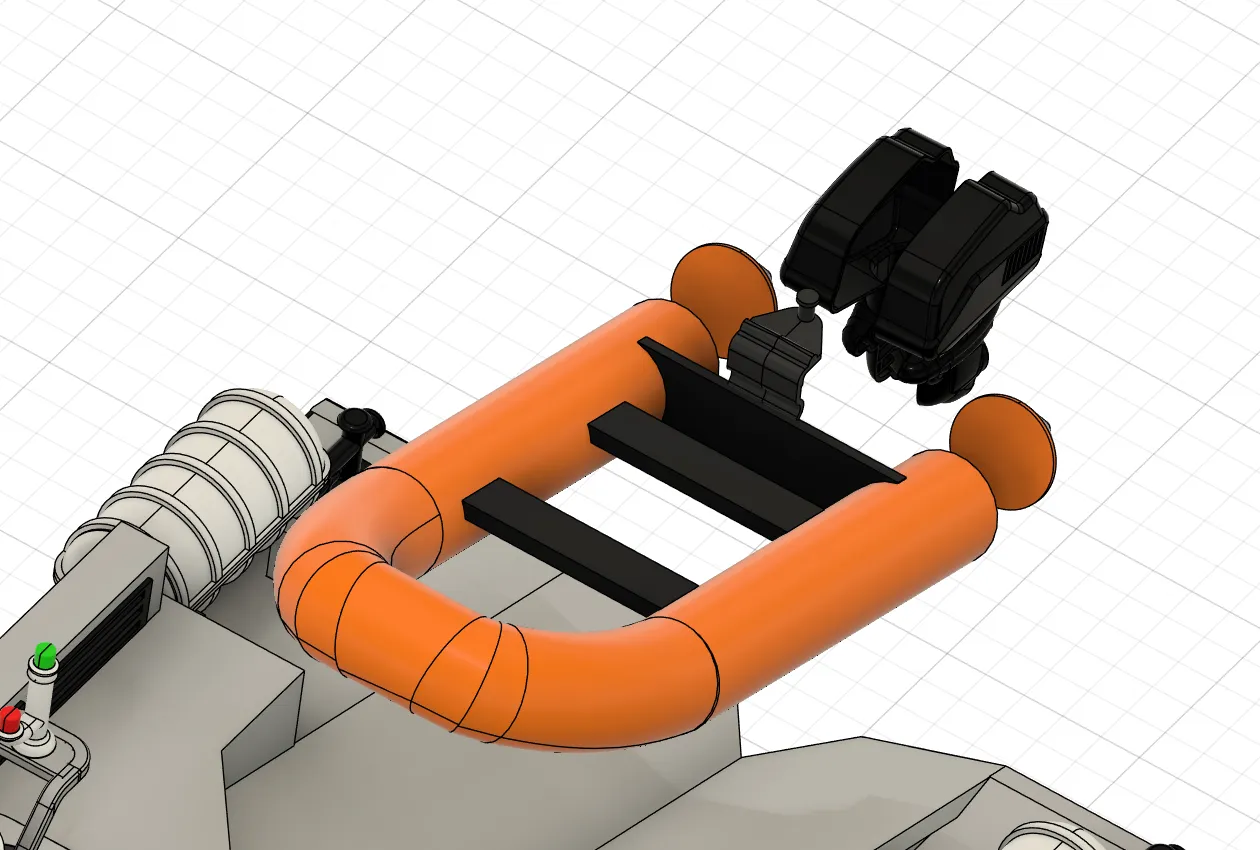
2. Install the ancillary components, securing them with 495 adhesive.
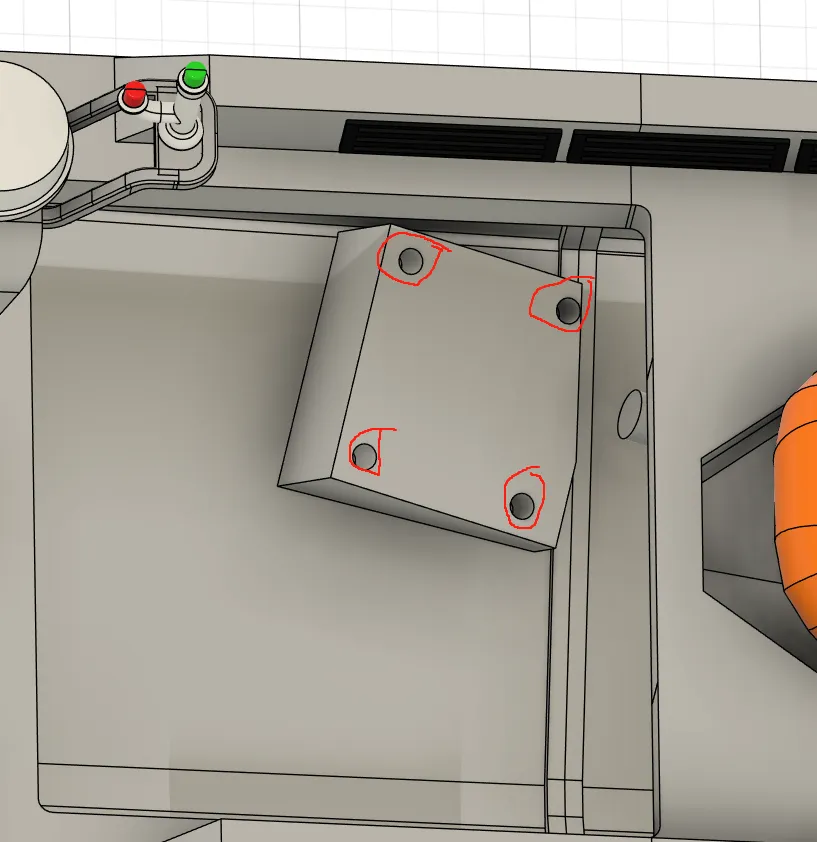
3. Once the main hull is assembled, install the eight heat-set screws into the hull compartments. Recommended screw size: M3*6*5 (diameter). Use a soldering iron for application.
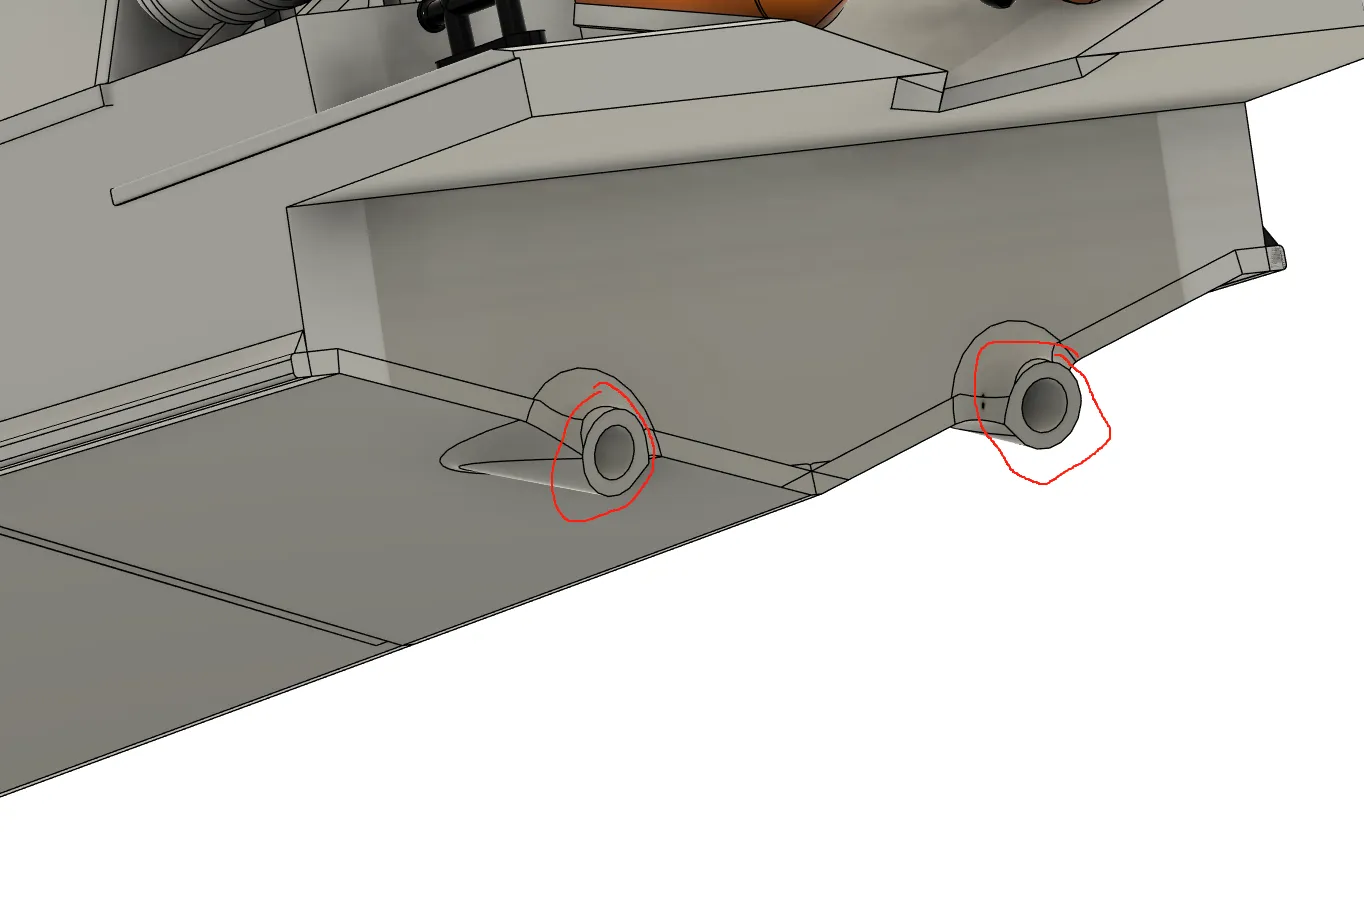
4. This location lacks a motor drive shaft mounting hole. Recommended bushing length: 13cm or 10cm; recommended drive shaft length: 15cm or 18cm. The external bushing should extend approximately 1cm. Secure with 704 adhesive, as shown:
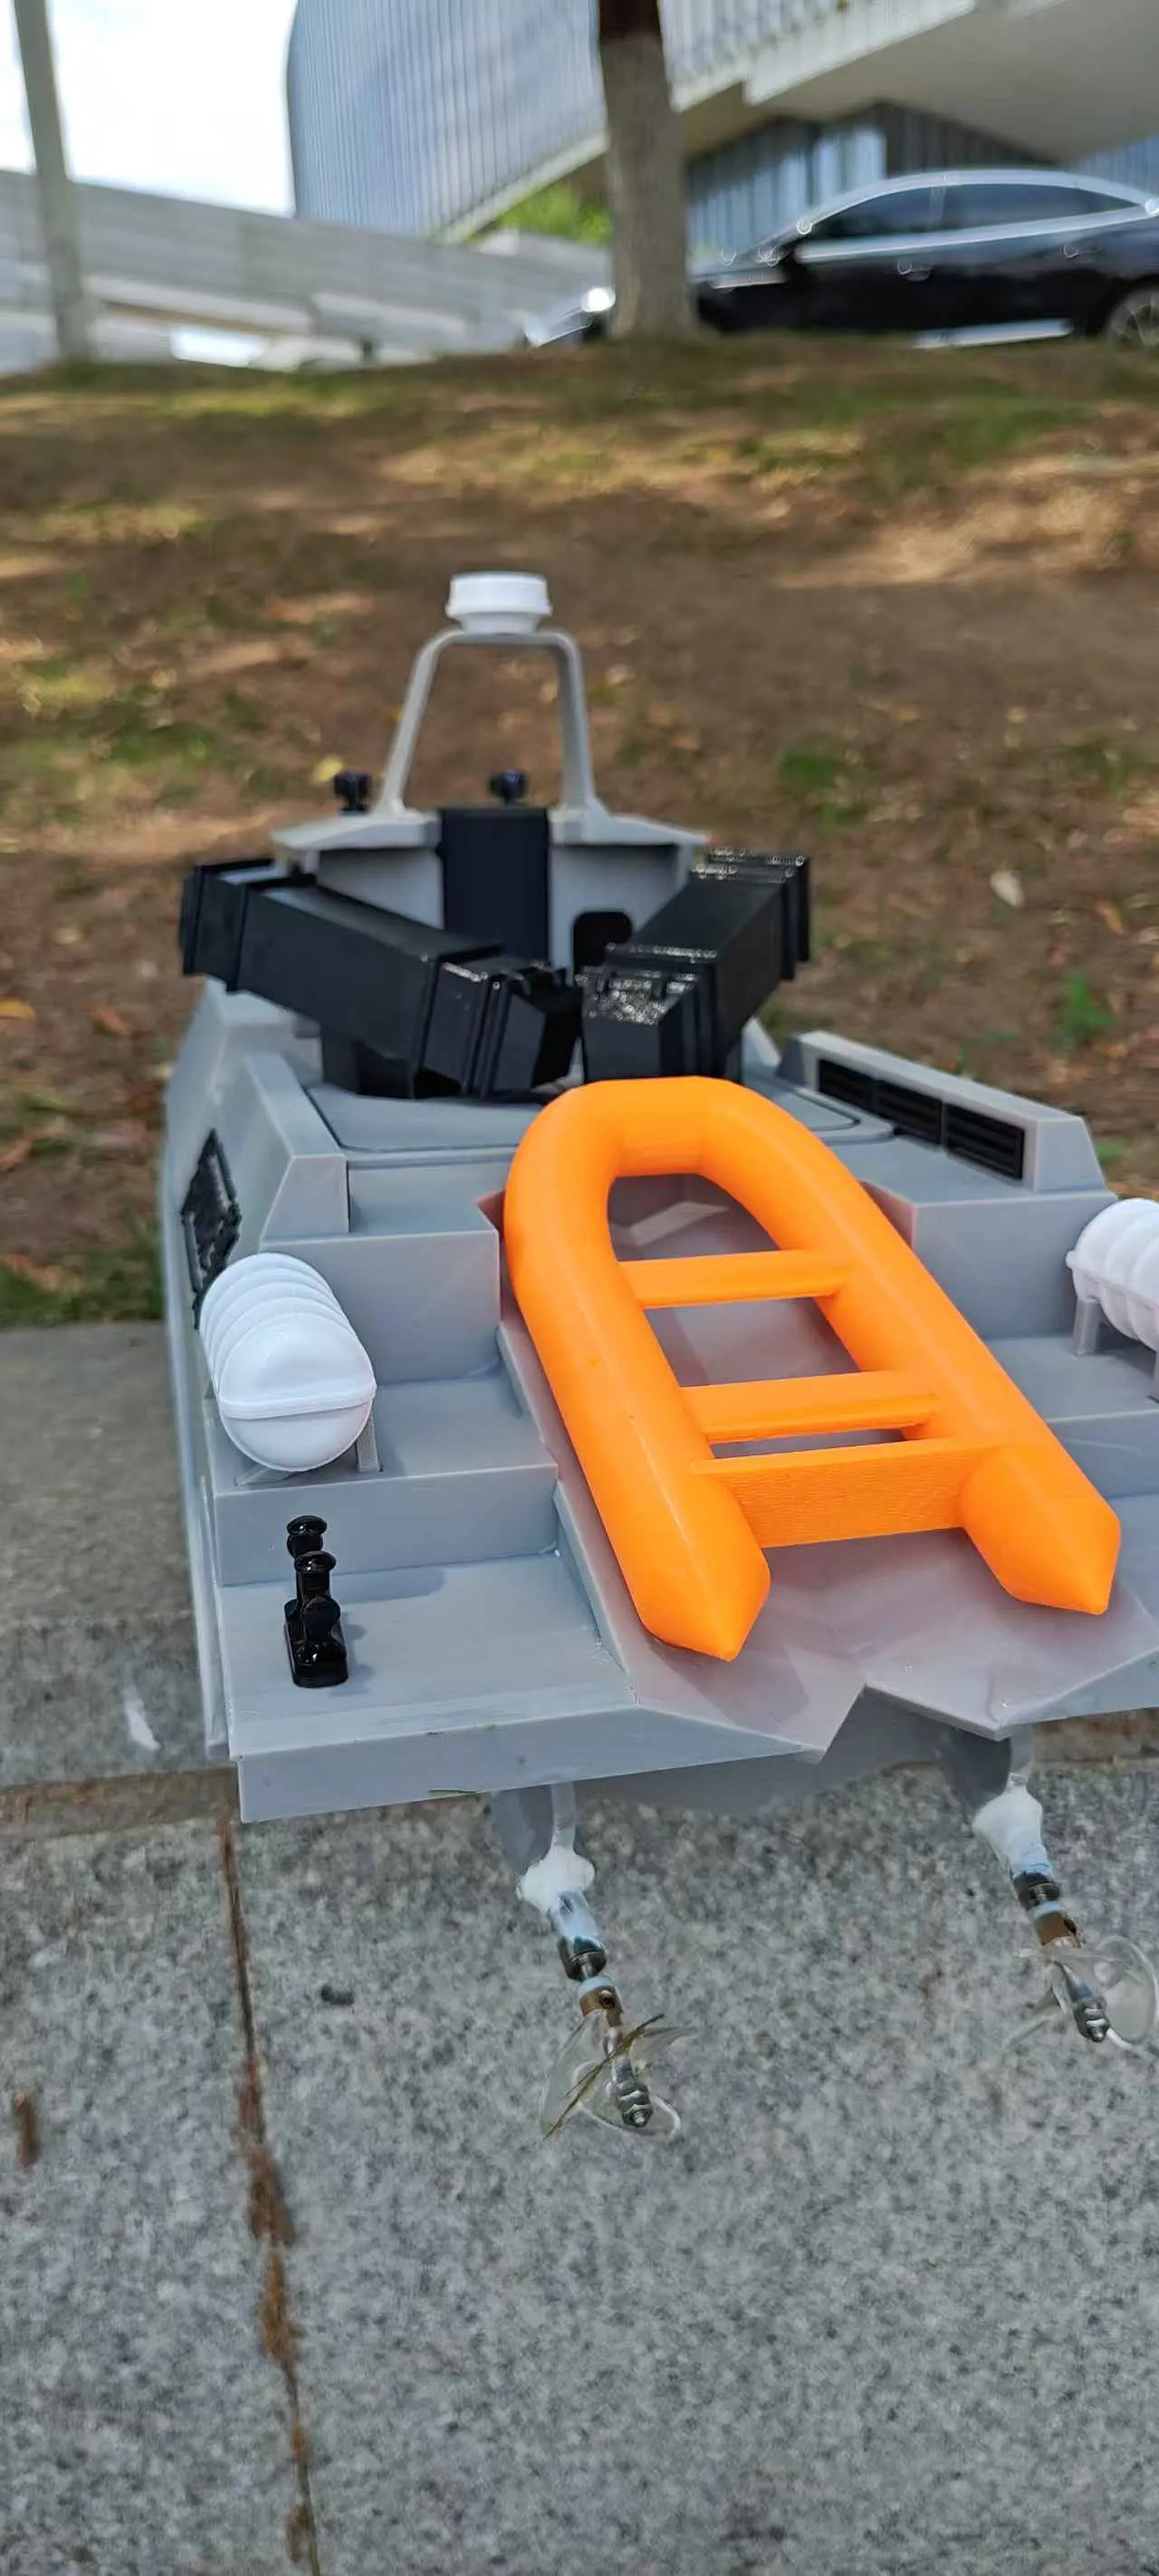
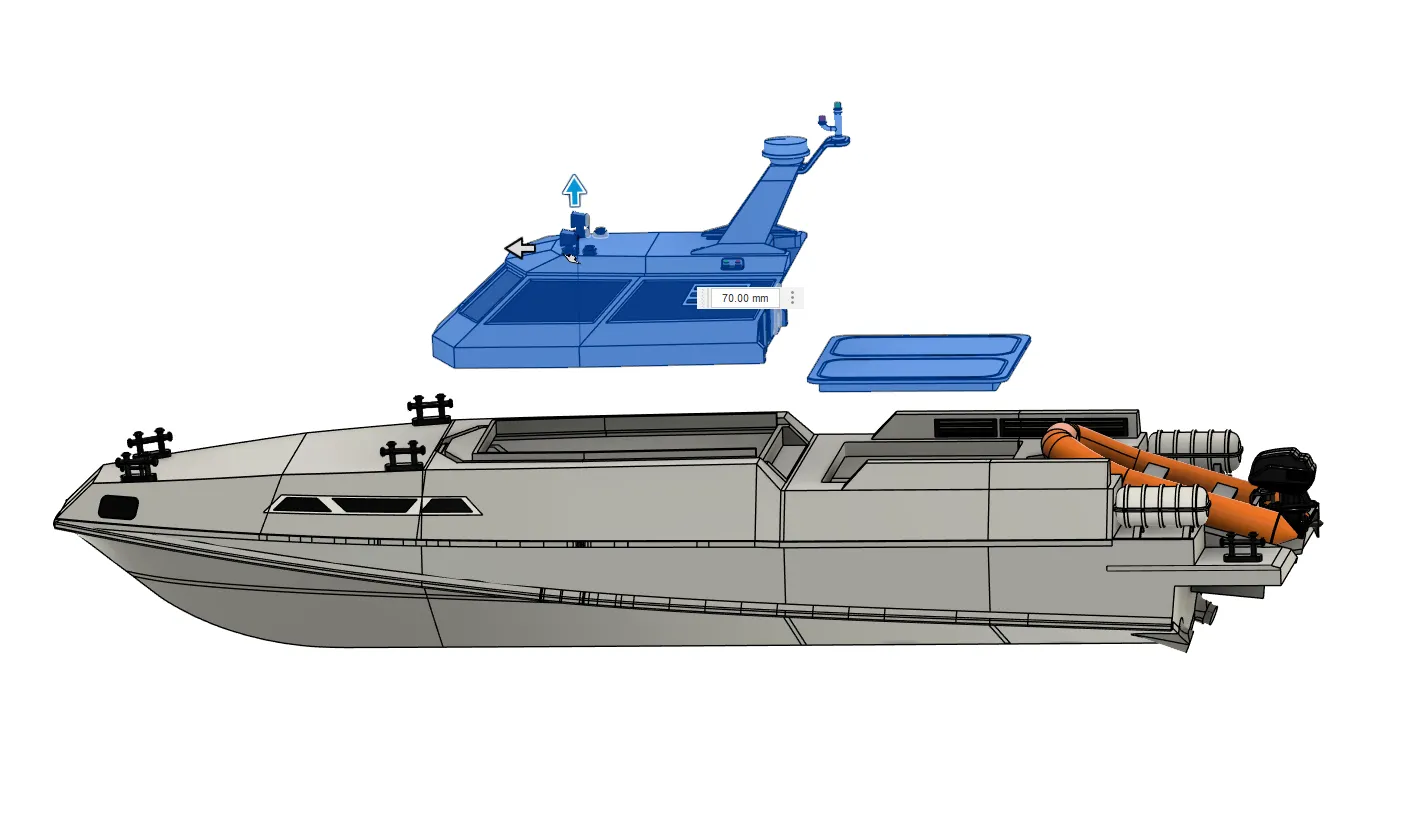
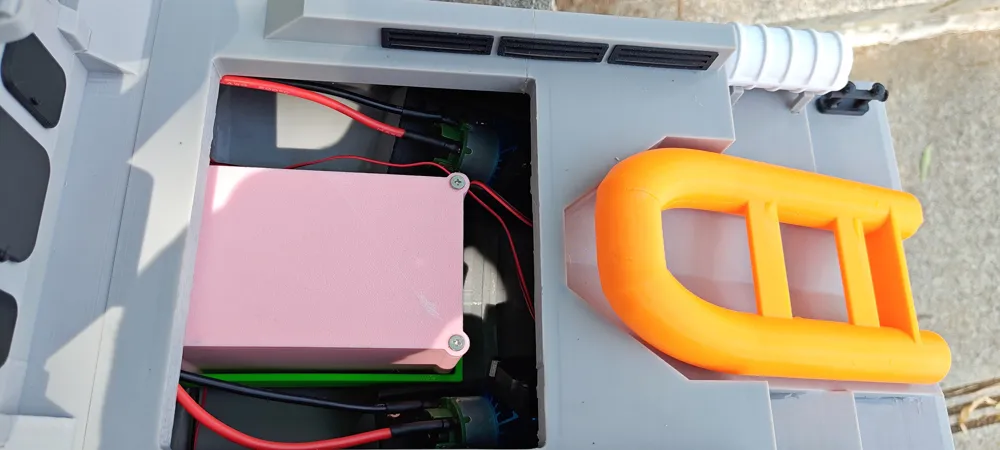
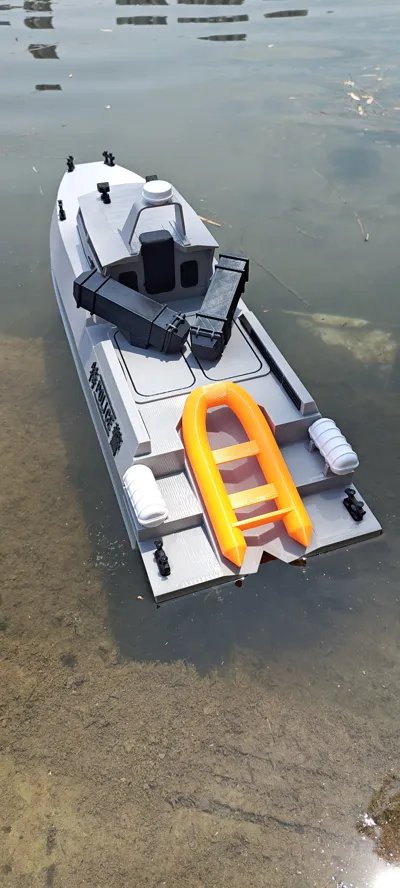
5. The image above shows the movable upper cover and upper model, both of which are designed to snap into place for easy access during maintenance.
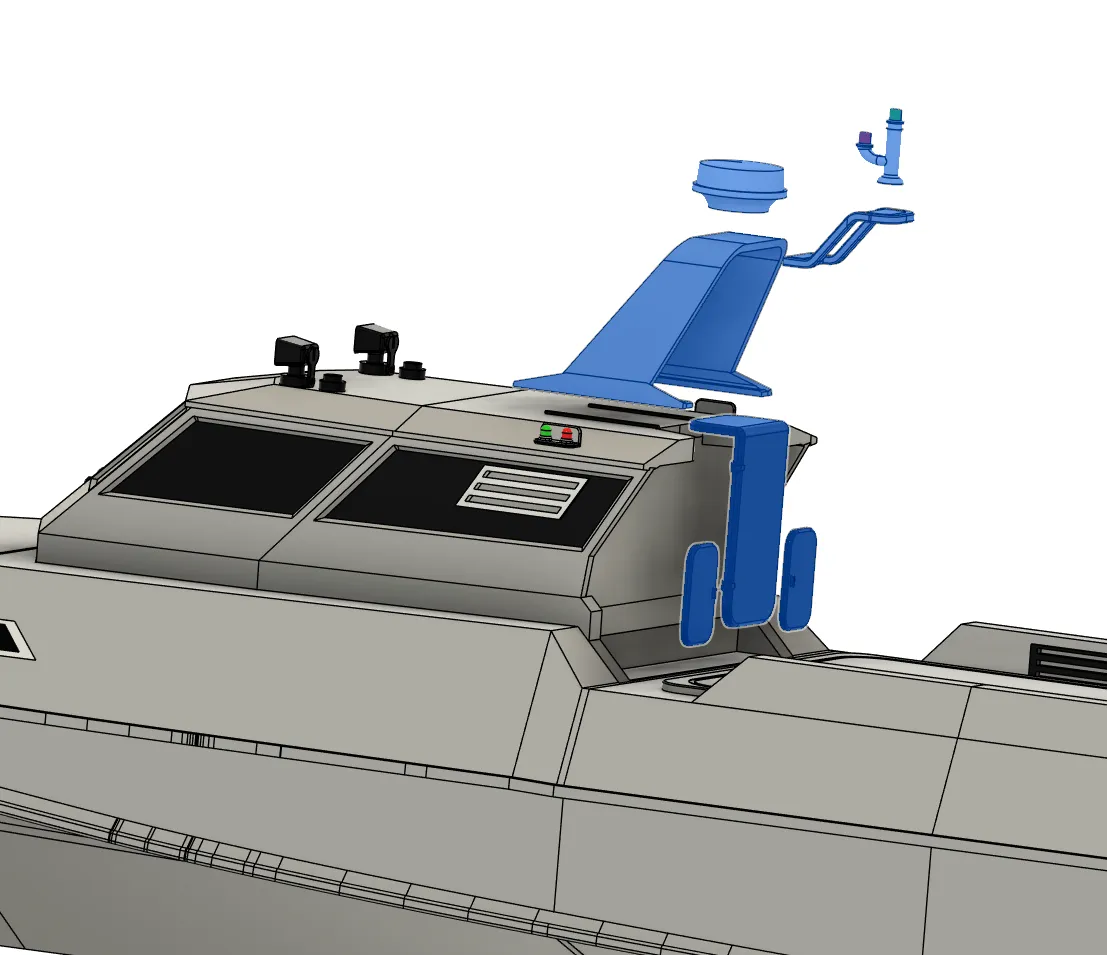
6. Finally, secure the upper model's decorative attachments with 495 adhesive. I will create a video demonstrating the assembly and securing of the searchlight; experienced builders may assemble it independently.
7. Regarding the remote control, motor, drive shaft, and propeller, use your own if available. Please resolve any compatibility issues independently.
8. Purchase links for electronic controls and other accessories are as follows:
1. Remote control purchase link: https://mobile.yangkeduo.com/goods2.html?ps=MTZEXnj0Oo (The model includes a receiver board protective shell. When sealing the receiver board protective shell, use 704 adhesive for sealing. Also seal the cable exit holes with 704 adhesive).
2. Drive shaft purchase link: https://mobile.yangkeduo.com/goods1.html?ps=1tB2OTkFTX (Select 8mm drive shaft bushings. Choose a drive shaft and connecting fittings compatible with your motor).
3. Propeller purchase link: https://e.tb.cn/h.h529cqz1h7Inab5?tk=q81bVBRwoAN HU071 (Propeller sizes: 28, 30, 32, and 34 are all viable options. Ensure compatibility with your drive shaft size when purchasing).
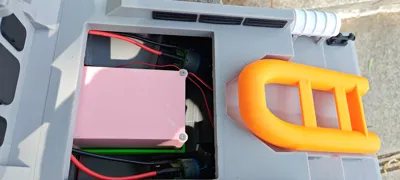
4. Use 21700 batteries; ensure a minimum 15A rated discharge rate. Use a battery protection board with a 25A rating or higher. Purchase independently. The model includes a battery protective shell and secure mounting locations within the hull compartment. When sealing the battery protective shell, use 704 adhesive for sealing. Also seal the cable exit holes with 704 adhesive.
5. Recommended motor purchase link: https://e.tb.cn/h.h51nV9XVf3heggy?tk=pzViVB8XGmC tG-#22>lD (Why this motor? It is affordable, has sufficient power, and generates minimal heat).
6. Recommended 495 adhesive purchase link: https://e.tb.cn/h.h5caiM2o04XZtWN?tk=DJhfVB8mGmu MF168
7. Recommended 704 adhesive purchase link: https://e.tb.cn/h.h5c0piIXenlCsoO?tk=4qIdVB8ne4u CZ193
8. Recommended wire harness: 14AWG or 16AWG soft silicone wire; purchase independently.
9. A detailed installation video will be provided subsequently.
10. Thank you for watching. If you found this helpful, please consider boosting this project. Thank you for your support.
11. For the motor mount, I used Inslogic's high-temperature resistant PA6-CF and Taku's PET-CF.
License

You shall not share, sub-license, sell, rent, host, transfer, or distribute in any way the digital or 3D printed versions of this object, nor any other derivative work of this object in its digital or physical format (including - but not limited to - remixes of this object, and hosting on other digital platforms). The objects may not be used without permission in any way whatsoever in which you charge money, or collect fees.


Comment & Rating (22)