
00024 Lettering Chaos Queen
Print Profile(2)


Description
Boost Me (for free)
Boost it if you print it! Boosts cost you nothing, but help me develop new designs.
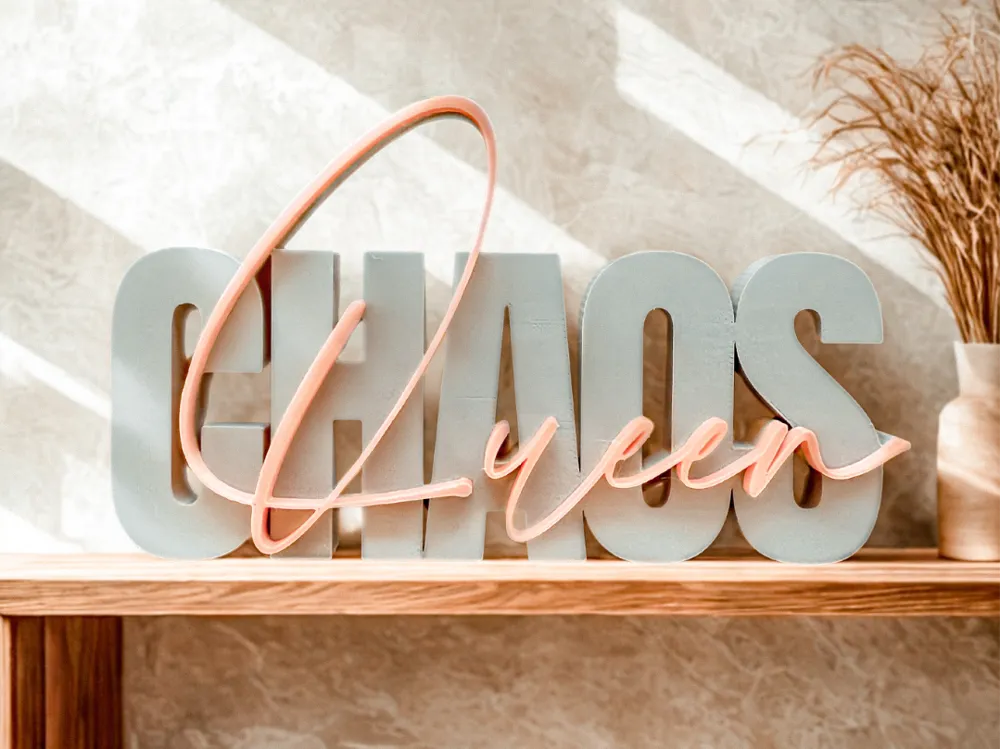
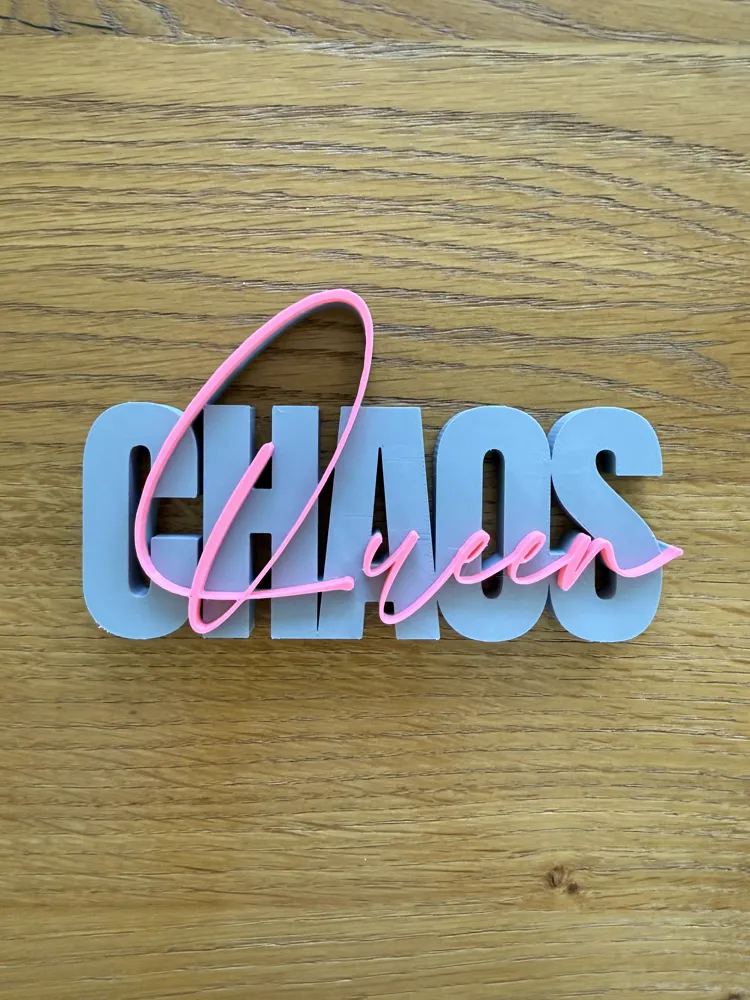
Lettering - Chaos Queen
For all who truly thrive in creative chaos: The 'Chaos Queen' lettering brings humor and personality to your home. With modern block letters and the lively 'Queen' lettering, it appears both stylish and playful. A true statement for everyone who wears their chaos with pride. ✨
💡 Ideal as:
- Gift for girlfriends, sisters, or colleagues with a sense of humor
- Eyecatcher in the living room, office, or creative workspace
- Charming decoration for girls' nights or personal cozy corners
📏 Dimensions: 154 × 90 × 15 mm
🖨️ Test print with Bambulab A1
📦 Included print profiles:
- AMS without Smoothing:
- Filament change is already set (Base = Color 1, Lettering = Color 2)
- Smoothing not set (Quick guide for setting the smoothing function under FAQ below)
- PAUSE without Smoothing:
- With pause for manual filament change without AMS
- Smoothing not set (Quick guide for setting the smoothing function under FAQ below)
- Separate parts:
- Base and lettering are printed separately and then glued together
- for a particularly clean surface
- faster printing
- additional effort due to gluing together
- Base and lettering are printed separately and then glued together
❓ FAQ:
- How can I make the lettering deeper?
- It is best to use the mirrored version for this.
- Click on the corresponding object on the plate.
- Select the "Scale" icon at the top of the bar.
- Remove the checkmark for "Uniform Scaling".
Enter the desired depth of the lettering in mm in the Z column of the Size column.
- How can I smooth the surface of the lettering in the non-mirrored versions?
- In the left menu, go to "Global" under Process.
- In the "Quality" tab, scroll down to the "Ironing" option.
- For "Ironing Type", select "All surfaces".
- Depending on the printer and filament, further settings may need to be adjusted in the detail settings to achieve a clean result.
⚖️ Legal Notice:
- Copyright belongs to me as the designer.
- Liability for faulty prints, material loss, or damages is excluded.
- Preview image and description were generated with the help of AI.
🔧 Found an error?
- Feel free to let me know – I will adjust the file as soon as possible.
💭 Have a wish in mind?
- I welcome suggestions for new lettering!
License

You shall not share, sub-license, sell, rent, host, transfer, or distribute in any way the digital or 3D printed versions of this object, nor any other derivative work of this object in its digital or physical format (including - but not limited to - remixes of this object, and hosting on other digital platforms). The objects may not be used without permission in any way whatsoever in which you charge money, or collect fees.


Comment & Rating (5)