
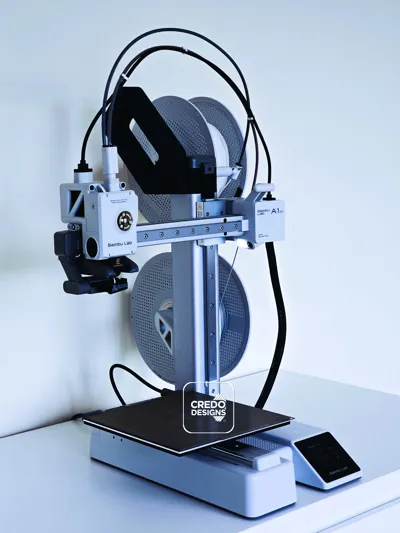
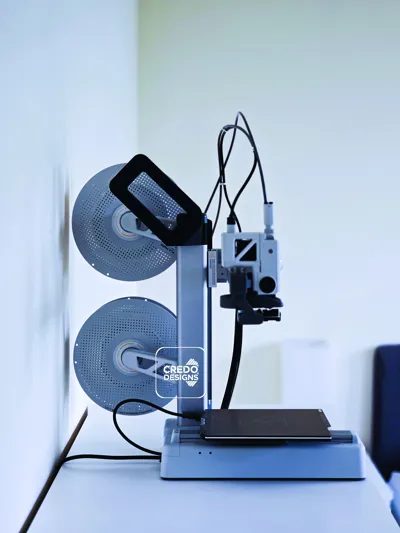
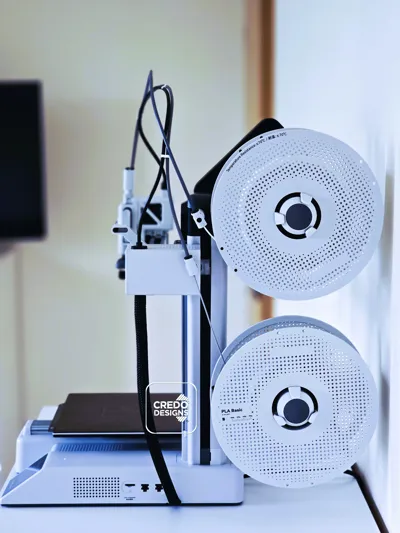
A1 Mini Second Spool Holder With Optional Handle
Print Profile(3)


Bill of Materials




- PTFE Tube Connector - A1 x 1: https://eu.store.bambulab.com/products/ptfe-tube-connector-a1
- Spool Holder - A1 Mini x 1: https://eu.store.bambulab.com/products/spool-holder-a1-mini
- Optional: Yellow AMS Lite Rotary Spool Holder x 2: https://eu.store.bambulab.com/products/ams-lite-rotary-spool-holder
- PTFE Tube Connector A1 Mini x 1: https://eu.store.bambulab.com/products/ptfe-tube-connector-a1-mini
Description
Boost Me (for free)
Thanks for checking out my design! Your support in the form of a Free Boost would be genuinely appreciated. It makes a real difference and motivates me to keep creating and adding new models to my page. Be sure to give me a follow so you don't miss out on my latest uploads.
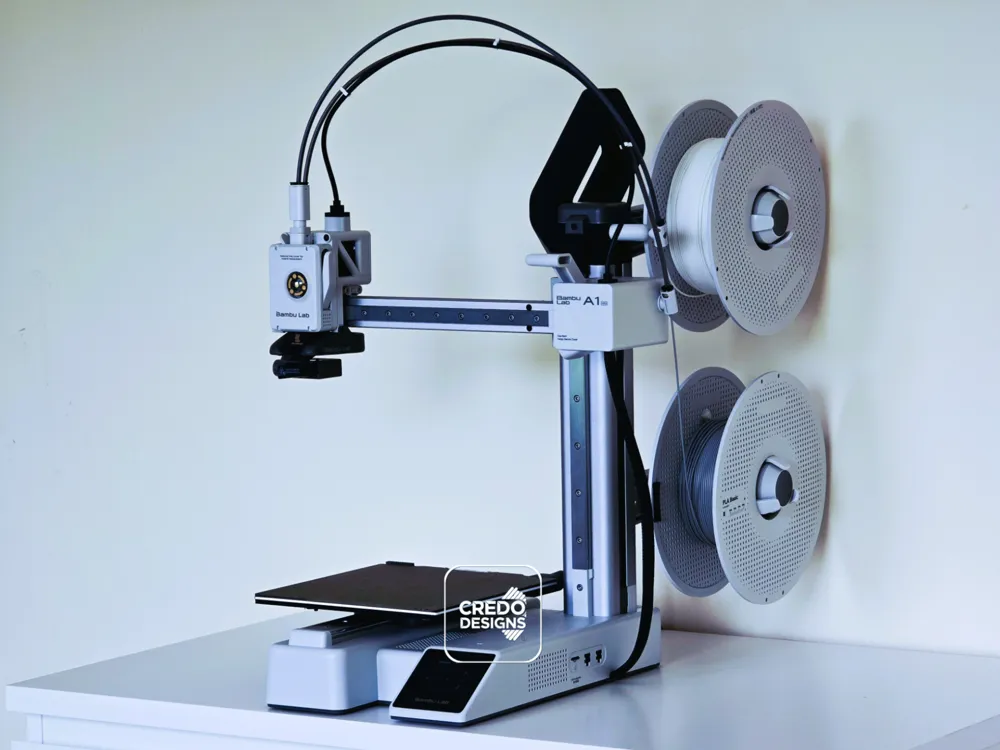
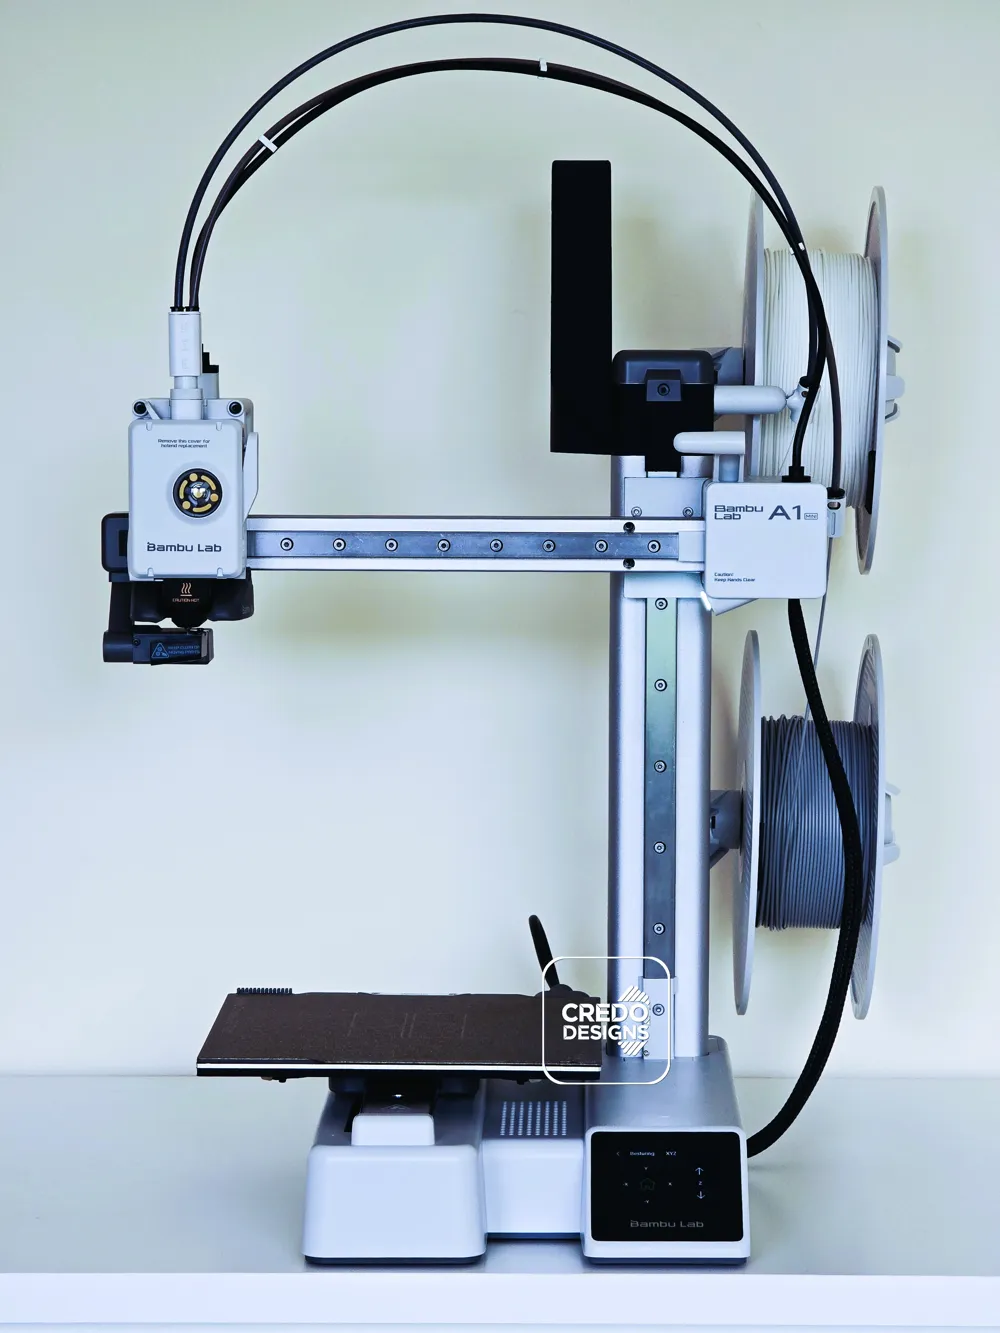
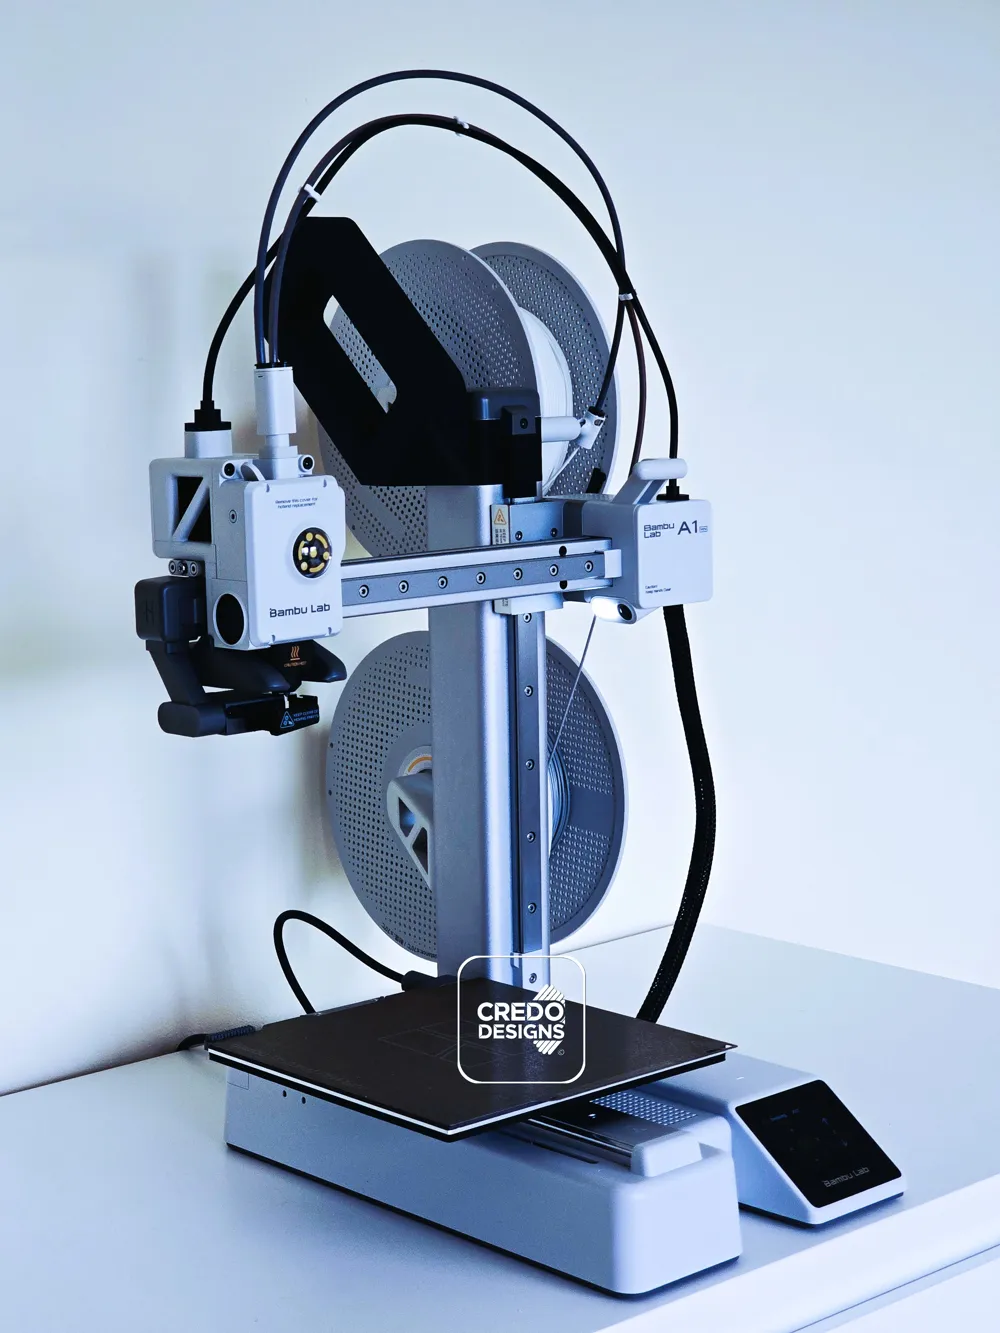
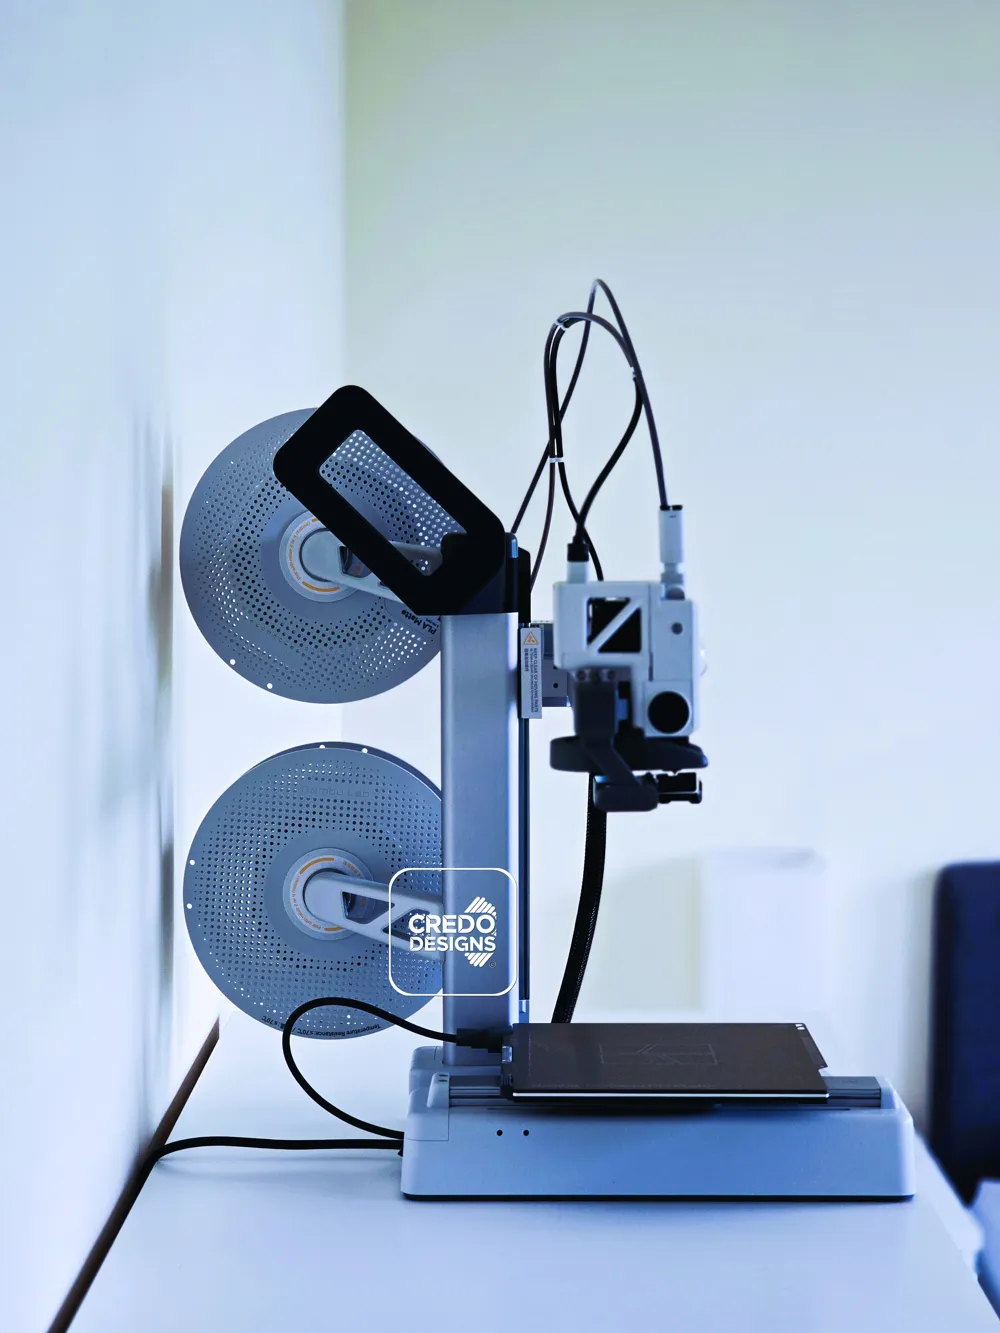
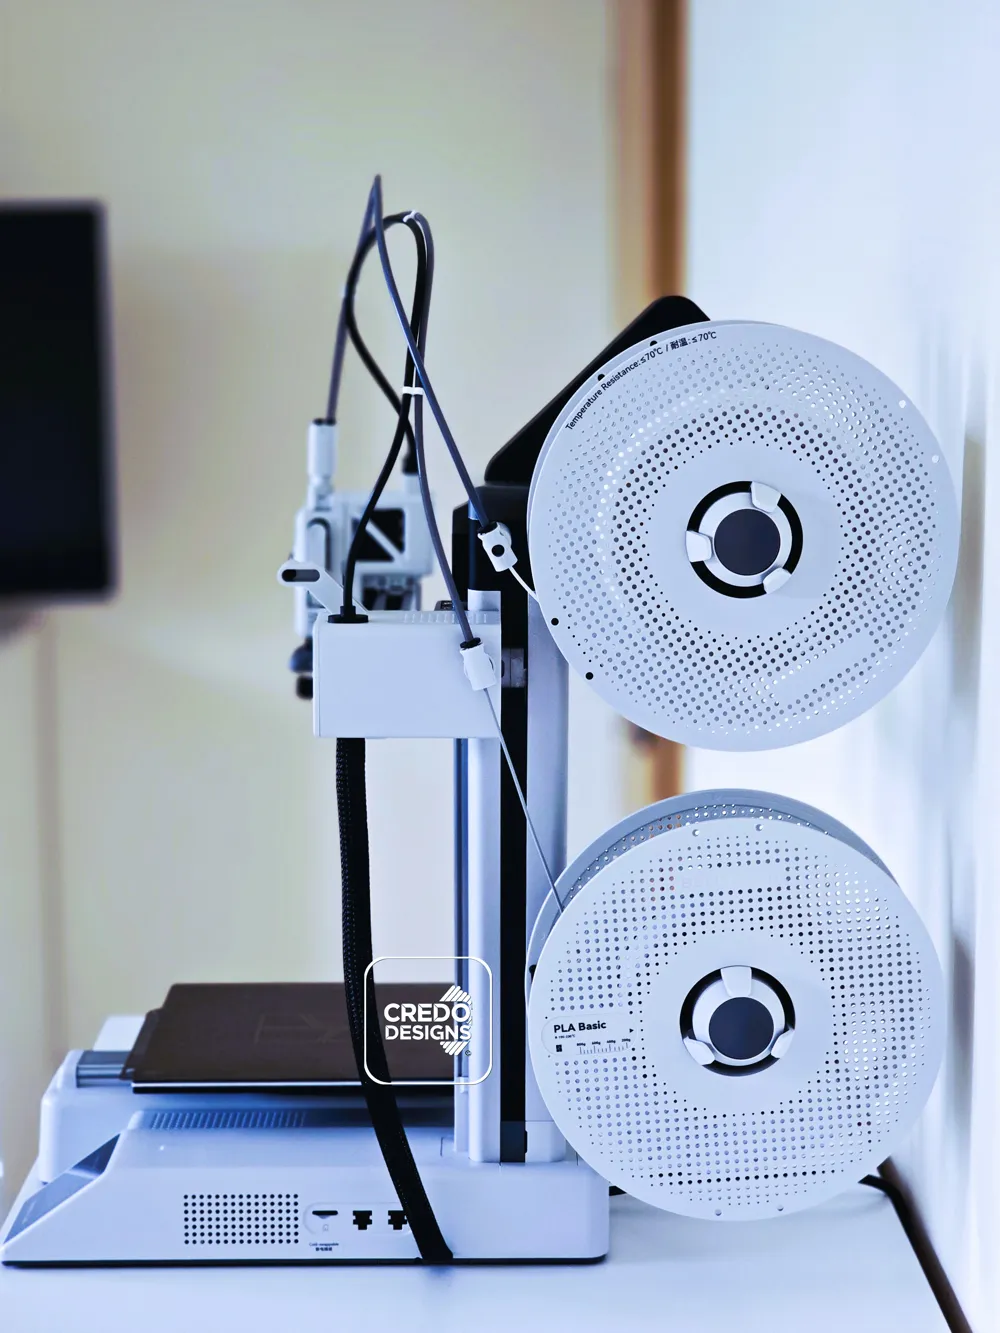
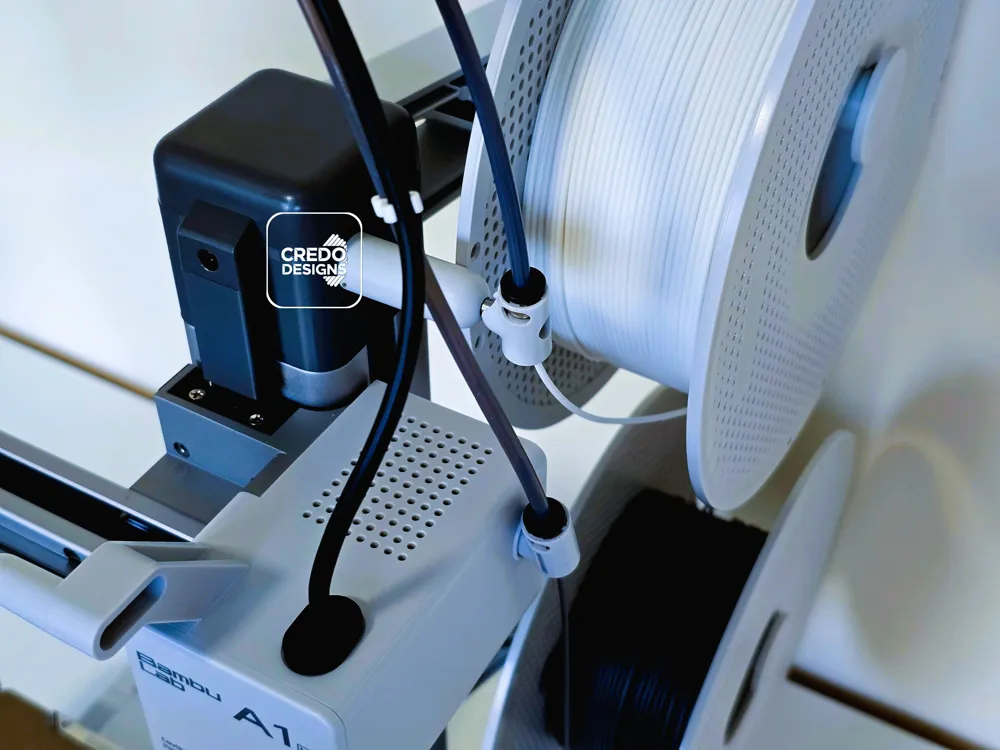
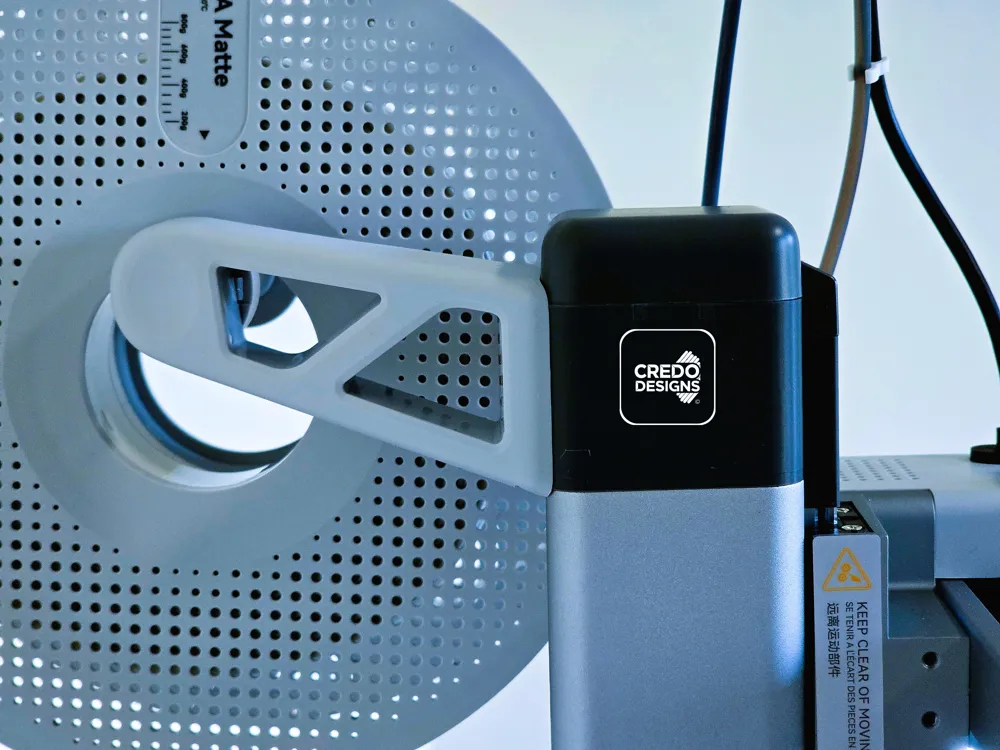
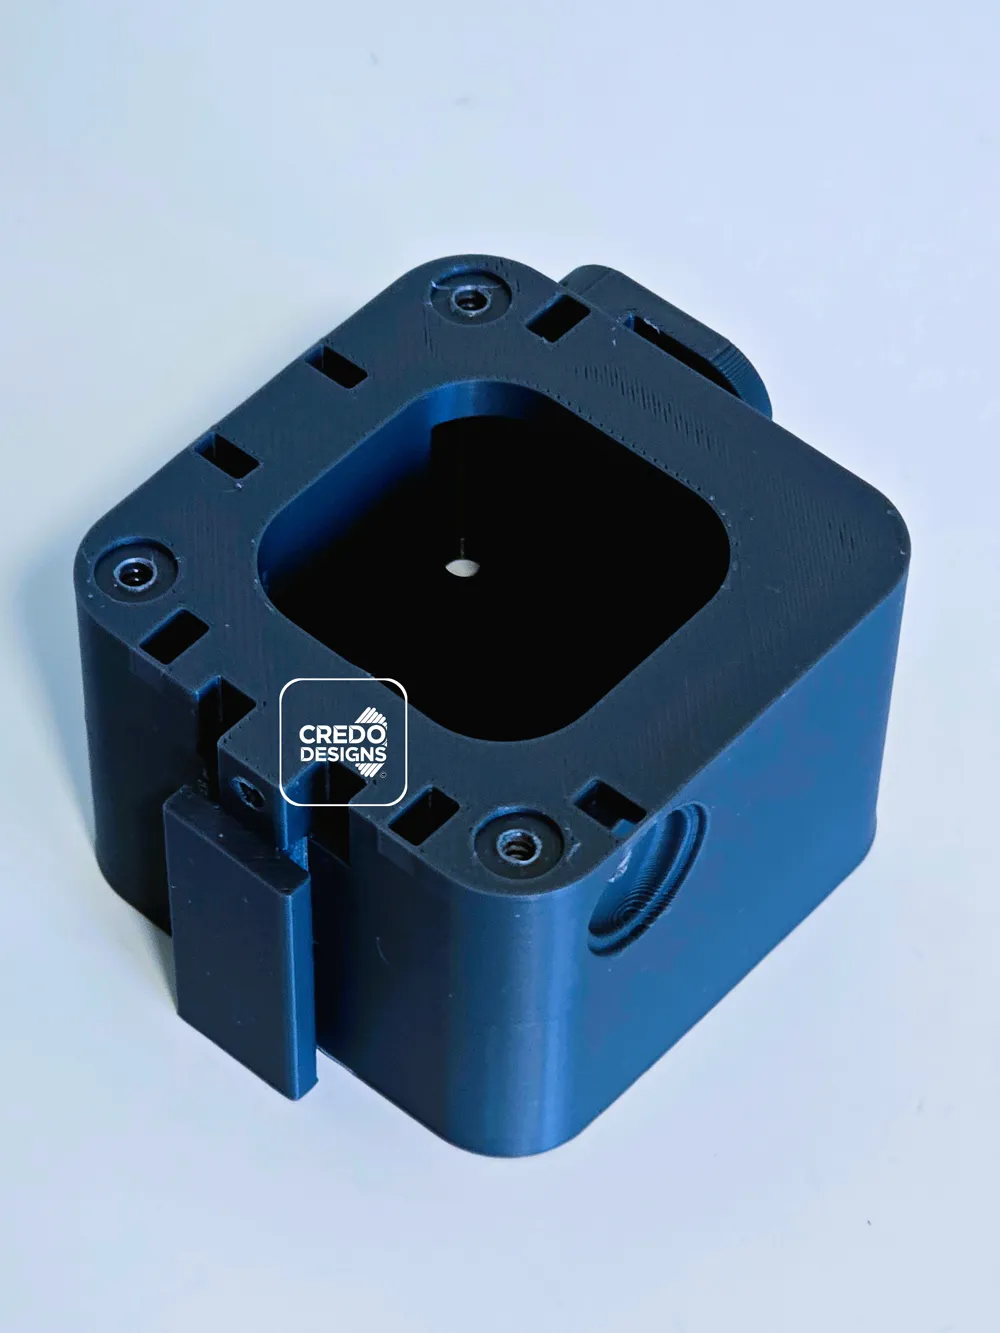
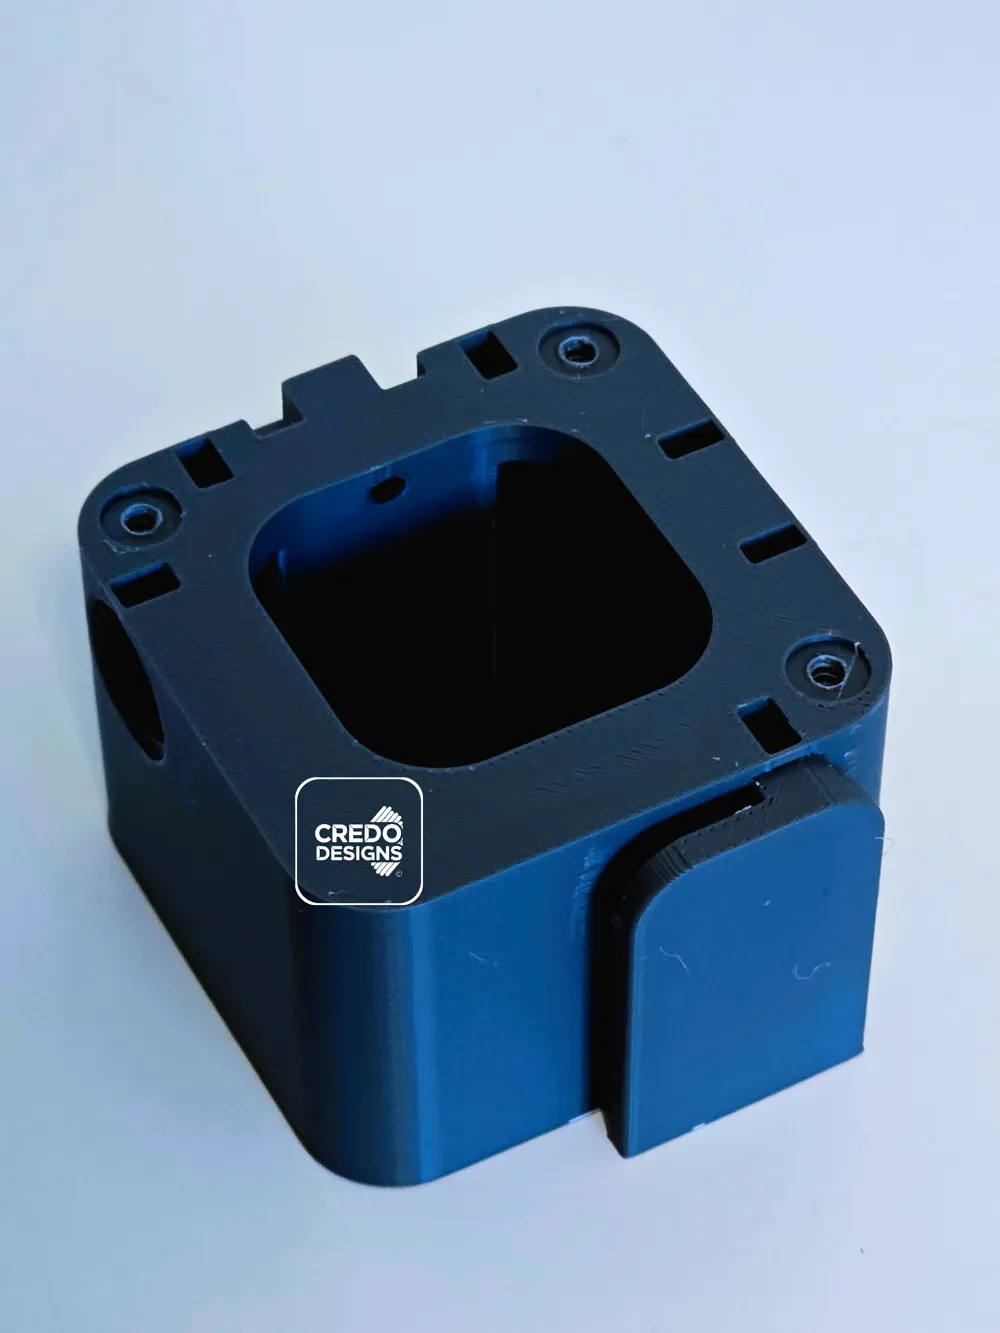
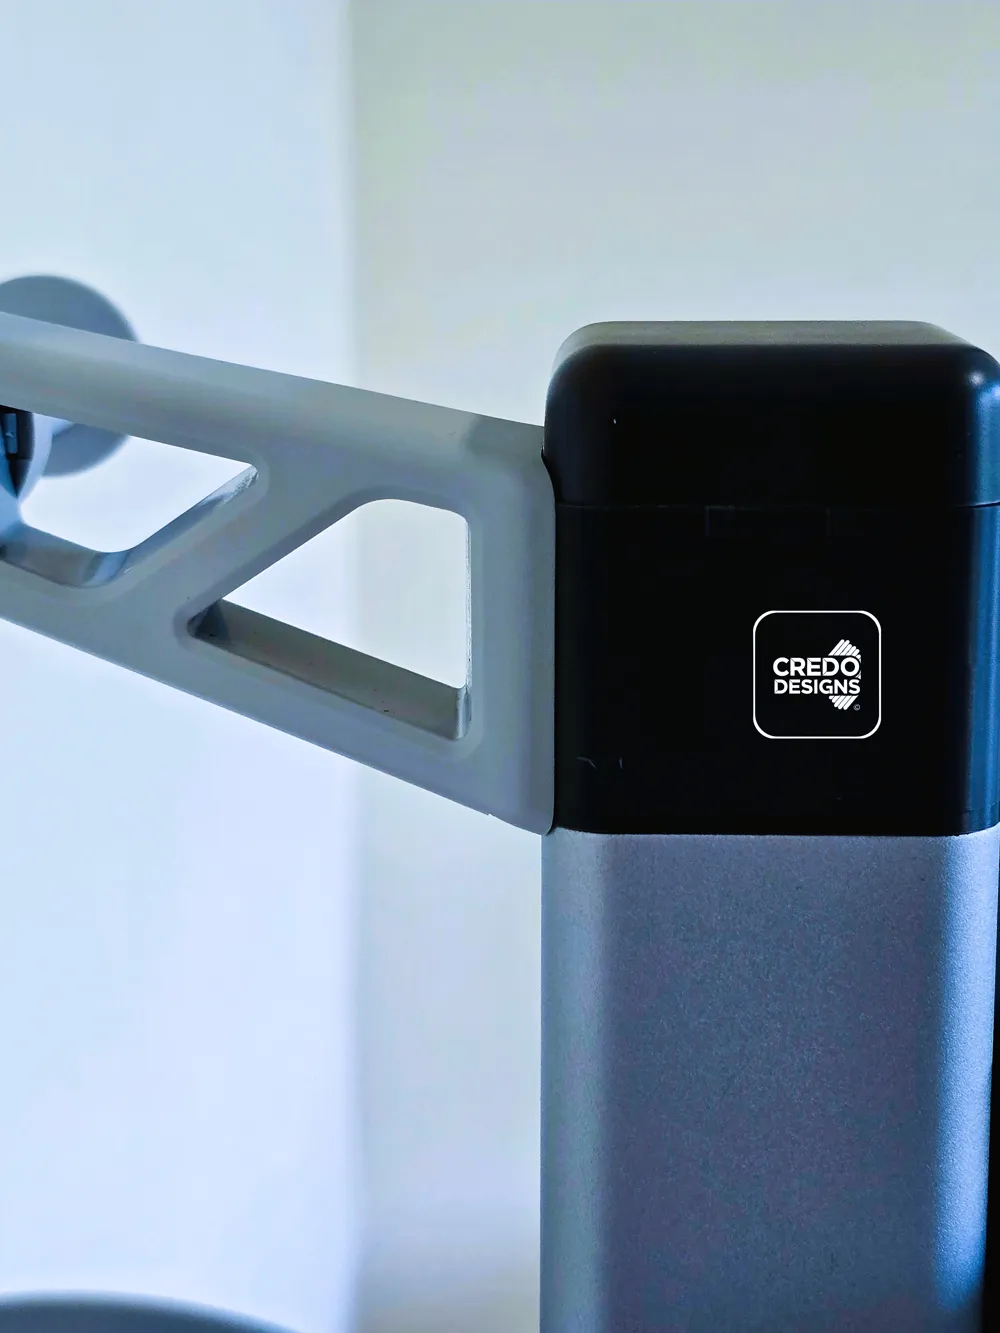
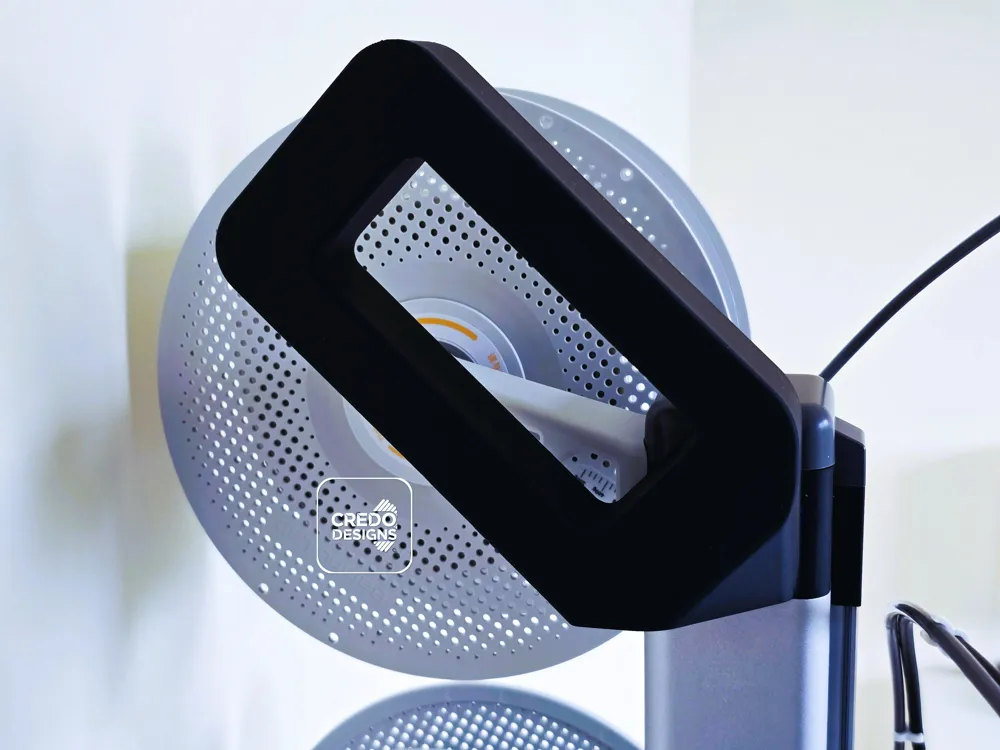
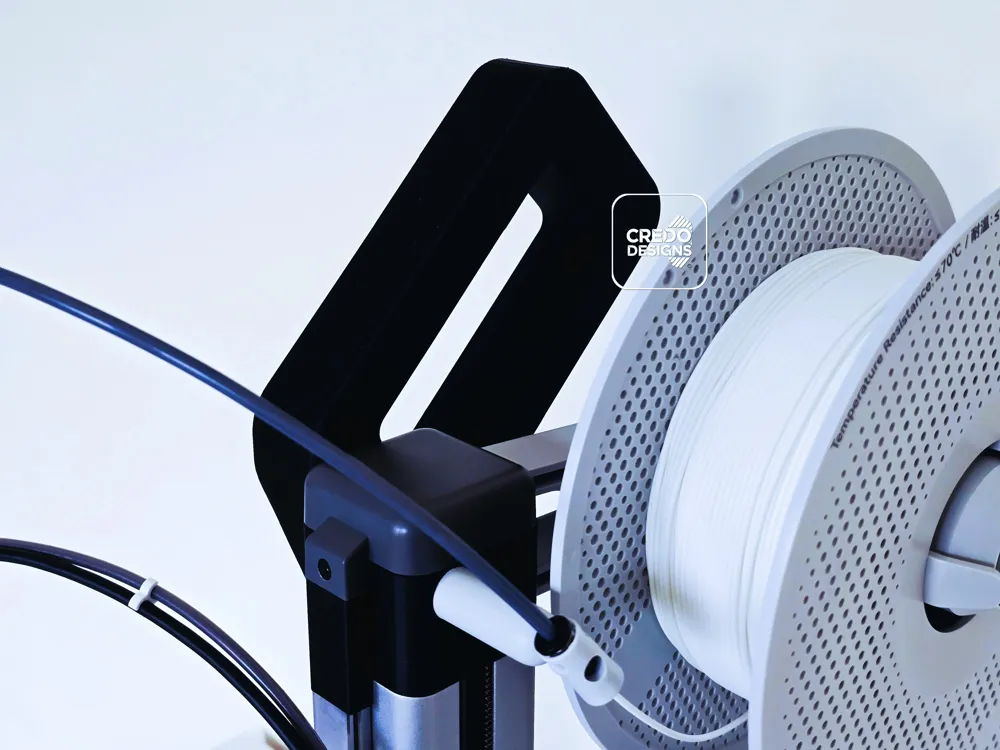
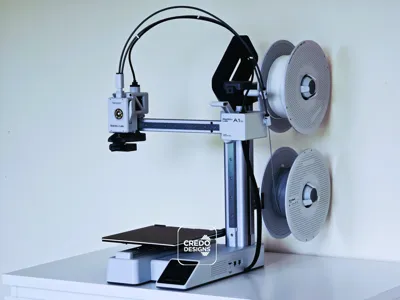
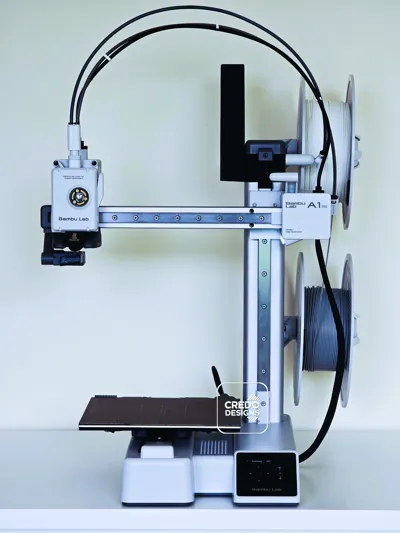
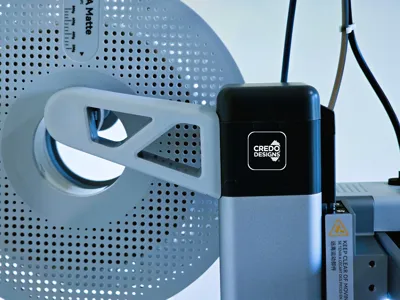
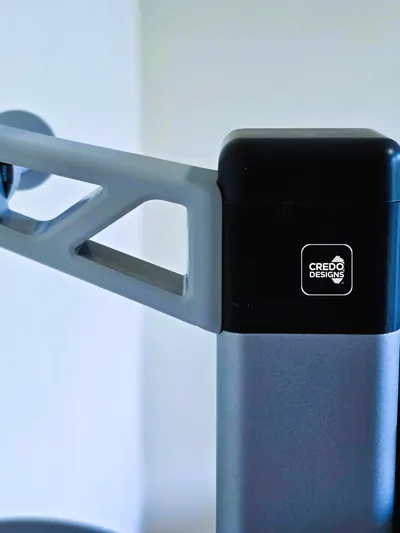
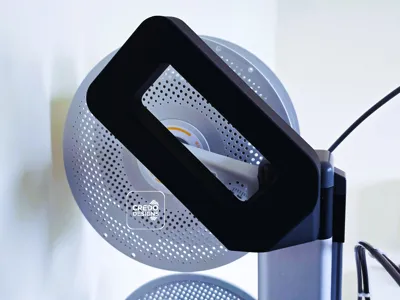
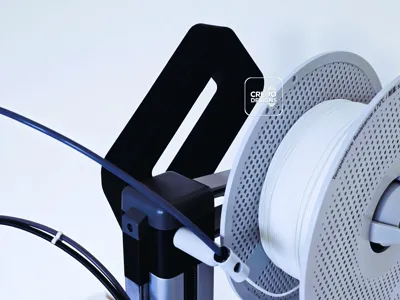
After extensive testing, I'm thrilled to introduce the Bambu Lab A1 Mini additional spool holder upgrade with optional handle! Designed specifically to make color and material changes easier and faster while also retaining the beautiful elegant look of the A1 Mini. You can also use this upgrade to relocate a single spool holder to the top of the Z-axis. This upgrade is one of many similar available on Makerworld but I wanted the cleanest look possible so that it almost looks like Bambu Lab designed this upgrade themselves. The optional handle has been extensively tested to carry the extra weight.
Built in Hygrometer/Thermometer for A1 Mini available right here:
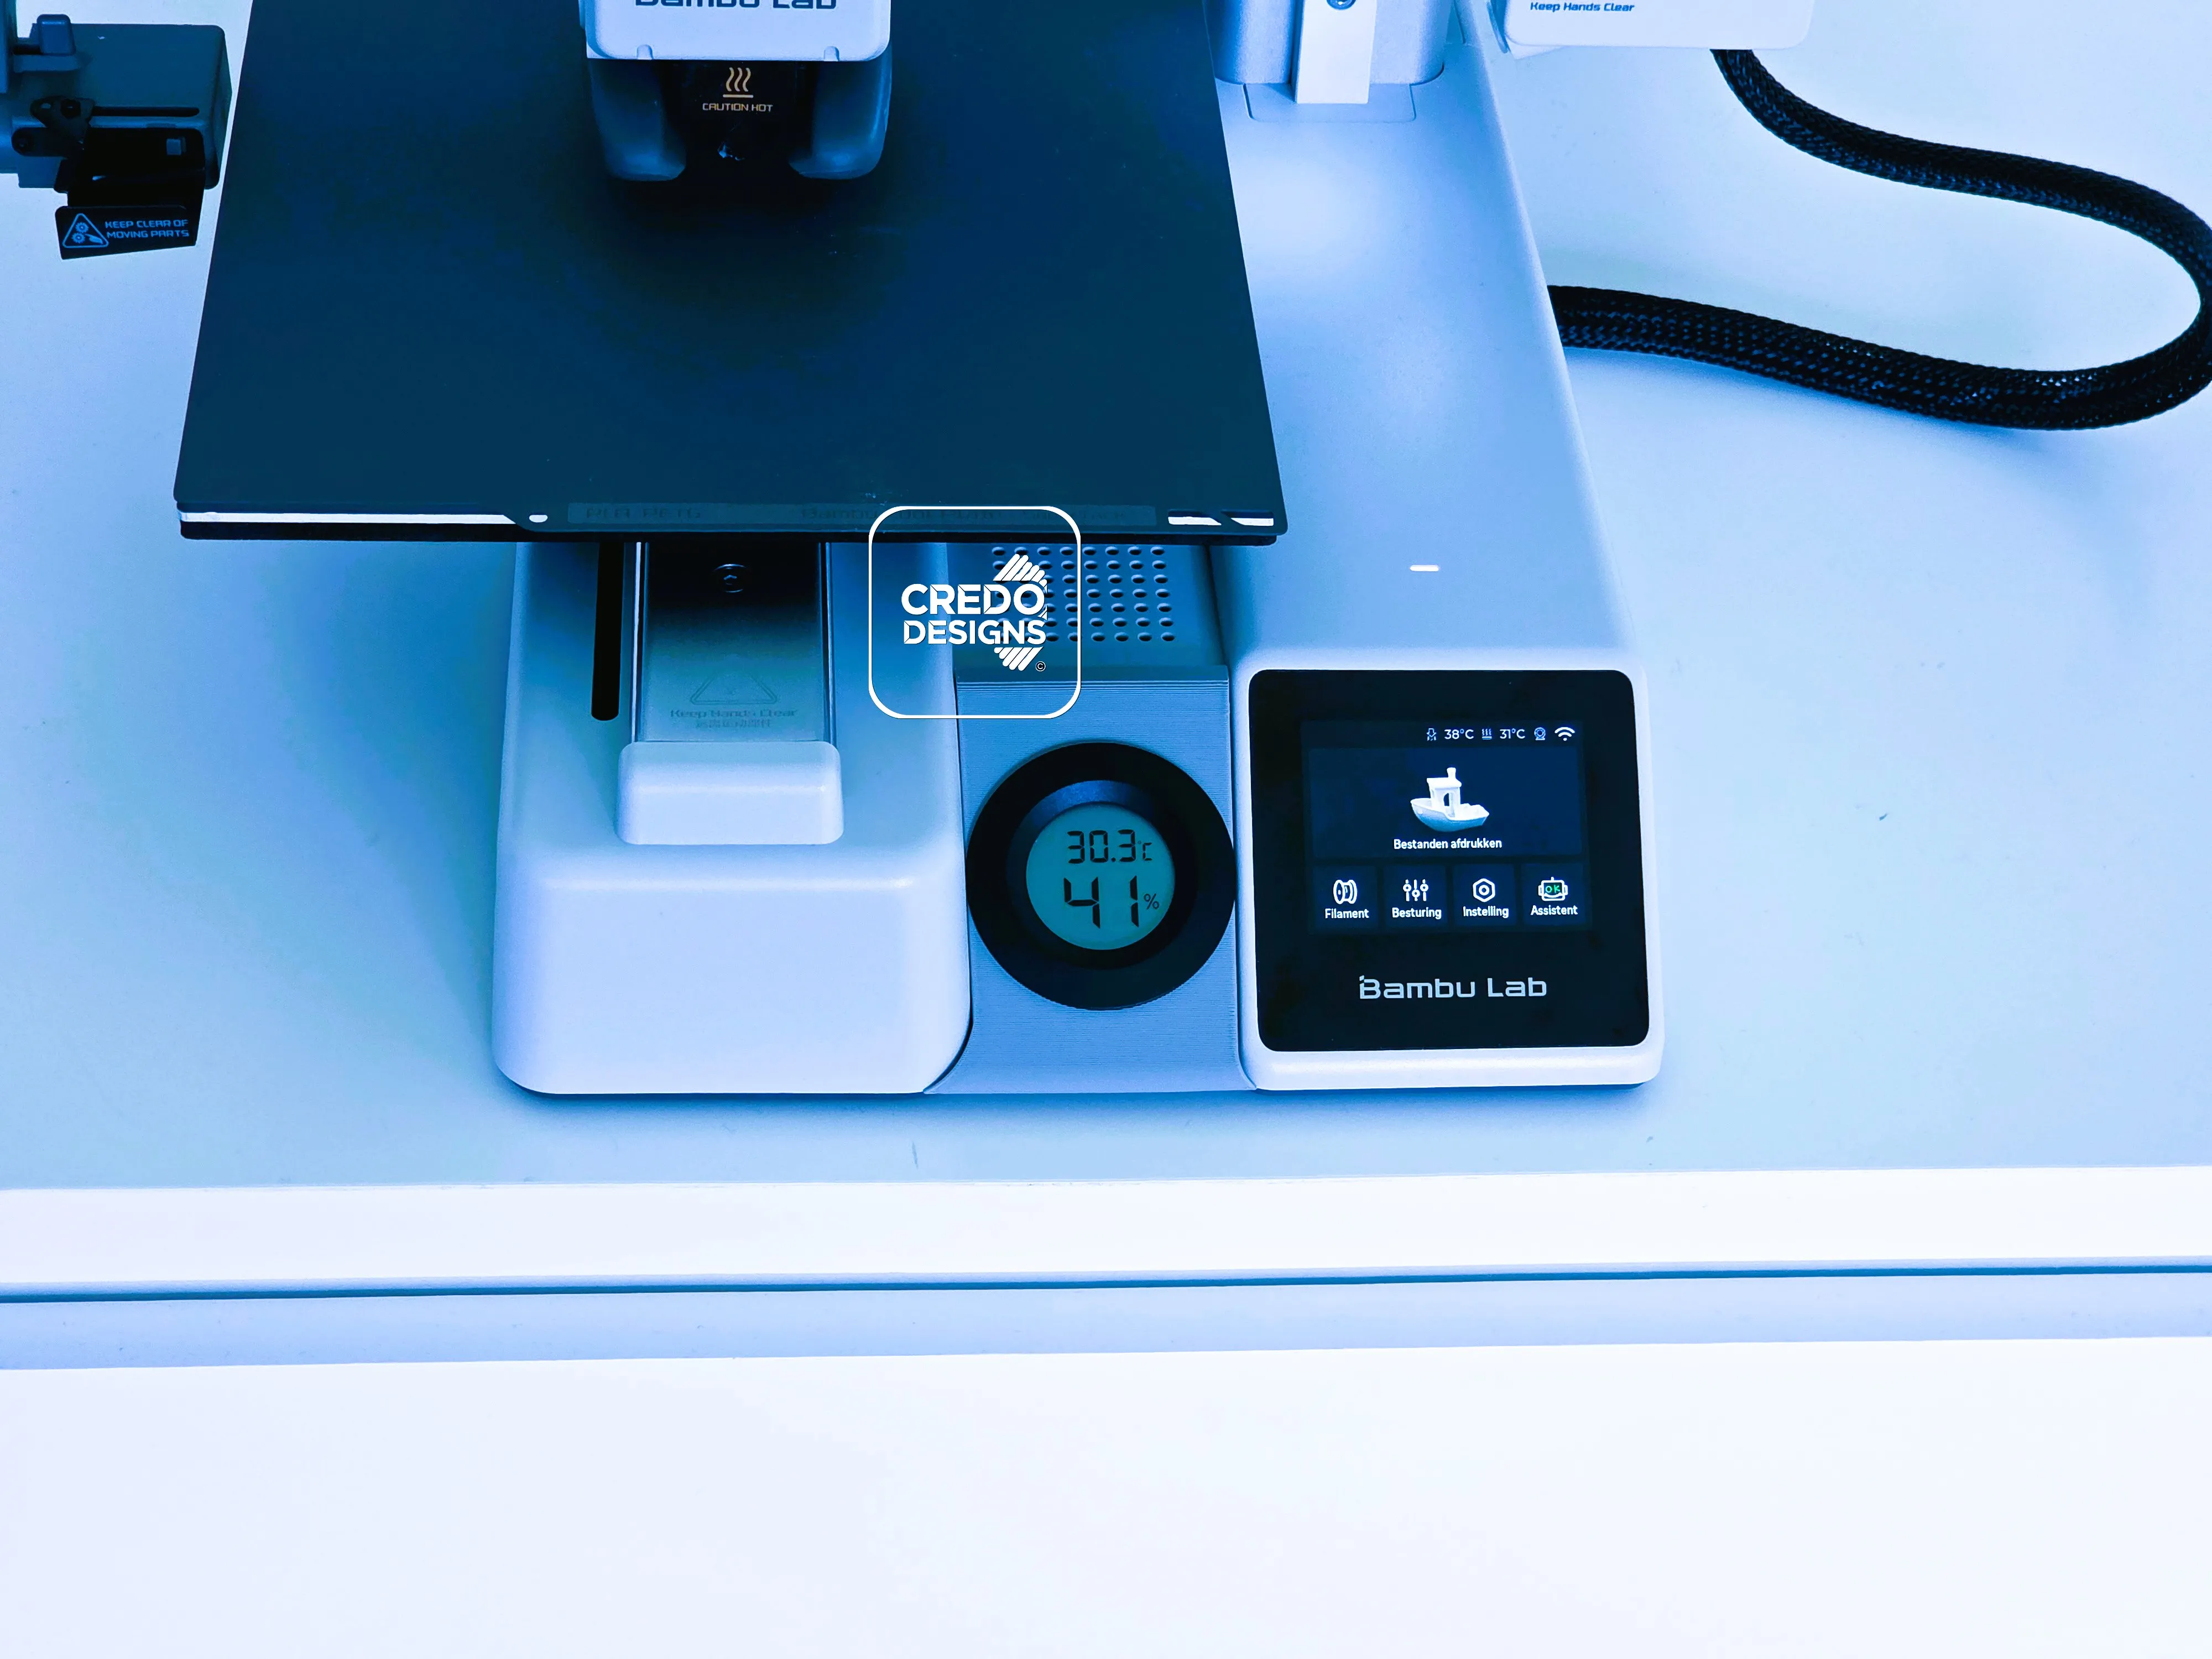
For only the handle, please visit this page:
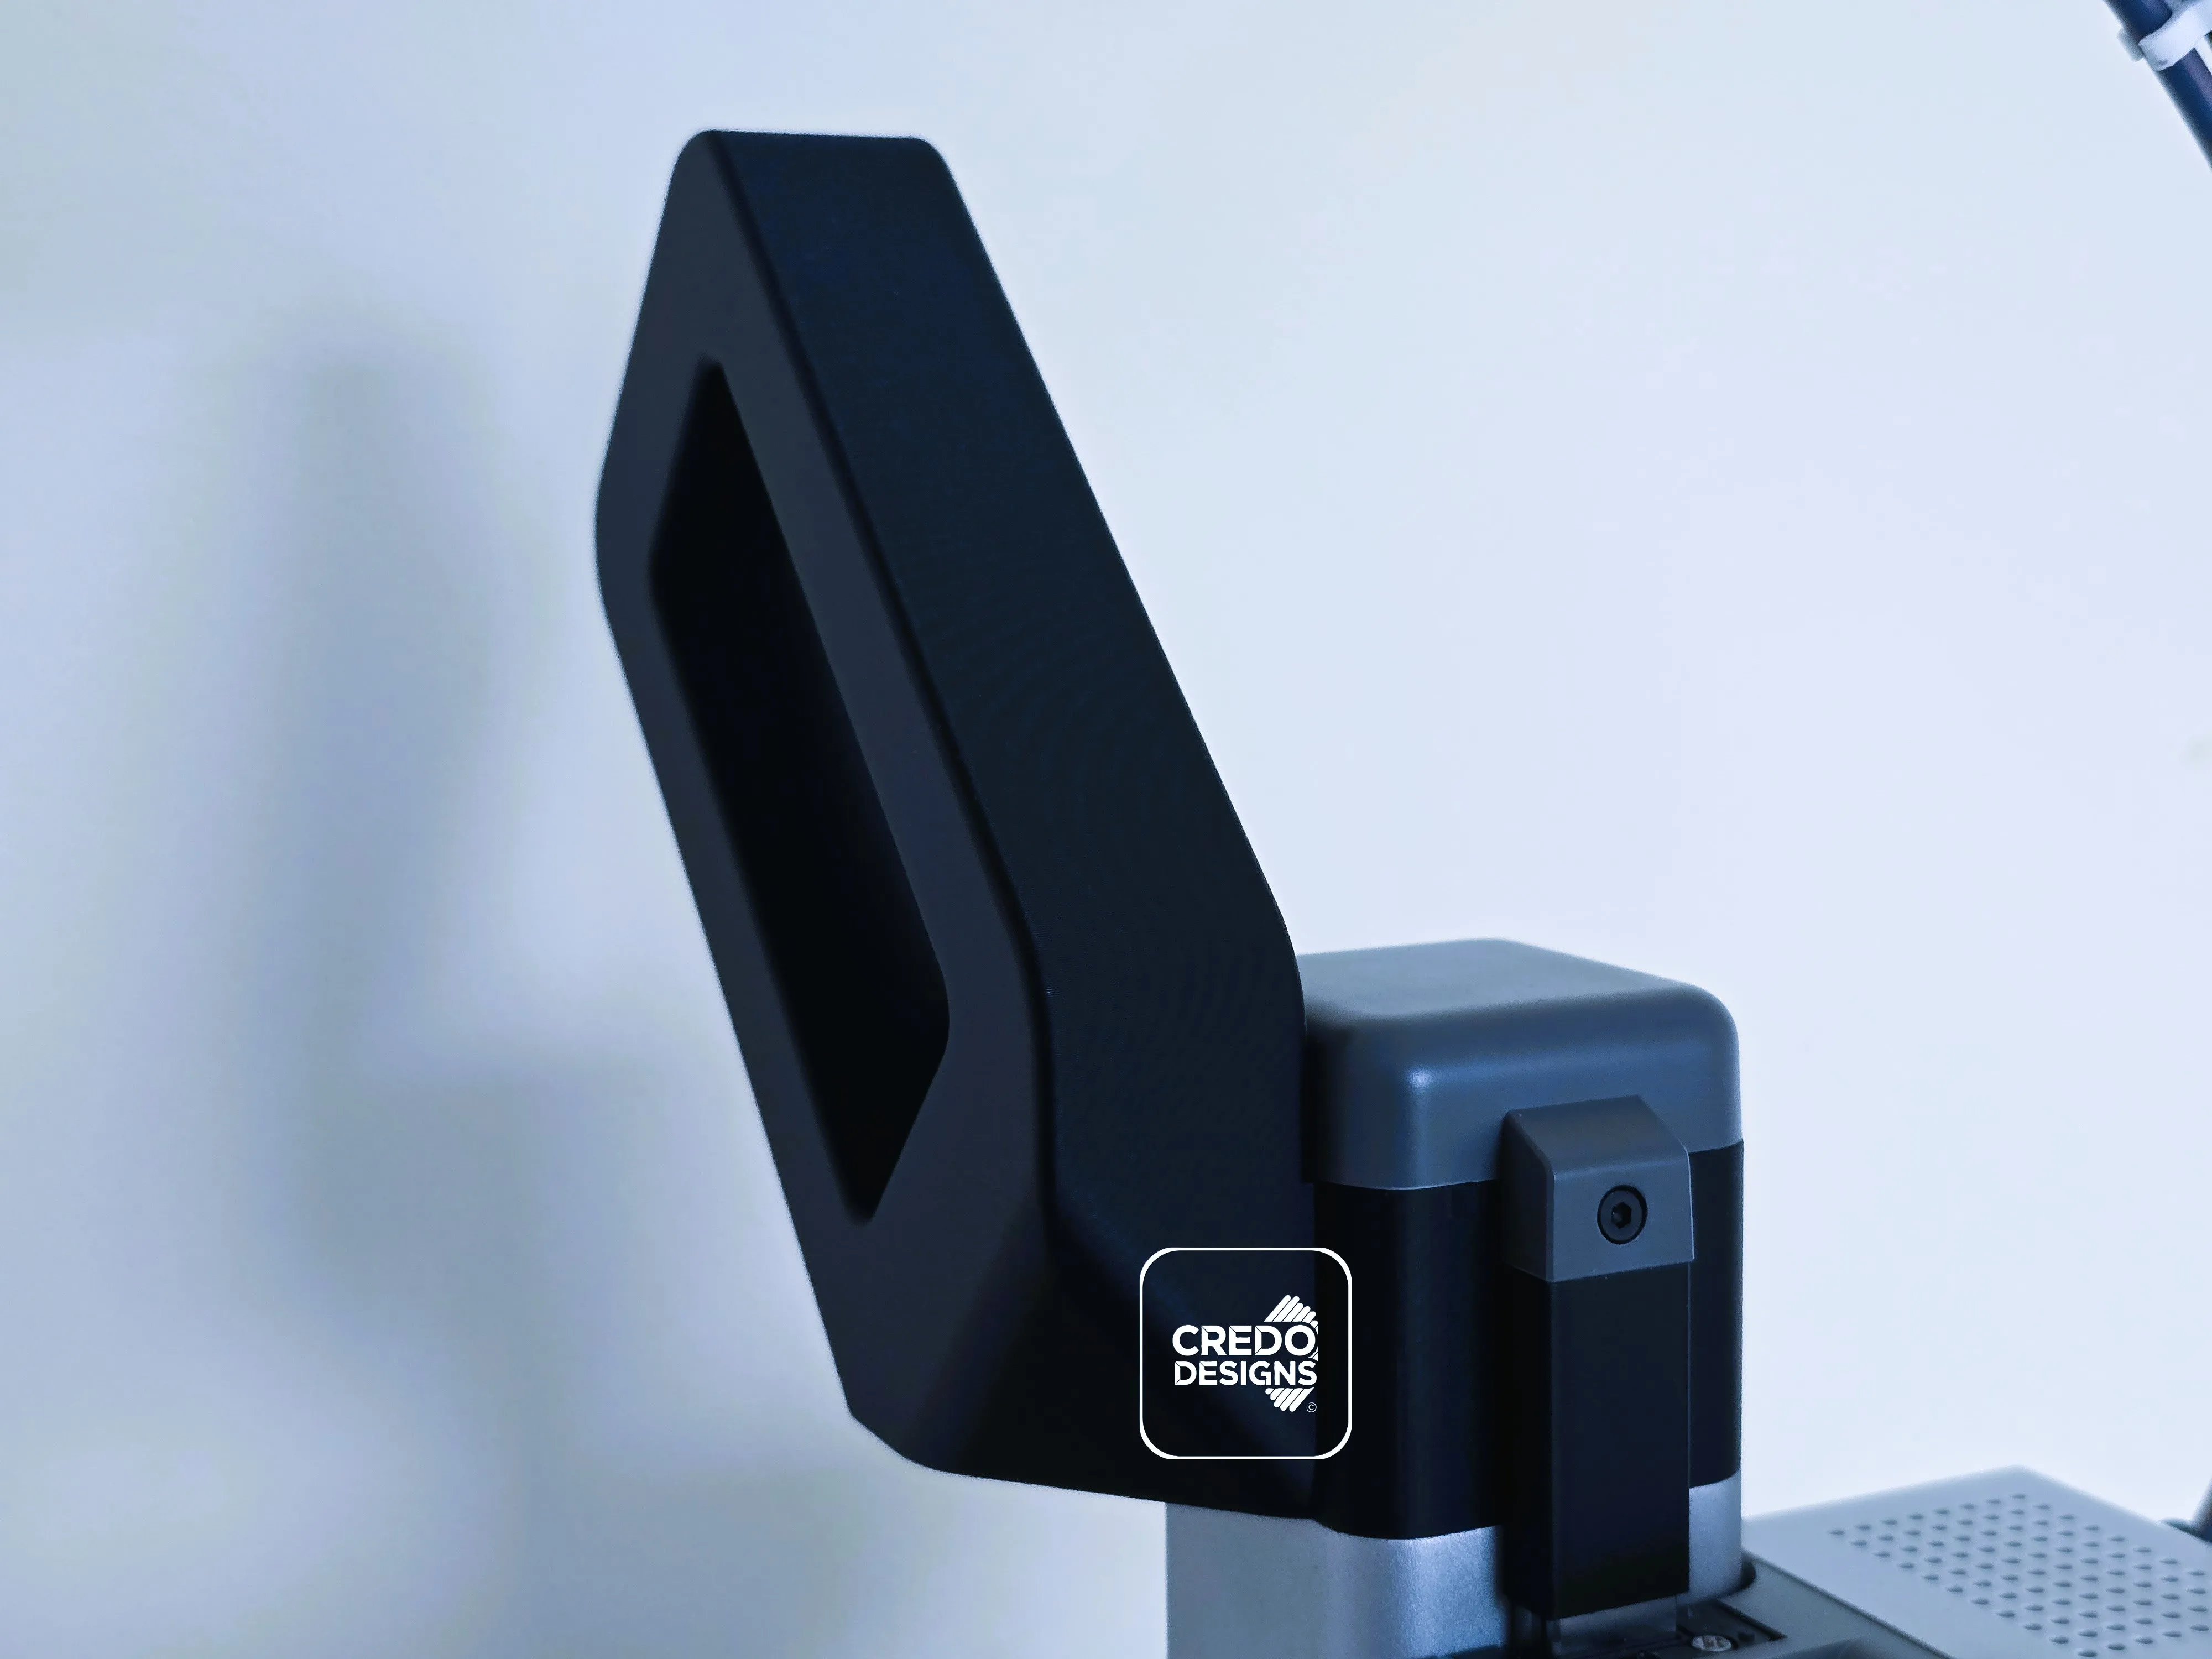
https://makerworld.com/en/models/1620708-a1-mini-ergonomic-handle#profileId-1710722
Important Notice:
● Please follow the assembly instructions below.
● There are multiple PTFE tube connectors available for purchase on the Bambu Lab Store, see the illustration below for which option is best for you.
● It's not possible to do automatic color changes like the AMS-Lite with this upgrade, you'll still need to manually switch colors (Bambu Lab doesn't allow tinkering with their software/firmware).
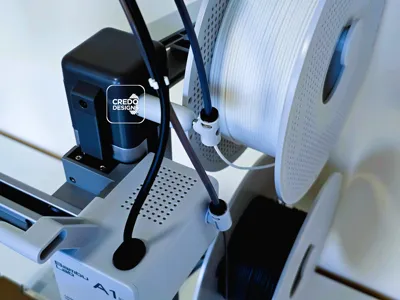
● It's very important not to use any PTFE clip on the second additional PTFE tube as it needs to move independently, however the original PTFE tube should be clipped with the data/power cable of the toolhead. The optional handle has a 45° angle and didn't interfere without clips during testing but it's recommended just to be 100% sure.
● Any feedback would be greatly appreciated, thank you in advance.
Key Features:
● Support-free Printing: designed to print without supports, saving you time and filament.
● Optional handle to carry the printer wherever you go while being able to handle the extra weight.
● Designed to maintain the A1 Mini's beautiful sleek look as much as possible while making filament swaps more convenient.
● Optimized strength: carefully balanced to use minimal filament while maintaining a robust, stable structure.
● Easy assembly: Designed to make assembly easy and hassle free.
● The design makes it possible to use adapters available on Makerworld for use with spools from different brands, and of course it's compatible with the official Bambu Lab AMS-Lite Rotary Spool Holder (Yellow one).
Update: fixed an issue with the wrong machine screw in the BOM, it has been updated with the correct one.
Printing Tips:
● Ensure your filament is properly calibrated, even with Bambu filament, as printer settings vary.
● For best results please use the provided print profile.
● Cooling fan should be set to 100% after the first layer.
● Please use a glue stick if you previously experienced bed adhesion issues.
Parts needed for the upgrade:
● 1x PTFE Tube Connector: There are 3 versions as illustrated below:
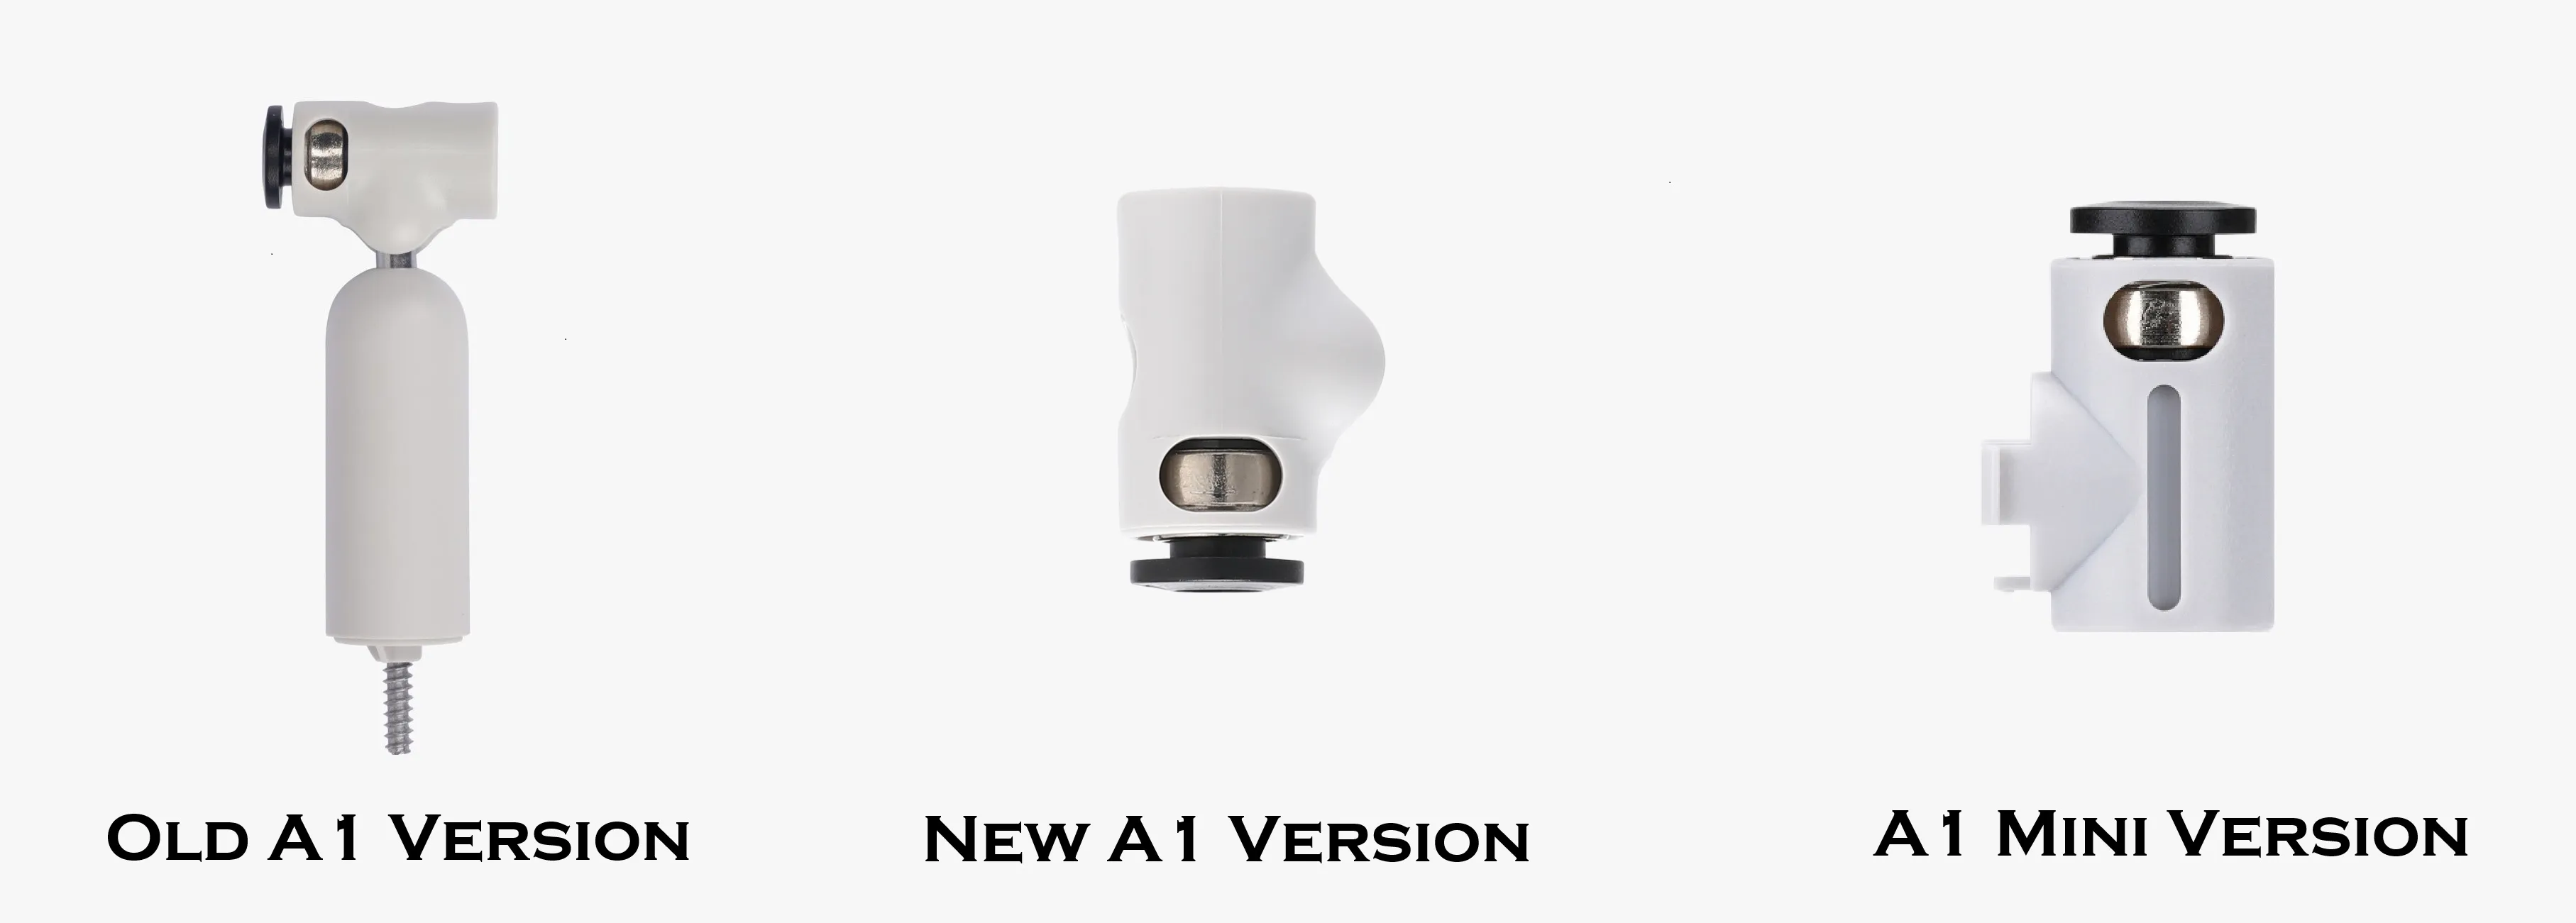
Purchase the old A1 version if still available. Do not purchase the new A1 version, since it's not compatible with this build, please get the A1 Mini version instead.
● 1x Additional Spool Holder for A1 Mini
● 4x BT3x8 SHCS Self Tapping Screws (If you have claimed or purchased the 'Maker's Beginner Kit' you already have these screws)
You'll need a 5th screw if you also purchase the A1 Mini PTFE tube version as shown above.
● 3x M3x8 Screws (These are the same 4 screws you needed to remove to unlock the Z-axis limiter while setting up your printer for the first time)
● H2 Allen Key that's included with your A1 Mini
● PTFE Tube 520mm
● Optional: 2x AMS-Lite Rotary Spool Holder (Yellow one, don't purchase the green one since it doesn't rotate in the correct orientation)
All parts are listed in the BOM below with links for purchase through the official Bambu Lab website.
Assembly guide:
Assembly of the extension with or without the handle is the same.
● Please begin by unscrewing the screw of the Z-axis top cover and remove the cover.
● Unscrew the three screws that hold the cap that was under the Z-axis top cover.
Set the 4 screws you unscrewed to the side since you won't need them anymore (do not throw them away if you want to undo this mod later)
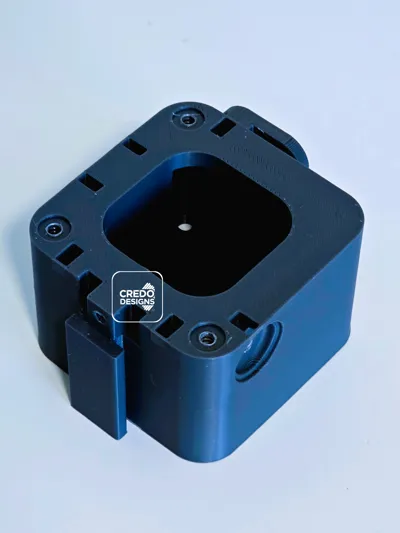
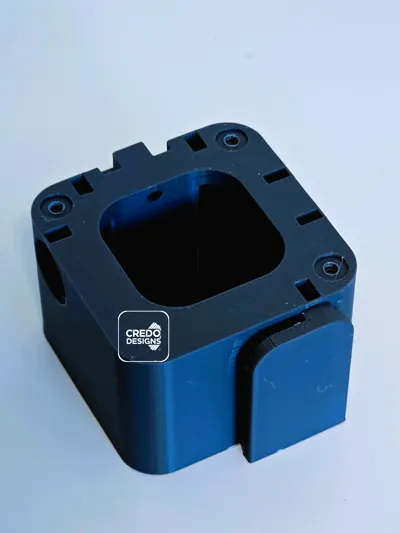
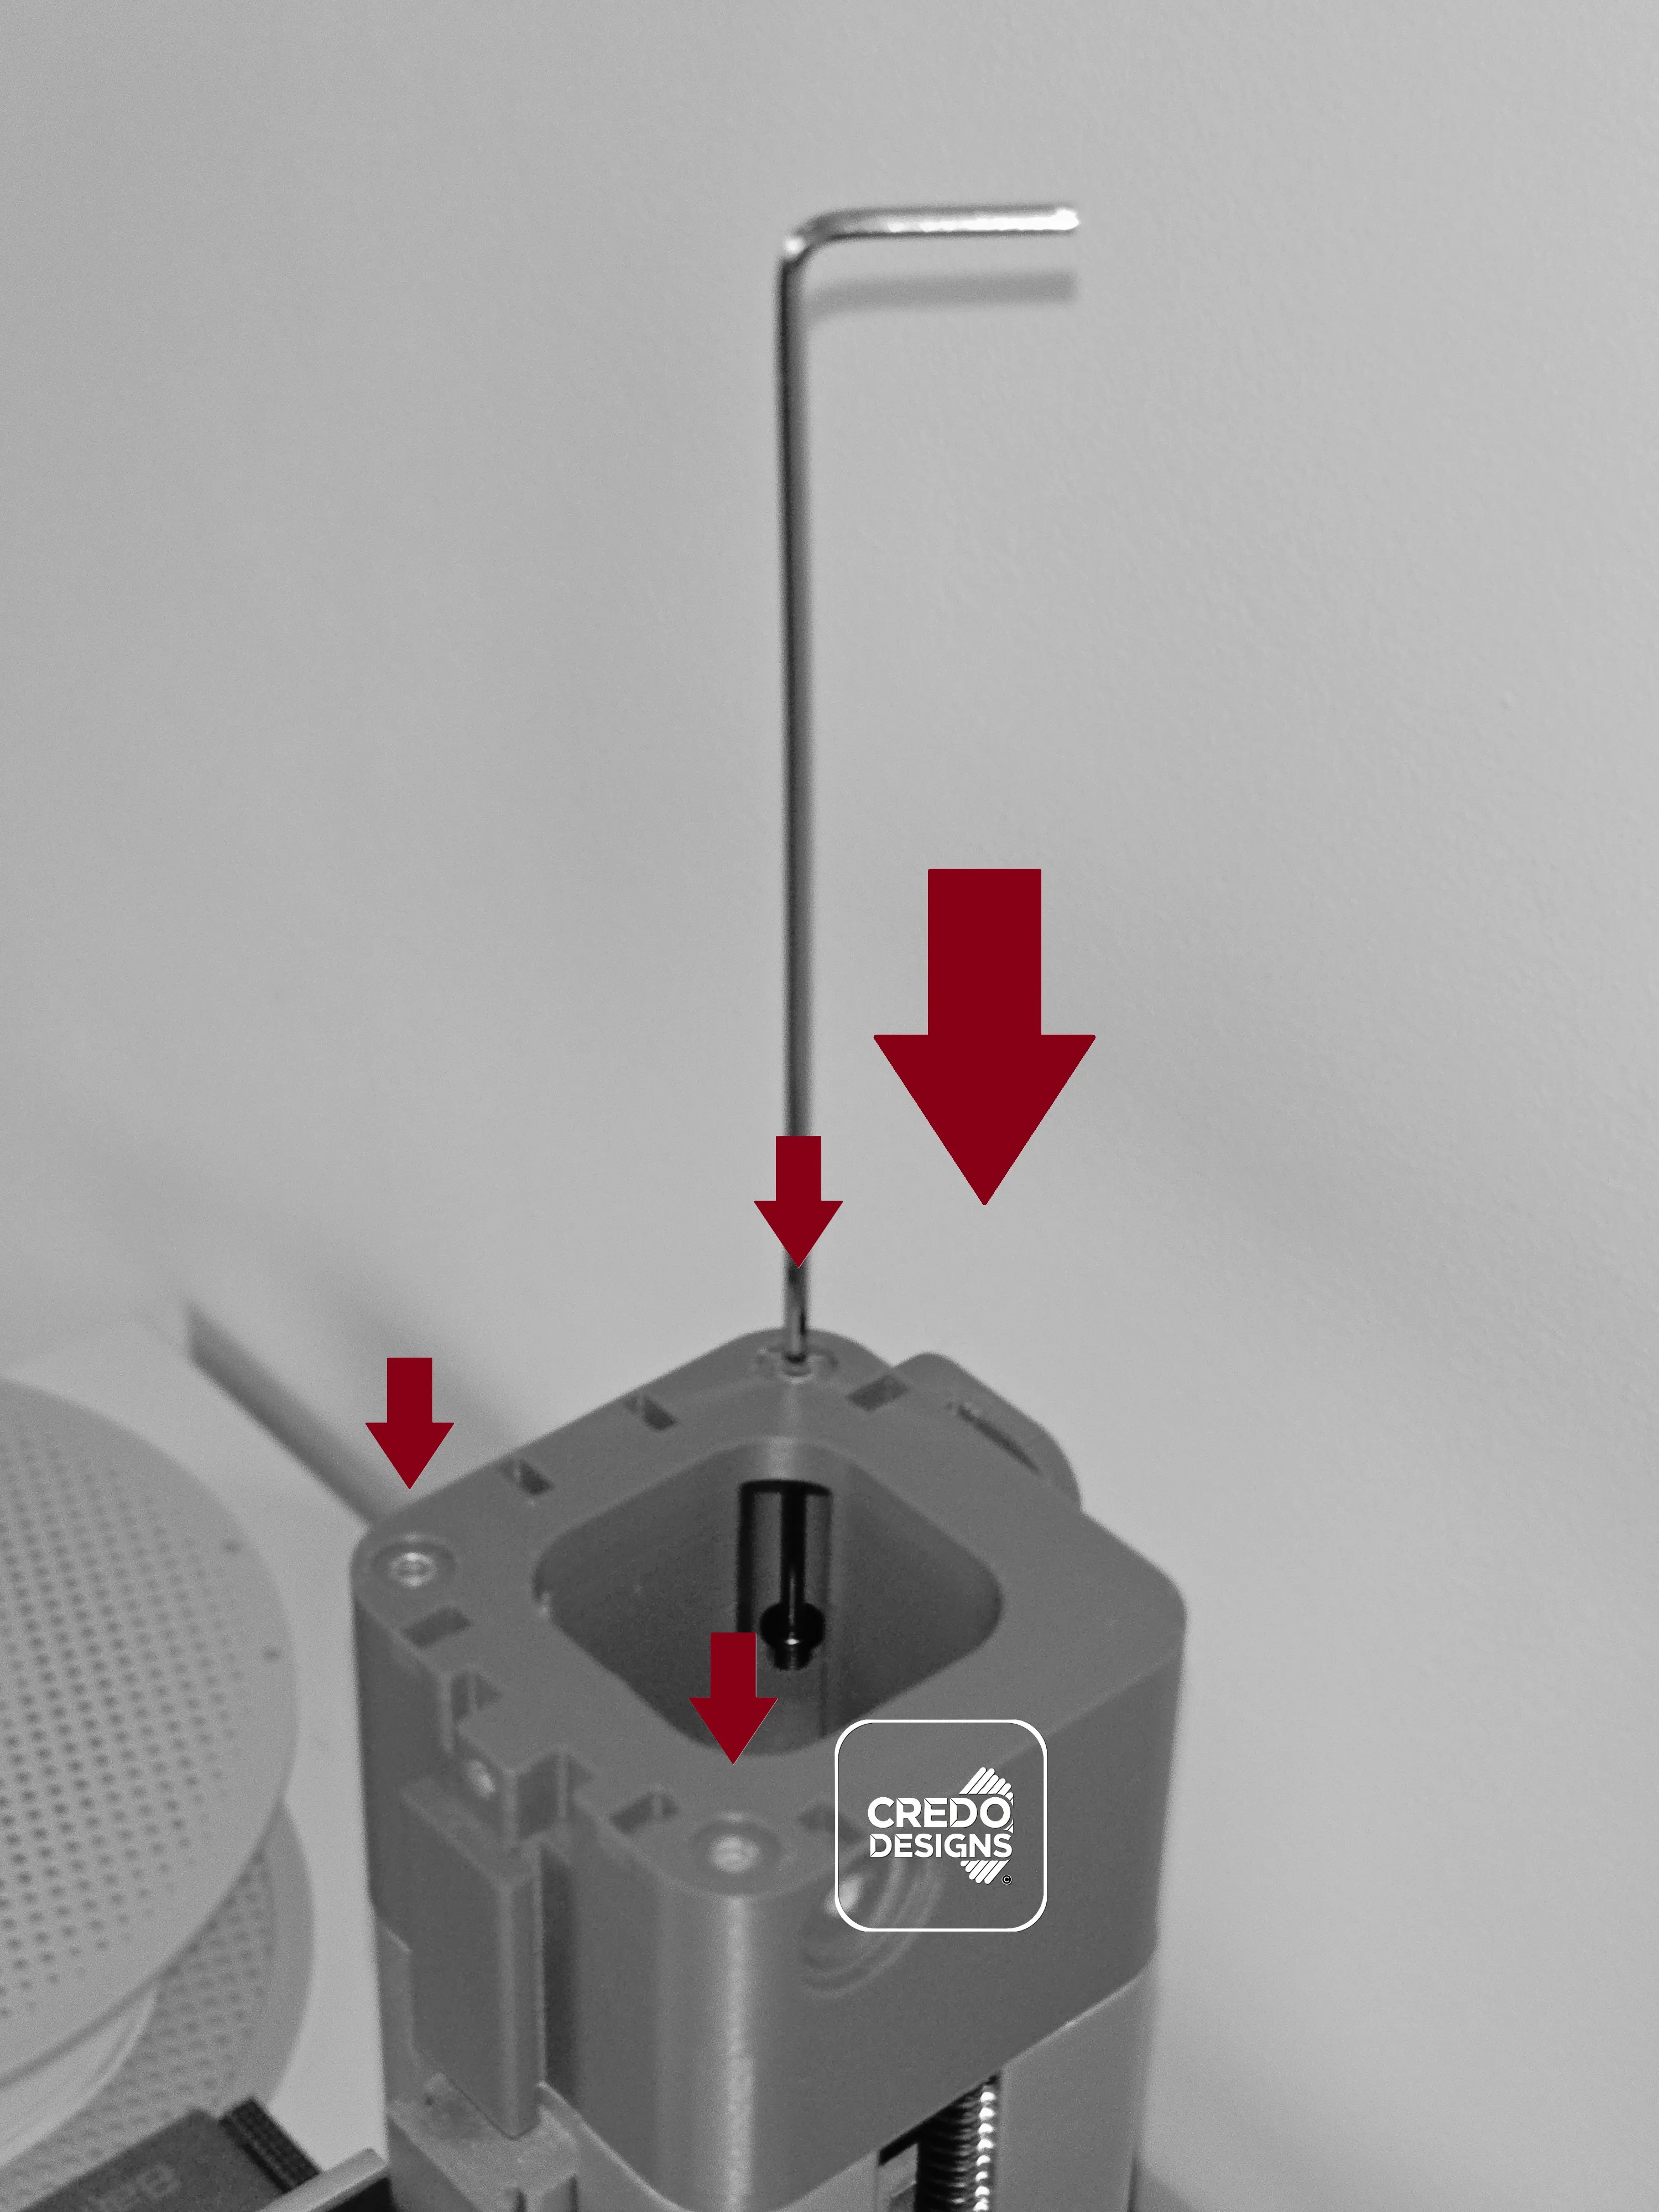
● Place the printed Z-axis extension on the top of the Z-axis and screw the 3 M3x8 screws to the Z-axis using the provided H2 allen key, do not overtighten the screws!
(tip: as you can see in the picture below, the allen key needs to slide through the hole above the M3x8 screw).
● Place the cap on the Z-axis extension and use 3x BT3x8 SHCS Self Tapping Screws to lock it into place, it should look like the following picture, make sure the orientation matches, otherwise the cap will not sit flush with the extension.
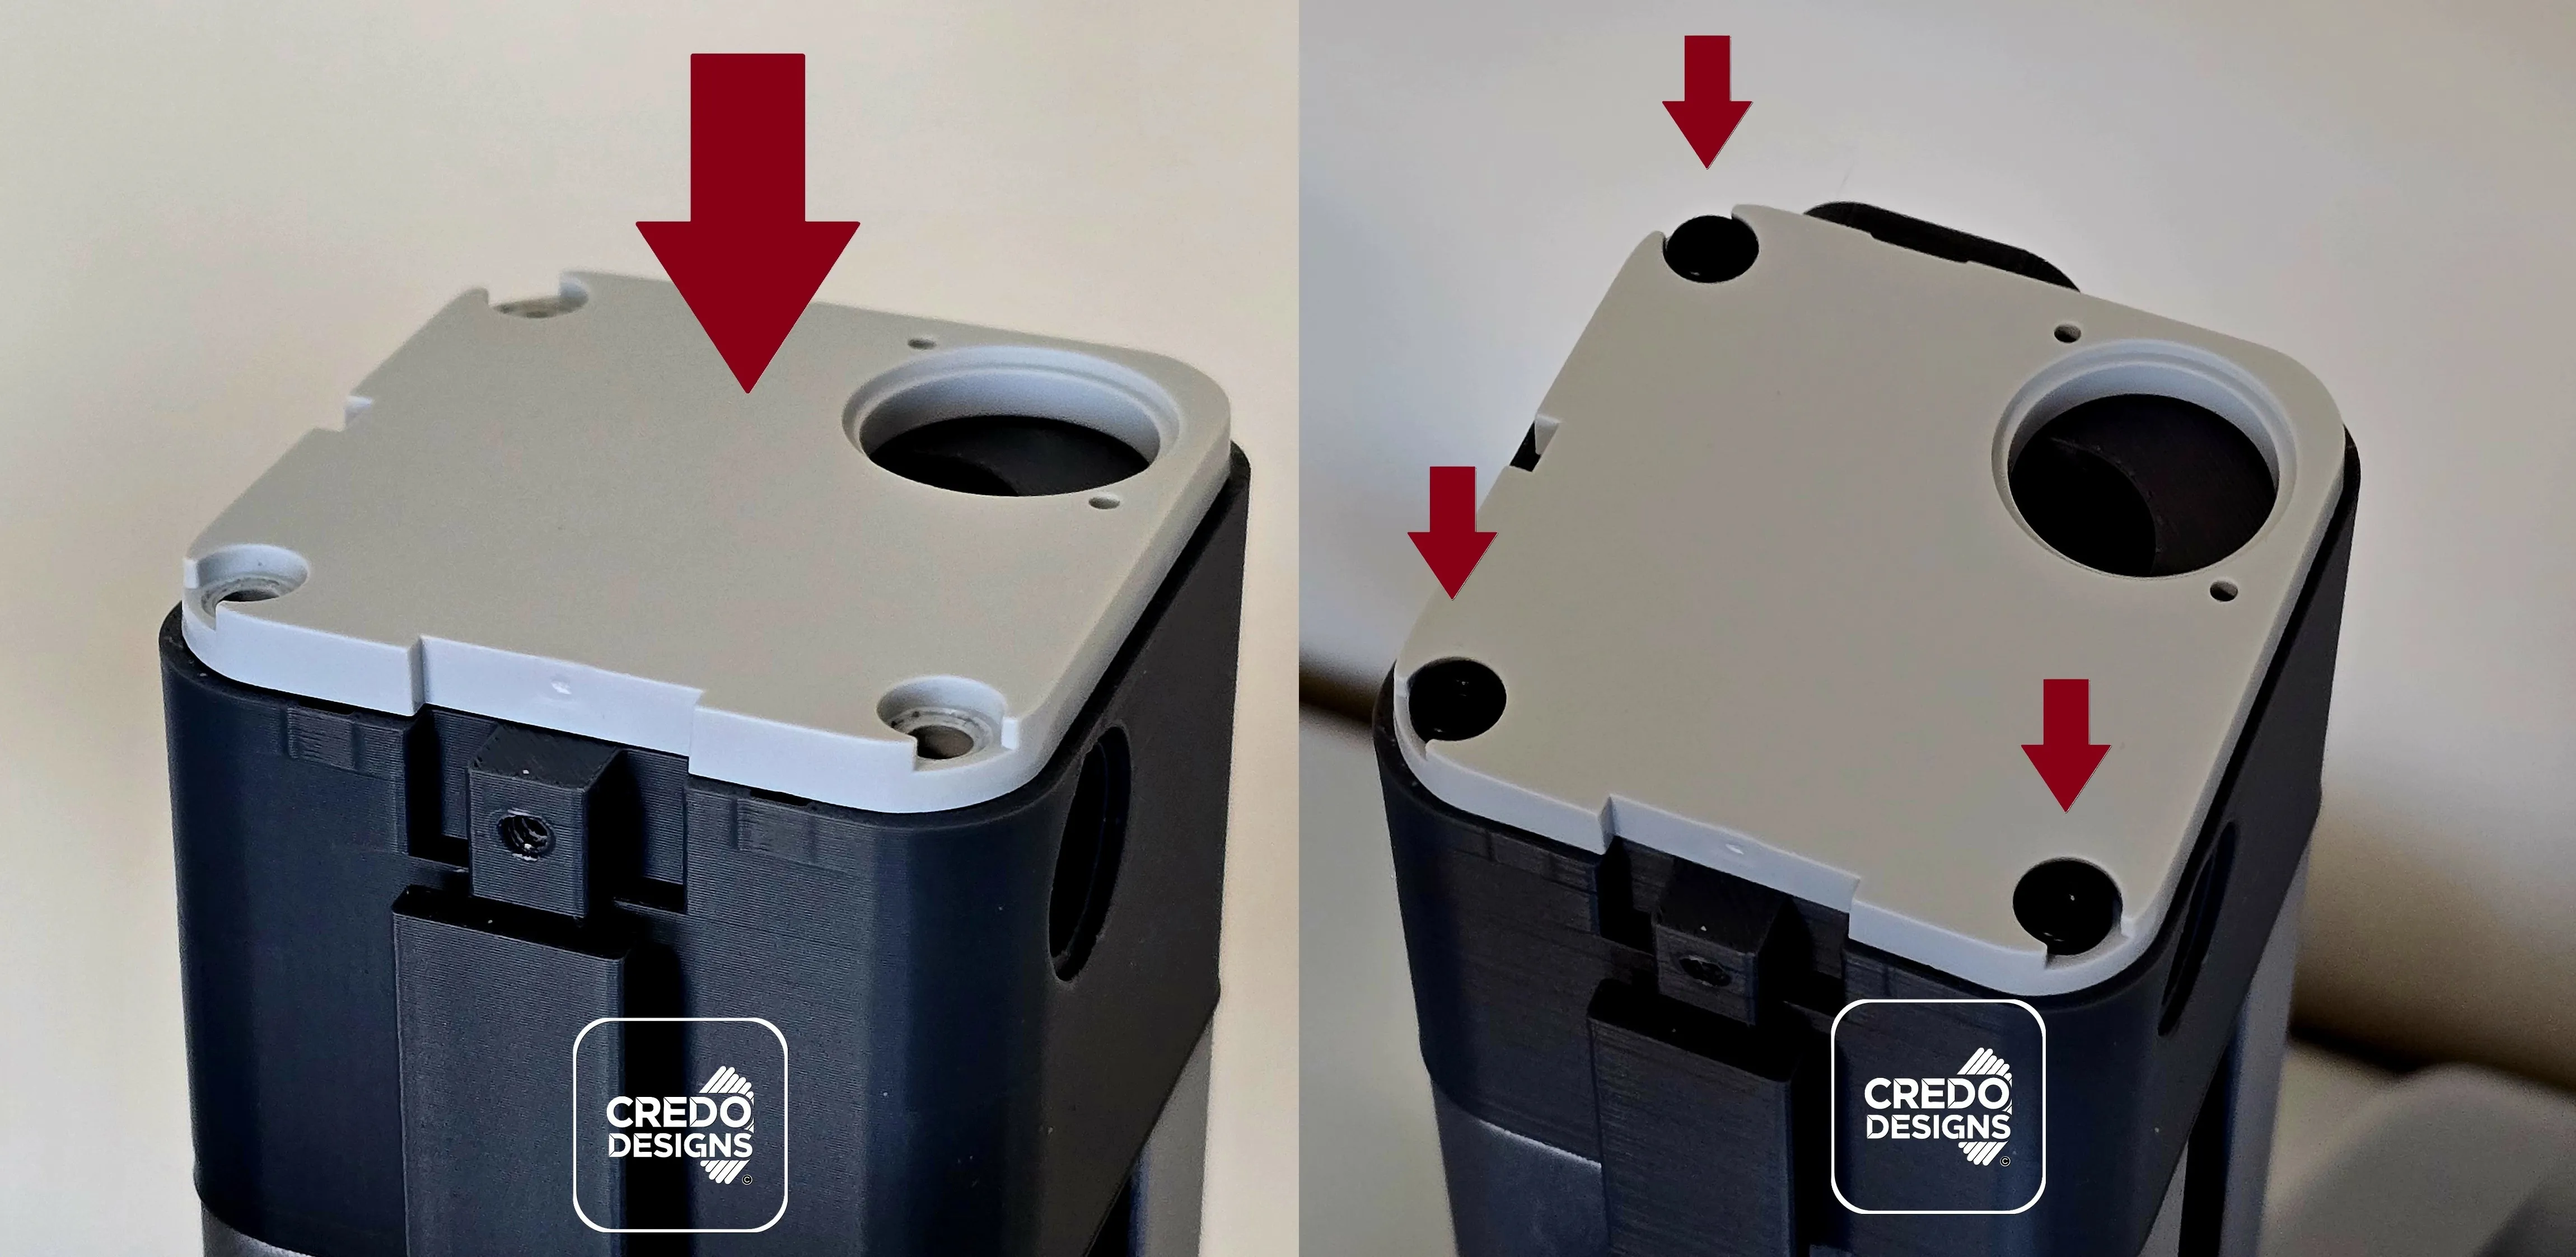
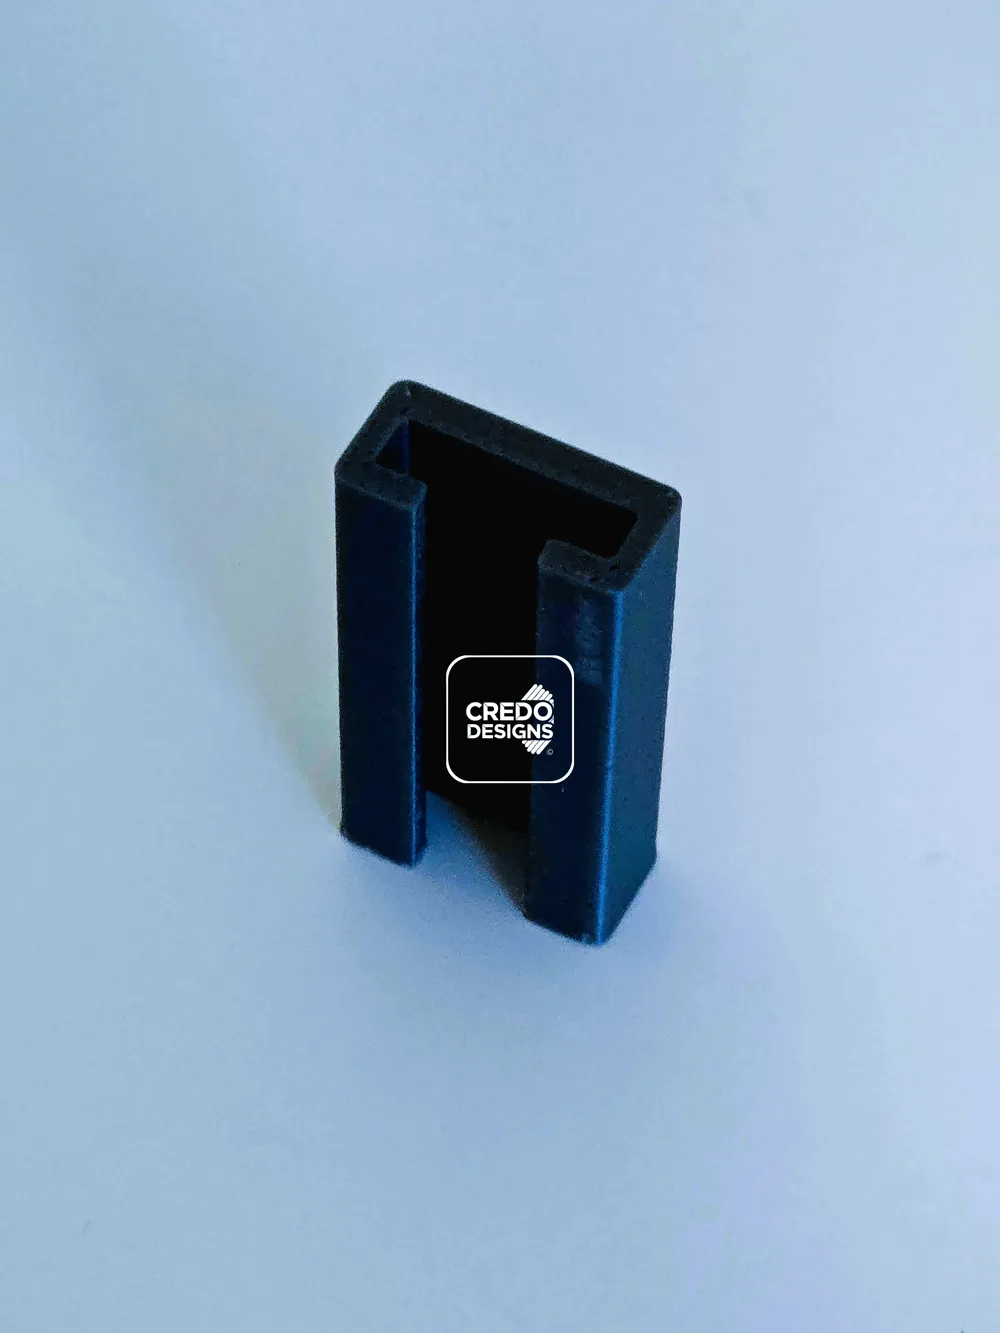
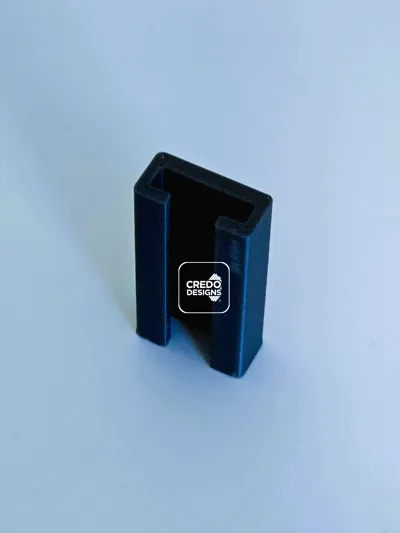
● The next step is to slide in the front cover as shown in the following picture:
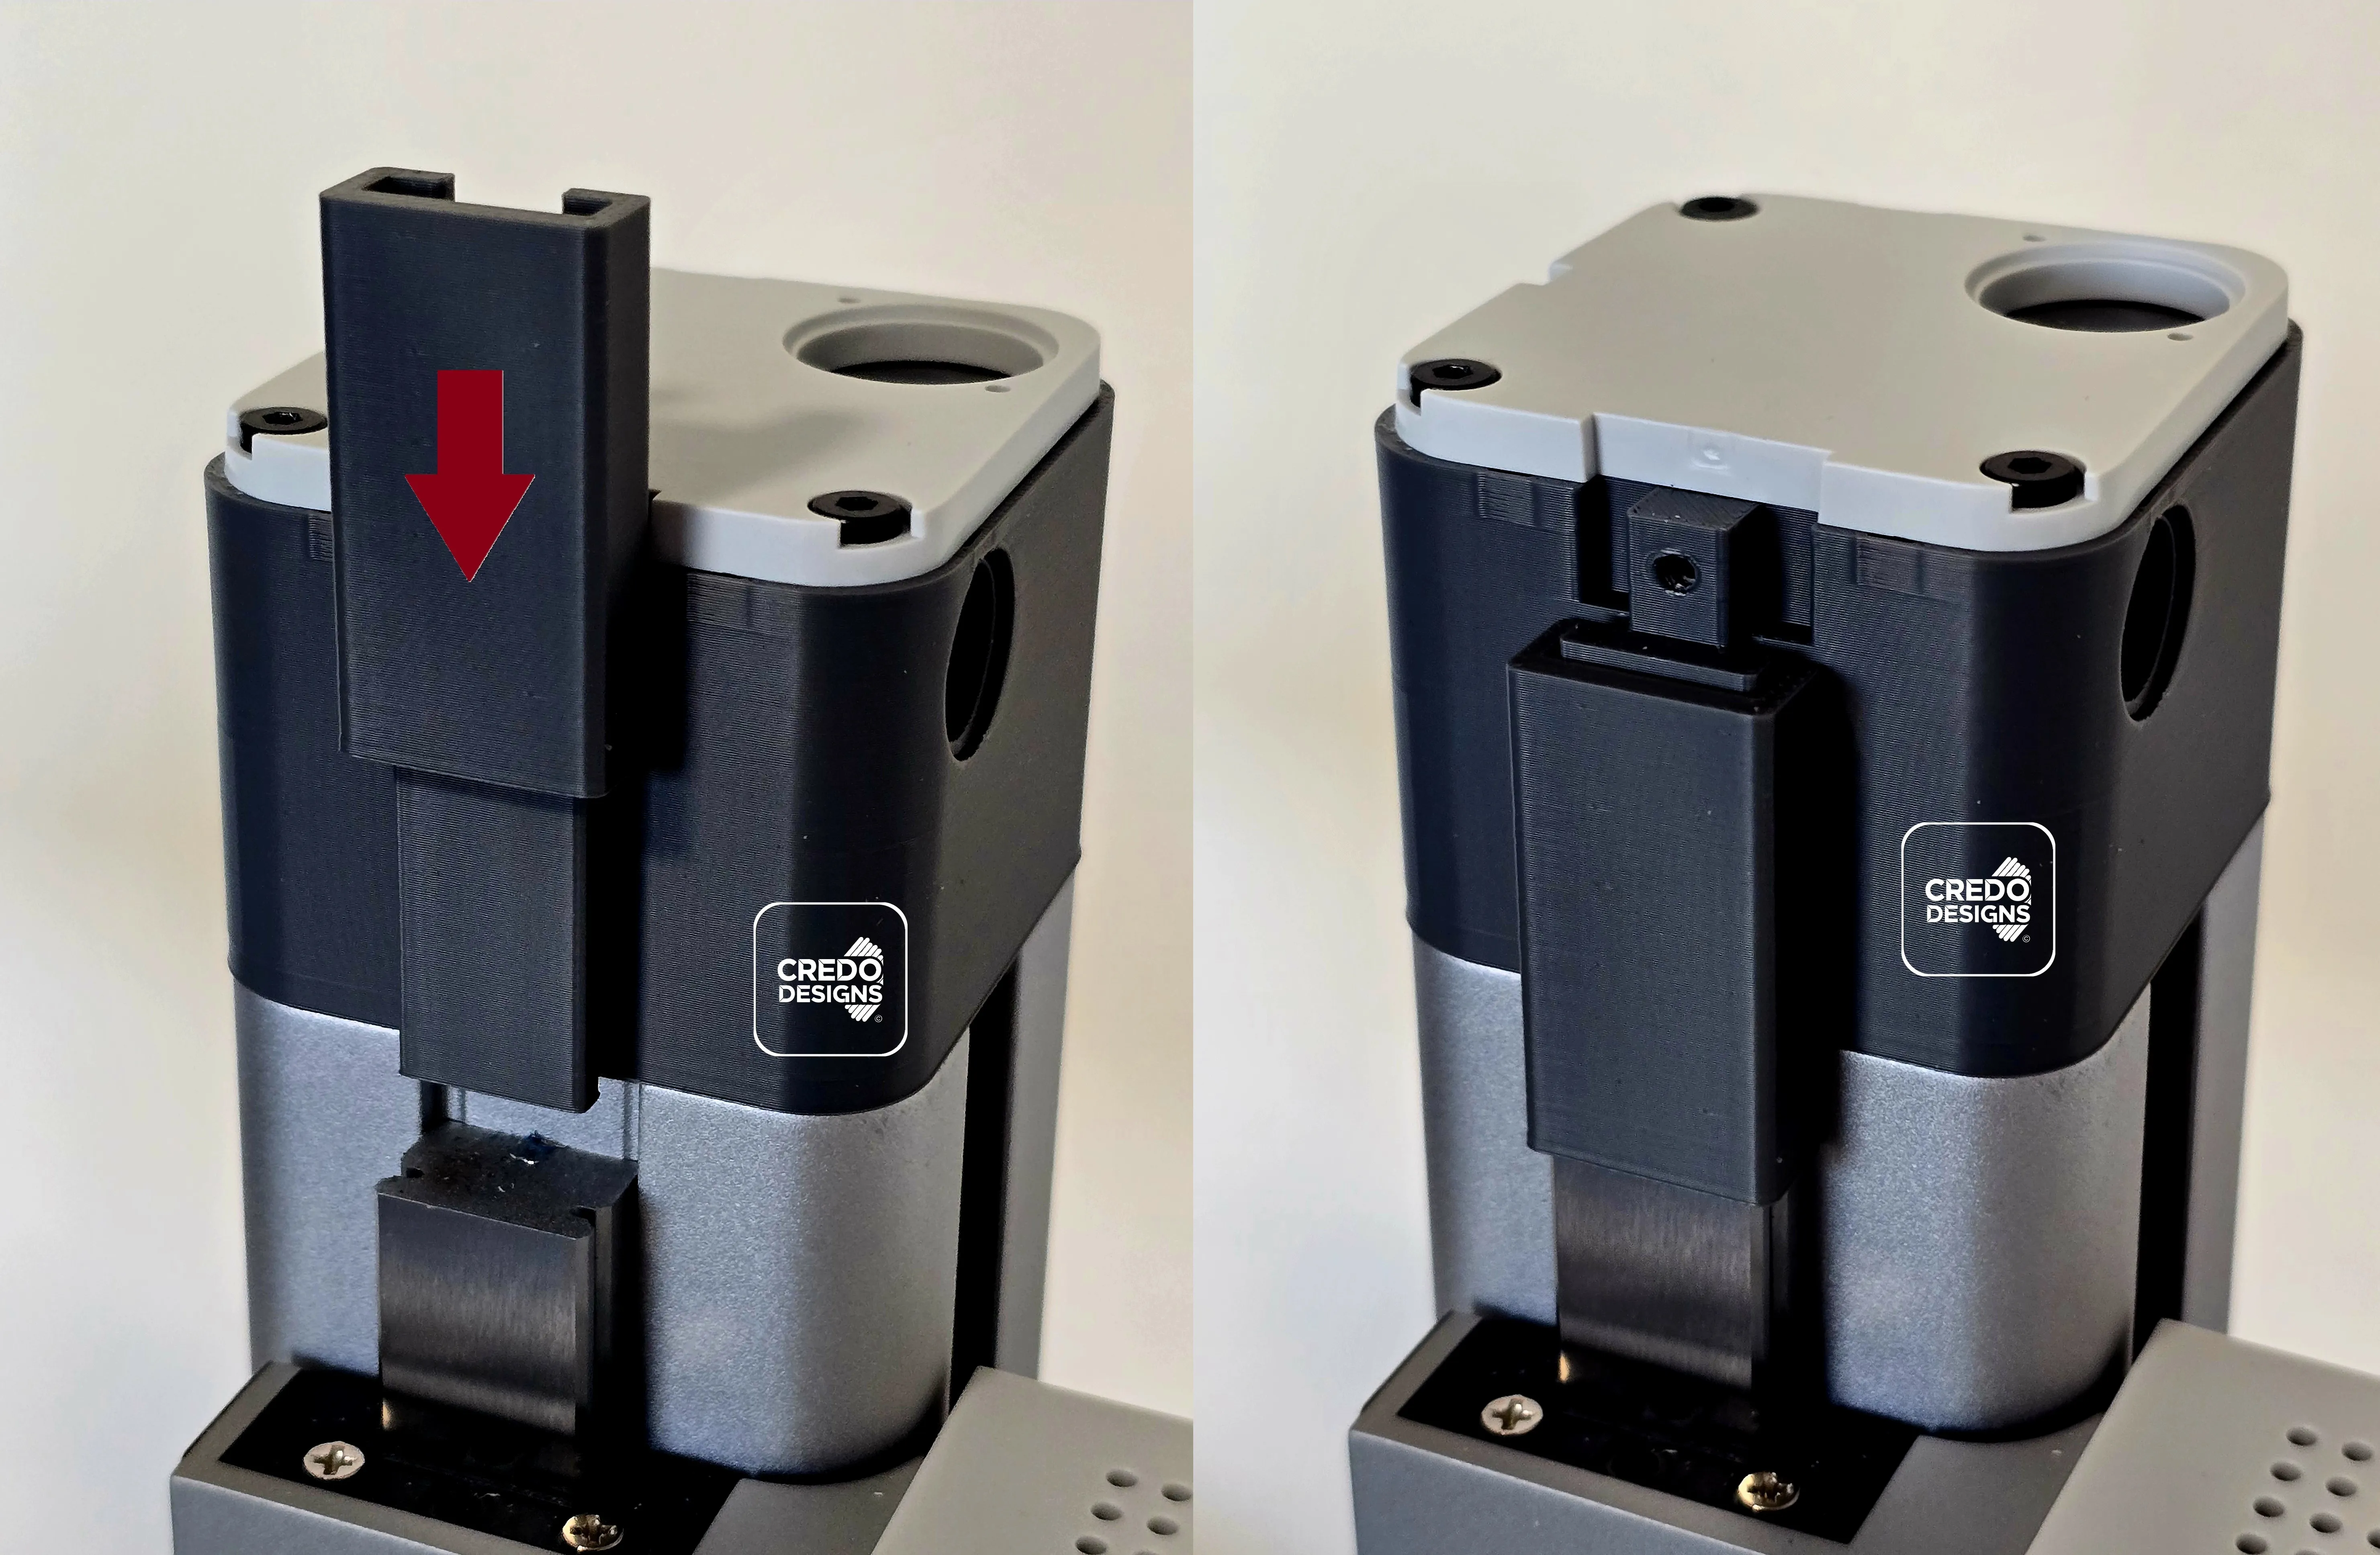
● Place the Z-axis top cover back on and secure it with the BT3x8 SHCS Self Tapping Screw:
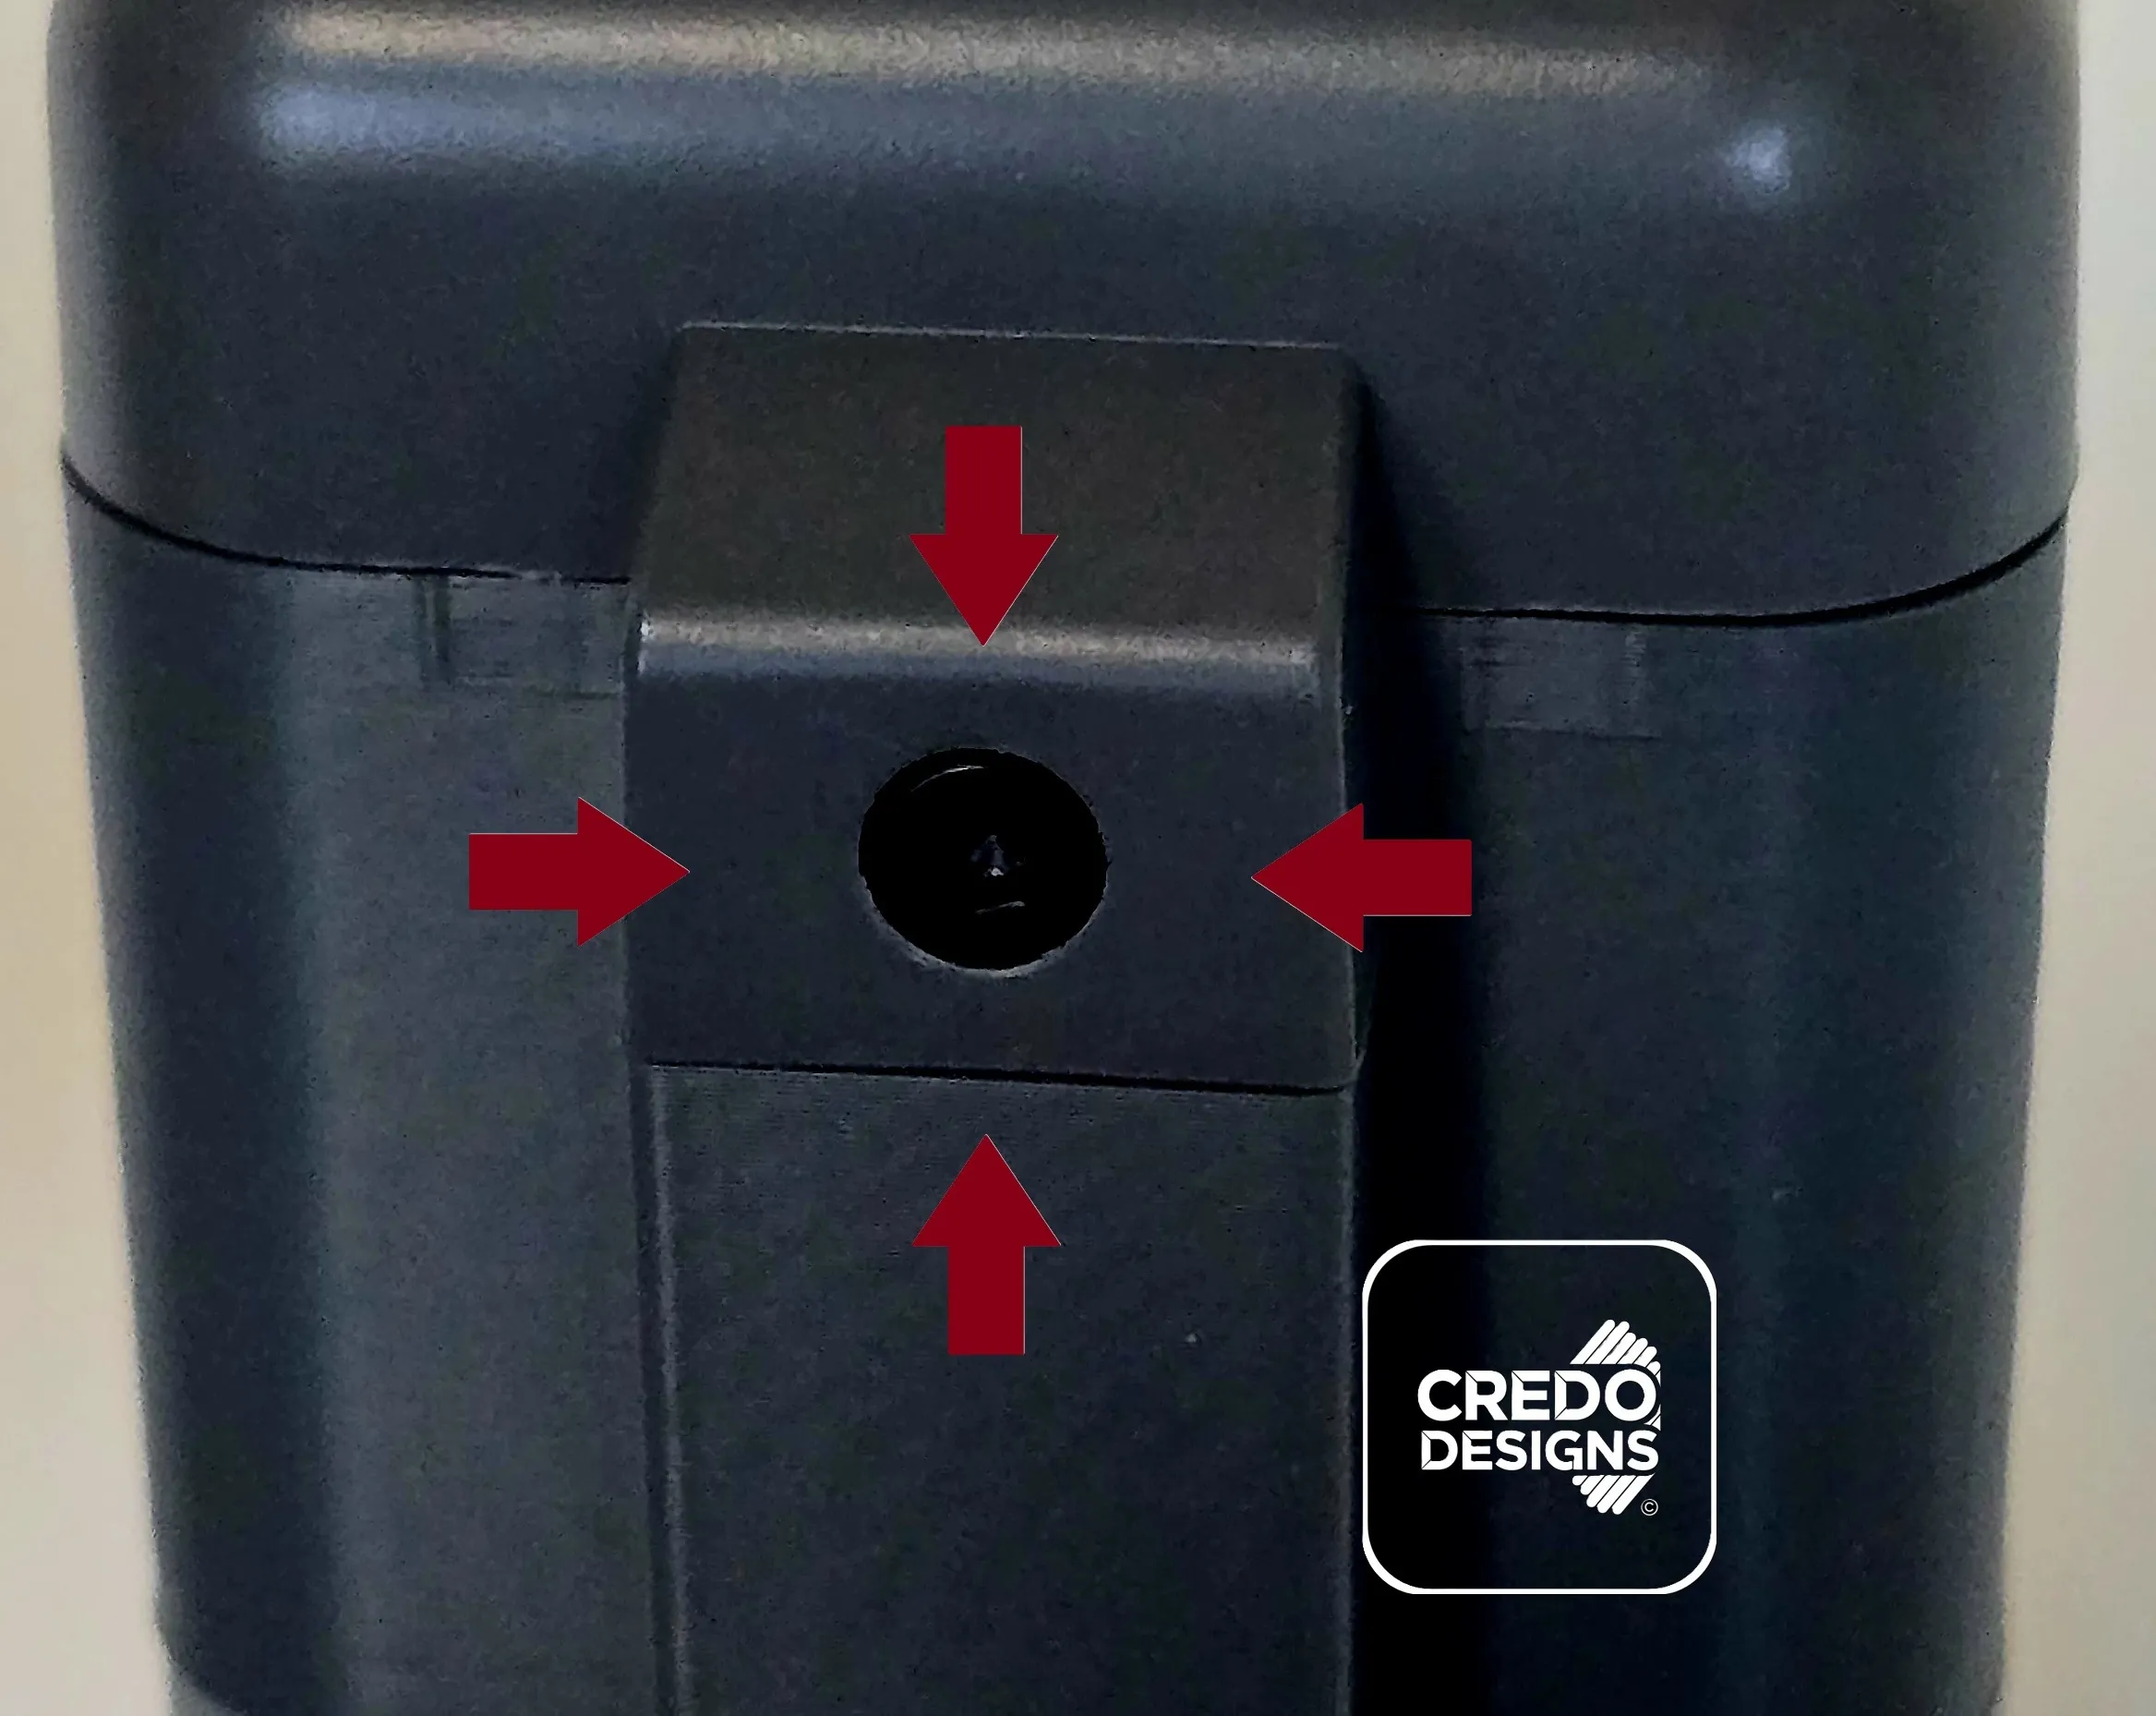
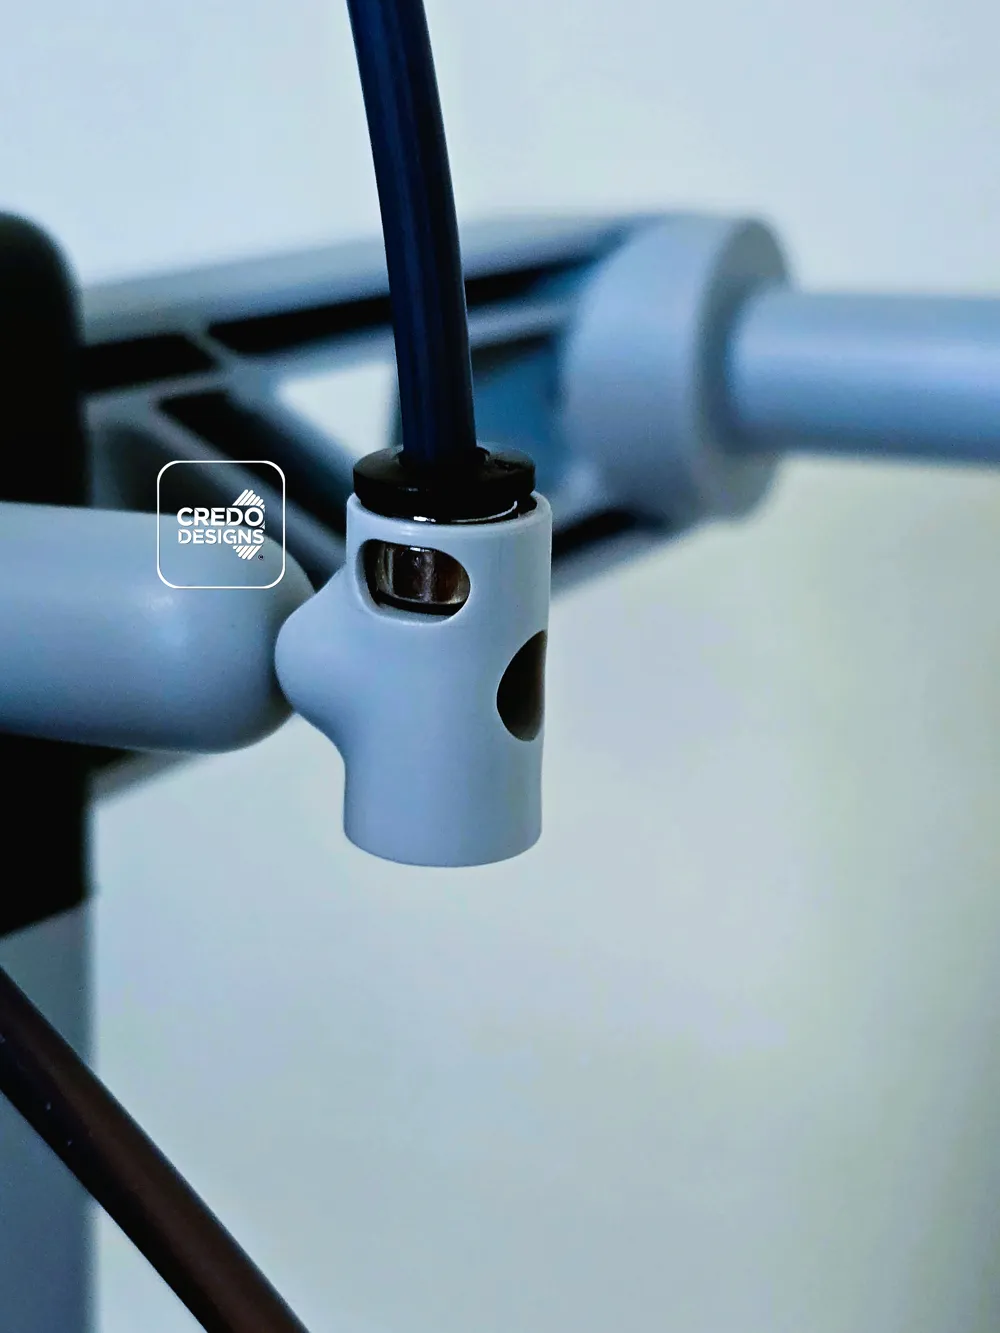
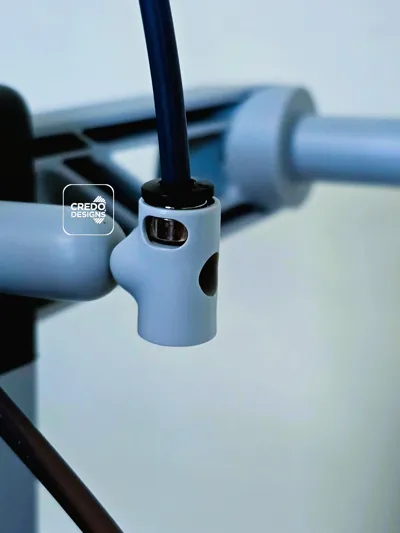
● The next step is to screw the PTFE Tube Connector for A1 to the Z-axis extension.
If you purchased the PTFE Tube for A1 Mini, you need to print the ‘A1 Mini PTFE Tube Connector’ print profile provided above and use the 5th BT3x8 SHCS Self Tapping Screw to attach it to the Z-axis extension. Click the A1 Mini PTFE tube into the other end.
Do not overtighten the screw:
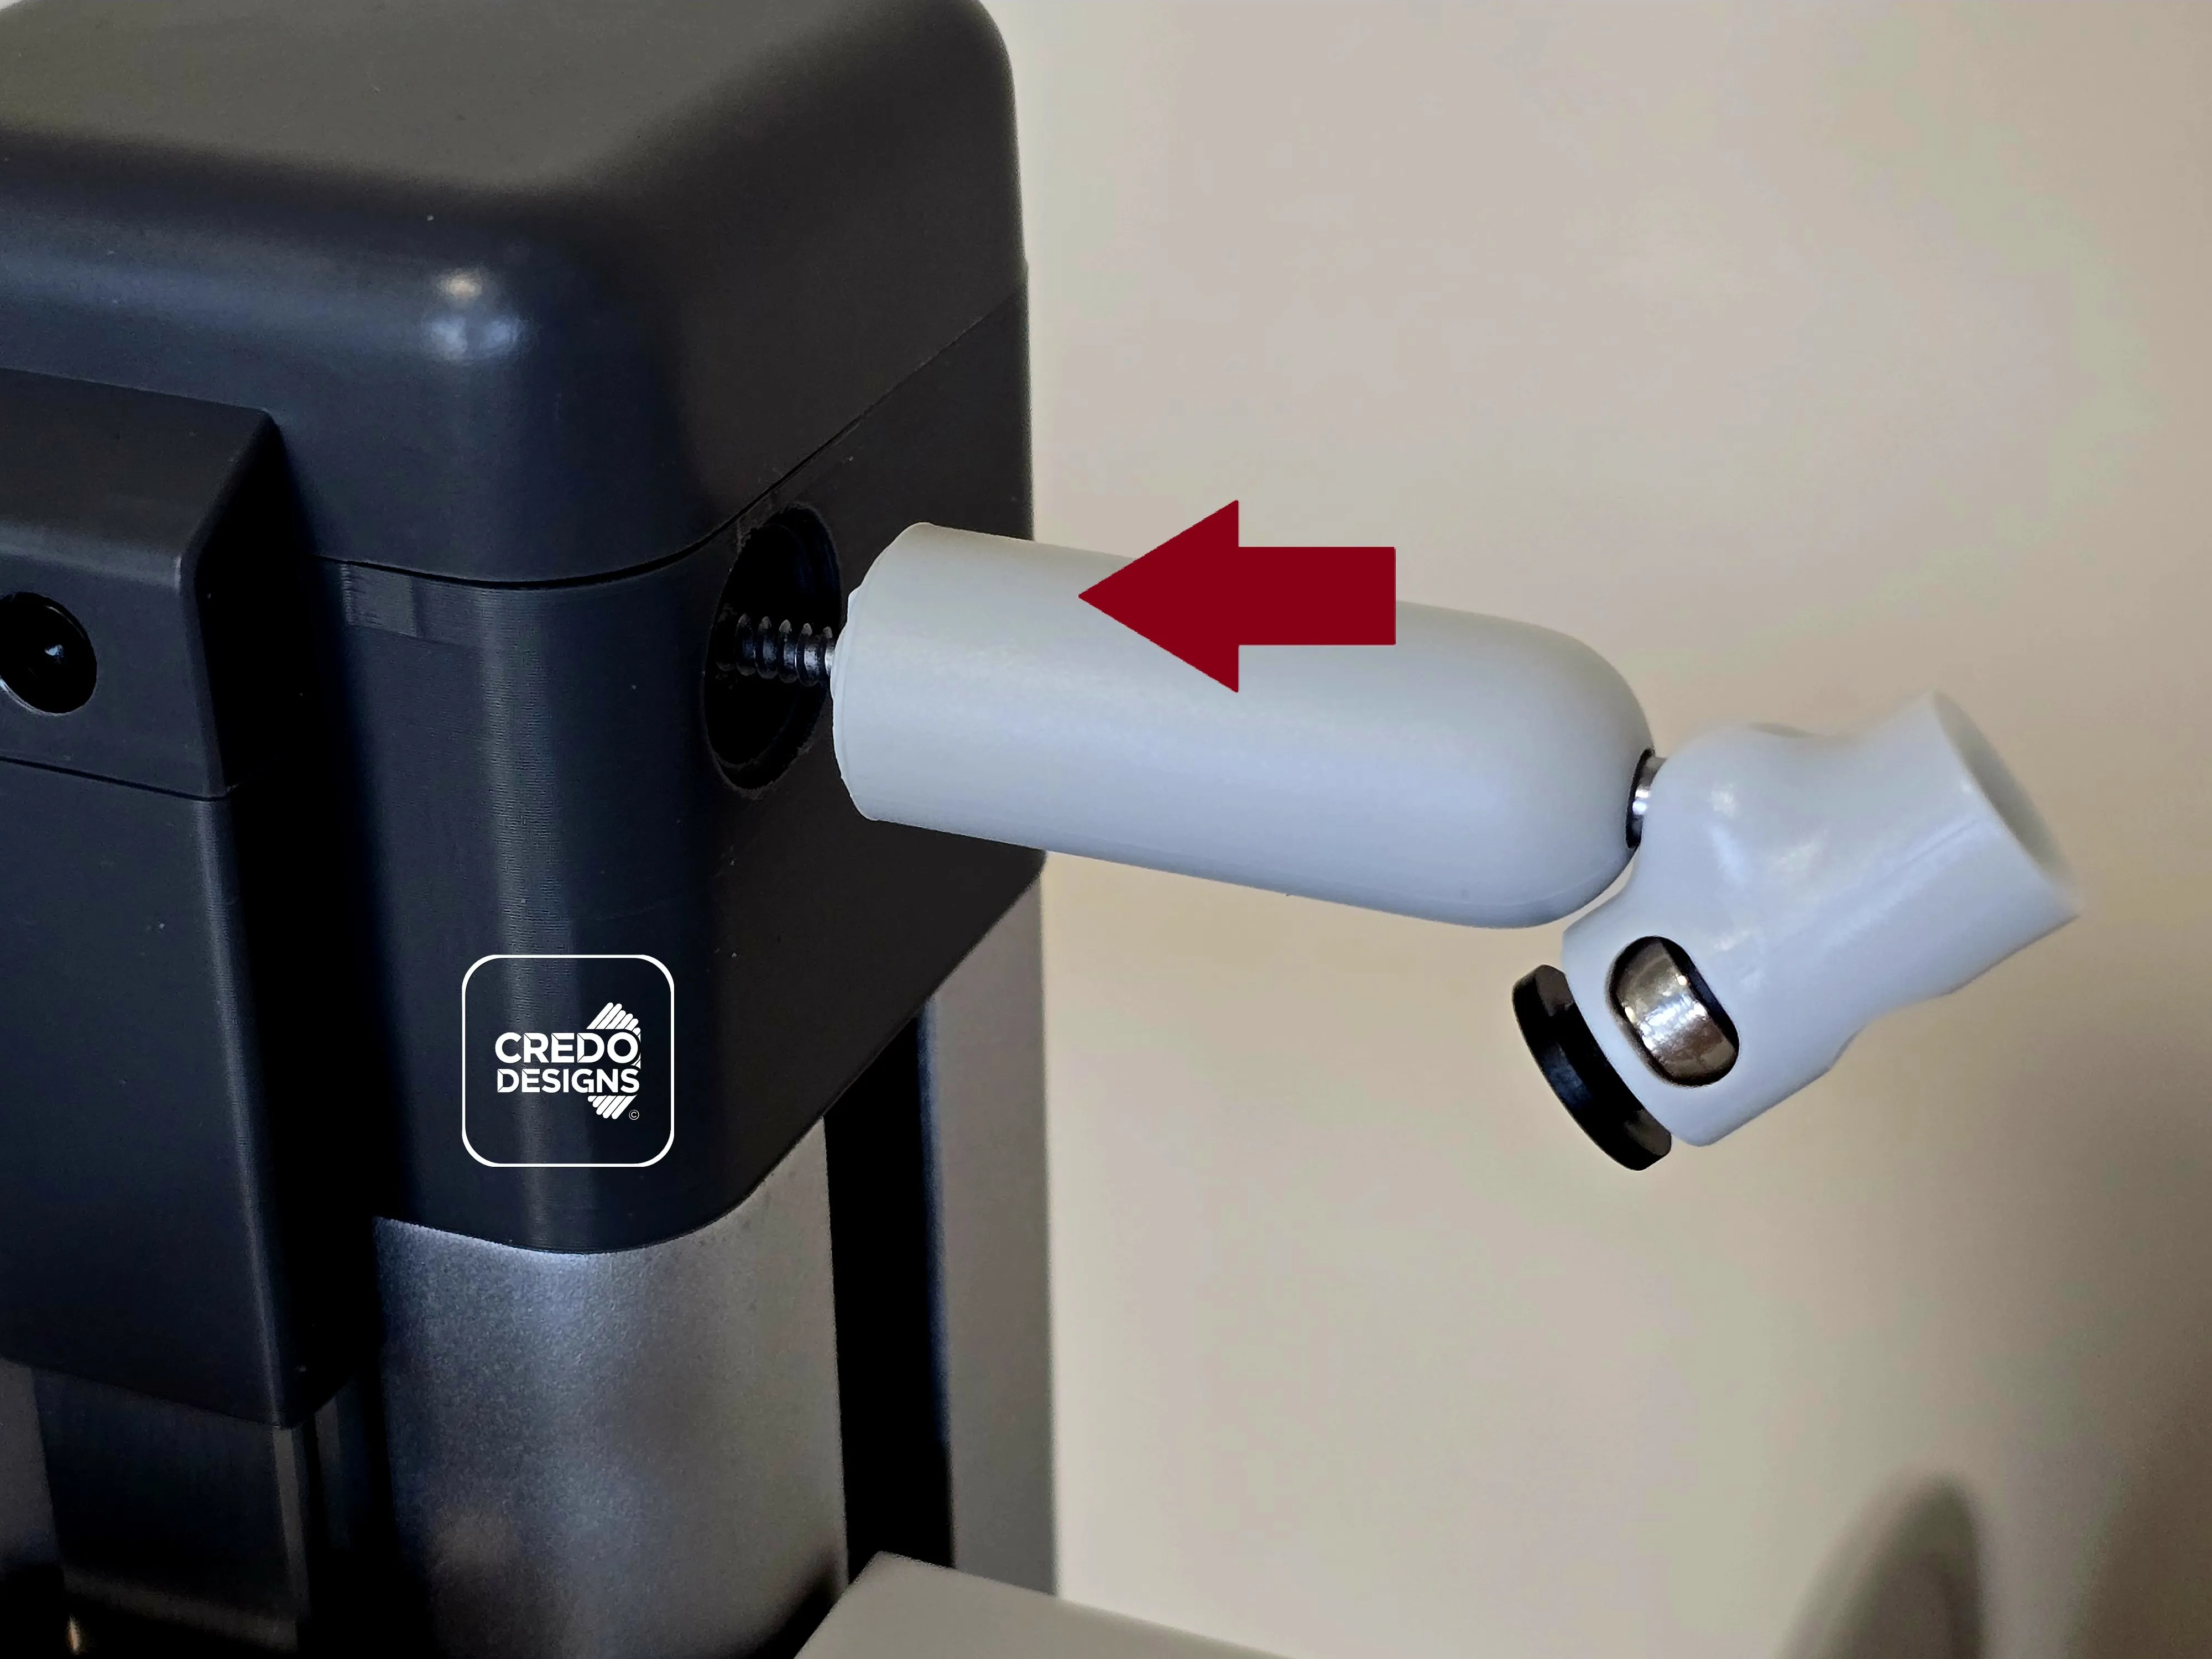
● Press the second Spool Holder for A1 Mini in the spool holder slot:
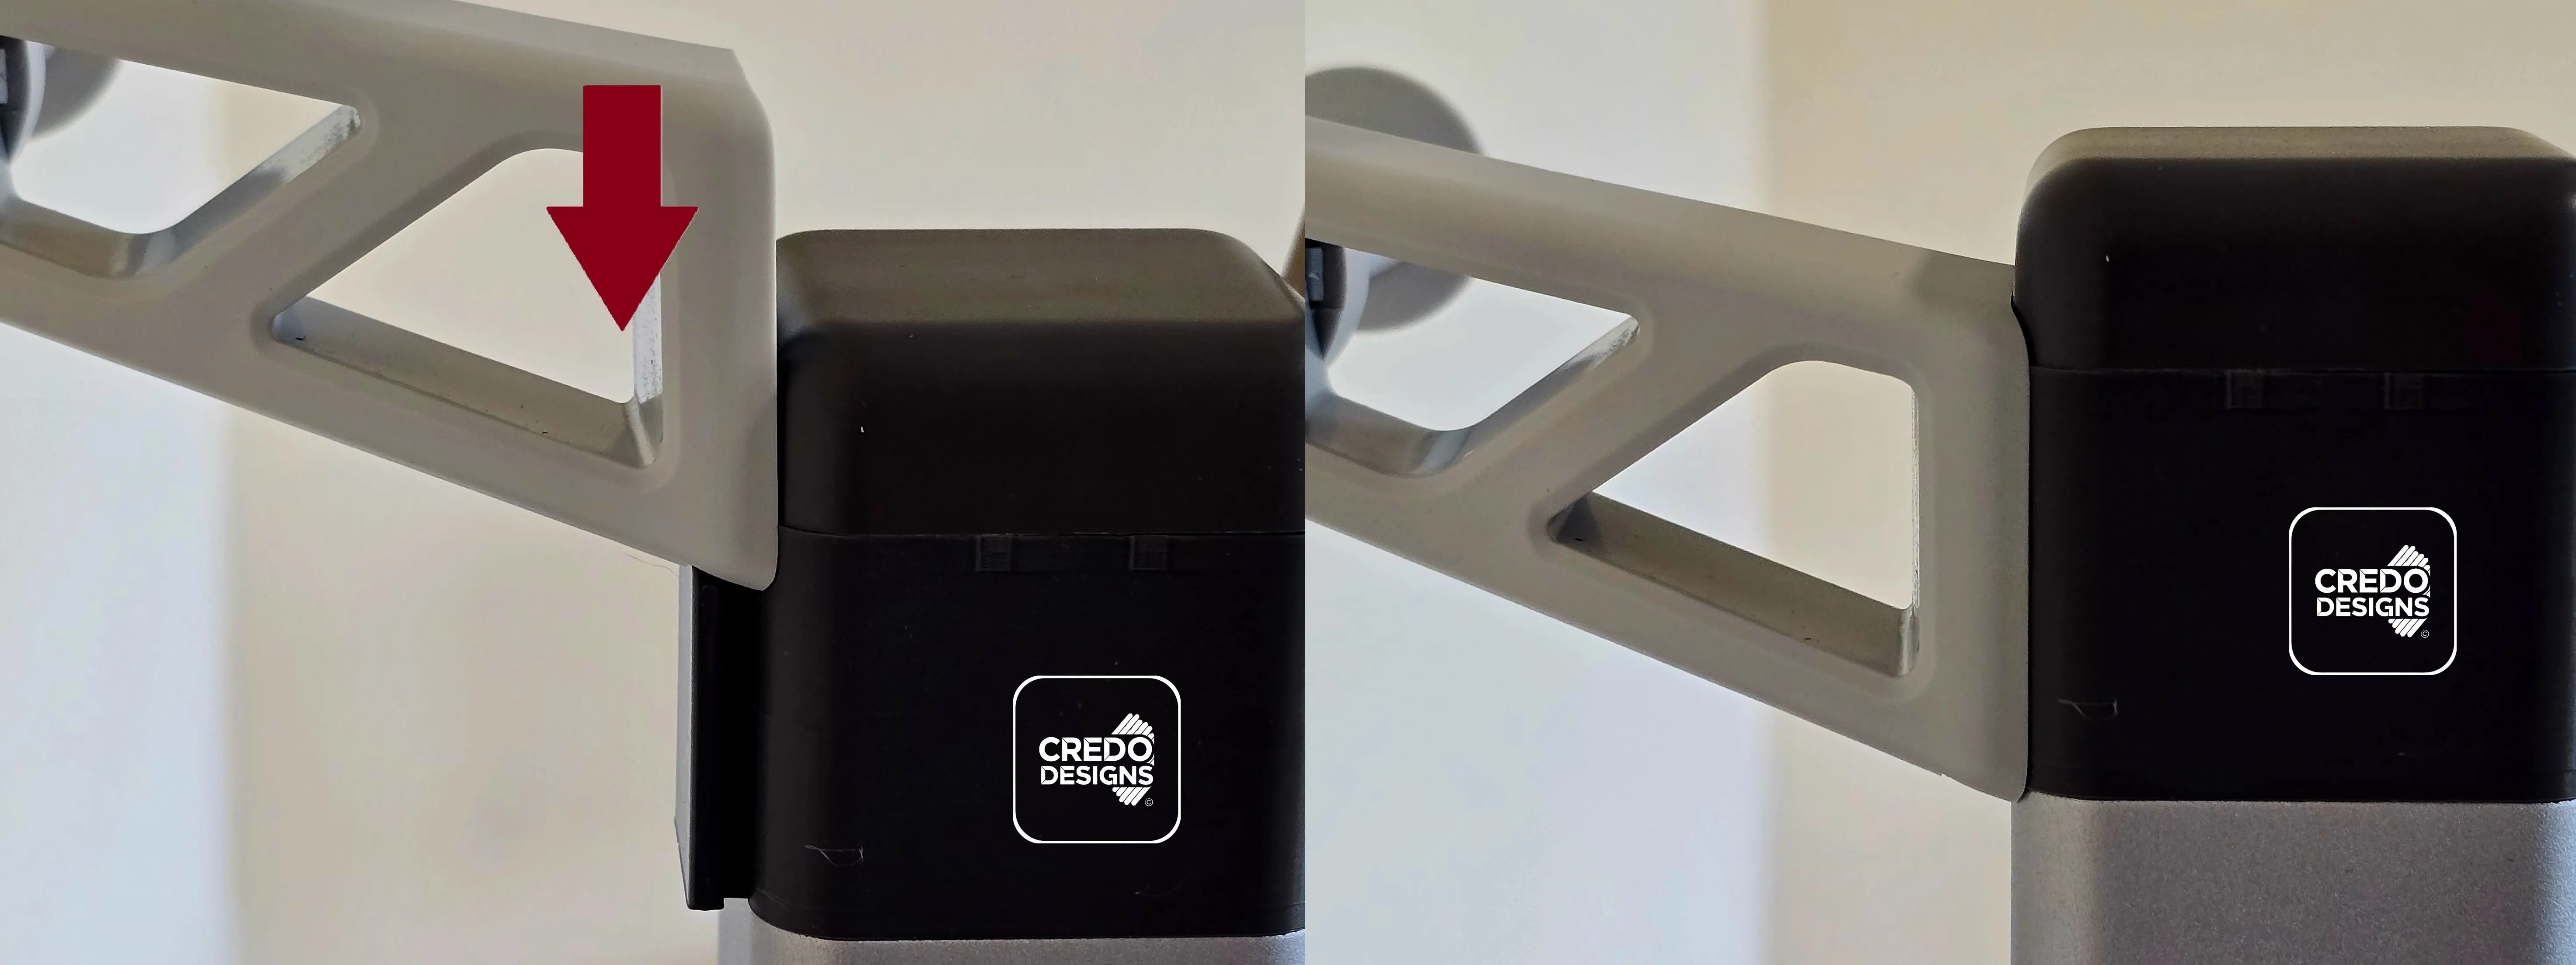
● And finally! The last step: cut the PTFE tube to a lenght of 520mm. Connect both ends of the tube as shown in the following picture:
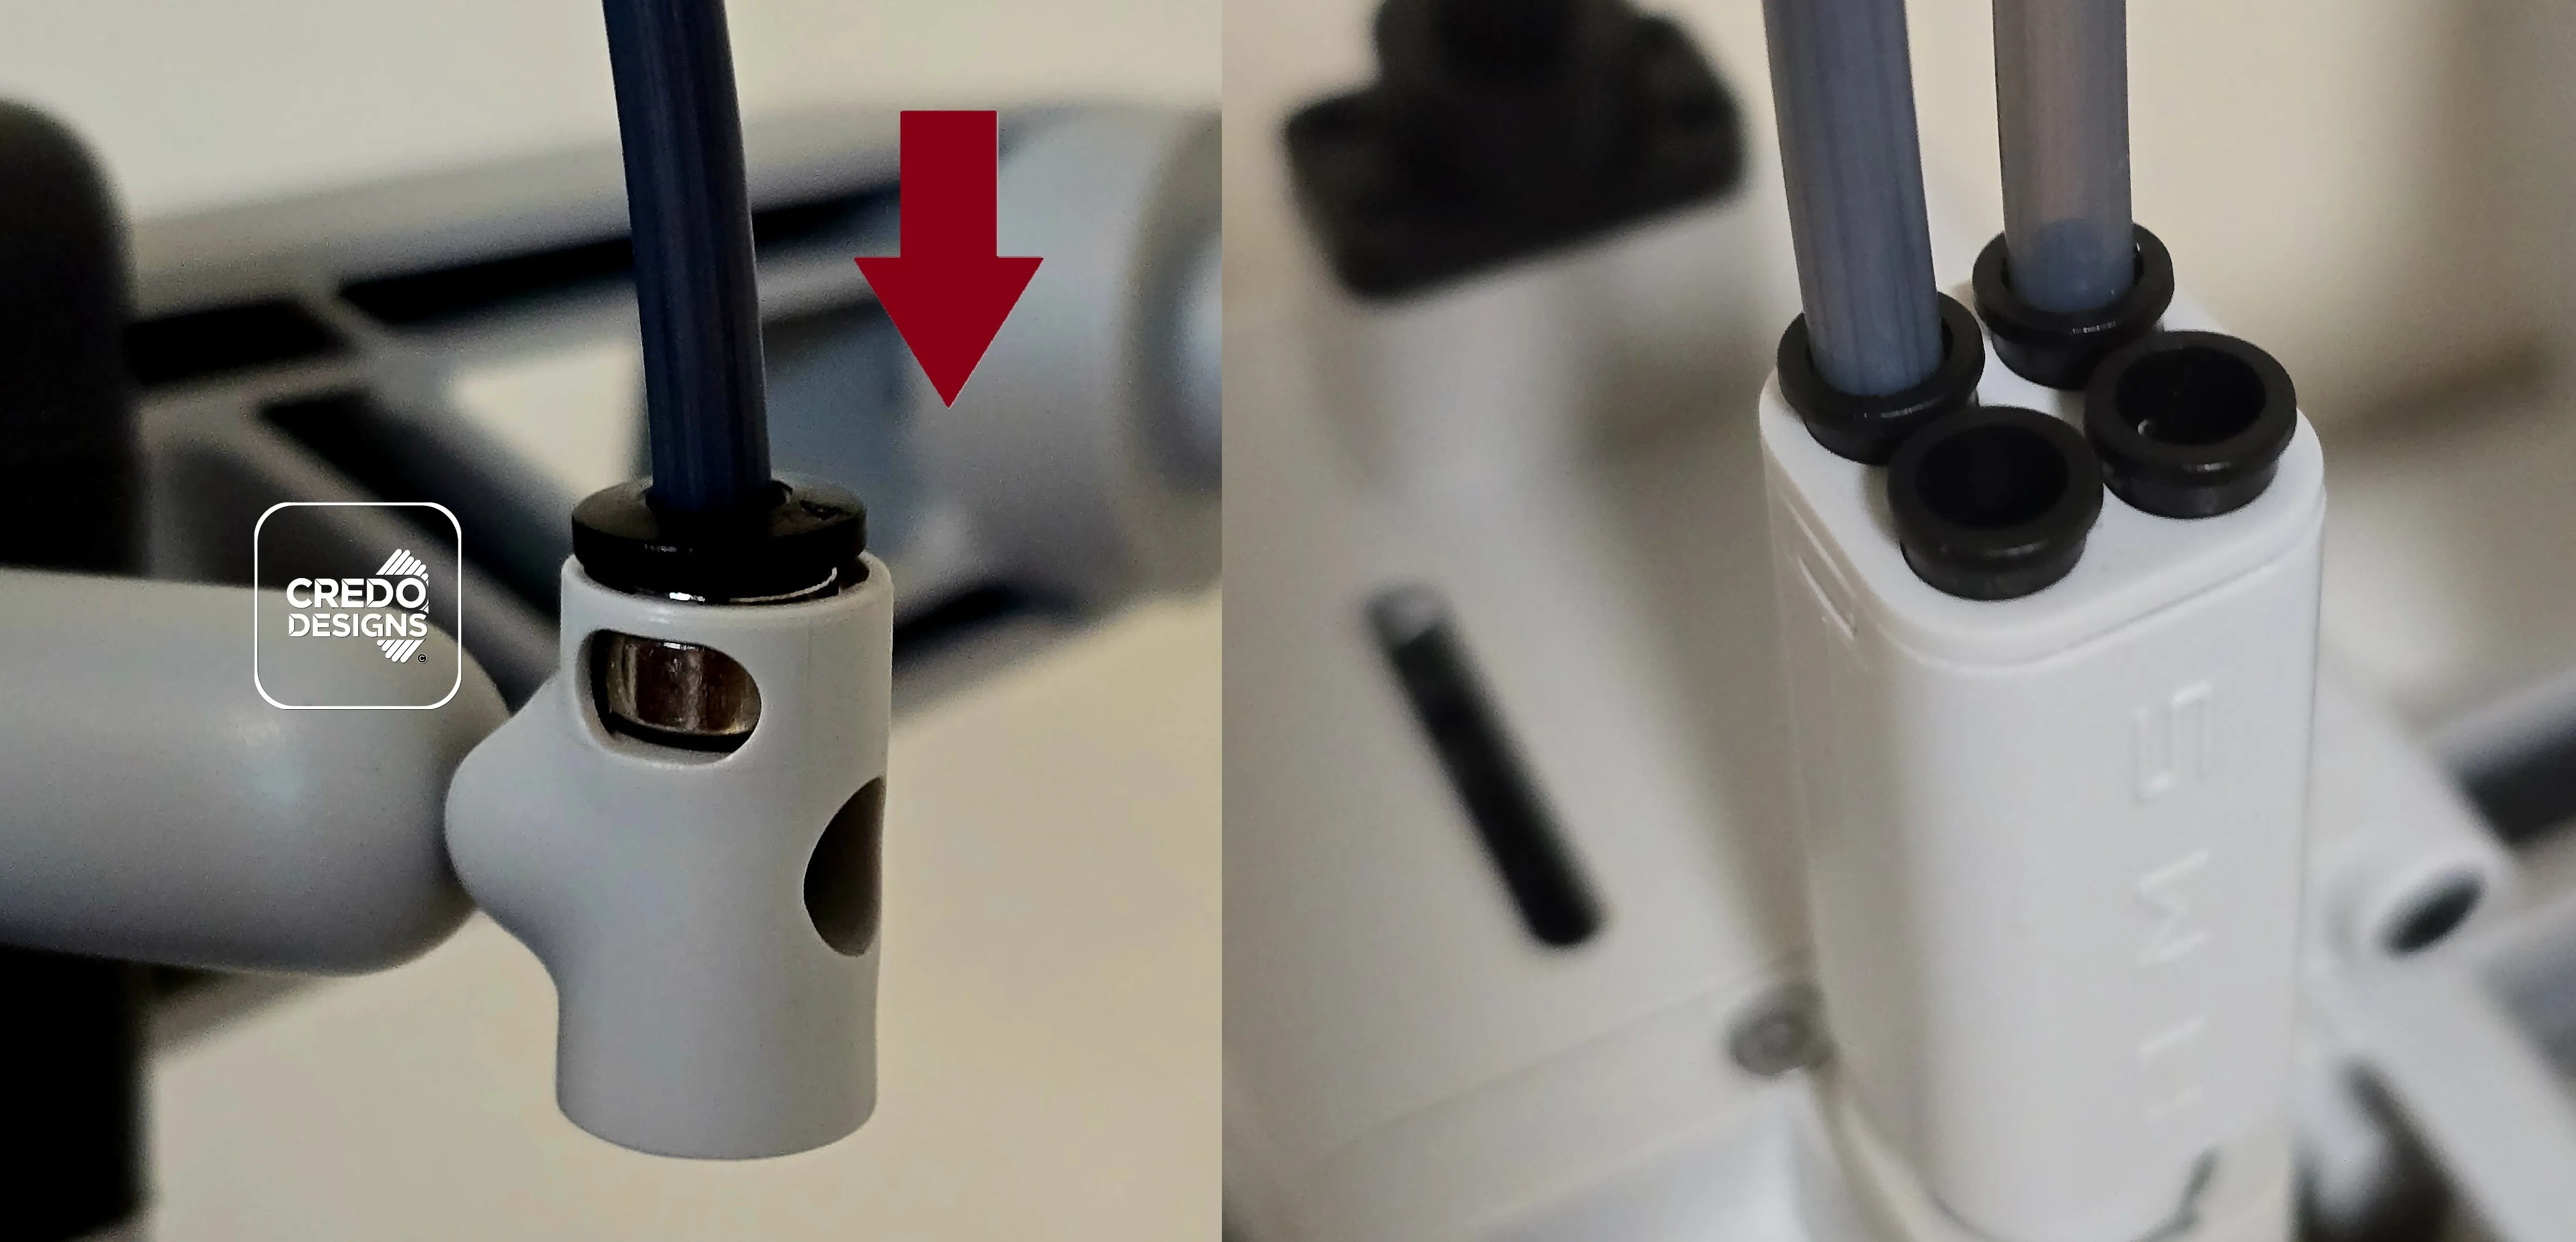
● Congratulations: you have now completed the second spool holder upgrade! Remember not to use any PTFE clip on the second tube as it needs to move independently.
That's it!
I’d love to hear your thoughts on this design.
Feedback is always welcome!
Documentation (1)
License

You shall not share, sub-license, sell, rent, host, transfer, or distribute in any way the digital or 3D printed versions of this object, nor any other derivative work of this object in its digital or physical format (including - but not limited to - remixes of this object, and hosting on other digital platforms). The objects may not be used without permission in any way whatsoever in which you charge money, or collect fees.


Comment & Rating (253)