
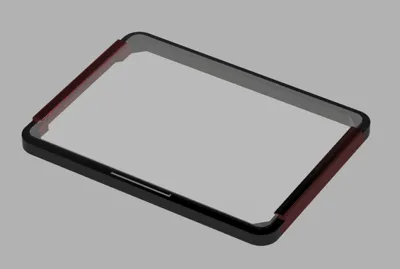
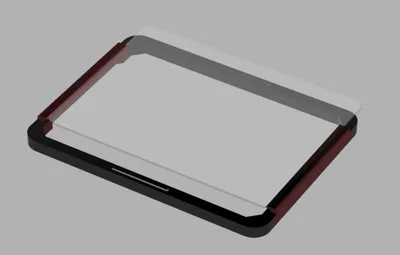
Snapmaker J1 Top Frame (with Glass)

Print Profile(1)

Description
Update:
- 20230914 Added .step file, You can modify to fit your own needs.
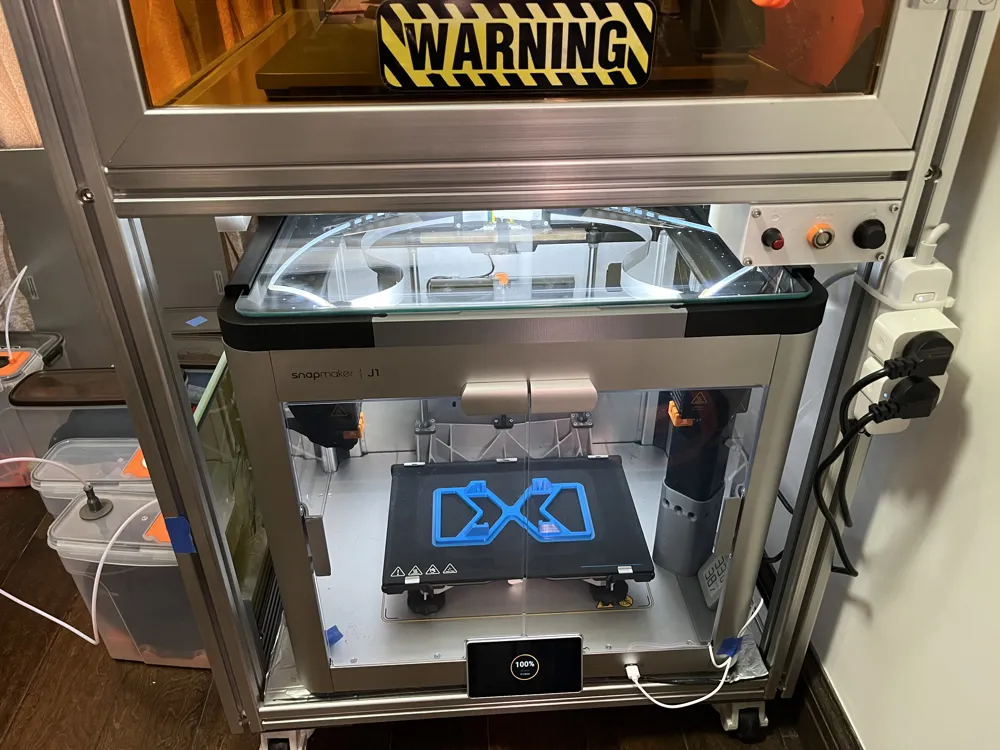
The aluminum top cover of Snapmaker J1 cannot let me observe the printer's internal operations from above. Additionally, it needs to be removed when printing with low-temperature materials(TPU/PLA).
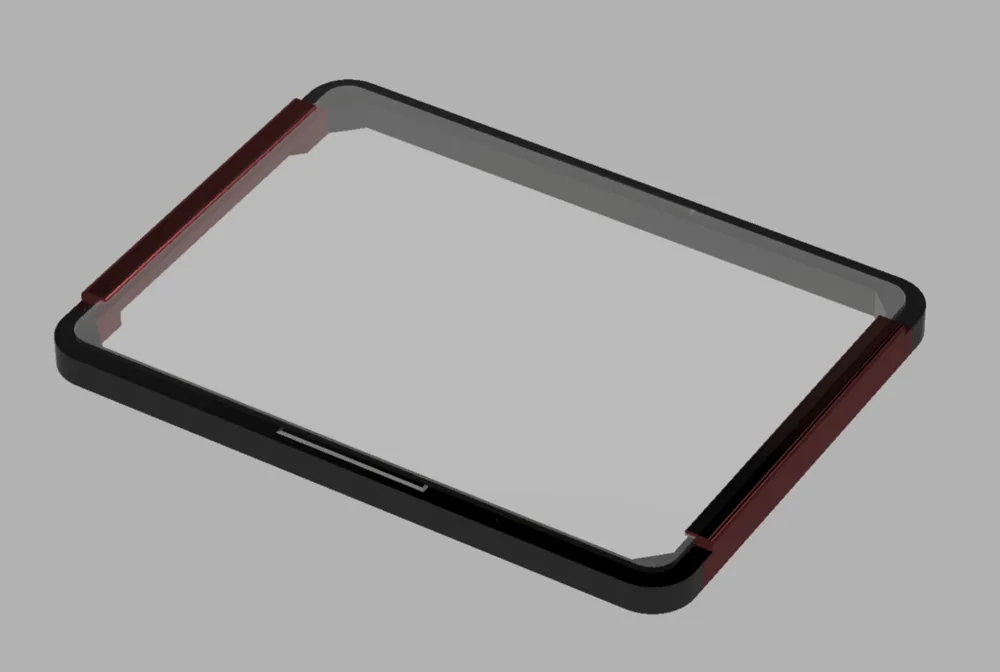
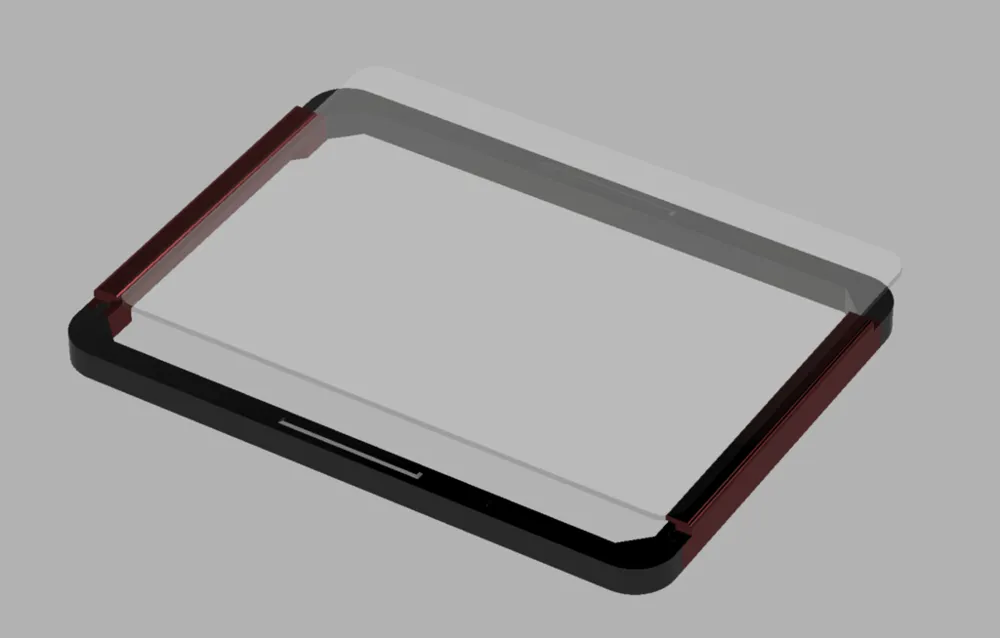
I made a frame to accommodate a glass panel, allowing for easy heat dissipation by simply pushing it backward when printing with low-temperature materials.
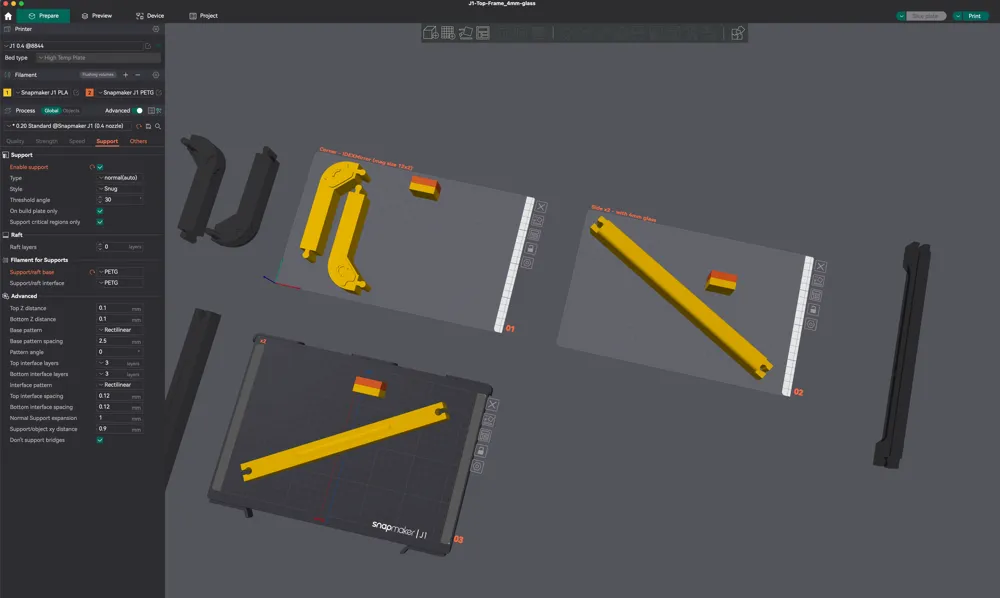
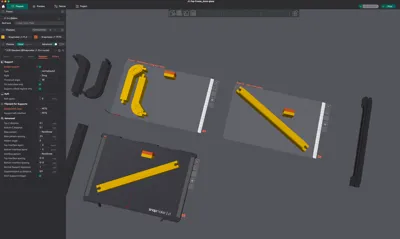
Open .3mf file using OrcaSlicer, where all the necessary parameters have been configured, including Mirror-mode printing and supports. The main parts will be printed using PLA, and PETG will be support. If you like these parameters you can download from here: (https://github.com/macdylan/3dp-configs)
You can order 5mm tempered-glass, but I personally use 4mm, which costs approximately 50CNY. The glass dimensions are 510x370mm with a radius of 20mm.
When using PrusaSlicer or OrcaSlicer for J1, you may encounter an issue where the screen fails to recognize the thumbnail and may require scanning the entire gcode to obtain printing information, sometimes the touchscreen may become unresponsive. So I made two tools sm2uploader and smfix:
- Optimized gcode (no scanning) on the touchscreen
- Model thumbnails
- Smart pre-heat for switch tools, shutoff nozzles that are no longer in use, and other optimization features for multi-extruders.
If you typically use WiFi to upload gcodes in the slicer software, then you do not need the smfix. The sm2uploader already incorporates all the functionalities of smfix, so smfix is only necessary when using a USB flash drive.
License



Comment & Rating (1)