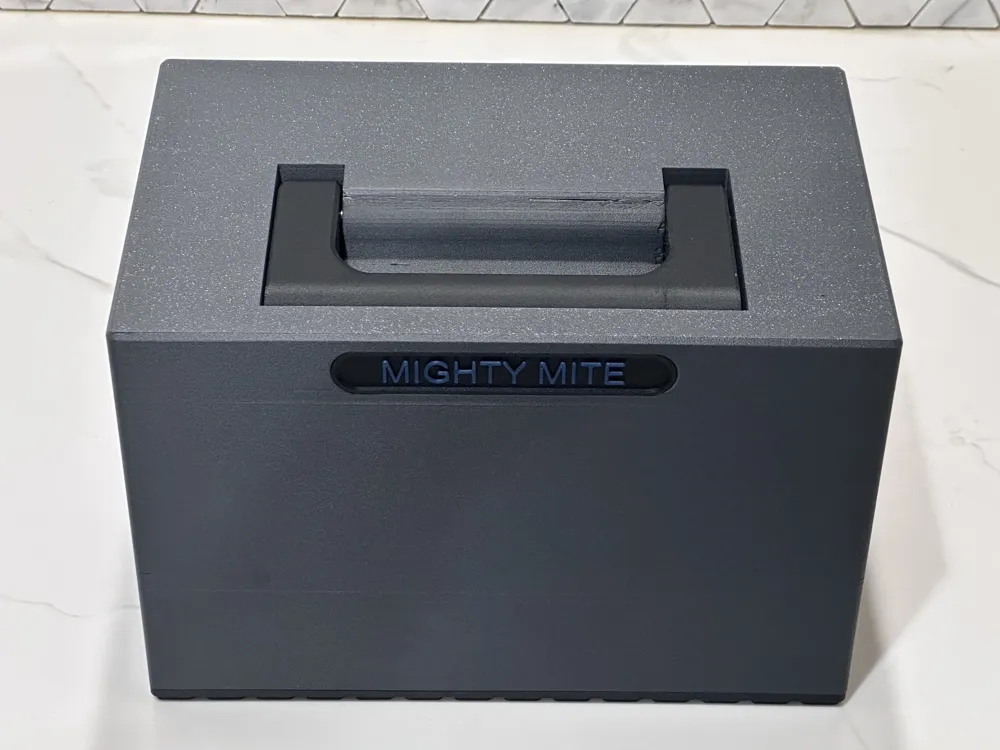
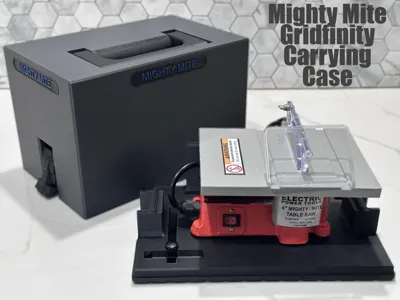
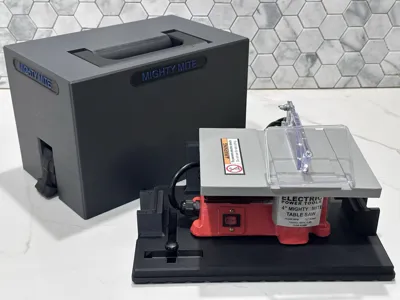
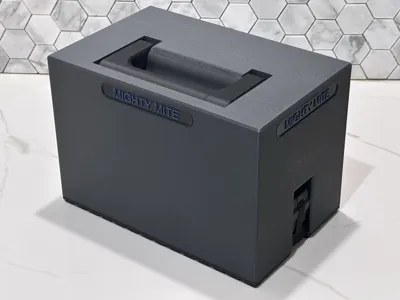
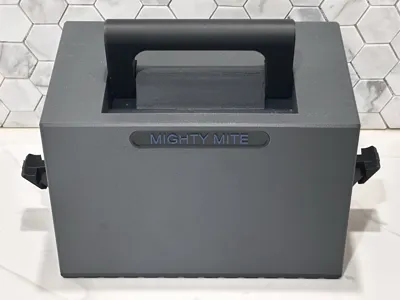
Mighty Mite Gridfinity Carrying Case


Print Profile(5)


Bill of Materials

Description
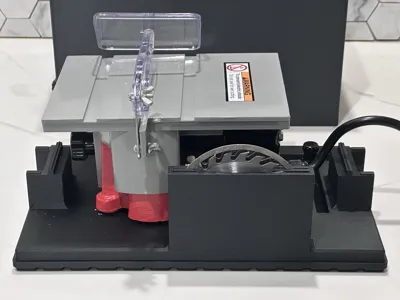
This is a carrying / storage case for the Chicago Electric 4" Mighty Mite table saw.
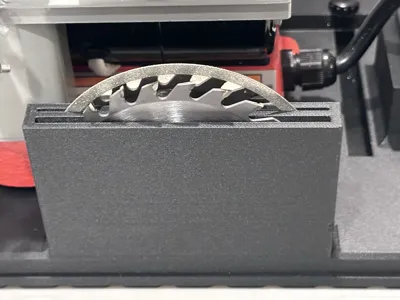
I've had this mini hobby table saw for a few years and have rarely used it because you have to take off all the accessories in order for it to fit in the original box. With this case, the saw is mounted to the base of the case and all you have to do is take off the top and plug it in. I've added convenient storage for extra saw blades and for the miter gauge. This is not a powerful saw, but for cutting small plastics and similar items, it can be useful.
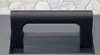
The box has been designed so that the handle and latches are all recessed. This makes it easier to slide in and out of a shelf or drawer so nothing gets snagged.
The latches are based on the latches from the popular Pelican cases.
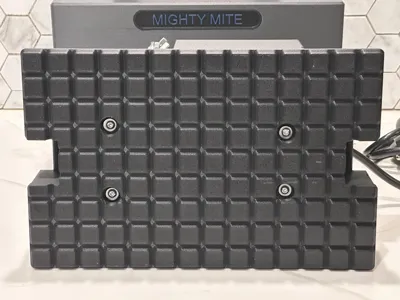
The base is gridfinity compatible with 21mm squares. A gridfinity base is probably not necessary, but I prefer the small feet rather than a flat bottom and it adds rigidity.
Please Note: The base and lid only fit on an H2D. The remaining parts can be printed on smaller printers.
Instructions:
- The two parts of the buckle attach to each other with an M3 30mm socket head screw. (Link Below)
- The buckle attaches to the lid with an M3 50mm screw. It will self thread into the plastic.
- The handle attaches to the lid with an M6 40mm screw. It will self thread into the plastic.
- The saw screws to the base. Remove the four screws holding the rubber feet to the saw. Replace with new screws M4 20mm. Insert the 4 new screws through the bottom of the base with a washer. Slide the rubber feet over the screws on the top of the base. Align the screw holes in the saw base and tighten the screws.
- Please note that the lid takes a long time to print. Please make sure your print bed is clean and your filament is dry. Consider using glue for the lid as it has a large surface area on the print bed for a long period of time.
The model as shown was printed in PETG CF Black, Grey, and Blue.
I hope you enjoy.
See my other collections:
H2D Accessories Coffee Corner Filament Designs Gridfinity Designs Knipex Designs Wera Designs Watch Collection
Boost Me (for free)
If you appreciate my work, please consider boosting.
License
You shall not share, sub-license, sell, rent, host, transfer, or distribute in any way the digital or 3D printed versions of this object, nor any other derivative work of this object in its digital or physical format (including - but not limited to - remixes of this object, and hosting on other digital platforms). The objects may not be used without permission in any way whatsoever in which you charge money, or collect fees.
Comment & Rating (2)